

After our two mockup fittings, I was finally ready to start cutting and preparing Sally’s custom wedding dress fabrics!
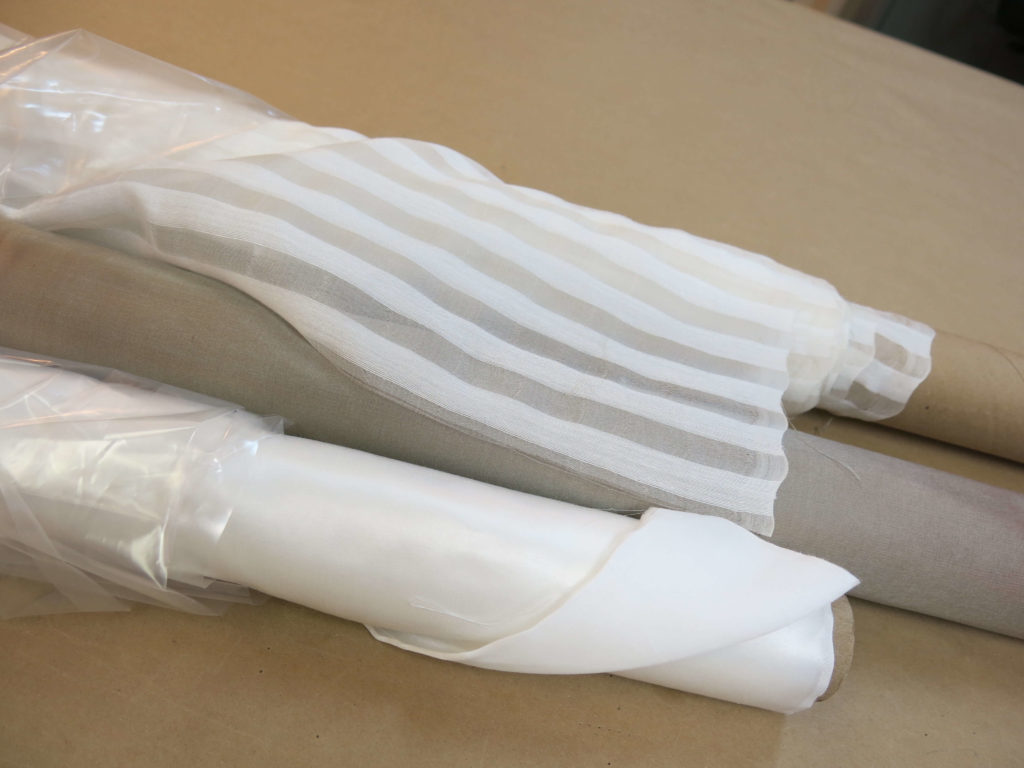
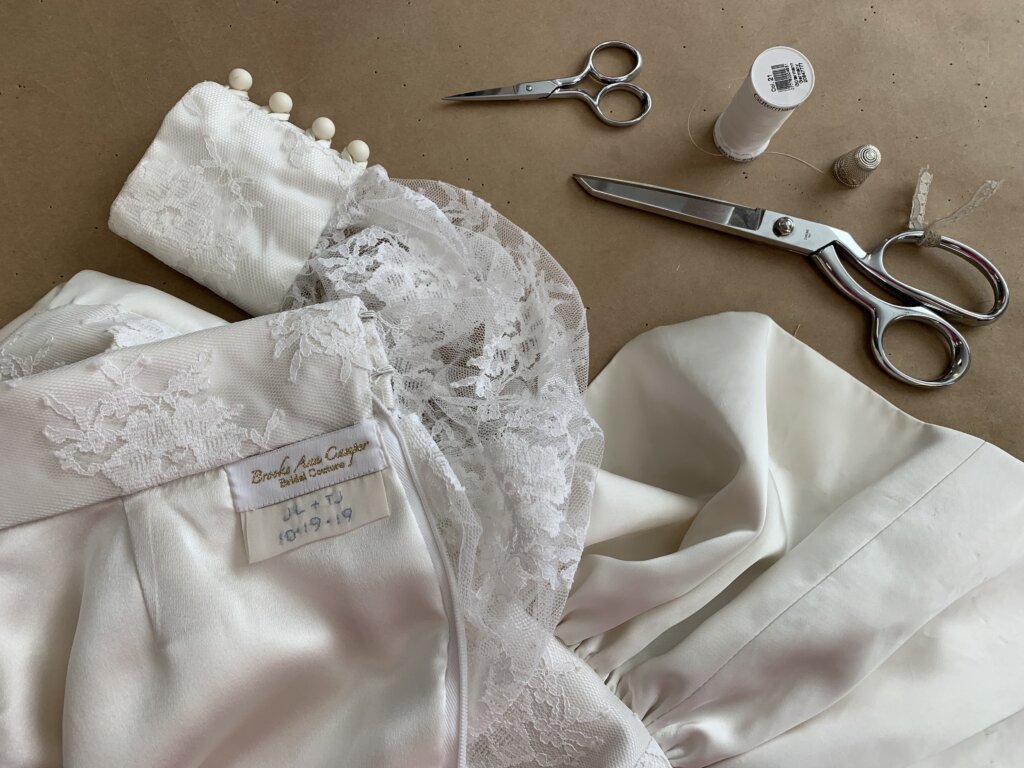
During our design process, we spent a lot of time searching for the perfect stripe. We finally found a silk organza with the exact width of stripe that Sally was looking for. It had a solid 1/2″ stripe and a sheer 1/2″ stripe. We’d layer this over a gorgeous neutral silk and line it with a white silk/cotton blend, both from local fine fabric store Mulberry Silks.
Even though the design changed several times, Sally remained consistent on wanting evenly spaced white and neutral stripes for her custom wedding dress. But, she wasn’t quite sure if she wanted the neutral color to be brown or gray. During our Design Consultation, we found this amazing changeable silk that looks brown in some light and gray in others. It was a perfect choice to back the sheer stripes!
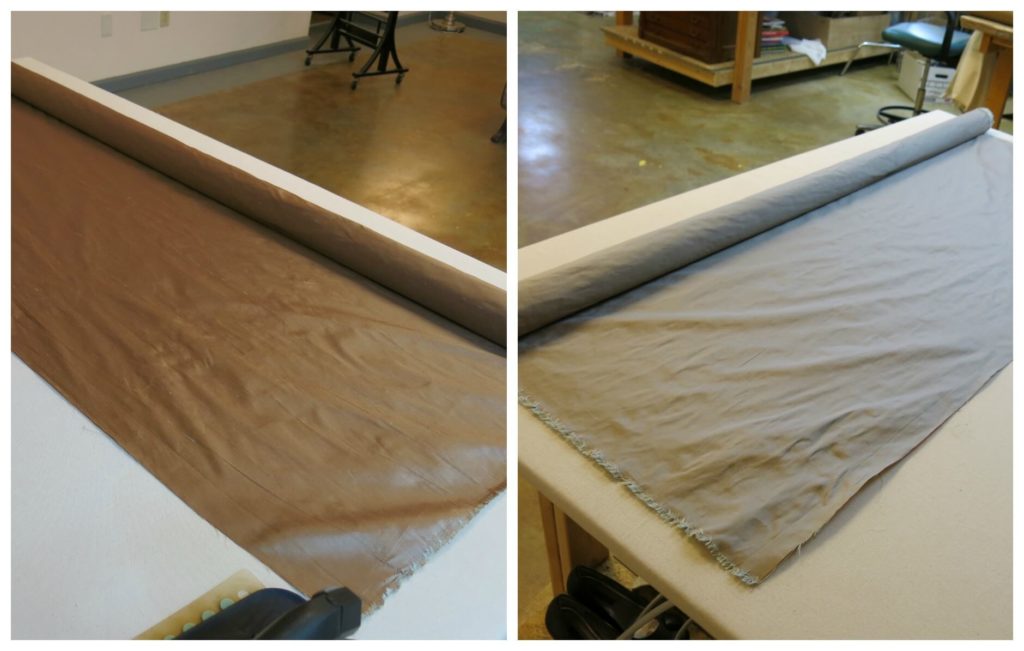
In this video I posted on Instagram, I walk around the table as the fabric seems to change colors right before your eyes! Just beautiful!
Under Construction
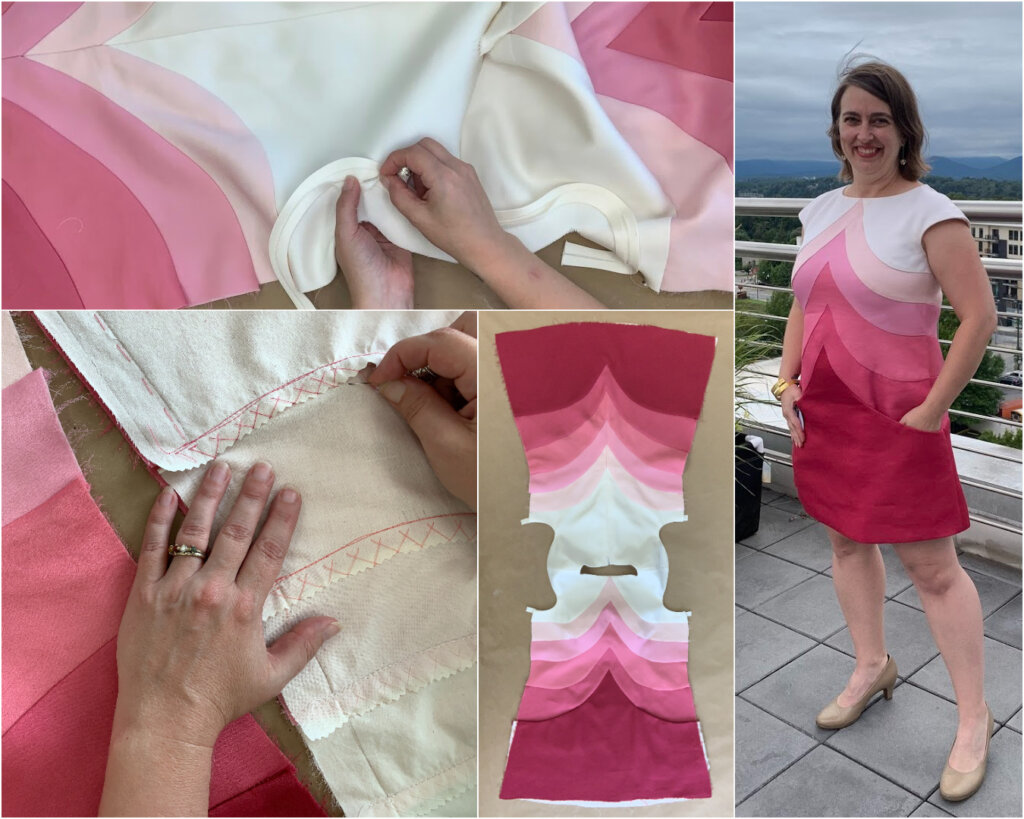
In order to have these two layers of fabric behave as one, I’d underline them. If you’ve been following my blog, you’ll know that this is one of my absolute favorite techniques! I detail the benefits of underlining and teach how it is done in a 3-part blog series with video and in this article I wrote for Seamwork Magazine.
Since Sally’s design is asymmetrical and the stripes are decorative, it was really helpful to have the two layers. This meant I could cut the solid fabric following the grain line that worked best structurally and then cut the striped layer the way it looked best visually. I could also hide the bone casings and other secret stitching in the solid layer without it ever showing through to the stripes.
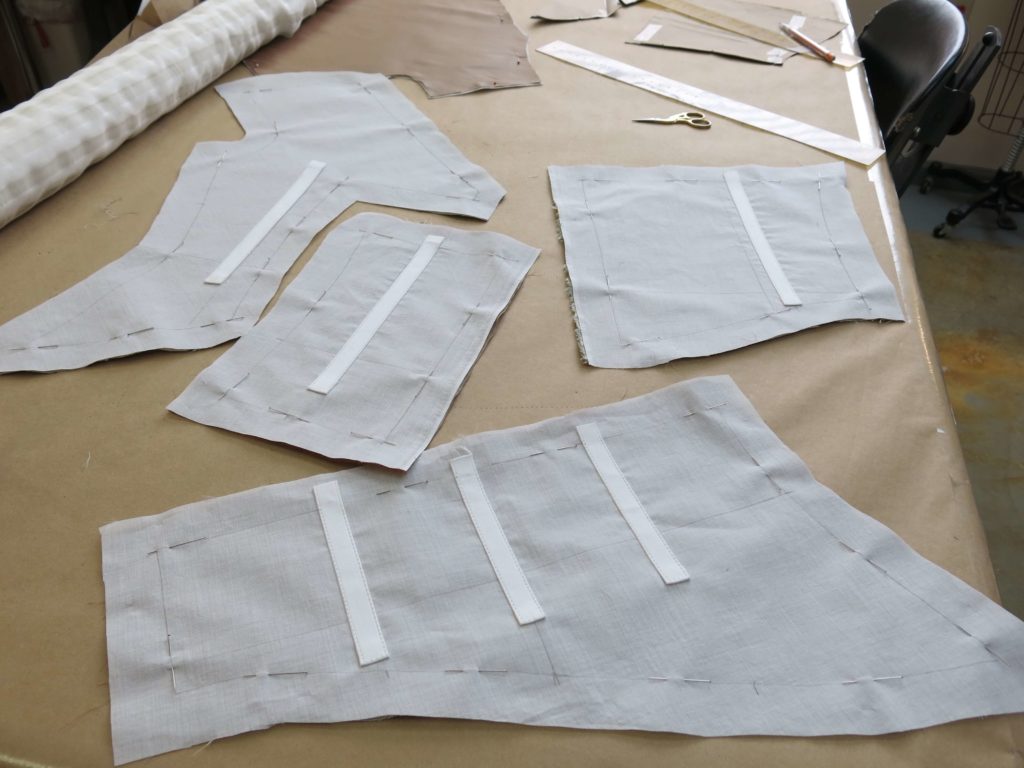
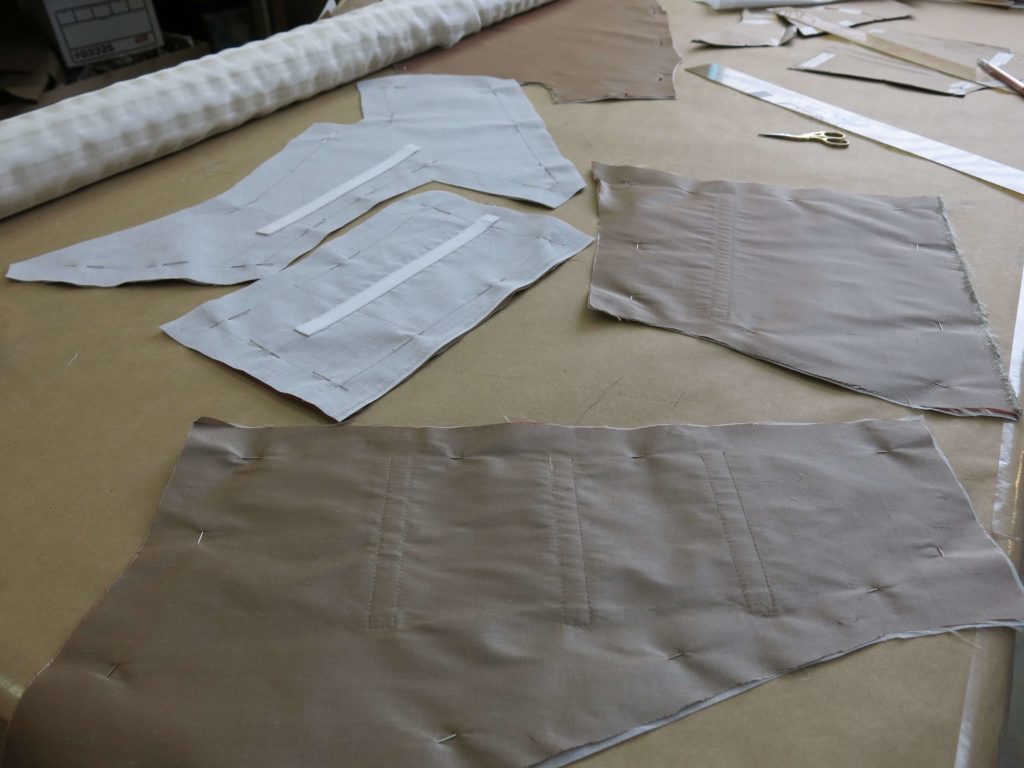
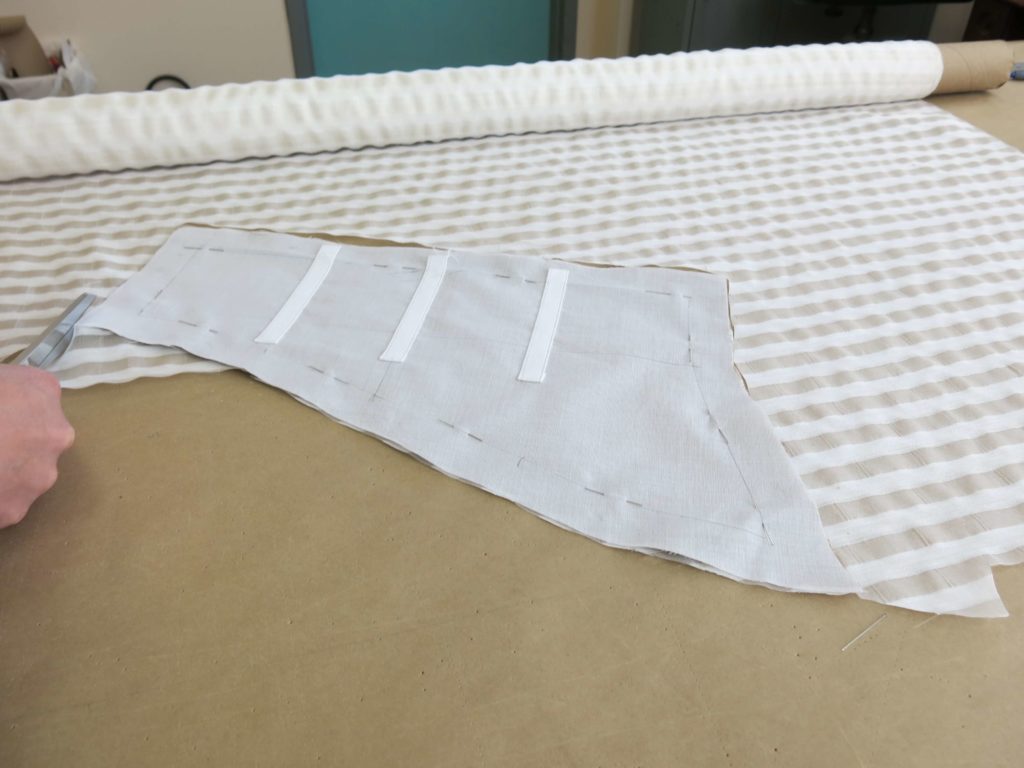
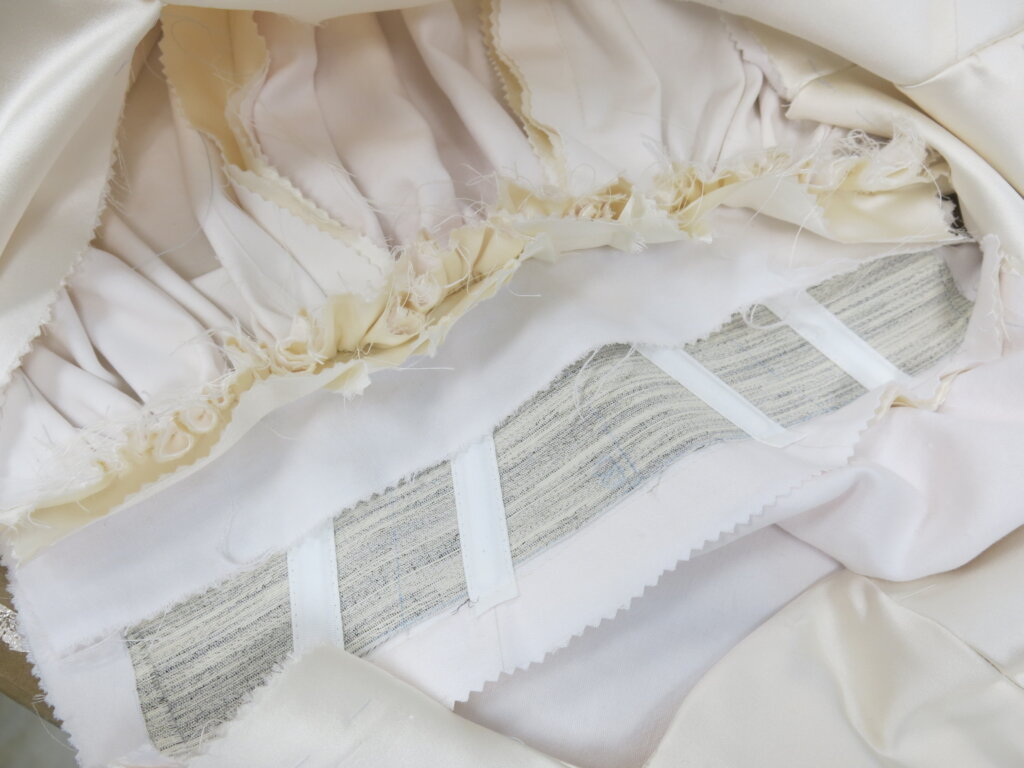
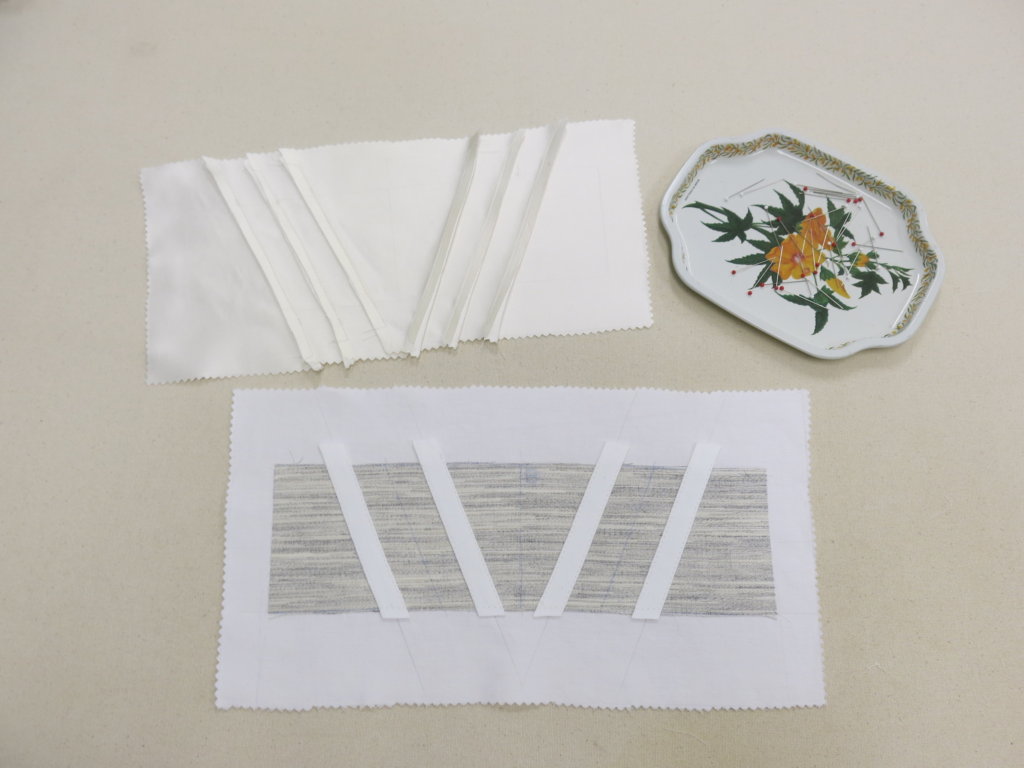
I began by using my corrected custom pattern to cut the pieces that would have the bone casings. It wasn’t until after they were cut that I made the decision to add yet another layer only to these pieces. It seemed like the boned areas would be more successful with a little extra oomph and stability, so I took my freshly cut pieces and reverse underlined them (for lack of a better term) onto some cotton organdy.

Since every piece of Sally’s custom wedding dress is asymmetrical I had to remember to flip the pieces over when adding the new backing fabric!
This caused my stitch lines to be obscured, so I needed to get out the patterns again and mark my organdy for bone placement and seam placement.
Then I machine stitched my bone casings through these two layers. I left the layers pinned together otherwise, opting to underline all three layers together at once.
Stripe Matching
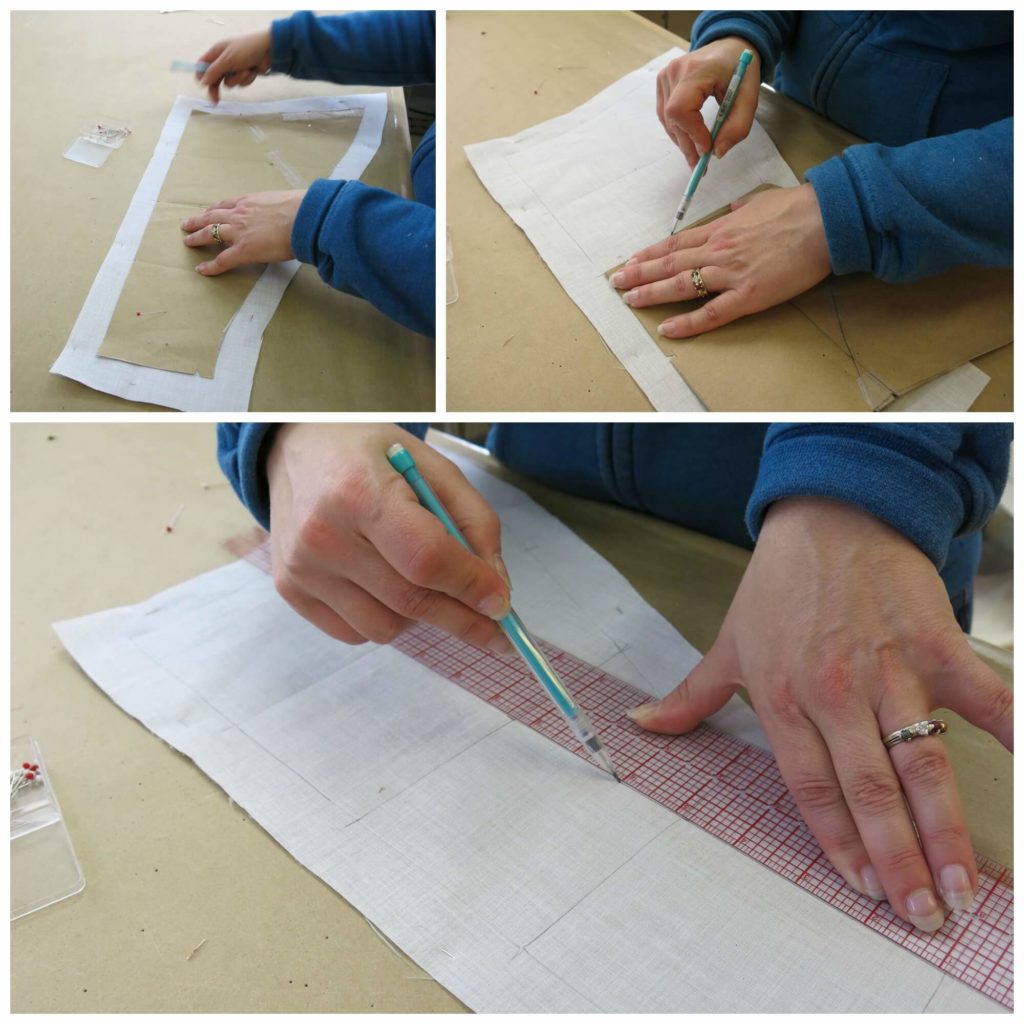
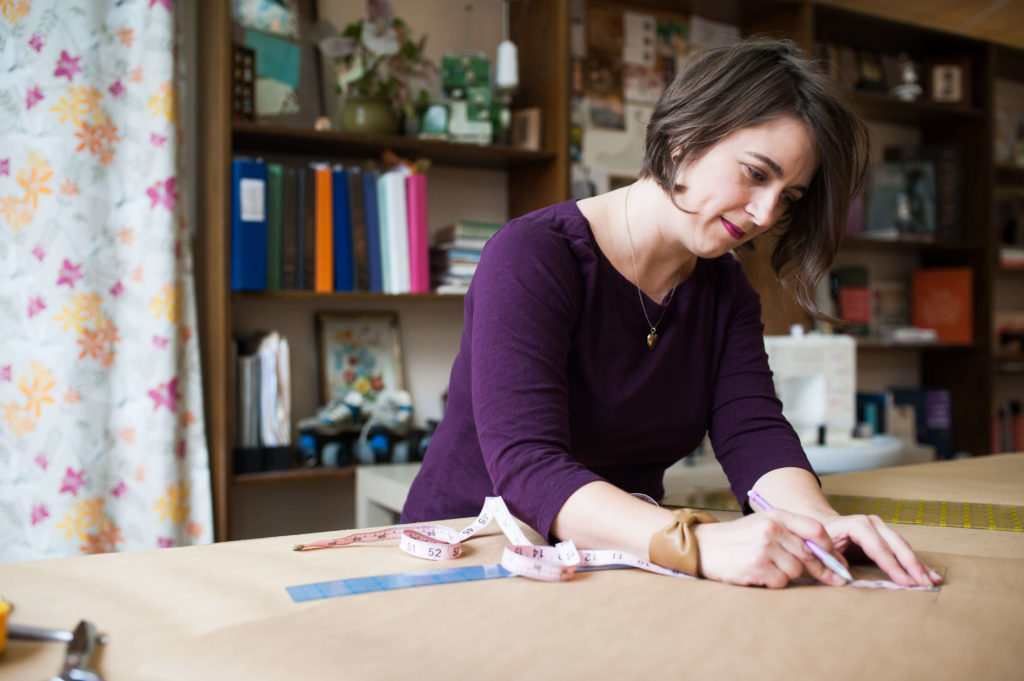
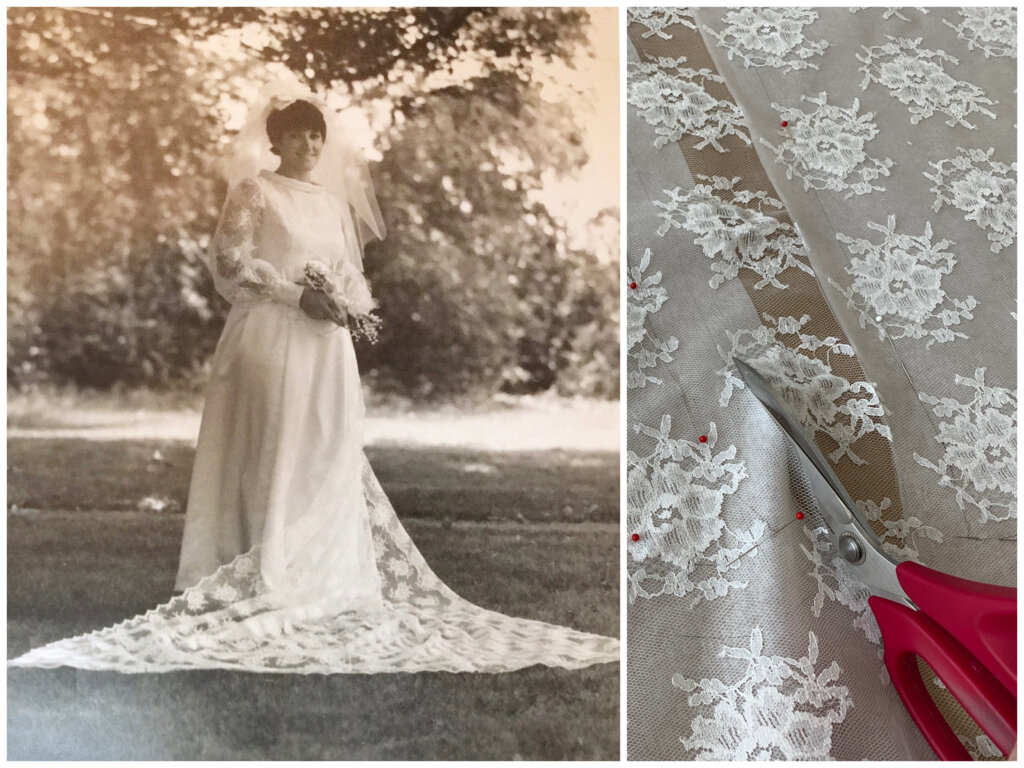
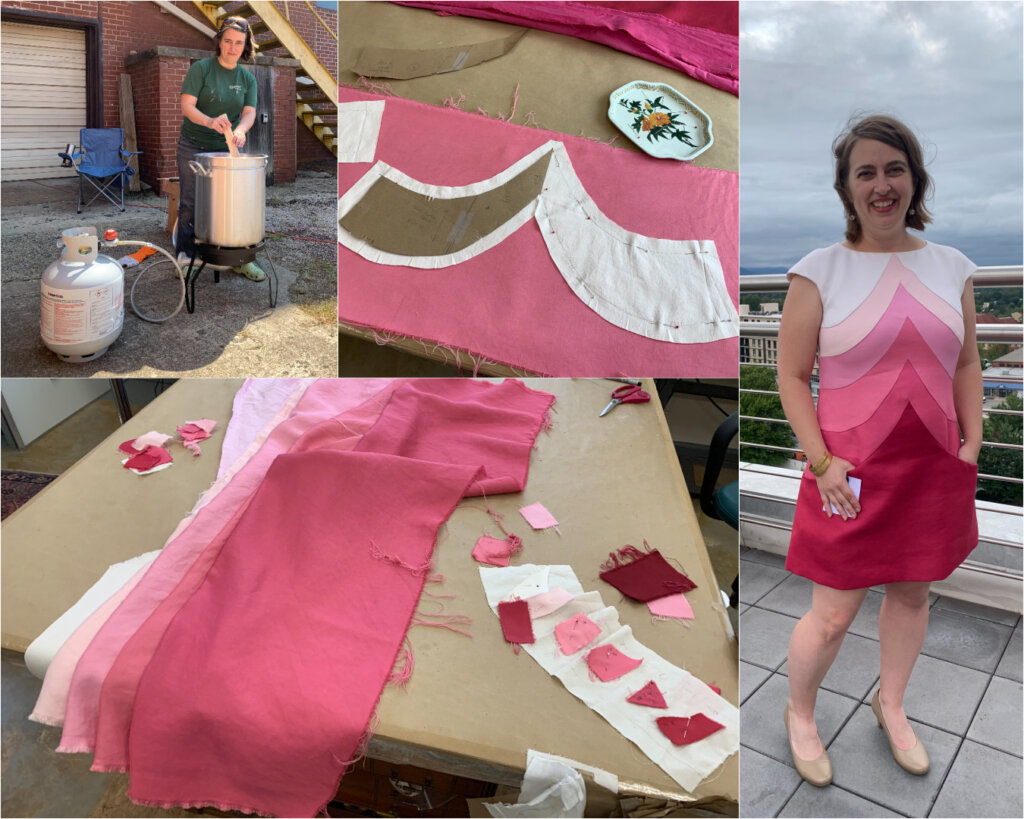
In order to start cutting the stripes, I had to plan for stripe matching. I’d cut each piece of striped fabric one at a time, cutting each new piece in relation to the one that I cut before. This felt like the best way to get the stripes to match each other and our sketch. It was a real nail biter!
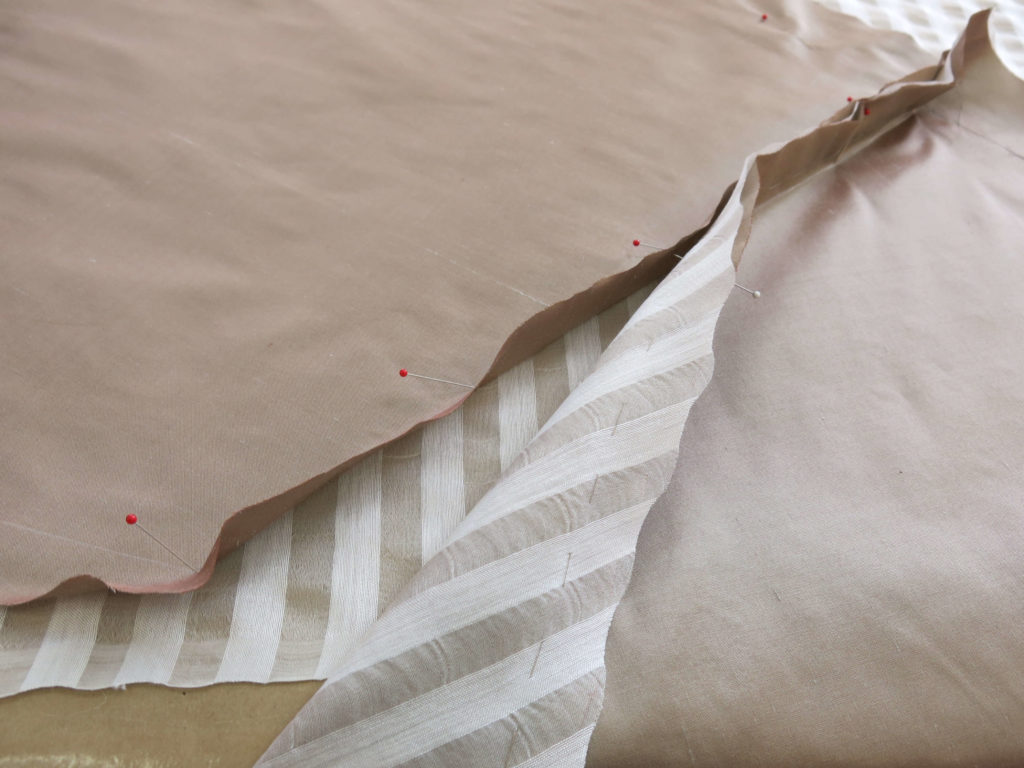
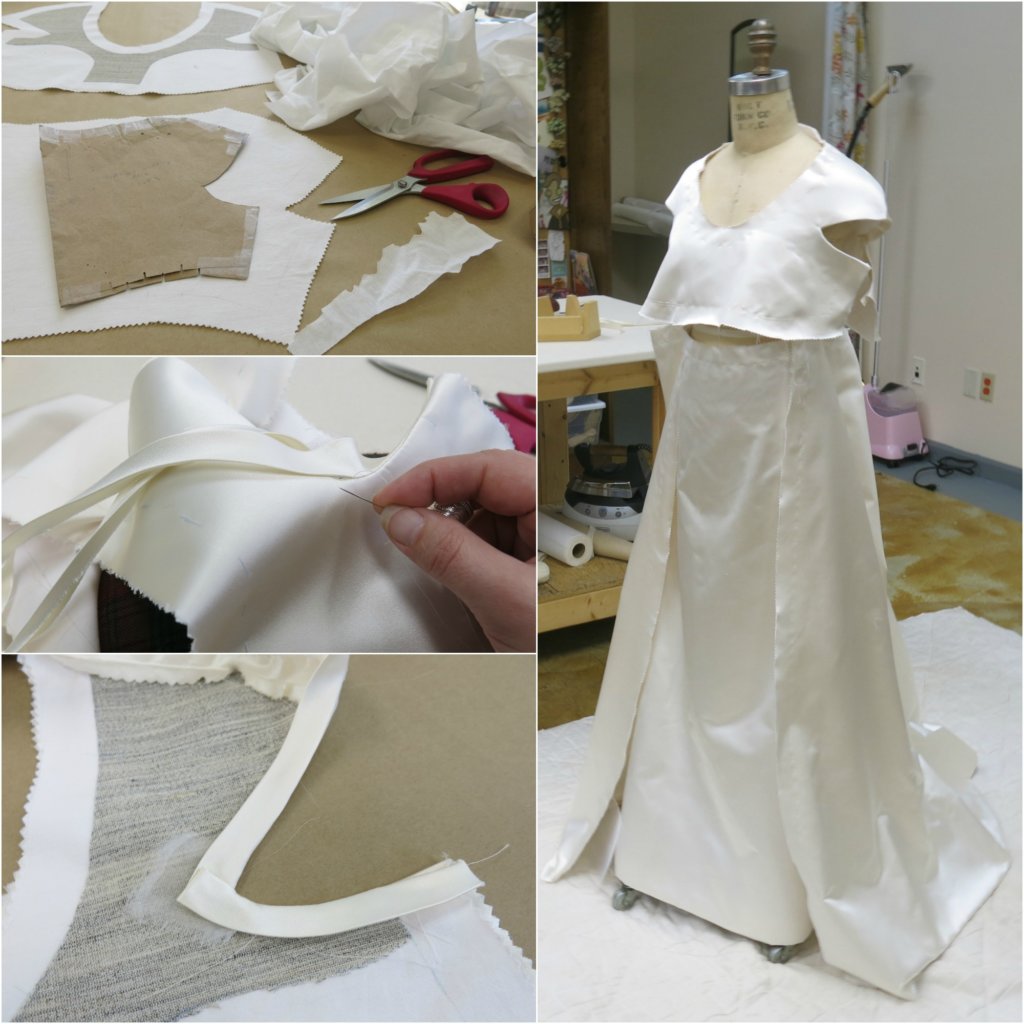
I started with the largest piece which was the front of Sally’s asymmetrical skirt. I drew my pattern onto the solid silk, cut it out, and then carefully laid it onto the striped fabric. Once I was happy with the placement, I pinned the two layers together and used the edge of the solid as a guide to cut the stripes.
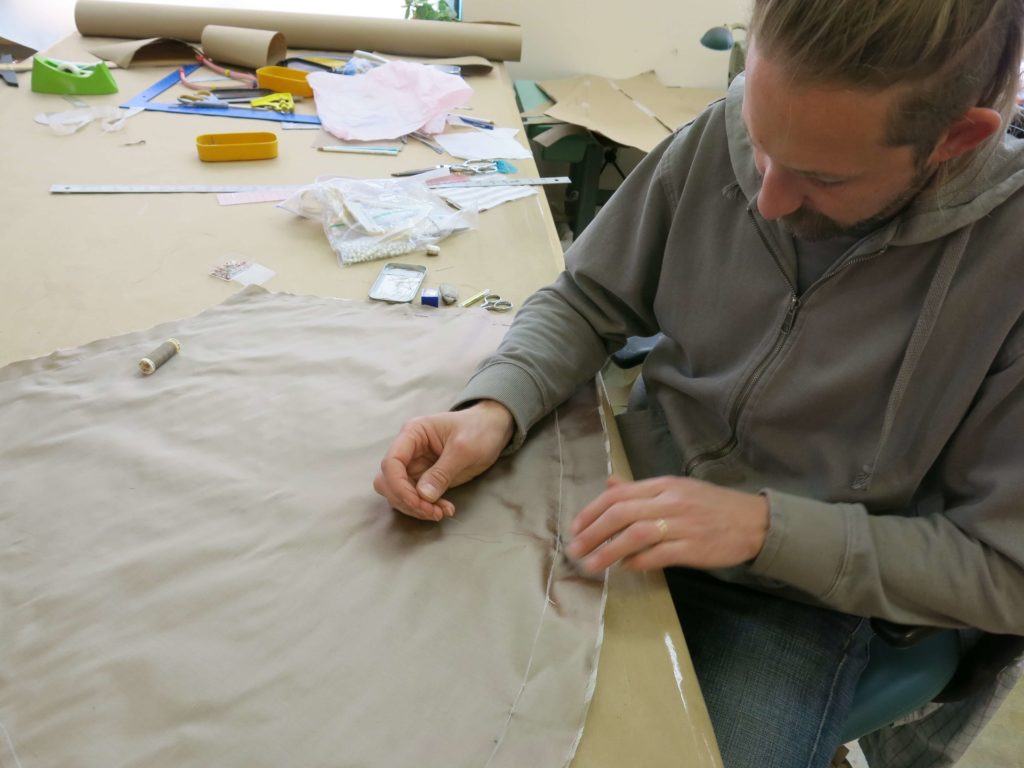
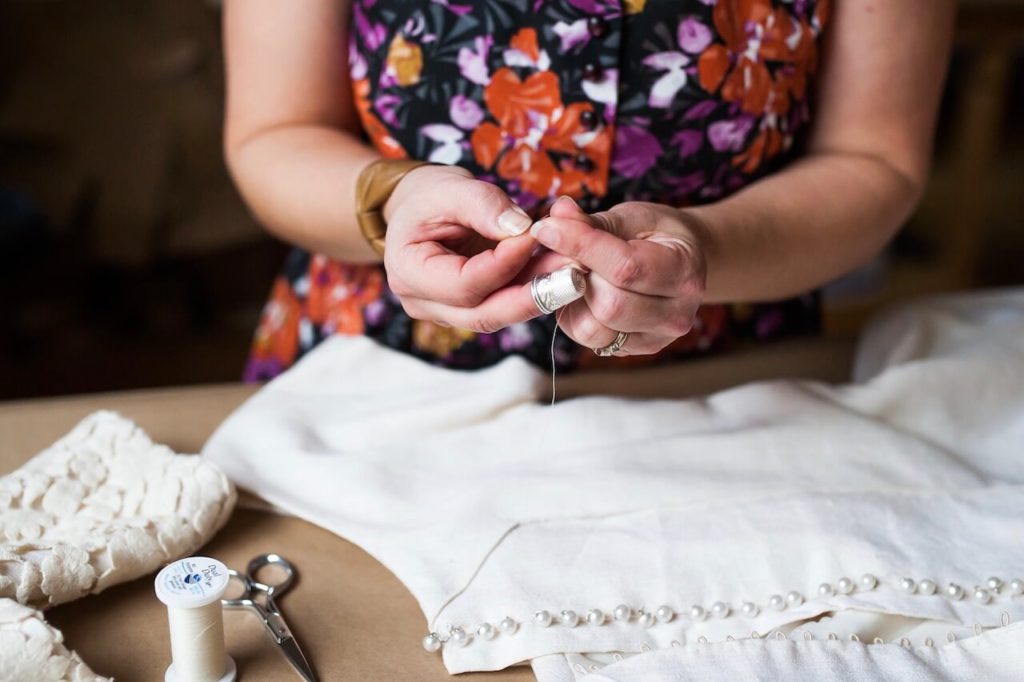
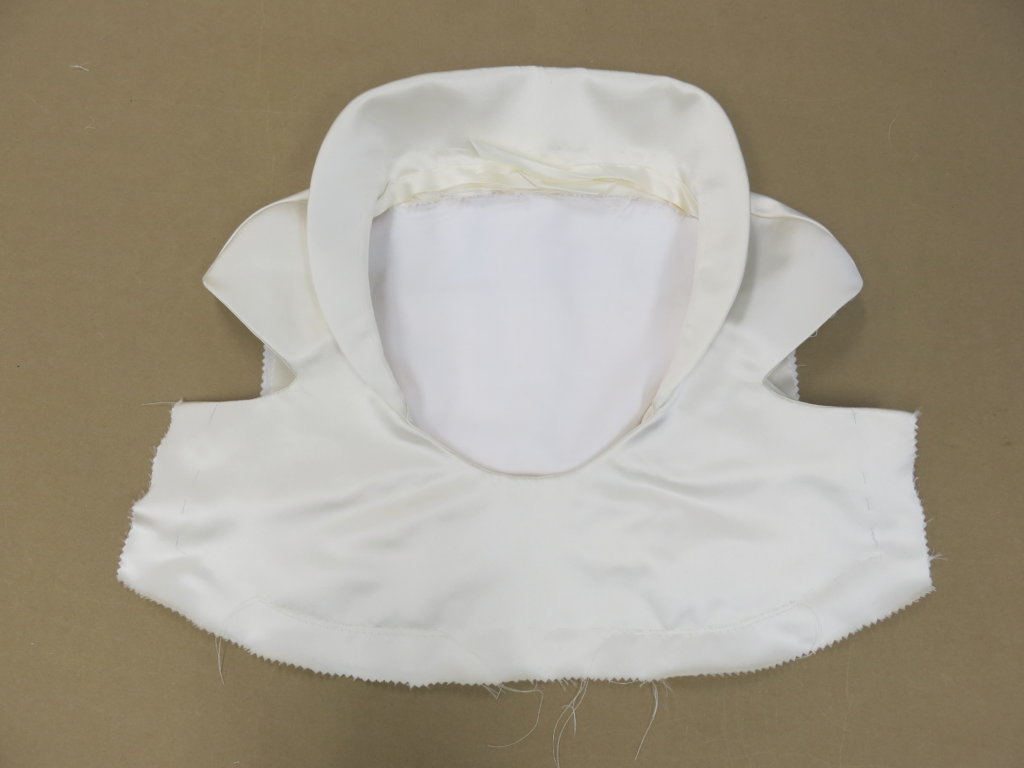
Then the layers were hand stitched together. My handsome husband even got in on the hand stitching!
Once the layers were joined with hand stitching, I took it to the iron to take care of any minor adjustments. It was looking so good!!!

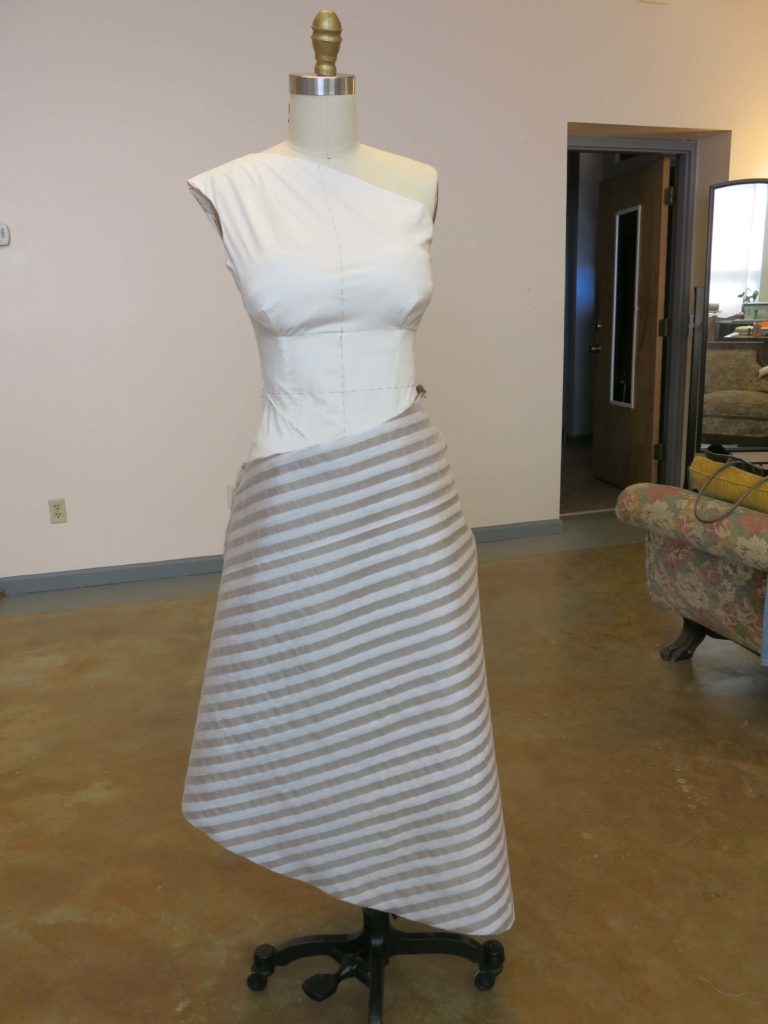
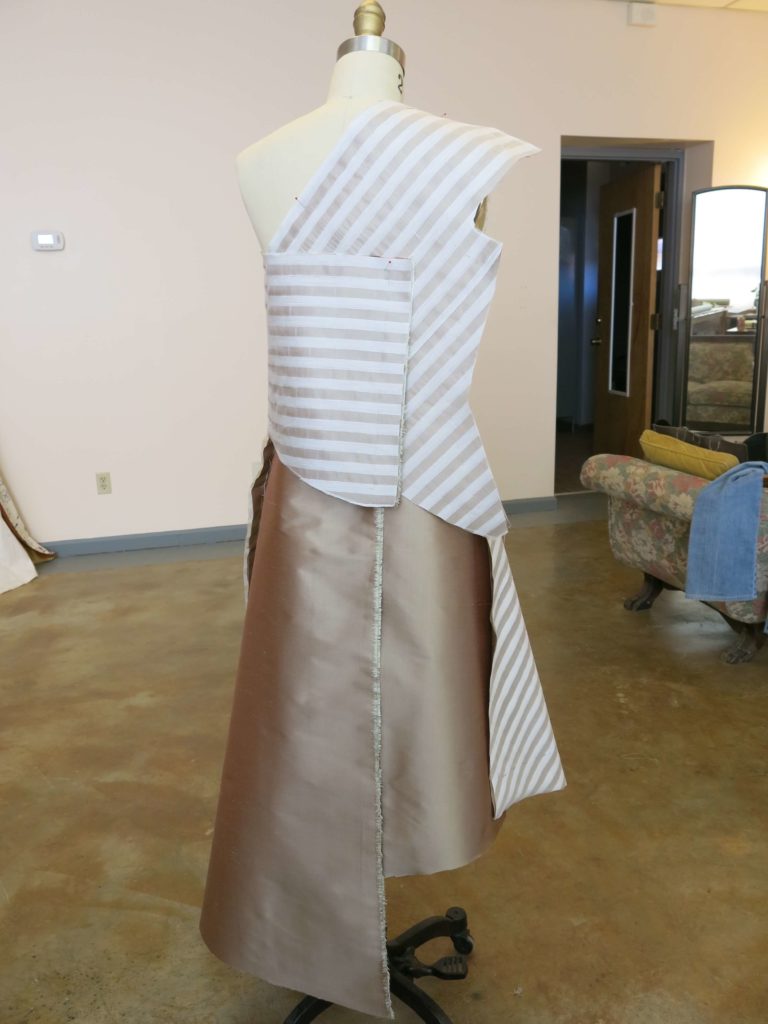
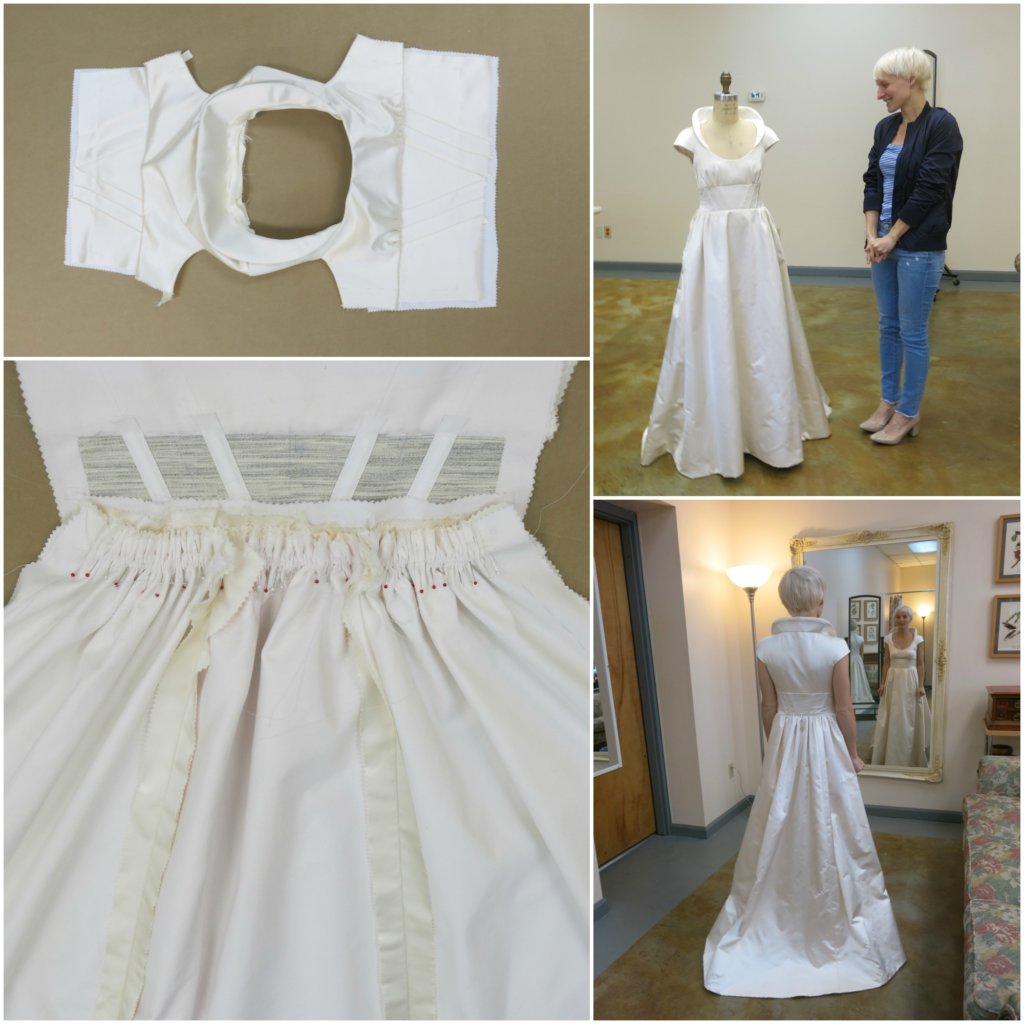
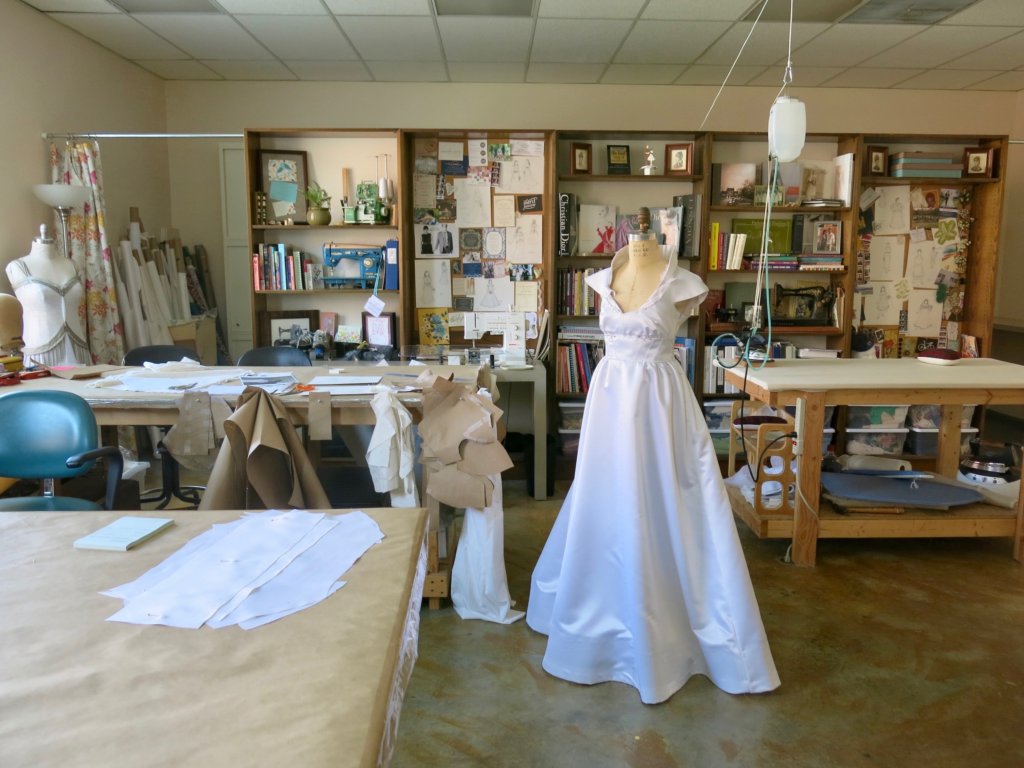
As each piece was underlined, I pinned it in place on top of Sally’s dress form (which was still wearing the mockup dress). This allowed me to make sure the two layers would continue to act as one while being worn. It also gave me a place to put everything while the cutting table was in use.
The process continued with each new piece of Sally’s dress…
…making sure to keep the direction of the stripes and how they related to the previously cut pieces in mind.
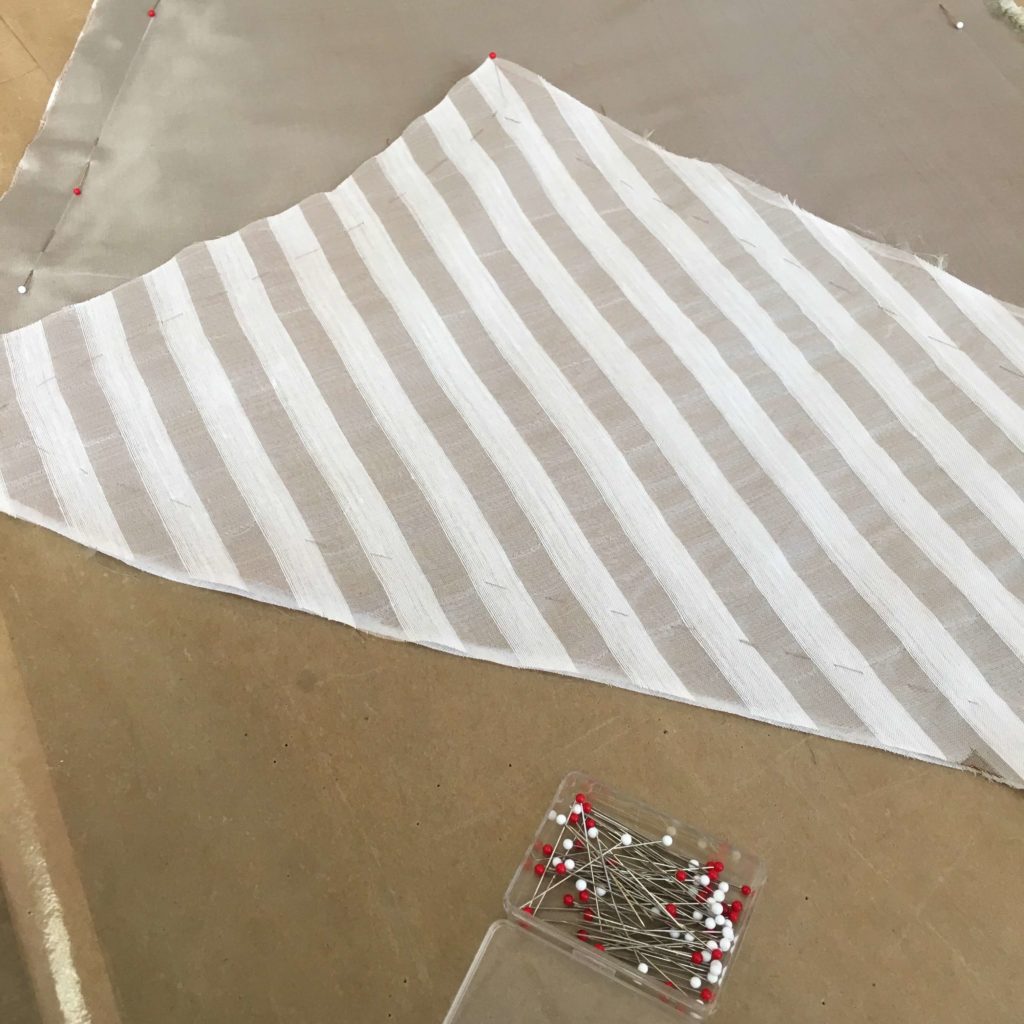
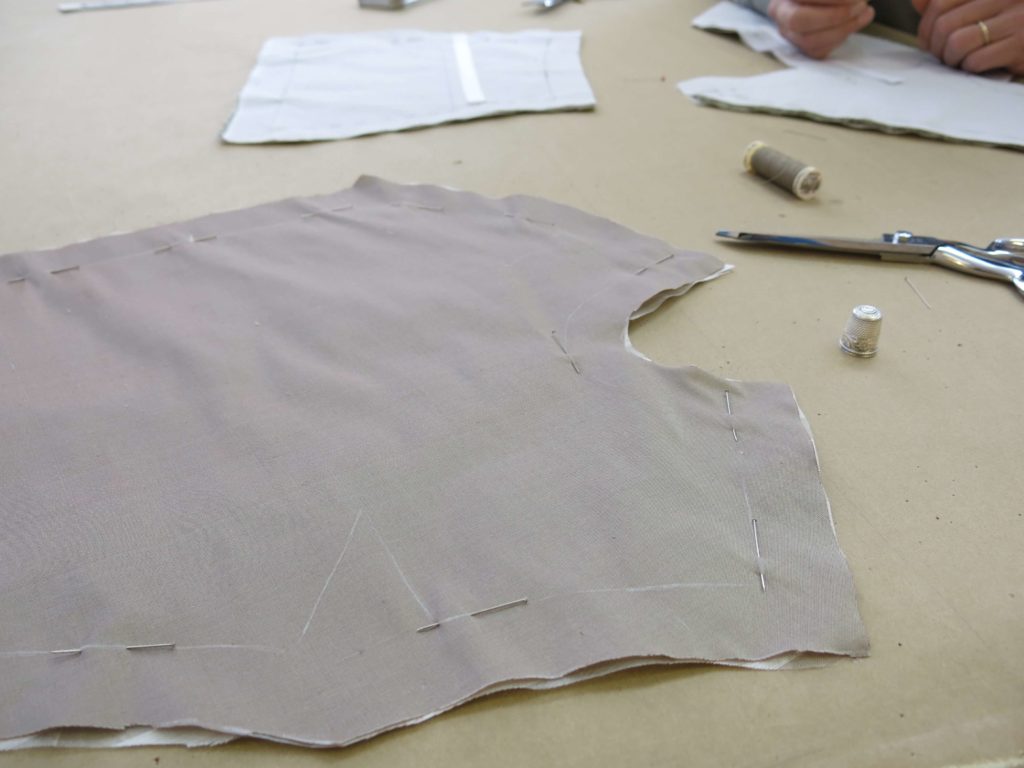
On areas where the stripes needed to match, I had to get creative. For example, the front skirt panel that I underlined first would need its side seam stripes to match up with the two back skirt panels.
To make a match, I laid my previously underlined piece onto the striped fabric carefully lining up the stripes that I could see if I pulled up the hem or seam allowance. Then I pinned the to-be-underlined solid piece right next to it, as it would be when sewn.
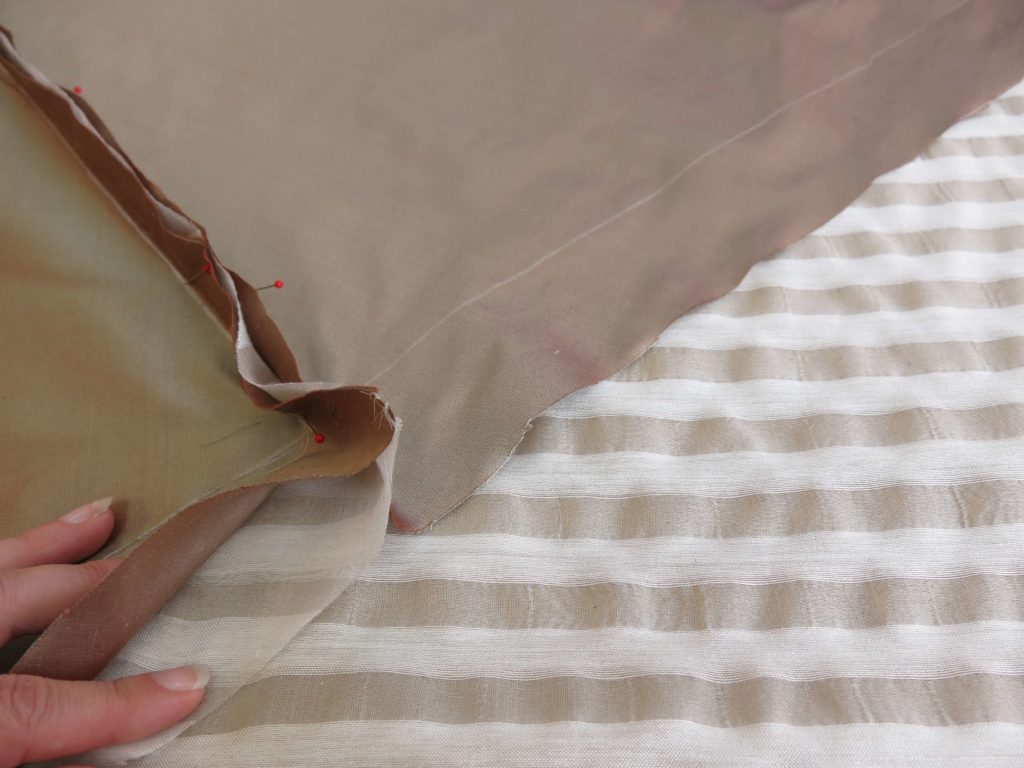
Then I was able to peel back and remove my already-underlined piece in order to cut the stripes with a perfect match!
In a fitted striped garment, it is usually impossible to have everything match everywhere, so I had to make decisions as to where matching was most important (the skirt and under the bust) and let other areas (under the arms) fall where they will.
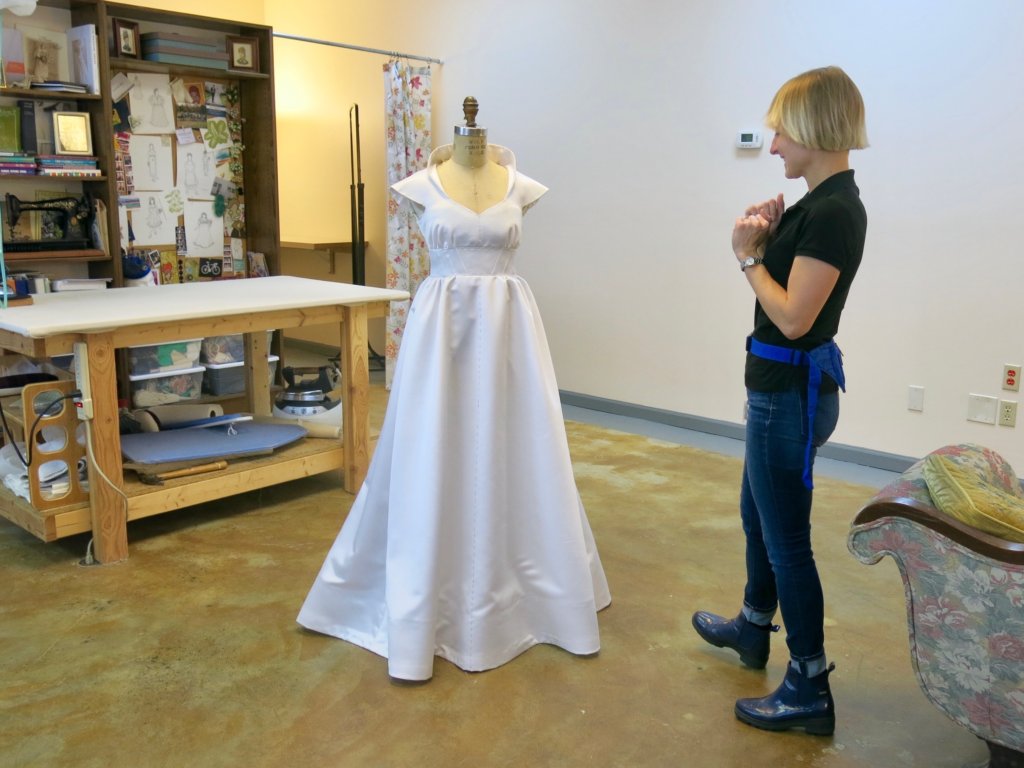
Piece by piece, all the fabric was prepped and pinned loosely on the Size-Sally form!
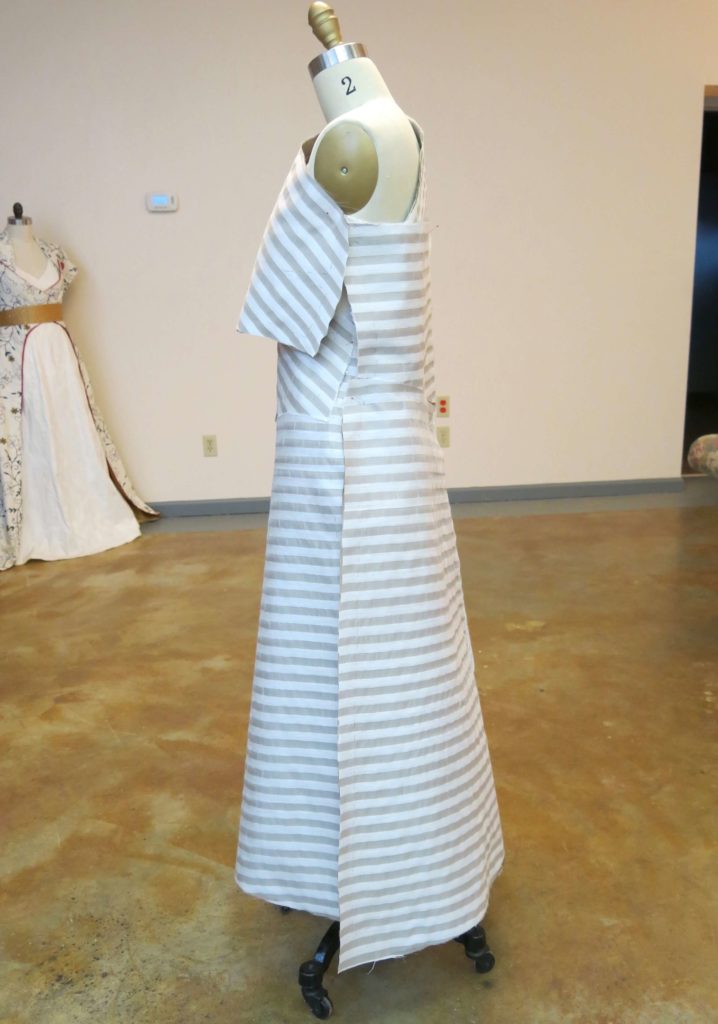
With a little extra planning, I was feeling good about the stripe matching/underlining mashup. With a little imagination, it was starting to look like a dress!
Super exciting!
NEXT POST: Seams and Stuff!


2 Responses
This looks amazing!! The Fabric is gorgeous and all the love and attention you put into this dress really shines through. Sally must be a very lucky bride ????
Thanks Eva!