

 After the linings and closures were complete, there were still a few finishing touches to add before Sally’s custom wedding dress would be ready for delivery day.
The waist stay
The first was to add a waist stay. A waist stay is essentially a little belt hidden inside the dress so that the dress’s waist stays anchored on the wearer’s waist. This has heaps of benefits!
The #1 benefit is that it allows the body to move without the entire dress coming with it. Whether you are sitting, standing, raising your arms, jumping, dancing it out, or doing cartwheels, your dress will comfortably stay in place with no tugging, hoisting, or flashing! (Well, maybe a cheek peek with those cartwheels…)
A waist stay can also reduce strain on the dress’s closures and give you a hand while getting dressed (which I’ll show in the next post!)
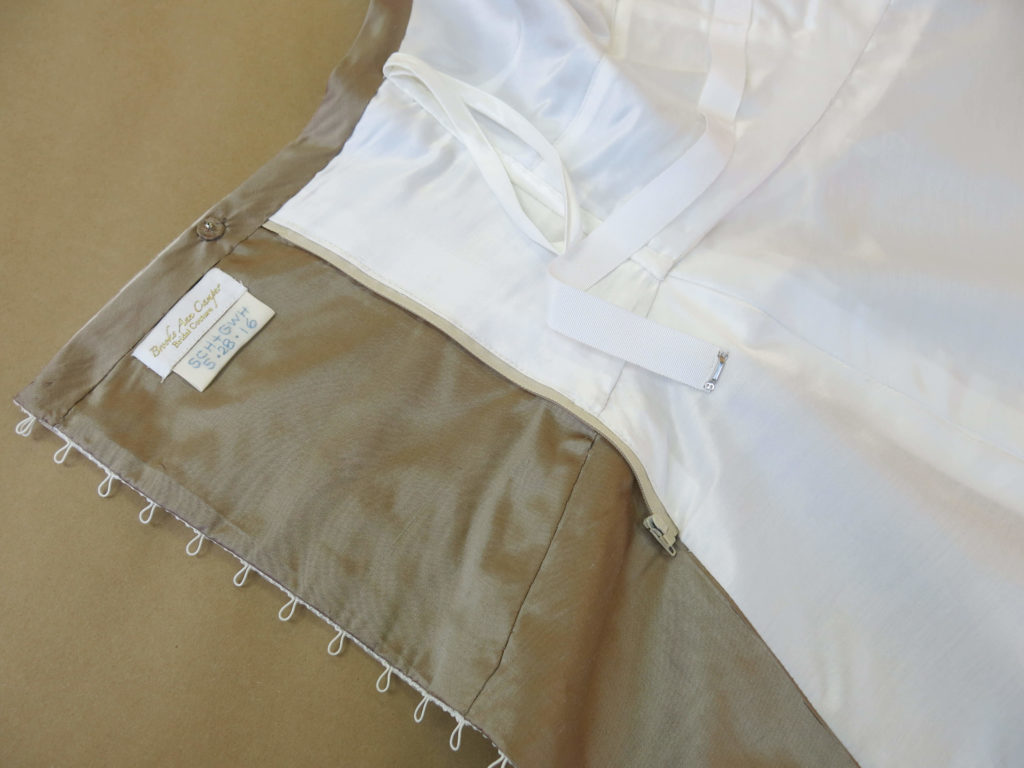
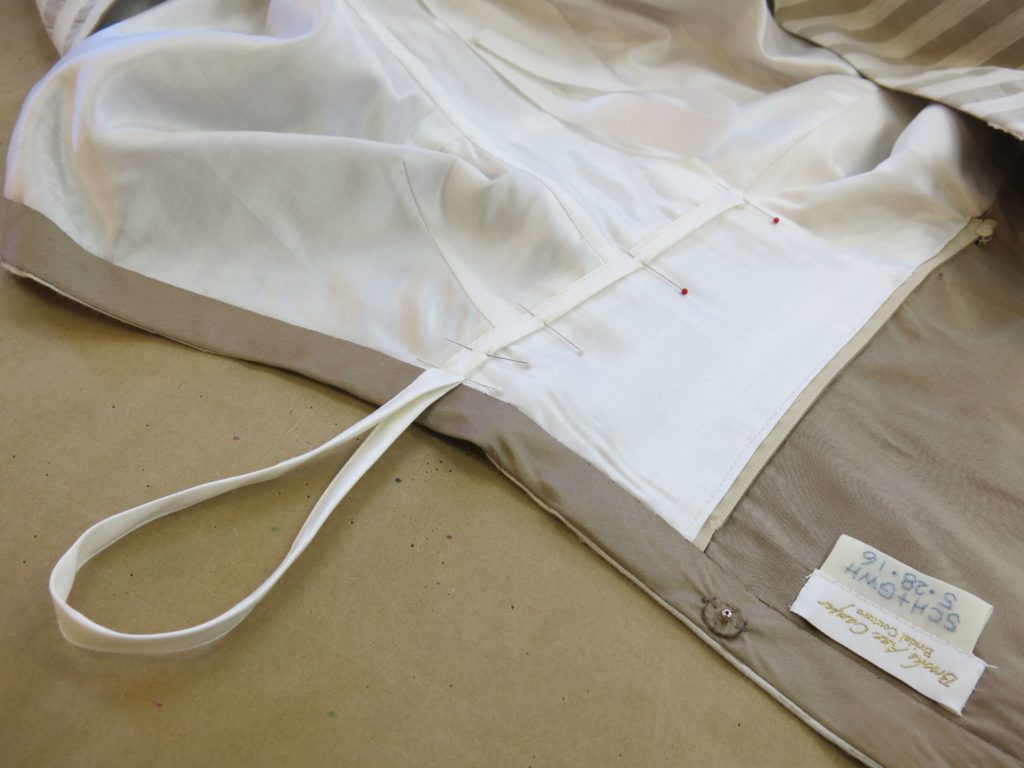
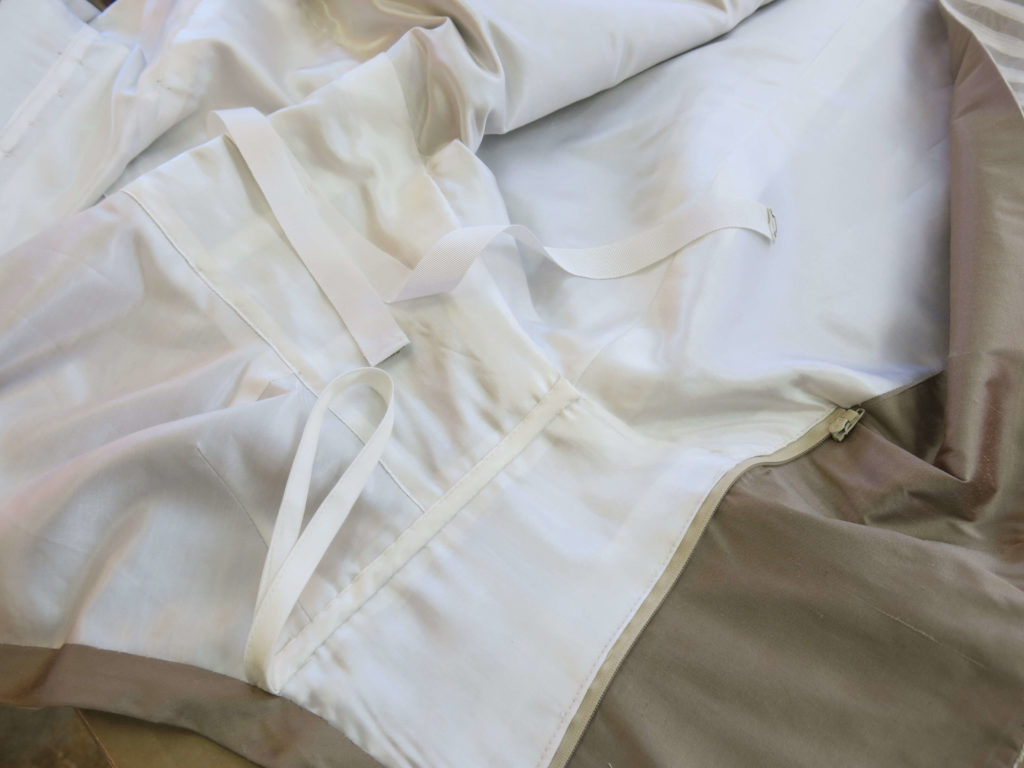
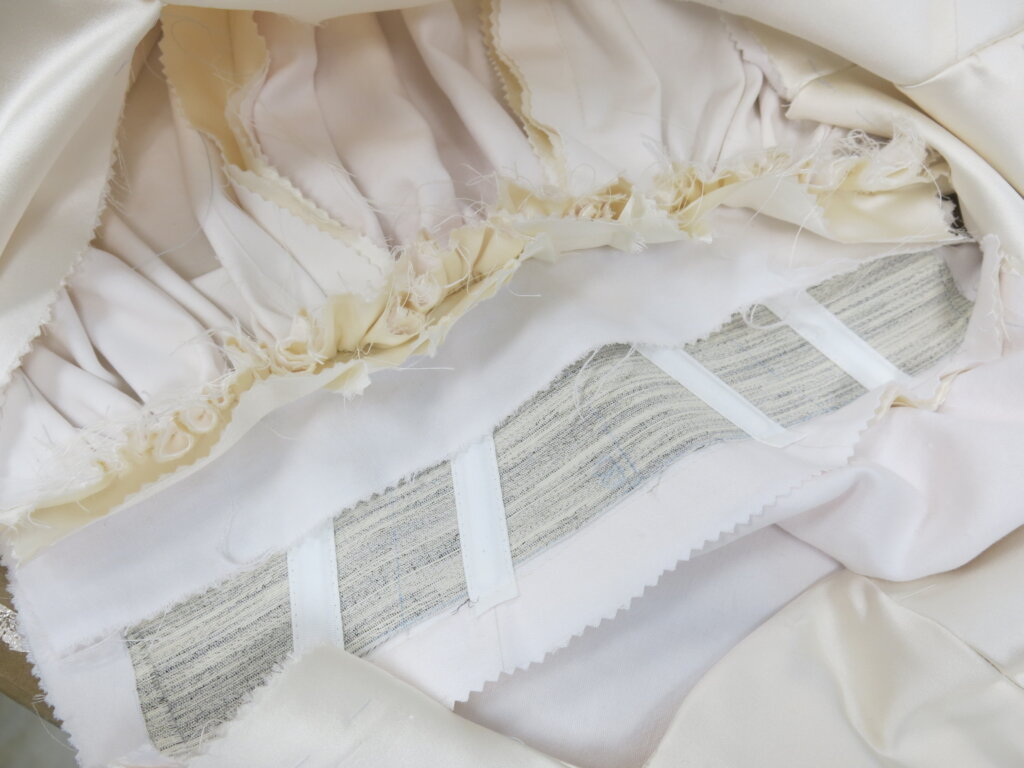
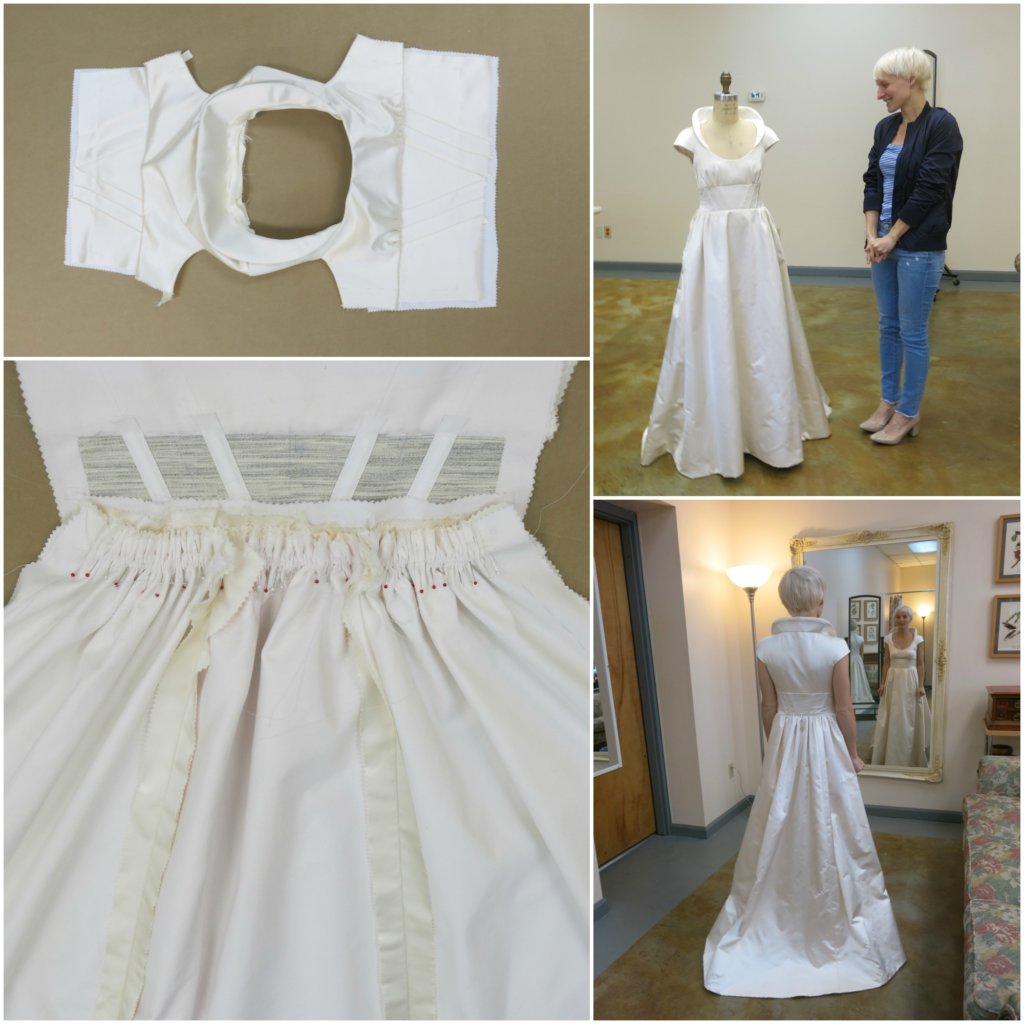
I made Sally’s waist stay out of unbound grosgrain, which is often called petersham ribbon. I love this stuff! Its soft scalloped edge allows it to be shaped (if needed) and also makes it super-comfy to wear.
I created the stay to match the circumference of the Sally’s waist, which is slightly smaller than the waistline of her dress. This allows the ribbon to stay snug against her body as the dress floats comfortably in place around it.
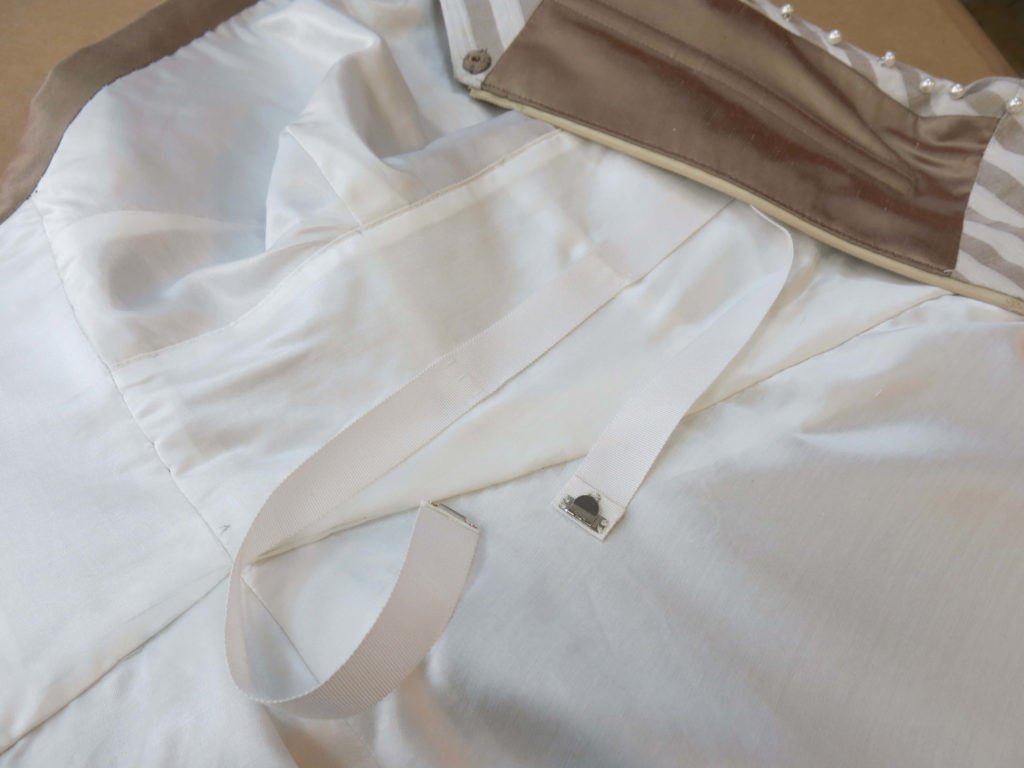
I added a flat hook & bar closure before pinning the ribbon along the waistline at each bone.
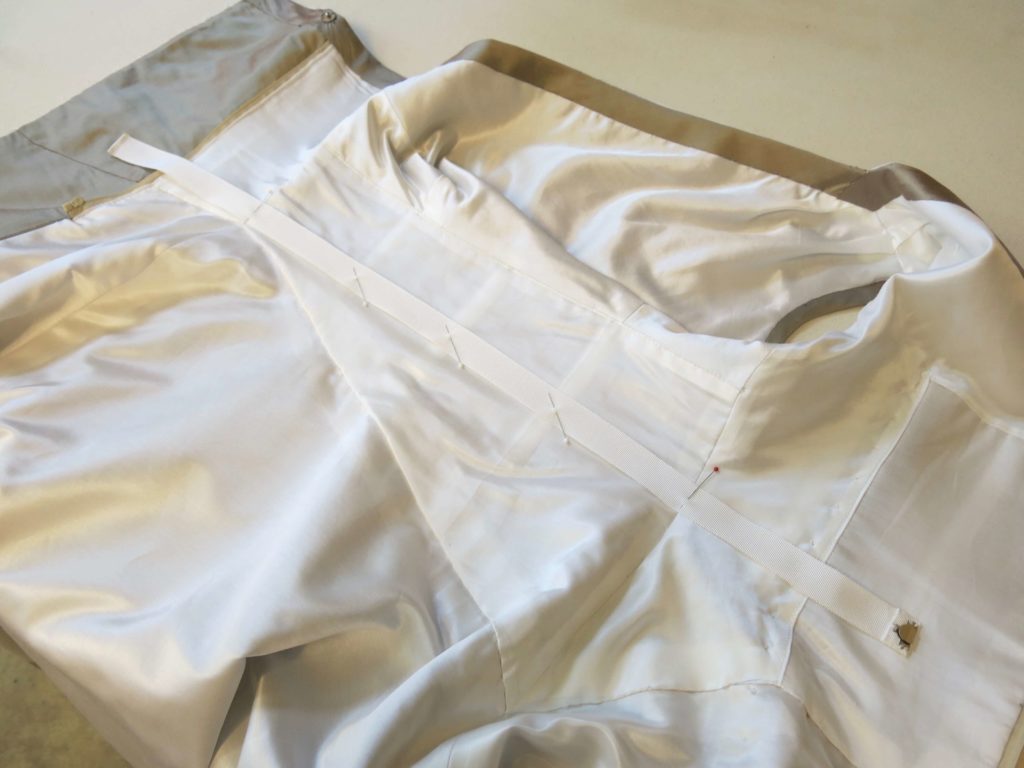
I hand stitched the stay through the lining and bone casings of the three front bones only, leaving the ribbon free in the back. This would accommodate the dress’s back wrap feature while still anchoring everything comfortably on Sally’s body.
A waist stay is an easy way to upgrade any dress, handmade or manufactured. Have you ever worn a dress with a waist stay?
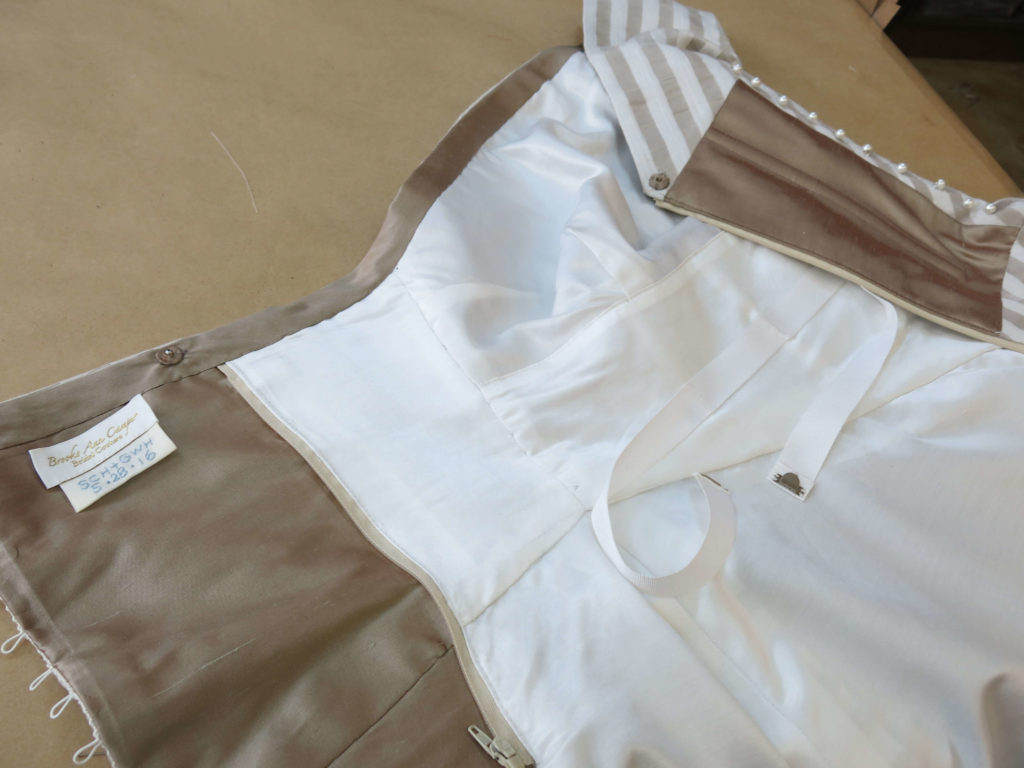
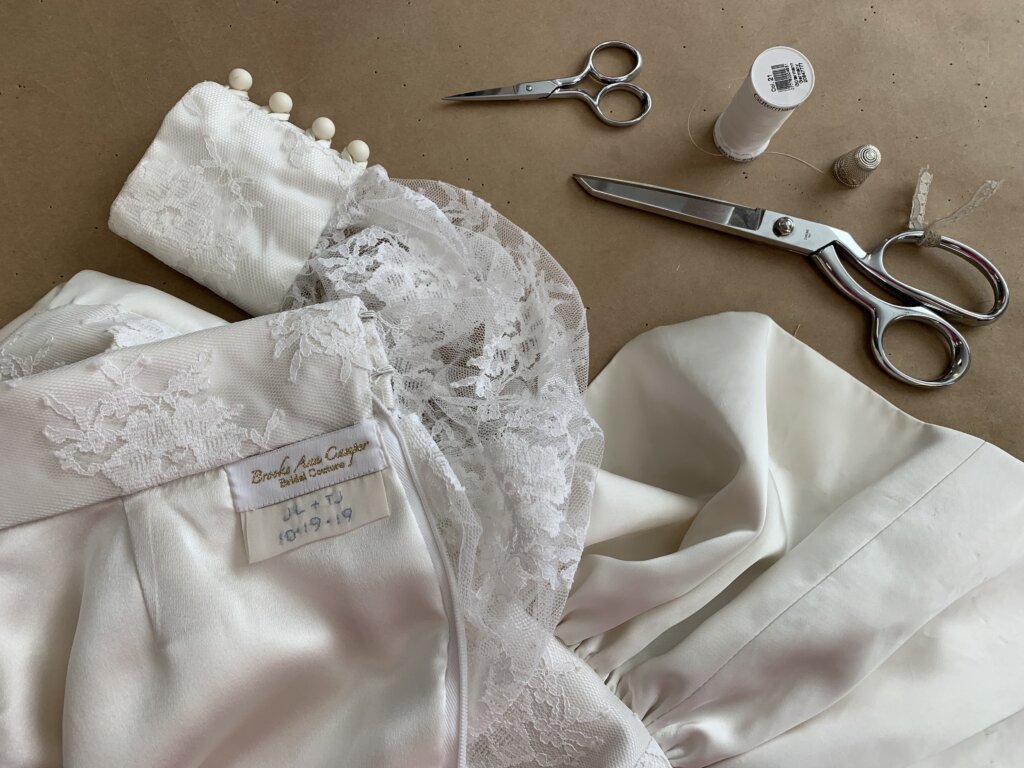
The label
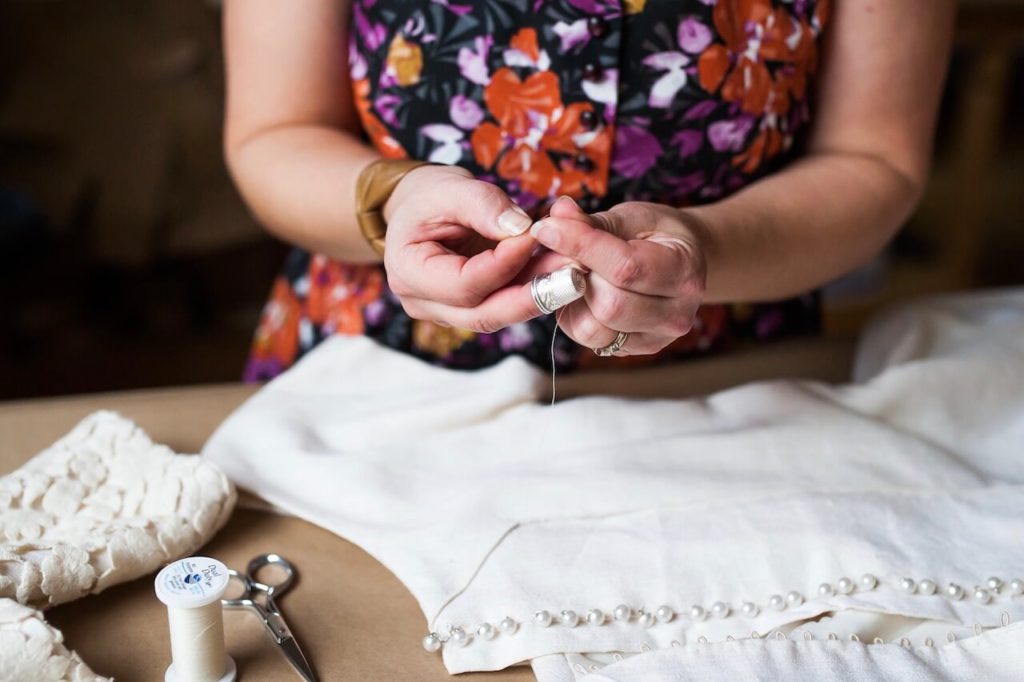
The next finishing touch was adding the label. I love hand embroidering the initials of the couple and their wedding date inside each custom dress. I chose blue thread as a “something blue”.
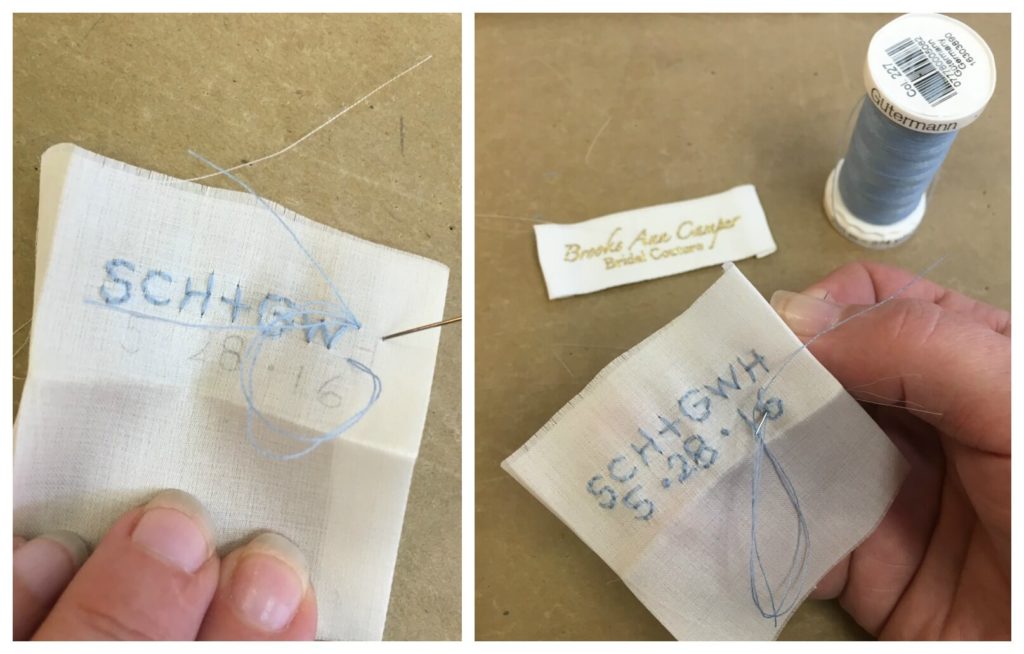
I also added a covered snap to the inside of the dress at the top of the closure, which you can see here as the label is about to be stitched in place:
Once the label was in, I thought I was finally finished: The end. High-five. Done.
Then I realized that there was still something missing…
I wouldn’t be able to call the dress complete without it!
Do you know what is missing from the photo above?
Here’s a hint…
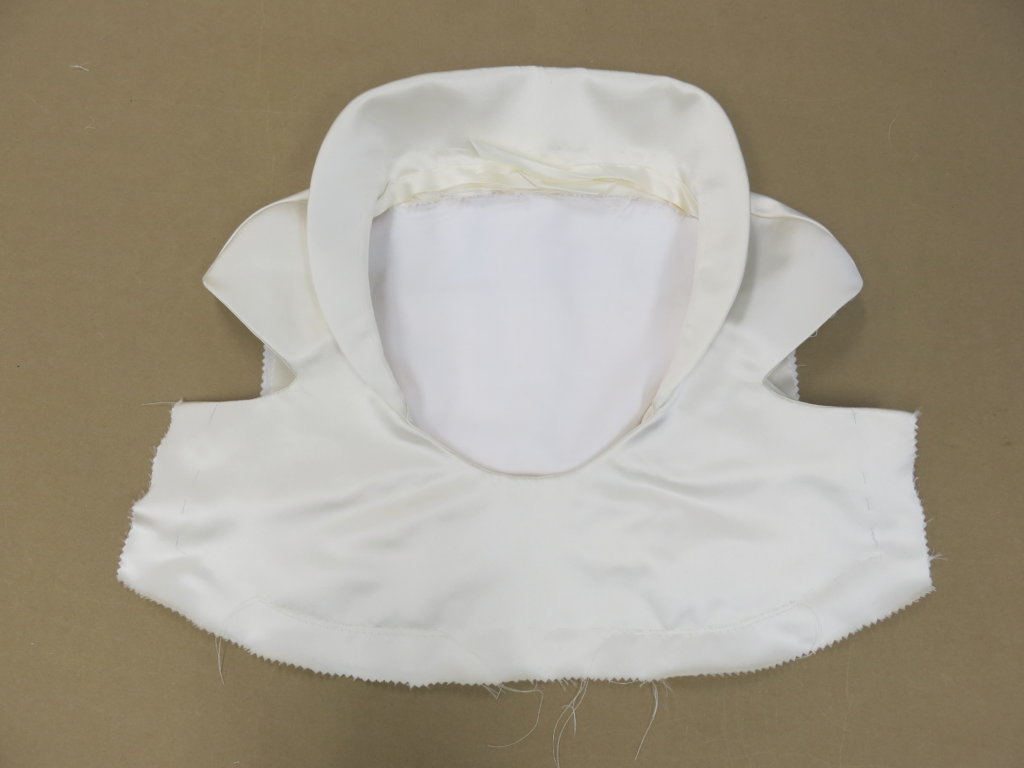
This one-shoulder dress still needed…
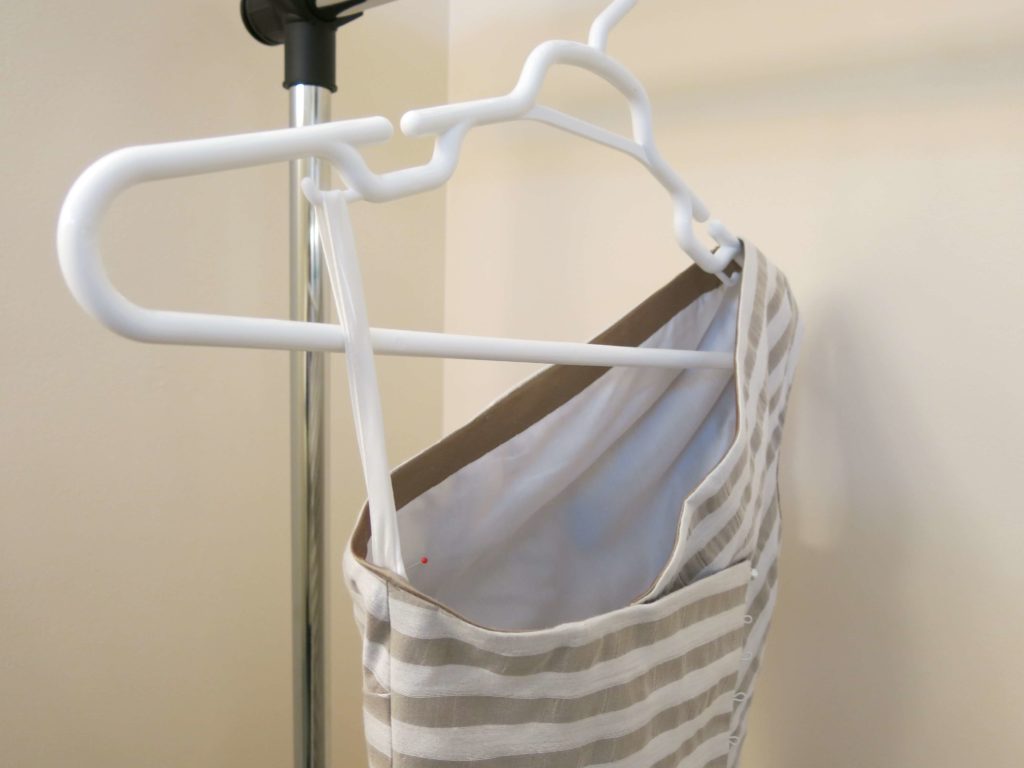
The Hanger Loop
As I was cleaning up, I realized that there was no way to hang this dress. I could hear the voice of my graduate school professor Judy Adamson saying “It’s not done until you can hang it!”
Dang it! Back to work…
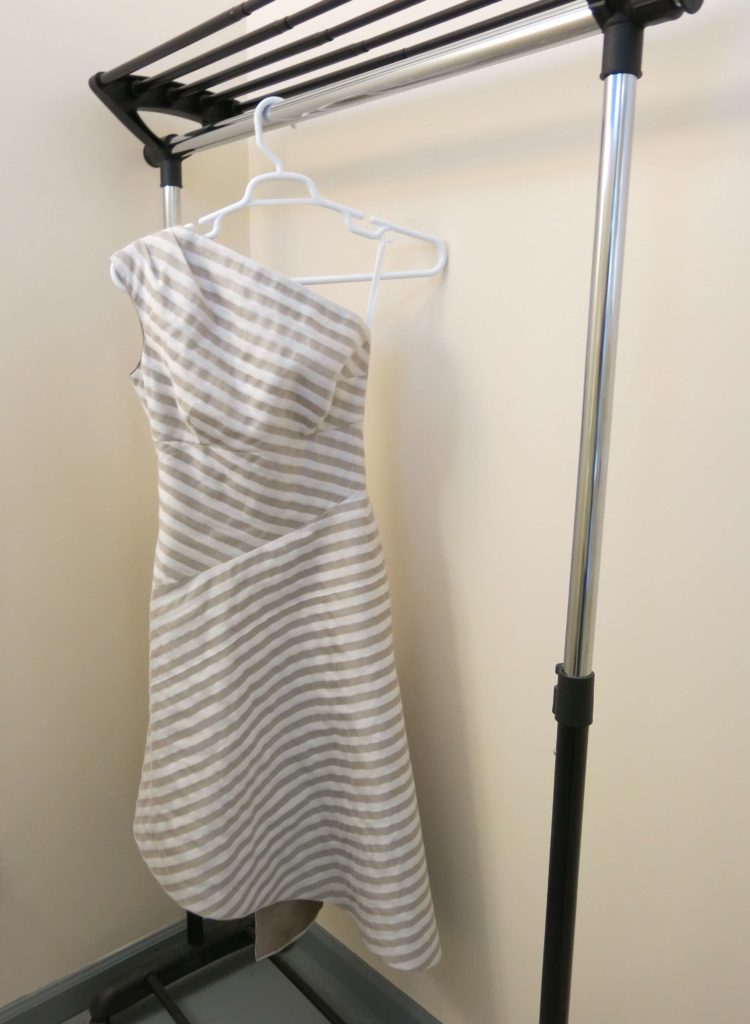
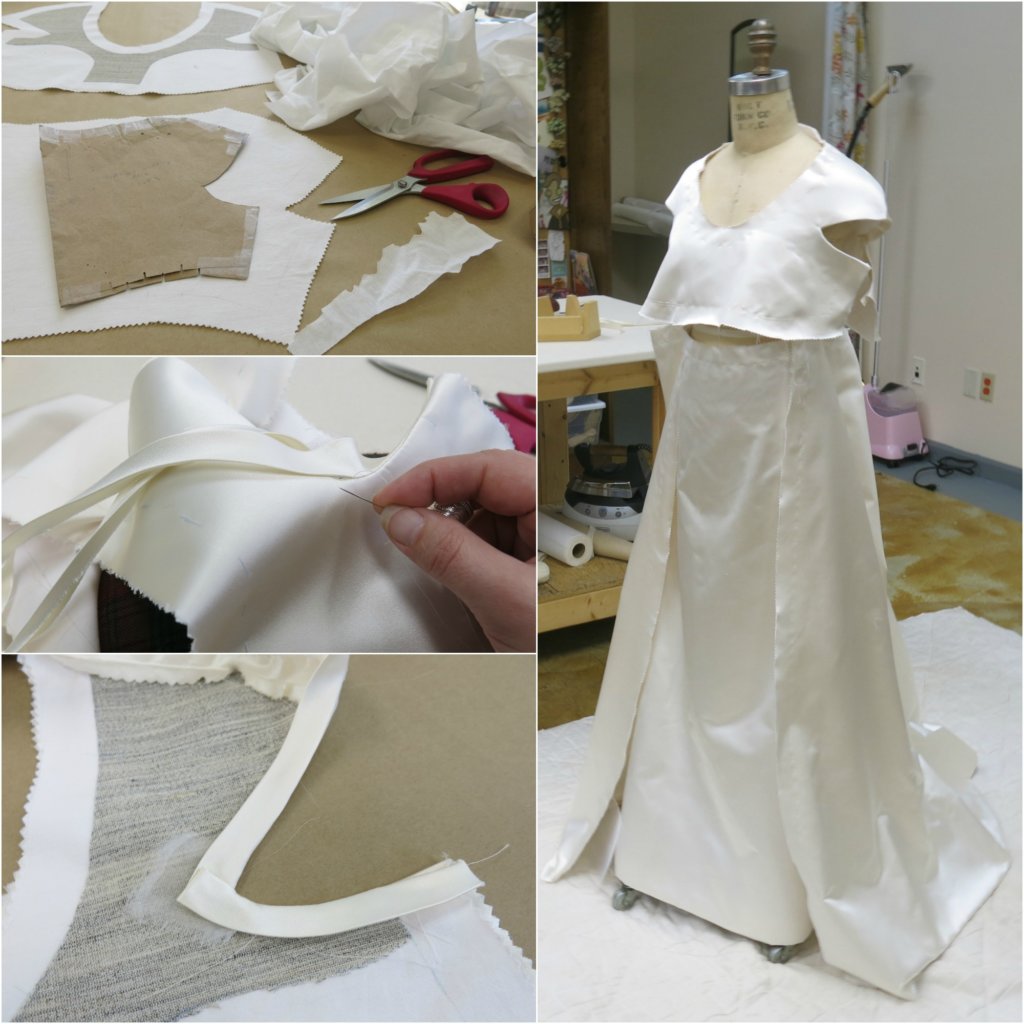
Using the lining fabric, I stitched up a long strip of custom hanger loop tape. I pinned it to the dress as it was hanging on a hanger to decide the custom loop’s length and placement.
Then I made sure to anchor the tape all the way down to the waist. This would better distribute the weight of the dress and keep it from becoming too stressed at one point as it is hanging.
I hand stitched the hanger loop in place in such a way that it naturally wants to lay toward the inside of the dress when it’s not hanging. This would make the tape think twice about peeking out while Sally is wearing the dress!
Aaaaaaand….
….once the hanger loop was in place….
 THE DRESS WAS DONE! Whoo hoo! Cartwheels!!!
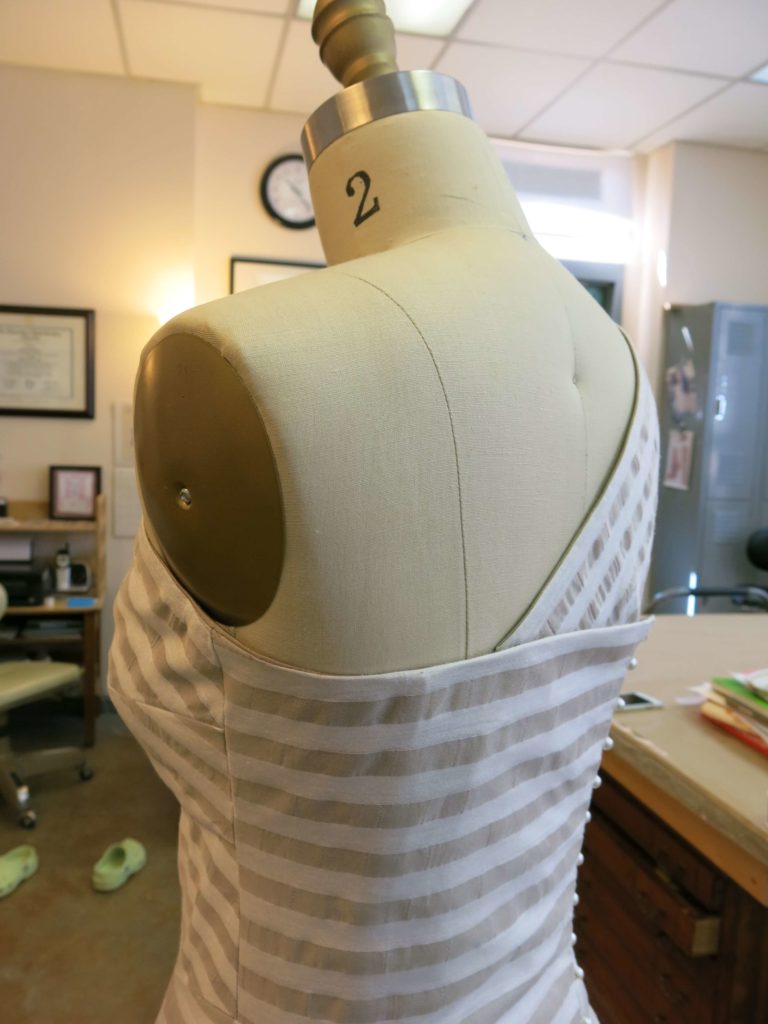
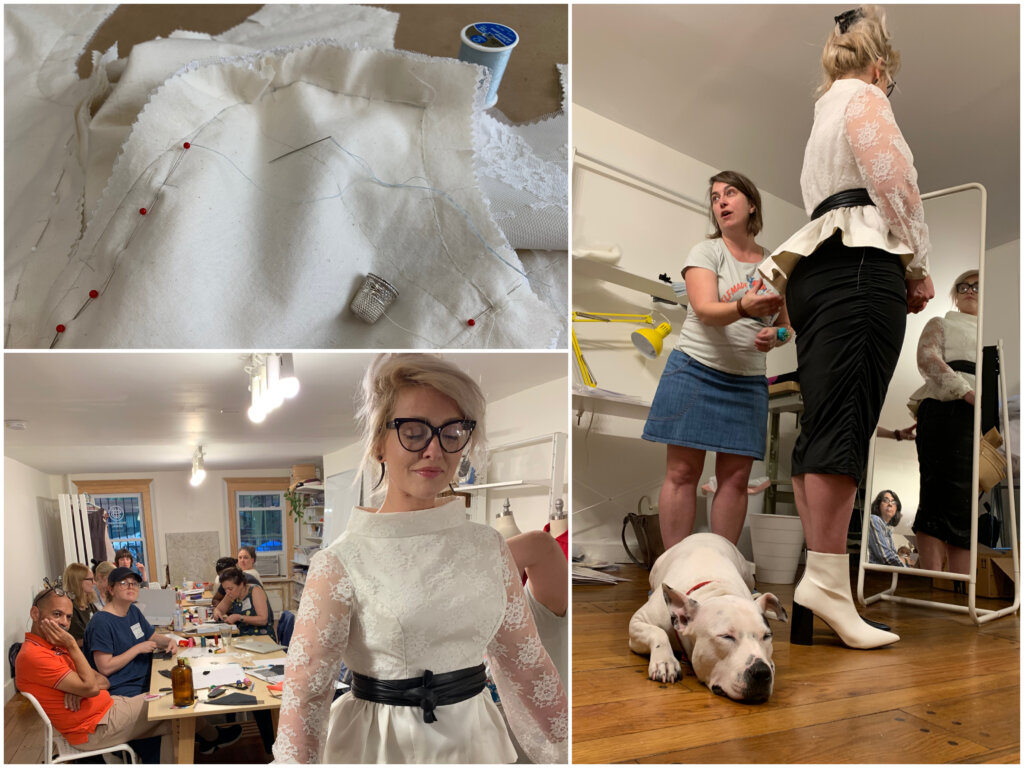
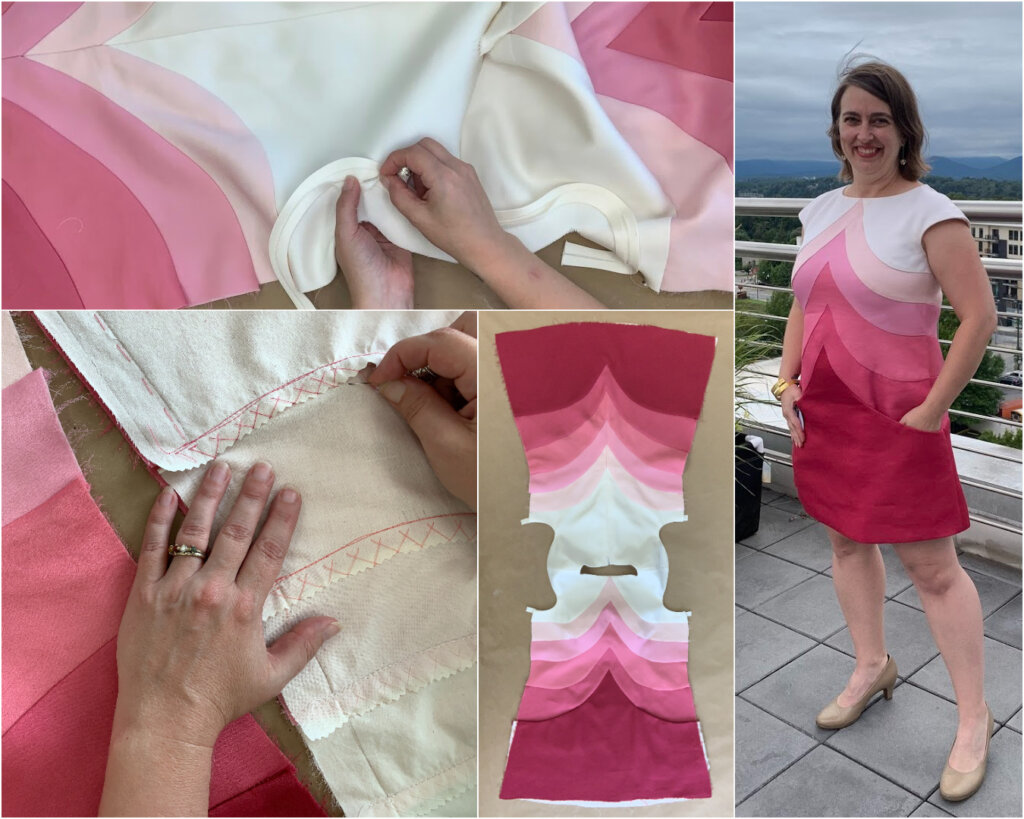
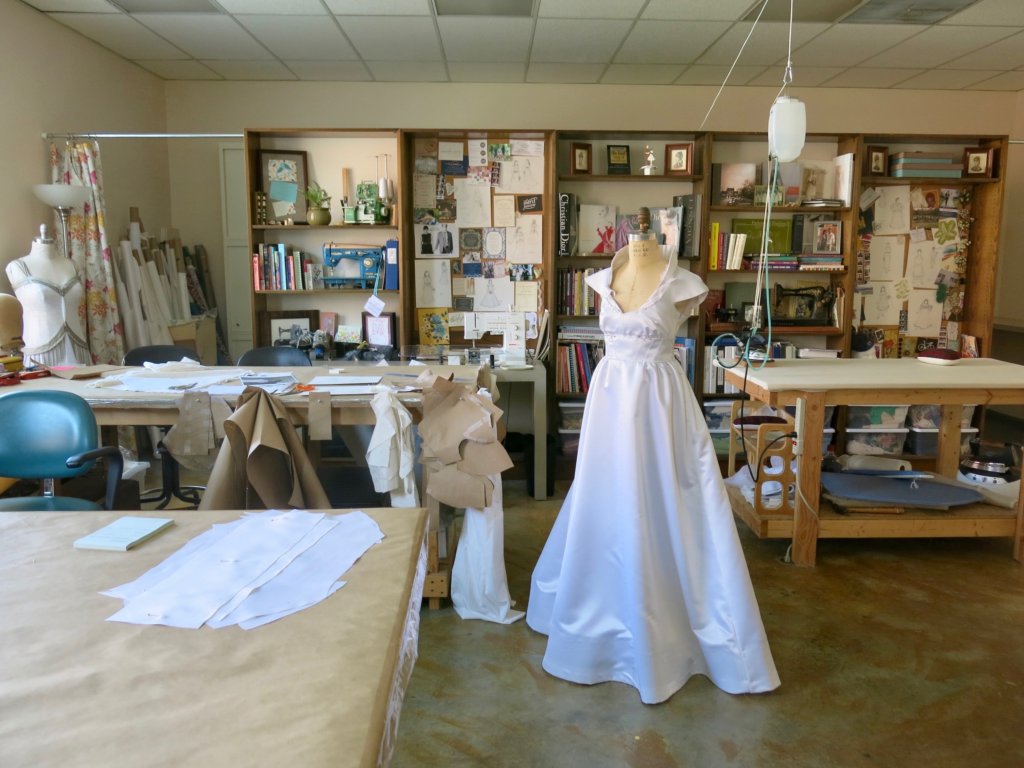
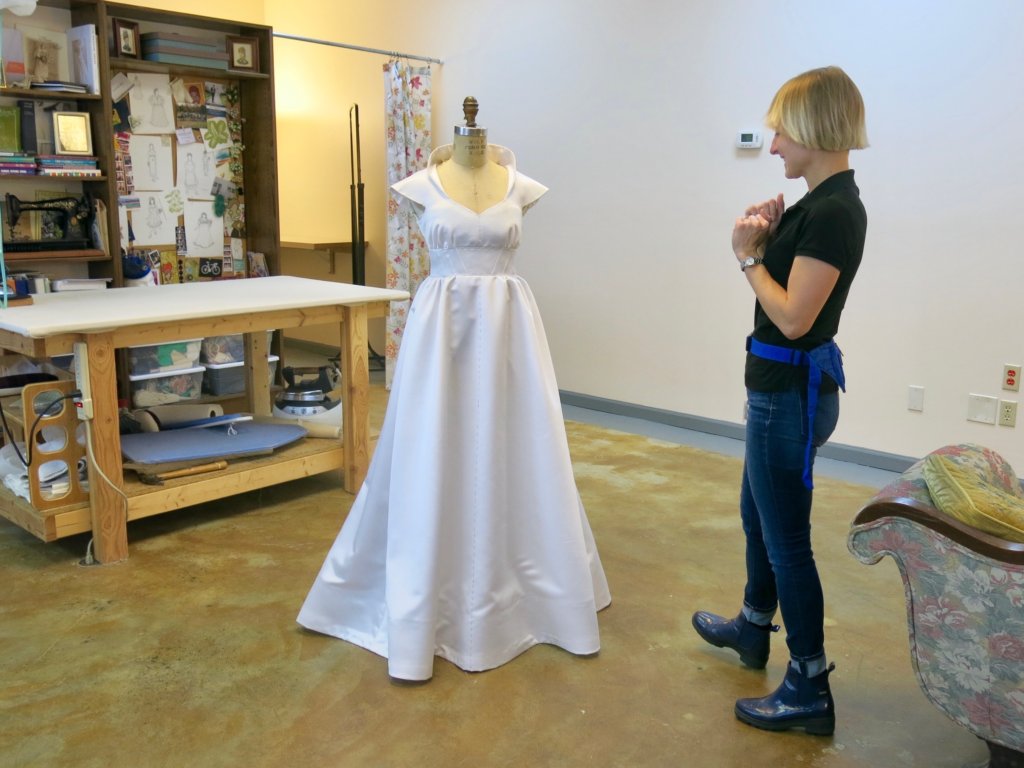
NEXT POST: I’ll take you on a little tour of the inside and outside of Sally’s finished dress!!! Here’s a Tour Teaser:


10 Responses
I’ve not put a waist stay in a dress, but I did put one in the waistband of a very lightweight wool skirt. The hooks/eyes and snap are all anchored to the ribbon – the fabric floats over the top.
Sounds cool!
Absolutely Exquisite!
Thanks Rosalyn!
Beautifully finished!
Thanks Tracey!
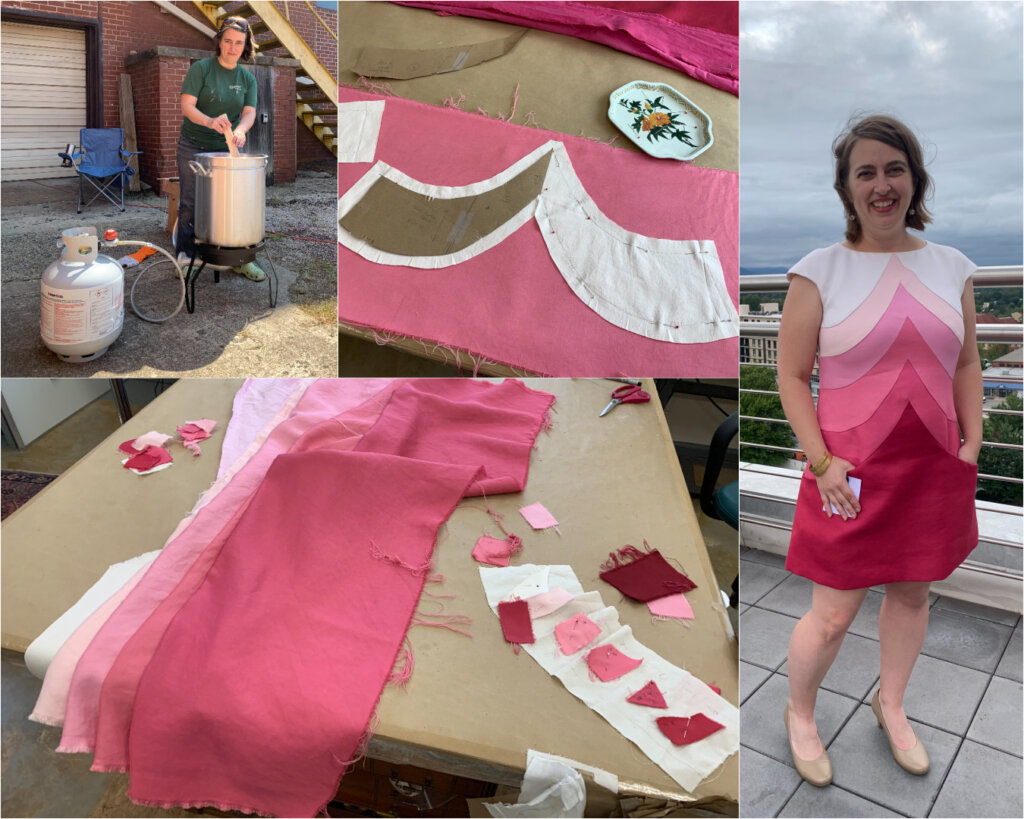
You are magic, in the best way! This is awesome! I LOVE SEEING THE SHAPE OF THE WHOLE DRESS LAID OUT FLAT!
Thanks Ginger! Next post I’ll take you on a tour of the dress. Wrap dresses are fun because they are really easy to show off the inside and the outside of the dress!
I love the idea of a waist stay, so if I am using it on a heavy knit for a wrap dress, do I only attach it to the side seams and leave the fronts free?
Hi Sharon! I don’t often (ever?) work with knit fabrics, so I don’t have an experience to draw from in order to help answer your question. Give your ideas a try and see what happens! Maybe your ‘waist stay’ could be made of elastic?