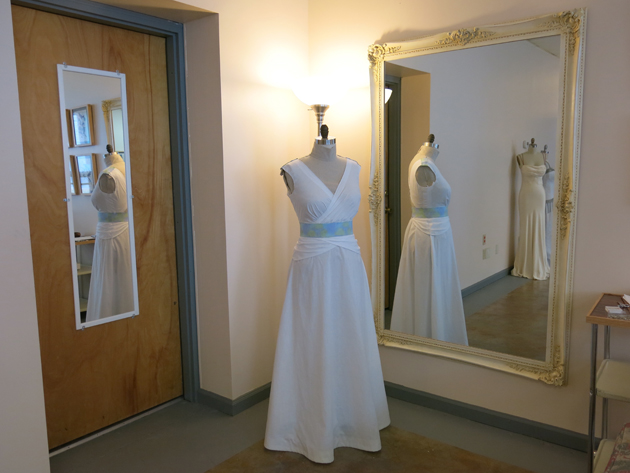
Though I sketched Erin’s custom wedding dress using her unique silhouette and I used an extensive set of her measurements to create a Size-Erin dressform when drafting her patterns, there’s still plenty of work to be done before moving into the real fabric when making something one-of-a-kind.
I created a mockup dress out of inexpensive fabrics for Erin to try on. In her mockup fitting, we’d cut pin and mark all over this test dress to refine the fit and design on her body. I believe this is the most important phase of the custom dressmaking process. This is when you have complete freedom to make changes. These throw-away dresses are not precious like finished-to-be-altered dresses from a store. We can make tiny tweaks or major revisions without any worries. When I am finally ready to cut into the real fabric, I am confident that all the major kinks have been worked out, leading to excellent fit and design without alterations.
Erin’s First Mockup Fitting
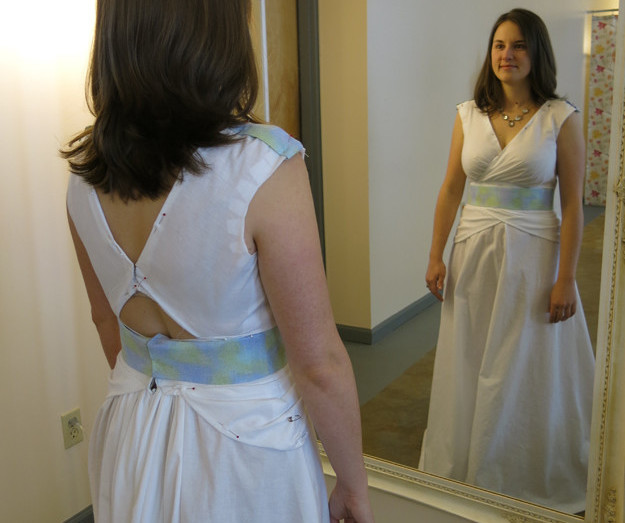
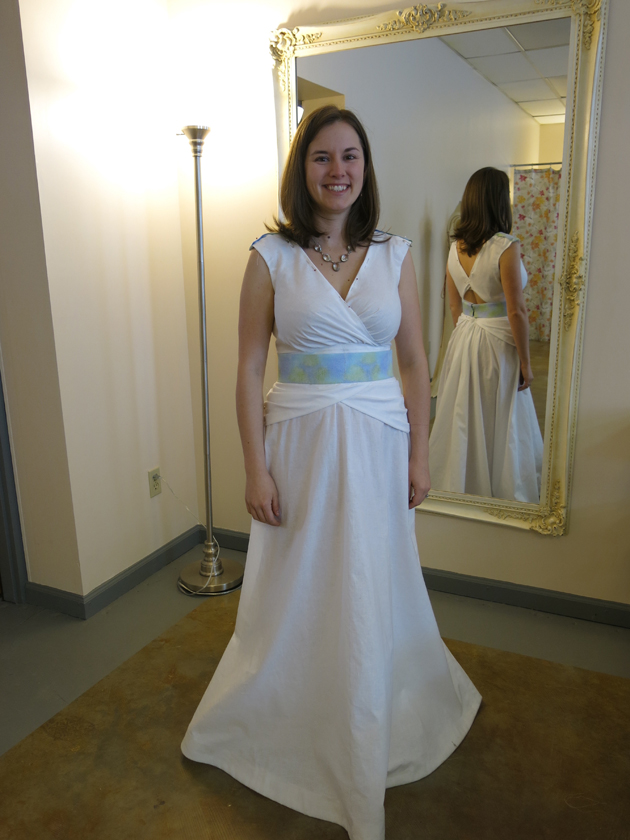
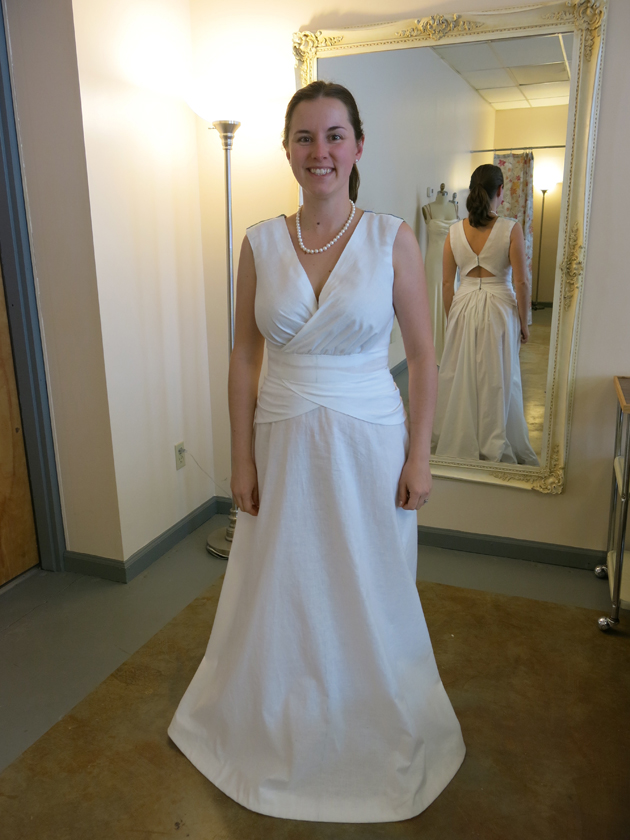
Here are some photos from Erin’s first mockup fitting! This is the first time she was able to try on a version of her soon-to-be custom wedding dress.
I neglected to take any photos before I started making changes. I always recommend taking photos of the mockup on the body before and after making changes to help with pattern corrections later. That said, I don’t always follow my own advice! My hands and pins and pencils and scissors get excited and often go straight for the fabric…
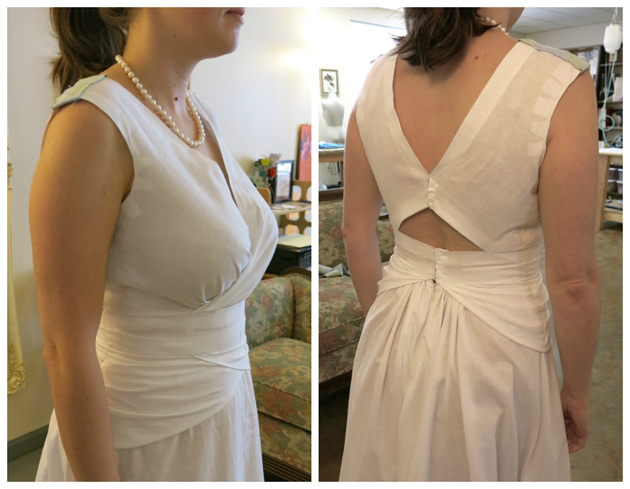
All of the photos from this fitting were taken after I had already pinned and marked corrections…
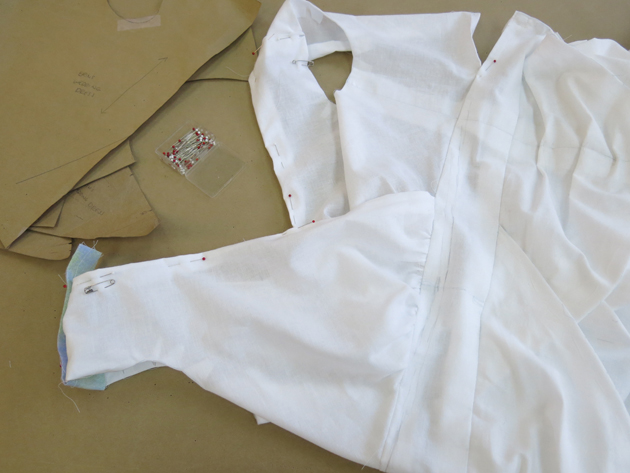
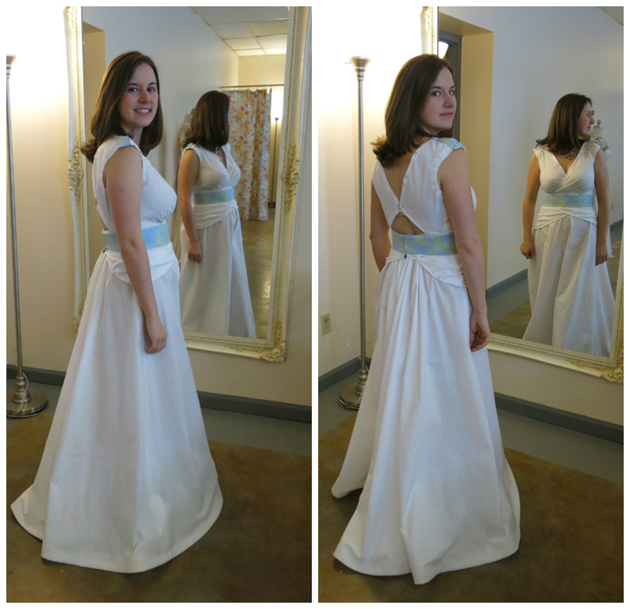 The adjustments I made included: Taking in at the shoulders, adjusting the fit of the neckline, reshaping the hip decorations (you can see where I’ve adjusted one side, but not the other), and reshaping the back of the bodice so that it covered her bra strap. We also decided to make the belt design a little slimmer and, when I correct the patterns, I will adjust the bodice gathers to meet the top of the belt.
Pattern Corrections
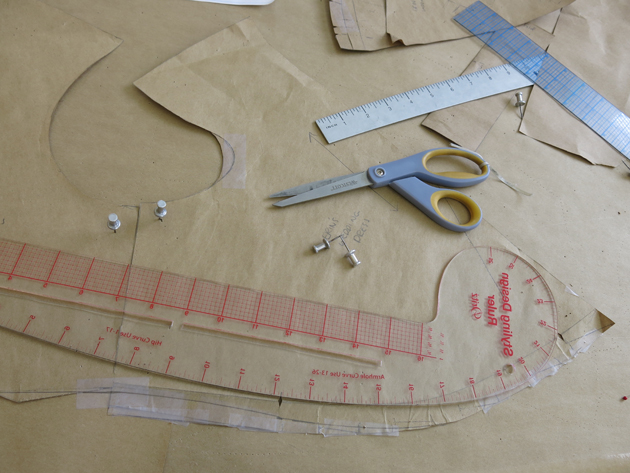
After the fitting, I took the marked-on pinned-up mockup dress back to my table. Using the information gathered in the fitting, I reshaped the patterns to reflect the changes we made.
I was able to use my newly corrected patterns to create a new mockup dress! Some of the pieces from the original dress were reused and others were recut.
Erin’s Second Mockup Fitting
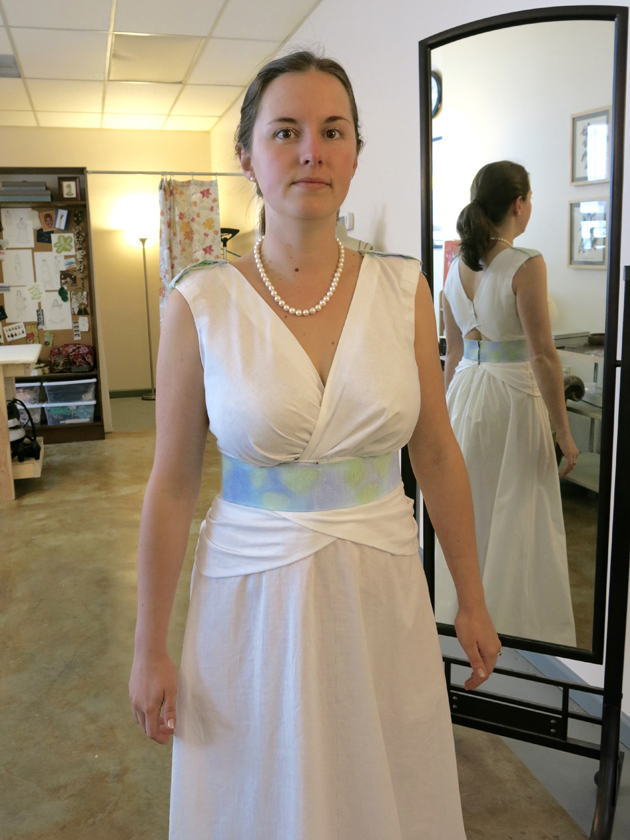
Once the second test dress was ready, I invited Erin back to my studio for her second mockup fitting. Here are the results before making any changes (which I remembered to photograph this time around…)
The front neckline still needed a little tweaking this round, but the back (and all the other changes we made) looked fantastic!
I adjusted Erin’s neckline…
…and felt very confident that I was finally ready to move into the real fabric!
With a little imagination, we could both see how this dress was going to be absolutely gorgeous!
NEXT POST: I start cutting the real fabrics while backing her white cotton seersucker with hot pink underlining!


