

 (Okay, so I’ve been away a bit while creating my newest eCourse but…)
After the final post in my blog series about creating Cameron’s gorgeous custom wedding overdress, I wanted to share the behind-the-seams process of the dress I wore to her reception. And with so many photos (and videos!), I hope the story kind of tells itself…
The Inspirations
I’m pretty firmly in the camp of “the dressmaker has no clothes” but, when I attend a wedding or reception of a bride where I made the wedding dress, I try to also make myself a dress. When introduced as the dressmaker, I am invariably asked “Did you make the dress you are wearing?”. I try my best to have the answer be “Yes!”
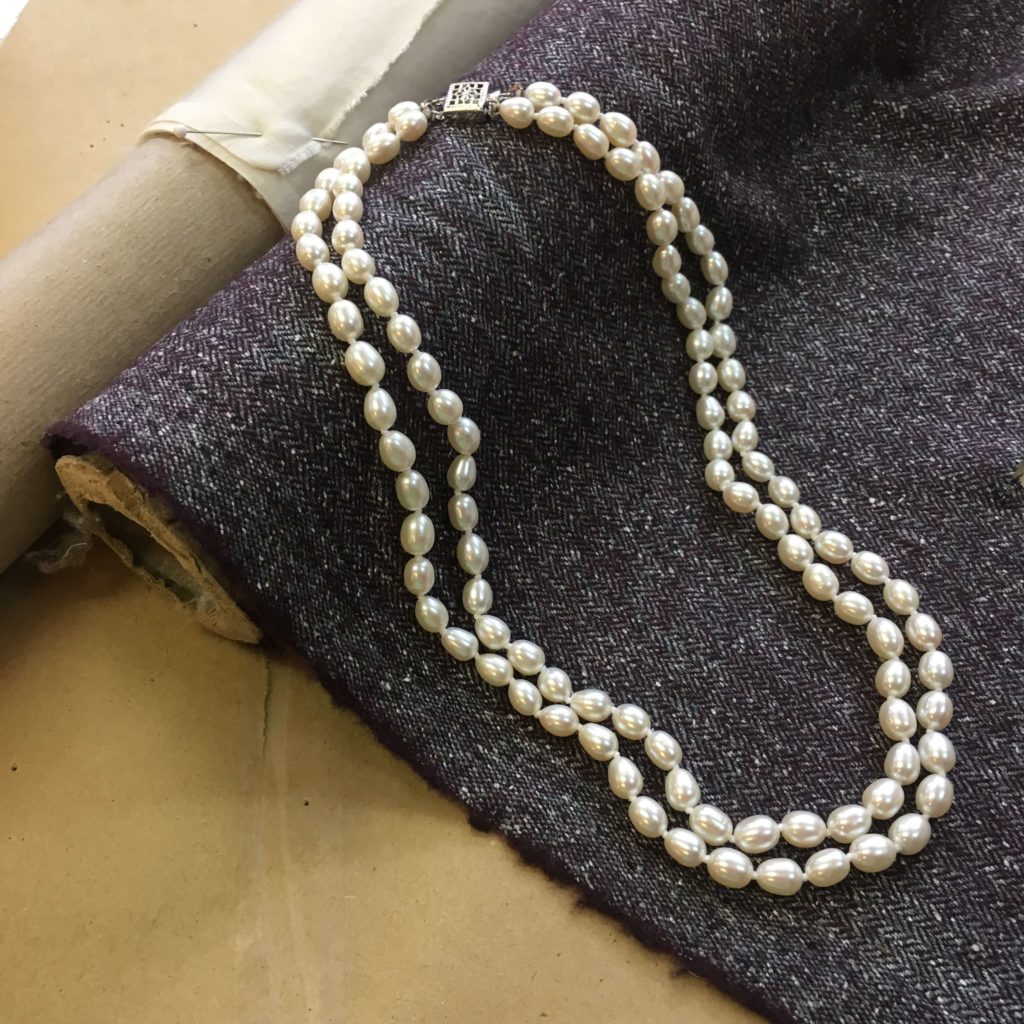
I love a 6-month project, but I didn’t have a lot of time between finishing Cameron’s dress and the party. Instead of shopping for fabric, I shopped my own fabric stash for anything that had enough yardage for a simple dress. I became inspired by some purple wool fabric leftover from trousers I made on-camera in my eCourse Smarty Pants and a set of pearls from Carlisle & Linny Vintage Jewelry.
Without a sketch (or much of a design plan), I moved quickly into the mockup phase of the process to see where it would take me…
The Mockup
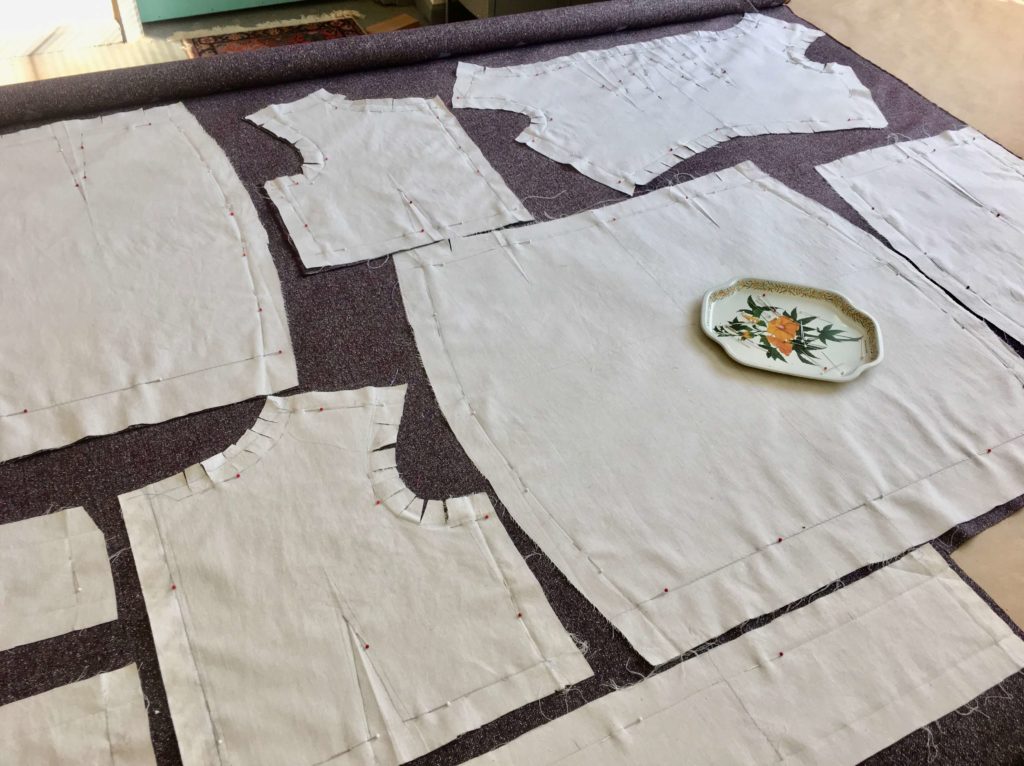
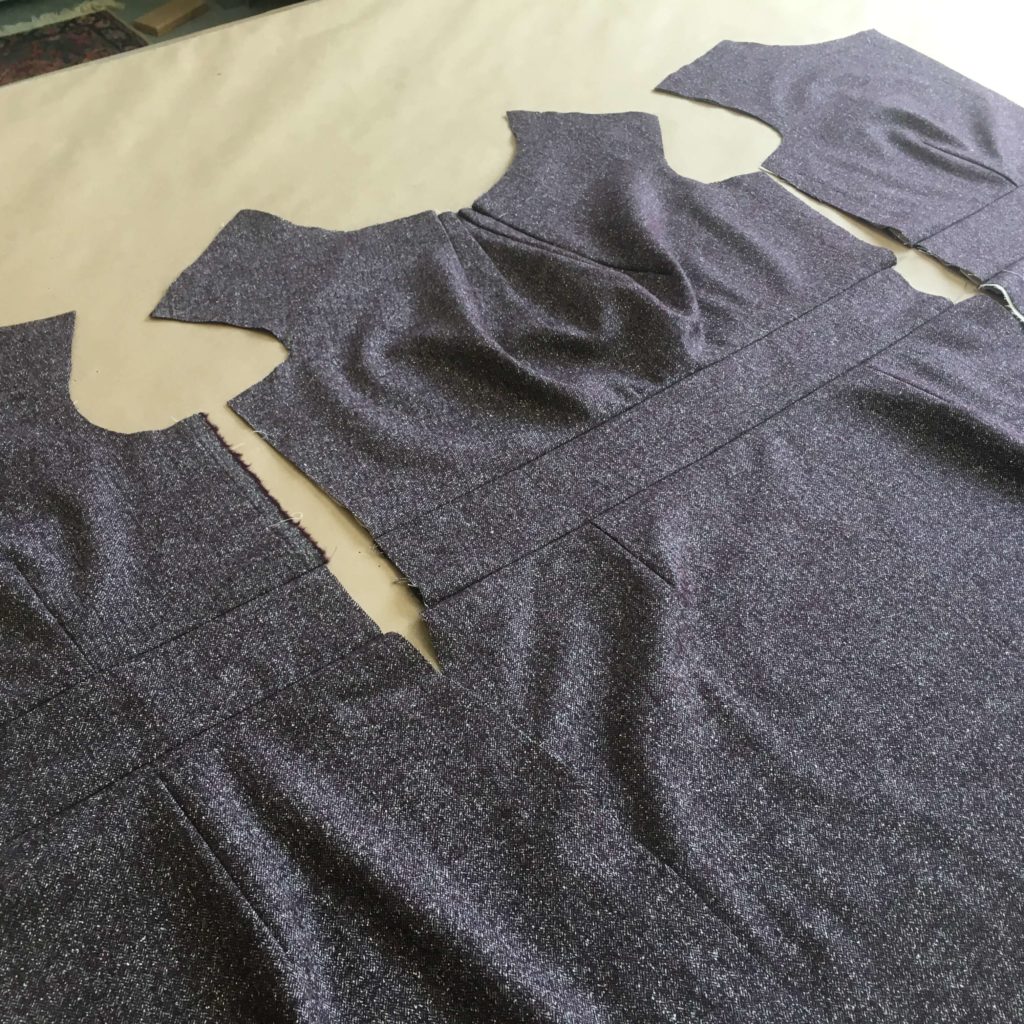
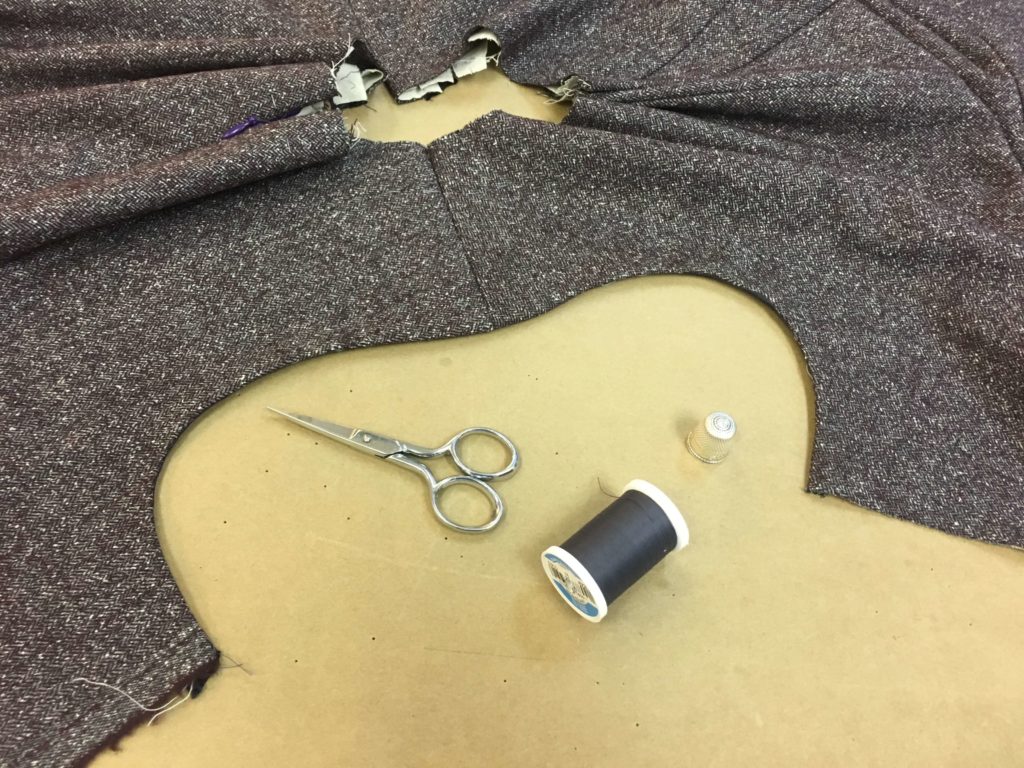
I used my Skirt Skills skirt block to create the bottom of the dress and got started on the top pattern by stealing it from from another dress I drafted. I wanted some sort of fancy neckline but hadn’t decided what it would be yet, so I just rotated the dart value to the neck and played around with the fabric in my first mockup fitting.
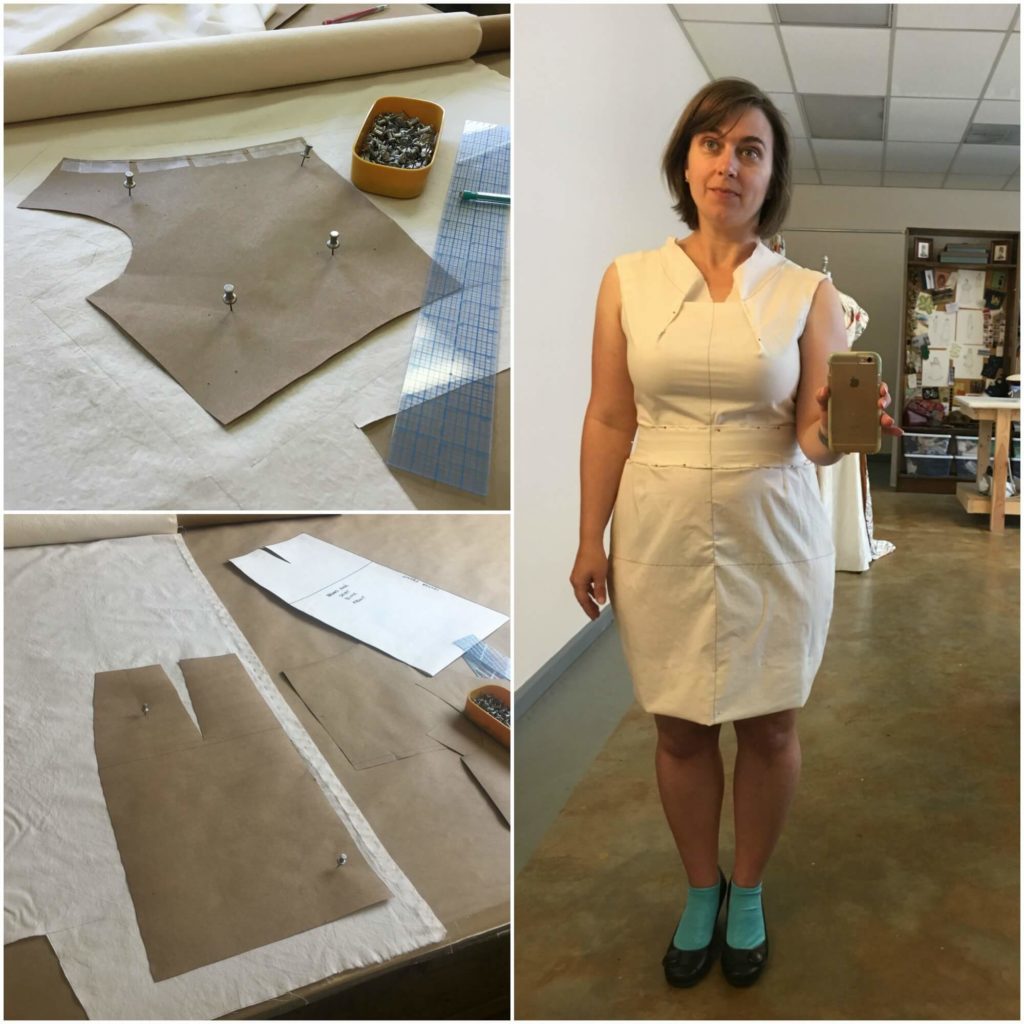
Since much (all?) of what I create is heavily documented and shared, my original plan for this dress was to create something ‘quick and easy’ AND to refrain from sharing any of the process. I wanted to see what it would be like to make something without everyone watching… BUT I ended up posting the following 3 pics of my mockup corrections on Instagram and literally got hundreds (which turned into thousands) of new followers. It was clear that people wanted to see where this was going…

At this point, I was called in for Jury Duty and narrowly missed being Juror #5 in a 3-week murder trial that would have kept this dress from ever happening. Once dismissed, I decided to keep documenting the process which is why you are reading this blog post today!
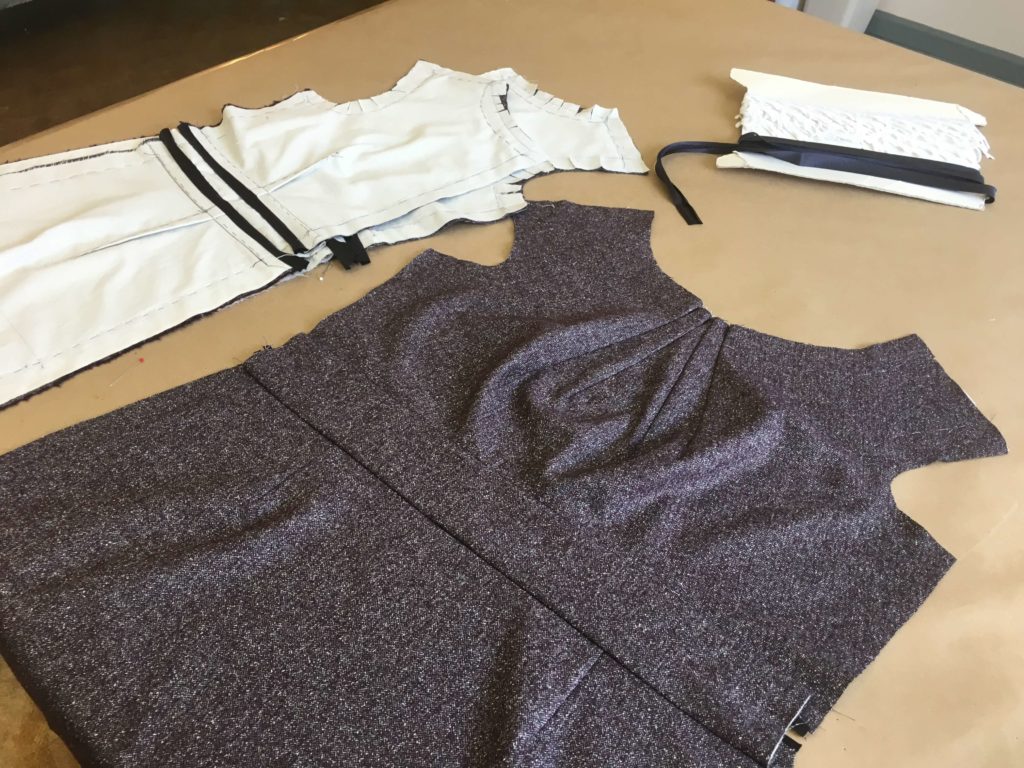
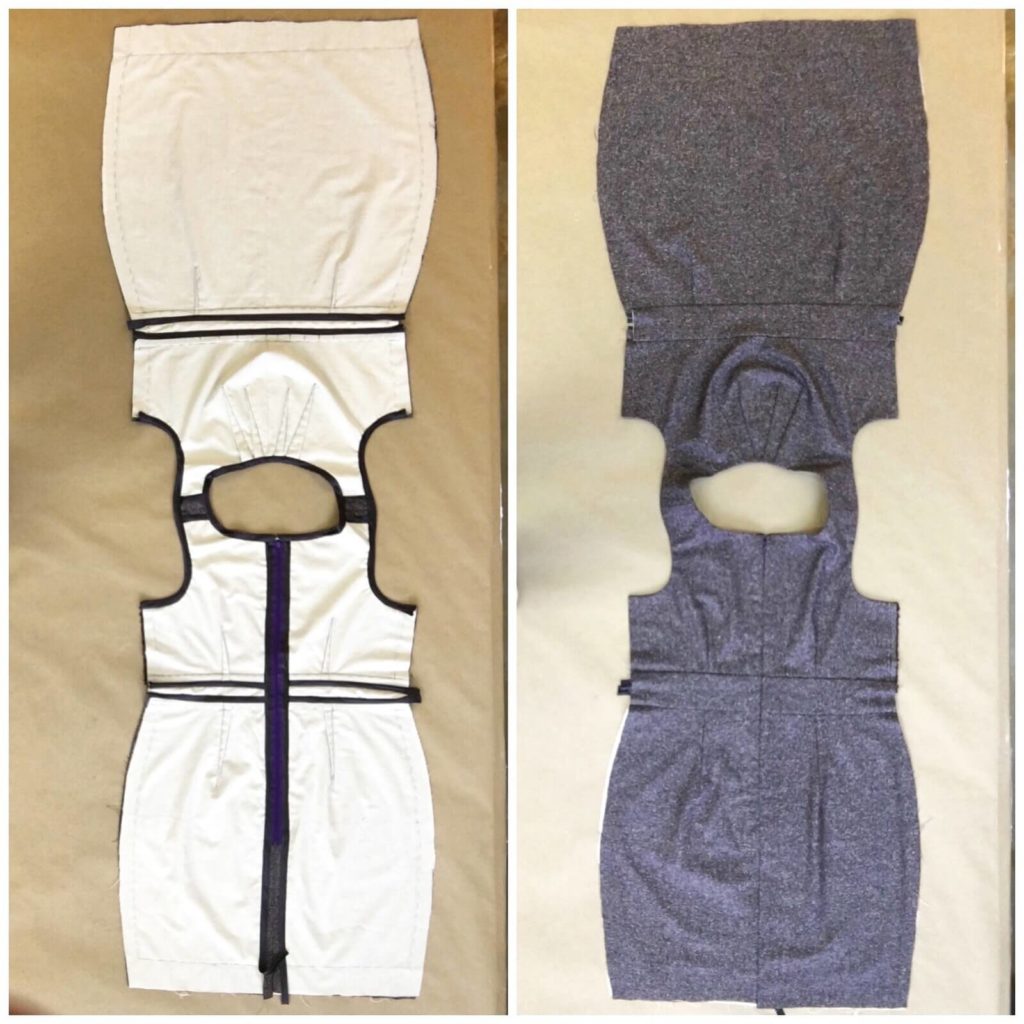
The Underlining
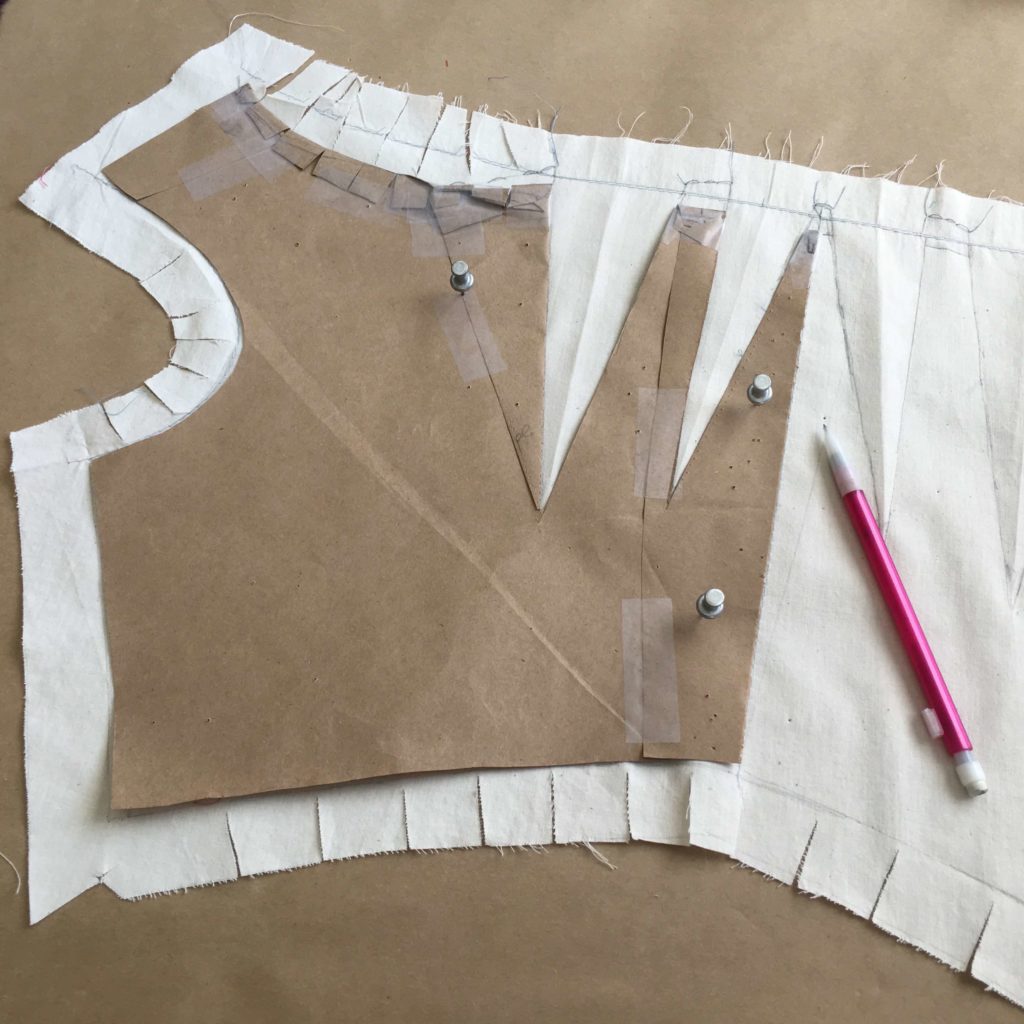
Once corrected, I used my mockup’s muslin pieces as my underlining for the wool. If you’d like to learn more about underlining using your mockup, visit my 3-part underlining blog series (with a video!) which starts here or the condensed version I wrote for Seamwork Magazine.
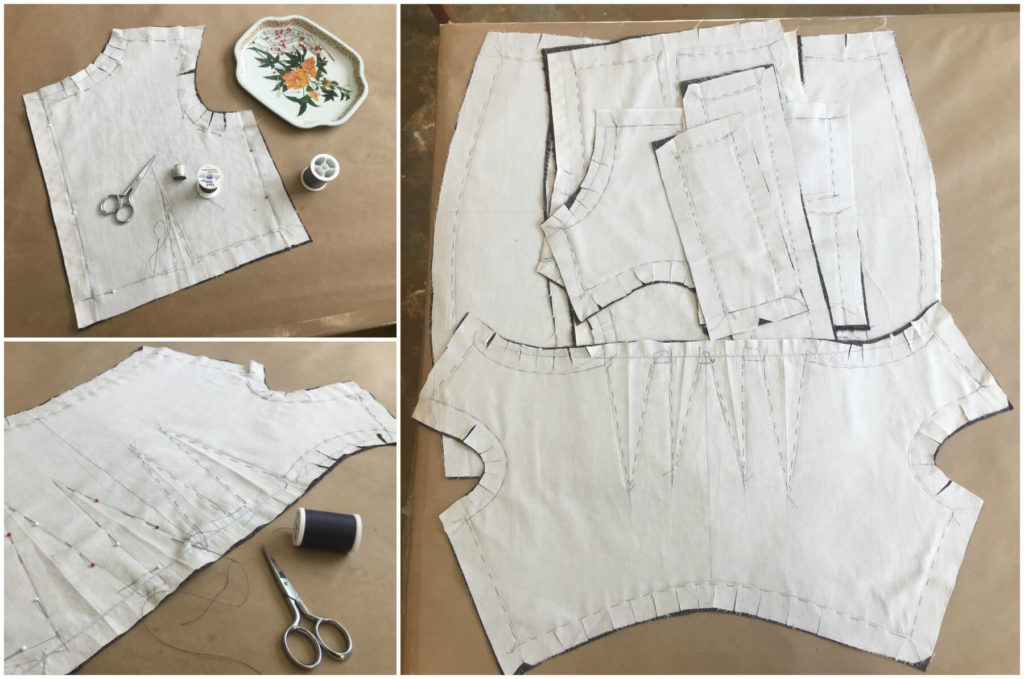
The mockup hand stitched to the inside of the wool has so many benefits: adding comfort, structure, confidence (that it fits like the mockup since it IS the mockup)… I could go on and on (and do in my underlining blog series…)
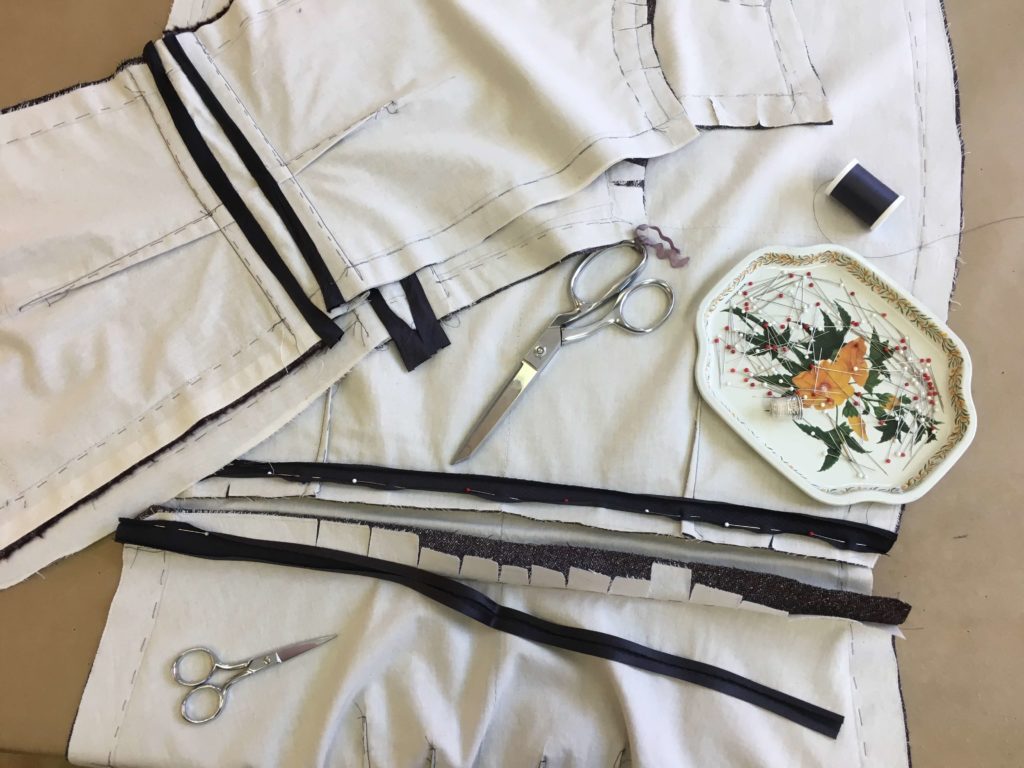
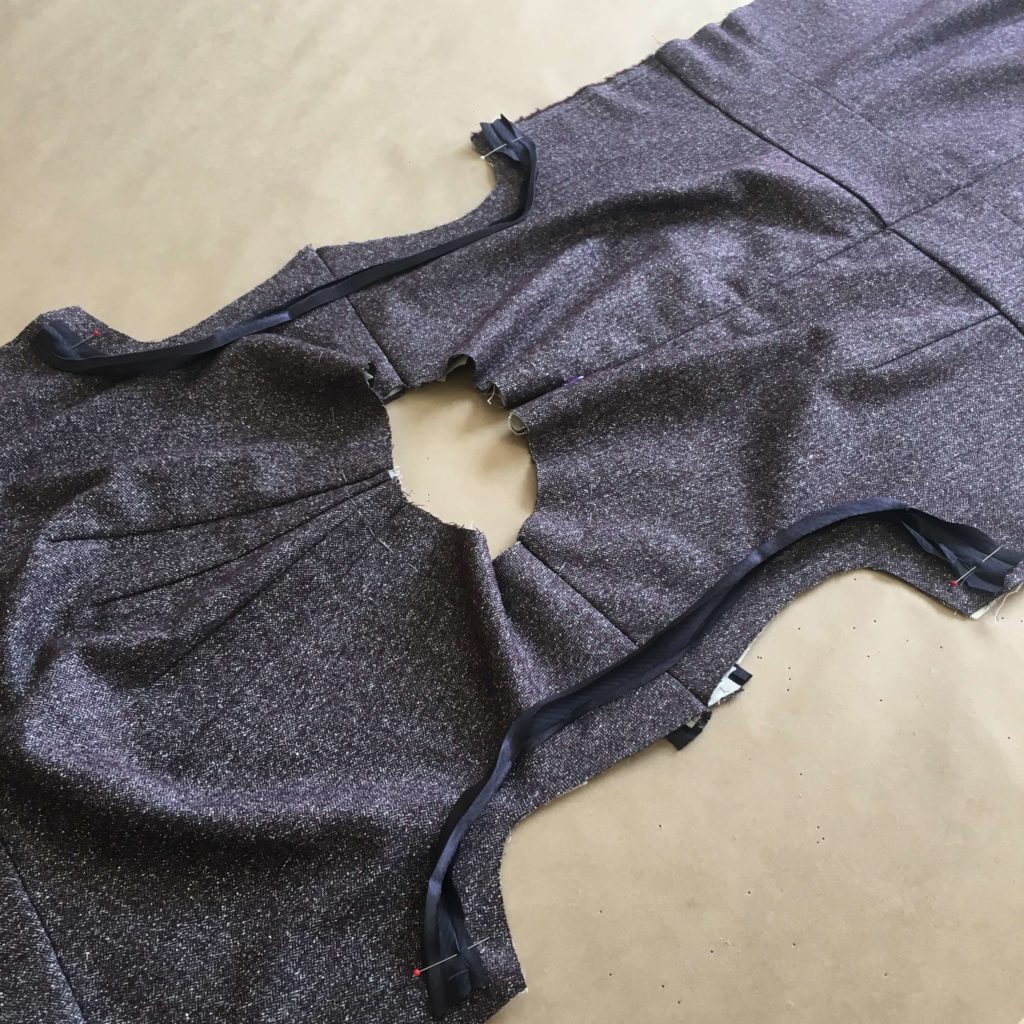
Seams and Darts
Next up, I got the basic construction done by pinning and stitching all of the darts and most of the seams. I’d leave the side seams open for a basted fitting and the finishing work is easier if I keep it as flat as possible for as long as possible.
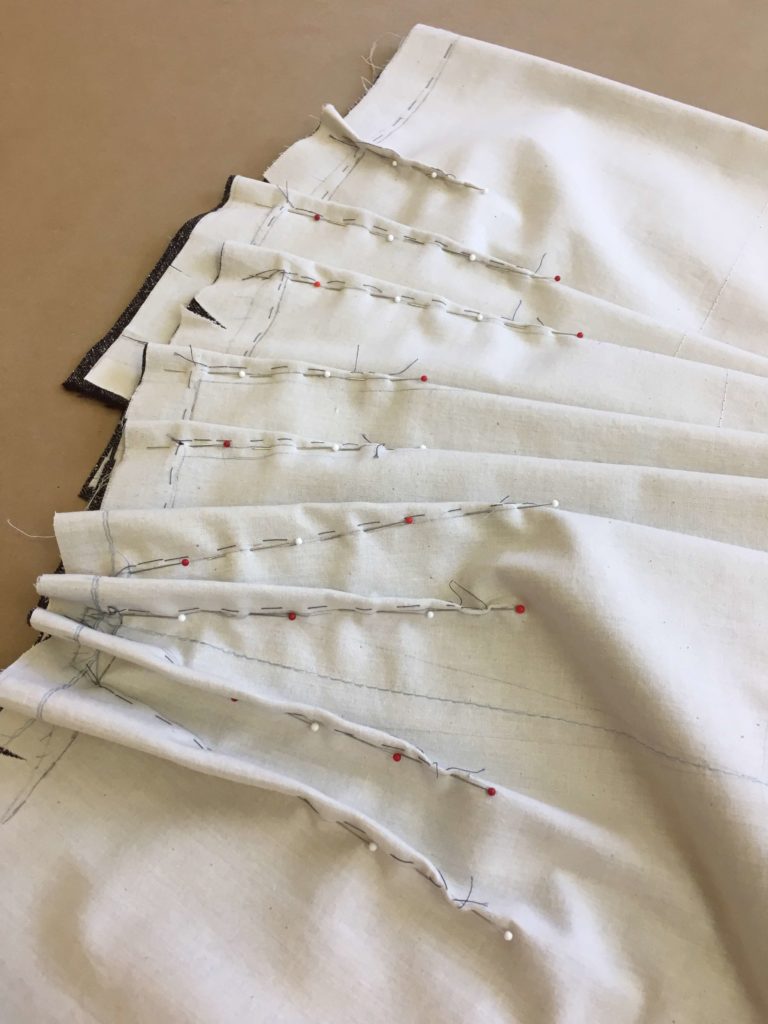
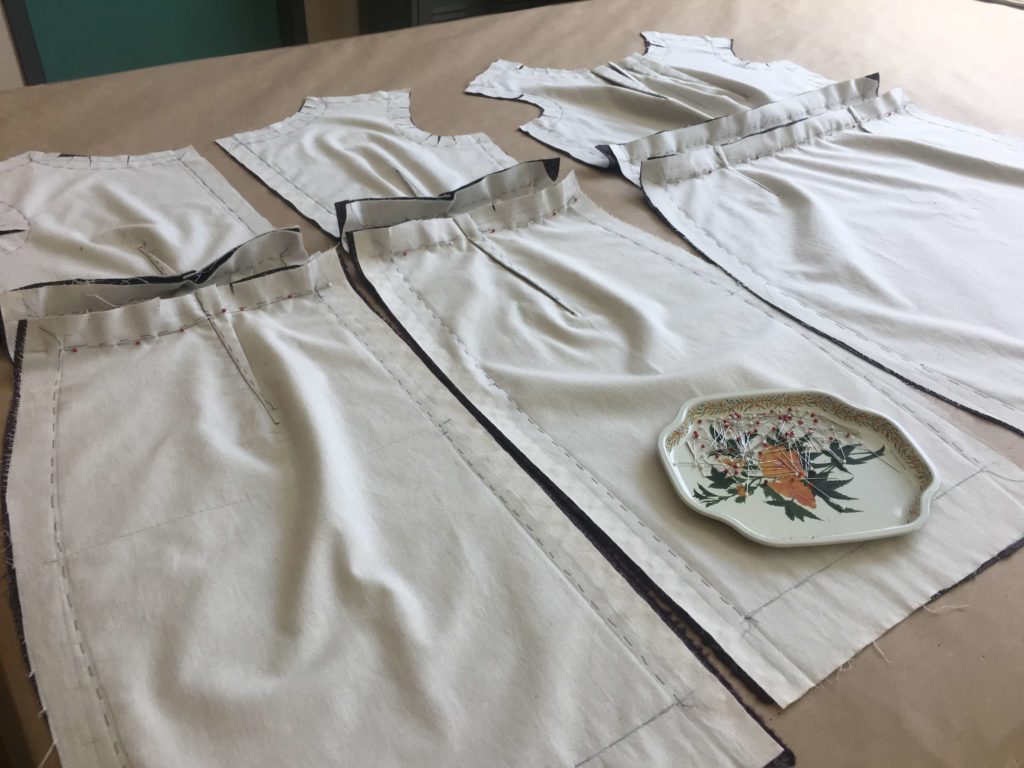
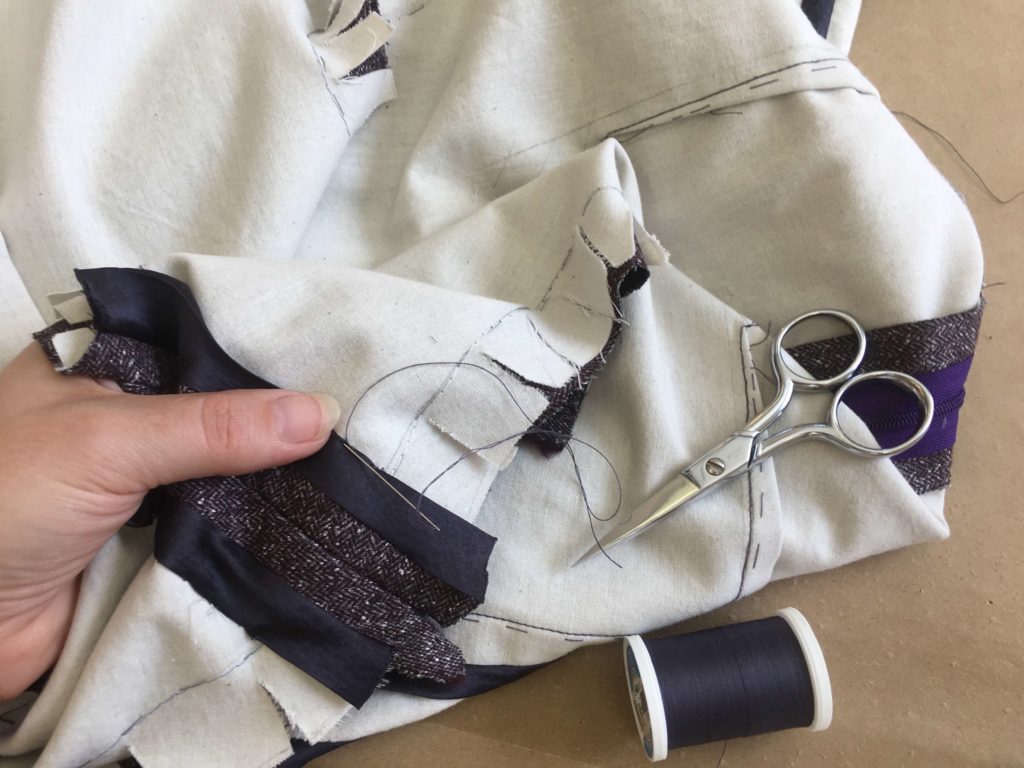
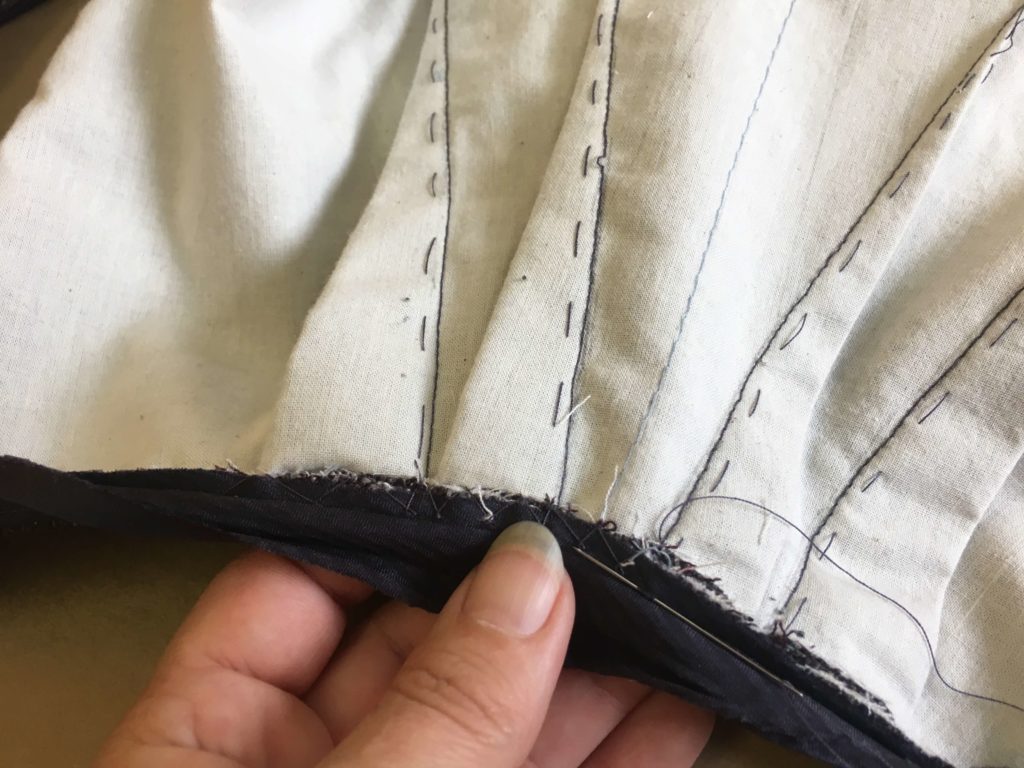
Once the darts and (most of) the seams were stitched, I finished off the waist seams with silk bias binding (leftover from Margaret’s mother-of-the-bride dress)…
…before adding an invisible zipper discreetly down the back.

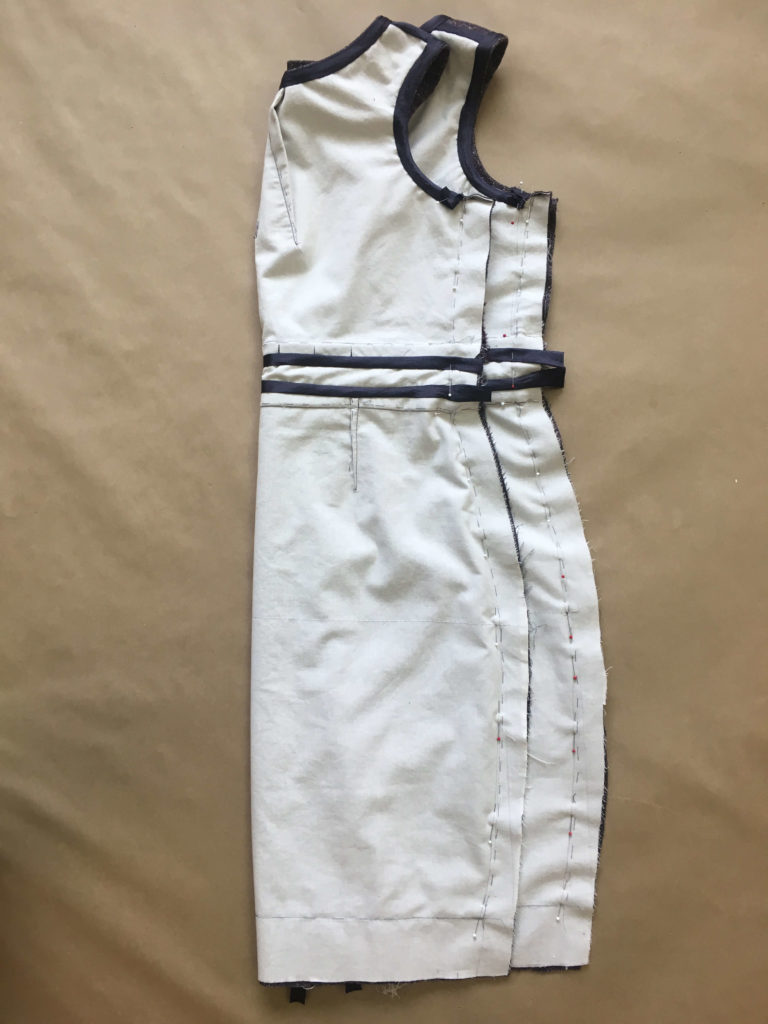
The shoulder seams were the next bit to be stitched and finished. All of the bias binding was first added by machine and then handpicked only through the underlining layer. No hand stitches reach through to the wool! This is one of my favorite techniques. It makes sewing perfect stitches unnecessary while creating a gorgeous clean finish.
Edge Finishing
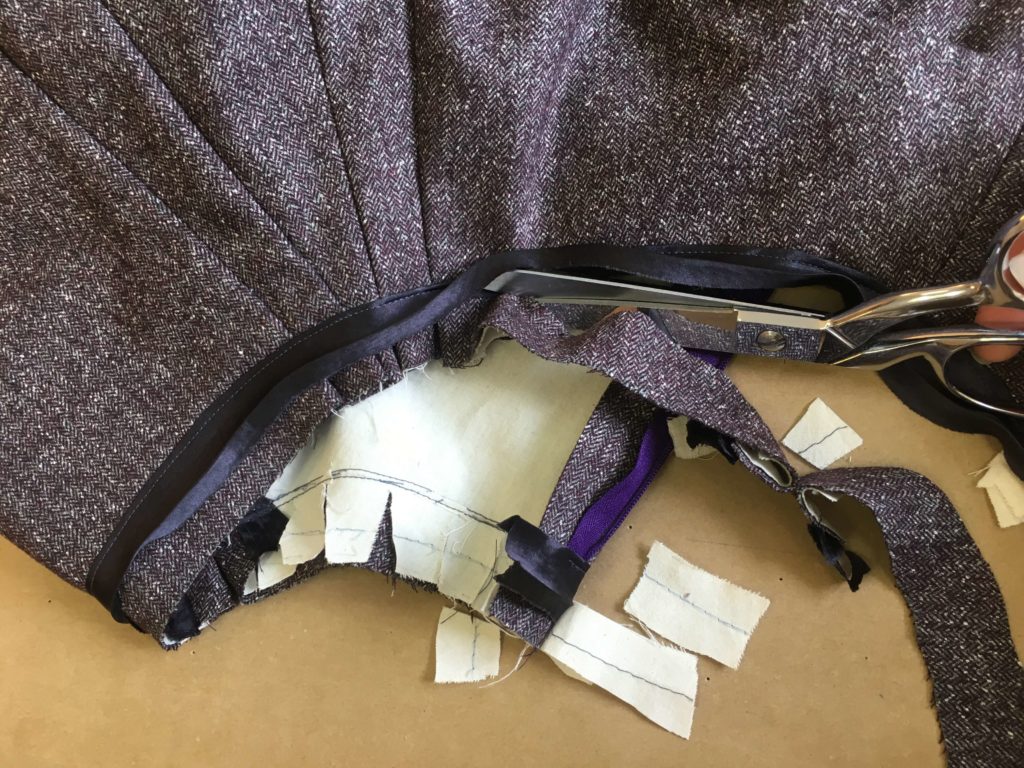
Next it was time to finish the neckline and armhole edges with the same bias binding. Starting with the armholes, I first added the bias tape to the edge line by machine…
…then under stitched (from the top) by machine…
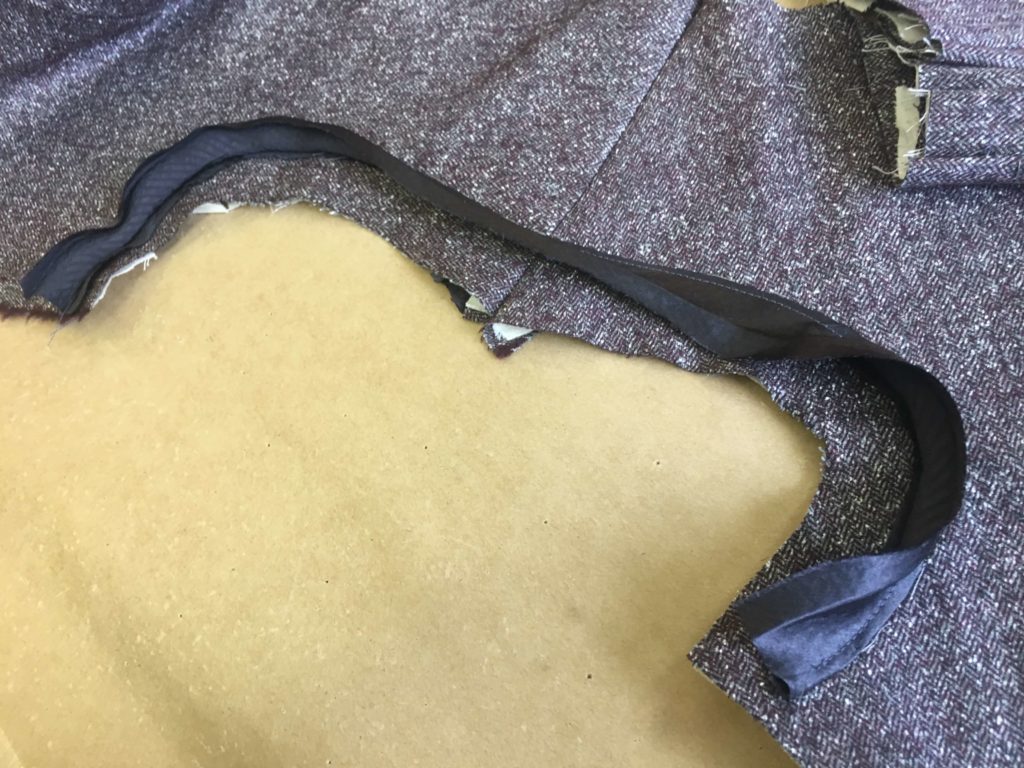
…then trimmed away the excess…
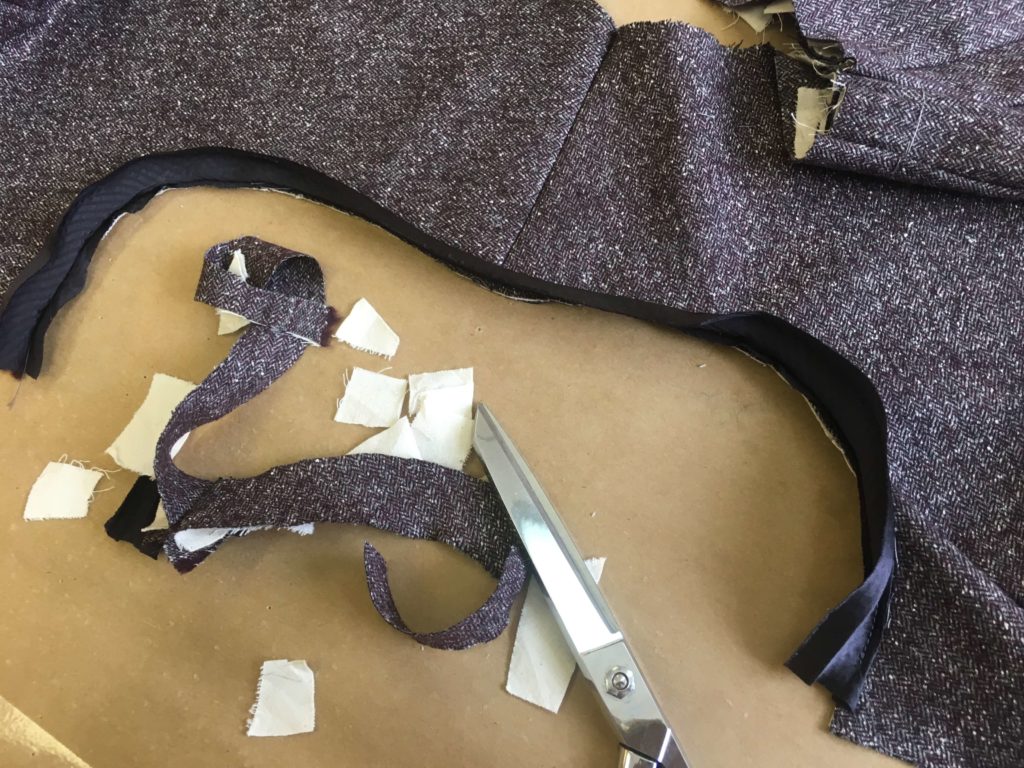
…before turning it all to the inside, pressing and pinning it perfectly in place…

…and hand stitching the inside edge to the underlining layer.
Here’s what it looked like finished from the inside and the outside:
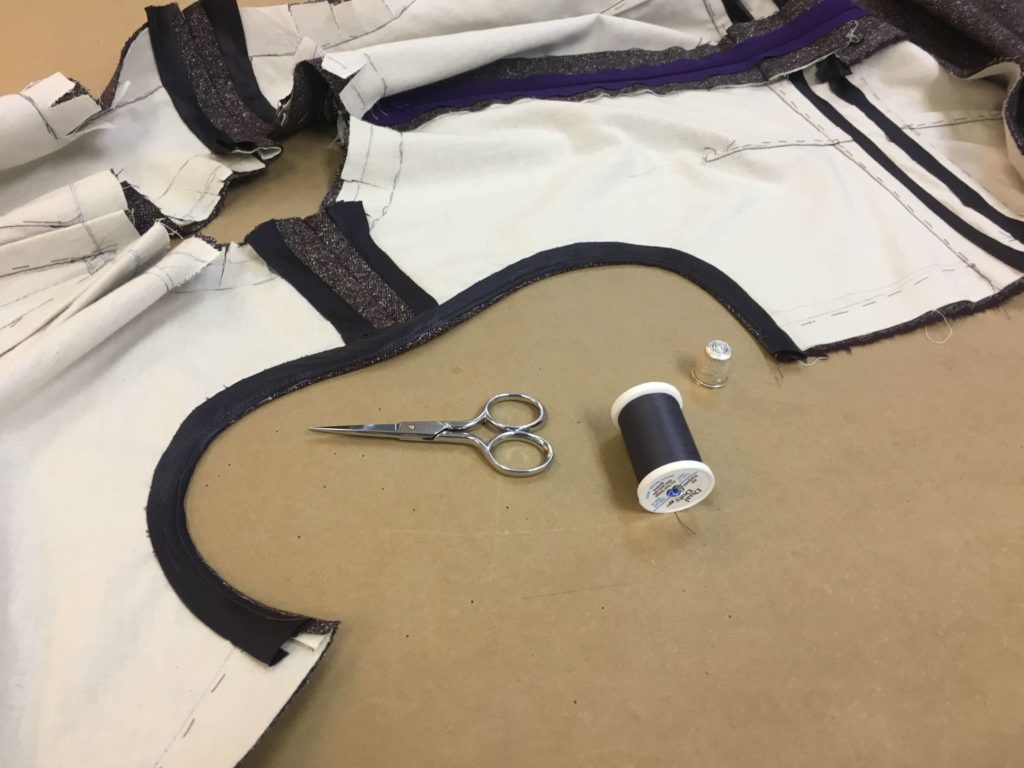
Once the armholes were rockin’, I followed the same process for the neckline edge.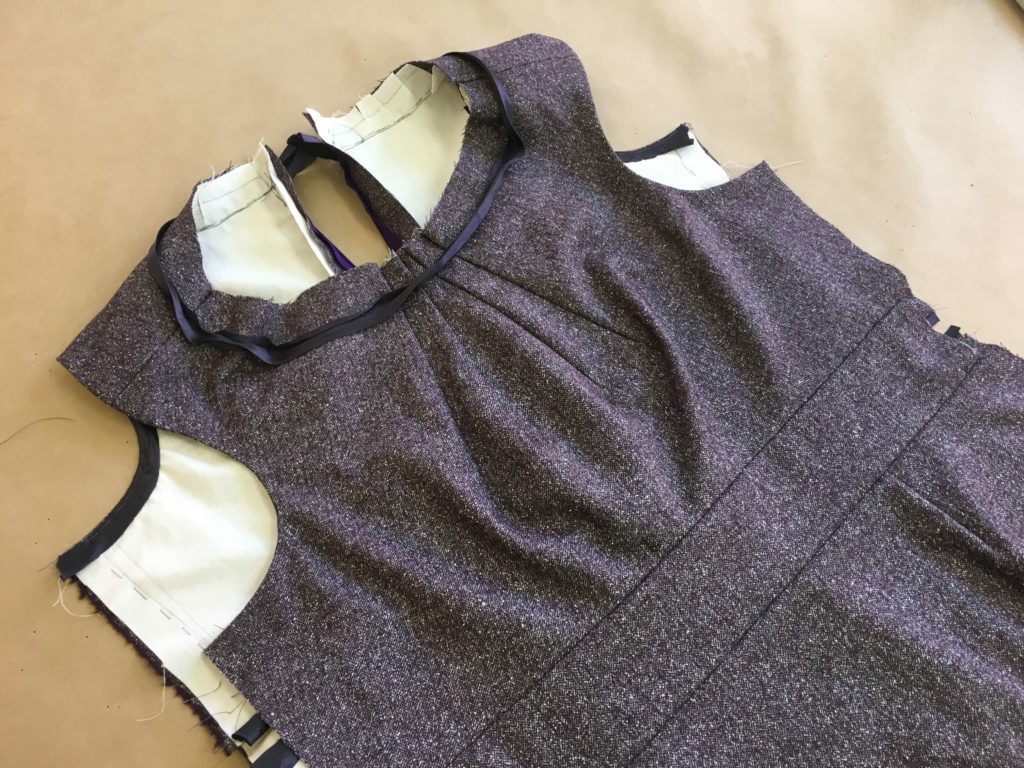
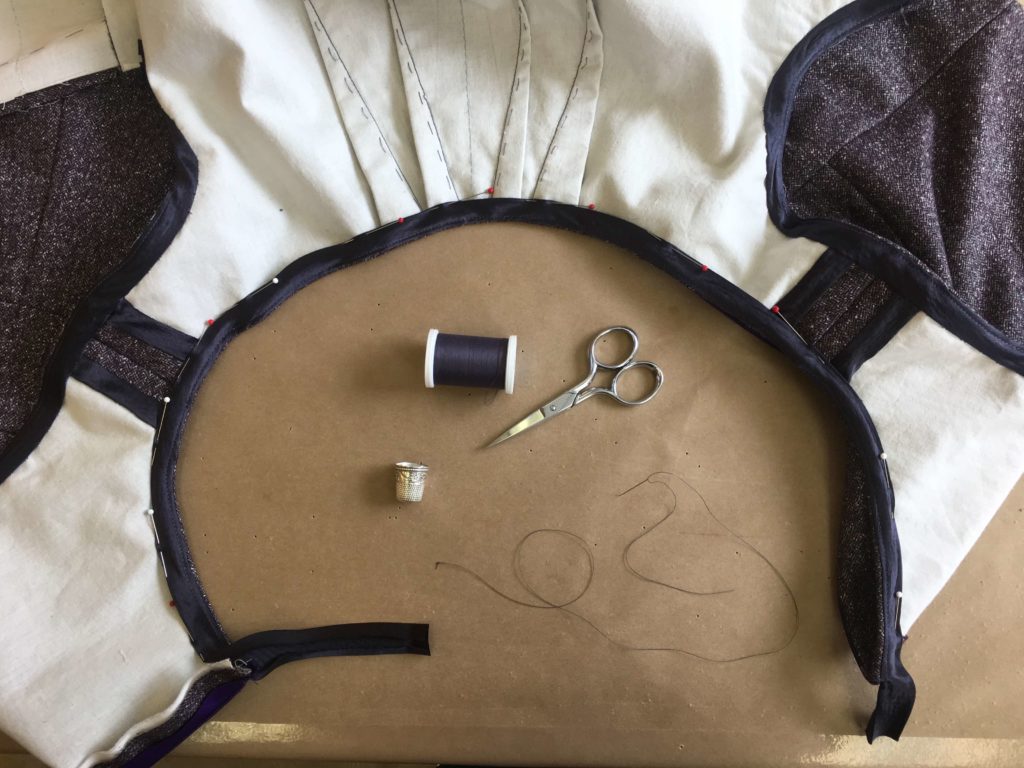
When I reached the bulky bits, I added an extra hidden hand stitch to keep everything right where I wanted it.
To learn more about binding curves with bias, check out the article I wrote for Seamwork Magazine called “Learning Curves”.
The Final Seams and Finishing Touches
At this point, here’s how cool it looked inside and out!
Next I pinned and basted the side seams for a quick fitting…
…added the hem and the label…
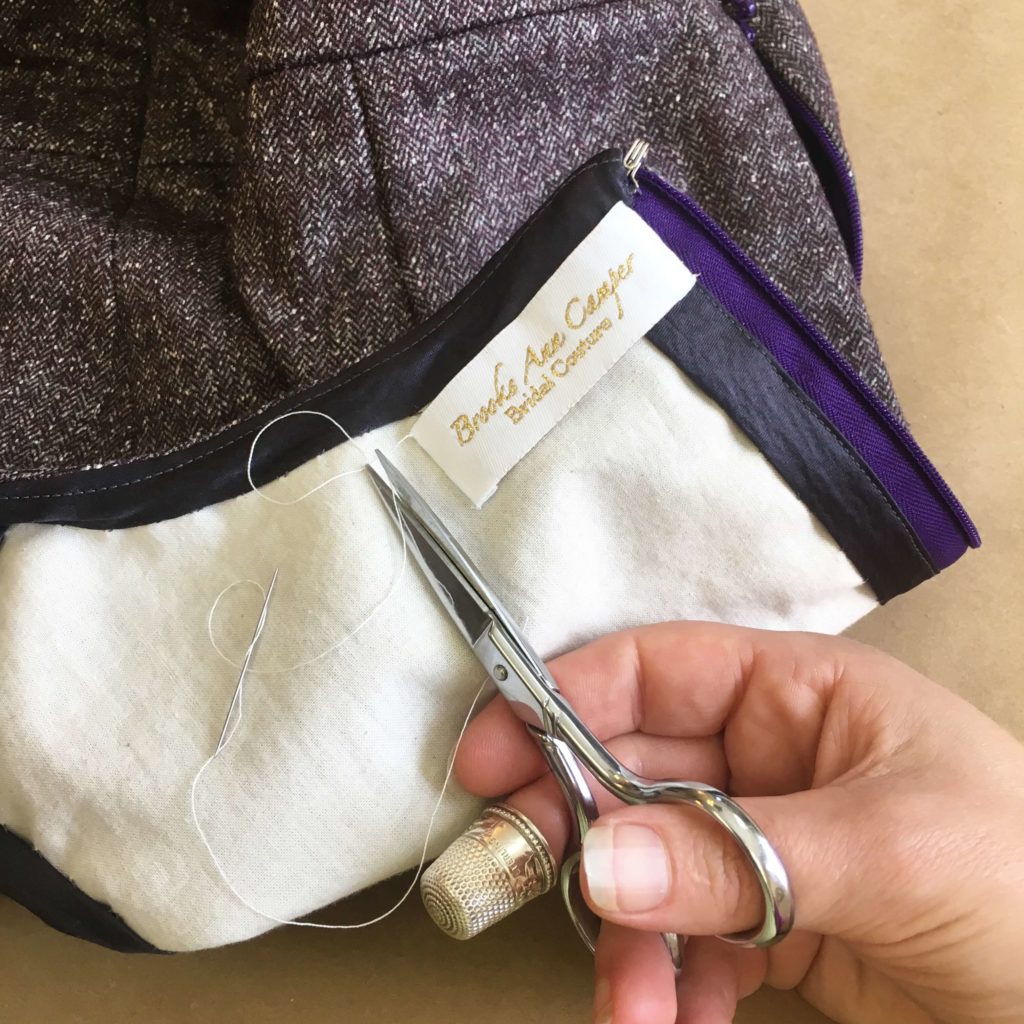
…and the dress was done!
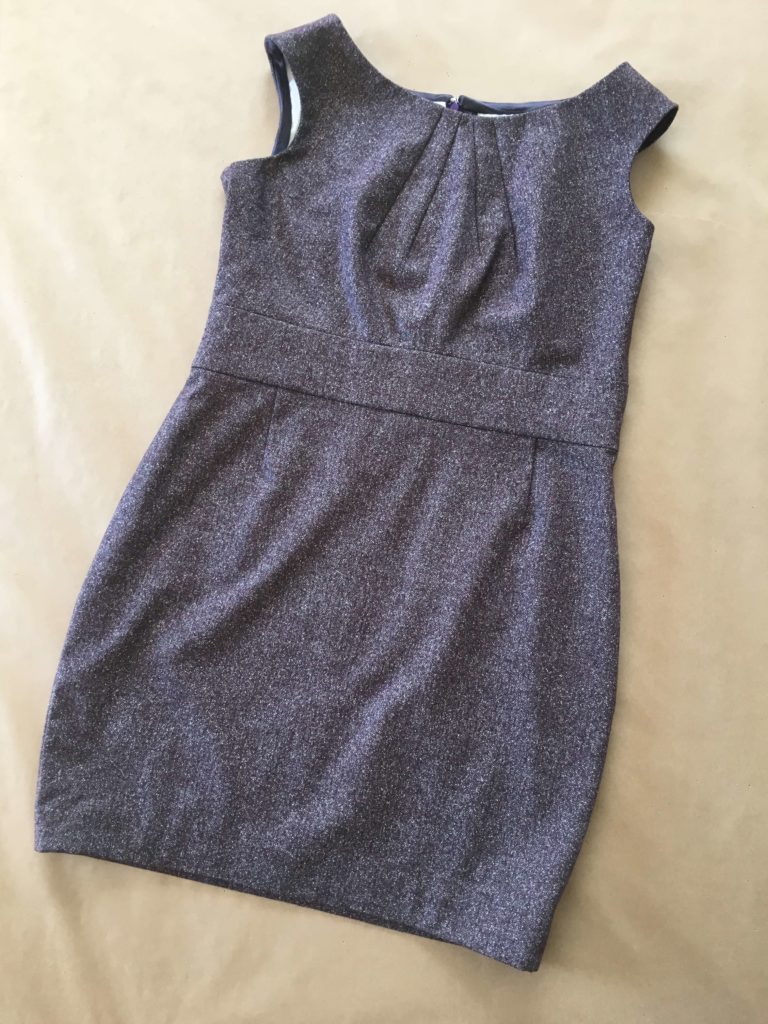
Yay!!!
The Couture Tour (on Instagram Stories)
When I was sharing this on Instagram, I gave a “couture tour” of the dress via their Stories feature. Instagram Stories allows you to share 15 second vertical videos that stay online for only 24 hours. I kept the clips, so I strung them together and made a little video for you to enjoy.
The Big Day
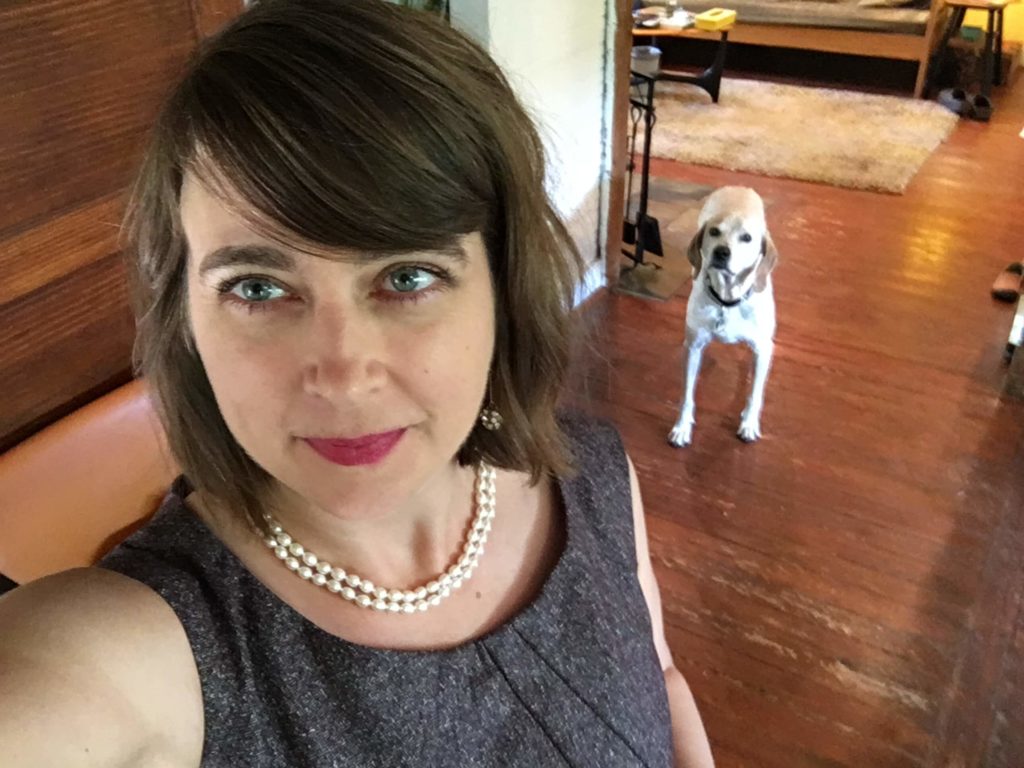
Though Cameron was married in Scotland, she had a local reception which my handsome husband and I attended. But first a few quick selfies at the house…

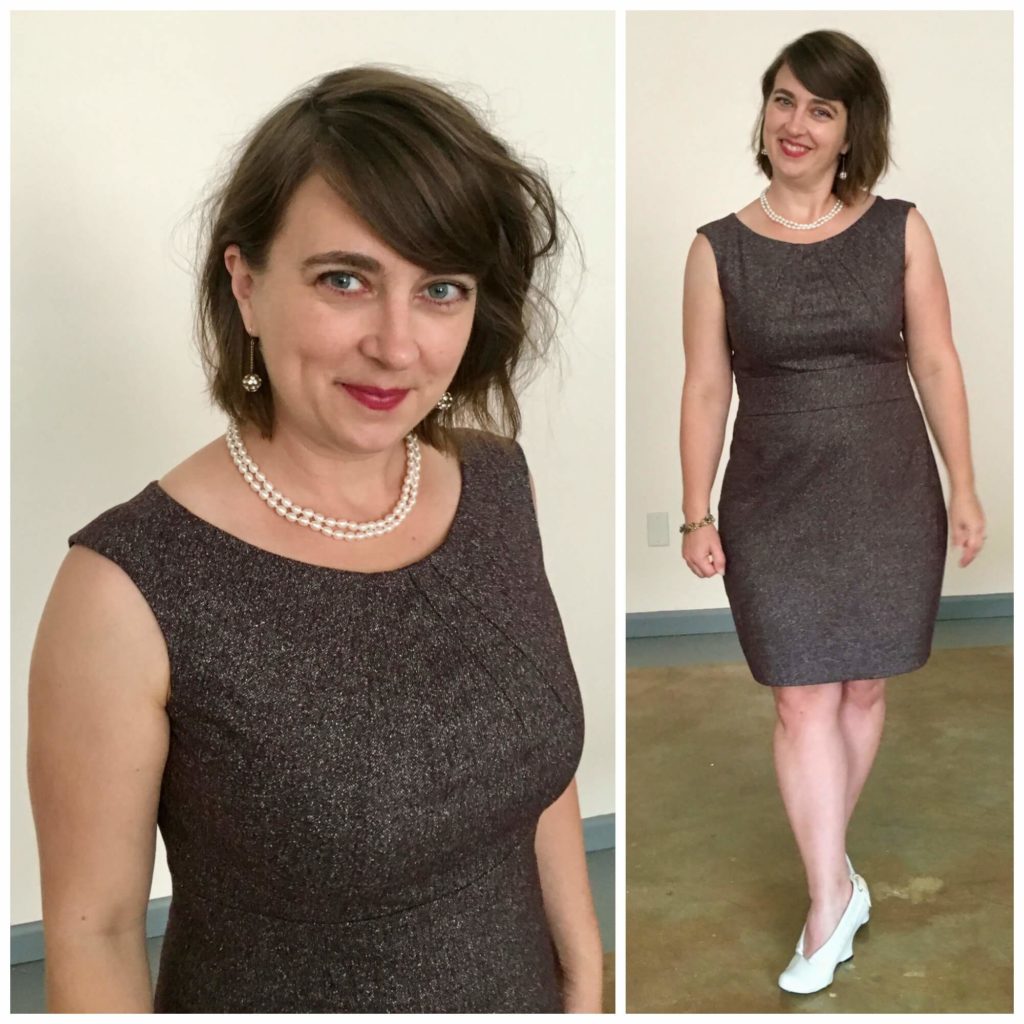
…before a very quick photo shoot at my sewing studio.
Then we celebrated with Cameron (who got to wear the overdress I made her a second time) at a fantastic party!
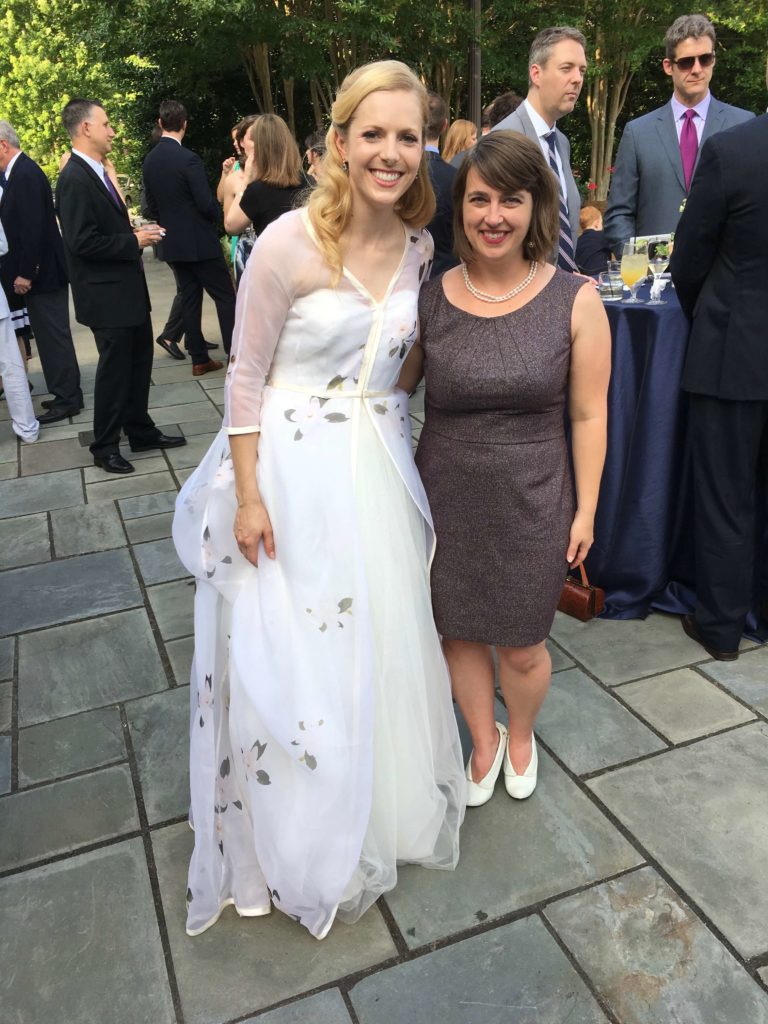
It was such an honor to work with Cameron and I was also thrilled to have a new dress in my own closet. My attempt to keep the dressmaking process private was a total failure, but it’s apparently against my nature to not share. I learned that having a little part of all of you in my sewing room with me is actually where I thrive! Thanks so much for following along!
What’s Up?
Many of you may be wondering where I’ve been and what’s up next on the blog!
For the past couple of months I have been laser-focused on creating my newest eCourse Top Class. It’s a comprehensive interactive online course on creating custom-designed custom-fit tops for yourself! I write, film, edit, upload, produce, teach, etc. etc. etc. from start-to-finish all by myself. Each of my eCourses include over 10 hours of finished video so there was unfortunately no time for anything else (I’ll call you soon Mom!) Look forward to a blog post about it soon!
If you are interested in joining, Top Class’s prerequisite Skirt Skills opens for registration this weekend (6/16). This is the last chance to join the intro course in 2018! Learn more at www.SkirtSkills.com.
On the blog, you can look forward to a few fun sewing-related posts before I dive back into blogging about another fun bride. If you have any topics that you’d love for me to cover let me know! I’m really happy to be back sharing with all of you!
NEXT POST: ??? More about Top Class? Wanna learn about gravity feed irons? My thoughts on Meghan Markles’s wedding dress? Or would you rather I get right to sharing the story of my next bride’s custom dress?
Let me know what you think and I’ll see you again in a couple of weeks! Thanks so much for following along!


9 Responses
Meghan Markle – yes!!!! And your dress is stunning.
Thanks! If you get on my mailing list before 11amEST today, you’ll hear my thoughts on Meghan Markle’s dress in my newsletter! https://eepurl.com/R8Uhr
This is a stunning finish! Thanks for sharing the finished dress. Is absolutely love to hear your thoughts on Meghan markel’s wedding dress! Then the next bride
My pleasure! Thanks for following along!
I shared my thoughts on Meghan’s dress in my latest newsletter.
Here’s the archive: https://mailchi.mp/brooksann/3959vdr3zm-3270813
If you’d like to receive my newsletter, join my mailing list here: https://eepurl.com/R8Uhr
More on Top Class please!!! I didn’t get to sign up for the first round due to me being out the country but I am soo looking forward to the next time it’s going to be offered and I really want to know how the first go round went!
Yes! It will be fun to work together again Chauna.
Always so impressed with your due diligence at perfectly finishing all those seams! And love love your insight on “keep it as flat, as long as possible”. I’m gonna keep that in mind! Can’t wait till you get another excuse to visit Greensboro!
Thanks Ann! I’d love an excuse to hang out again!