


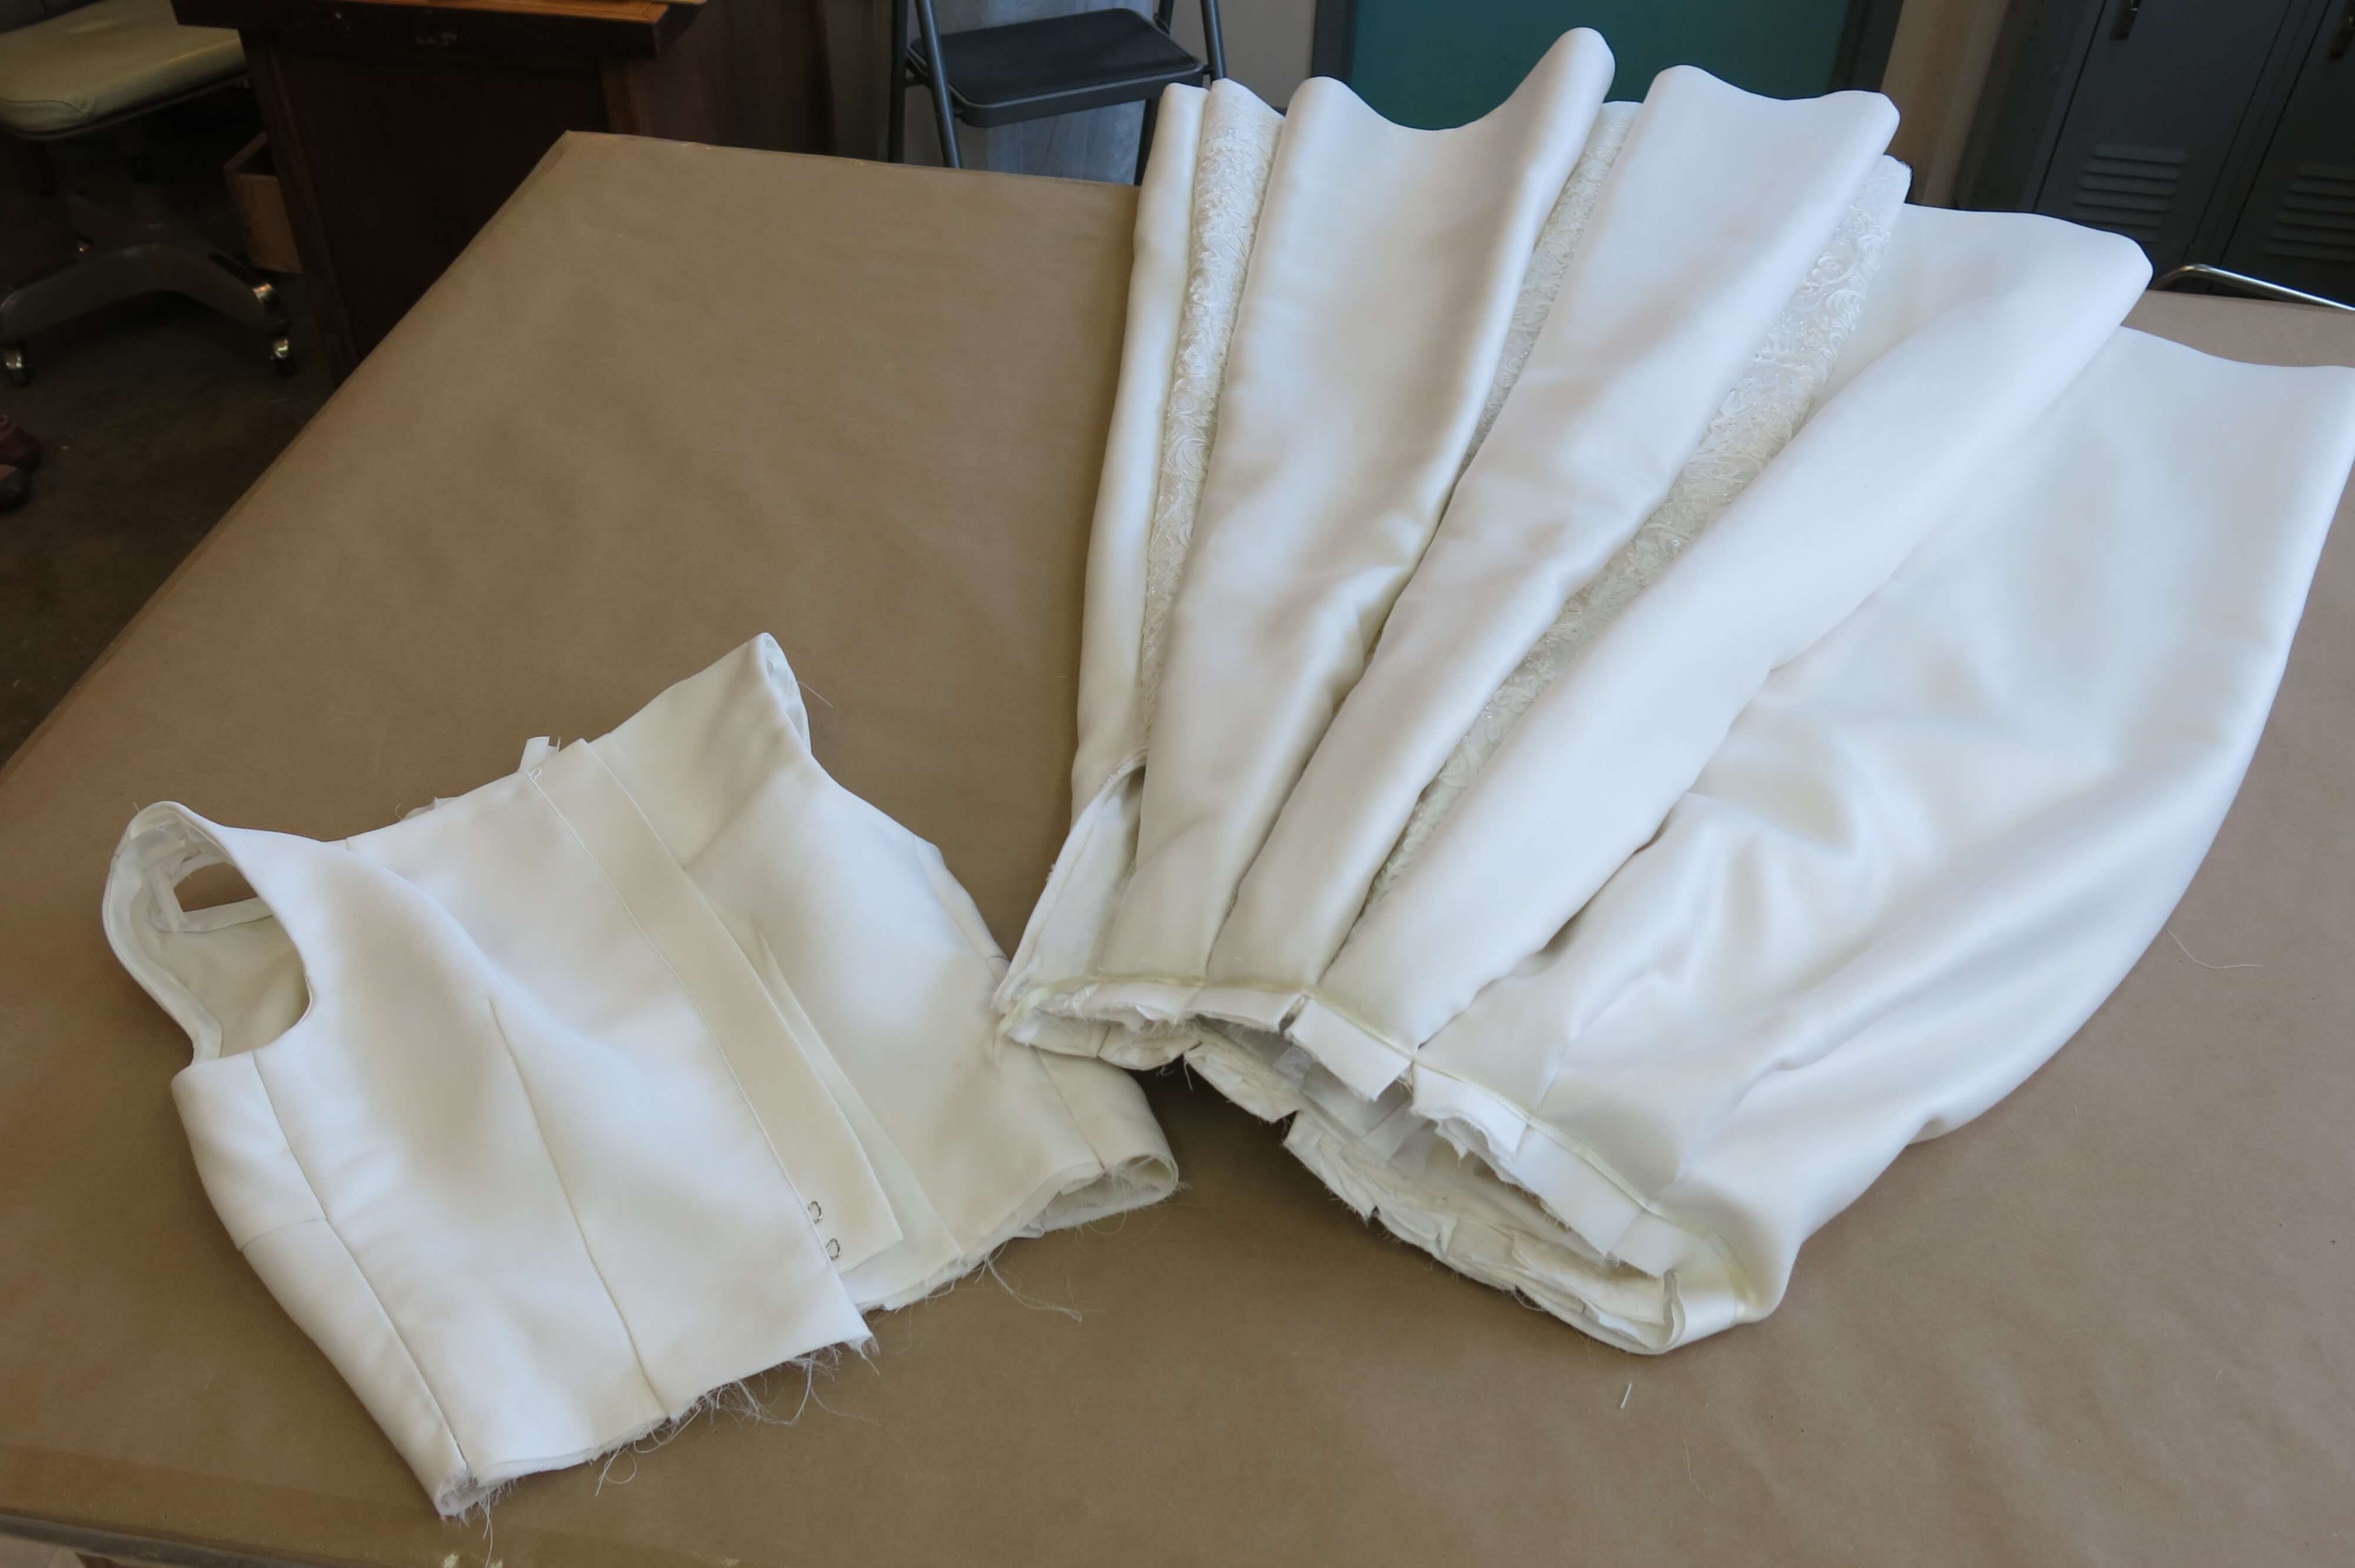
While crafting Deborah’s bodice, I also began crafting the skirt of her custom wedding dress! Her skirt was designed to have the loveliest deep pleats with gorgeous lace panels hidden inside. After our 3 mockup fittings, I finally achieved the look and fit we were going for. The mockup was then taken apart and used at the underlining for her fancy fabrics. Now it was time to put all the pieces together!
Having worked my way through so much experimenting and practice and prep (which are actually my favorite parts of the custom process), I was confident that I could tackle the next steps. Creating something one-of-a-kind that has never been made before means that questions constantly arise. Good thing problem-solving is my jam! I welcomed all the fun challenges ahead of me!
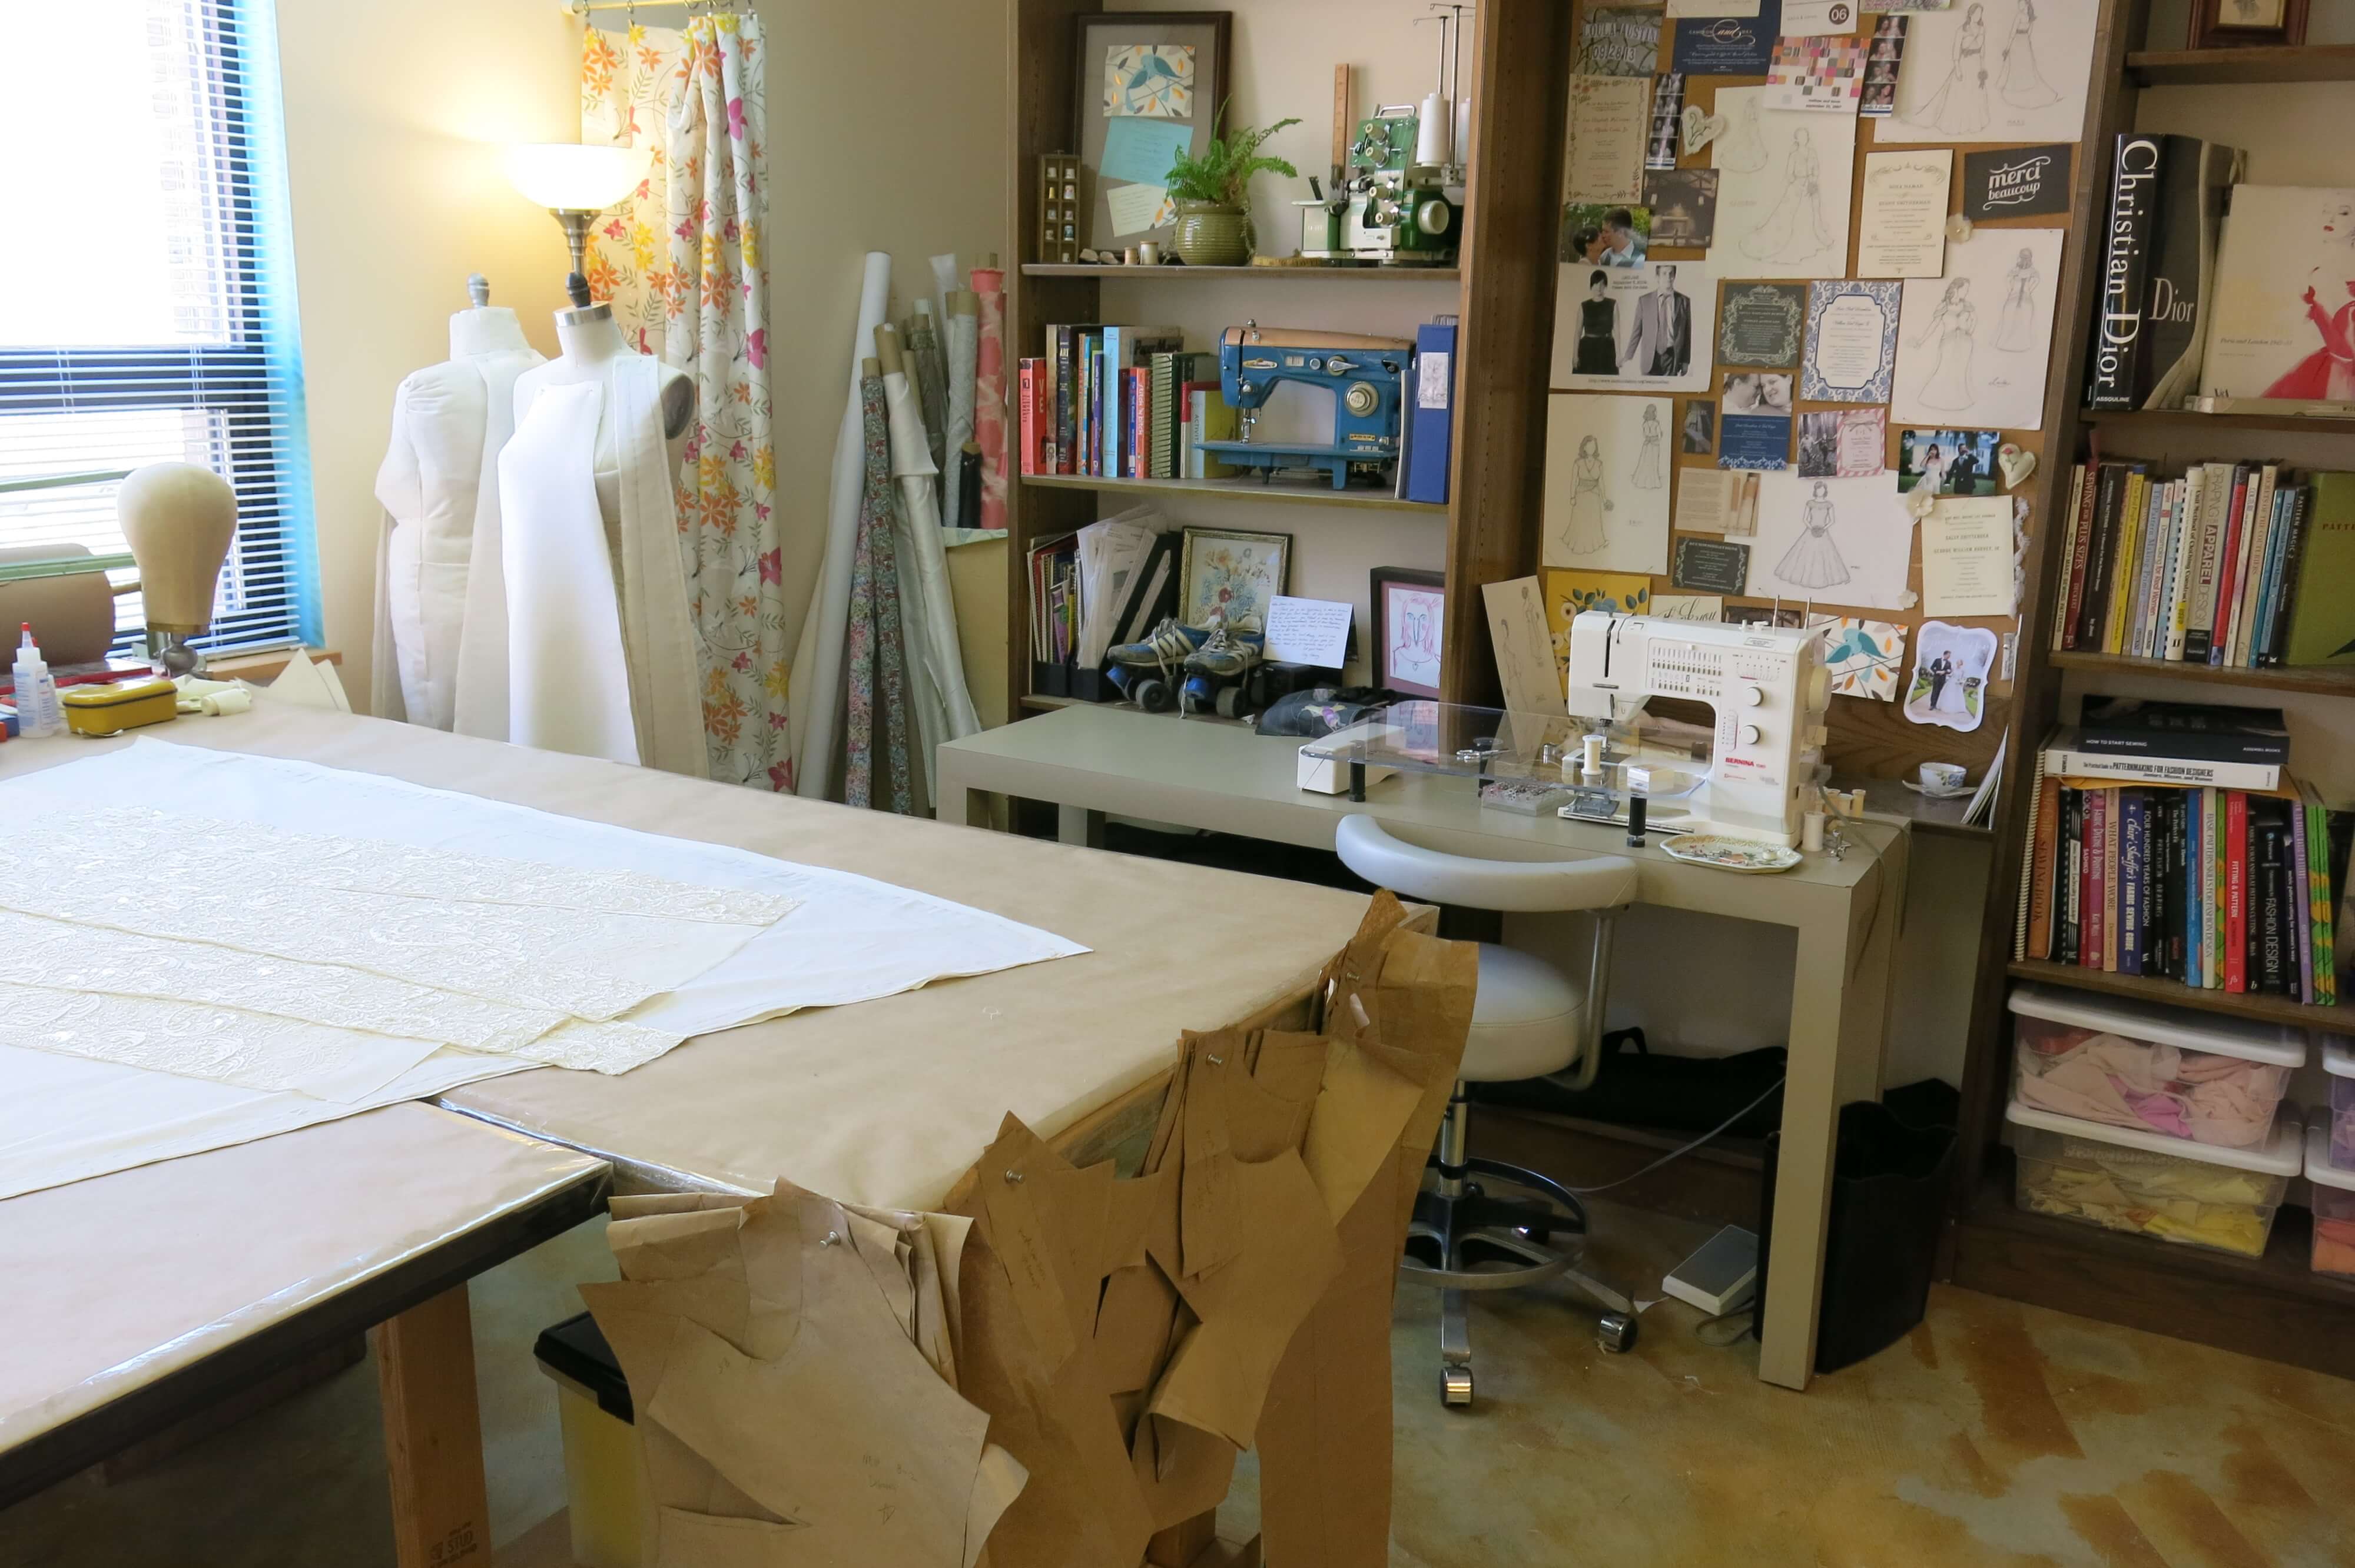
Rearranging the Room
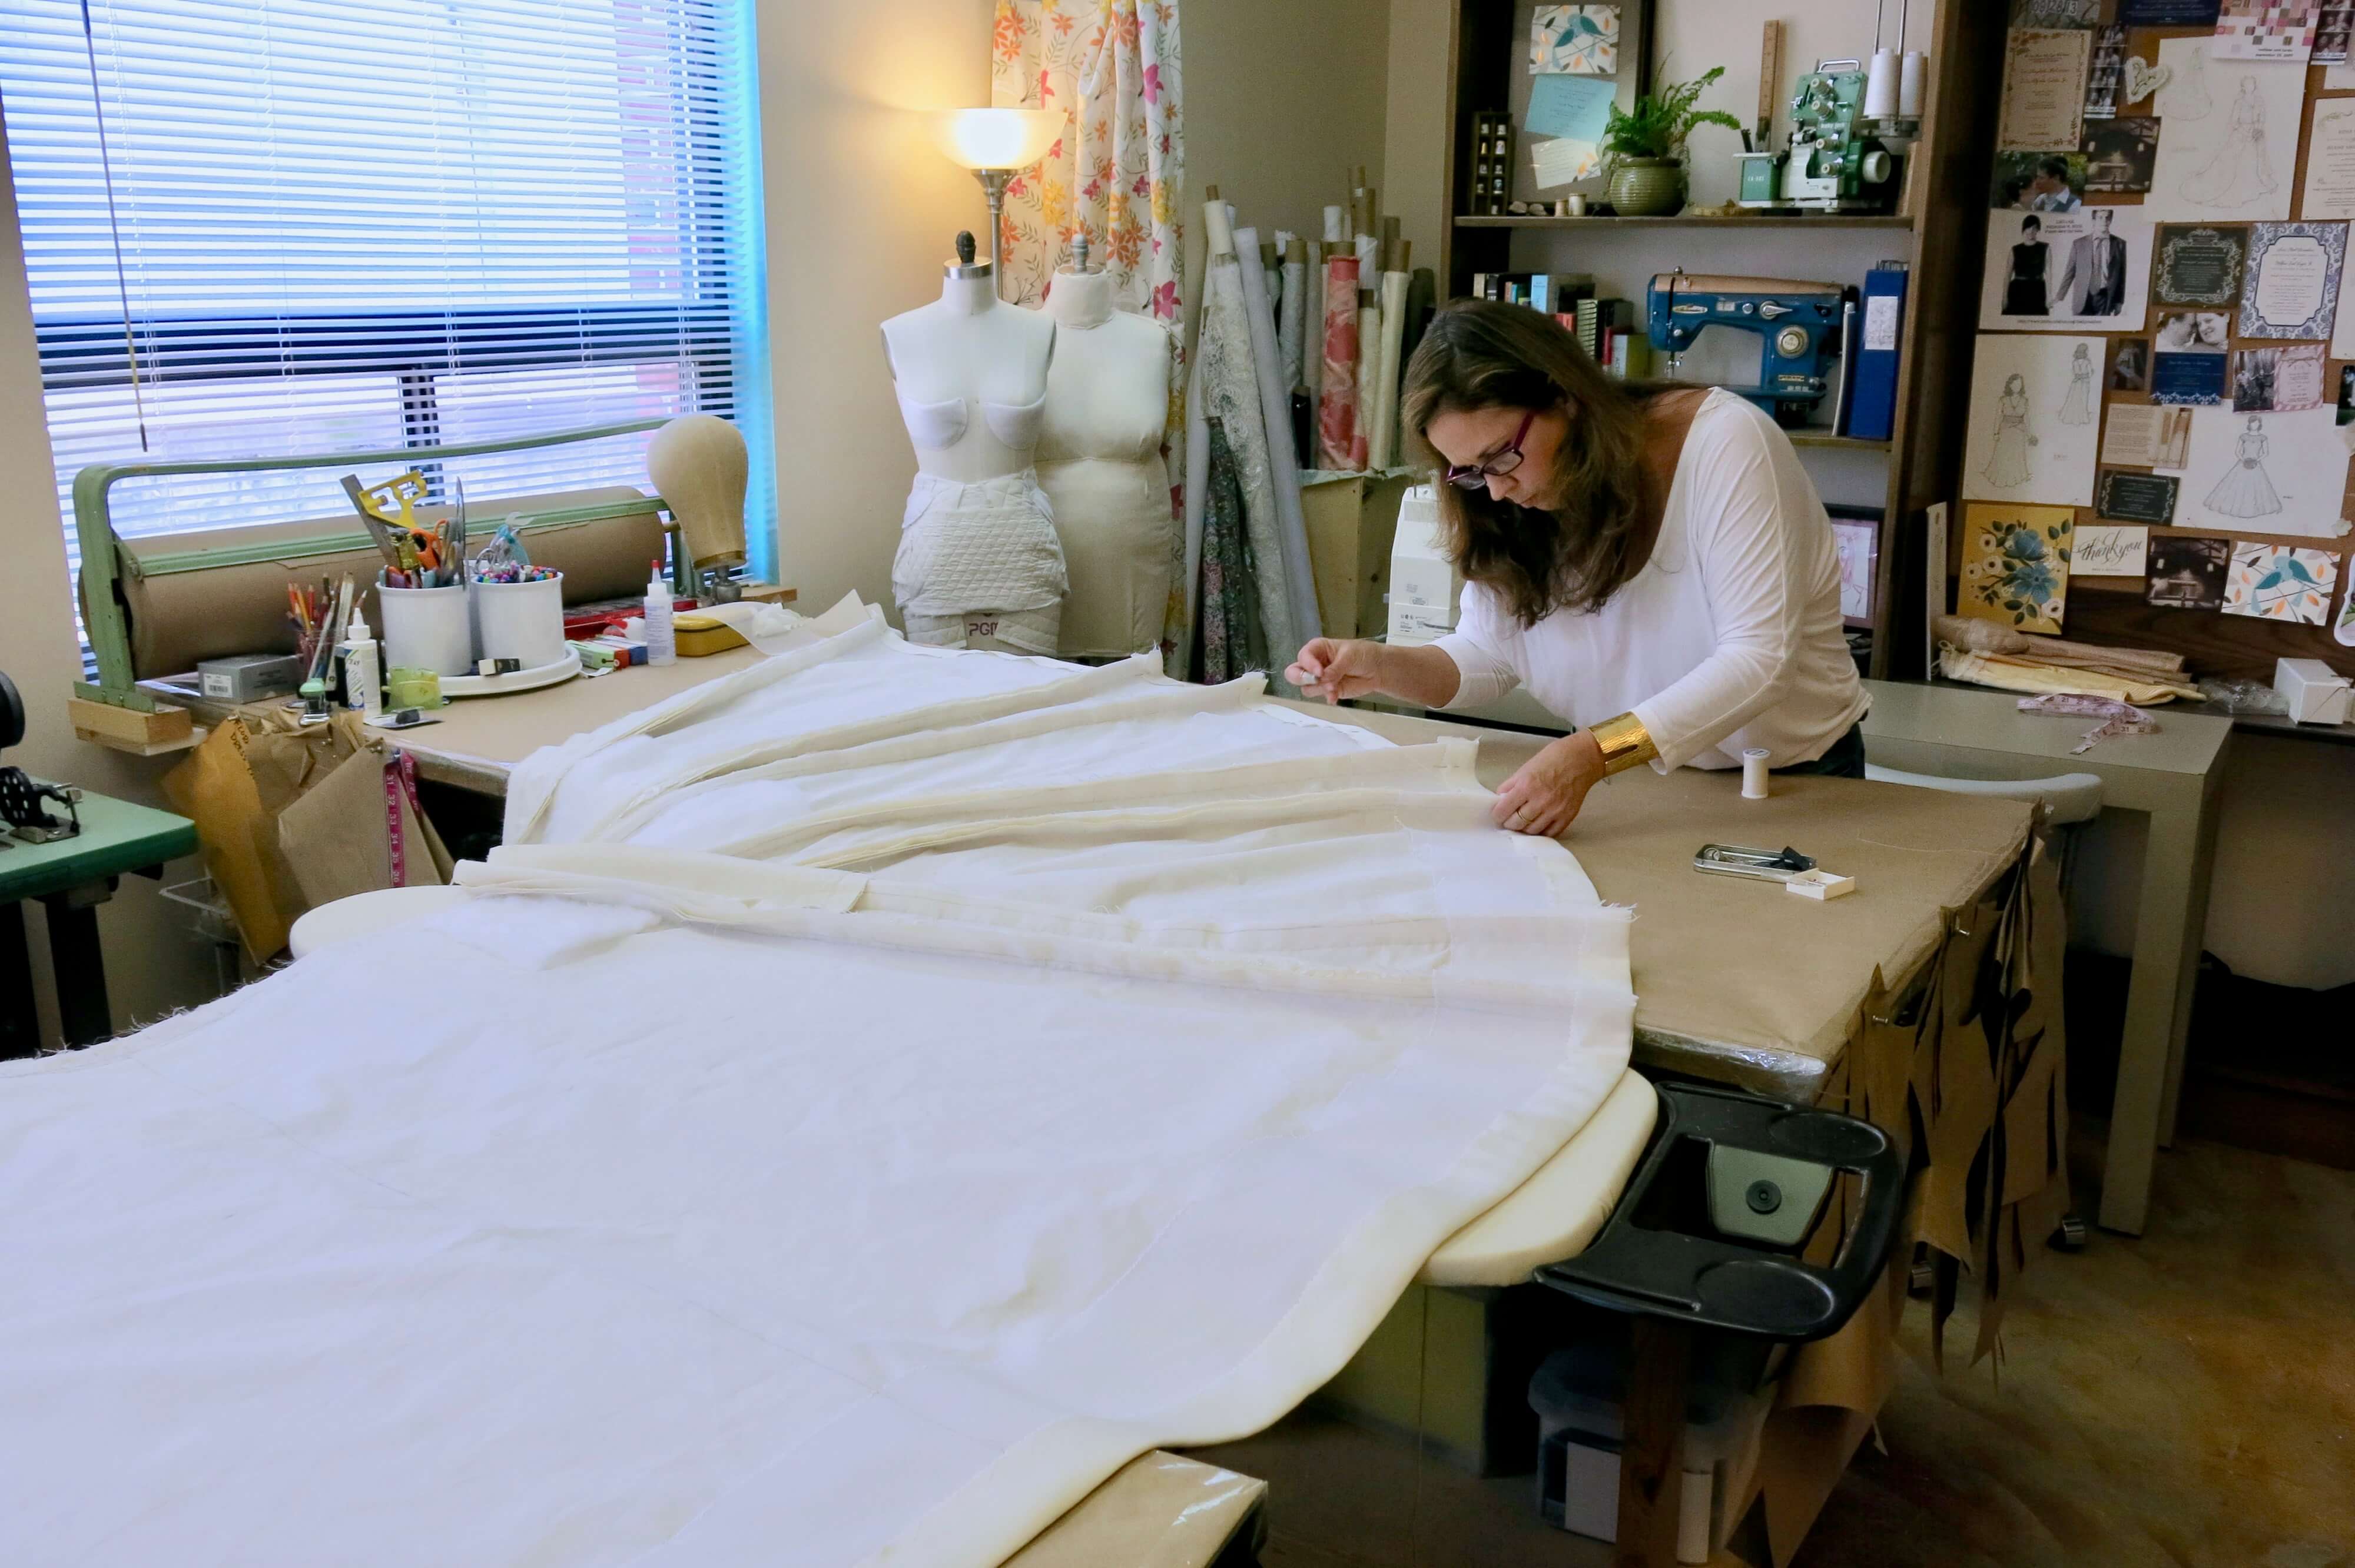
When working with bridal fabrics, it is crucial to keep everything clean and stable. It is not an option to have something fall on the floor and overhandling can be a quality-killer.
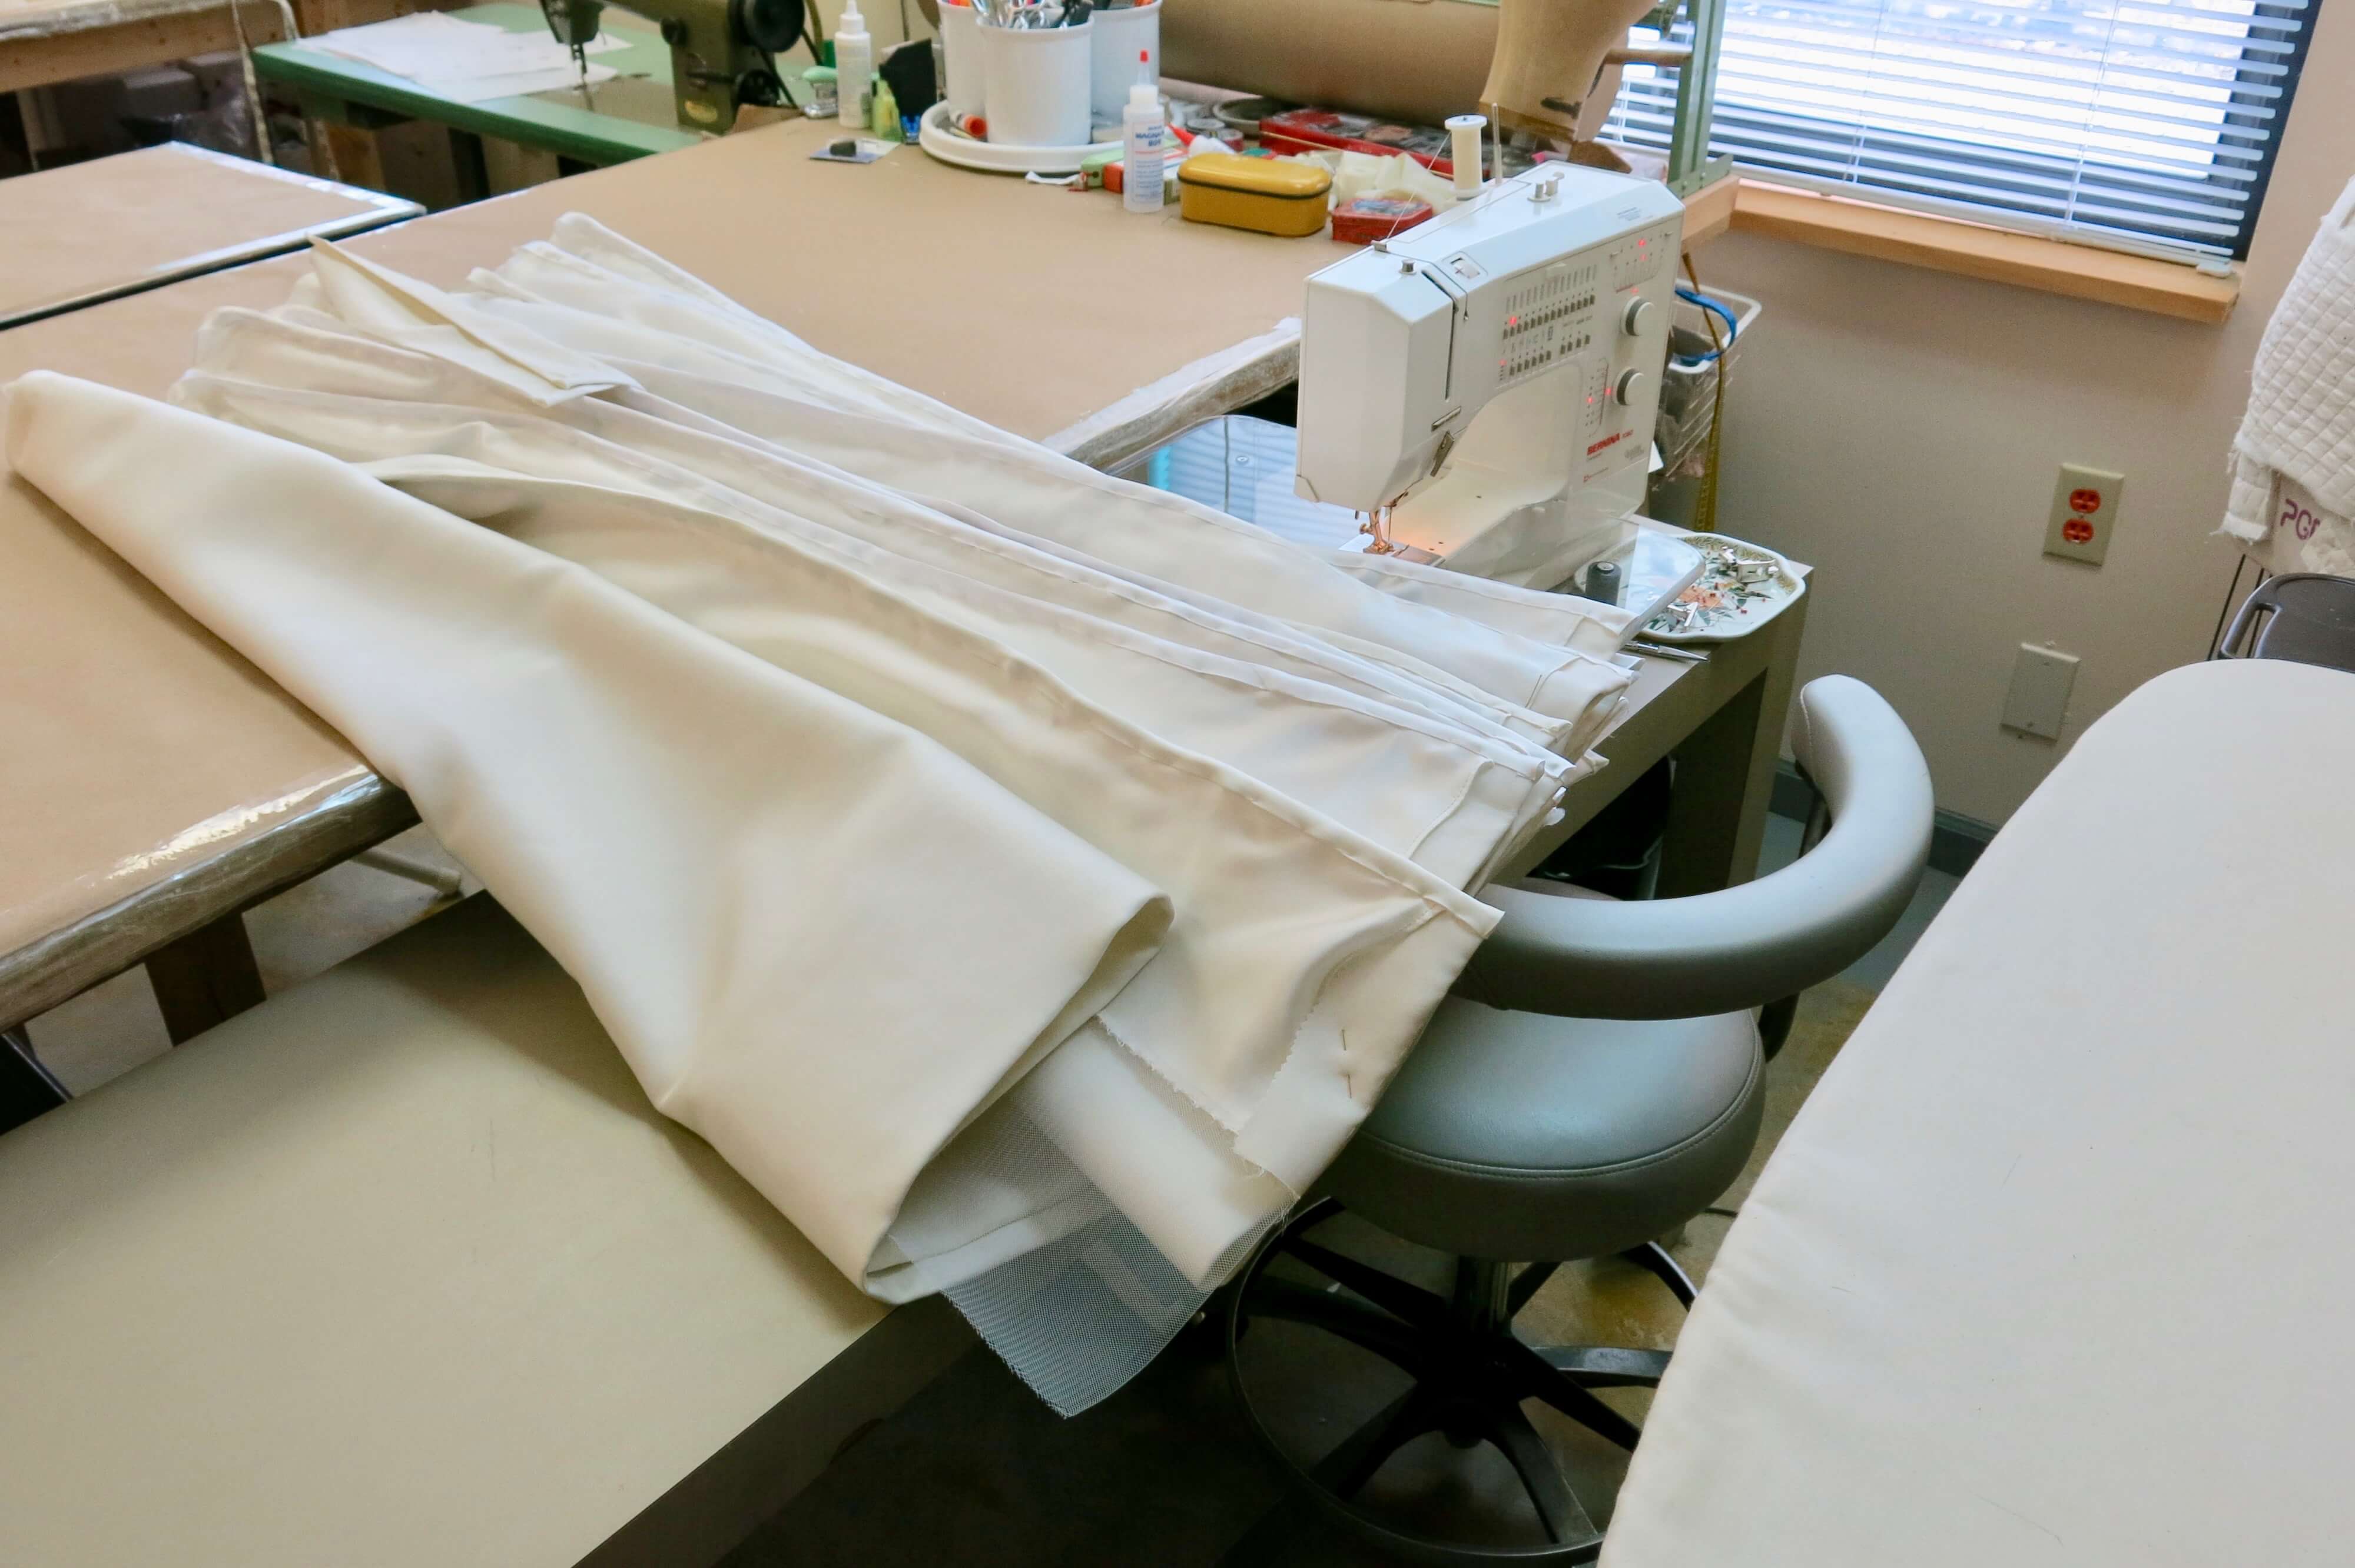
While joining the many large skirt pieces into a single voluminous skirt, I’d need to constantly support the fabric. I am already blessed with two large custom sewing tables (click here to learn how to make one for yourself) plus my portable table extender (learn more about it here), but rearranging my sewing machine setup would offer even more support.
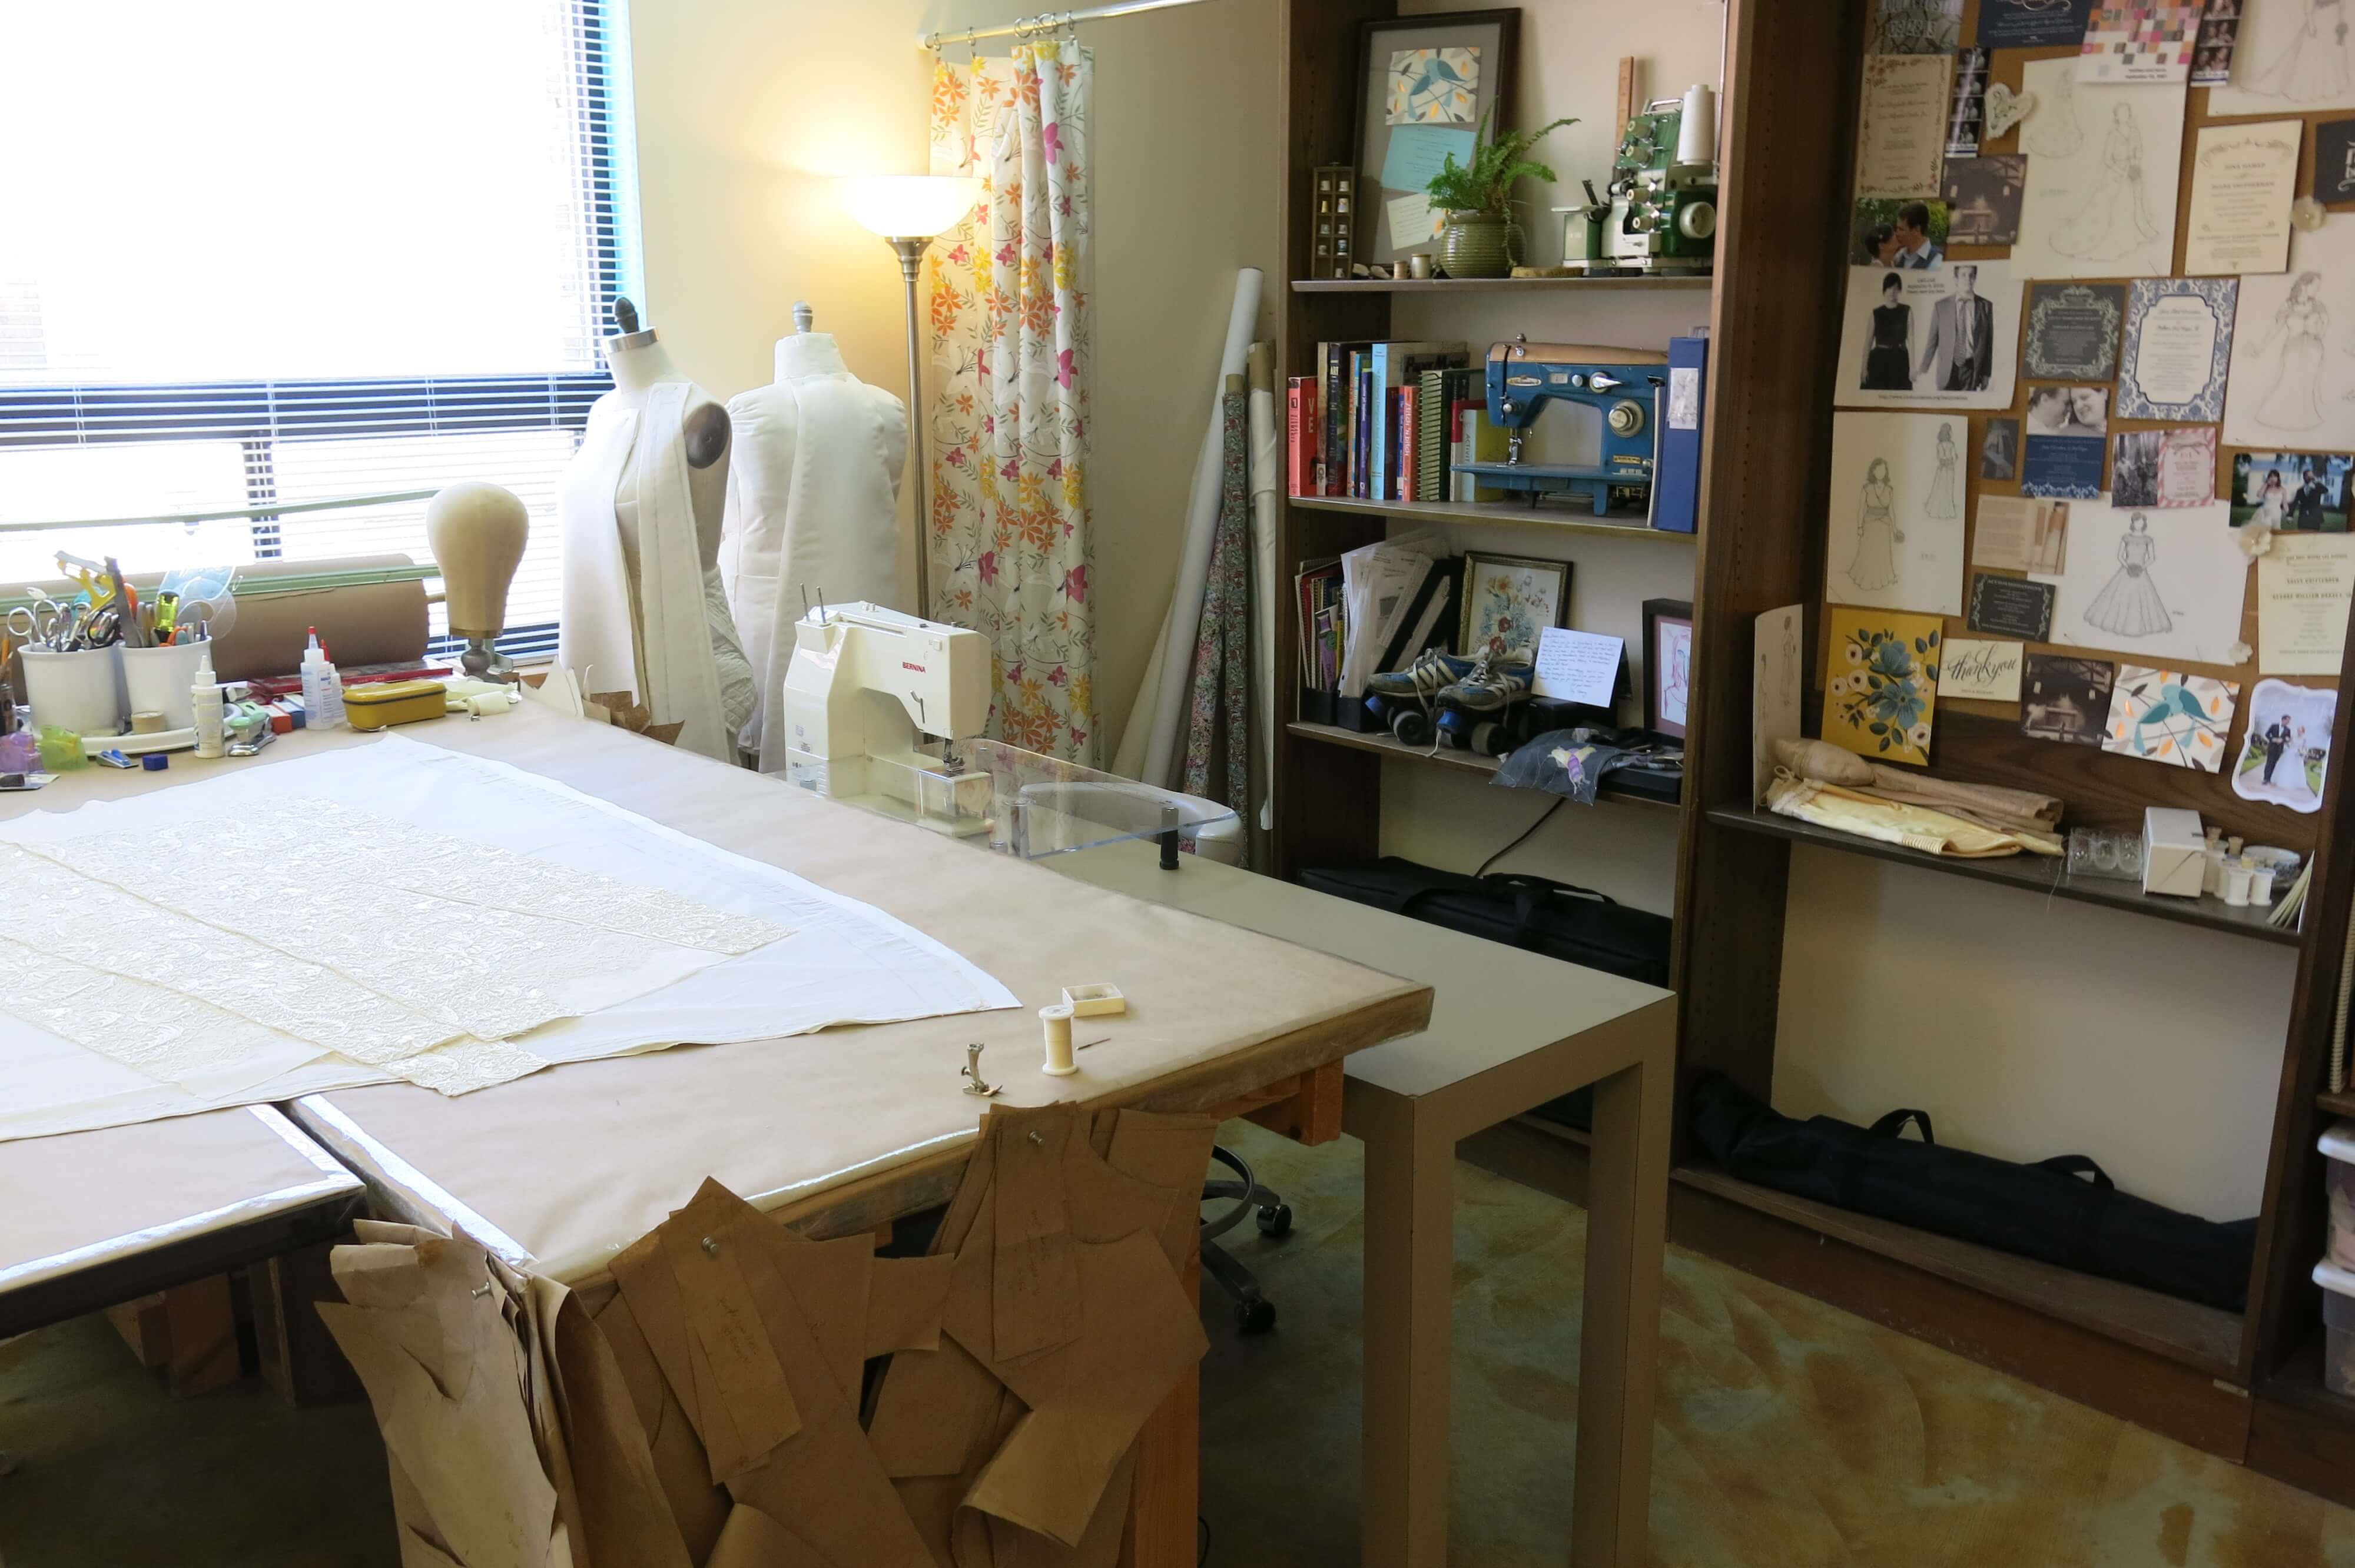
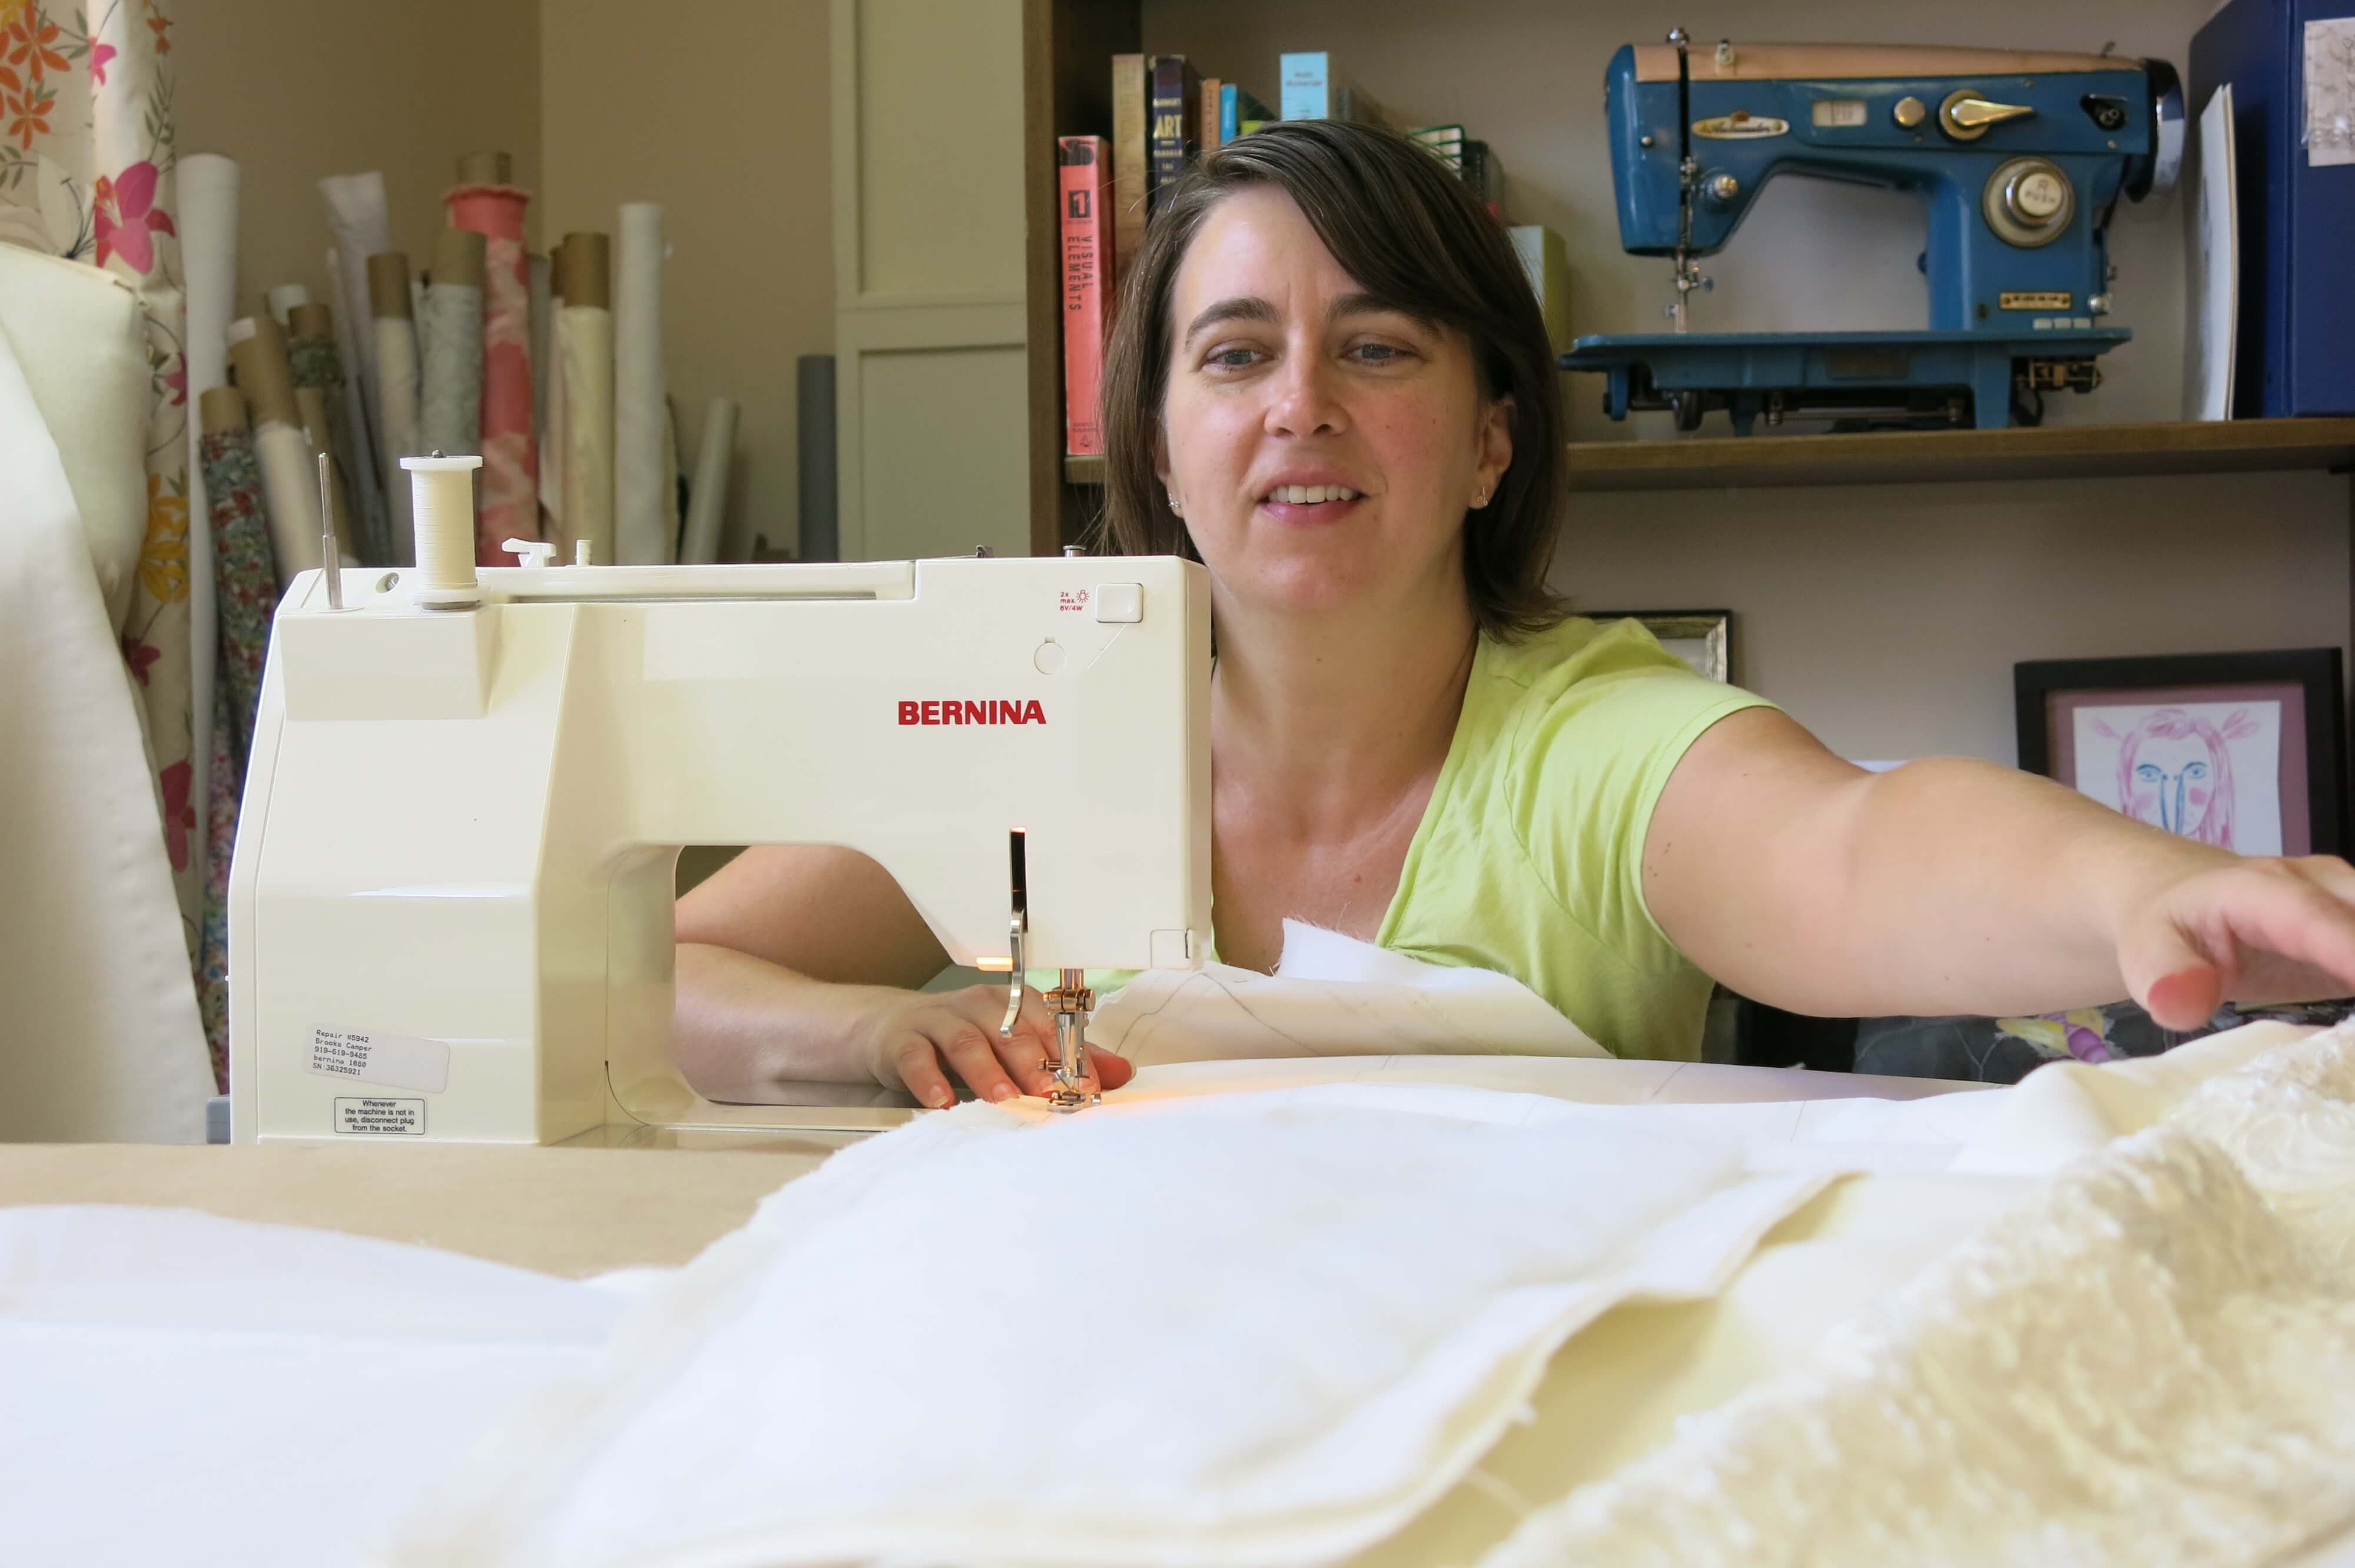
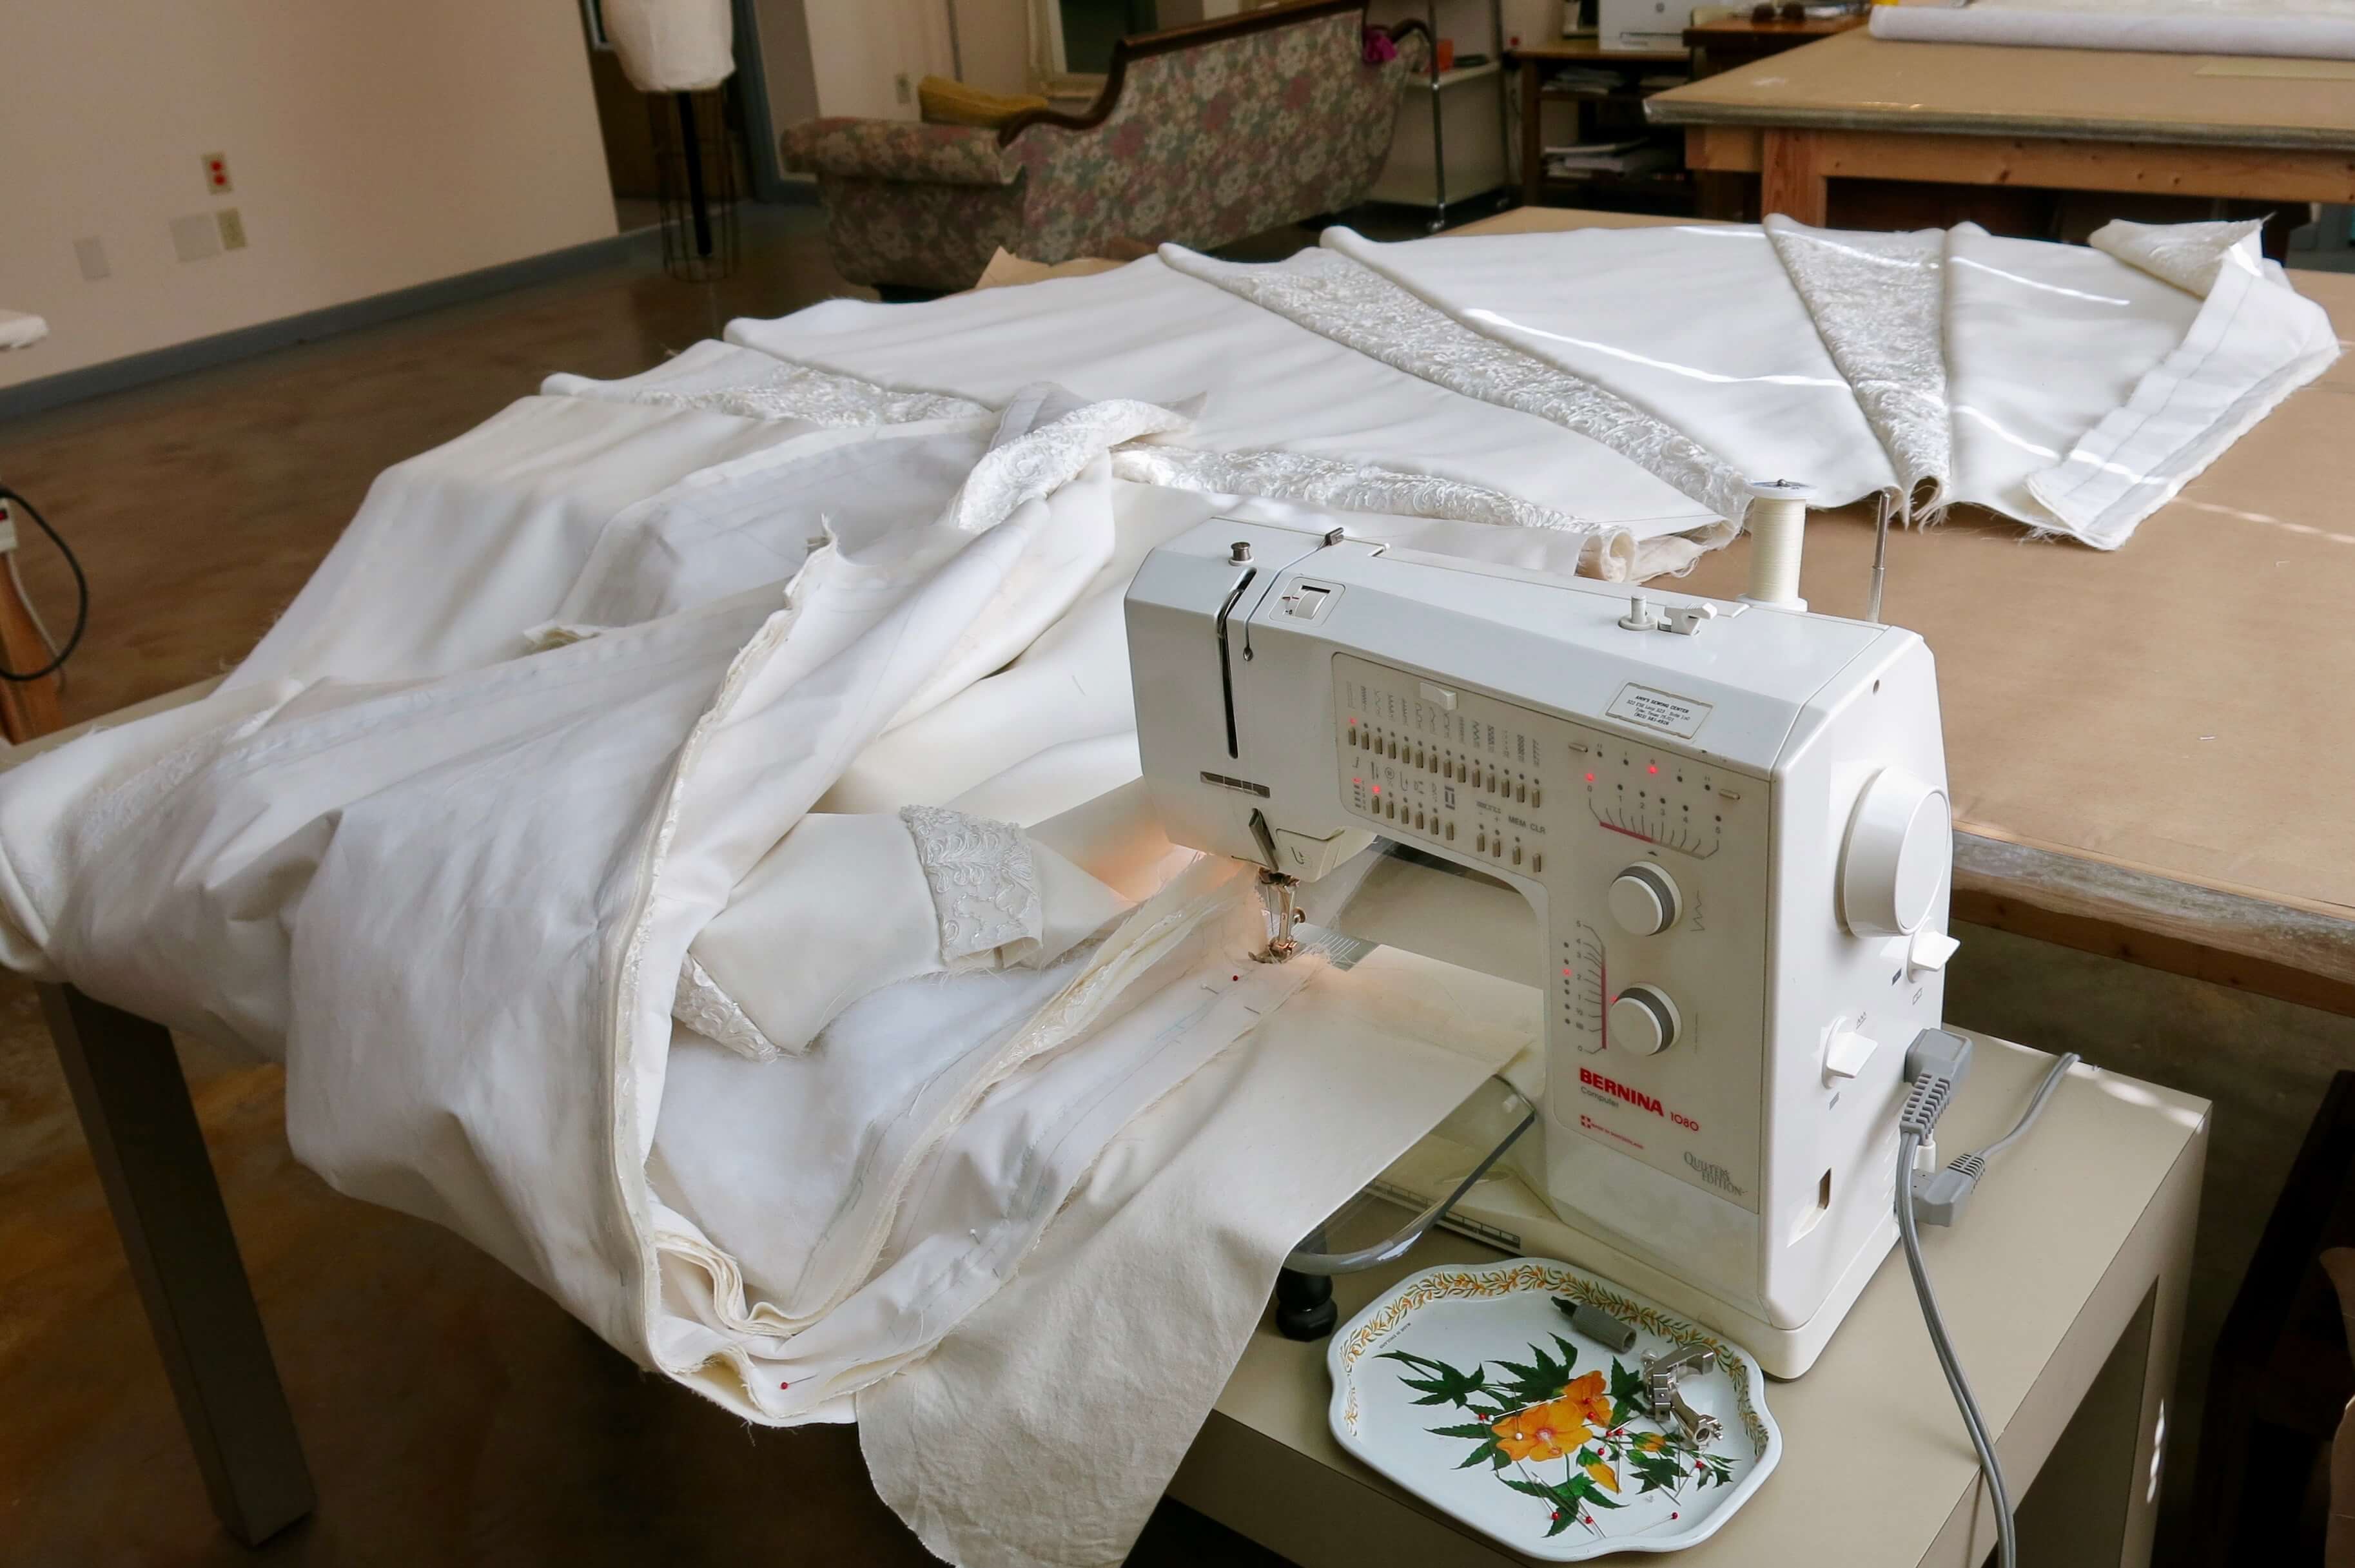
I most often work with my Bernina 1080 sewing machine in the position you see in the photo below…
…but I switched it around to offer maximum support to the fabrics as I run them through the machine.
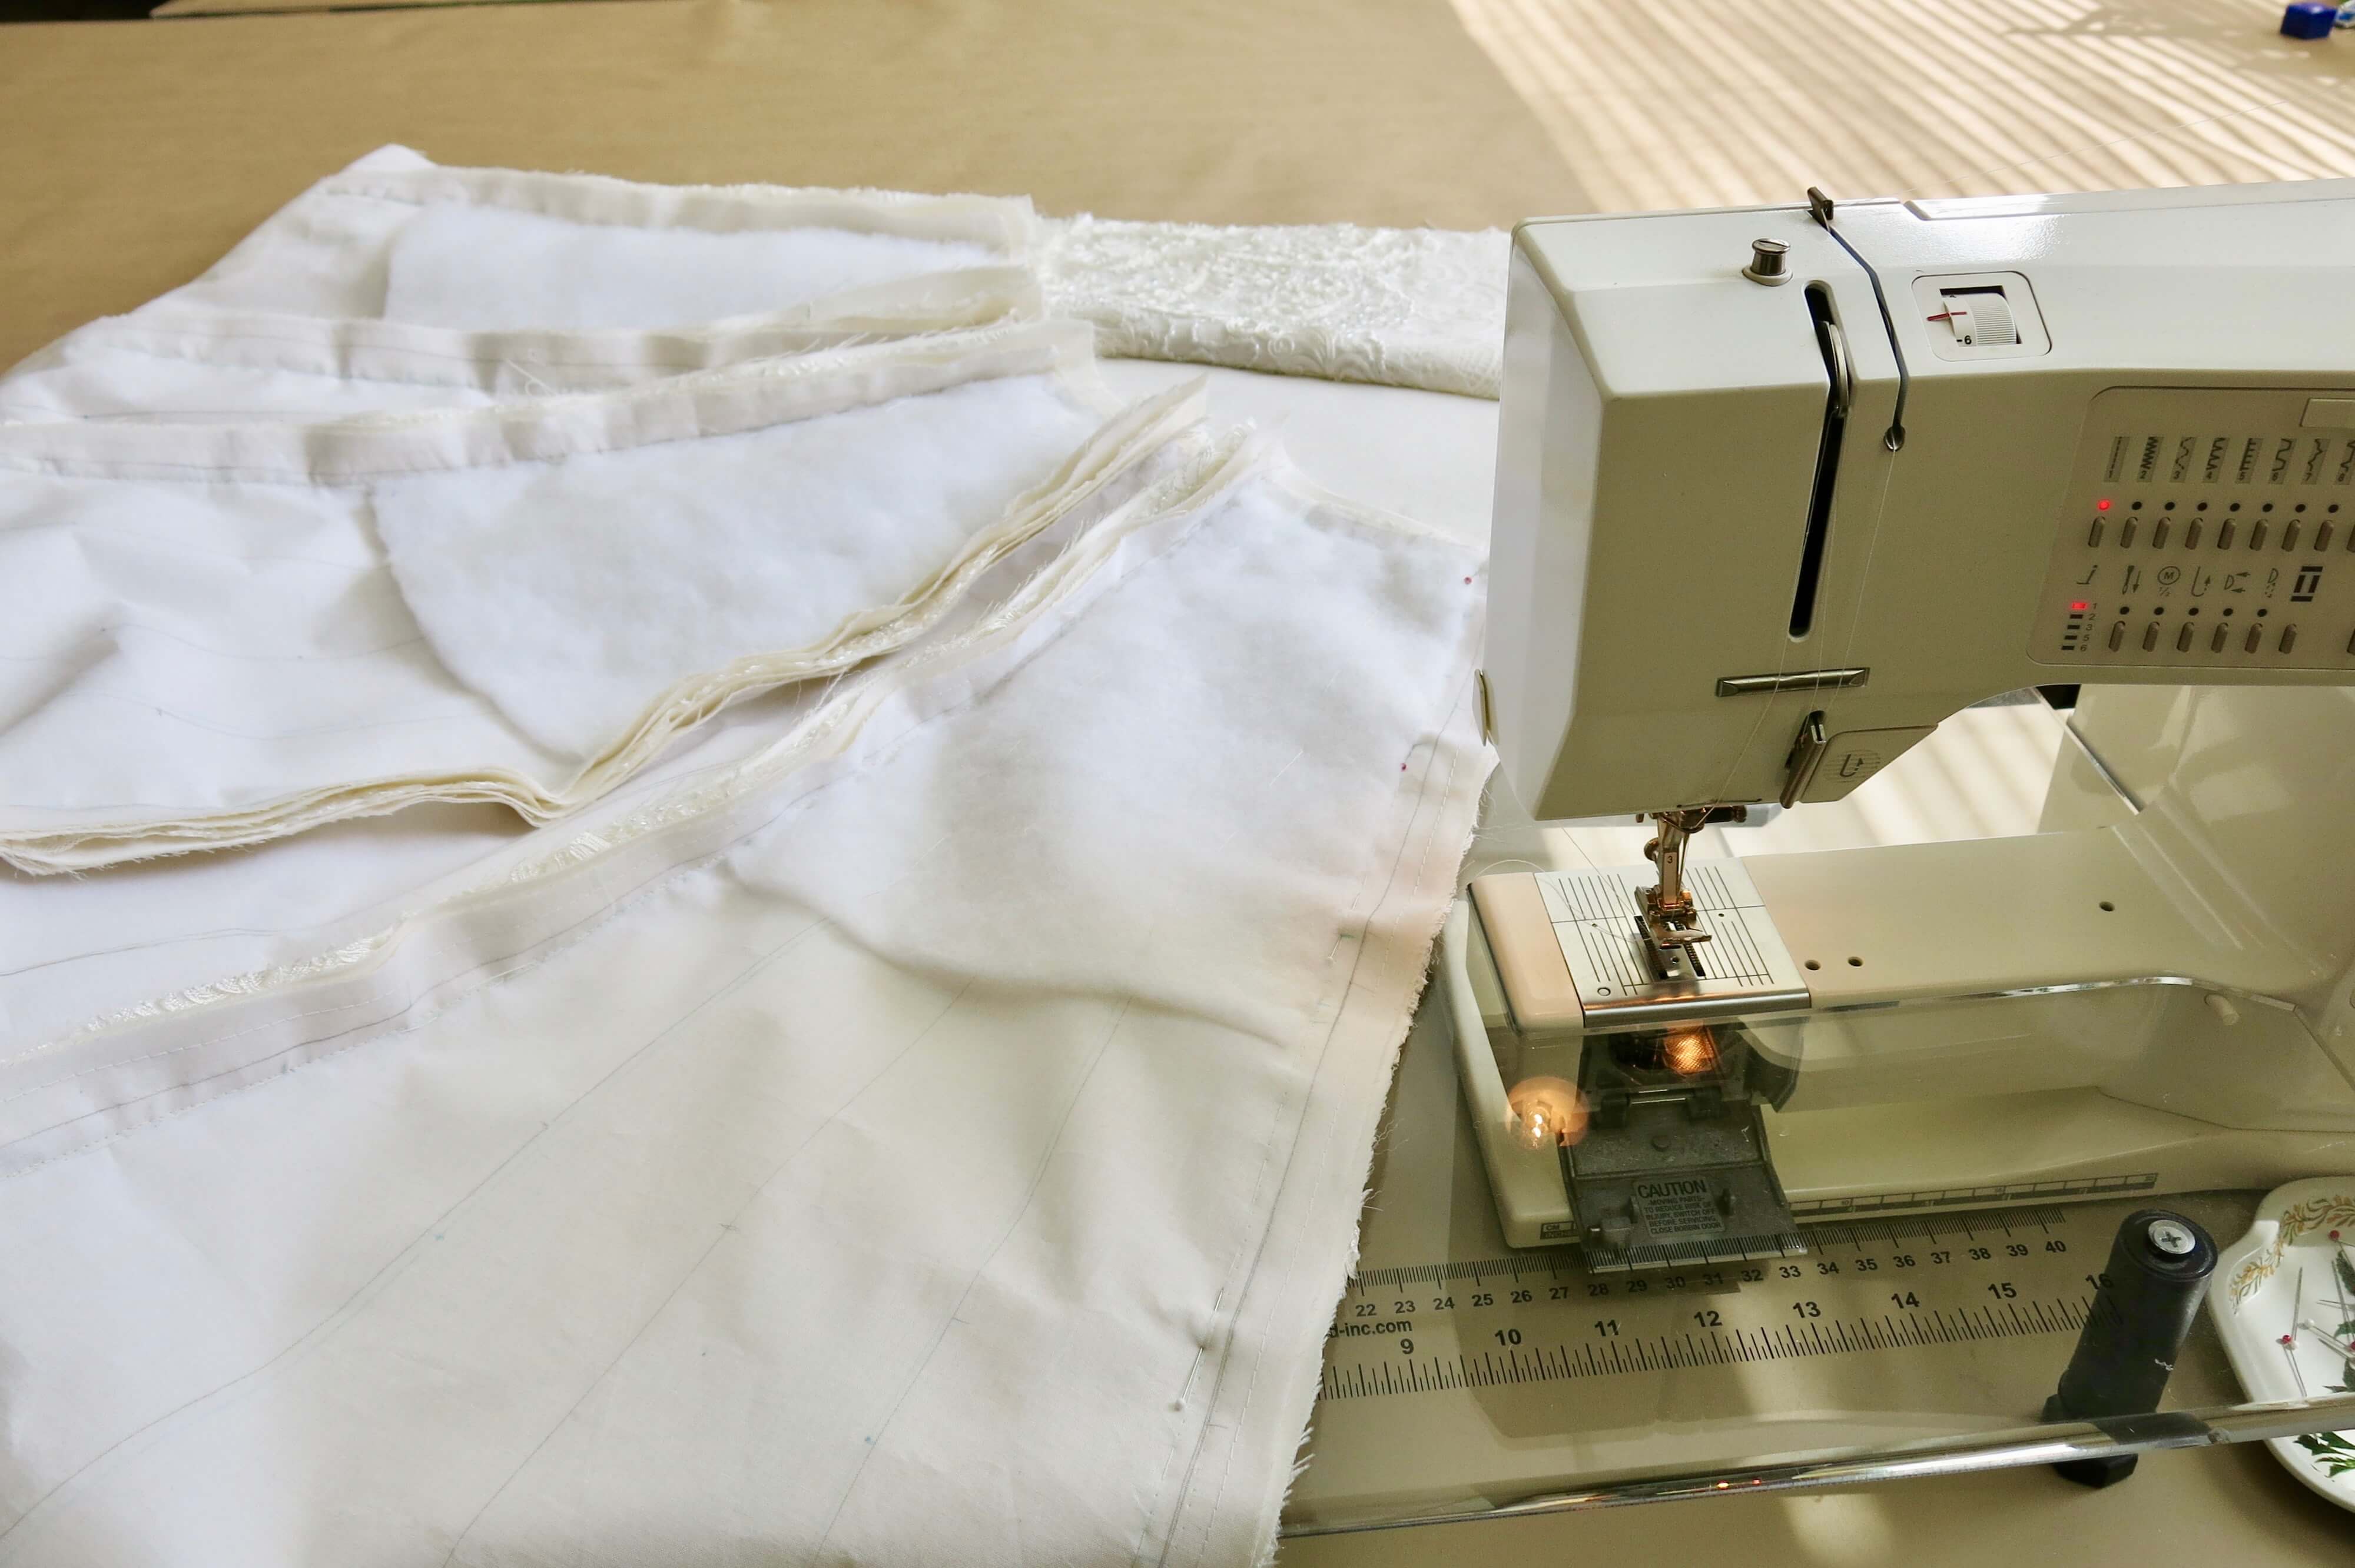
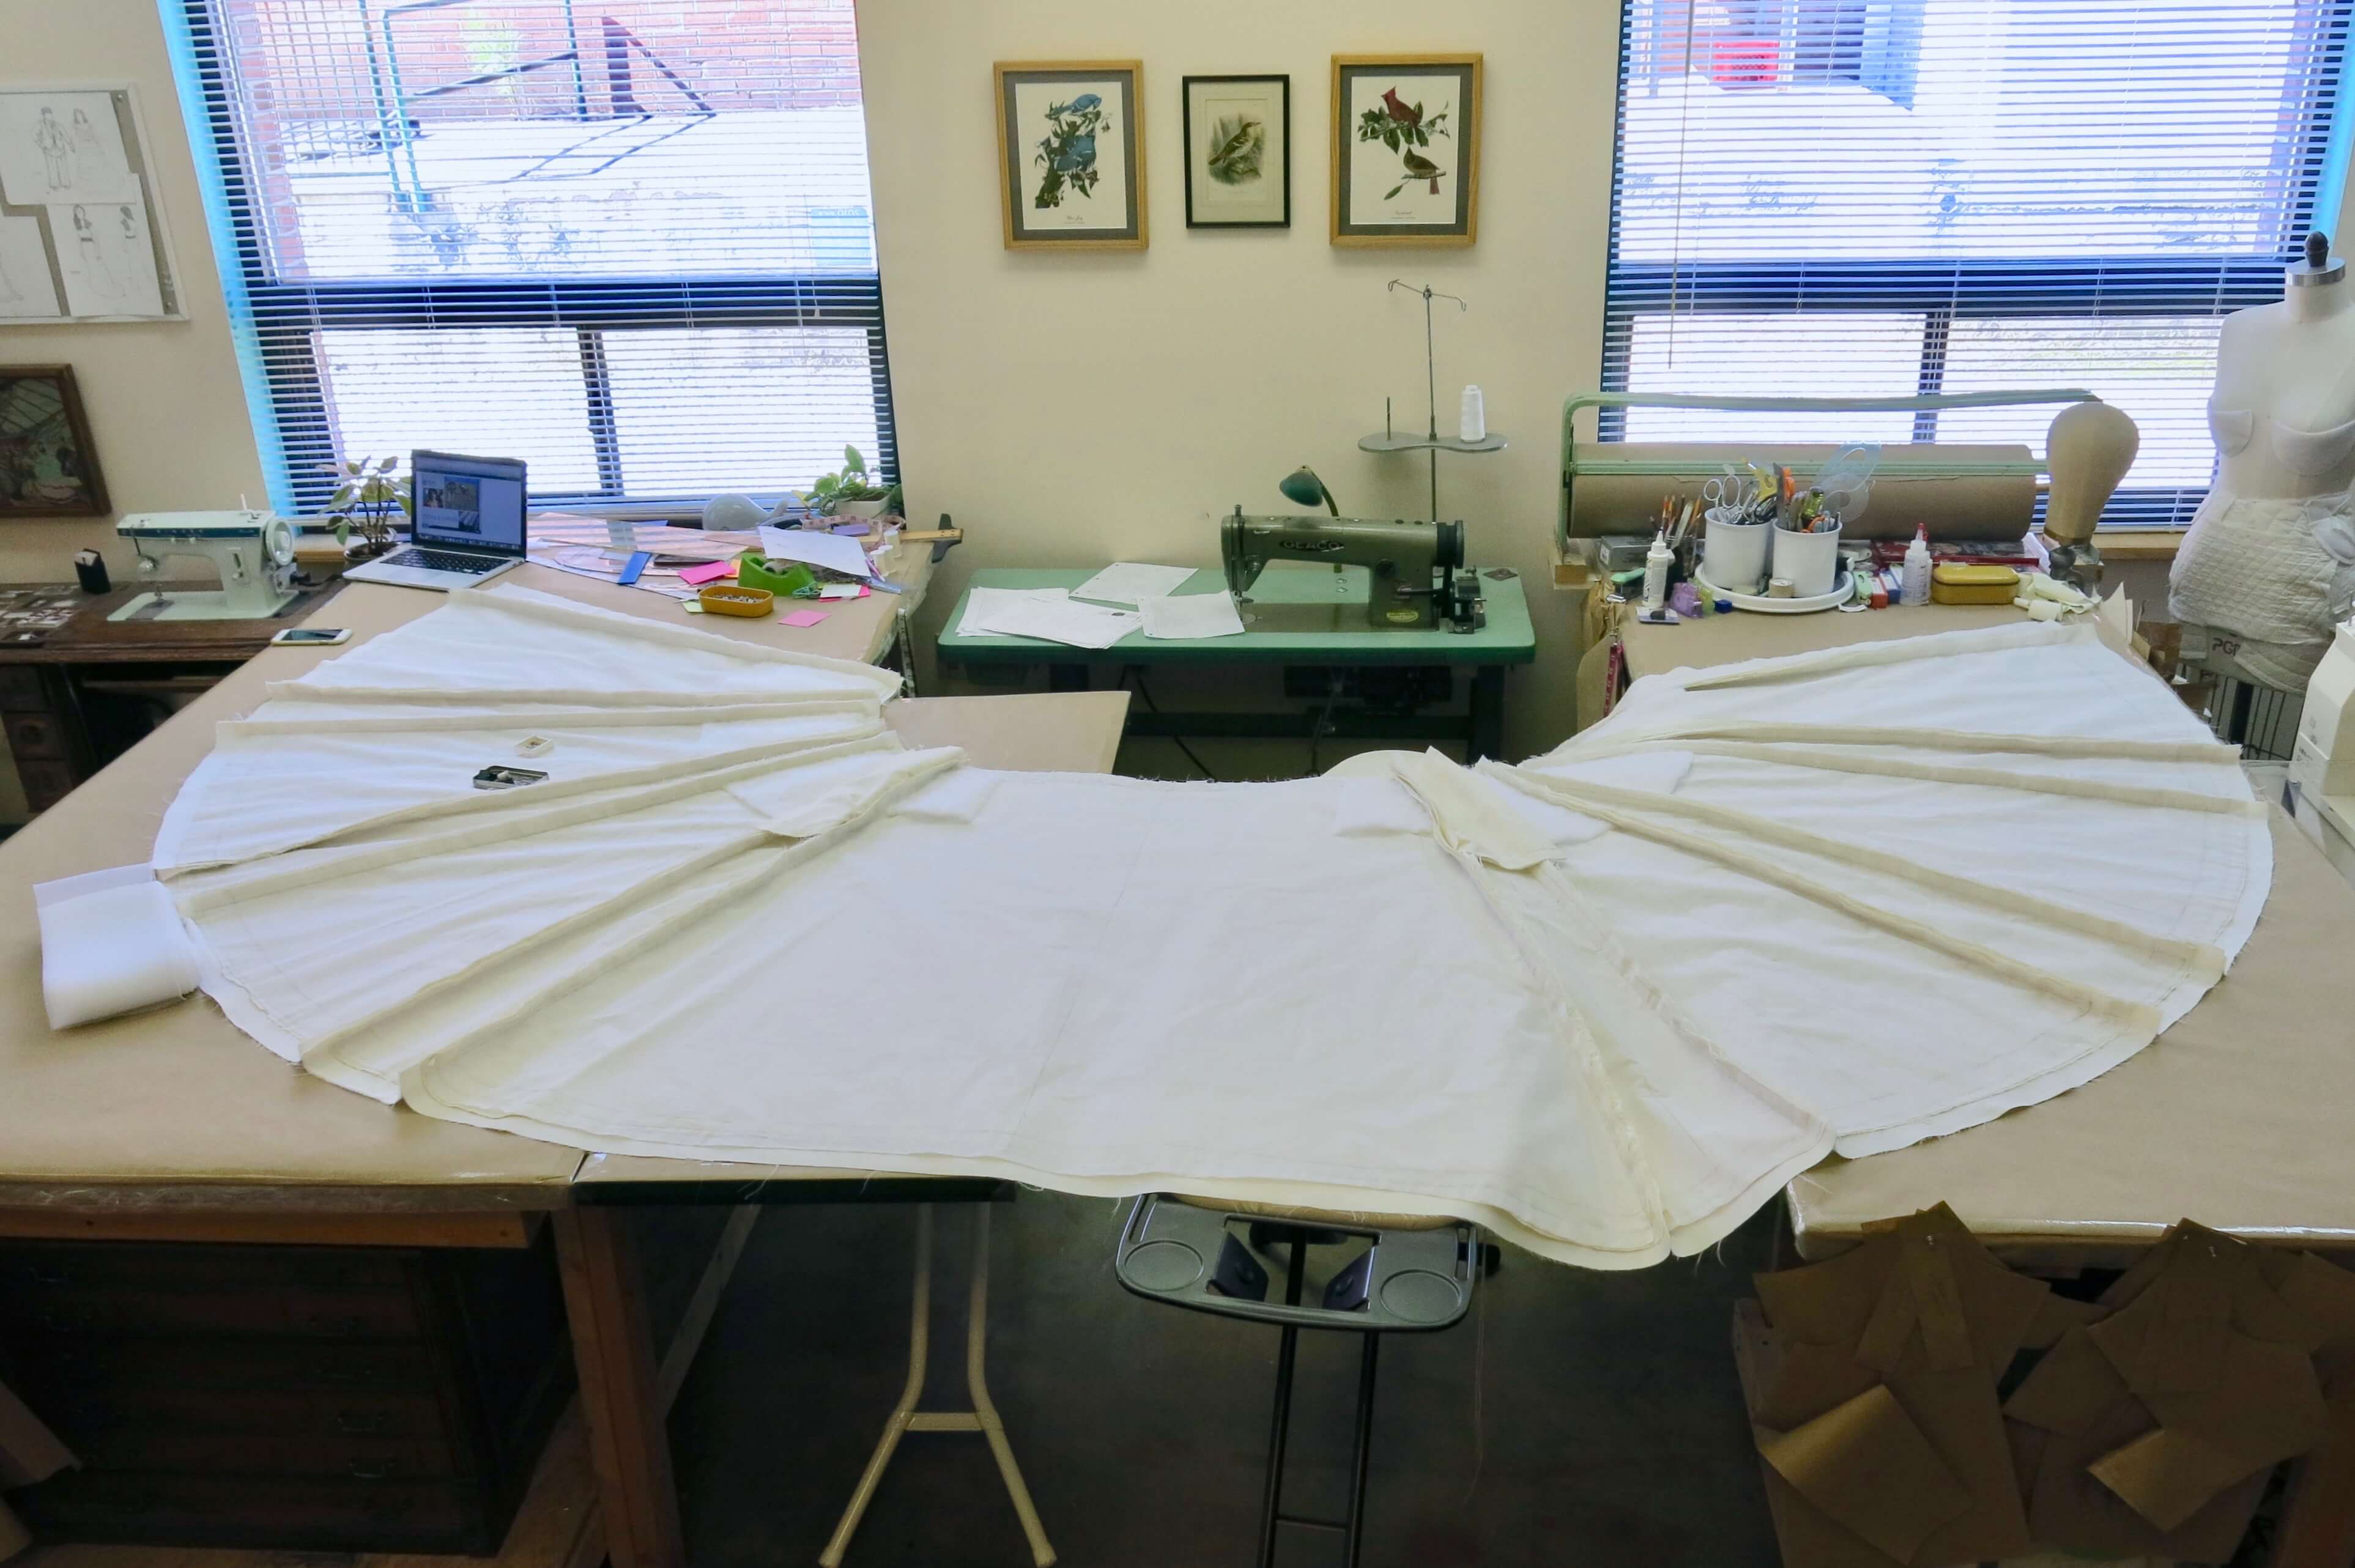
With each panel, the skirt gets bigger and heavier…
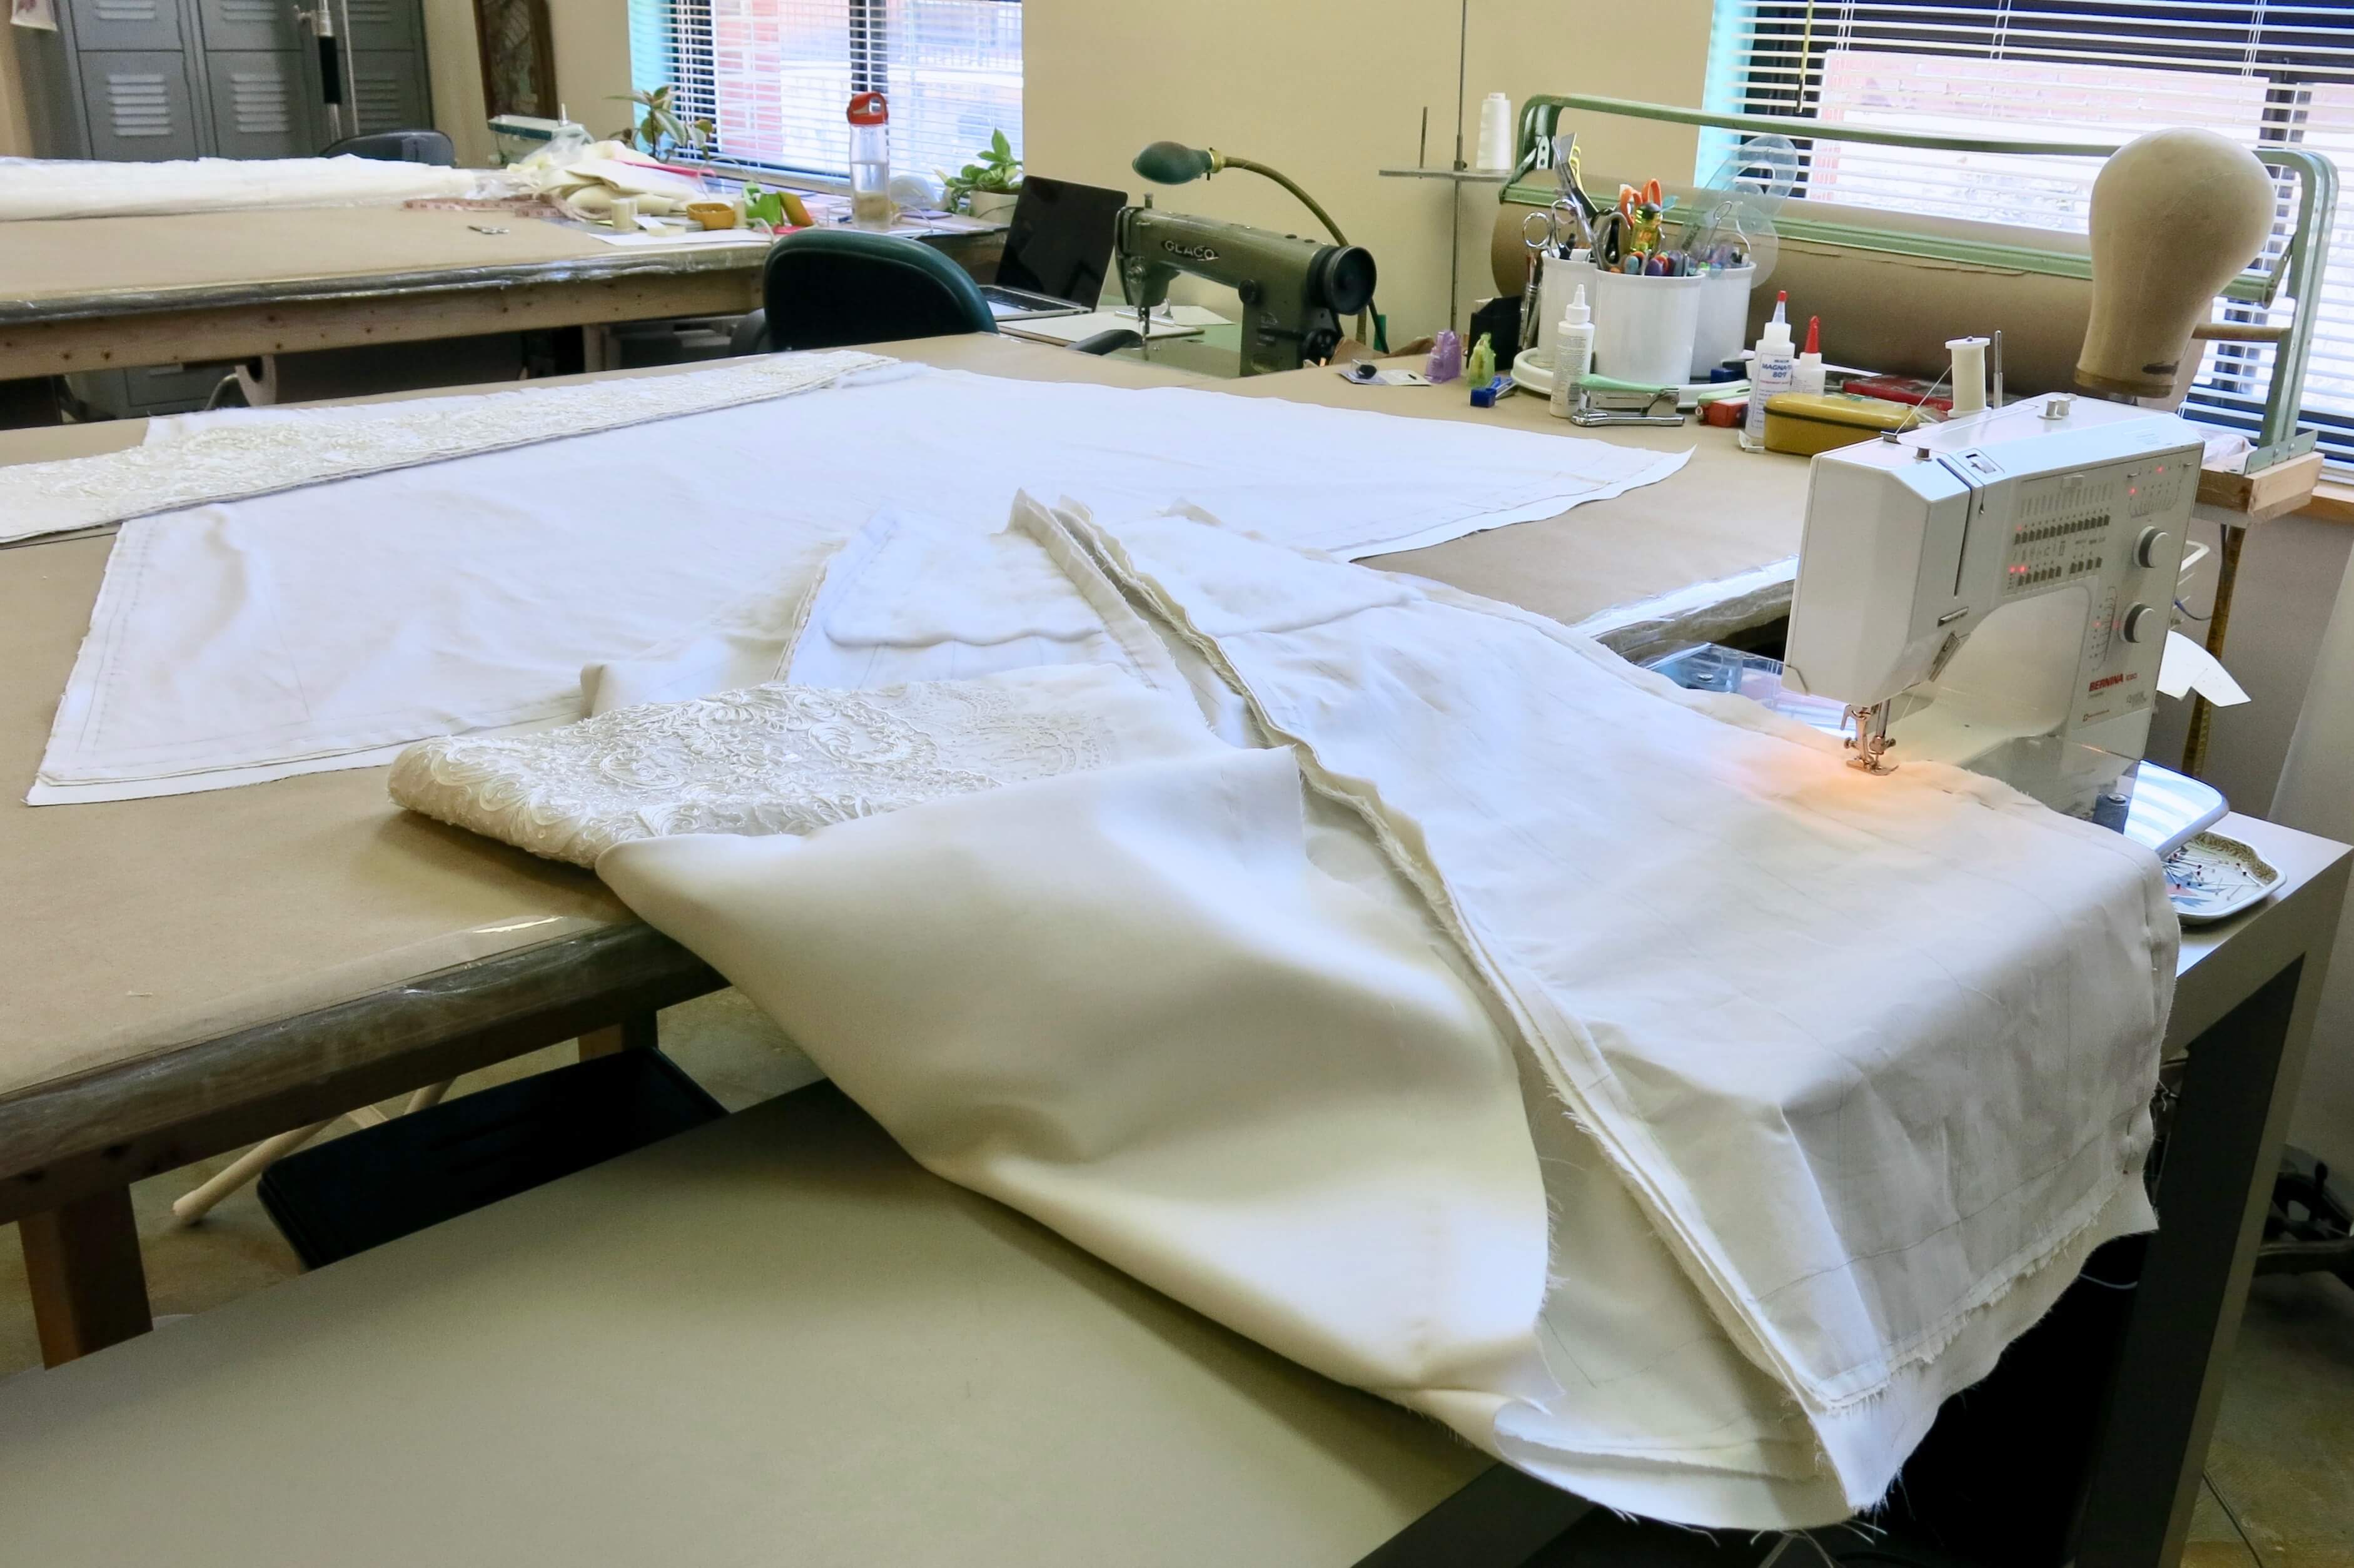
…becoming a full-body workout involving chins and arms and shoulders.
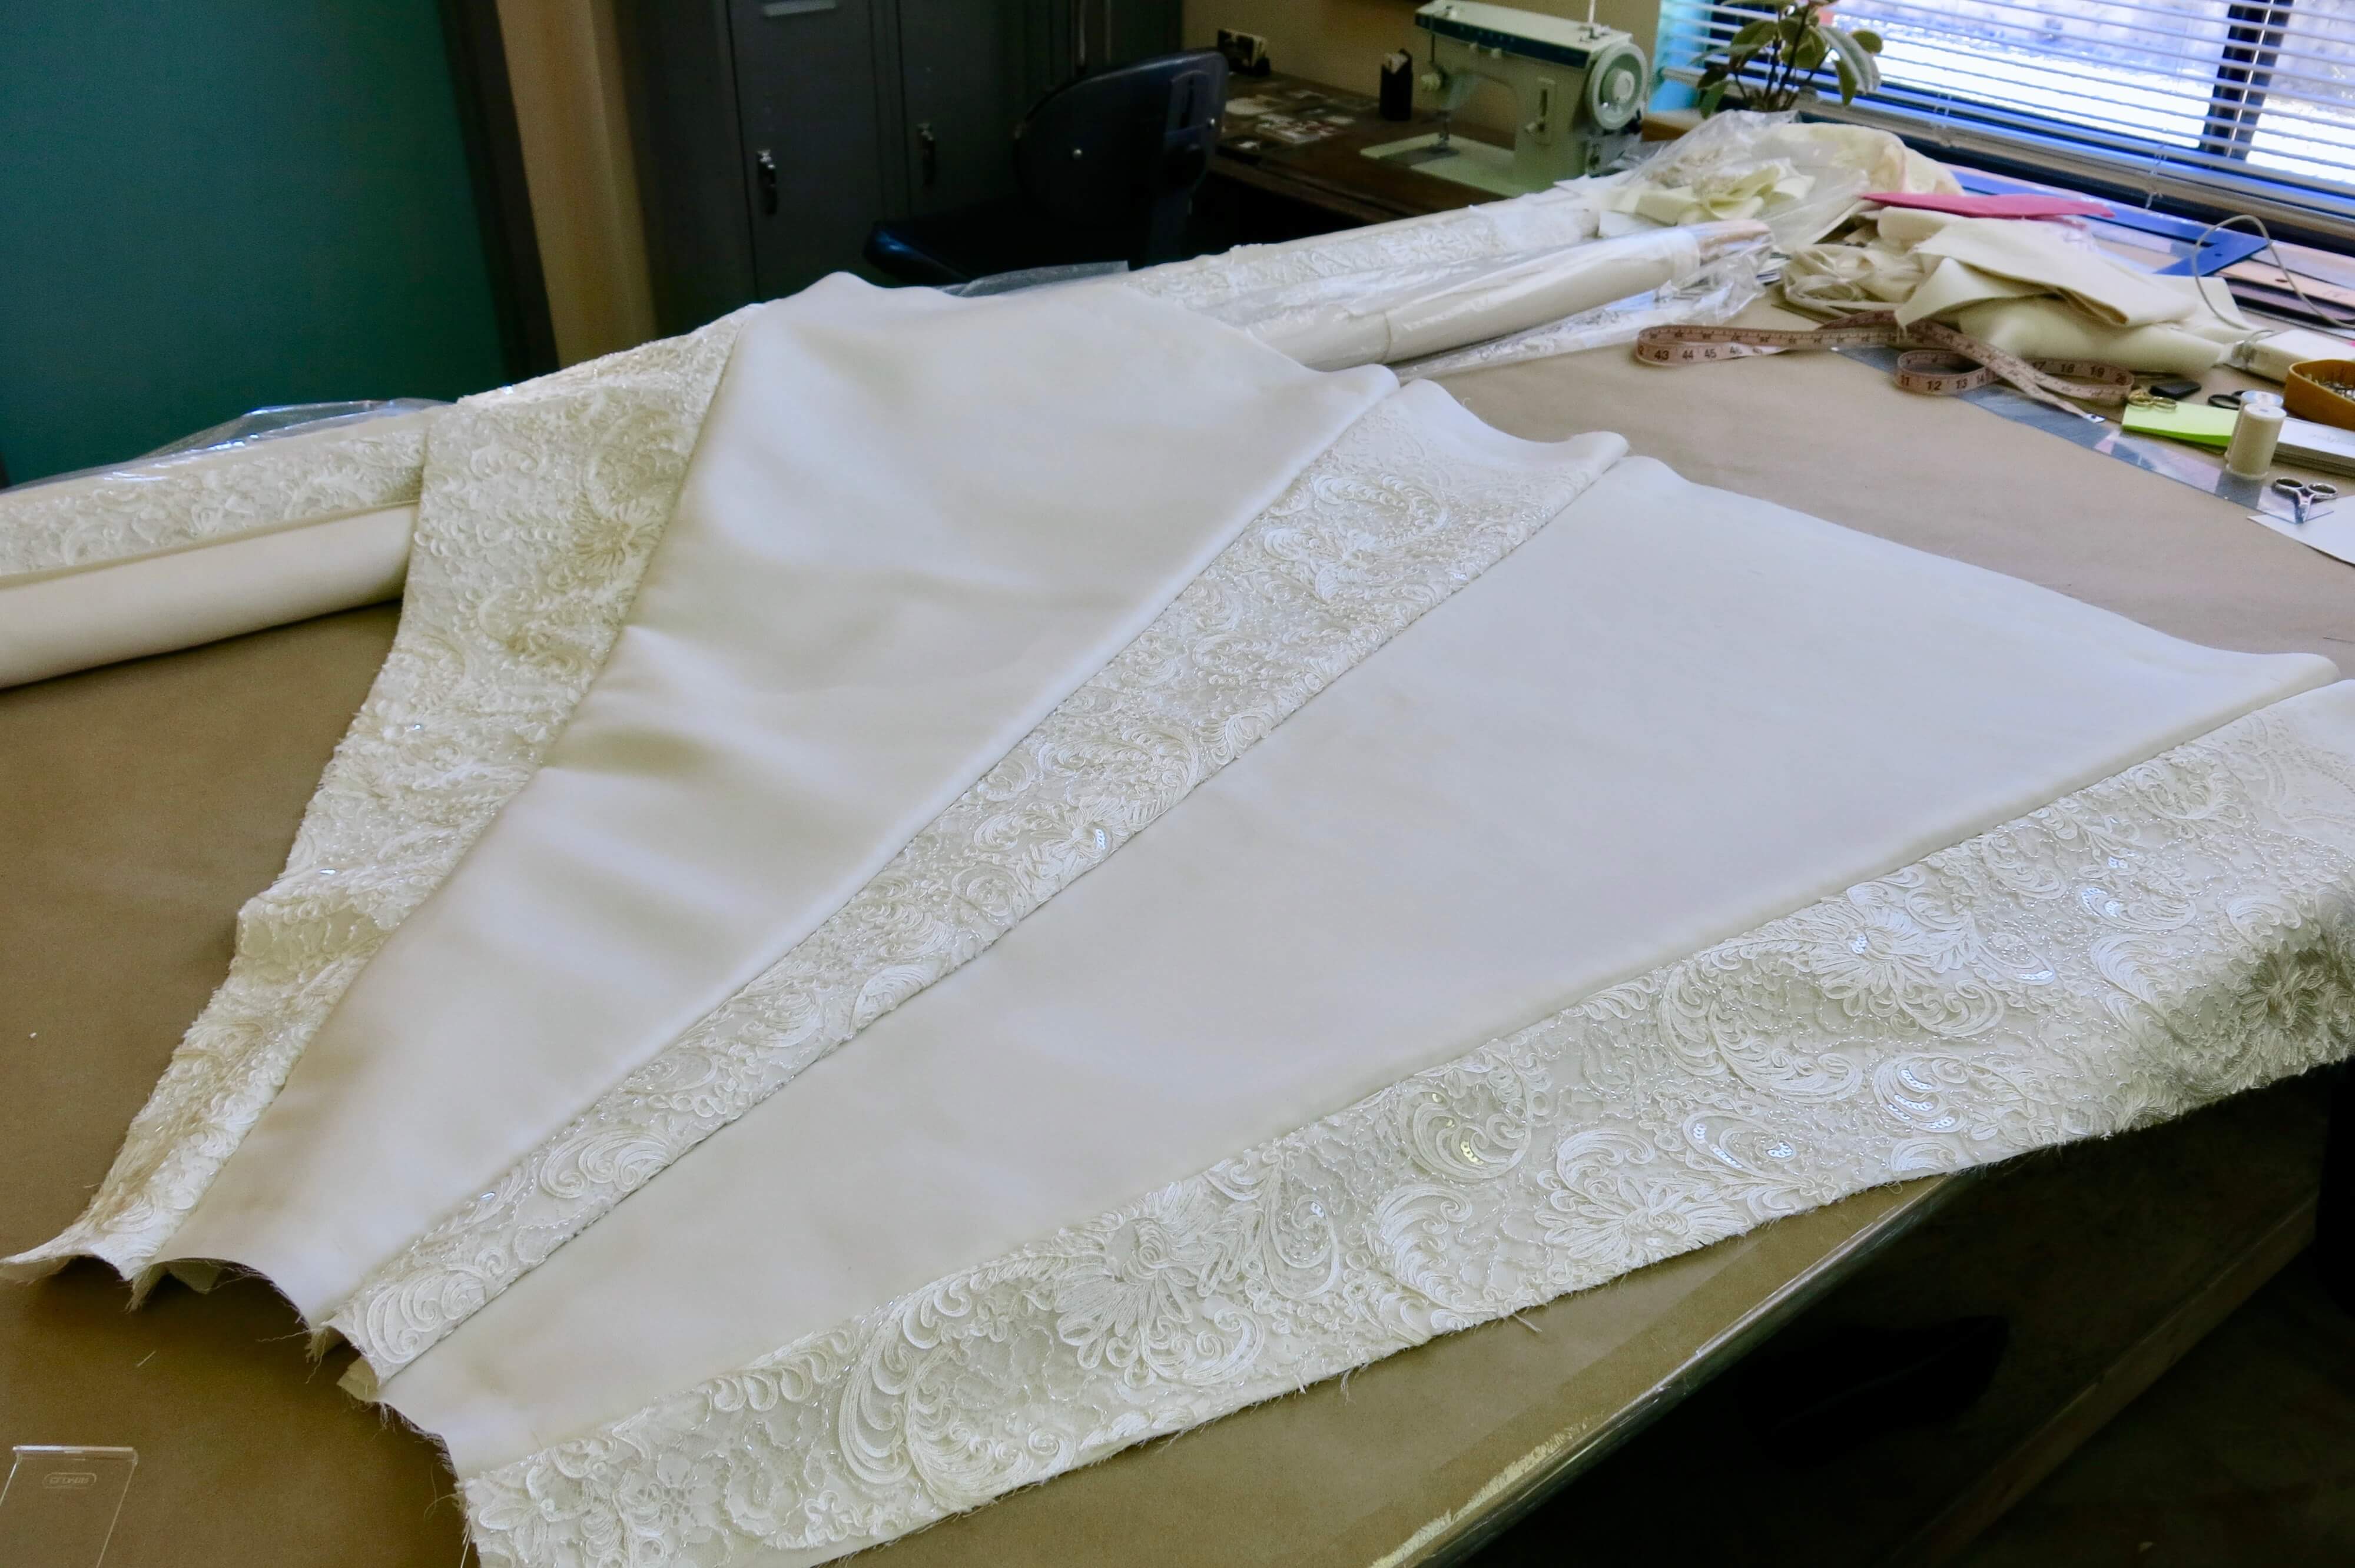
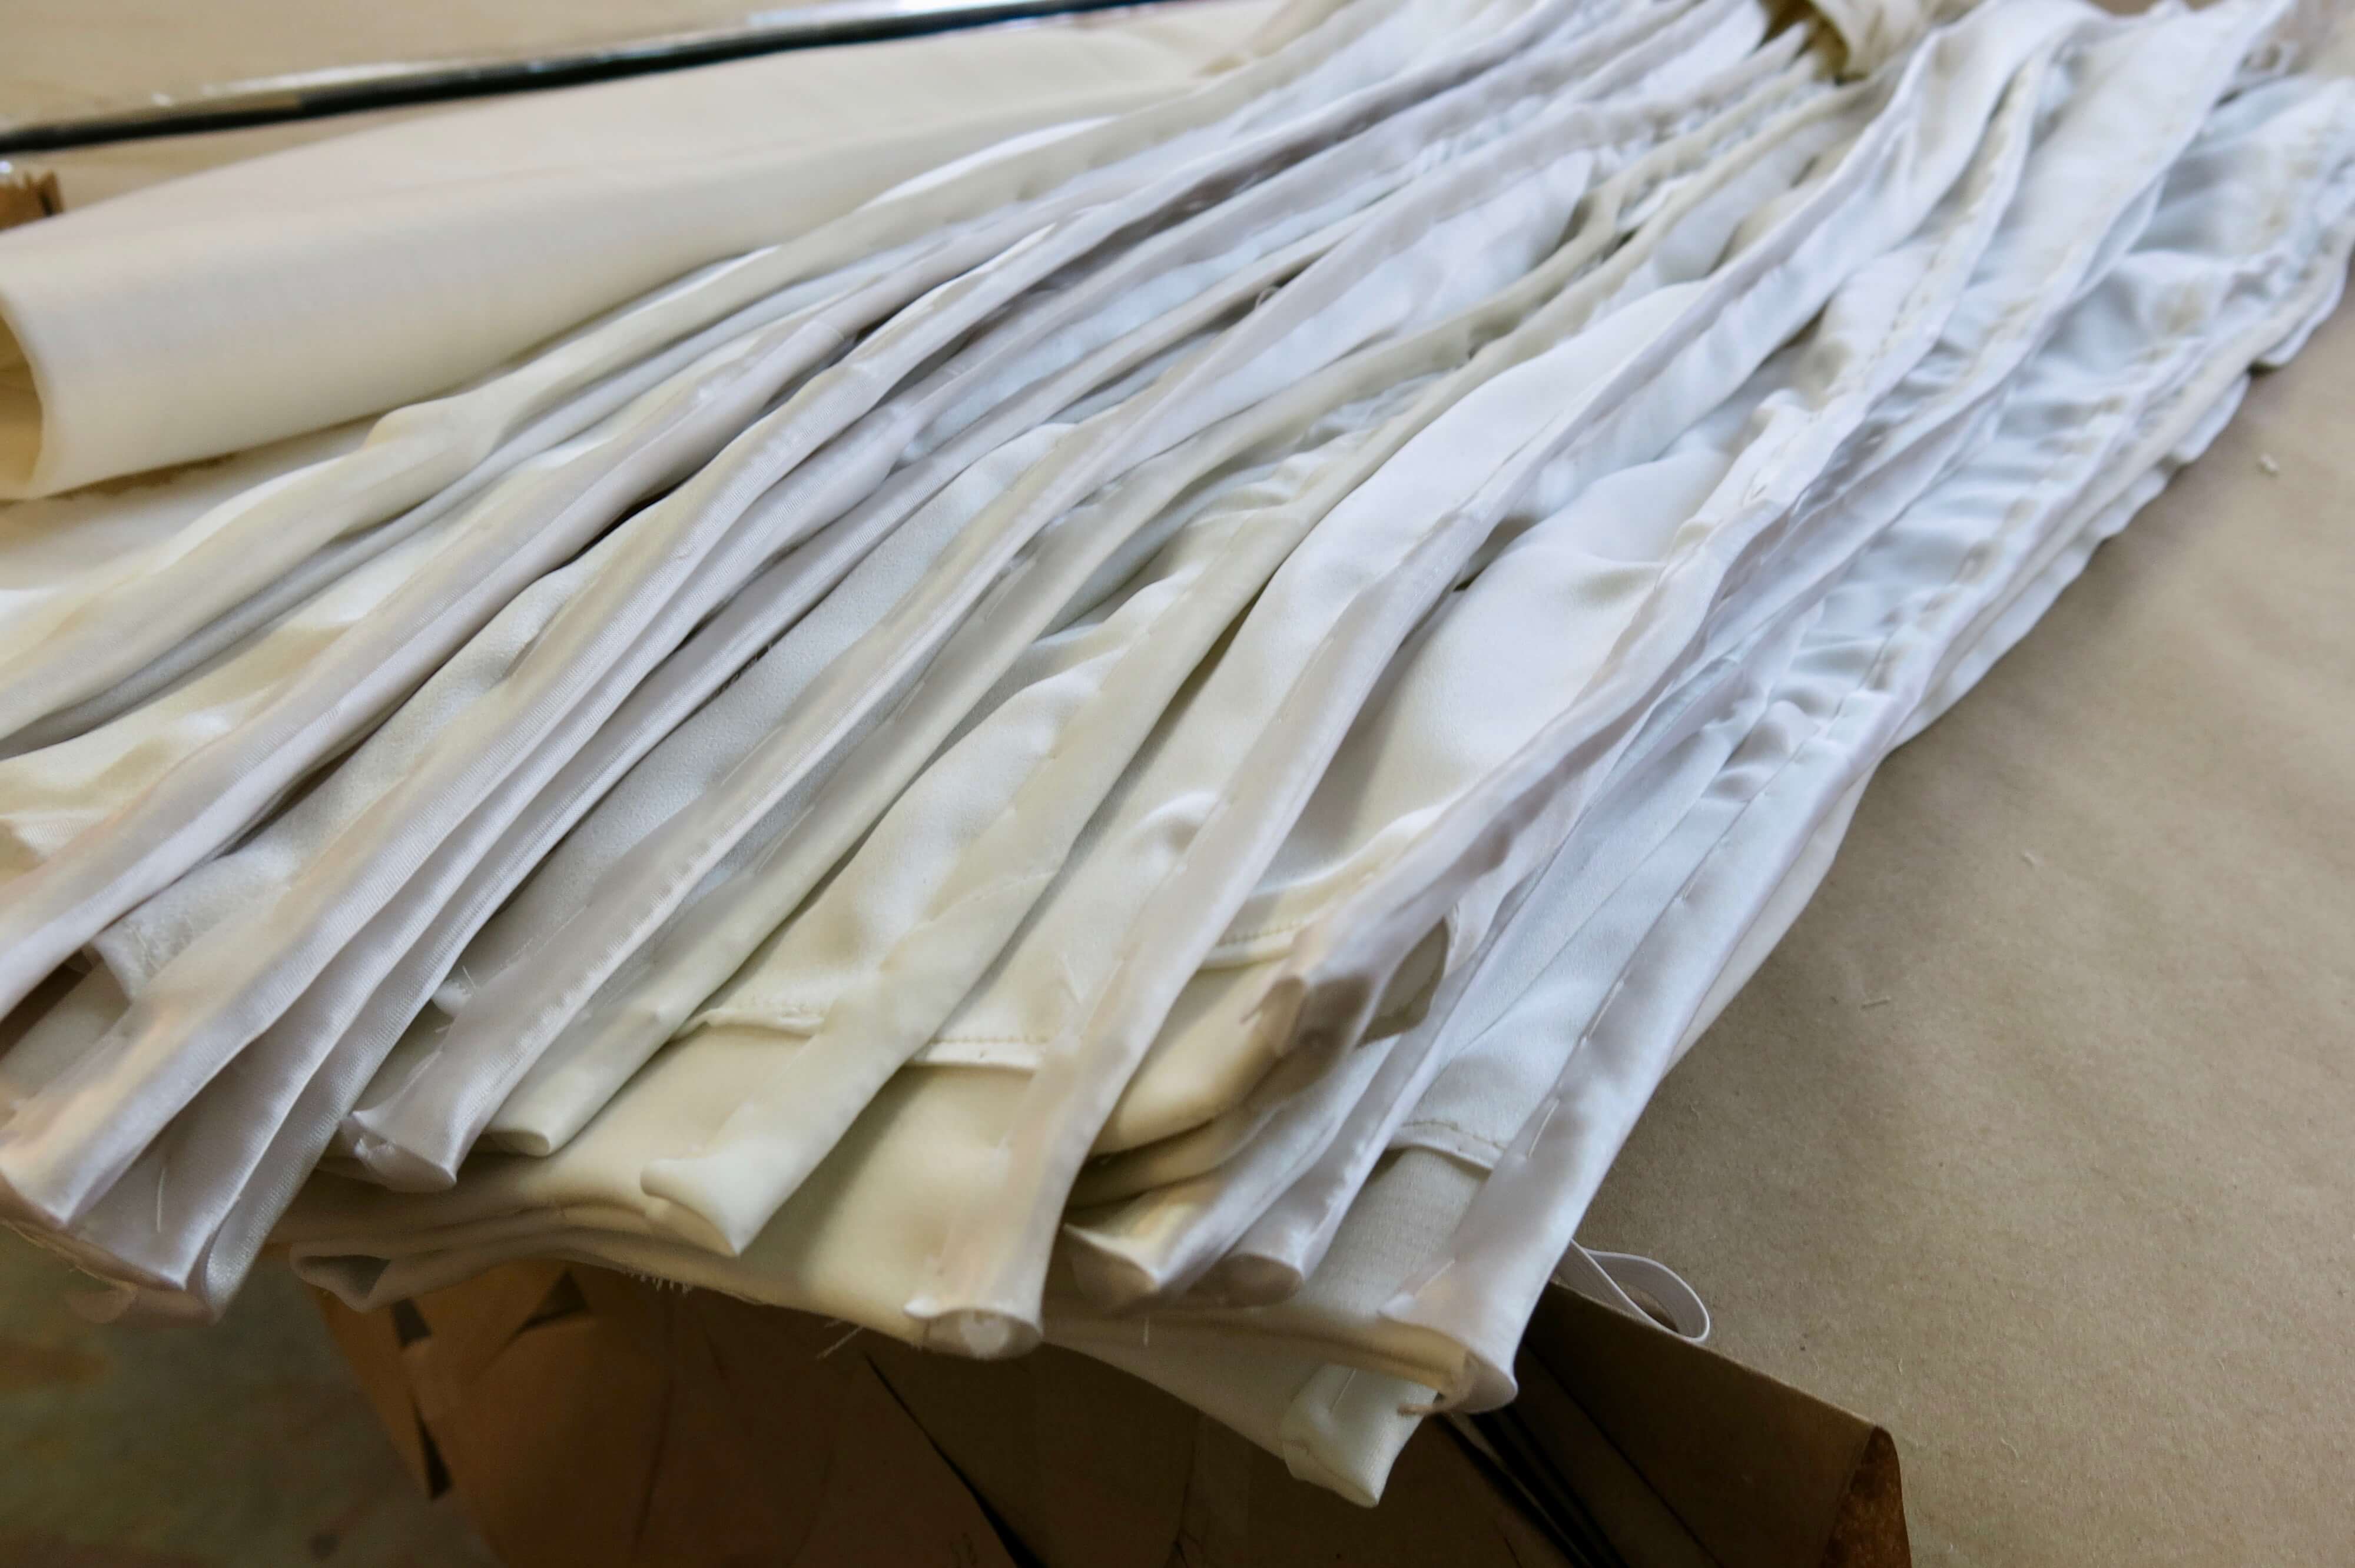
Seventeen Pieces Become One
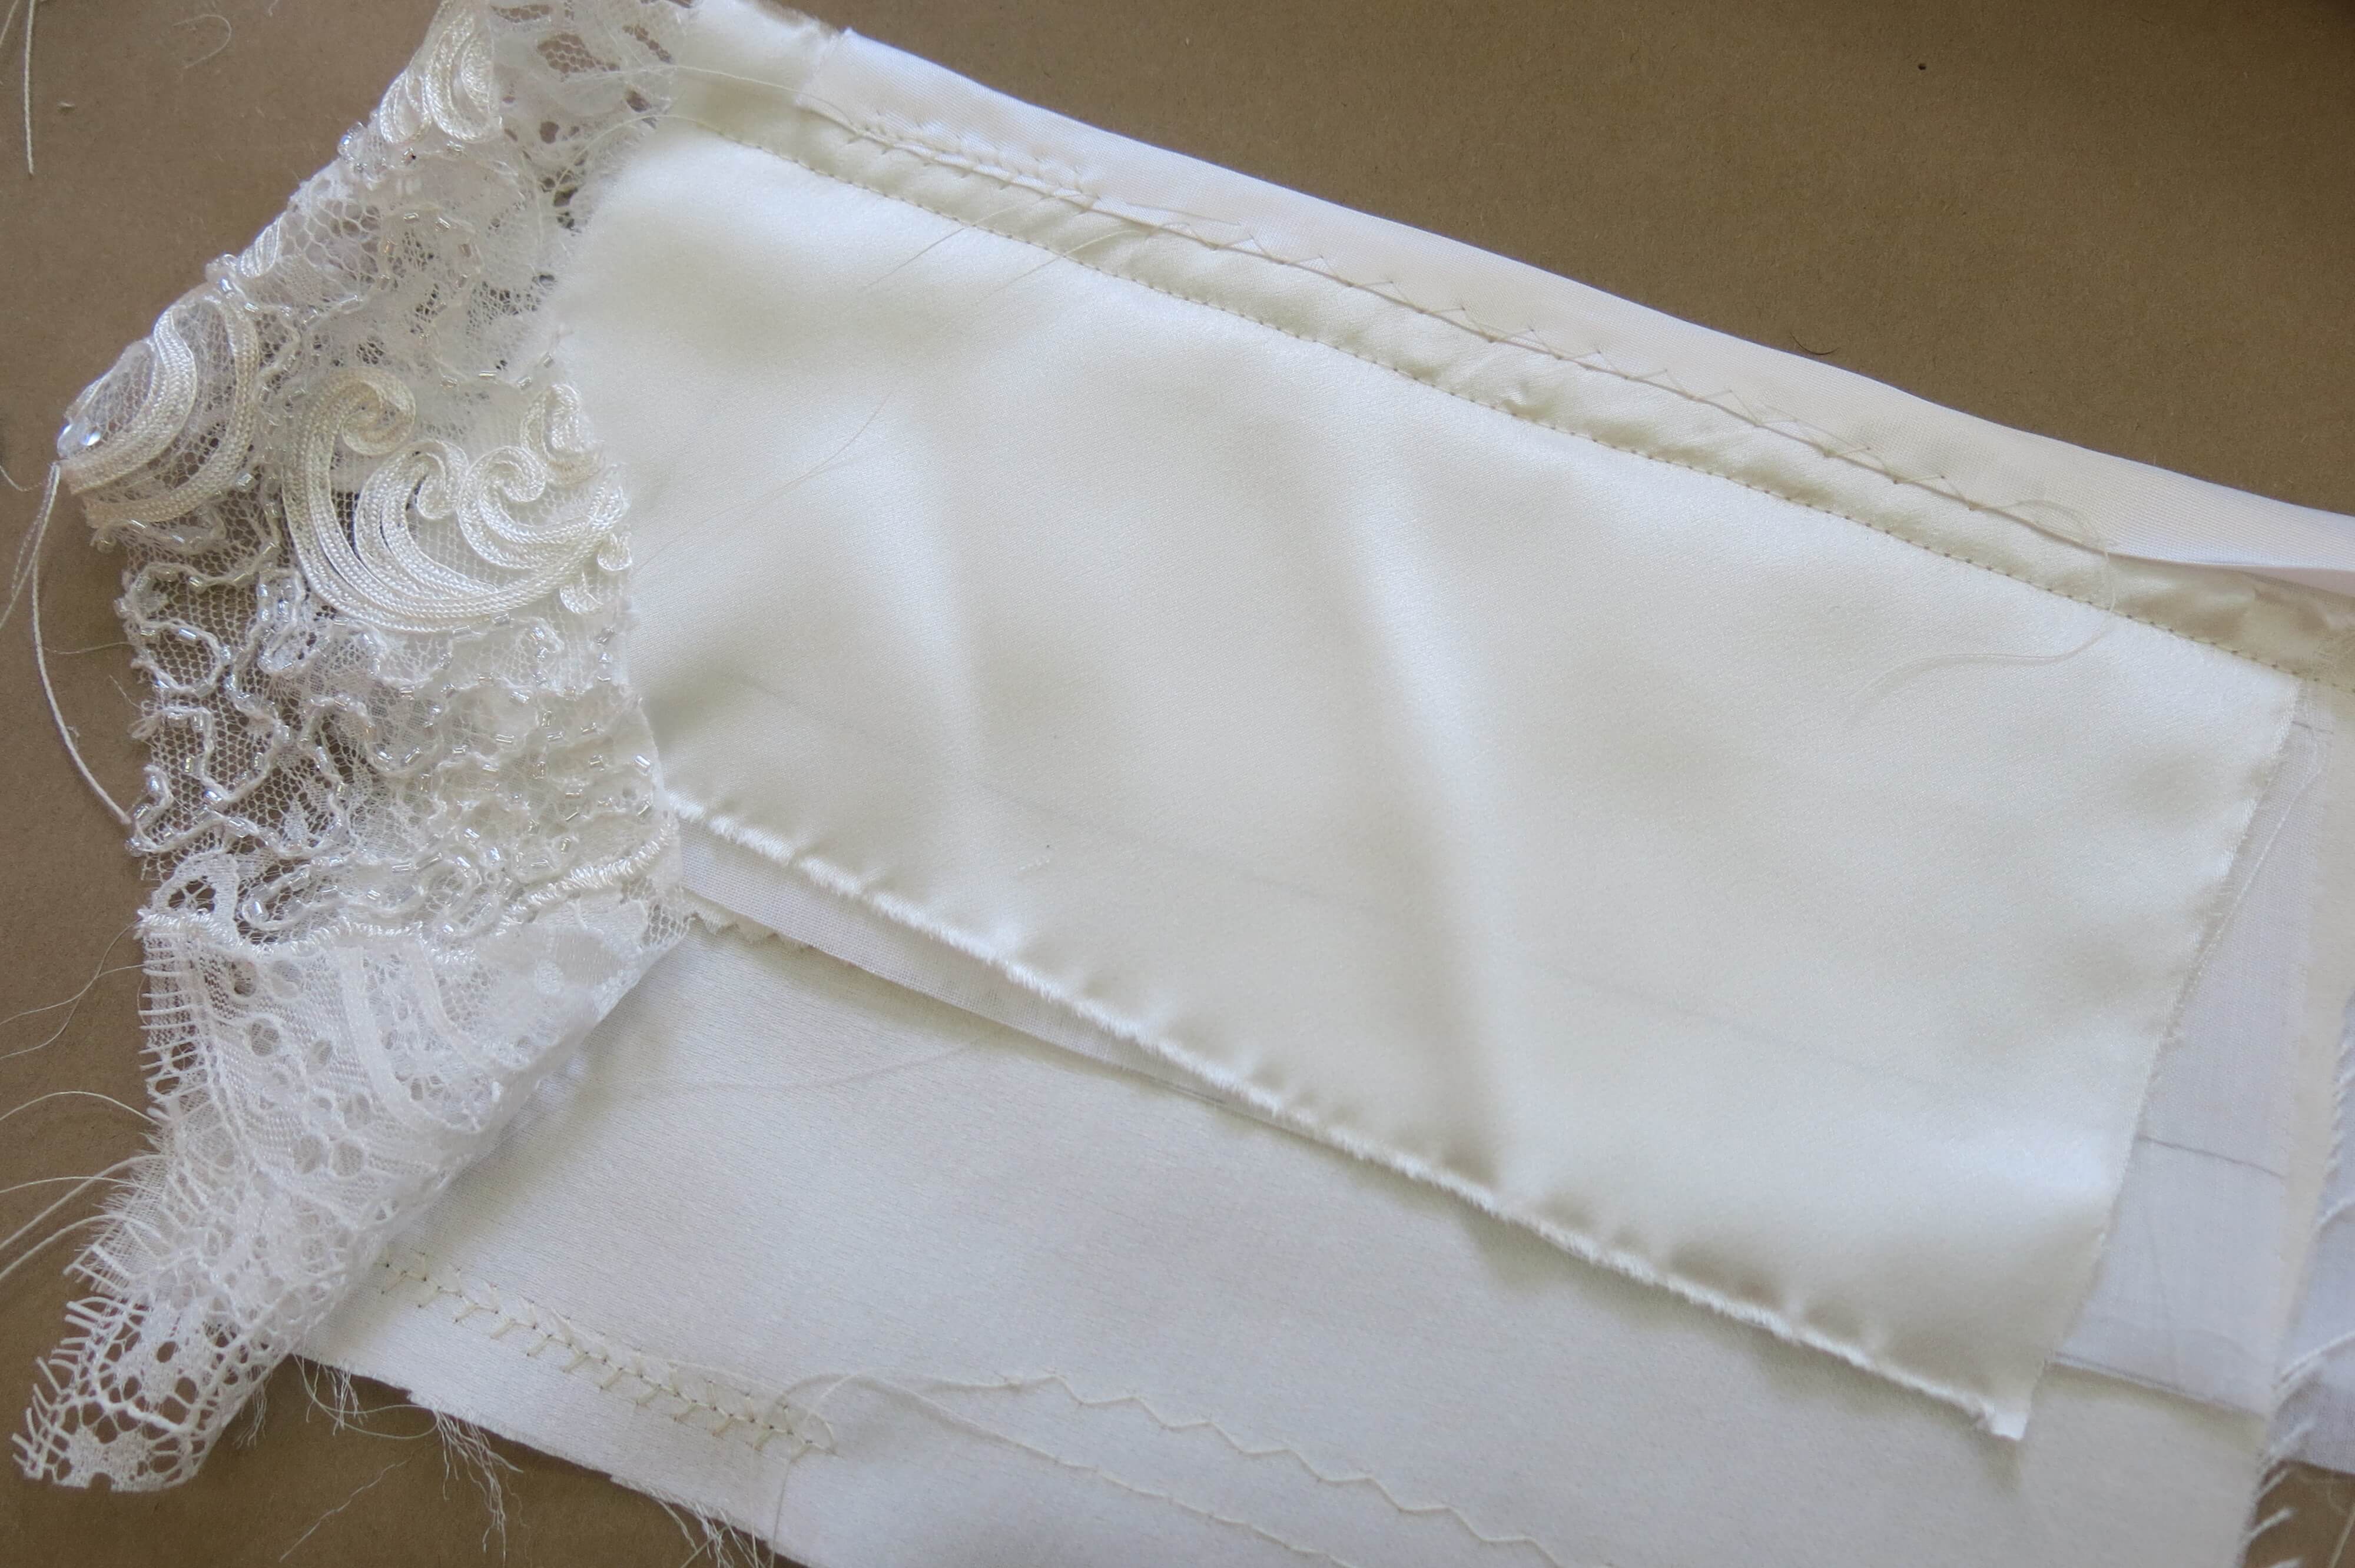
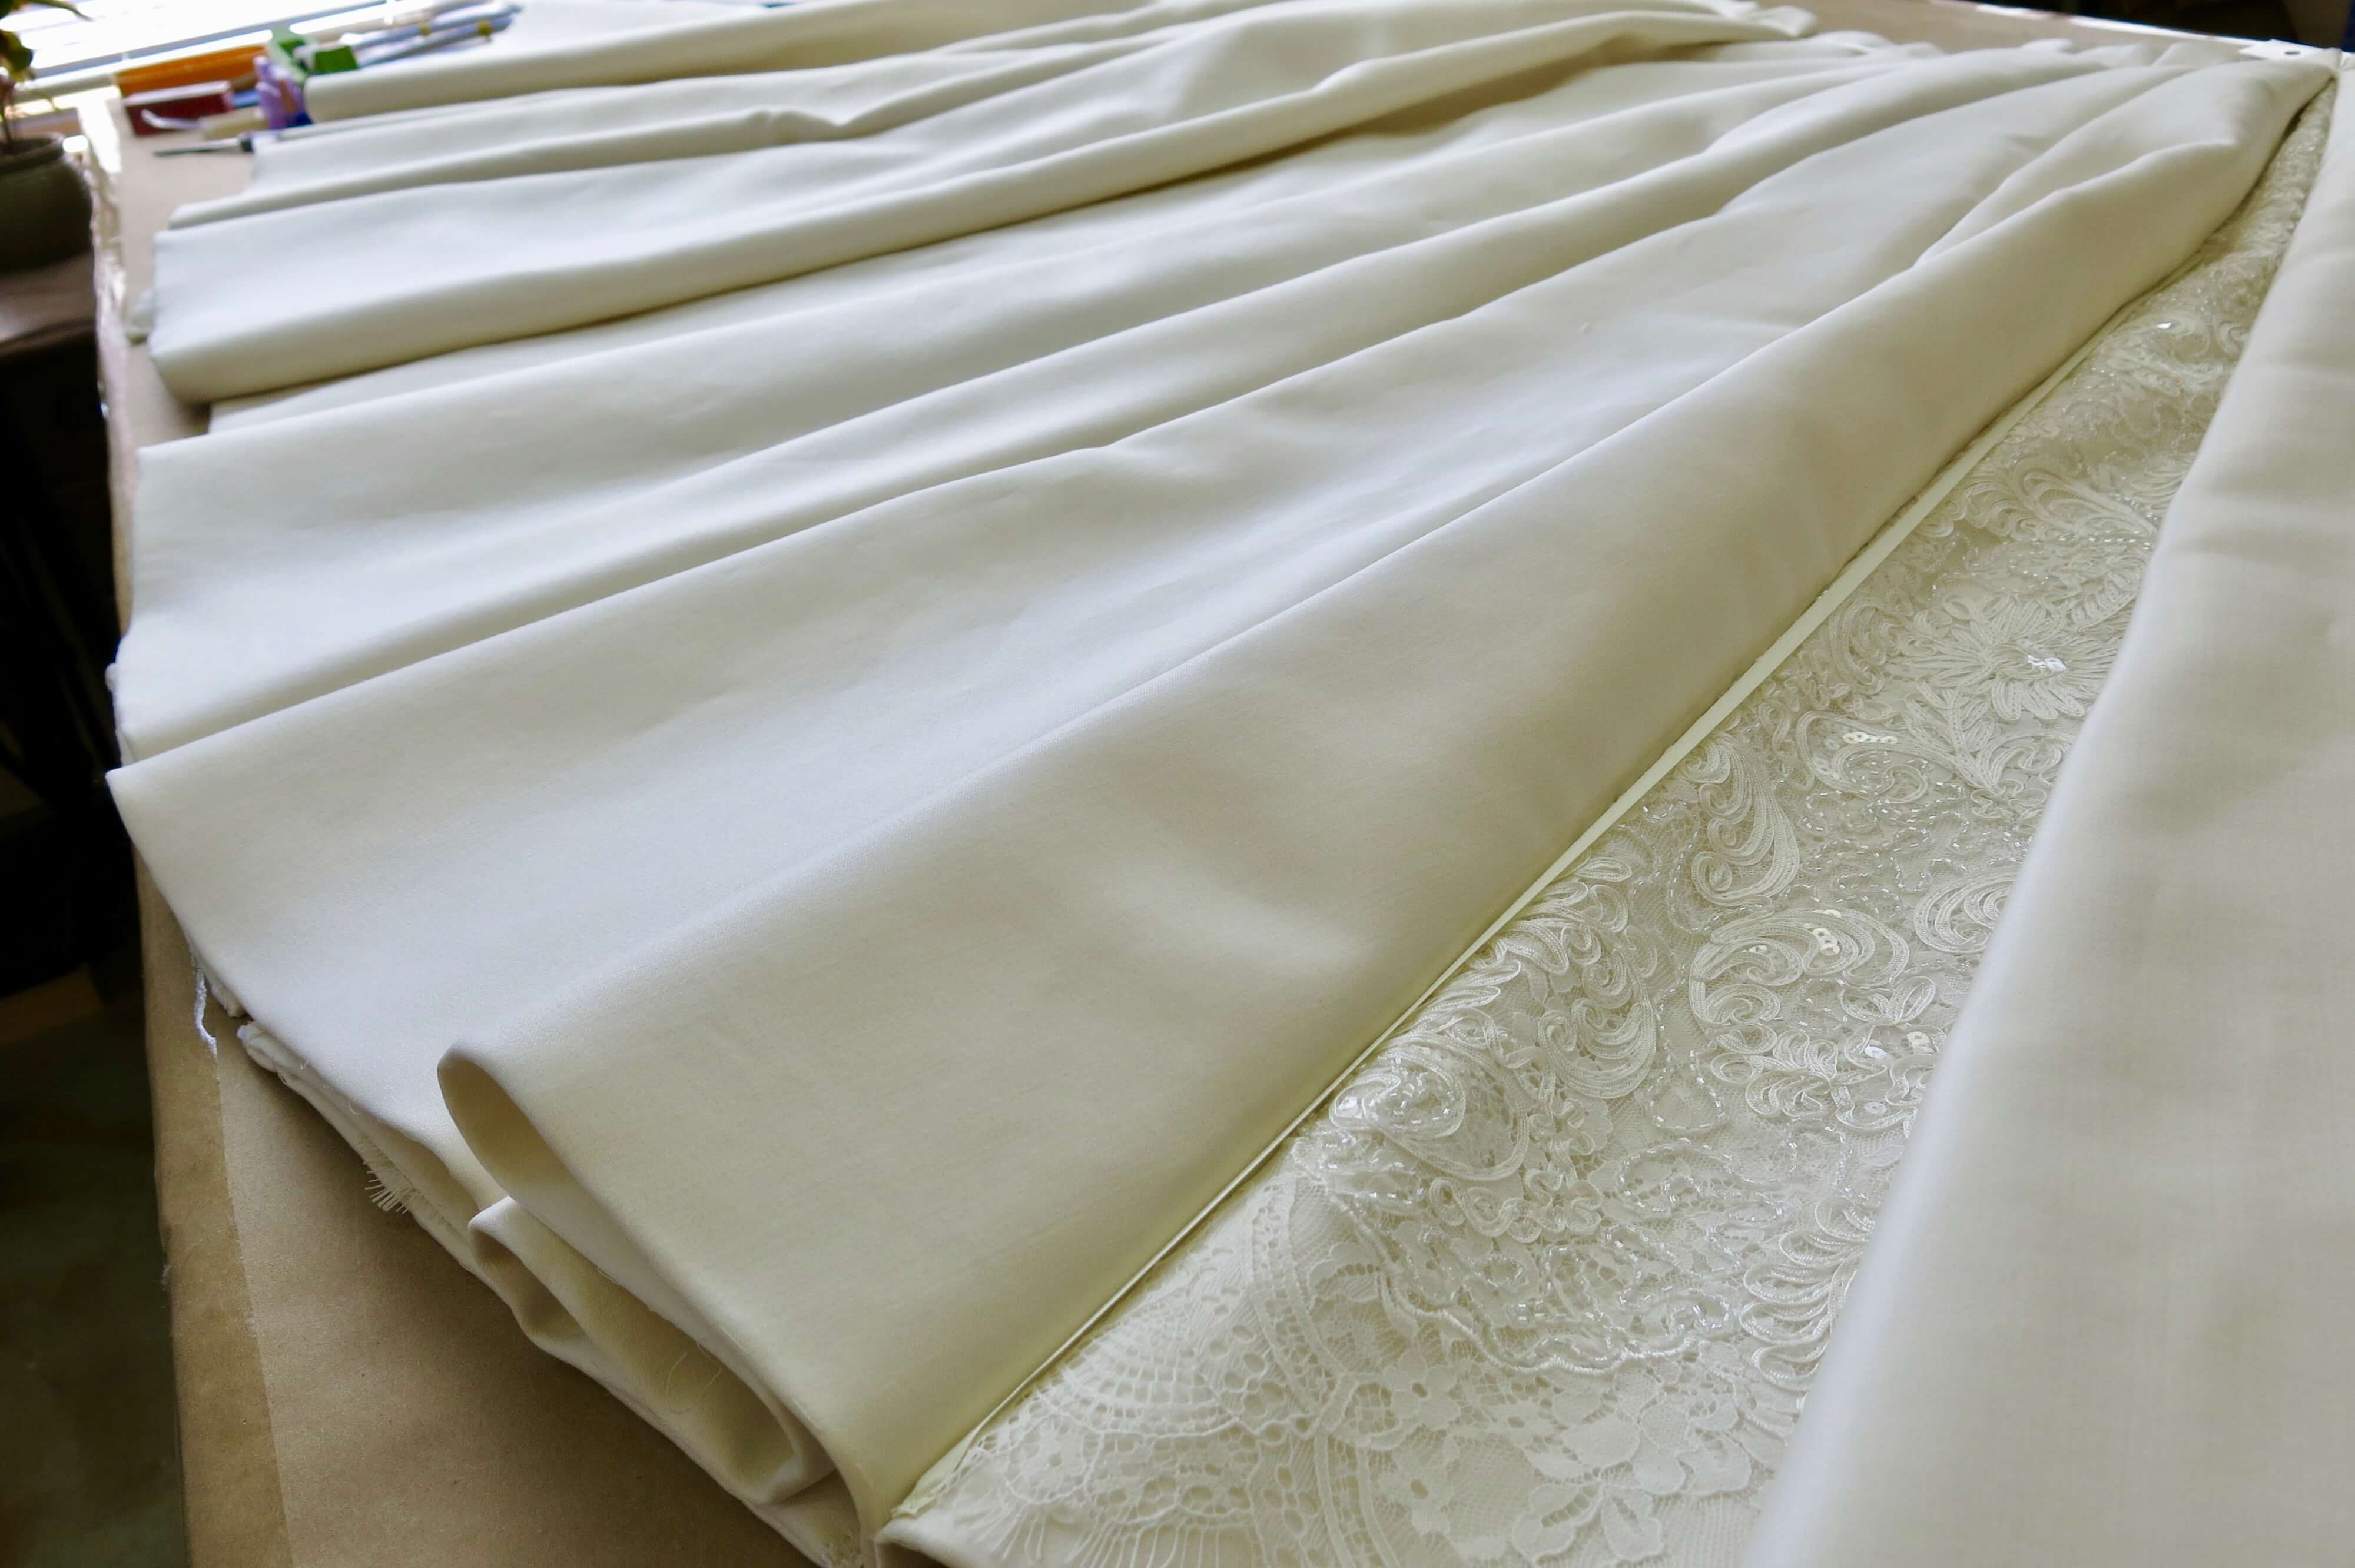
Deborah’s skirt features SEVENTEEN PIECES (without taking into account that each piece is made out of several layers of fabric)! I worked hard to carefully join them all into one gorgeous skirt.
Don’t you just love that lace!!!
Two of the seventeen pieces were the pockets. Who wouldn’t want pockets in their wedding dress?
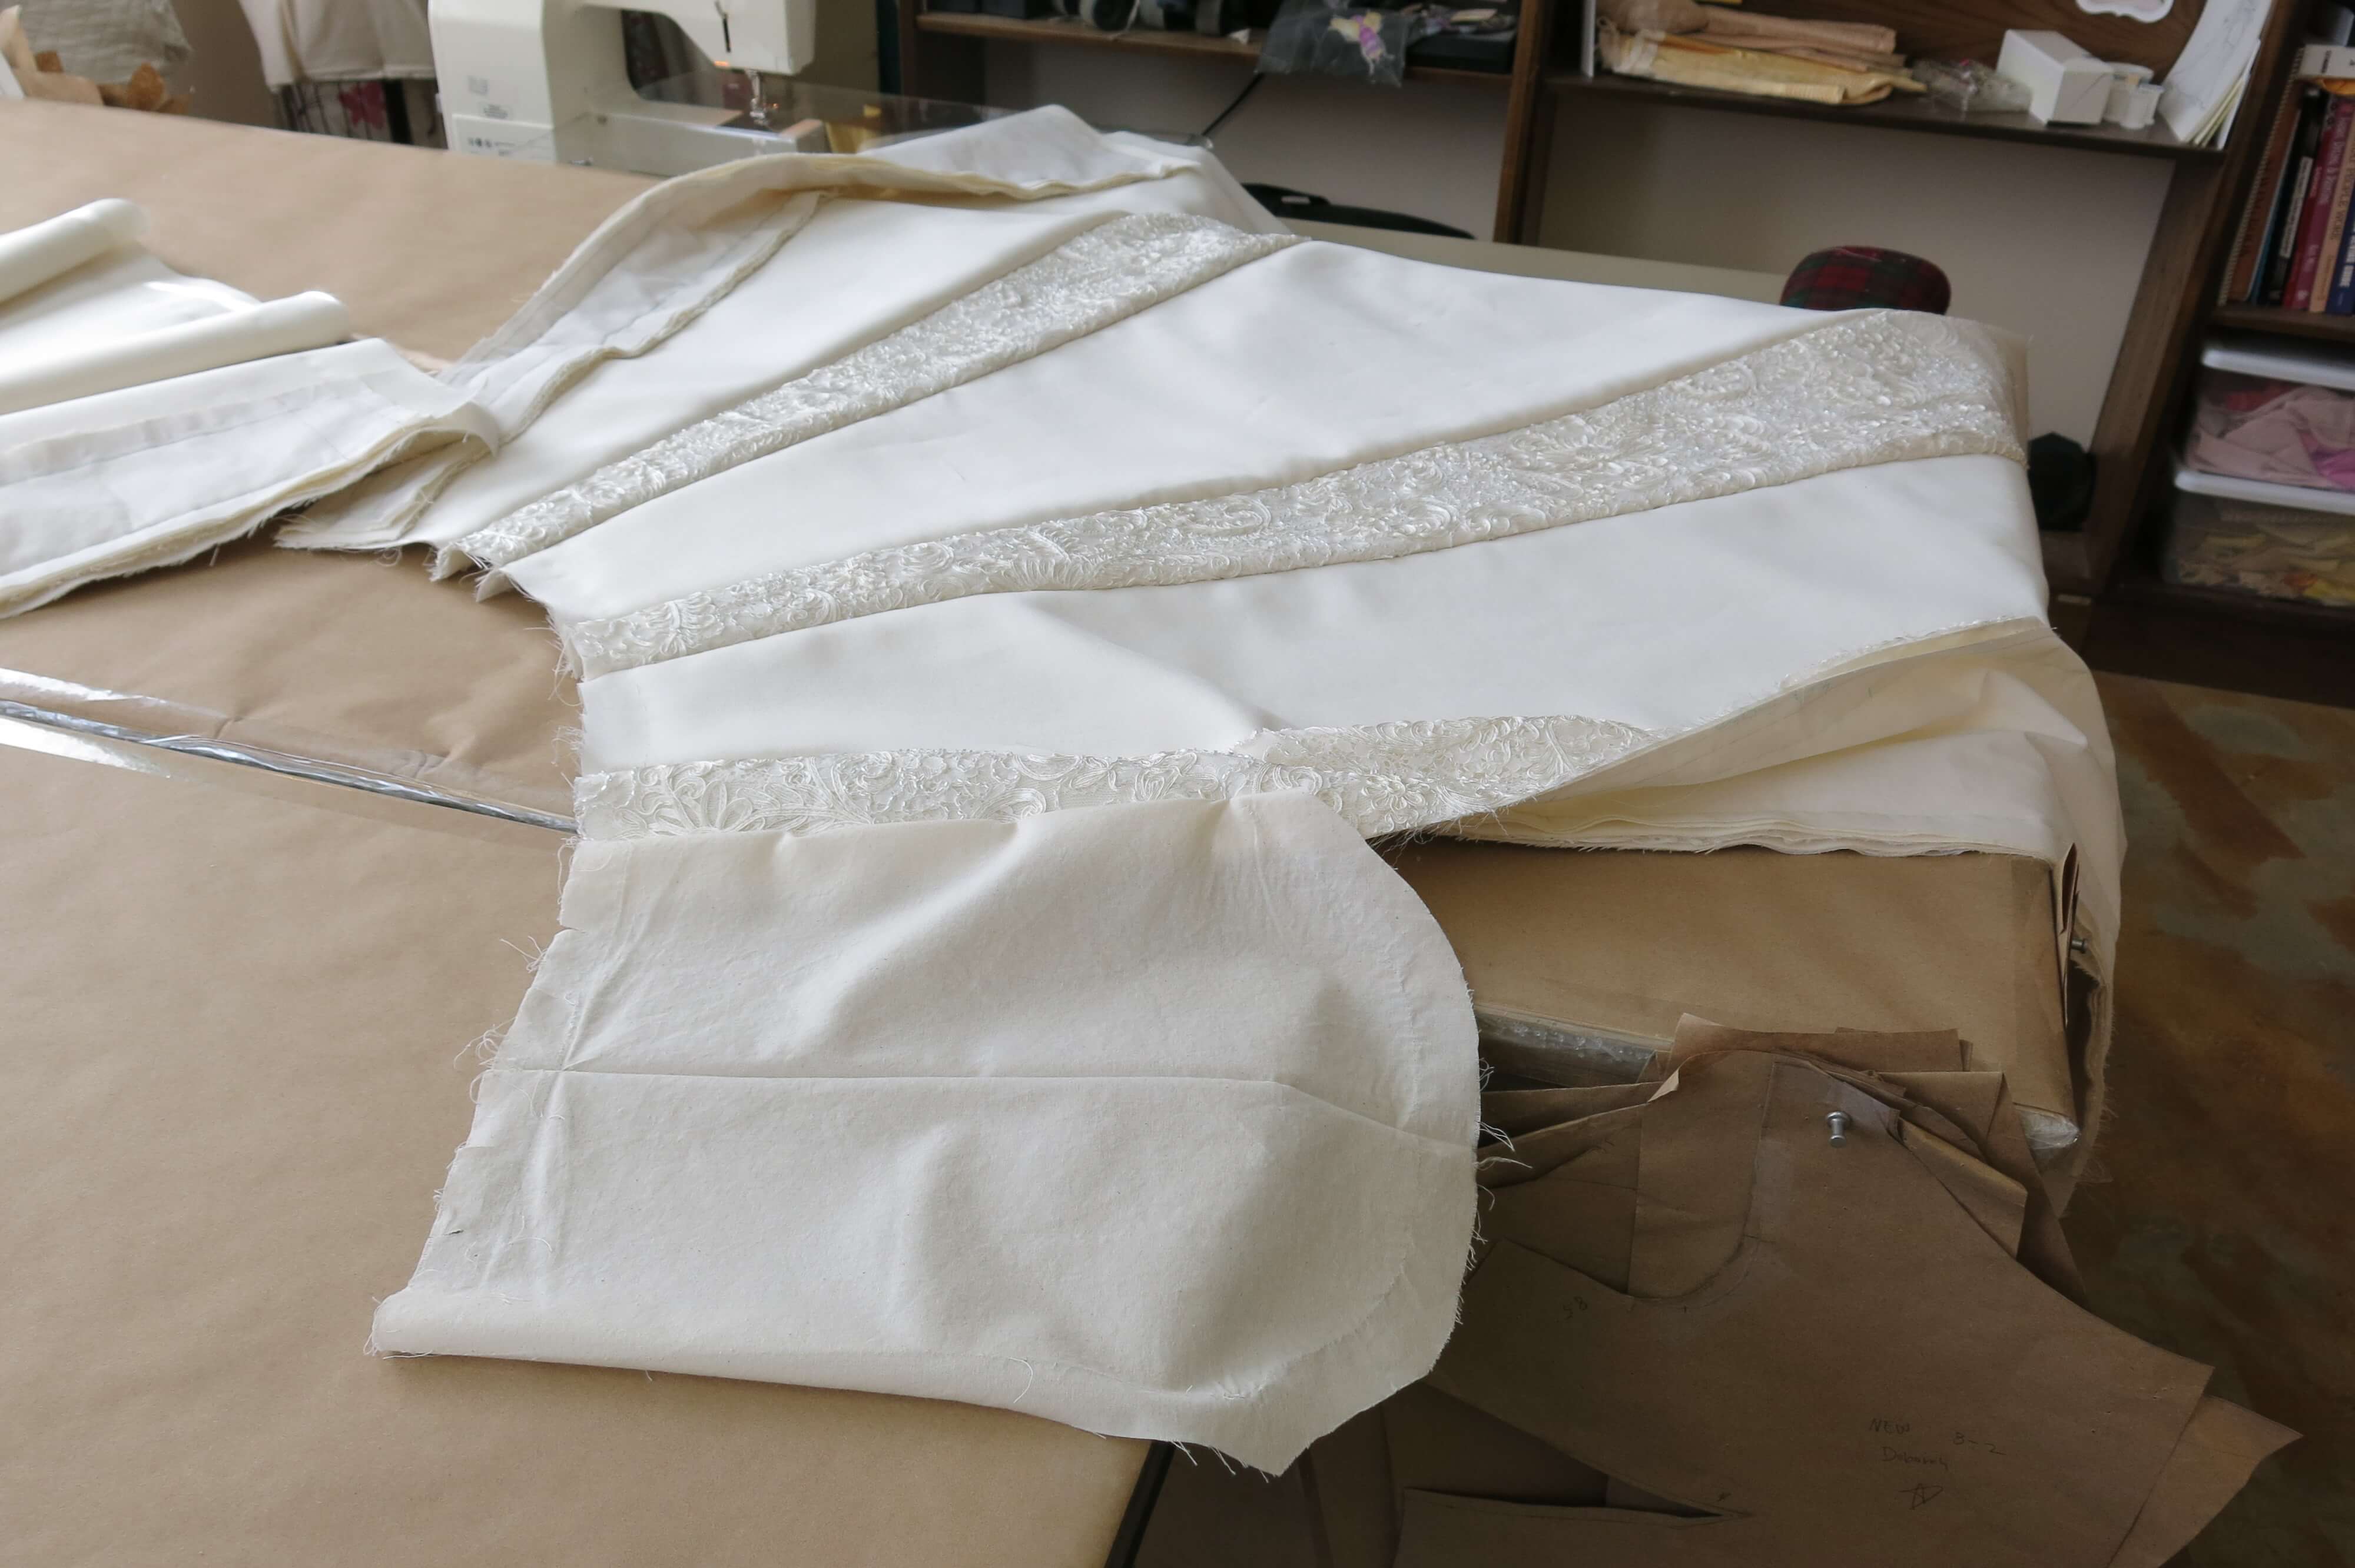
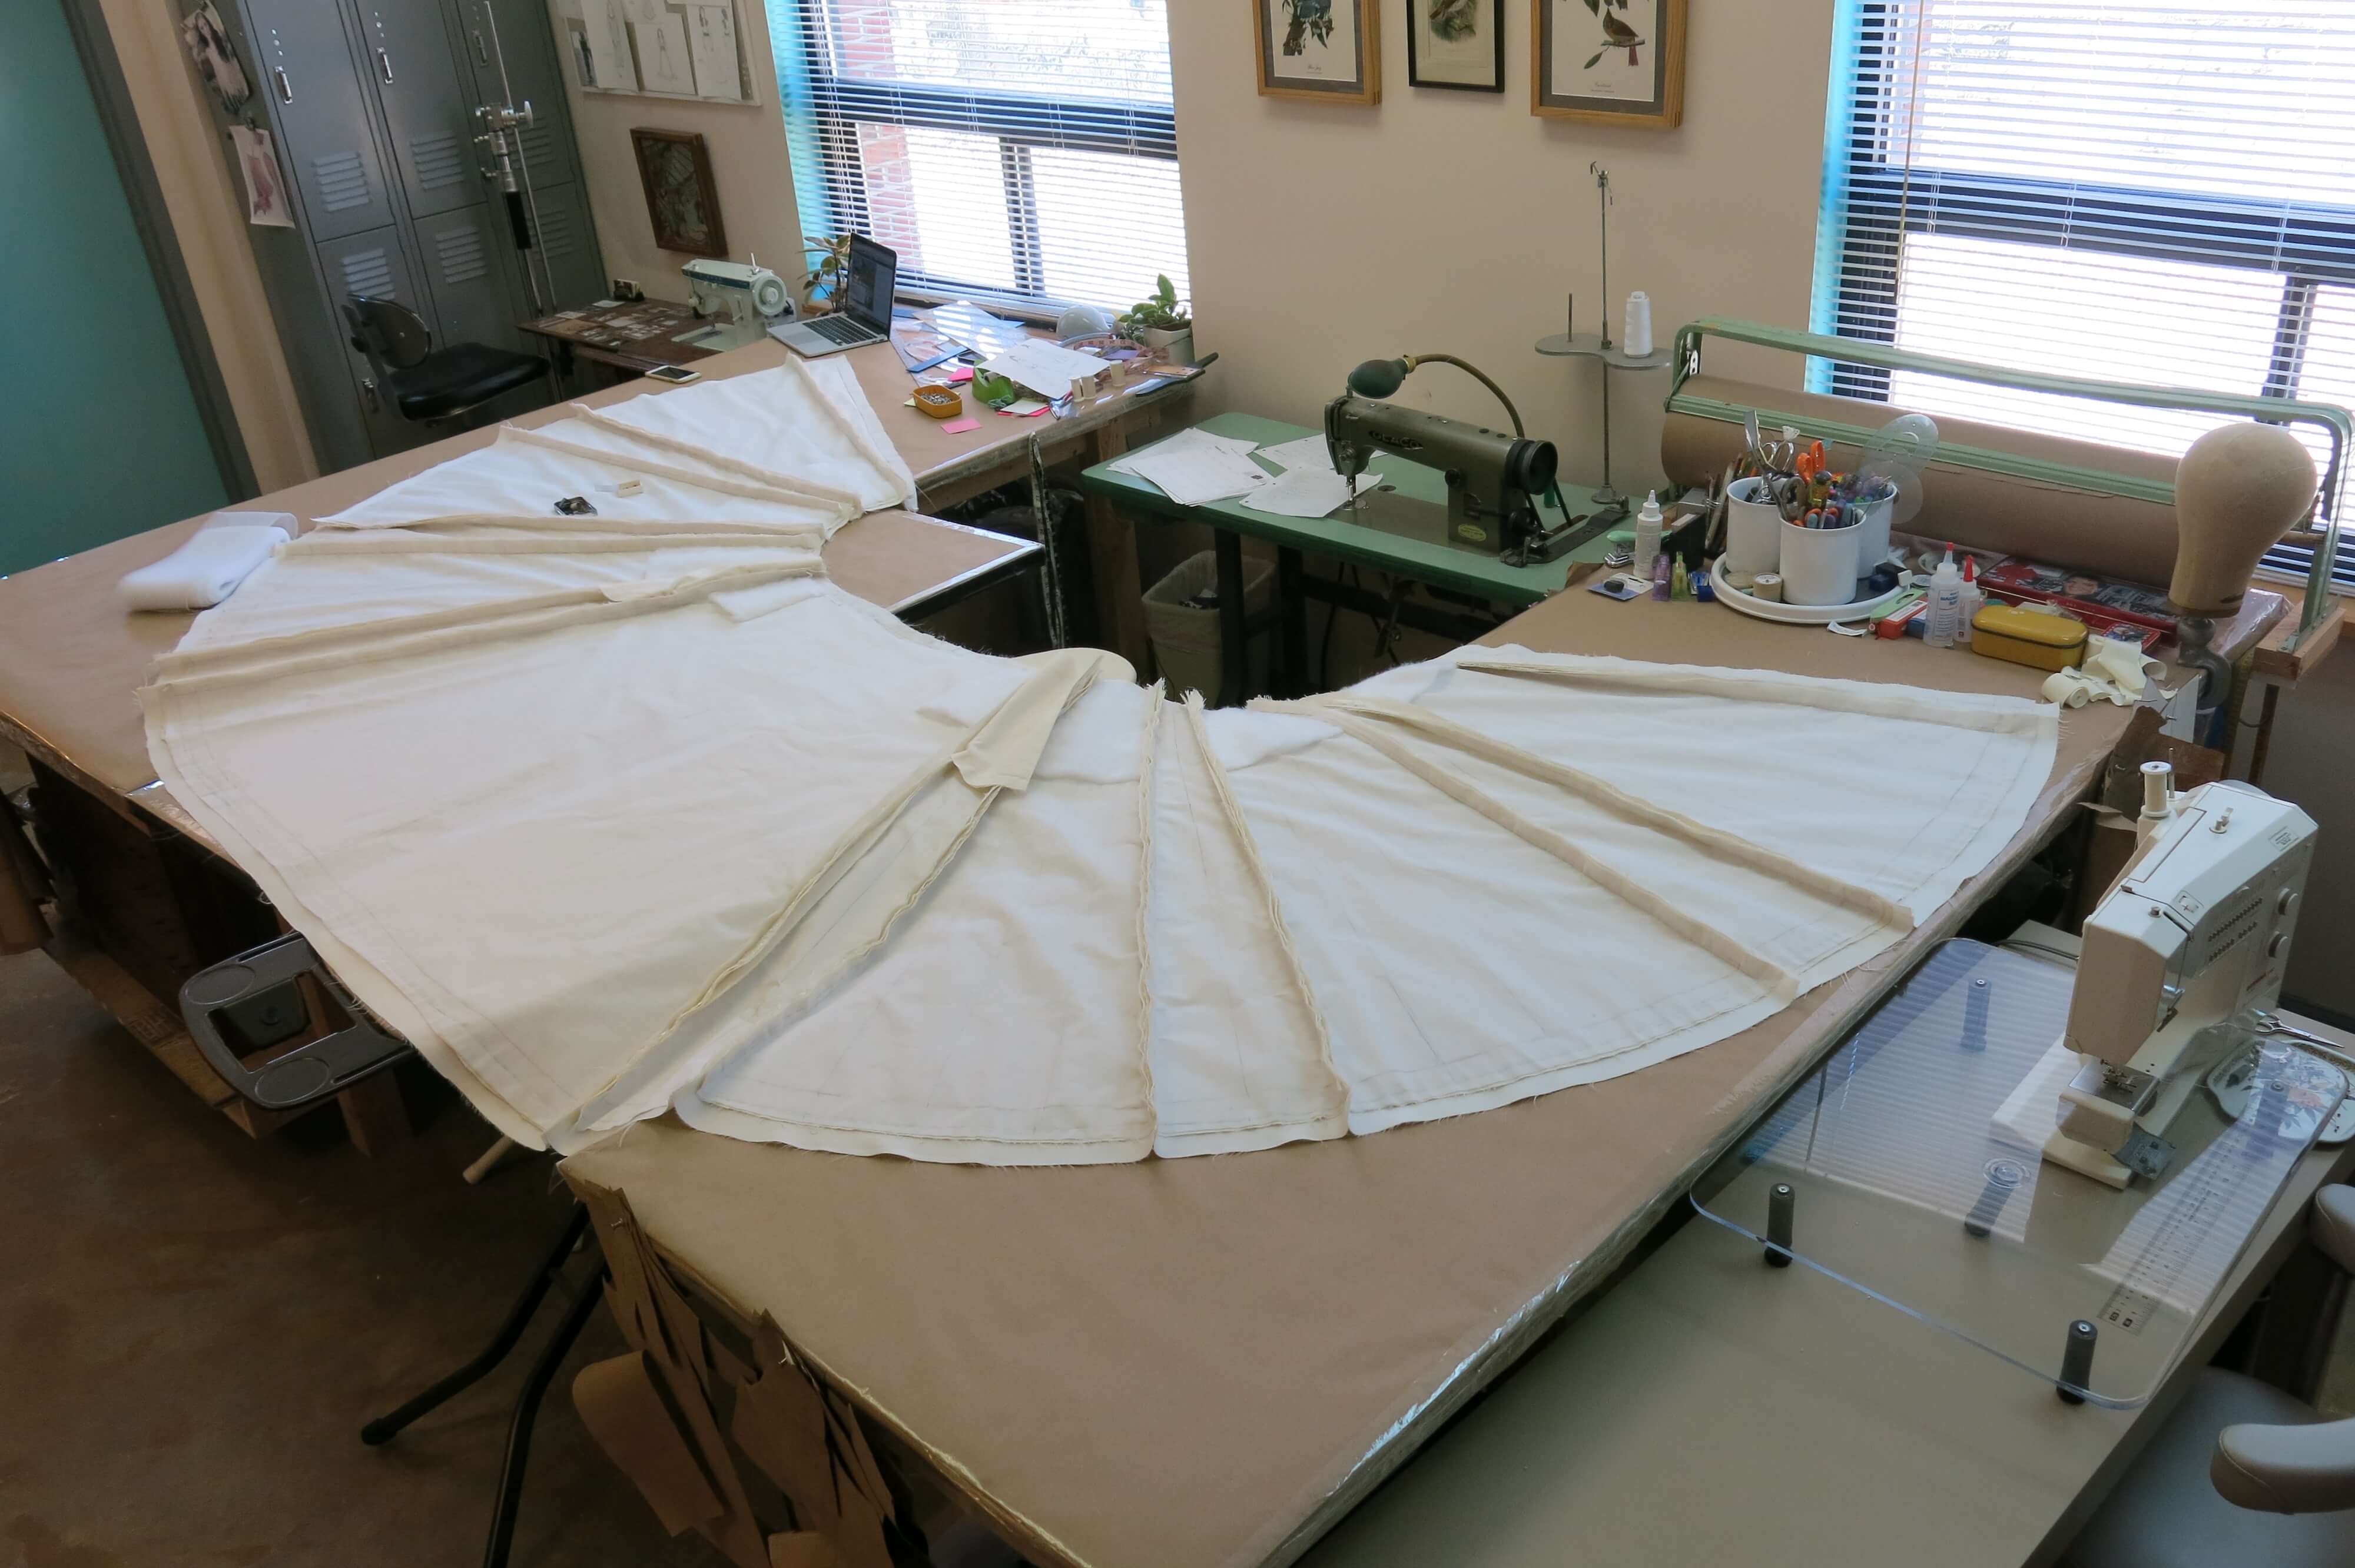
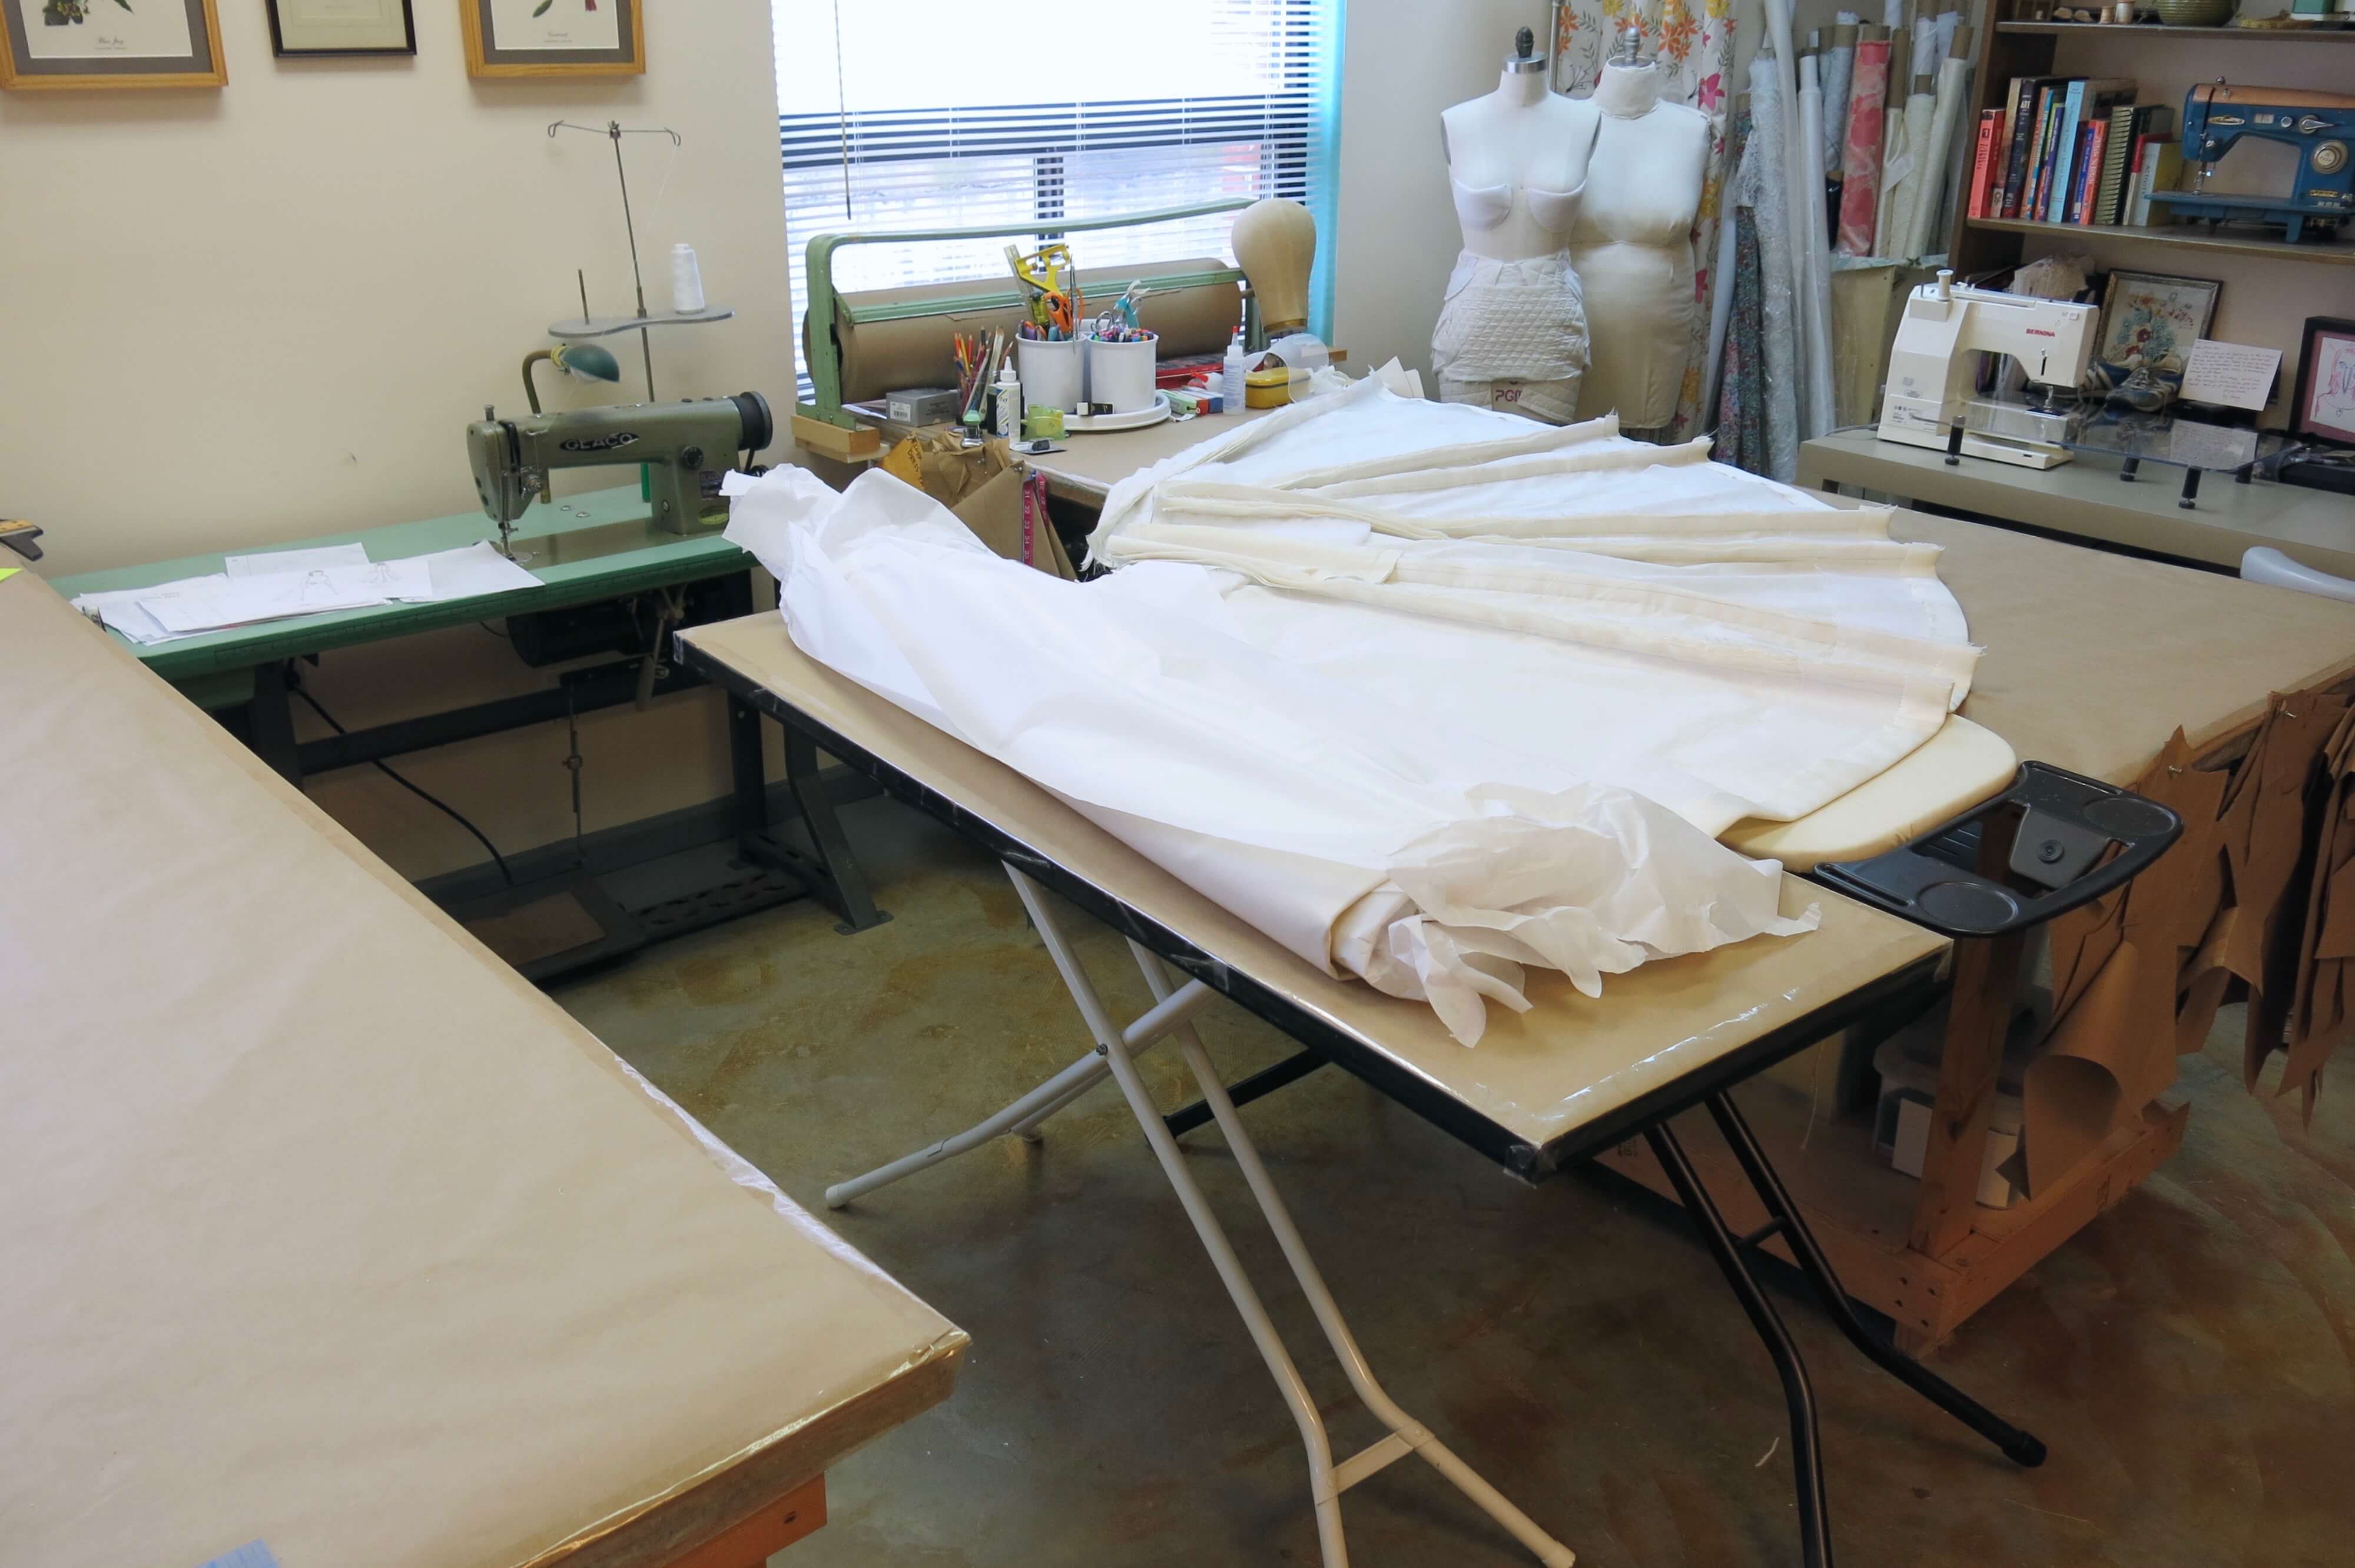
Almost there!
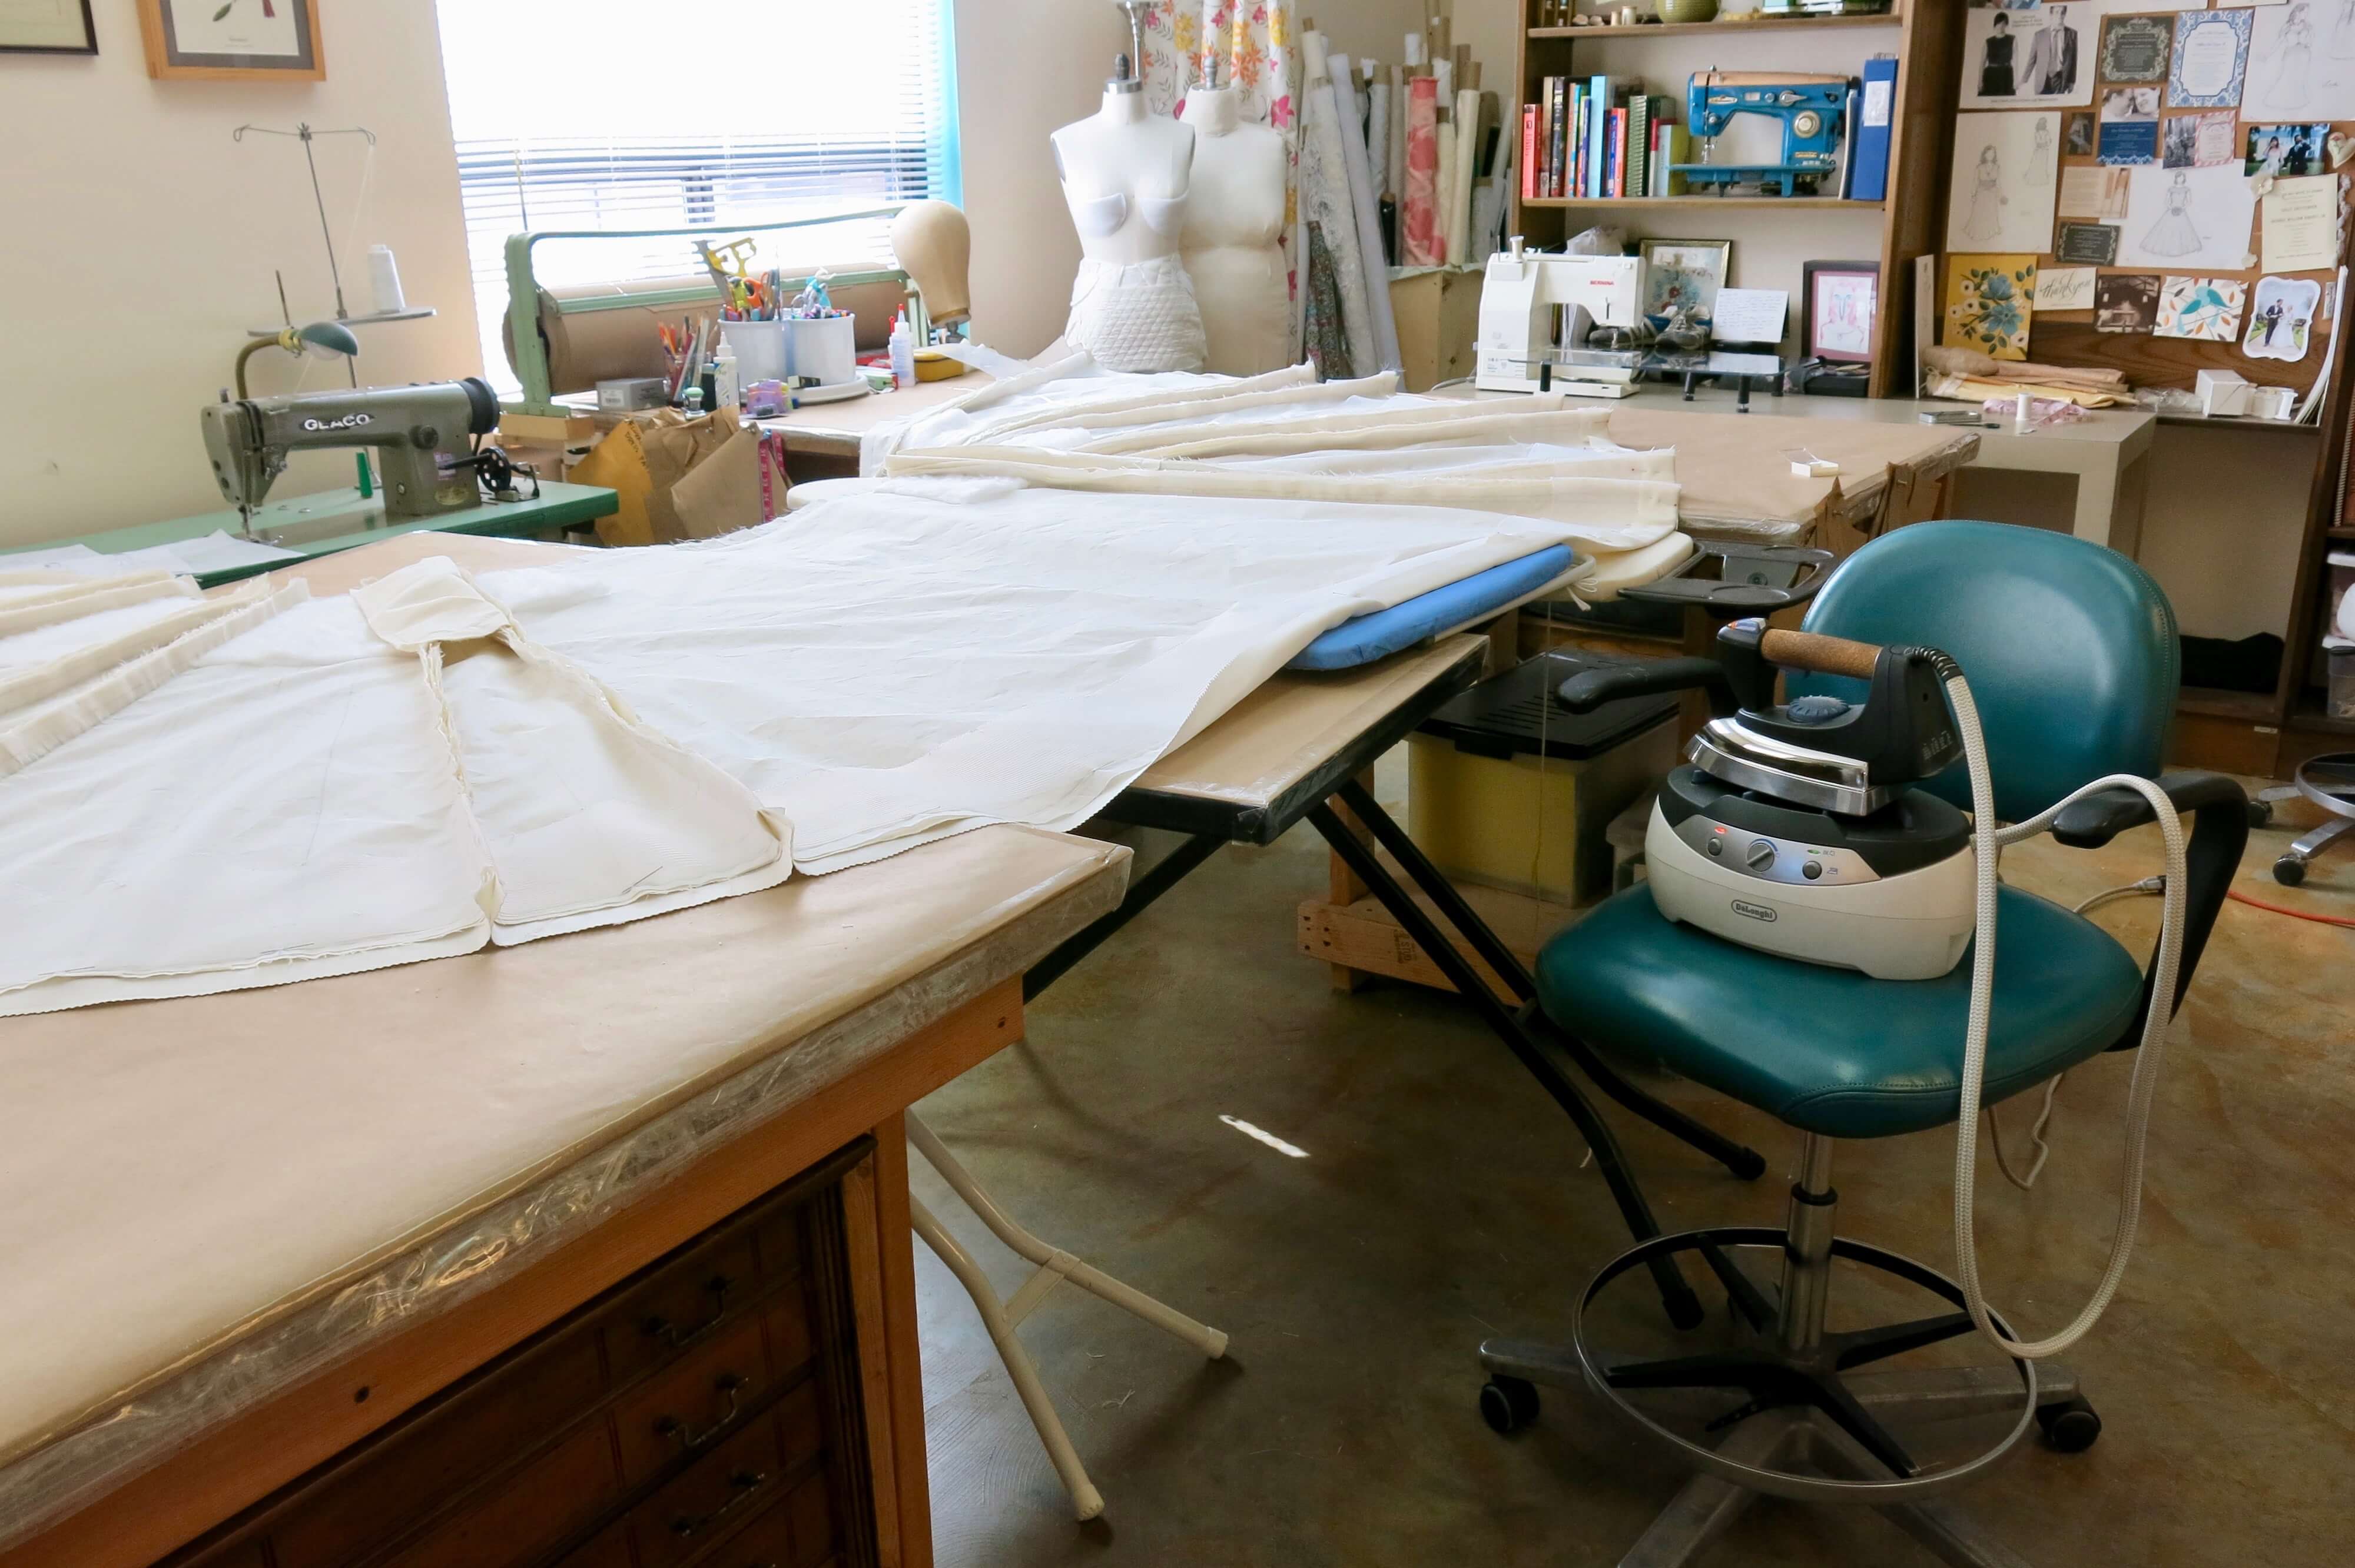
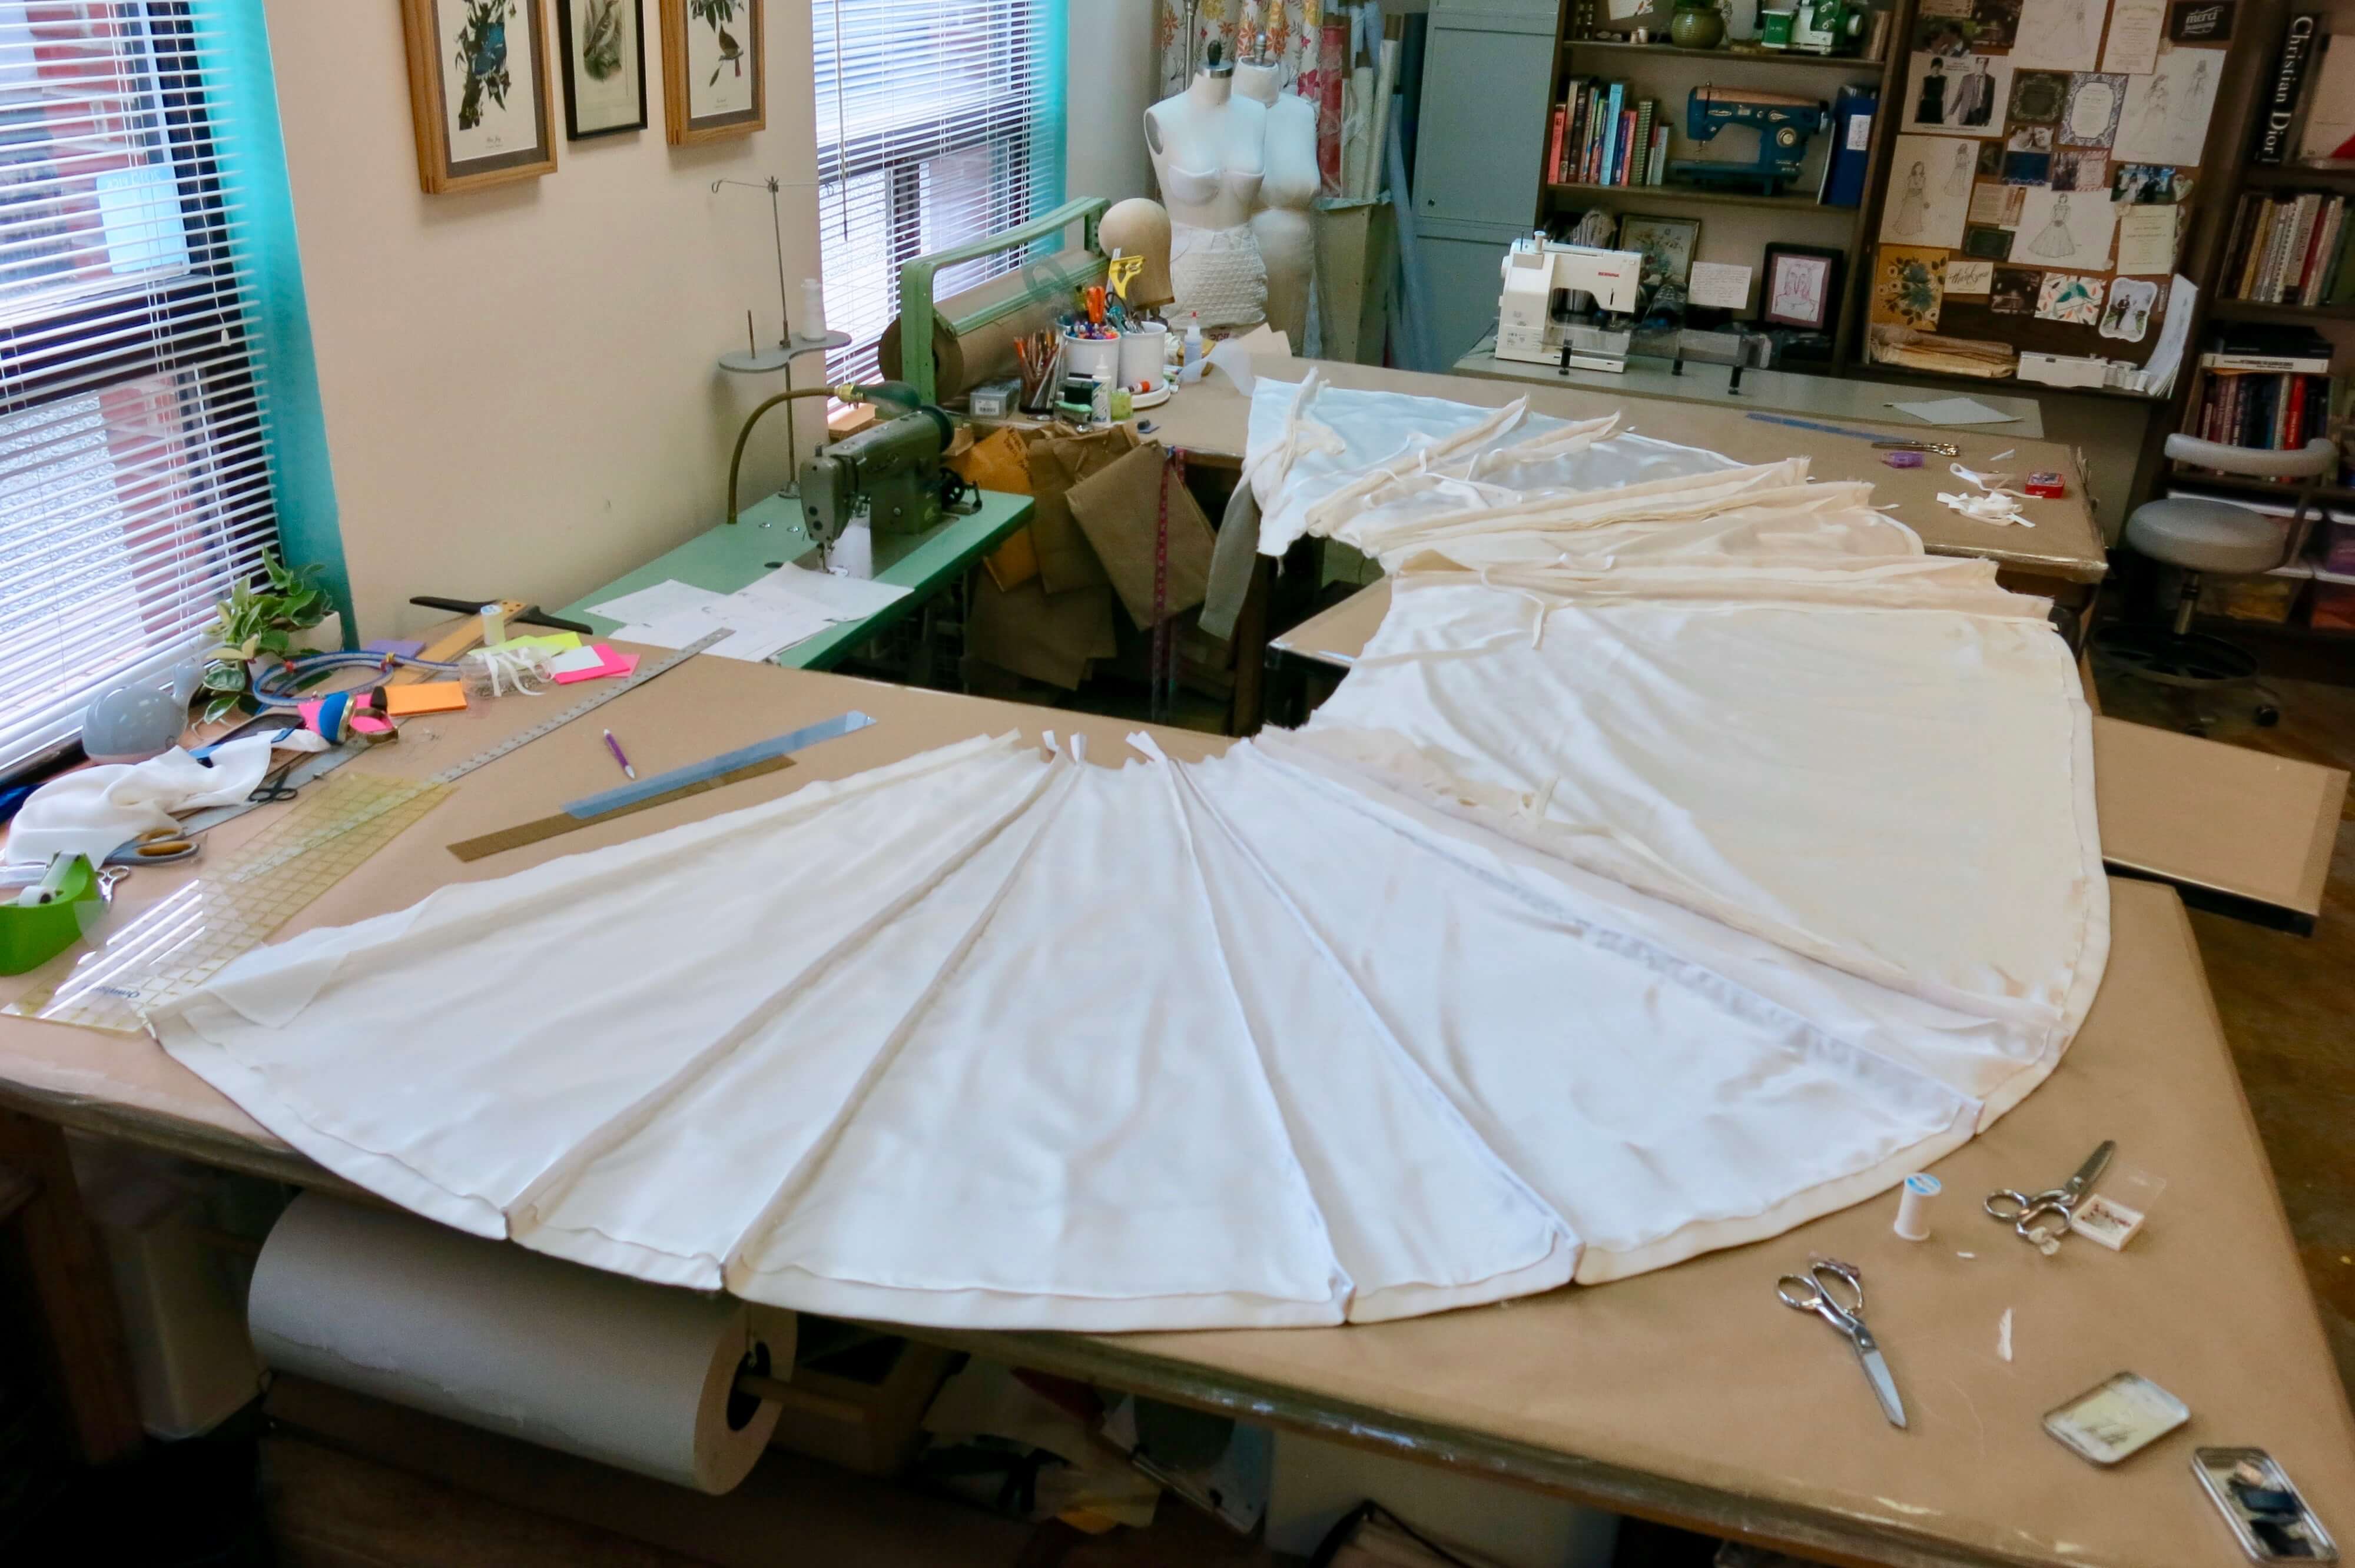
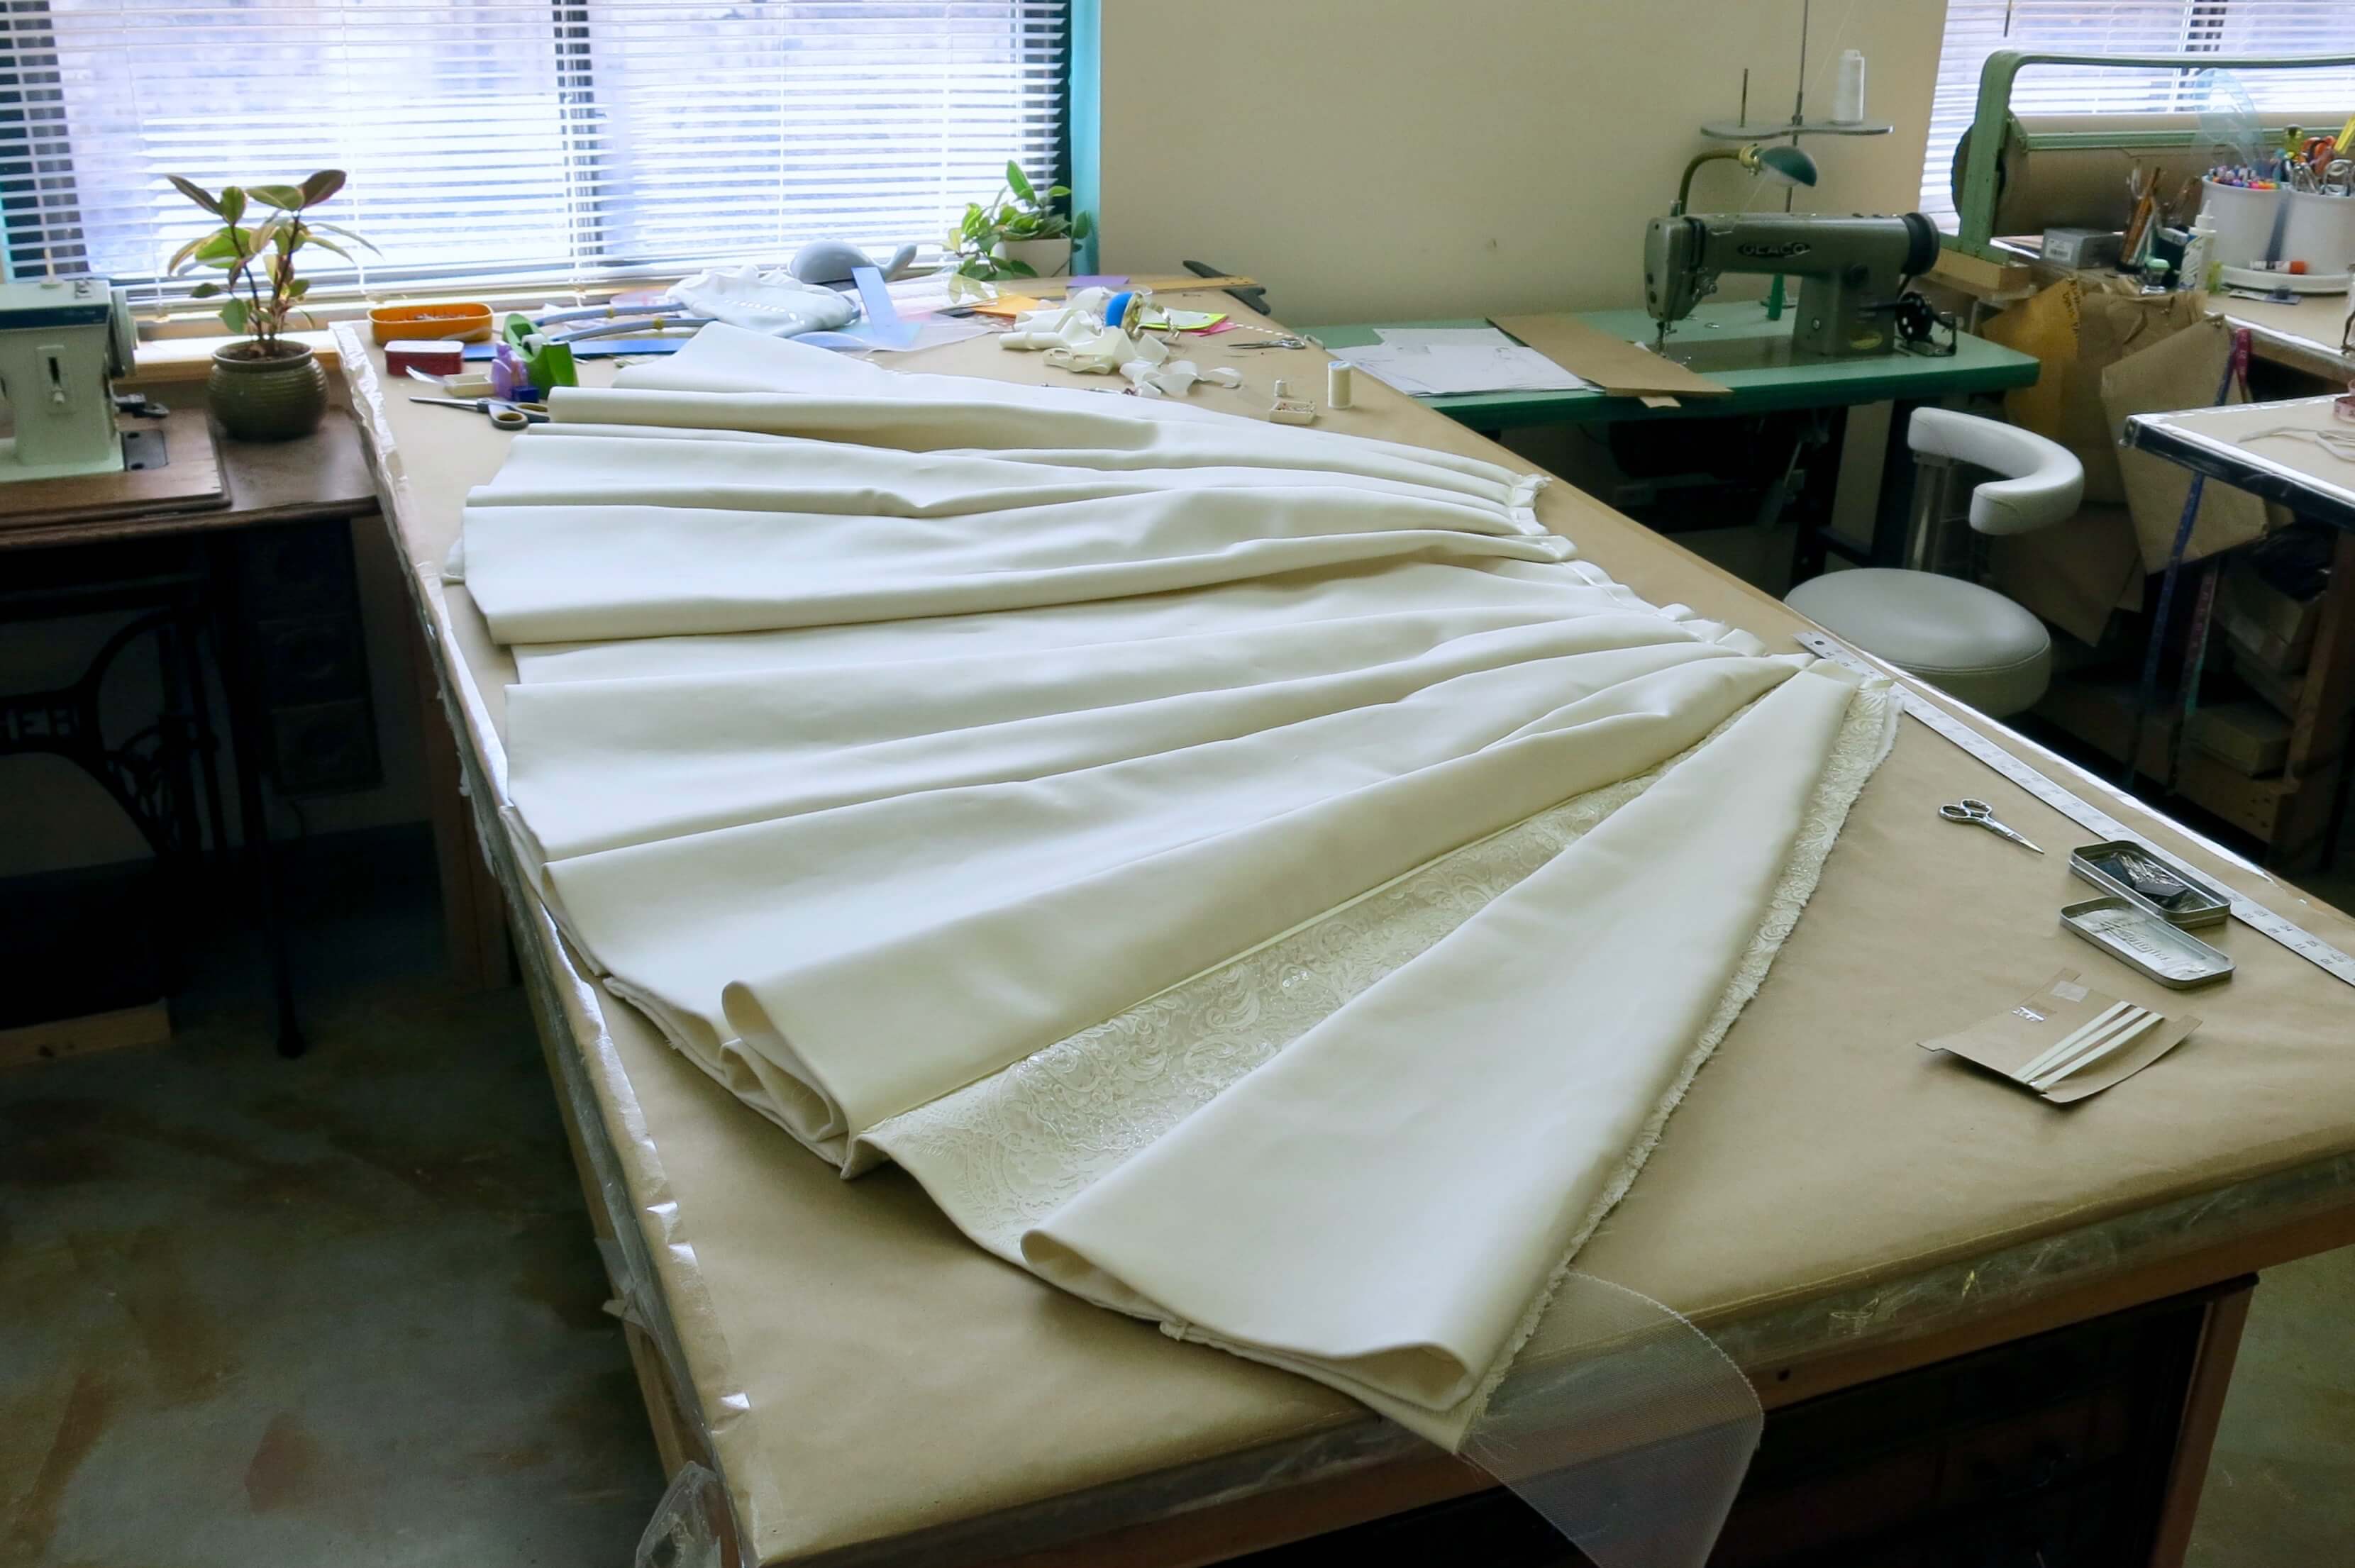
Once everything was joined (but before being folded into pleats), Deborah’s skirt took up half of the room!

I employed an ironing board for more support between the two large tables.
Wow!
Hemming with Horsehair
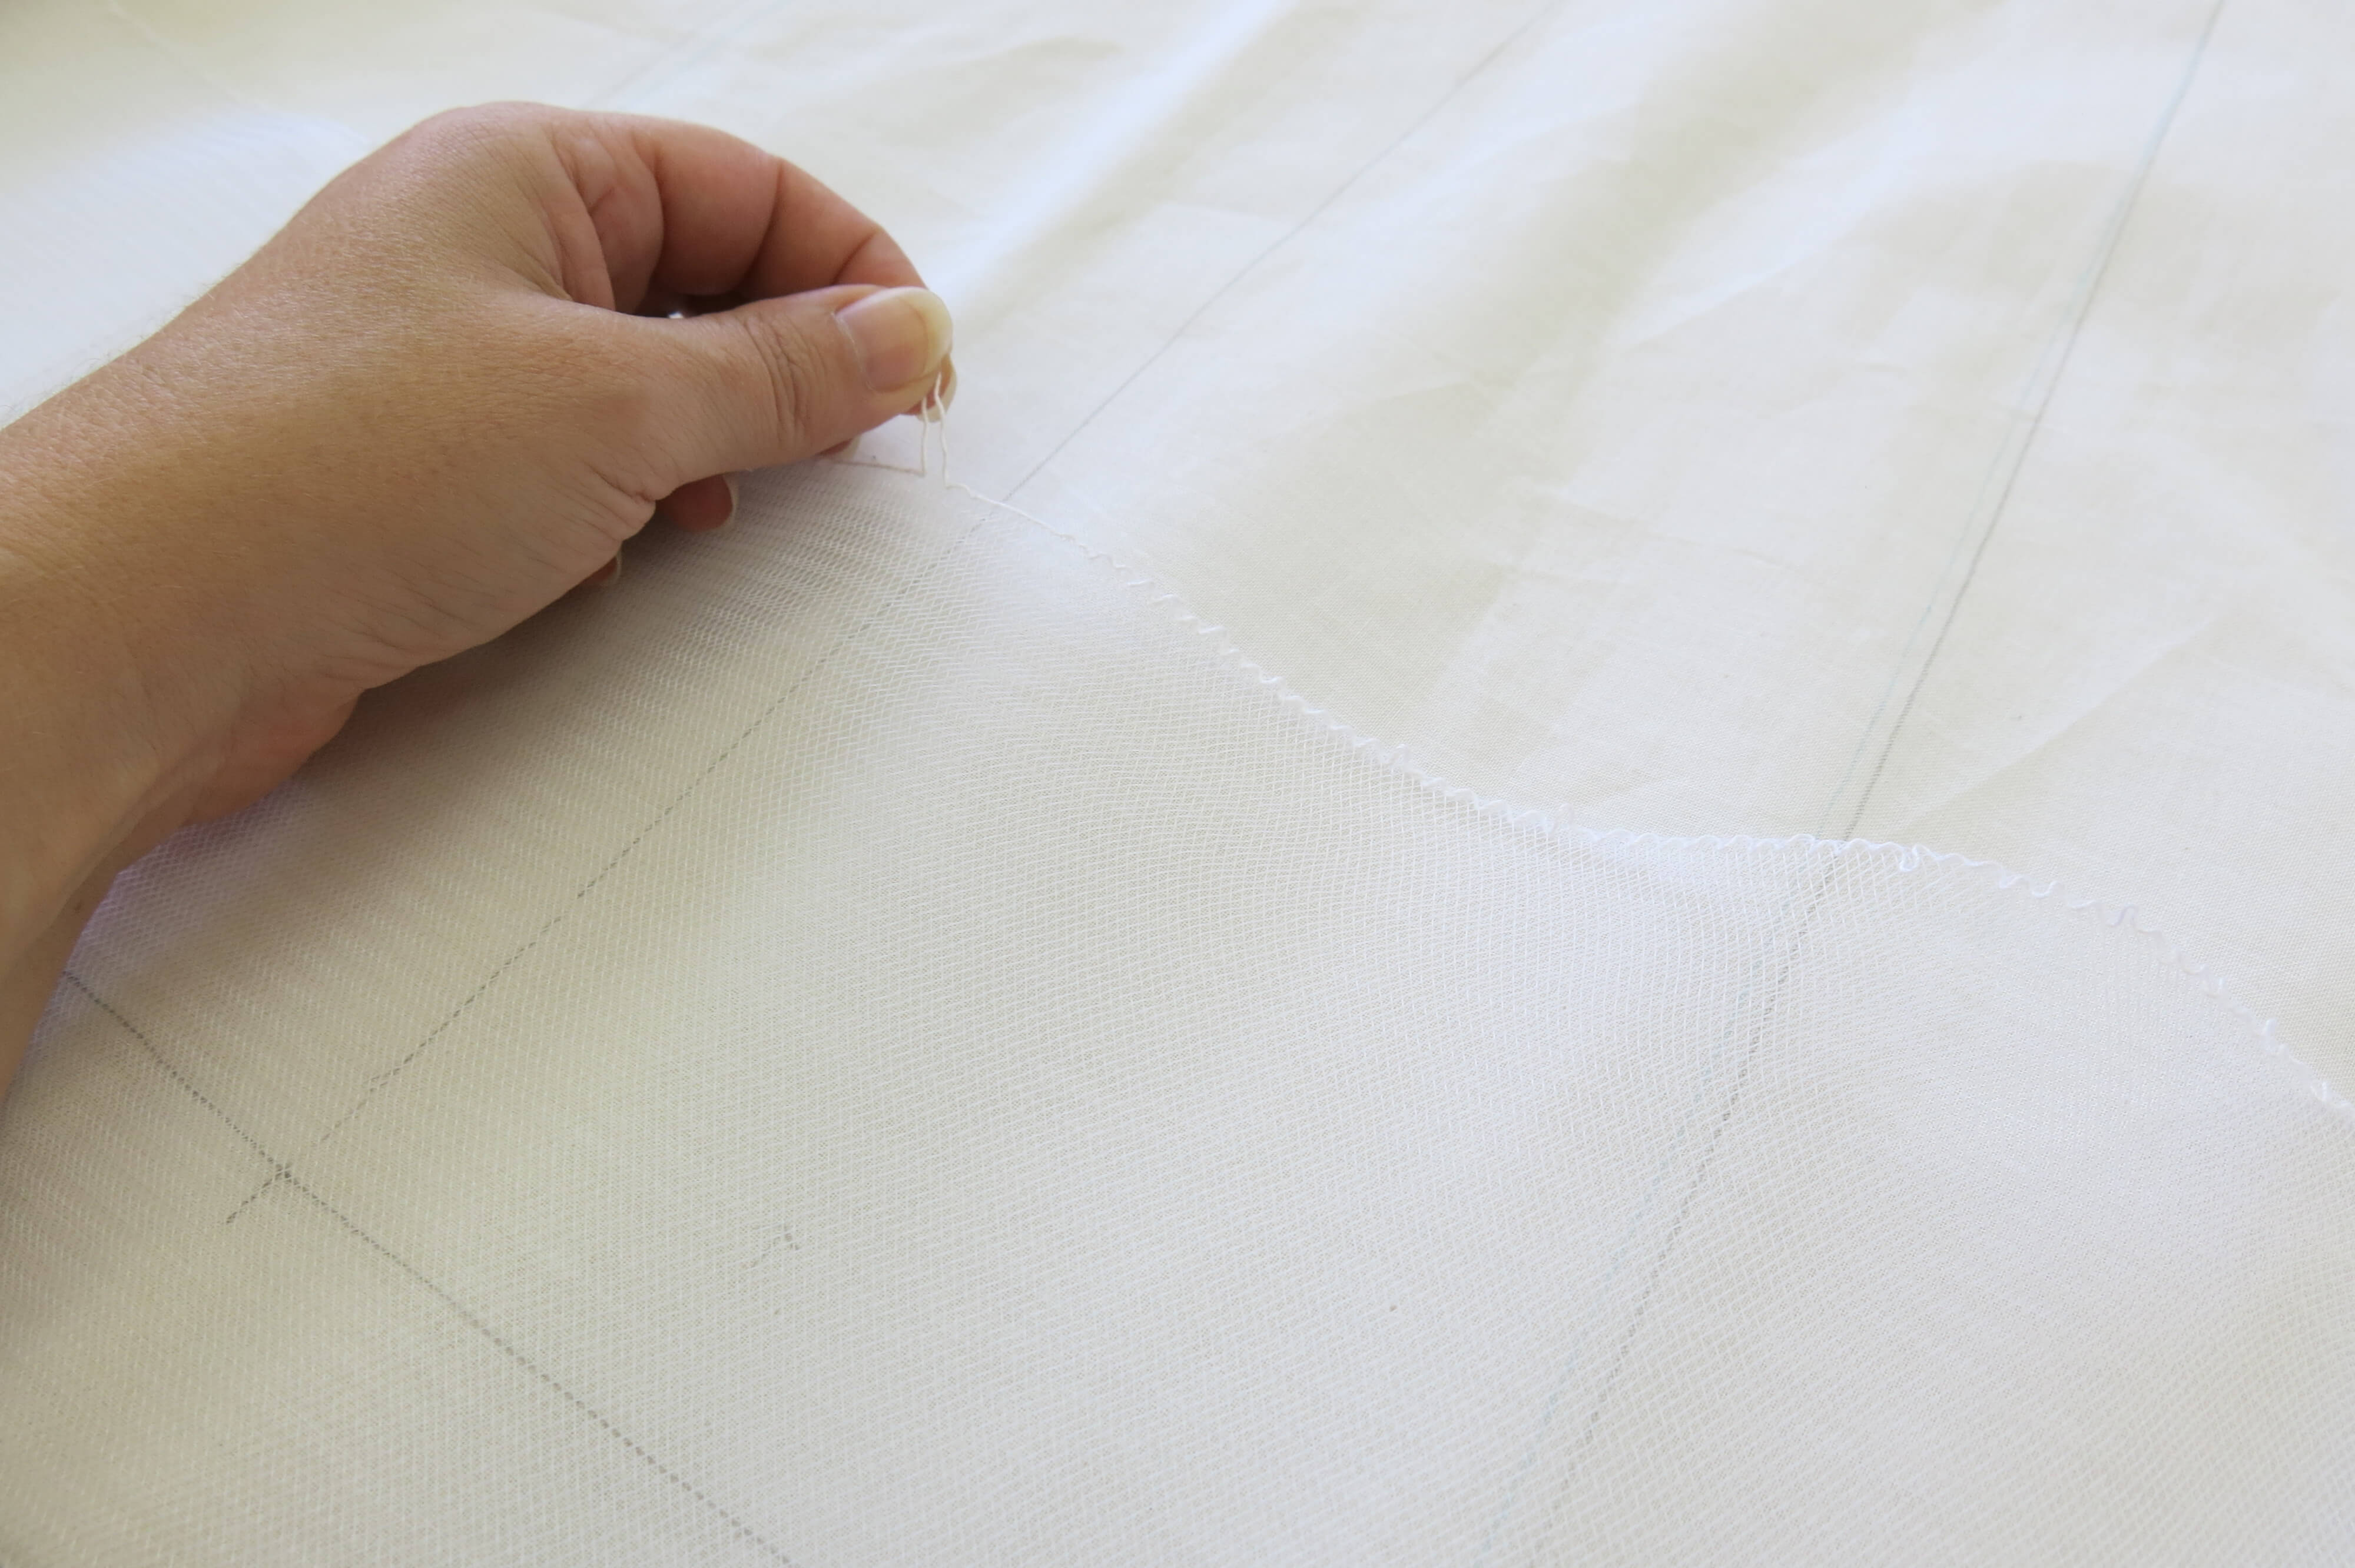
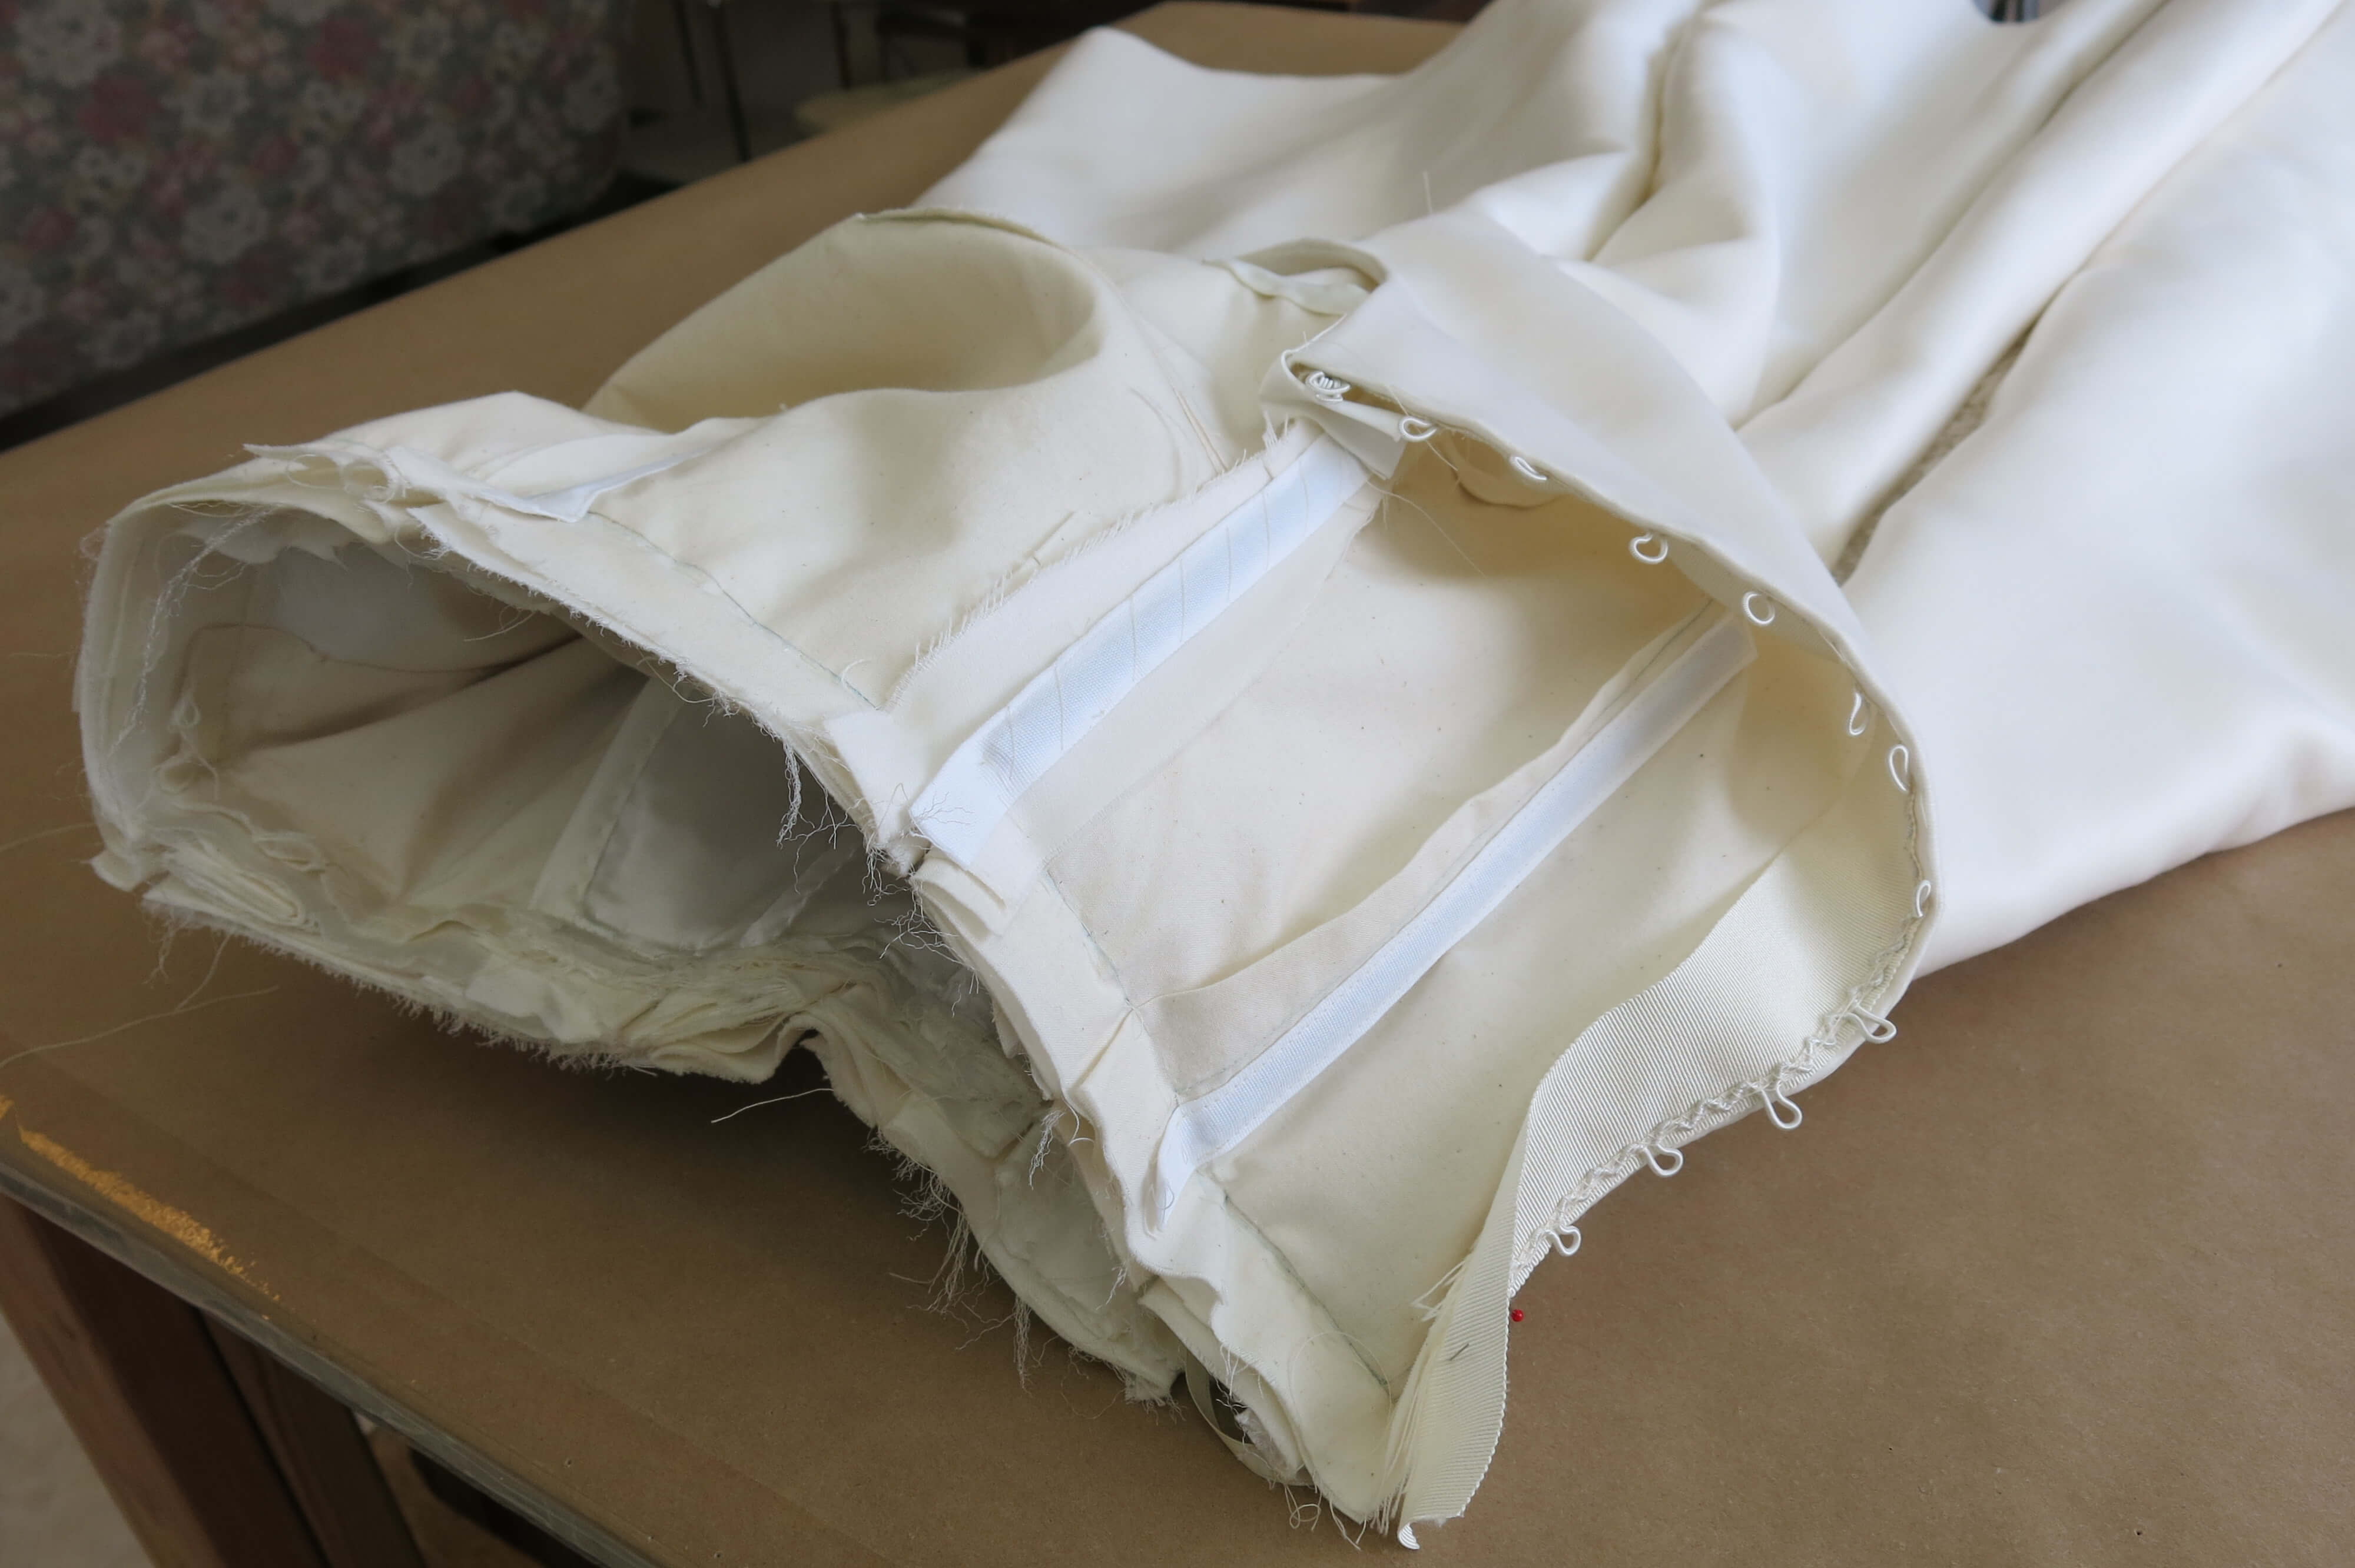
In order to give the pleats their gorgeous shape, the seam allowances are not pressed open and wide horsehair is added to the hem. If you look closely, you’ll see the stiff nylon trim, with its lower edge on the hemline, pinned around each standing seam allowance.
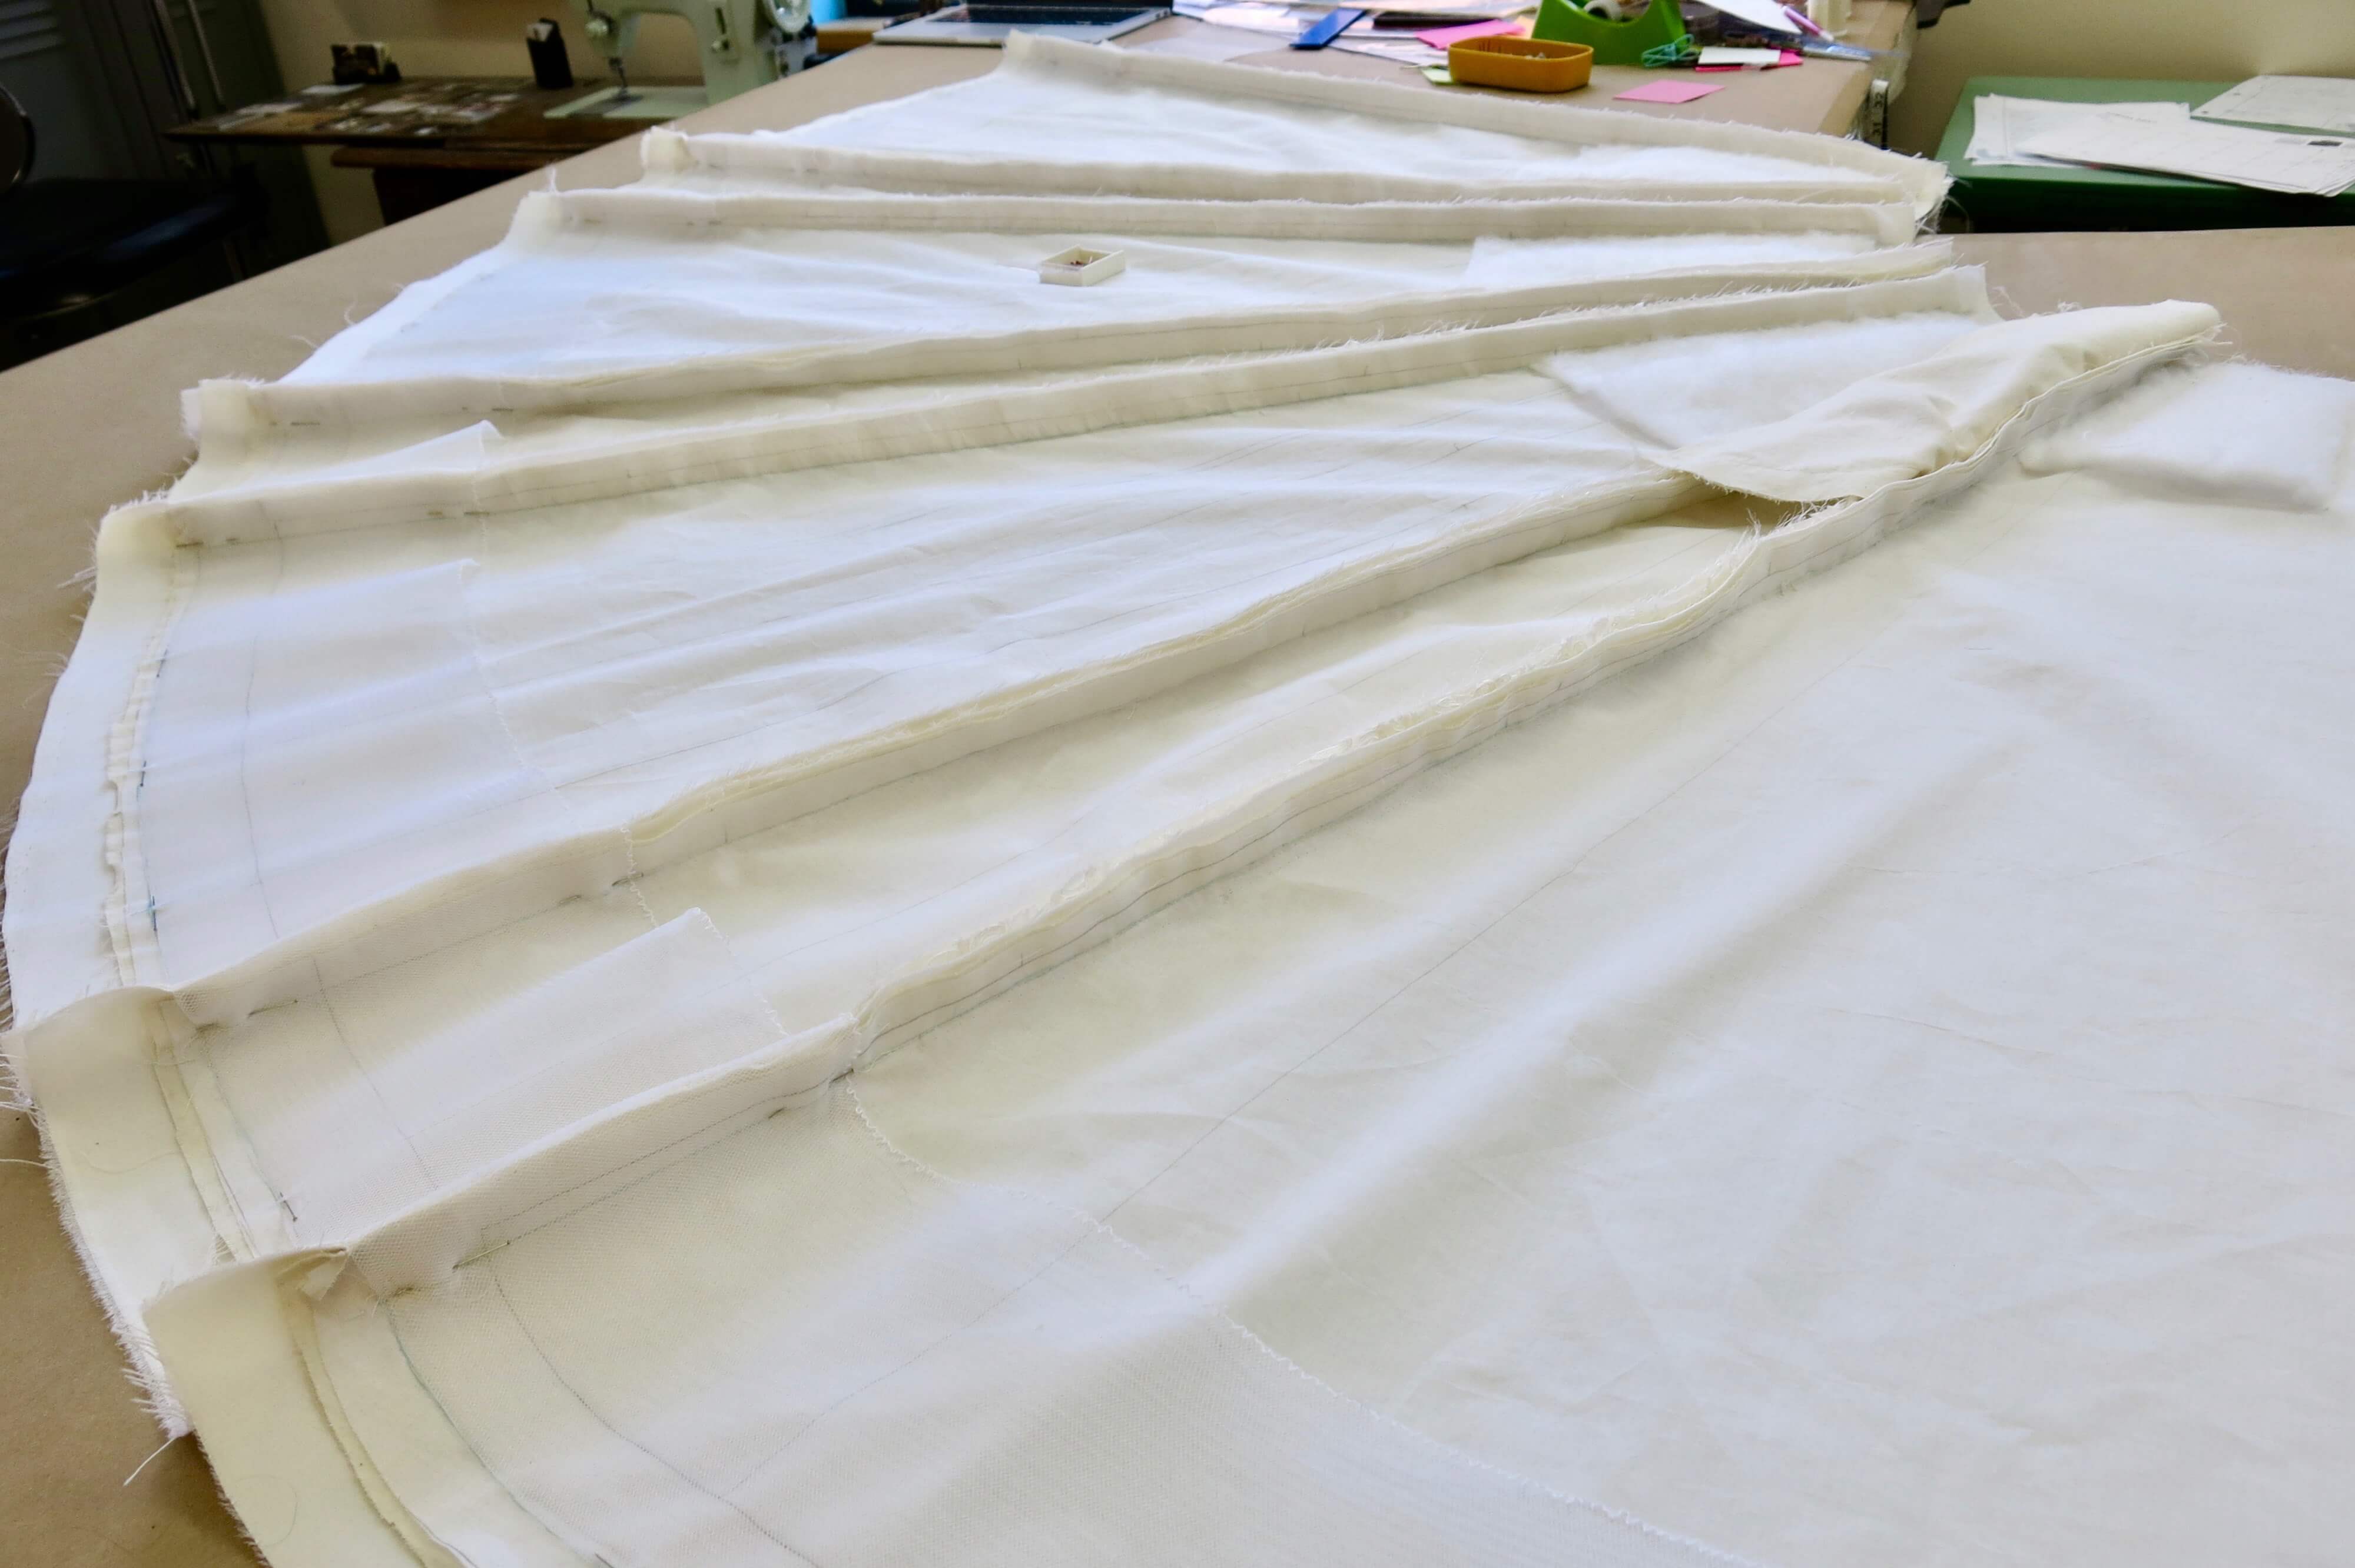
One of the cool things about horsehair is that it can be shaped! In wide versions, there is a string at the top. When you pull little bits of the string, it cinches up but still lays flat. This is excellent for curved hems where the top of the trim needs to be smaller than the hem edge.
Once the horsehair was stitched in place by hand, it was time to set up the hem. Another chance to come up with creative problem solving!
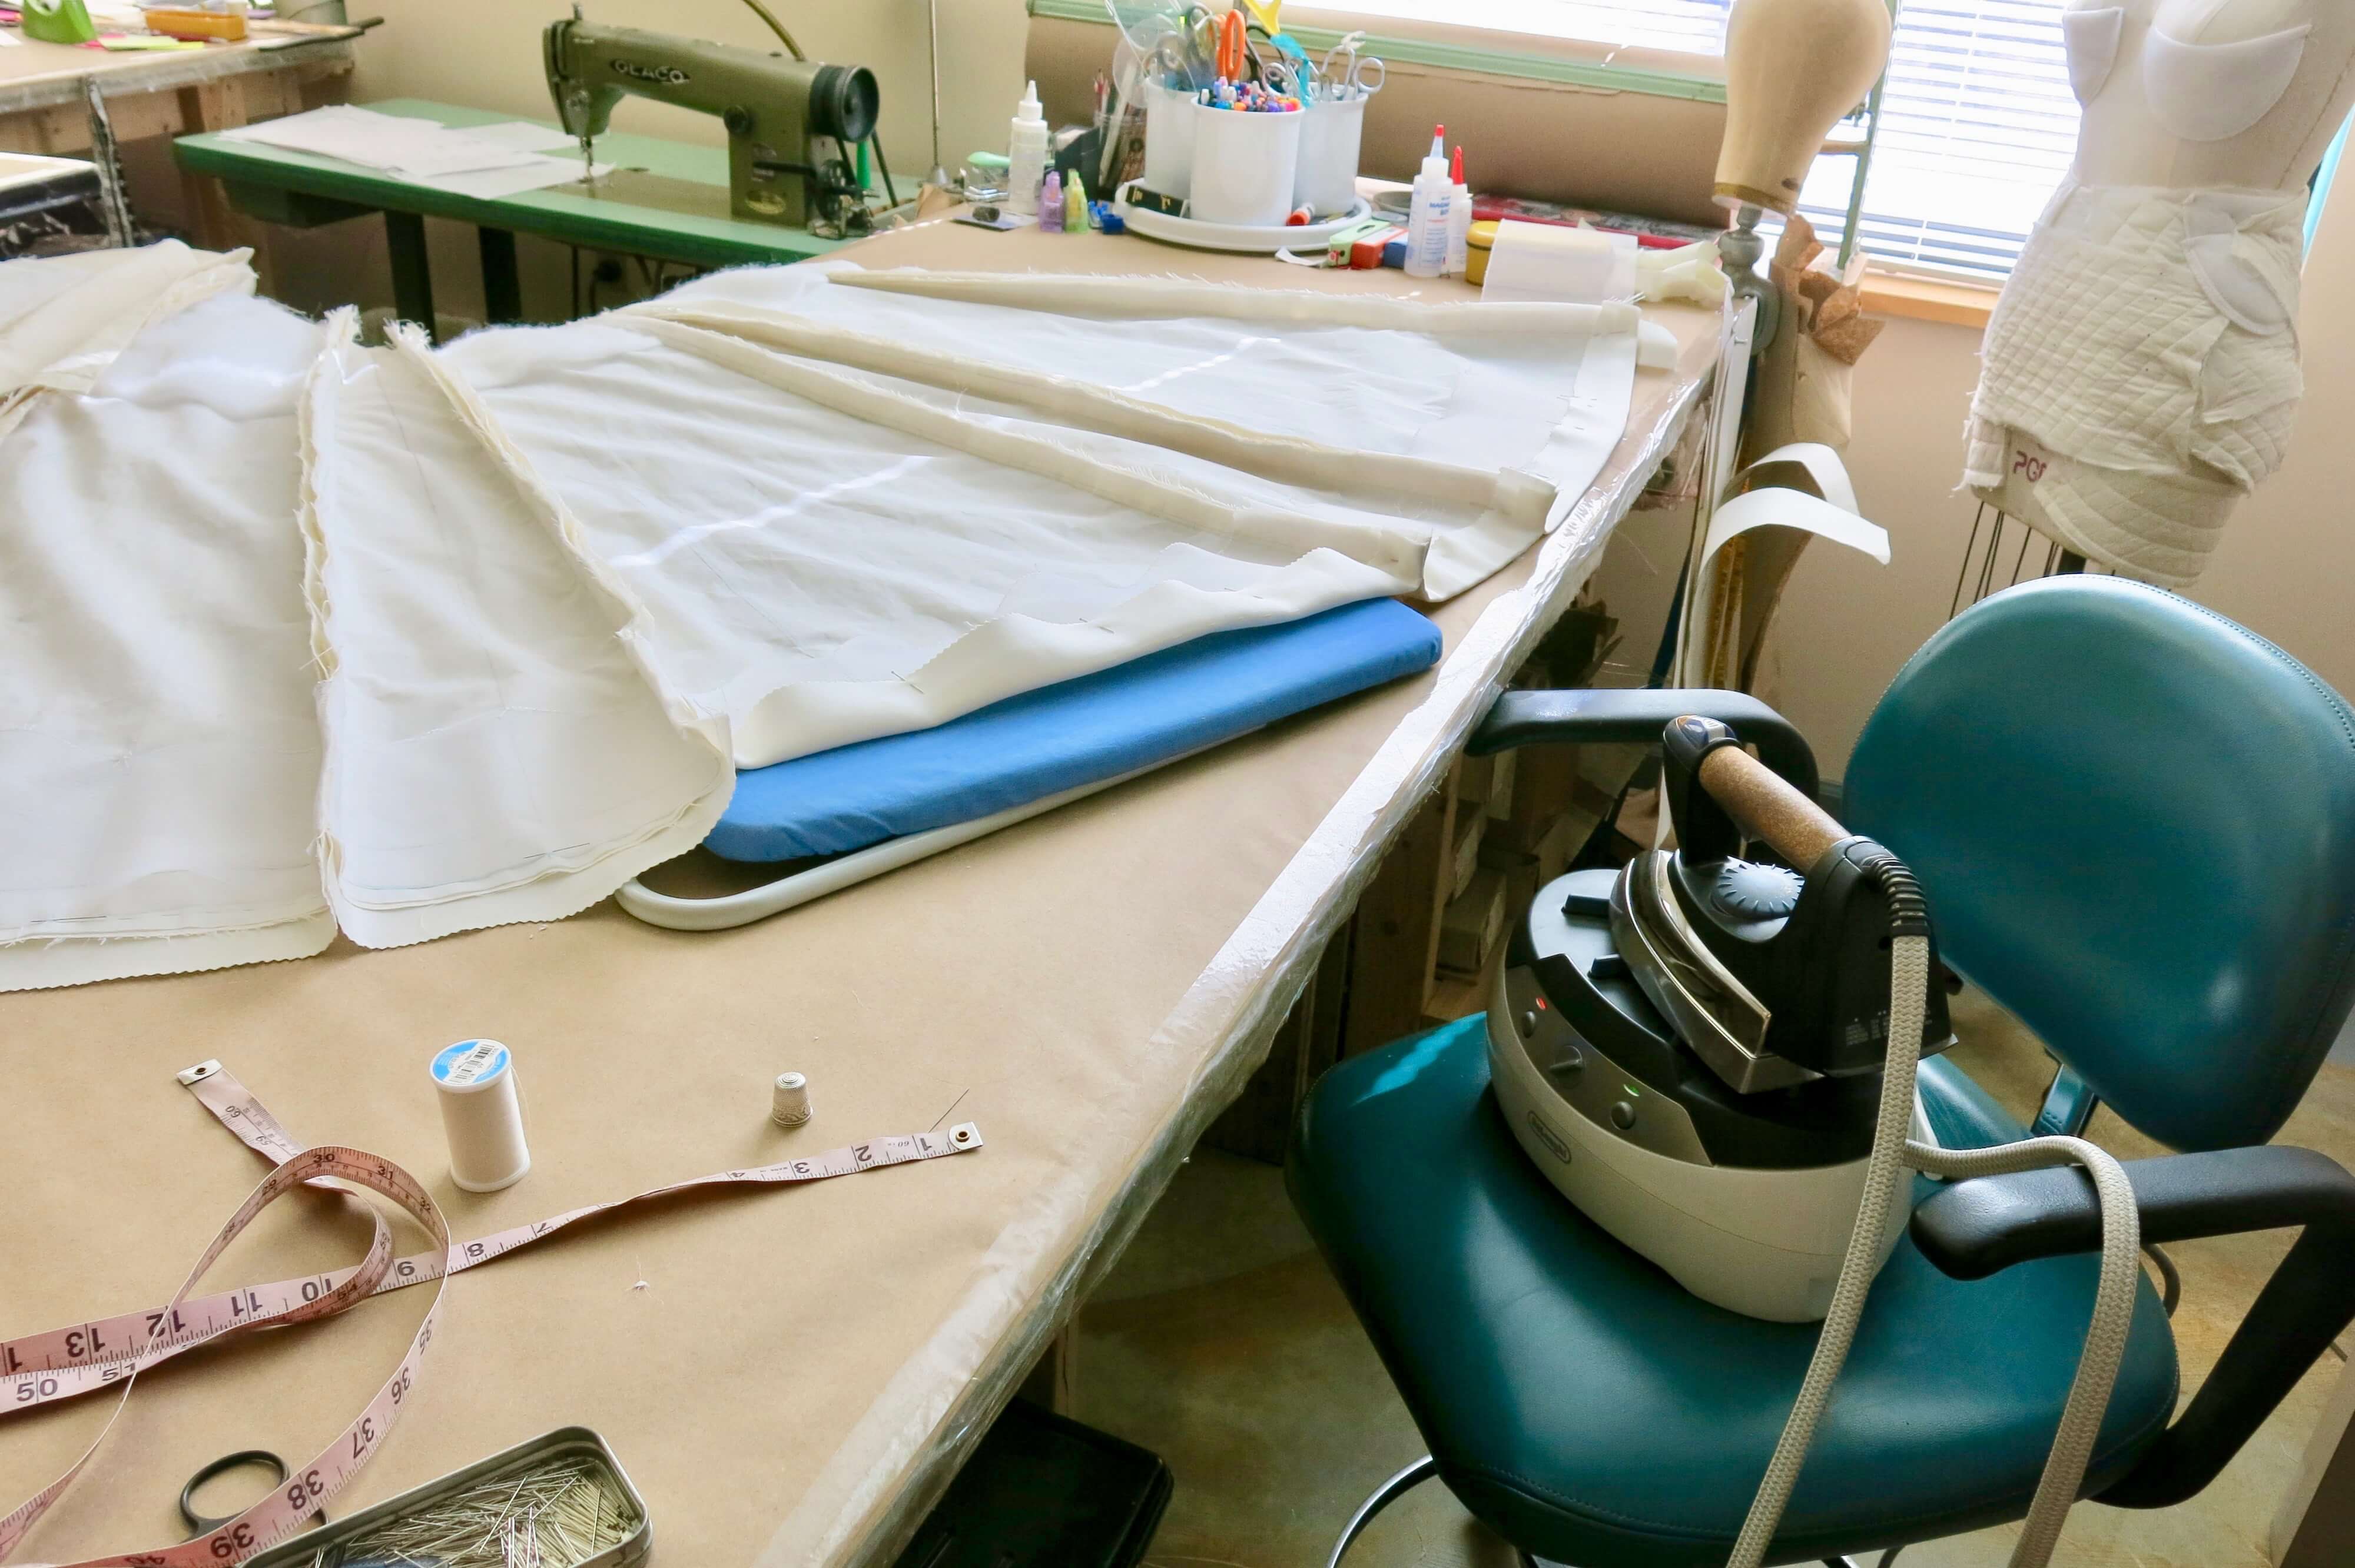
No way did I want to move the skirt from its stable flat-across-the-tables position at this stage of construction. But I did want to press up the hem with the iron… My gravity feed iron is set up permanently a few feet away with my custom ironing table, but I had an older boiler iron that offered a little more portability.
I set up the boiler iron on a rolling chair and was able to put a sleeve board under the portion of the skirt that I wanted to press. This idea allowed me to move the equipment instead of the dress!
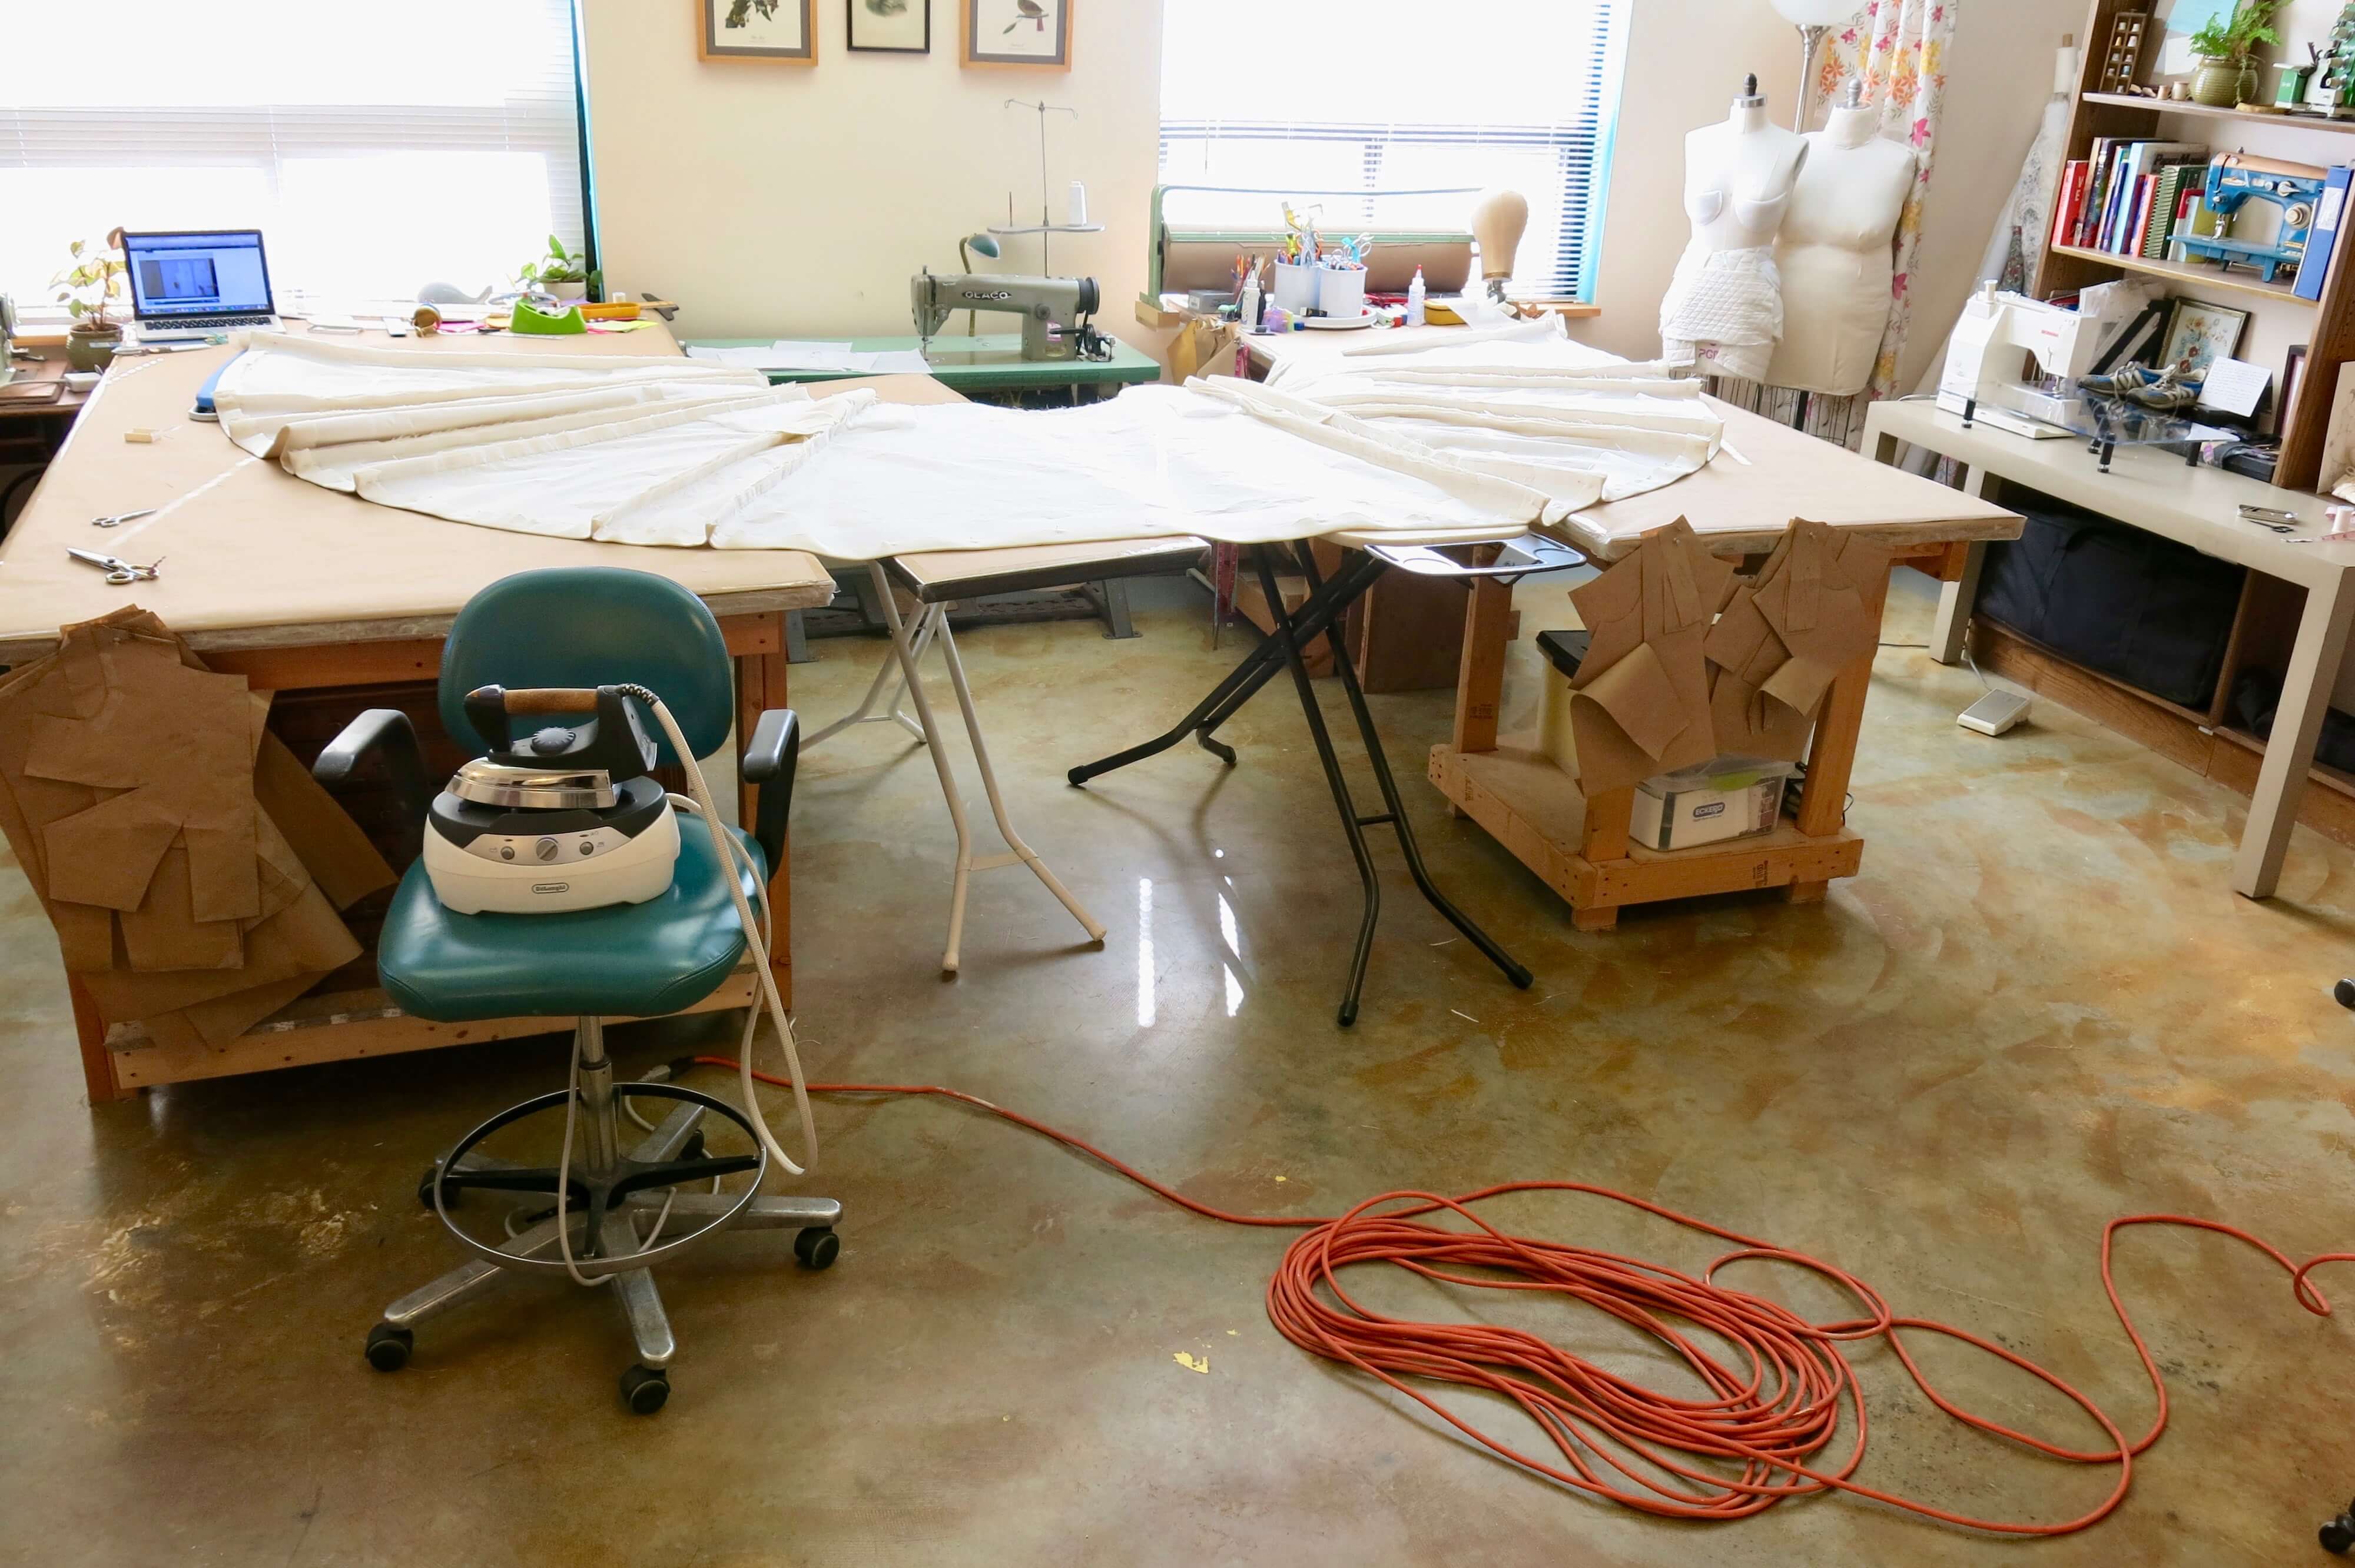
As I moved the tools around…
…I needed a long extension cord, but I was able to achieve my goals!
Rebecca (a local Skirt Skills student) often volunteers to help. She carefully hand stitched the hem edge of Deborah’s dress to the horsehair while slowly walking around the tables. Thanks Rebecca!
Adding the Lining
In the pleated skirt, the lining needed be added before being folded into its pleats. At this point, I hadn’t cut the lining yet and needed a table! I carefully rolled up half of the skirt in tissue paper to make room for fabric cutting.
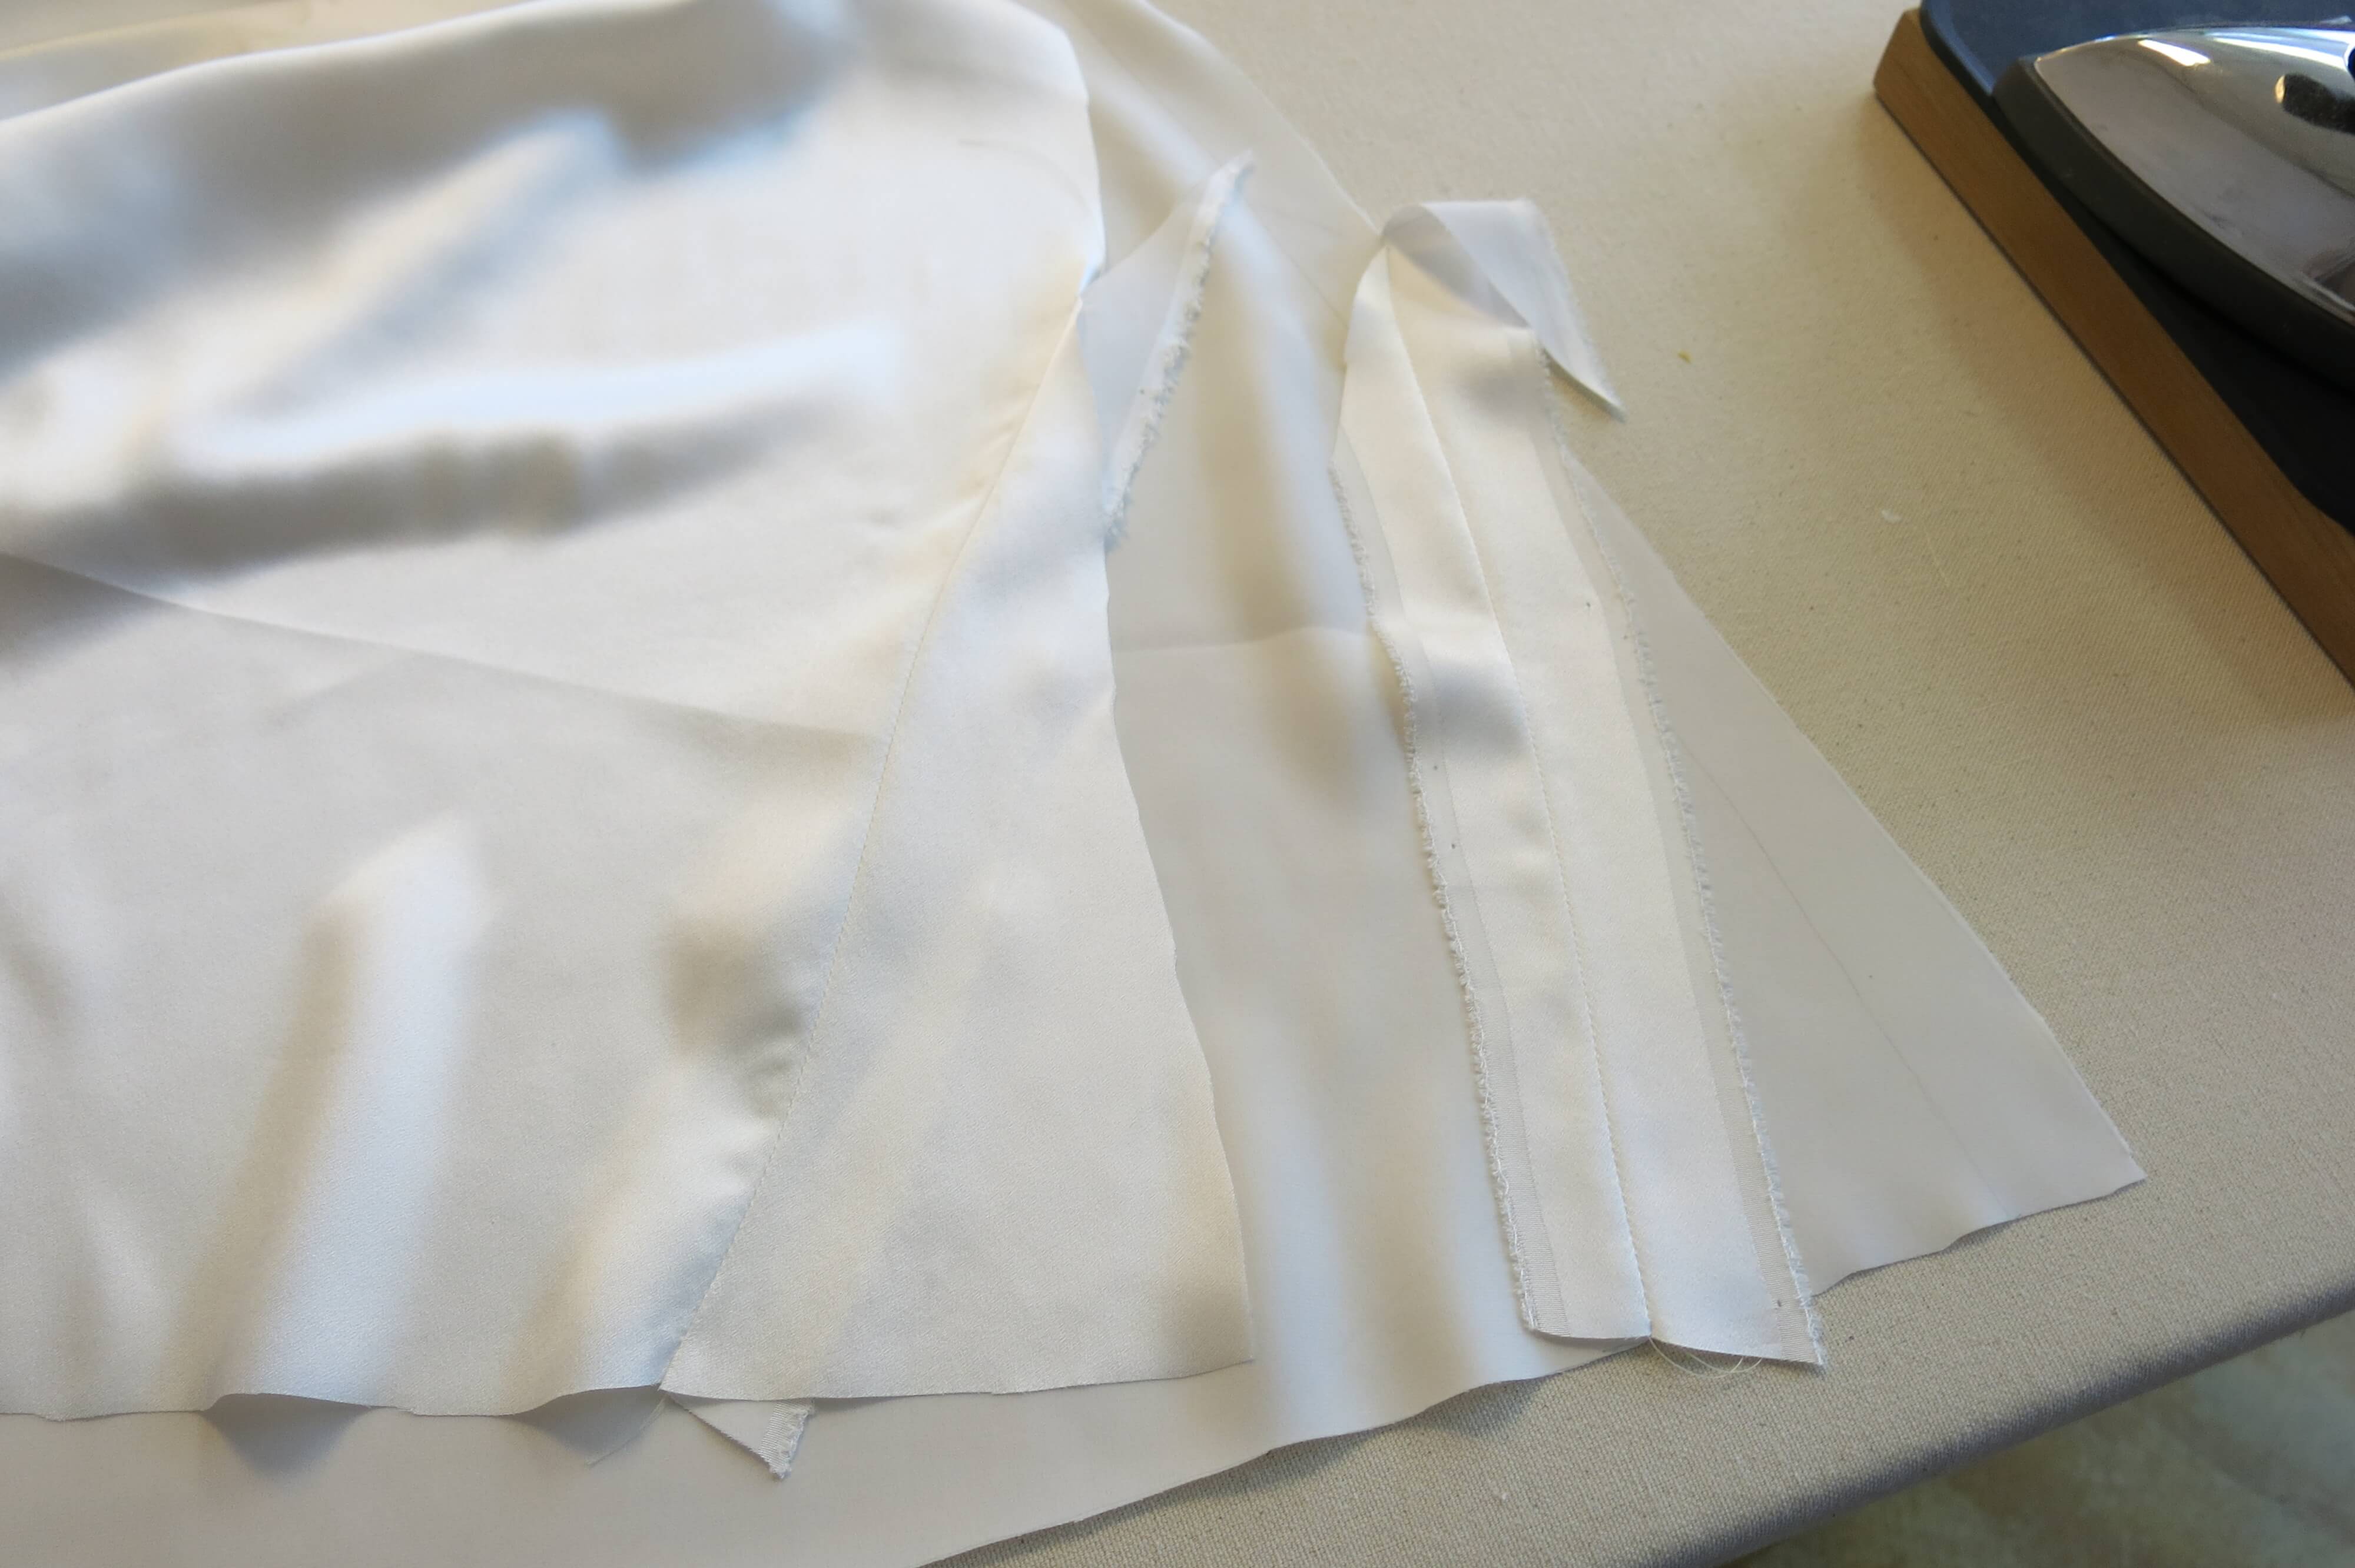
The front piece of Deborah’s skirt was patterned for the 60″ wide silk/wool of the dress, but the silk charmeuse lining fabric was not quite as wide. No worries! I rolled out and squared the silk onto my pinnable top table, found the center, and traced around one half of the custom drafted pattern with the too-wide bit at the bottom folded over…
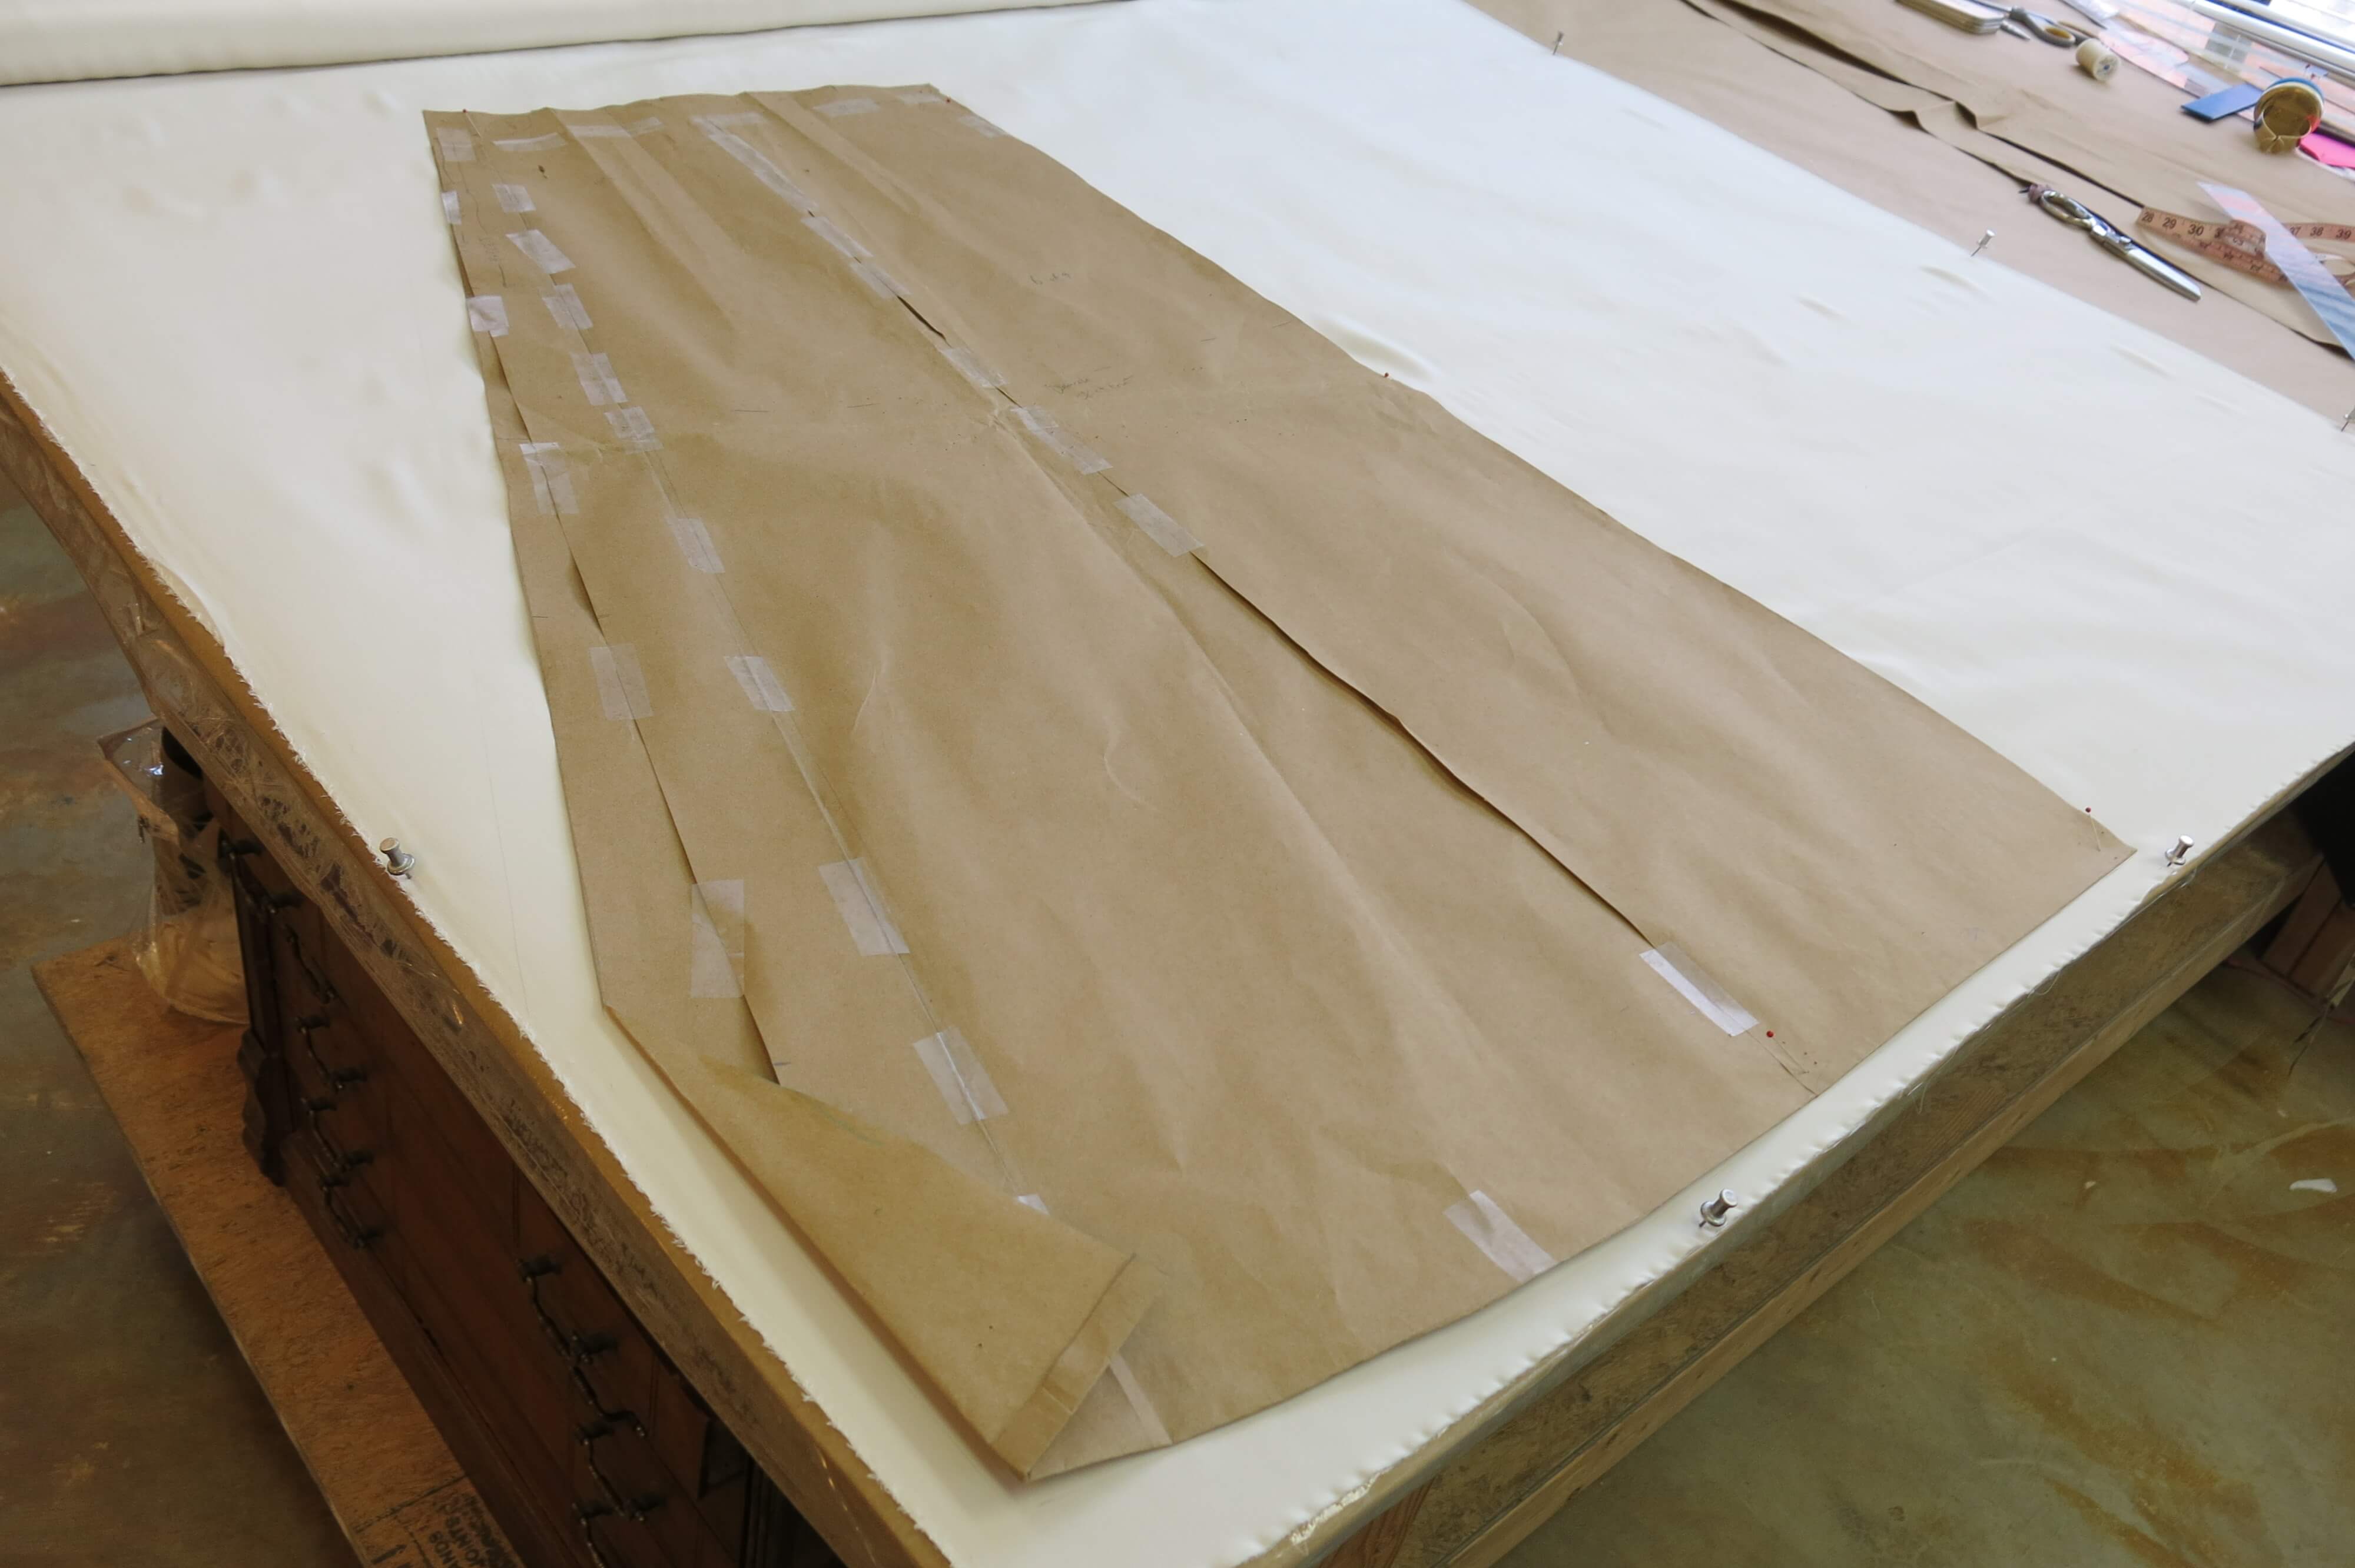
…then flipped it over and traced the other half the same way before cutting it out.
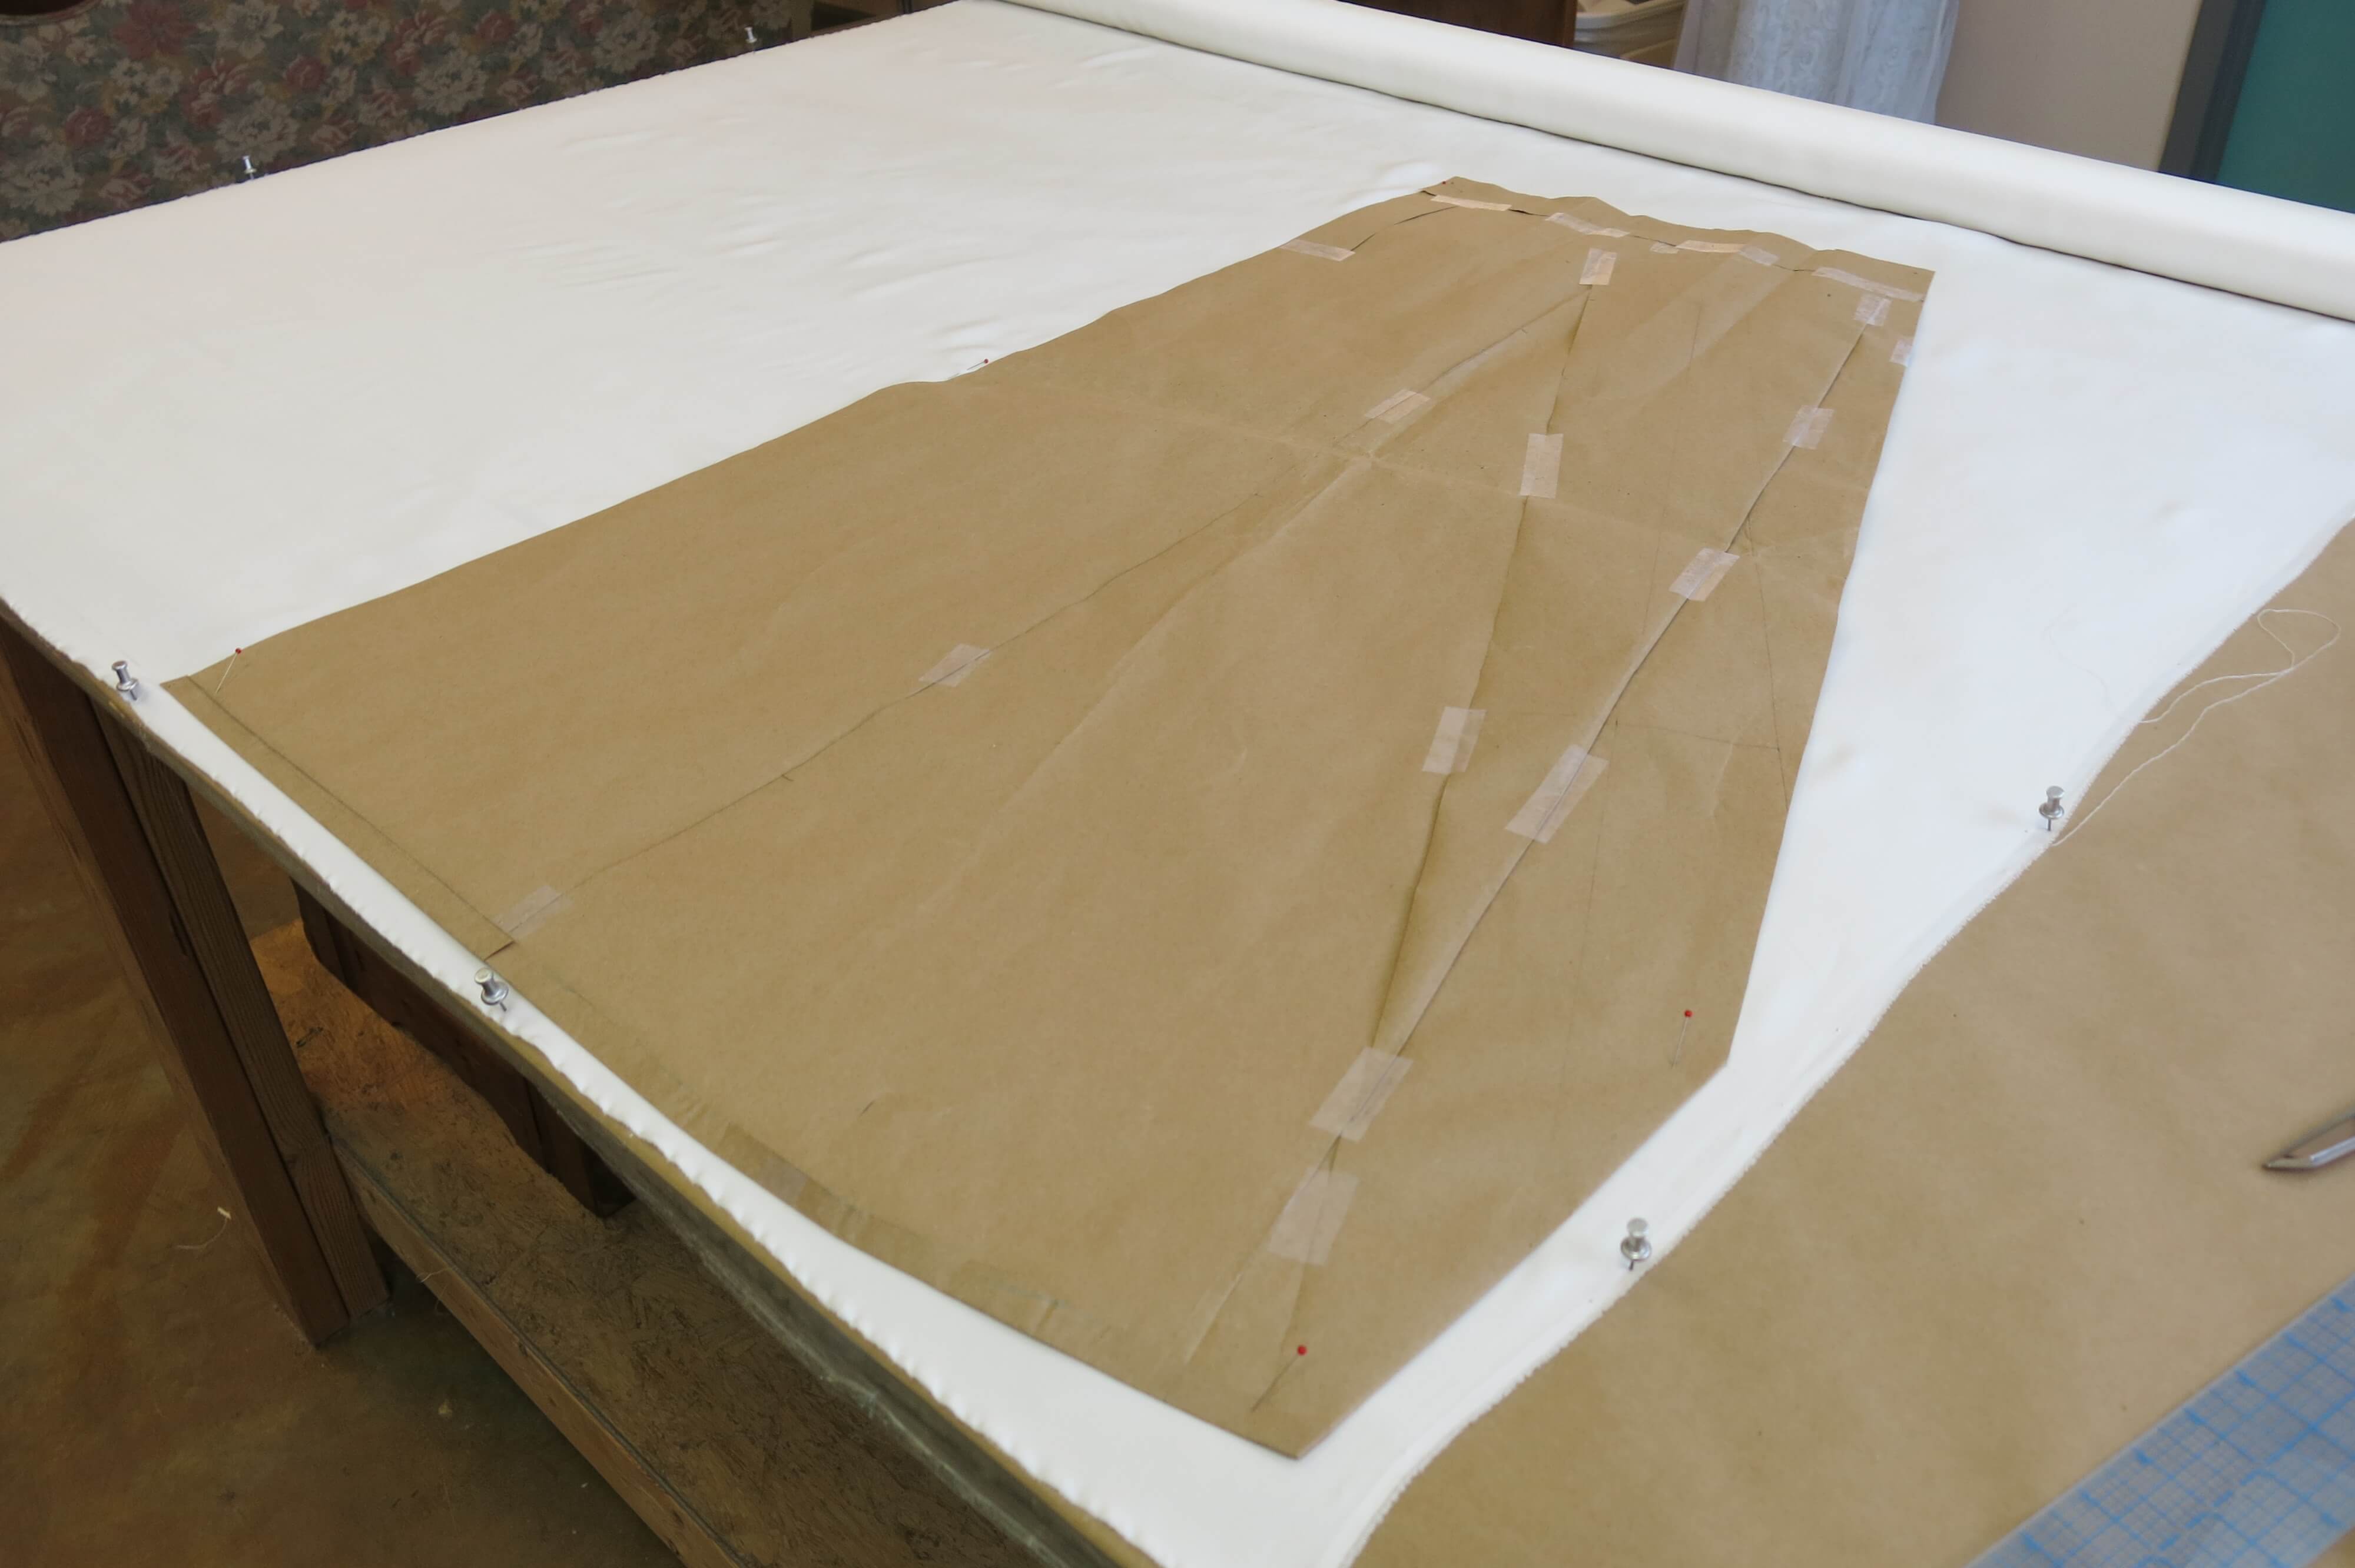
I also cut the two little missing wedges out of the silk, which allowed me to stitch it up and complete the full front lining piece.
Since the seam allowances of the dress are structural and will take up space when folded, I decided to add each piece of the lining to the dress separately, rather than sewing their seams together first.
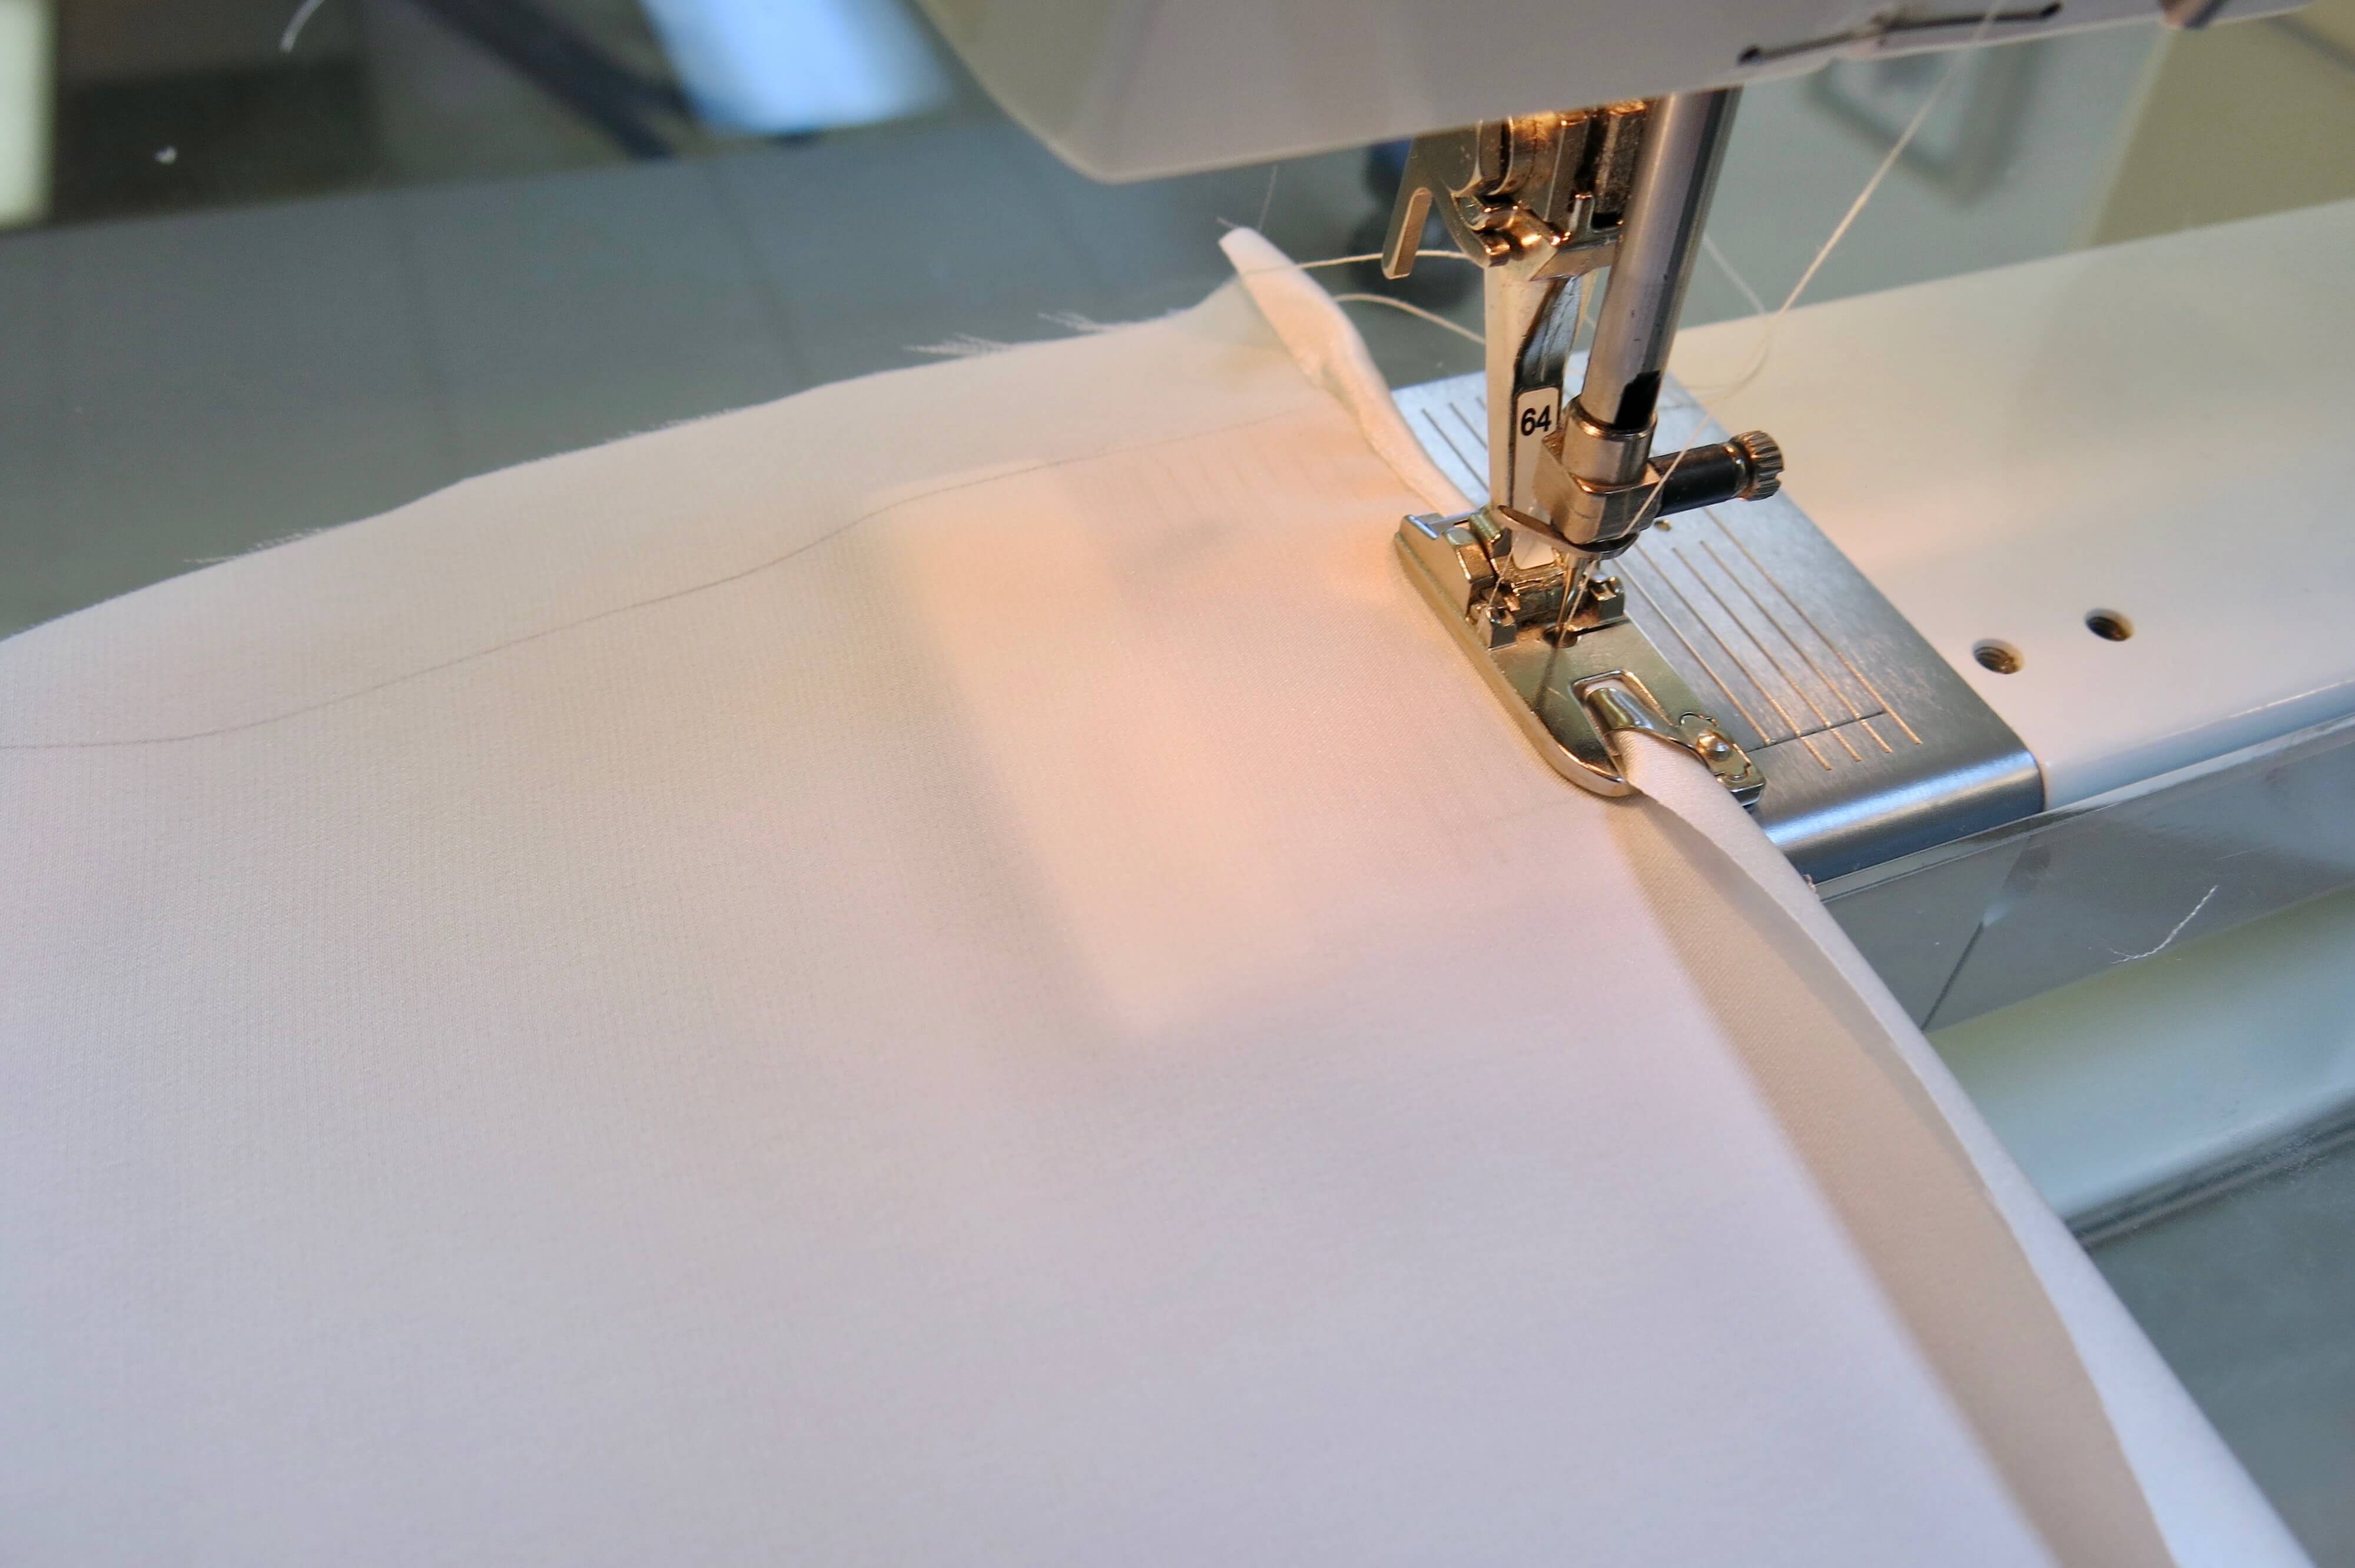
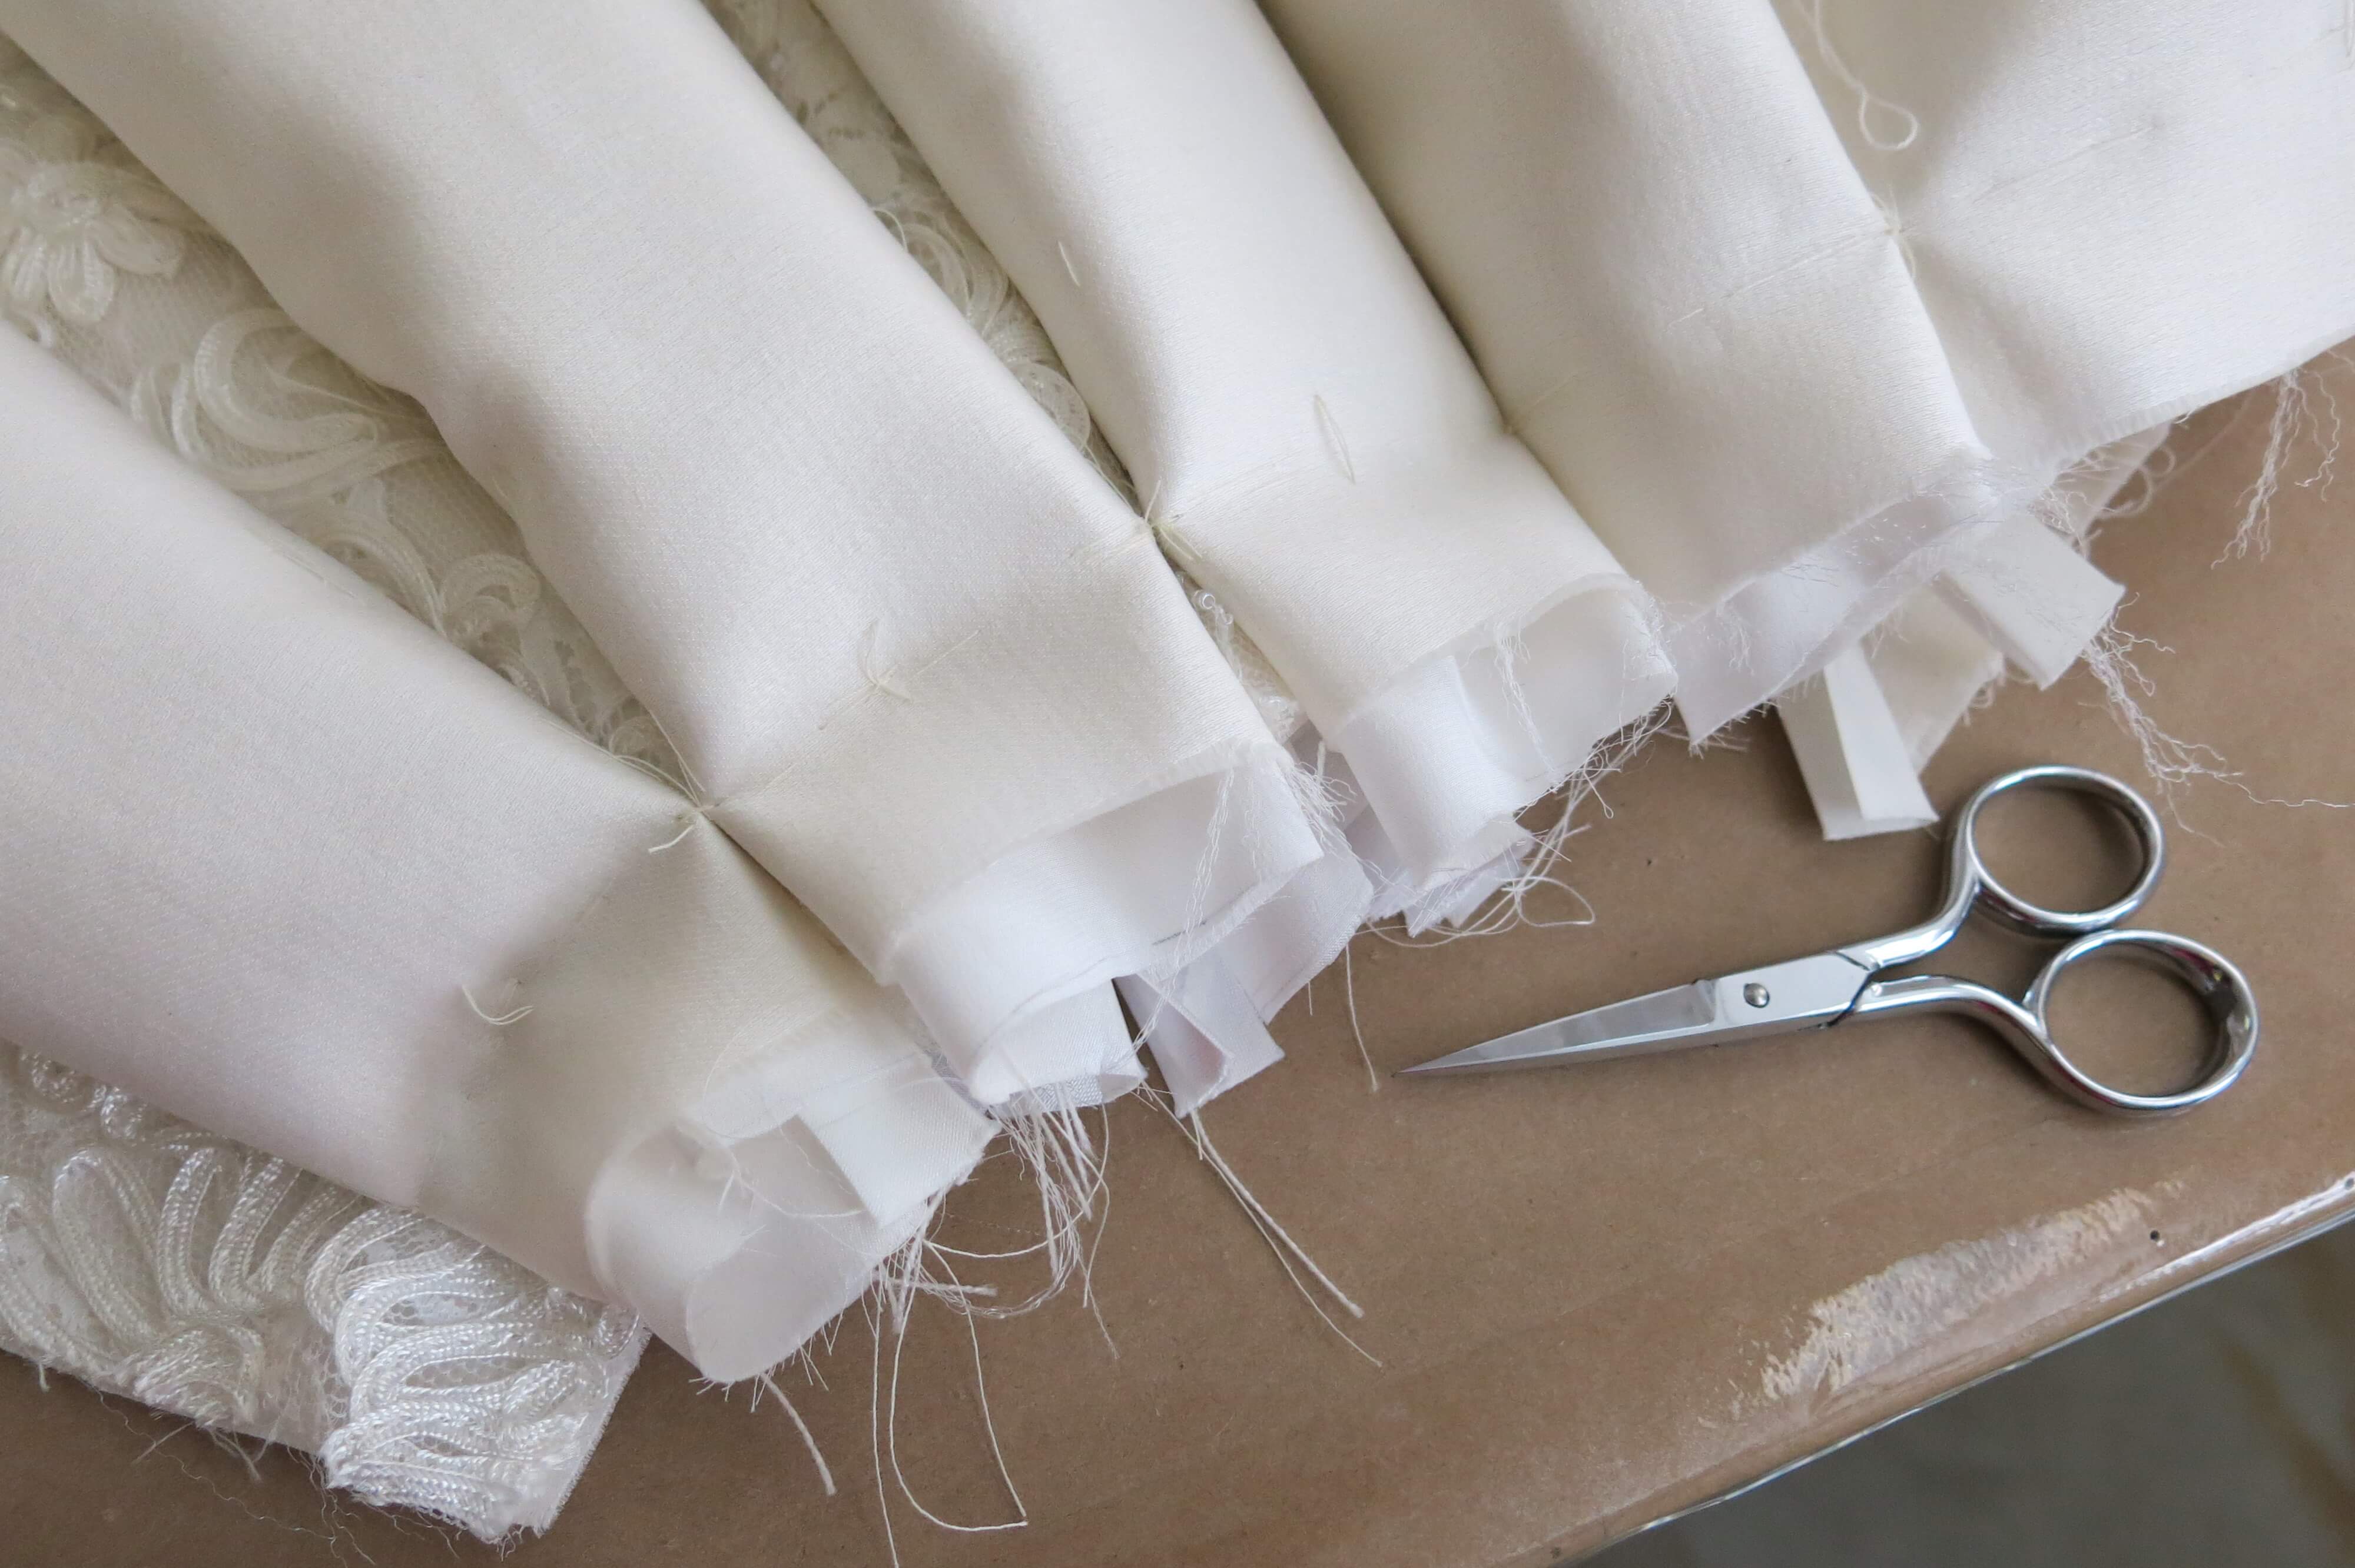
After each piece of silk lining was cut, I hemmed them separately using a special roll hem foot for my machine.
Next, I carefully laid out and hand basted each lining piece in place separately. This meant crawling on my hands and knees back and forth under the tables a bazillion times… A lot of the arranging and basting happens at the skirt’s waistline, which was only accessible through that little hole near my industrial machine. Sewing can be a real workout!
The next challenge was to figure out how to cleanly finish off those standing seam allowances! I experimented with small samples of all the fabric layers until I came up with something I liked that achieved my goals. I decided to cover the raw edge of the seam allowance with double fold bias binding, zig-zagged in place by machine.
So, I cut a bunch of bias tape which I hand basted in place on each seam, prepping them all for machine sewing. Whew!
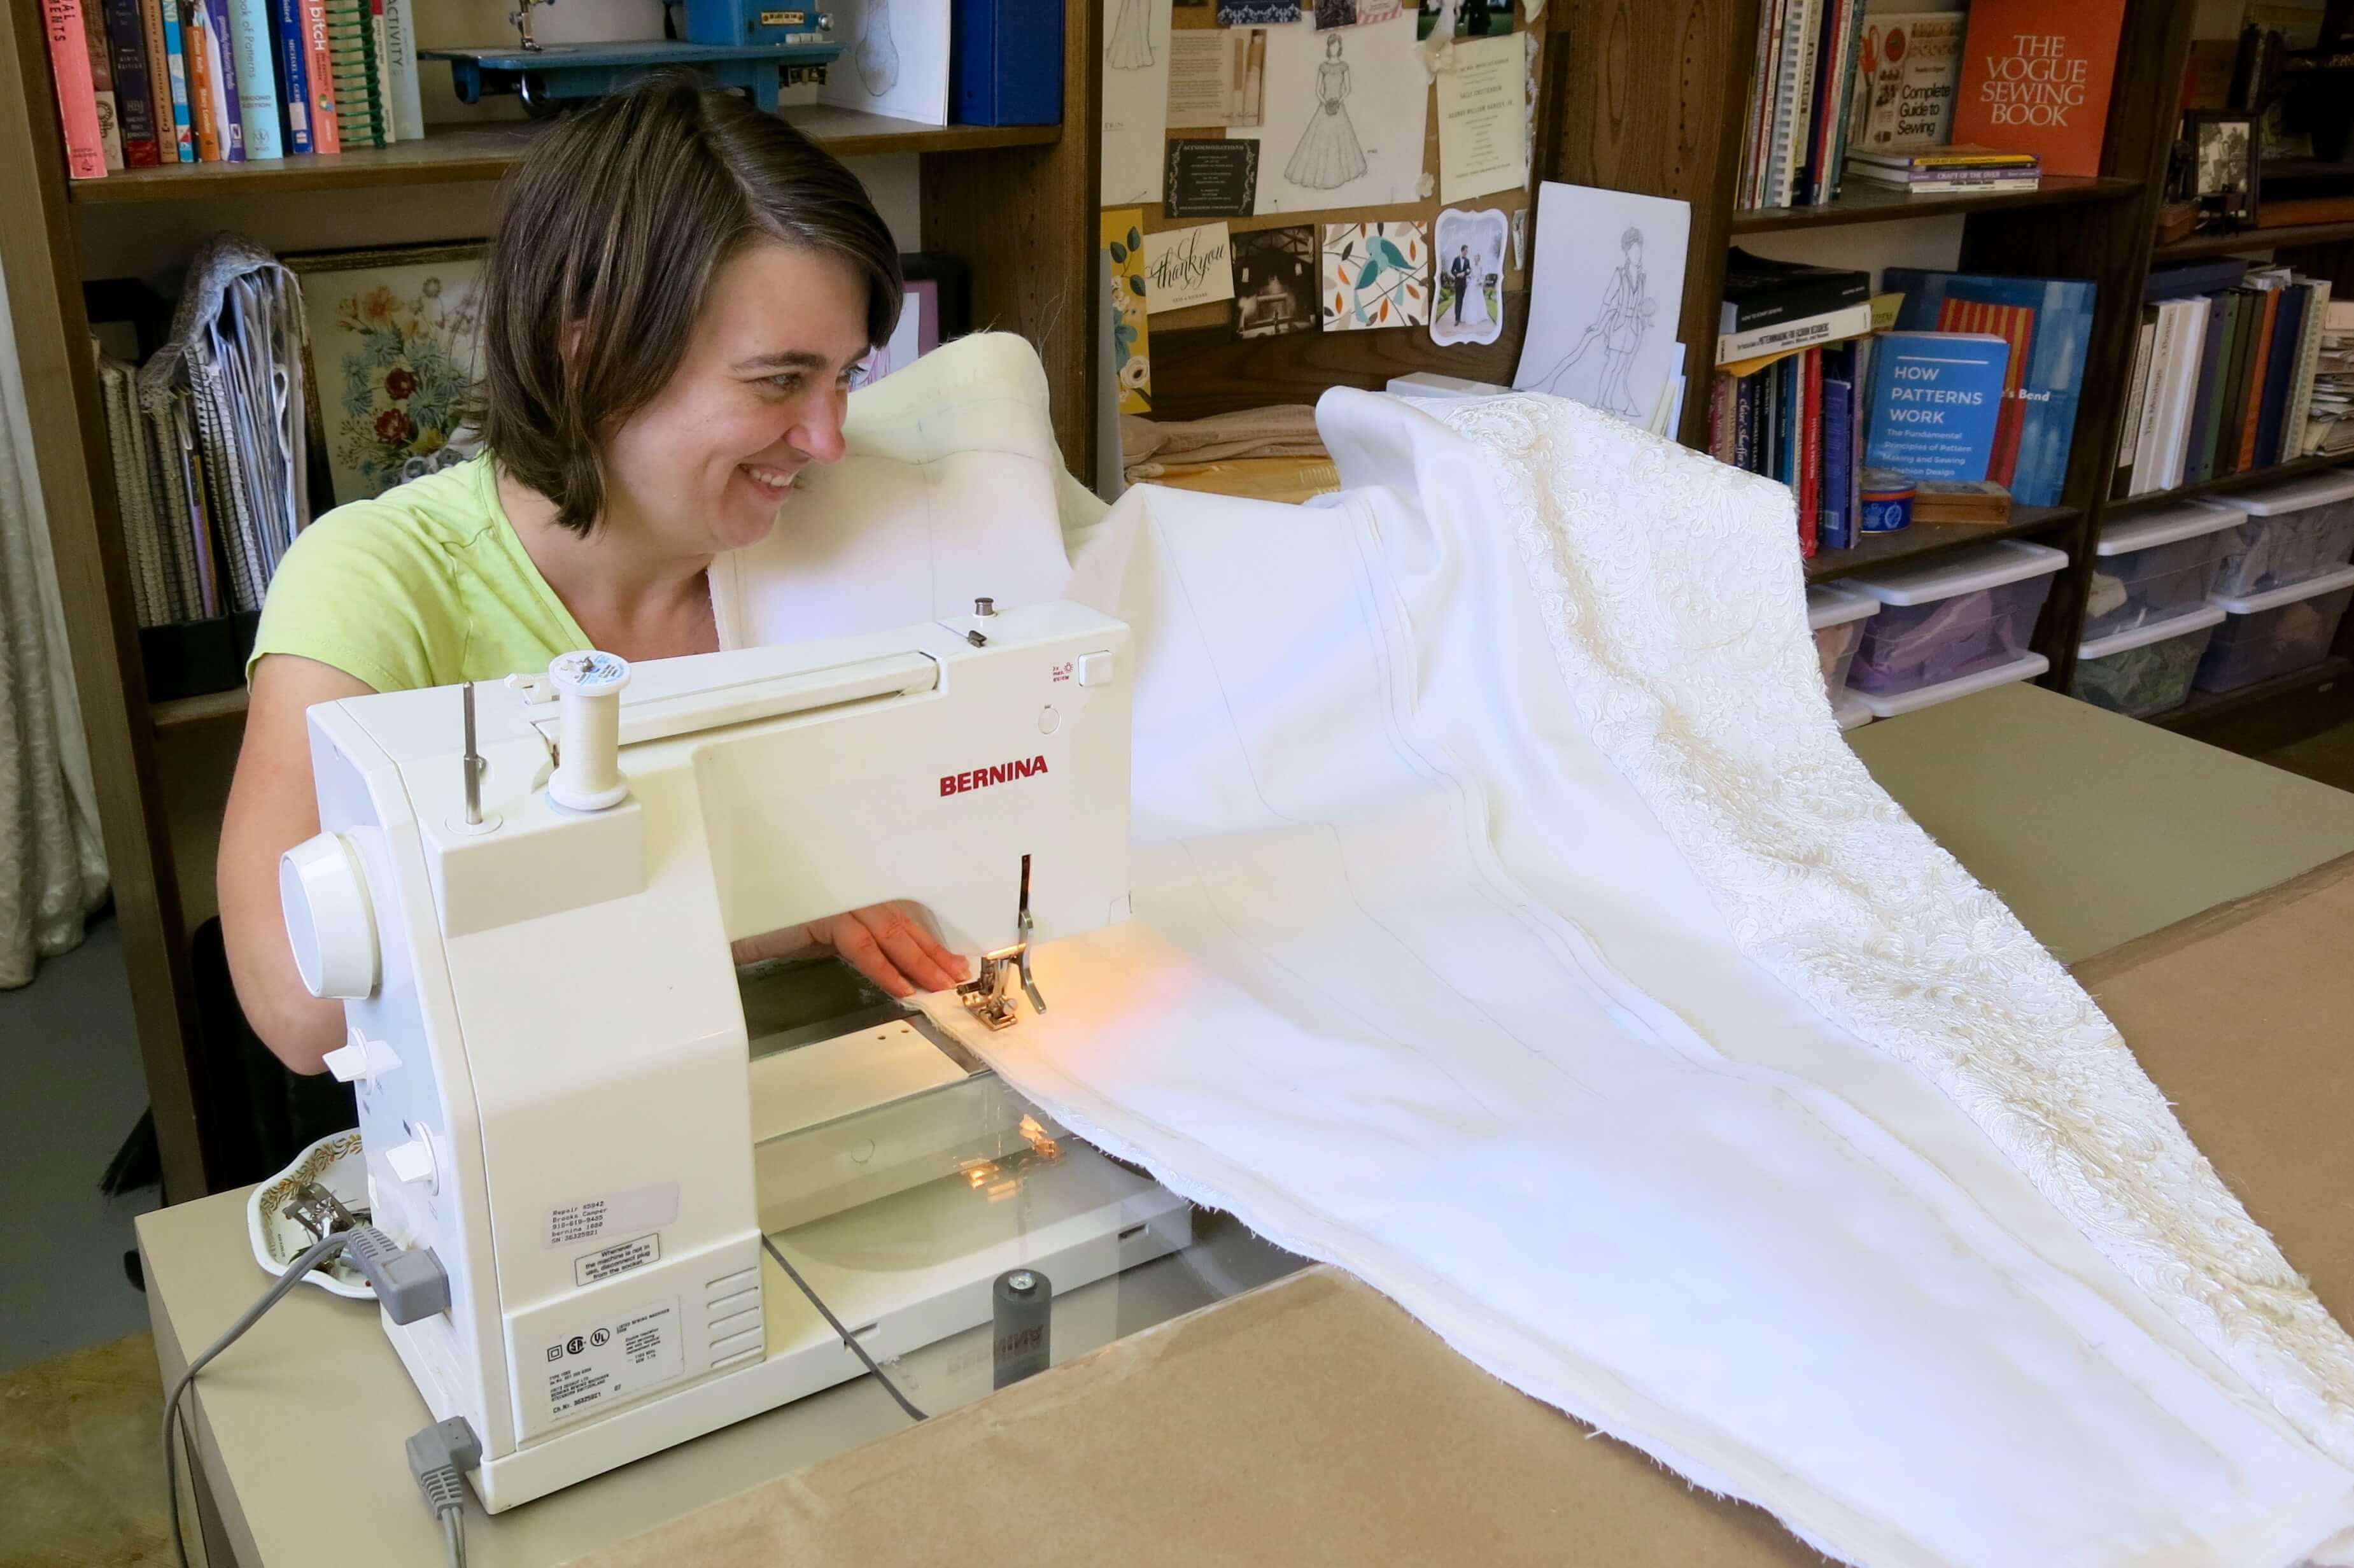
I folded the skirt up in the manner I thought I could push it through the machine the easiest. I set up an ironing board behind me in addition to using my shoulders and the multiple tables for support through each line of machine stitching.
When sewing by machine, you don’t have the luxury of leaving the garment stable while moving the needle where needed (like you do with hand sewing). You are limited to placing the exact bit of the garment you want to sew under an area of the machine less than 1/2 tall (the presser foot) in a part of the studio that is literally the size of a needle (the machine needle). Both machine and hand sewing require some skill, some awkwardness and, in this case, a full-body workout!
Pleating (and beating)
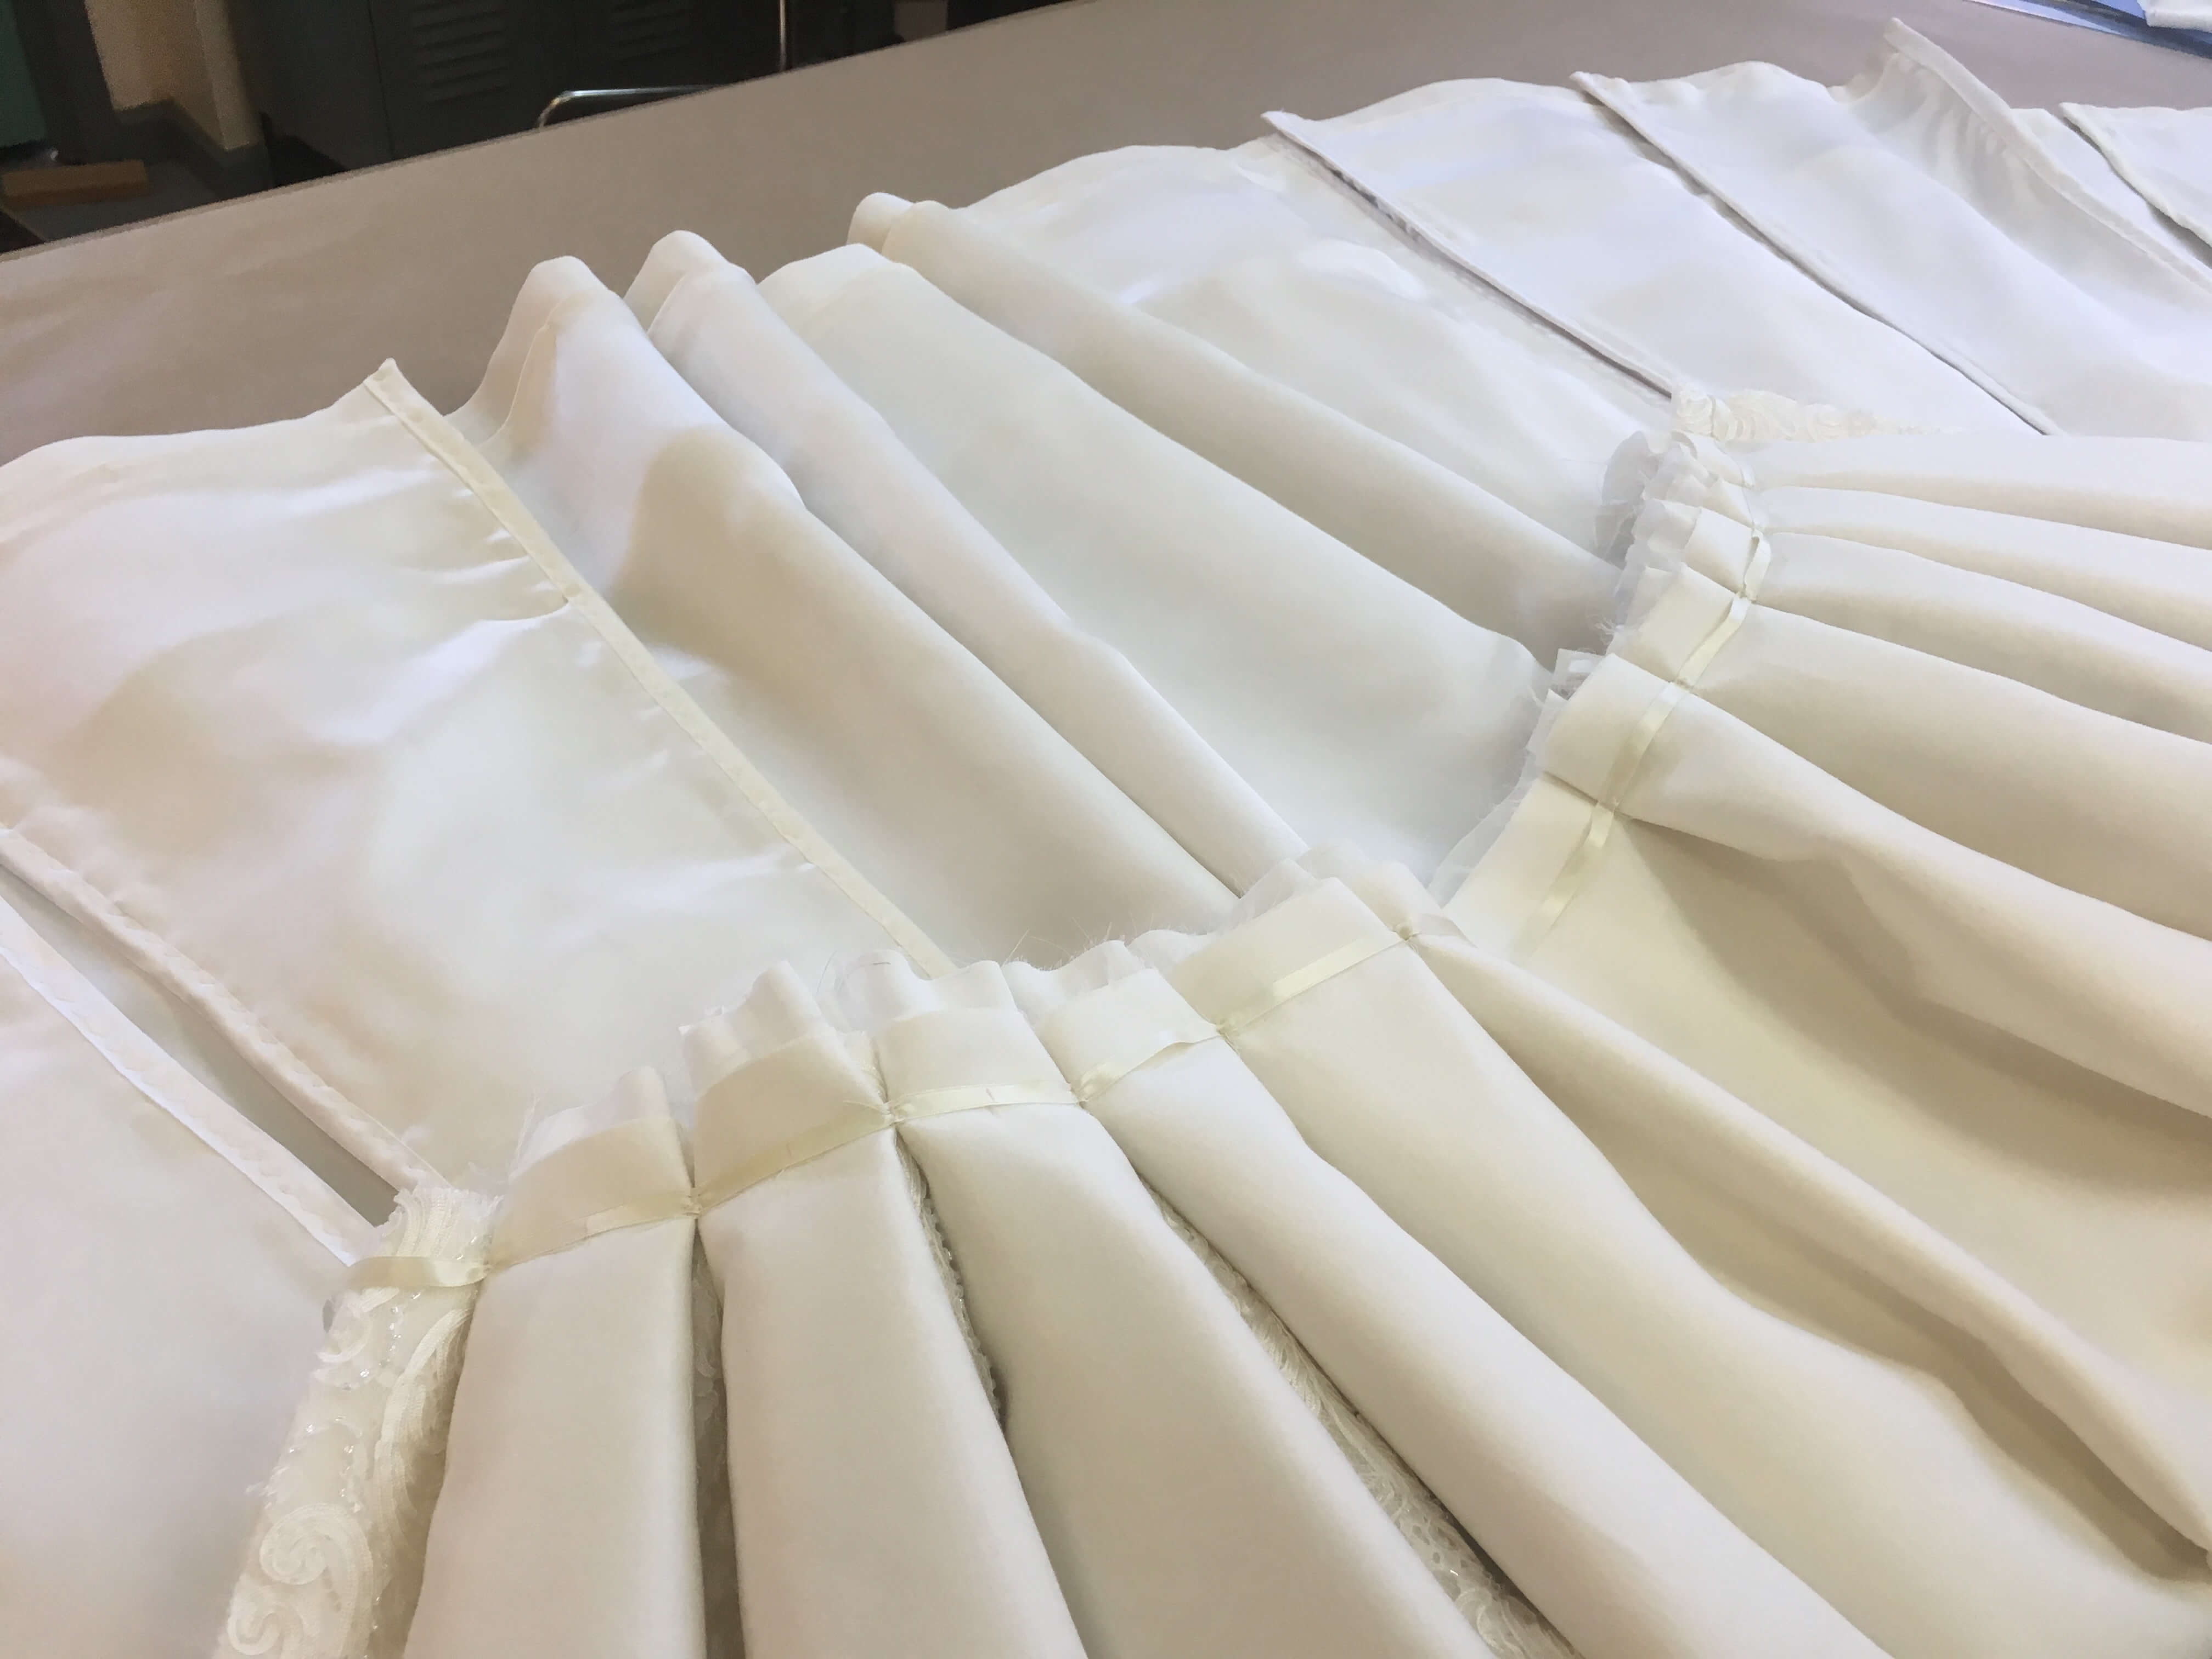
Once complete, I folded the skirt layers into their beautiful pleats. I started by roughly tacking them in place by hand, using thread marked lines from my pattern.
I then marked a length of 1/4″ silk ribbon with the math of each pleat and basted it carefully in place along the waist for more precision.
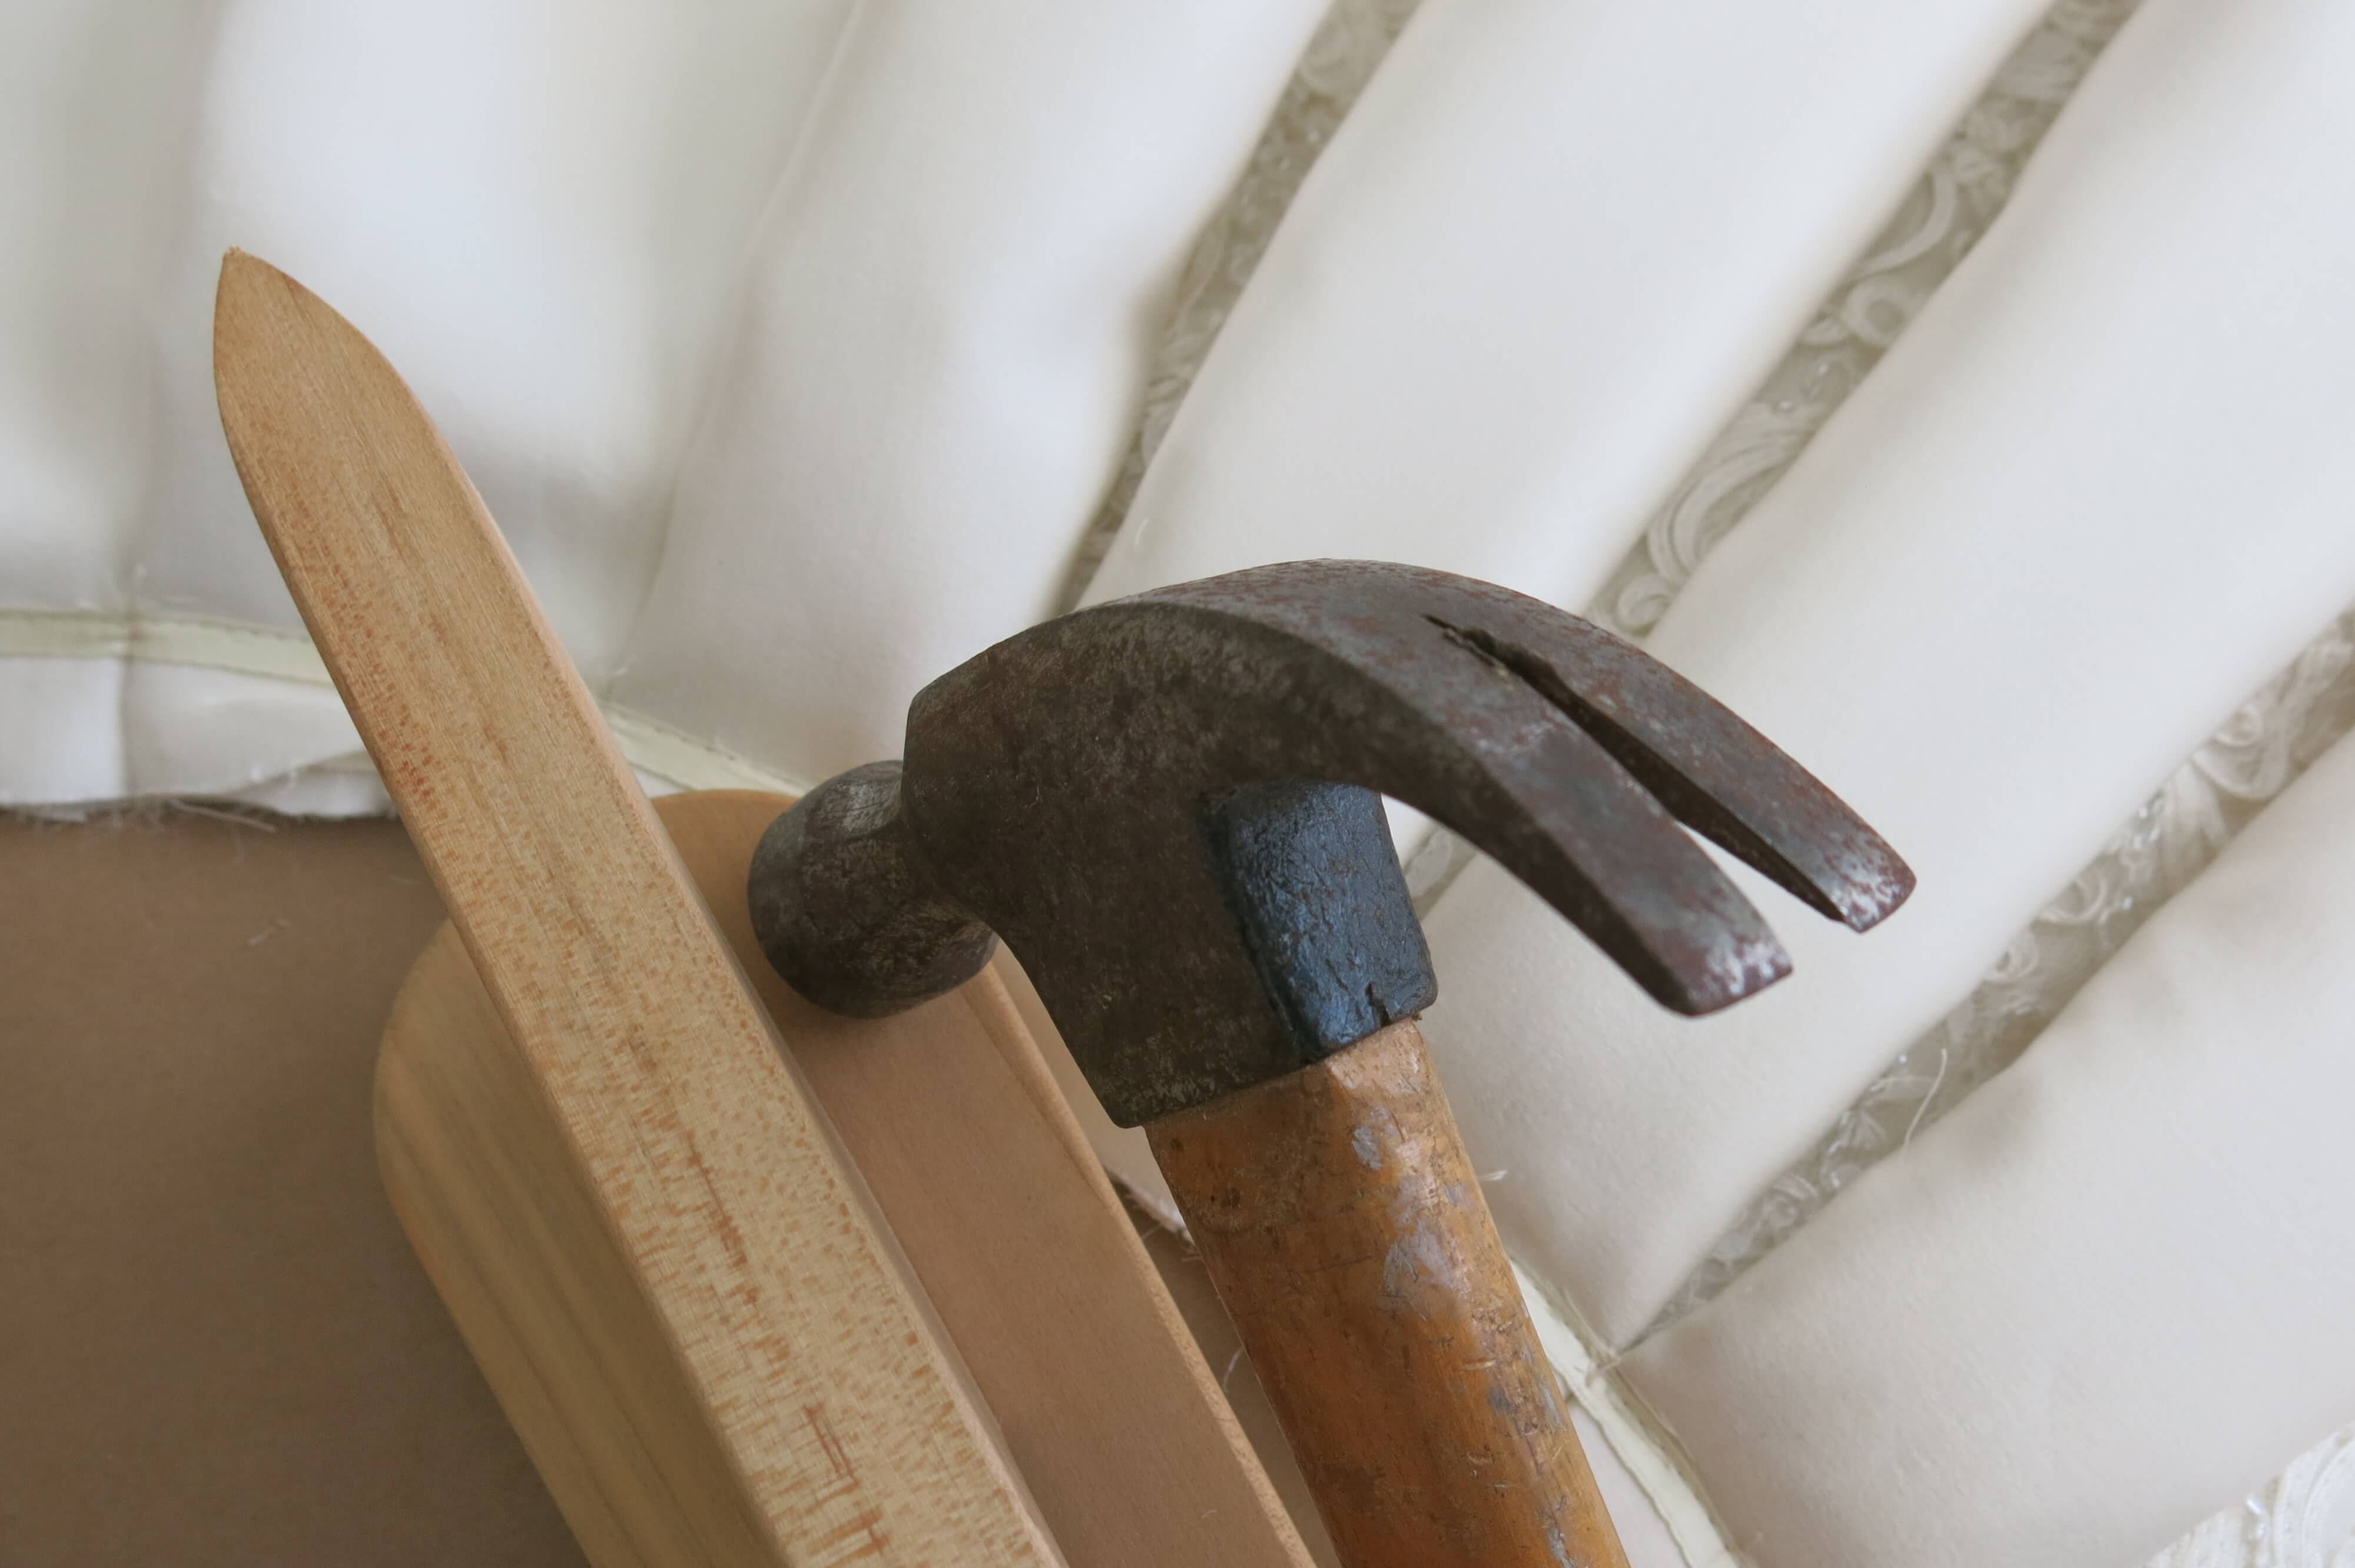
After machine stitching the tacked ribbon in place, I trimmed out excess fabric from the waistline seam allowance. To further reduce bulk, I used my tailor’s clapper and a hammer to beat down the pleated seam allowance as flat as possible.
I also used the silk ribbon for a secret function! I added a long piece of ribbon hidden deep inside two of the back pleats, attached only near the waist and at the hem. This would allow Deborah to reach back, grab the top of the ribbon, and run her fingers down its length, picking up the hem to make things easier in the bathroom. Weddings are long events and need to be functional in both the glamorous and no-so-glamourous parts of the day!
Aren’t those pleats gorgeous!!!
I was so excited to finally sew the final seam and try it on the custom dressform!
Top to Bottom
Ok! Let’s make this into a dress!
I hand basted the top to the bottom before stitching it by machine.
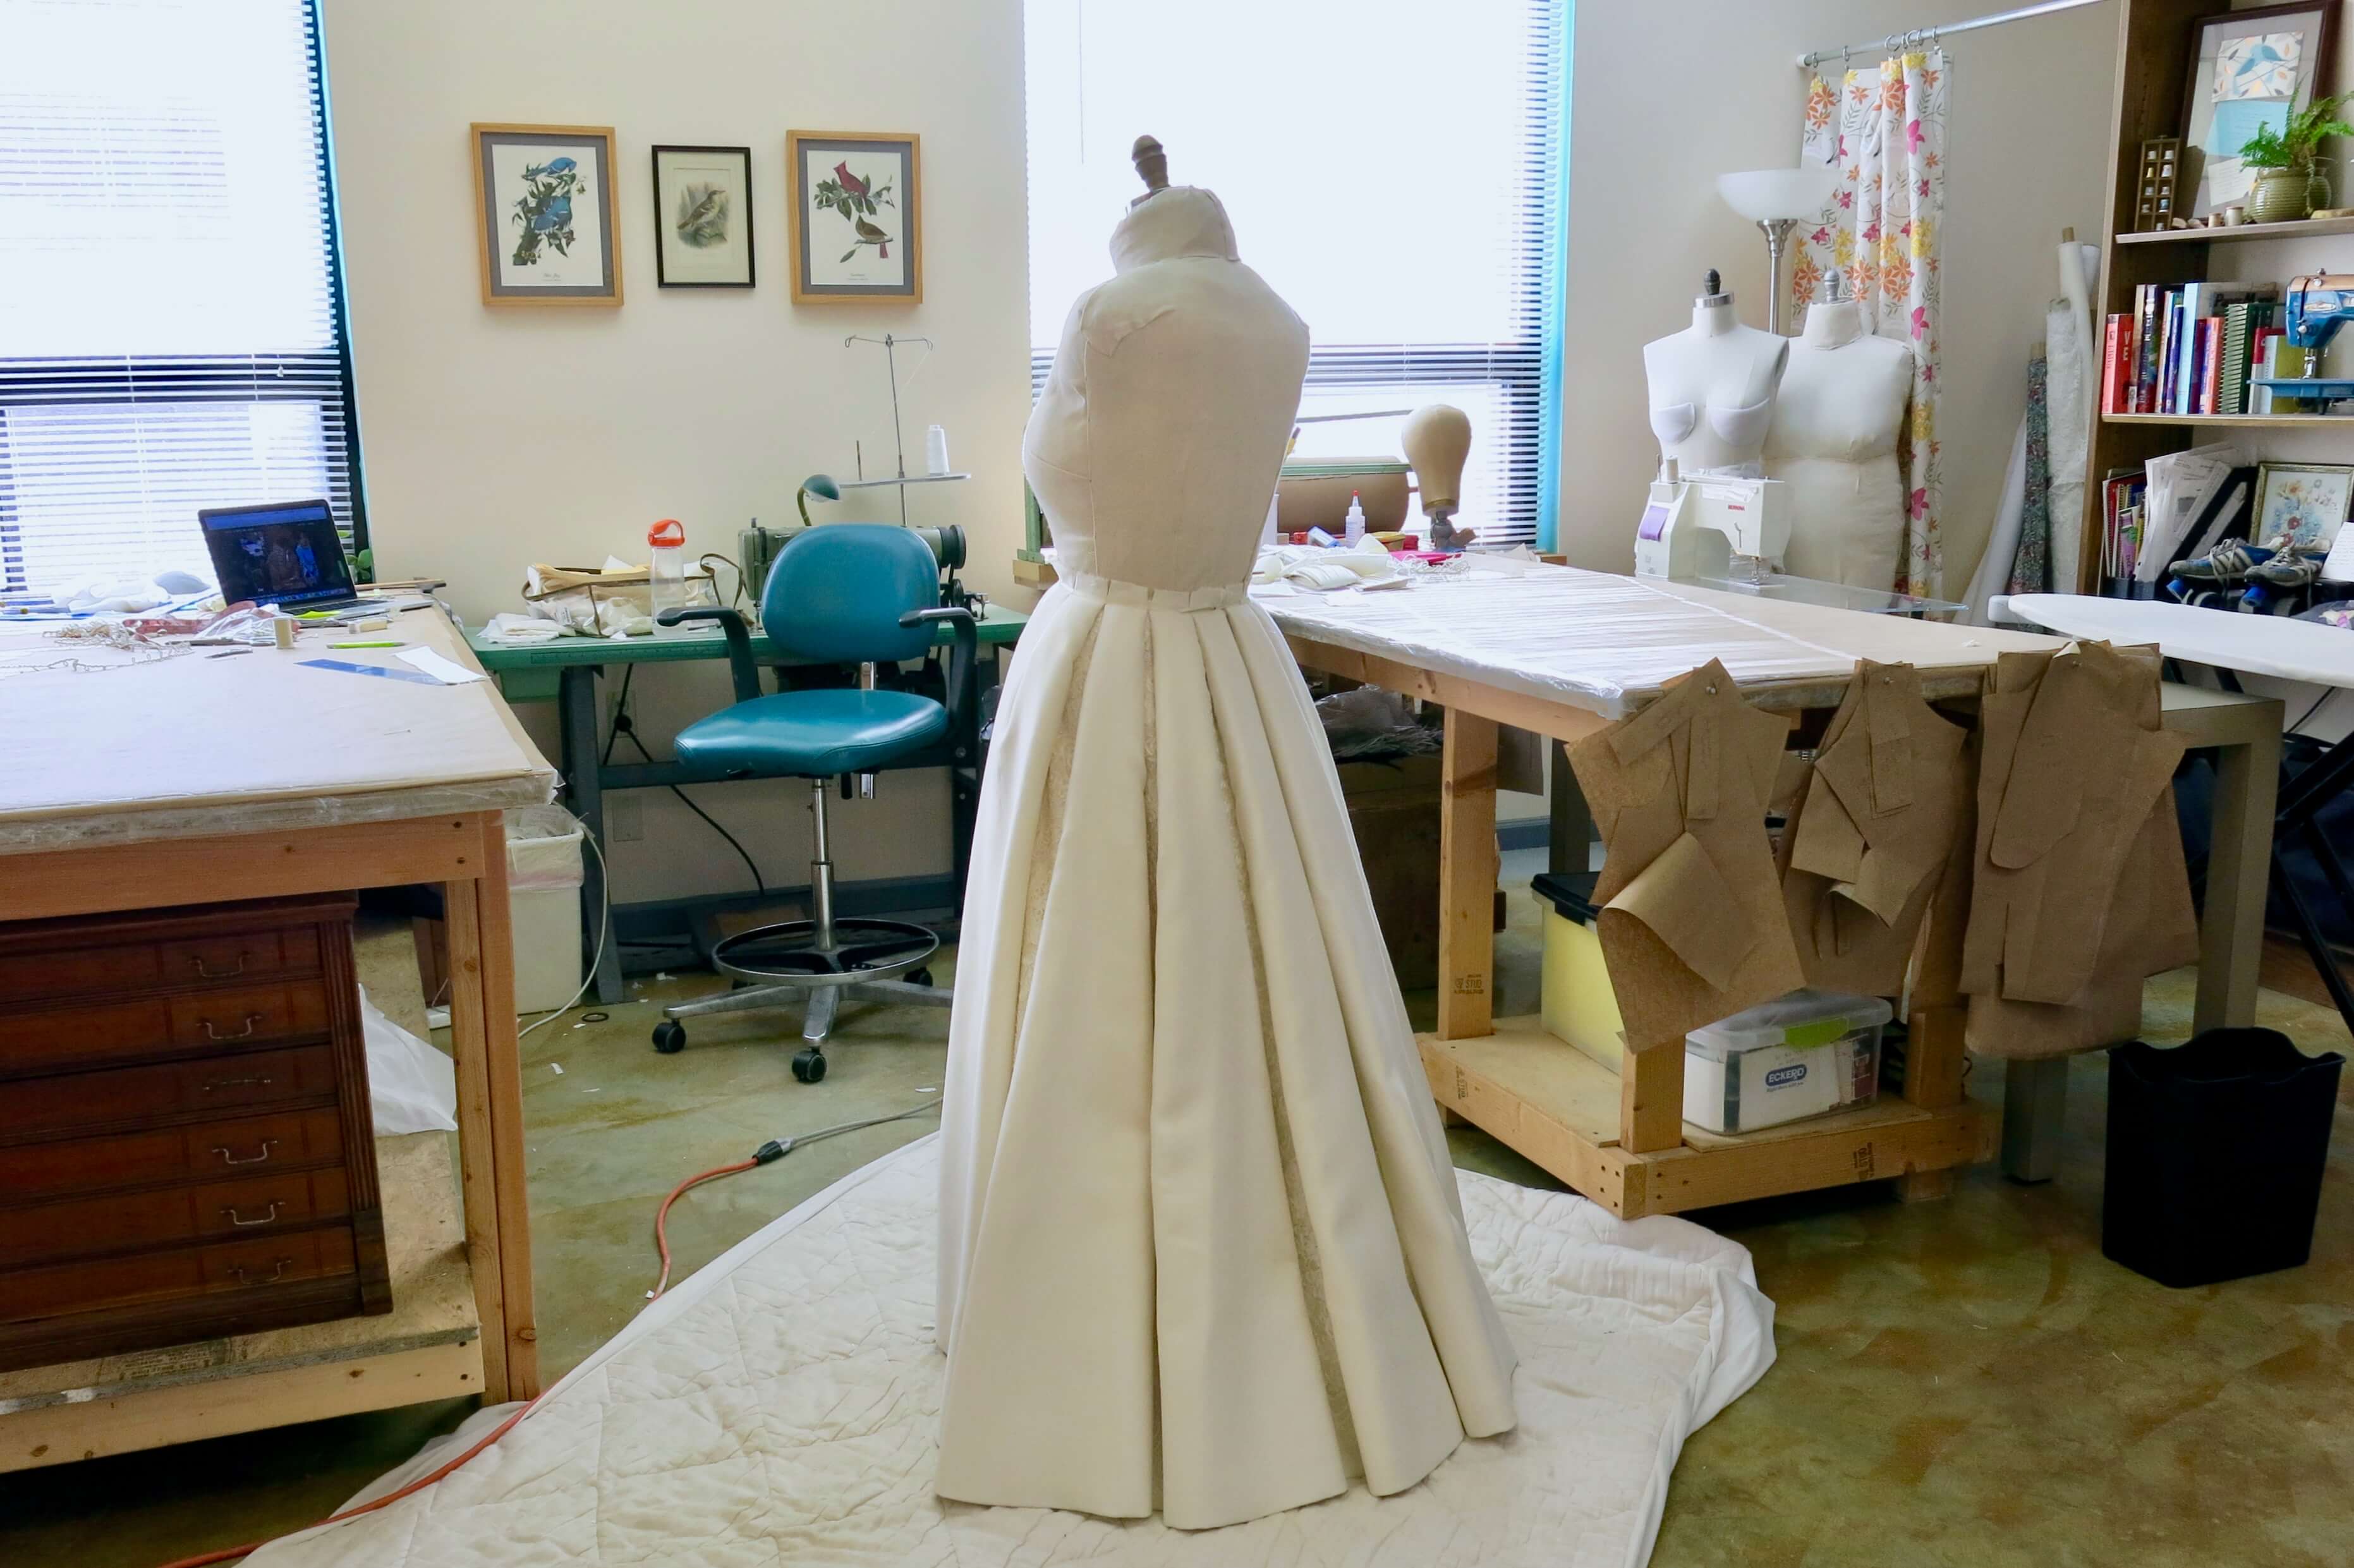
And the dress…
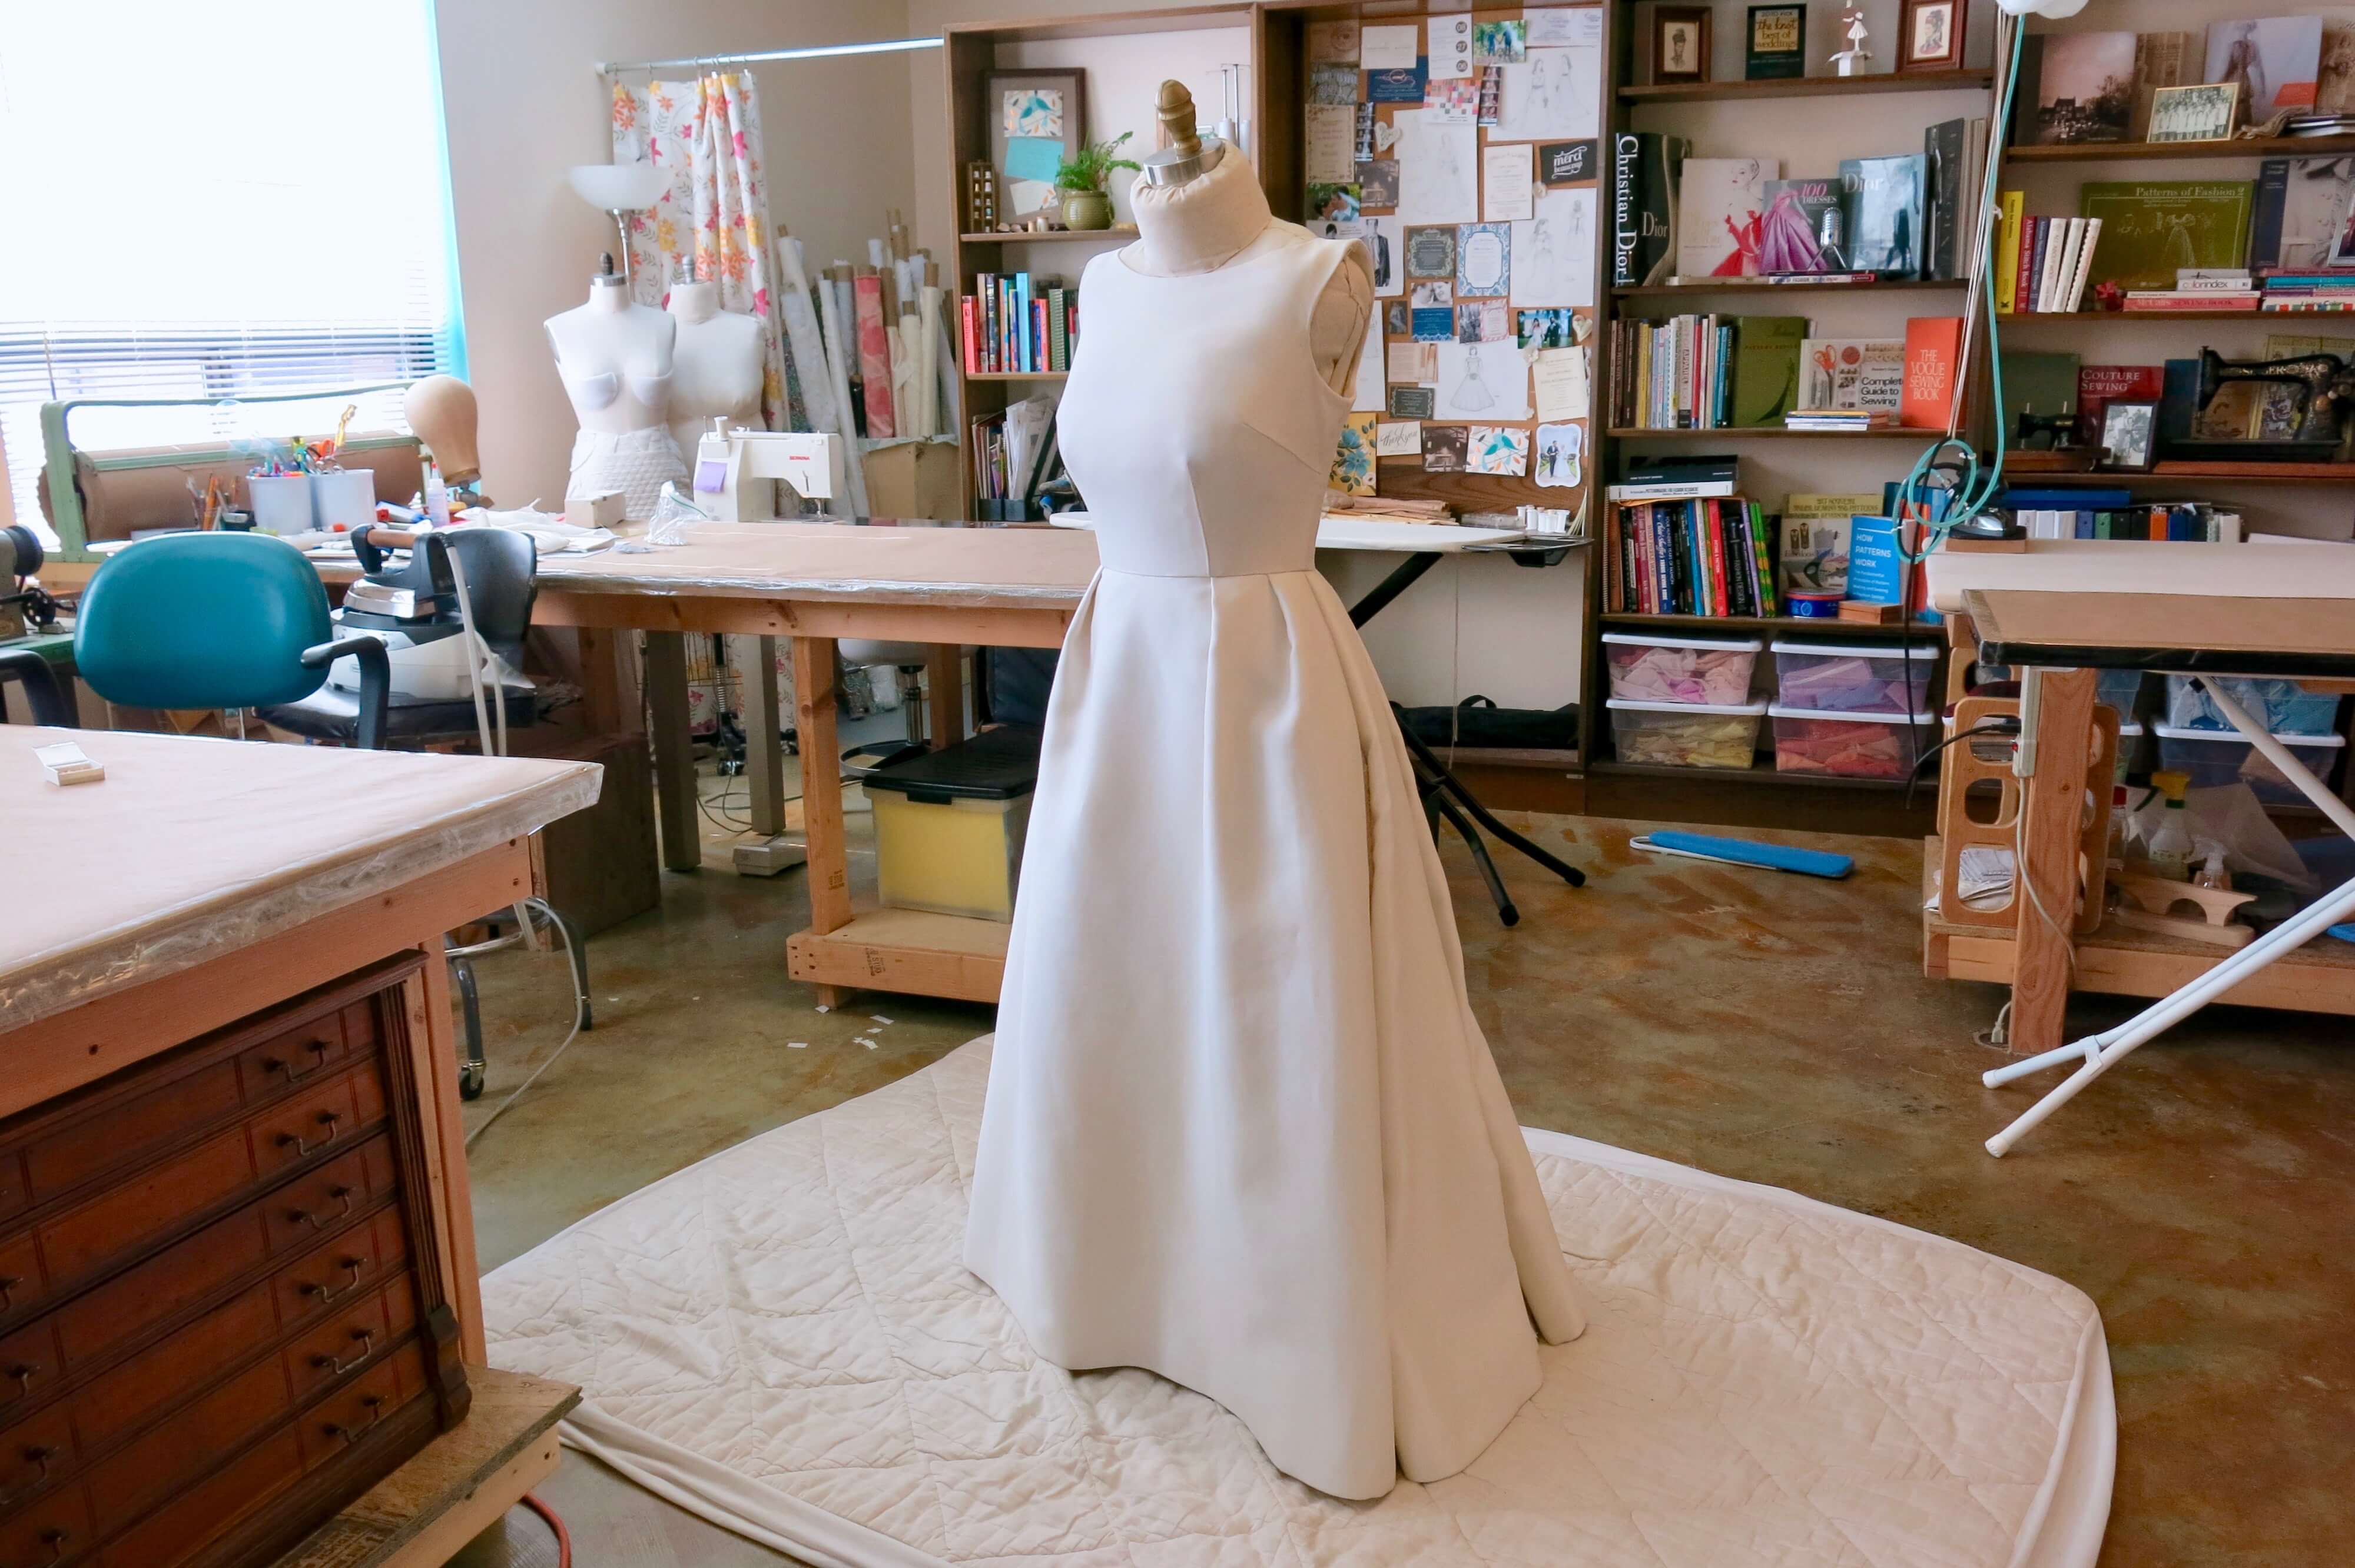
…is a success! Yeeeesss!
NEXT POST: Isn’t there also a long-sleeved lace top? Yes. Yes, there is…


11 Responses
I loved this blog! I am a children’s boutique sewist who is self taught. I make fantasy gowns from time to time for some photographers – and sometimes I love the results and sometimes they are epic failures even after a muslin lol.
I watch a lot of couture techniques and then adapt and downsize for what I’m doing (people do not pay thousands for a kids photo gown lol). I just recently started playing with a gored skirt to achieve these types of pleats – and I use horsehair a lot. OMG your hand basted then sewn bias technique – I would lose my mind. Thank you for sharing your talents with the world. It is very generous.
Thanks for following along!
I love your blog and I love this entry. This dress is gorgeous! And the attention to detail. I’d definitely take classes from you if I was closer.
Thanks for following along! (Almost) All my classes are taught *online* to groups of students from all over the world. Registration opens soon for my Intro to Custom Sewing eCourse! Check it out at http://www.SkirtSkills.com
Ummm…. I am pretty much speechless. You are amazing!
:D
I look forward to your posts with such anticipation! You have a true knack, both in your pictures and your narrative, for sharing your talents with all of us who love to sew. Even though I do not plan to ever sew a wedding gown, I do appreciate the fact that I can journey along with you as you create your masterpieces. Thank you!
Thanks for following along! :)
I don’t sew at all, but I am fascinated by your blog! This is my favorite post ever–the skirt is so intricate. I love the thought you put into giving each bride exactly what she wants. Thanks for sharing–I feel like this is a glimpse into a world I know little about!
Thanks for peeking in!