 A fun bride named Erin contacted me a while back about the possibility of creating a custom bouquet for her January wedding. She loved the butterfly bouquet that I made for Jill last year (blog post about Jill’s bouquet can be found here) in the photo that is currently in the Add-On Services section of my website, and wondered if I could make a special bouquet for her wedding as well.
Normally, the “add-ons” are just that: I offer additional services to brides who have booked dresses with me, not accepting outside projects beyond my current dress client. But every once and I while, I am able to fit a small job in between dresses and I am happy to say that this was the case for Erin’s unique bouquet.
Erin’s wedding theme is Steampunk! What is Steampunk? Well, I am new to the aesthetic, but in my words, it is sort of Science Fiction meets Wild Wild West during the time when steam powered engines were used. Confused? I’ll let Wikipedia tell you more: https://en.wikipedia.org/wiki/Steampunk as well as Google images.
I did not know a lot about Steampunk when she contacted me, but I found the aesthetic to be inspiring and knew pretty much immediately how I would create her custom bouquet. Steampunk uses a lot of cogs and clock parts and typewriter parts and I thought these elements would make amazing flowers. My talented husband Charles is an artist who often works in metal and wire, so I knew he’d be a great asset in the process.
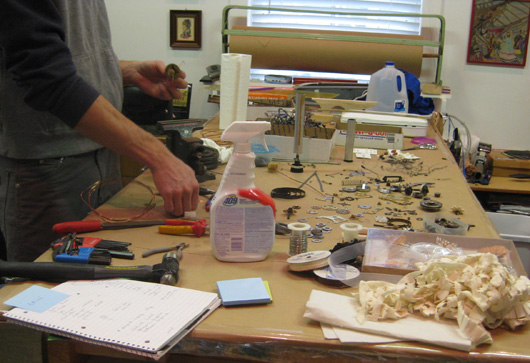
We ended up buying an entire vintage typewriter and taking it apart, keeping anything that could be used in the bouquet. I searched the Etsy and Ebay listings for clock parts, butterflies and other accessories. Once I had spent all of my materials budget, I organized all of the usable parts (above photo) and started making “flowers”. I didn’t have a set plan about exactly how it was going to look, I just let the parts and pieces come together separately to then be gathered somehow later into an attractive bouquet.
Charles and I became a team, and through the process of making a giant mess (see why I can’t do additional projects when I am also working on a wedding dress?) things started to get cleaned up and the bouquet started taking shape.
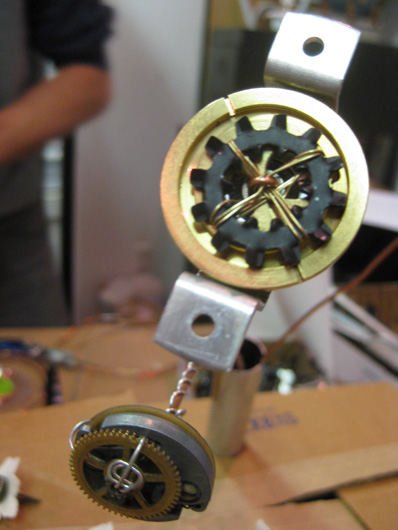
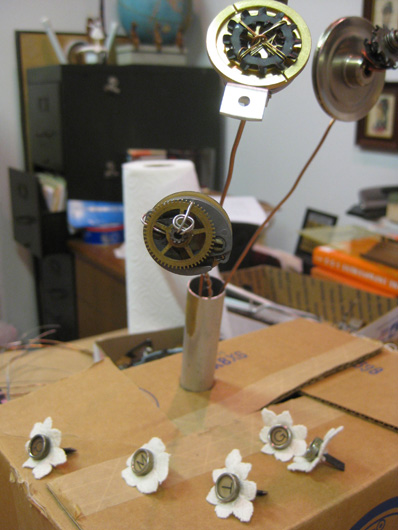
 We started pairing the mechanical parts together attractively and wiring them together into “flowers”. Then, we’d find a way for each one to be wired onto a copper “stem”.
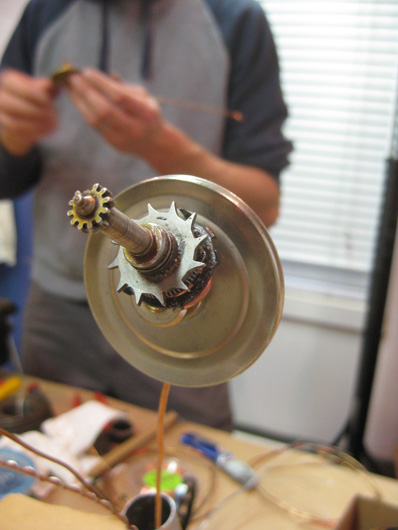 The part of the typewriter that the paper rolls across was a perfect cylindrical holder for the stems, so we cleaned it up and sawed it to a length that we thought would be comfortable for Erin to hold. The really fun thing about using this specific typewriter part for this purpose is that the cylinder can easily be removed and replaced onto the black crank/knob shown in the photo below. We would later add it to a larger base that would serve as a “vase”. It’s a great way to display the bouquet when she is not carrying it at the wedding, as well as once the wedding is over as a keepsake or heirloom.
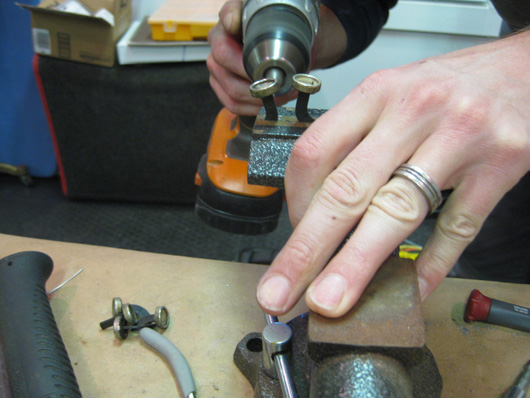
 Charles drilled holes into the vintage typewriter keys and I added thick cotton lace flowers to each to give it a bridal feel. We also added some of the feather butterflies similar to the ones she liked from Jill’s bouquet to soften the industrial look.
 Once we had used most of the parts and the flowers were complete, we made a floral base to add some shape and structure. Charles wired some of hammer-style letters from the typewriter together and I cut a piece of leather. We added it to the cylinder, before filling it with the “flowers”.
 Everything really started taking shape and looking totally amazing! Charles took a scrap of oak and created a custom wooden base for the “vase” and I decorated with fabrics and “fiddlehead ferns” made of copper wire.
We took the finished bouquet to my talented friend Kent at Kent Corley Photography and he took some amazing shots of the unique finished product. Enjoy!


Charles and I had a blast working on this project and Erin was completely thrilled with the results! I’m so happy that she contacted me for this very unique very custom bridal accessory!






3 Responses
As usual I am blown away! Amazing!
Erin here, I was looking at some of your boards on pinterest when I decided to revisit your blog and find this post. I can’t tell you how much it meant to me that you took on this project and I love to see this boquet on my dresser every day. It is a wonderful reminder of my wedding day and all of the talented people that helped make that day possible! You are so awesome!
Thanks Erin! It’s so good to hear from you. The feeling is mutual. I had a blast making your steampunk bouquet!