Welcome back! It’s the series finale!
In this third and final post of My Warmup Jacket series, I share the behind-the-seams details of my jacket’s construction and finishing stories!
Catch up on the two previous posts:
And, as it became clear that the Construction part of this story would include even more photos than my super-long 2-part Patterning post, I decided to stick with the super-long 2-part theme. I didn’t want to leave out much, and I’ve got a lot to share!
I’ll consider this blog post (and this series) an act of rebellion against the quick-paced bite-sized short-cut trend of today’s media.
I’m all in for long-form content.
Enjoy an Intermission after Part 1!
Jump ahead to the 2nd Part by clicking here.
Part 1 - As Flat as Possible....
When you sew without an instruction booklet, you make your own decisions about the order you’ll work through the construction elements. As I ponder the many ways I could move forward, step by step, I keep in mind a few “rules of thumb” to help me make my decisions and create an efficient workflow.
One of these guiding principles, and one phrase I repeat often when deciding what to do next, is to “Keep everything as flat as possible for as long as possible.” This often makes the sewing steps easier- while also keeping the fabric from being over-handled. Win-win!
And about half of this blog post shares the work I did while my pieces were still flat, before the jacket started to take shape.
So what was my first step?
Since I’d be reusing my flannel mockup as my jacket’s Underlining (a technique often called Flat Lining), the aforementioned principle let me know that my first step was to flatten my 3D-mockup back into its 2D components.
Everything in my mockup was basted together with temporary stitches (except the elastic, which was zigzagged.) So everything ripped apart super-quick (except the elastic, which was zigzagged.)
For anything machine basted, I snip through any backstitching, then quickly rip the seams apart like a Hulk, breaking the thread. For anything hand basted, I simply pull the thread away from the garment, a gentler (and even quicker) process.
Even with the slow-moving zigzagged bits and my diminished dexterity, all of the flattening work in this 1.5 minute clip took me only about 12 minutes.
And I think ripping apart mockups, like a Hulk or otherwise, is really fun and satisfying. Hooray for temporary stitches!
Samples & Underlining Prep
The two design elements that I could add to the jacket pieces while they are still flat were the lightning bolts and the welt pockets.
And, at this point, I did not know how I was going to accomplish either of those elements!
But no worries!
I almost never know how I’m going to do something.
I’m learning how I’m going to do something.
Another guiding principle I often employ is working through samples, which often works in tandem with “listening to the fabric”.
I first began to get a feel for my fabrics as I figured out my own set of construction steps through testing several samples – starting with the lightning bolts.
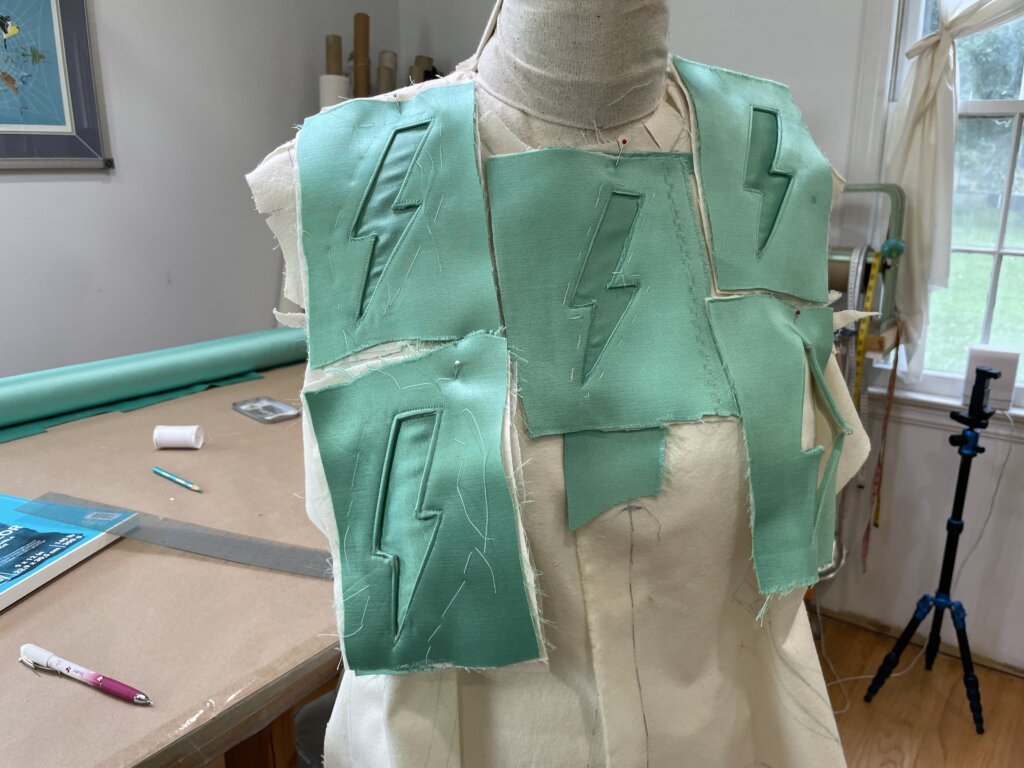
Then I played around with the welt pockets.
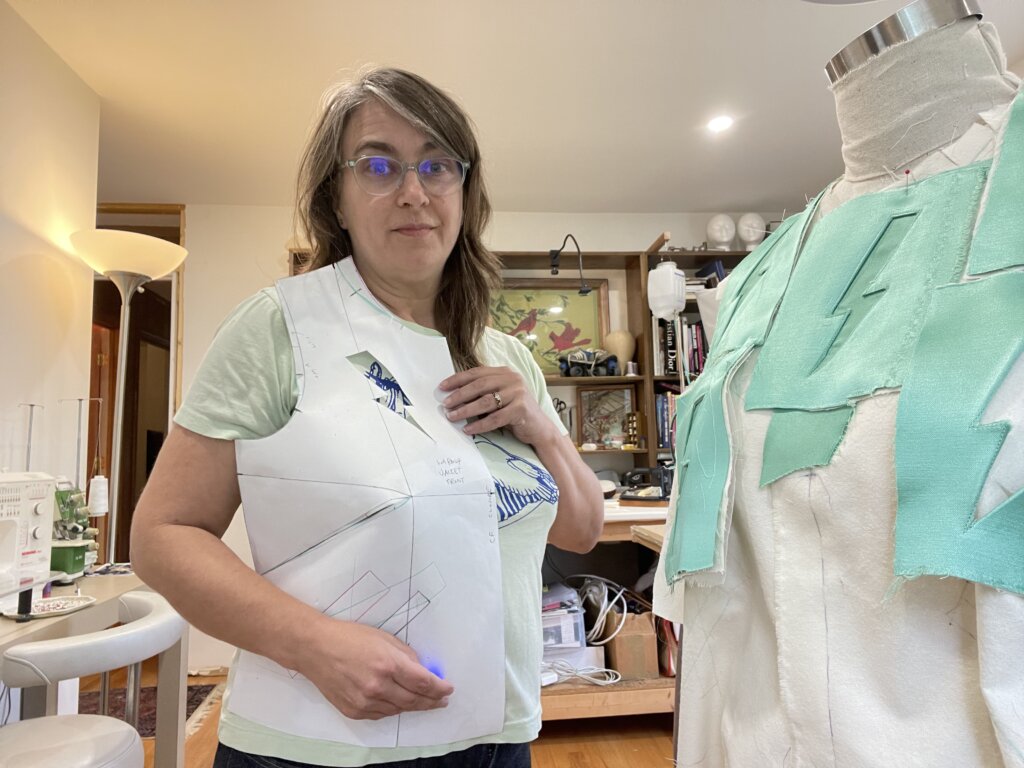
One of the (many) reasons why I love working with sturdy paper patterns, without seam allowance, is that you can often easily “try on” your pieces.
Before I finalized my welt pocket opening, I taped my dart legs together and did a little pattern try-on in front of the mirror, while pretending to rest my hand in my pocket.
This helpful experiment inspired me to adjust the welt size and placement on the jacket (again)…
…before cruising some books and online tutorials (including in my own custom pantsmaking course) to help me piece together the best welt pocket assembly plan for the way I like to work and for the look I wanted to achieve.
As with most sewing skills, there are approximately one million different ways to install a welt pocket. When I don’t have much practice at a particular skill, I like to explore lots of references. Then, mixing-and-matching my favorite bits, I’ll play and practice on little “mockups” of the area.
After a failed attempt or two, I devised a set of steps where I liked the experience and the results (very loosely based on this tutorial from The Confident Stitch) while working through samples made of muslin. I scribbled my plan on a Post-it note.
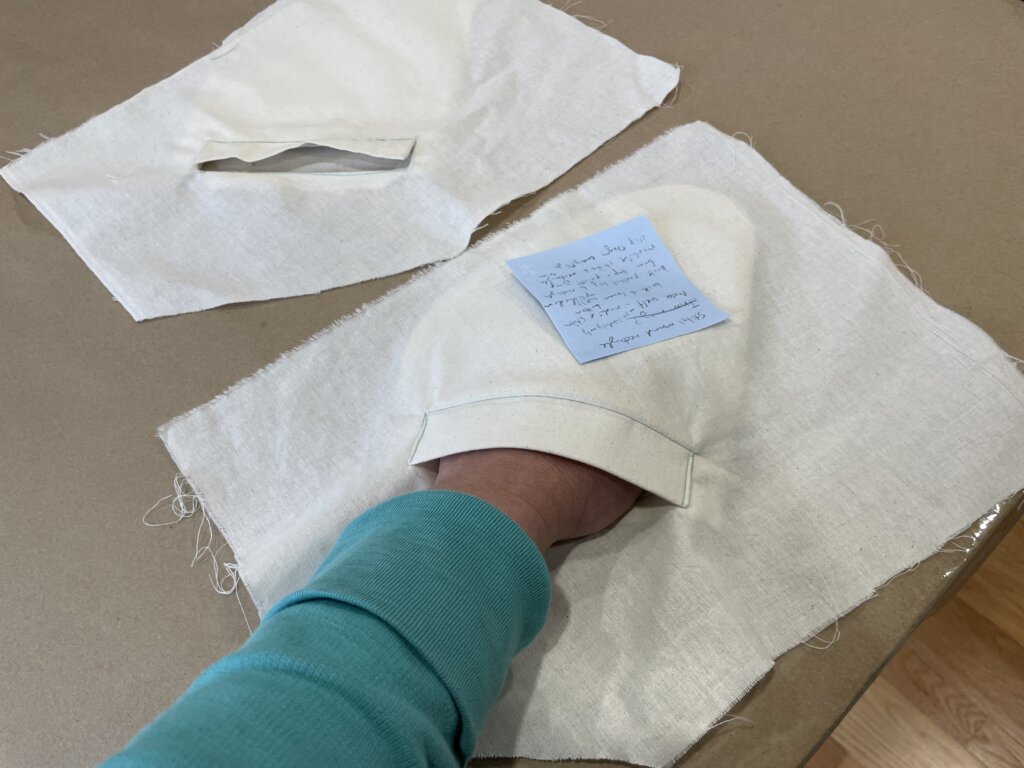
After committing to the final edit of my jacket pattern, I created a pocket opening to trace, and a custom pocket bag pattern. I also pressed all of my flannel mockup pieces flat, with the markings up.
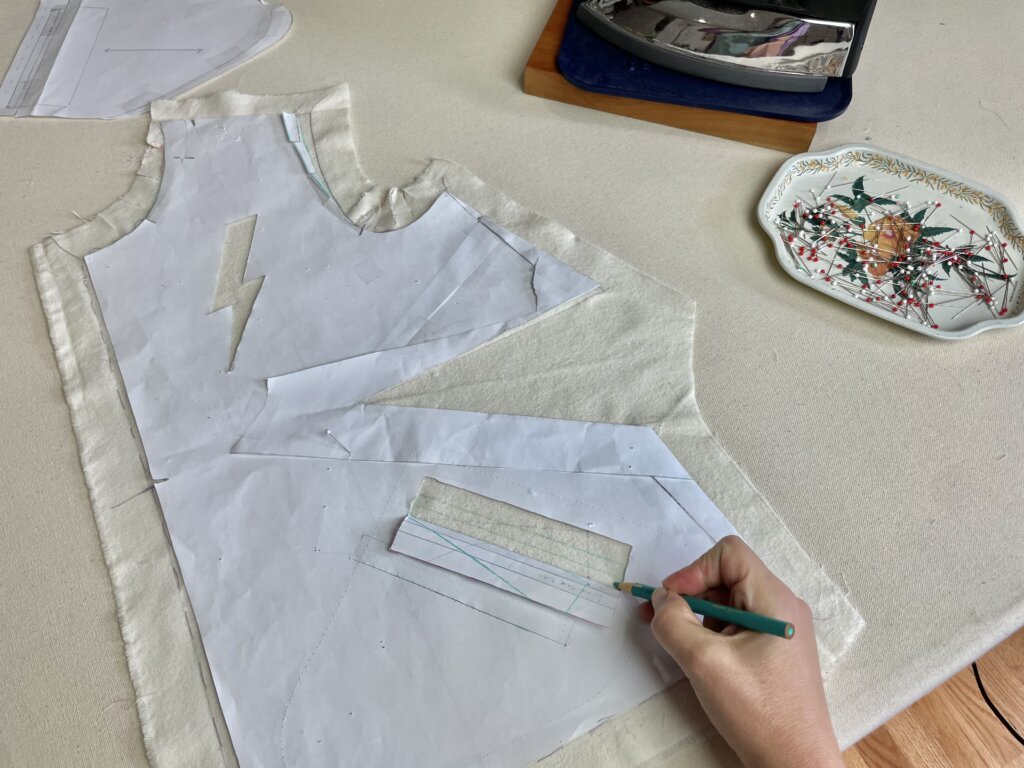
Next, I used the edges of my no-allowances pattern pieces to trace all of my finalized stitching lines onto all of my freshly flattened soon-to-be-underlining pieces with a teal pencil, including the front lightning bolt…
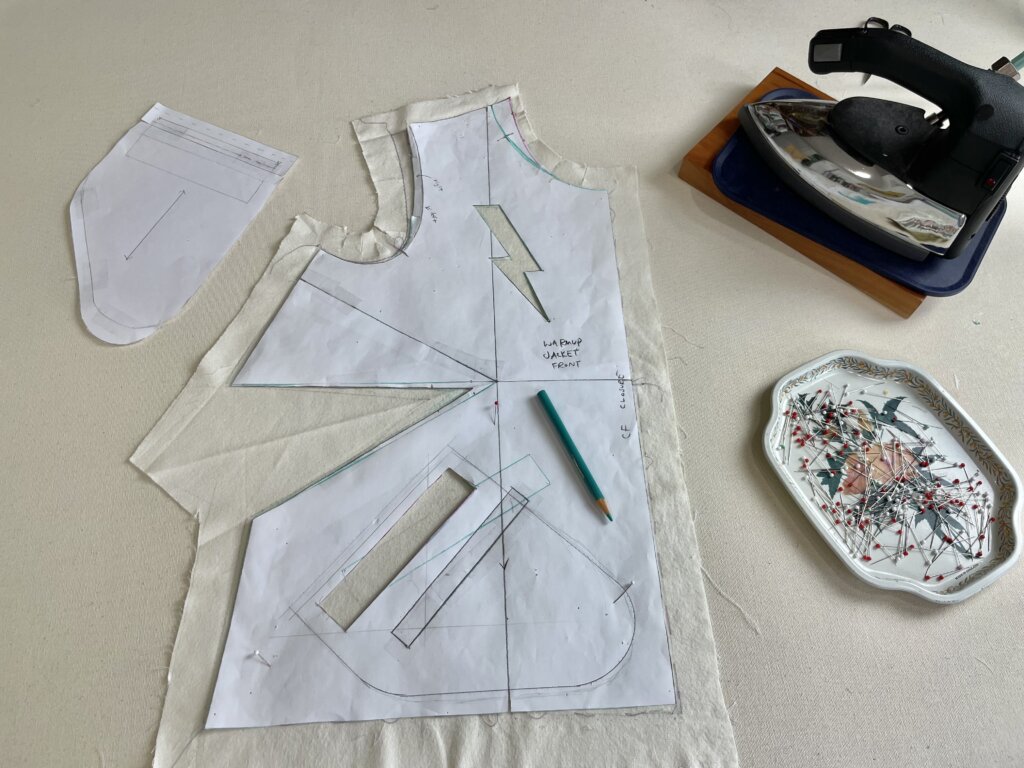
…and my construction lines for the welt pockets…
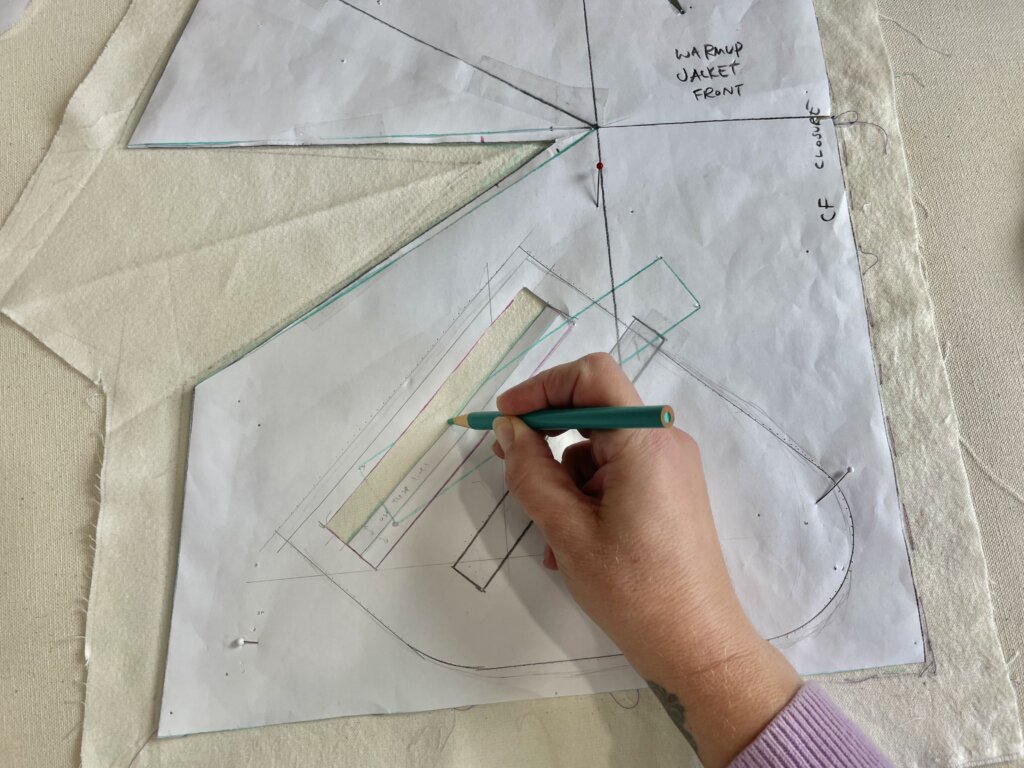
…which were drawn on both sides of the jacket via a little folded hinge in the paper.
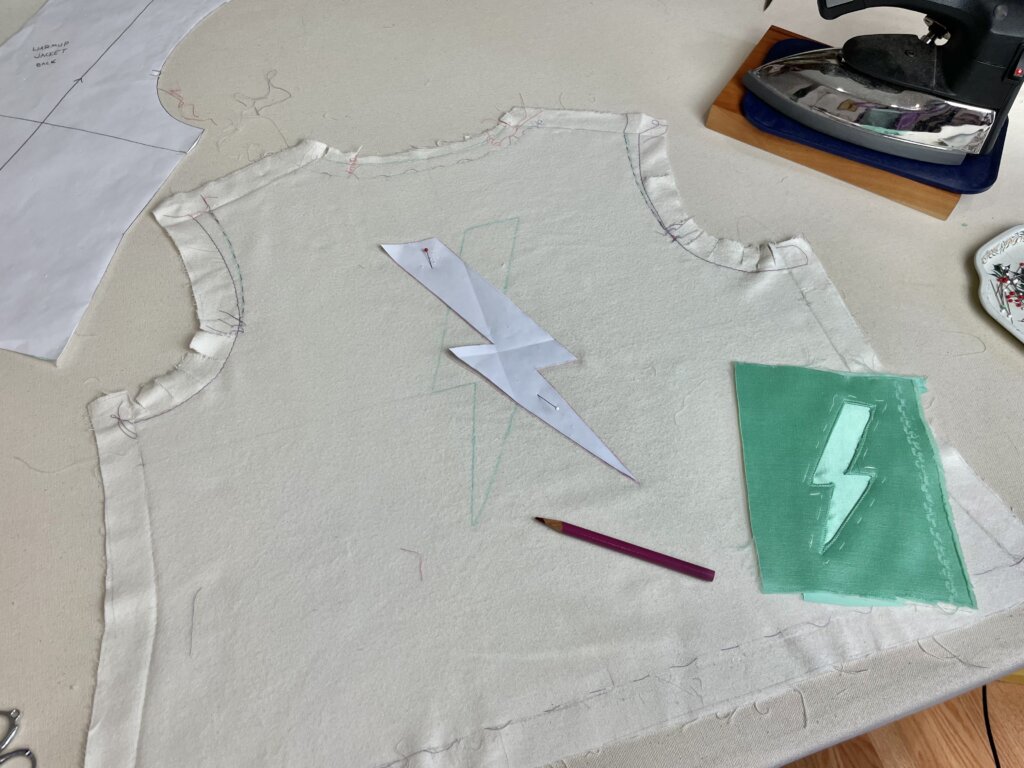
I also traced the lightning bolt on the back- which took me two tries. The bolt traced in pink pencil will be the one I’ll use for construction.
Cutting & Underlining the Satin
With all of my final markings transferred from the paper to my pressed pieces, my flannel mockup was ready to to become my jacket’s underlining.
Though “Underlining” seems to be the preferred term for home sewists, this process is also called “Flat Lining”, as it happens before assembly (starting before the fashion fabric is cut), while everything is completely flat. The goal is for the two layers to act as one, throughout the garment’s assembly, and remain “friends with benefits” throughout the life of the garment.
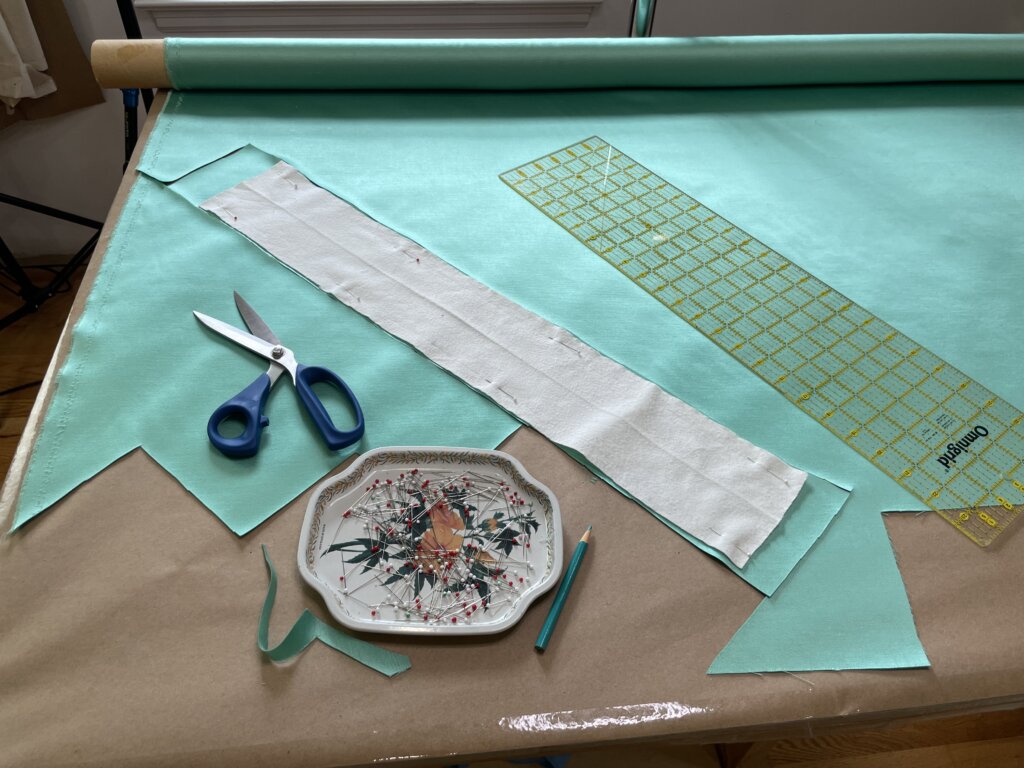
To get started, I carefully rolled out my fabulous fabric with its edges squared to my pinnable-topped table, then began to match the grainlines of my pressed flannel pieces to the grainline of the shiny satin.
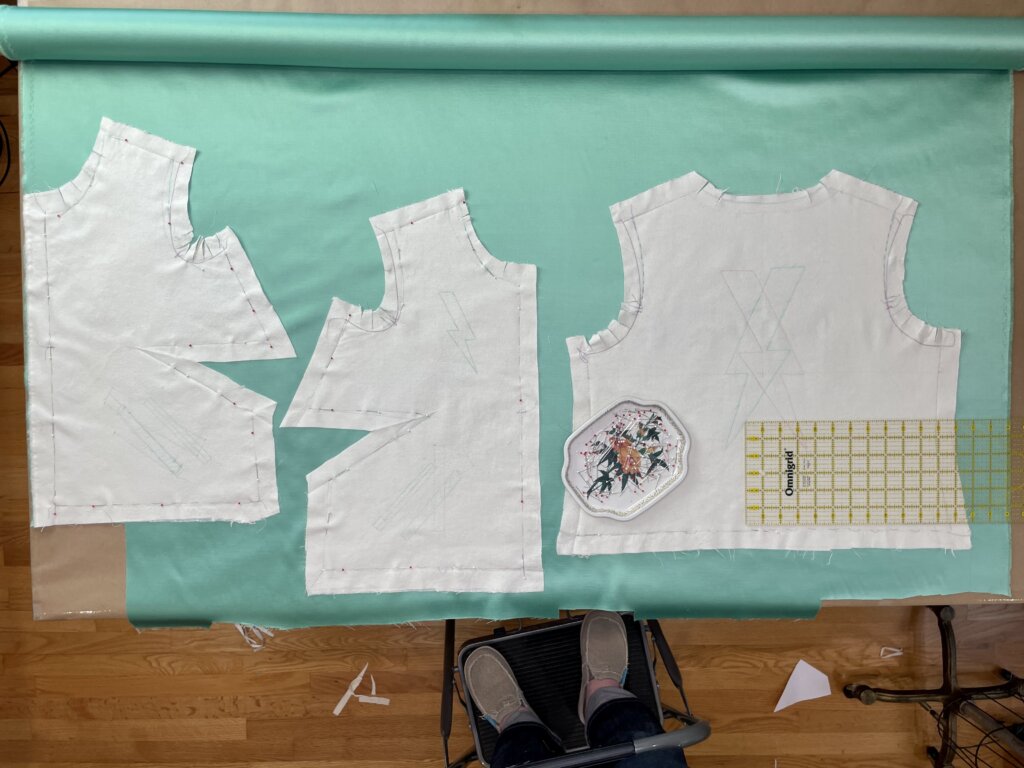
Then, I added pins along my stitching lines to connect the two layers securely together,…
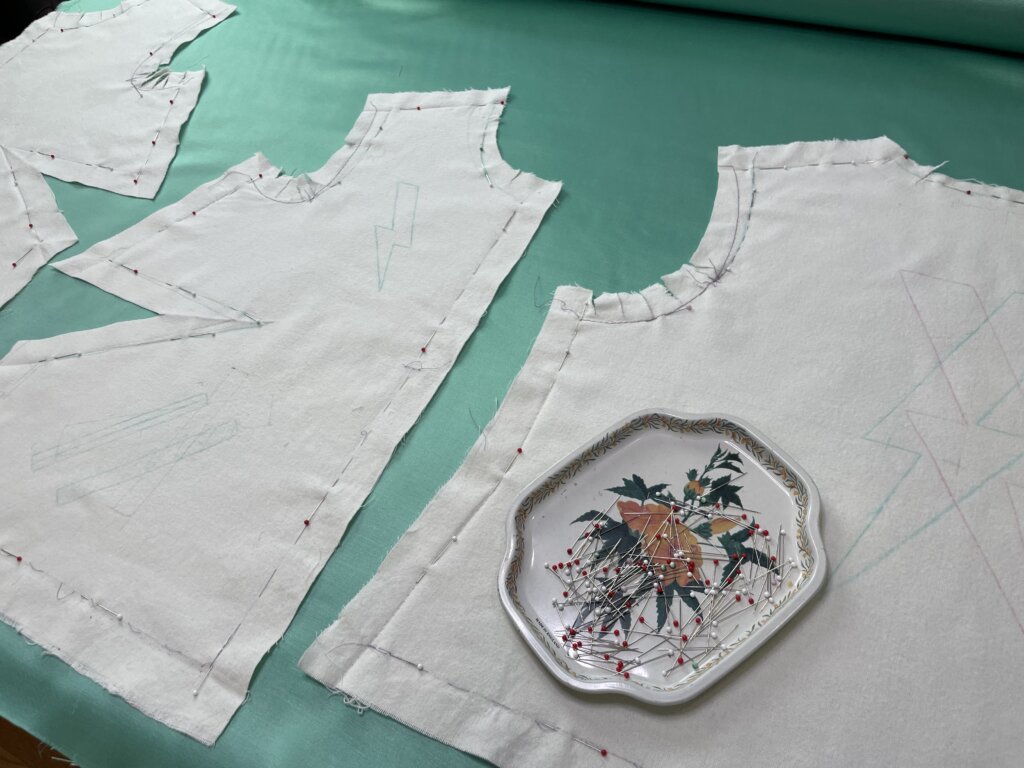
…before cutting the satin, with no precision necessary, using my mockup’s edges as my rough guide.
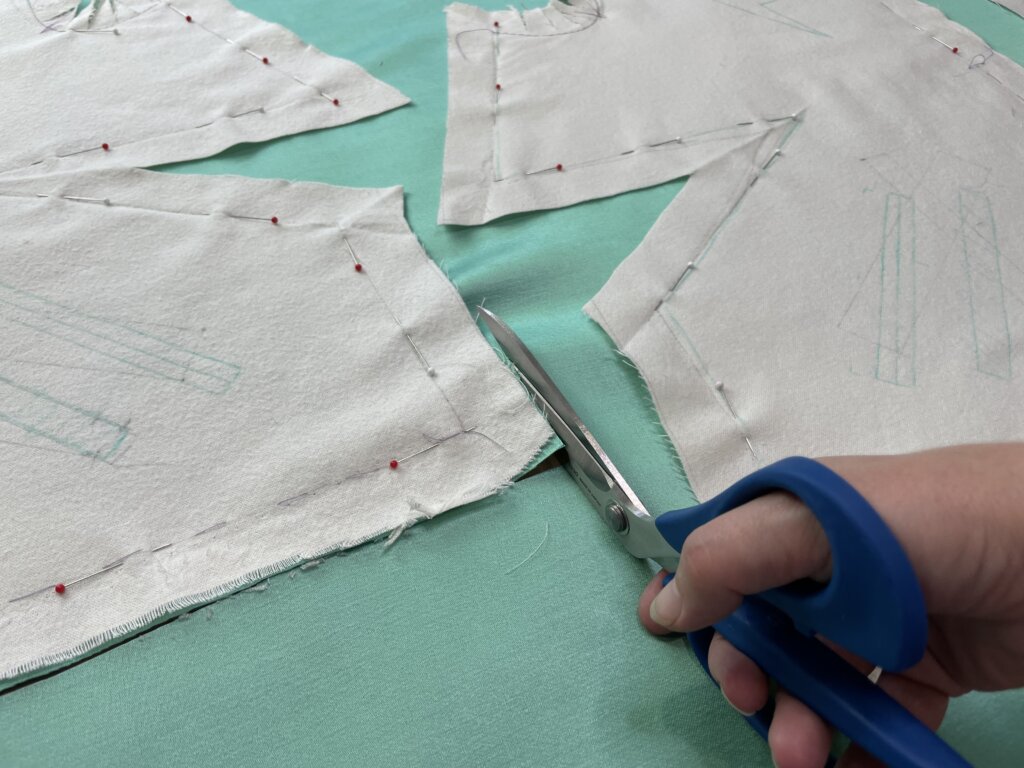
I repeated the same process for the sleeves,…
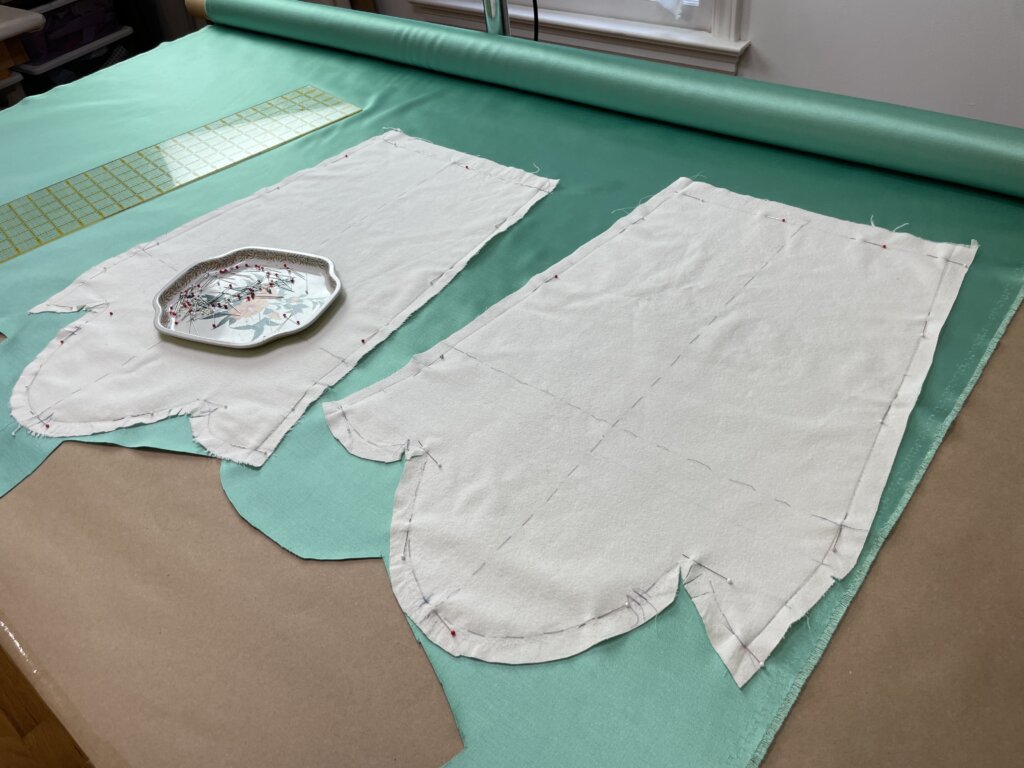
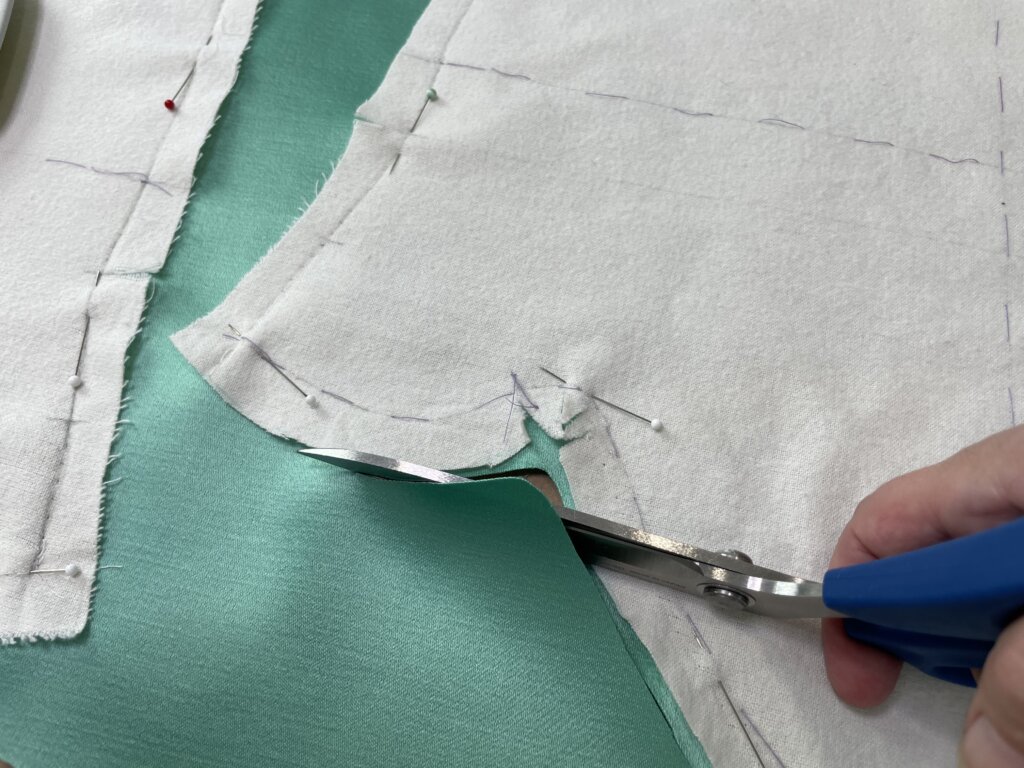
…saving the collar and bands for later.
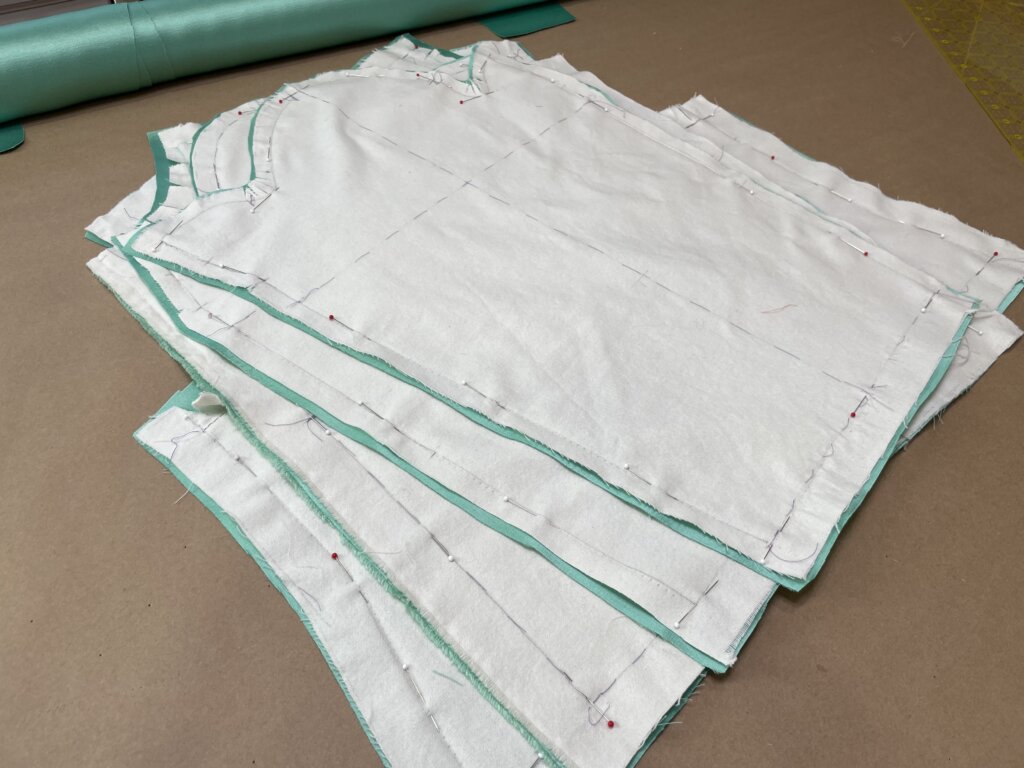
Next, all of the pins were replaced with a quick line of hand basting, in matching thread, just to the outside of the marked stitching lines. Keeping the stitches in the allowance allows you to leave them in the garment forever, without risk of stitching over them. Win-win!
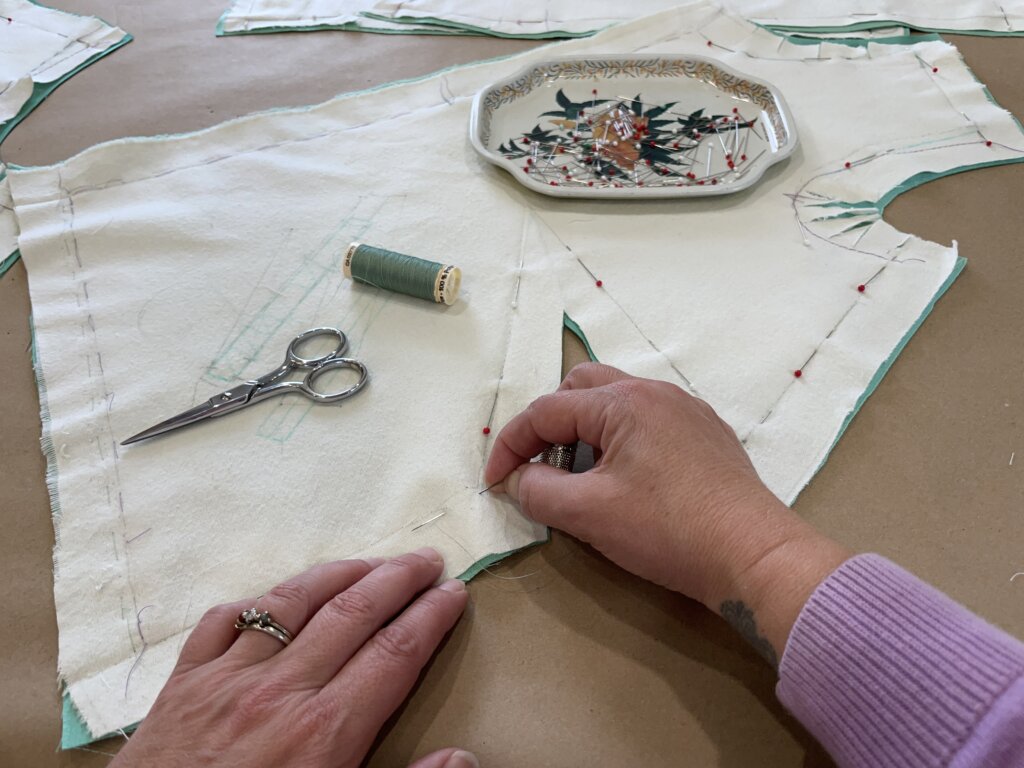
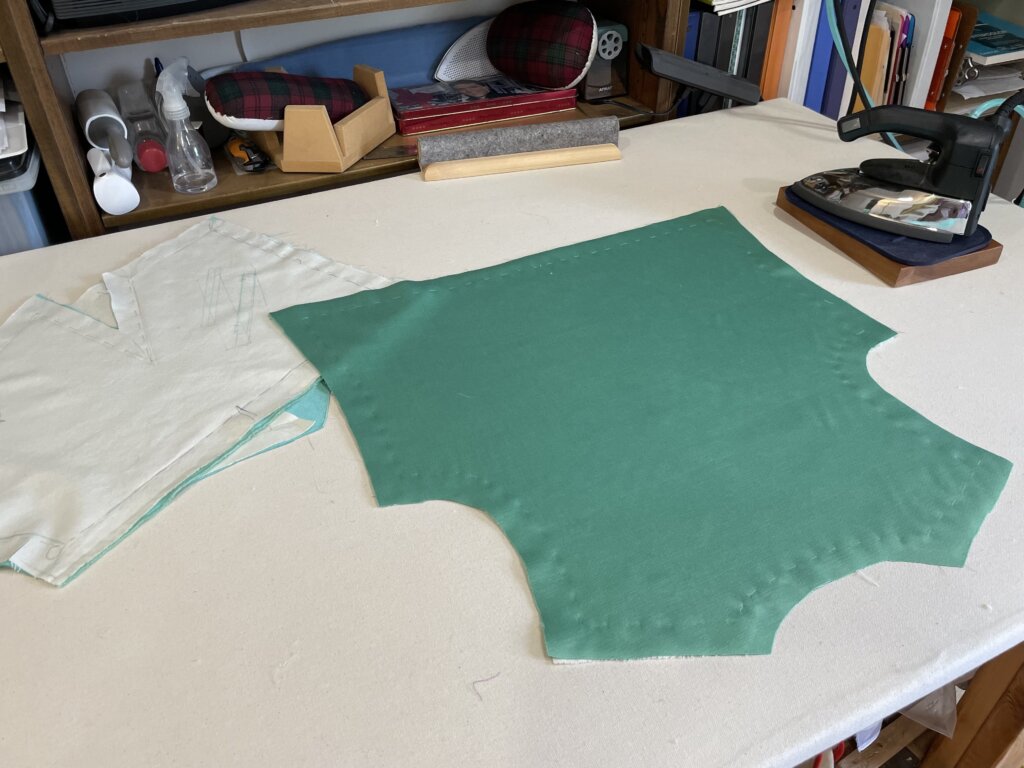
The final step of the underlining process is to press the joined layers flat to make sure they are working together as one. Pressing with the flannel side up, offers a built-in “press cloth”. The hand sewn stitches allow for quick redos, if necessary.
Once everything was “as flat as possible”, the flannel and satin began working together as a Warmup Jacket Team. Go Underlining!
Learn lots more about Underlining in this 3-part blog series (with a video!) and/or this condensed version I wrote for Seamwork Magazine.
The Lightning Bolts
Keeping in mind that I was working faster than I prefer (due to my unexpected injury and the looming event (and article) deadlines), I’ll share my favorite snapshots of my experimental construction process- starting with the lightning bolts. This is not a tutorial post, but rather, a glimpse into my experience. I hope you enjoy it!
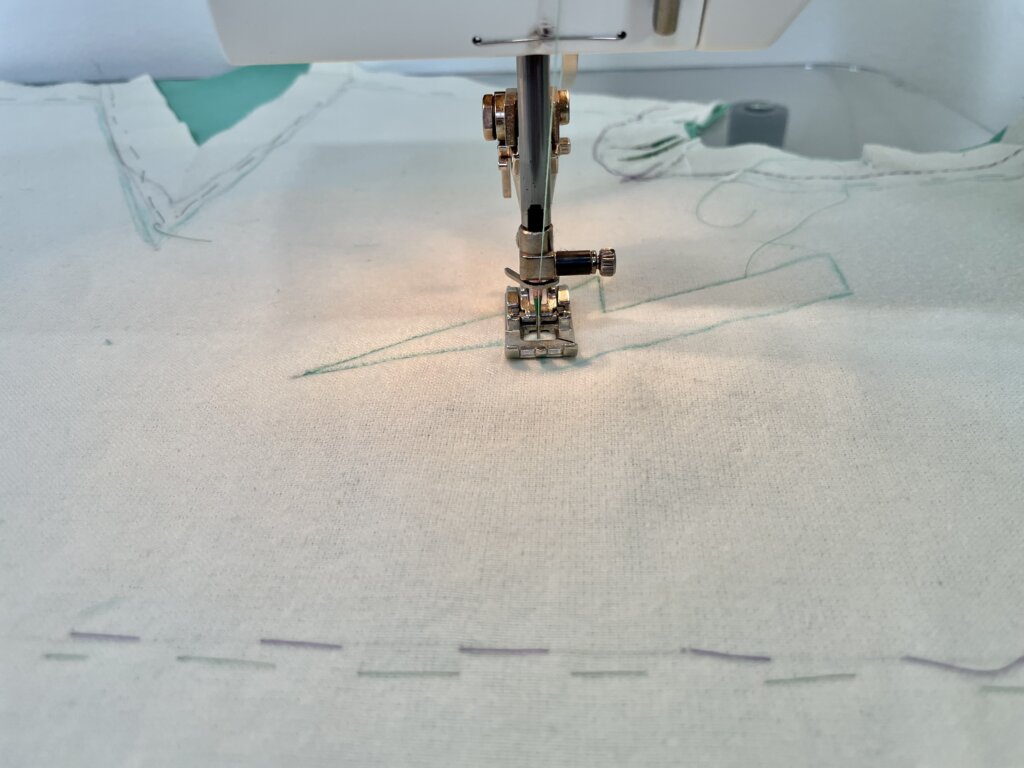
I started off by following the lightning bolt drawn on the flannel fabric with a line of slow and careful “stay-stitching” by machine, in matching thread.
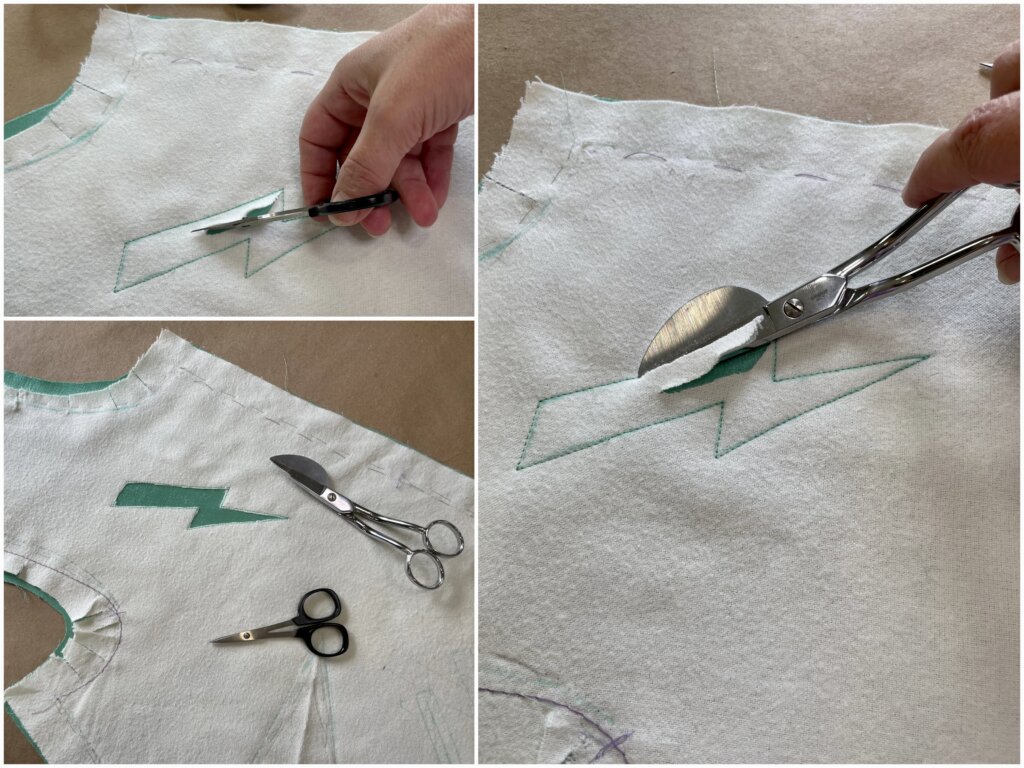
Then I used snips and appliqué scissors to remove cut away the flannel inside the stitching, to reduce any unnecessary bulk.
During my sampling process, the most difficult part of creating each lightning bolt was keeping the satin from fraying in the (many) corners. My best sample included adding Fray Check just inside of the stay-stitching line. So I repeated that step, on each of my bolts, and waited for it to dry.
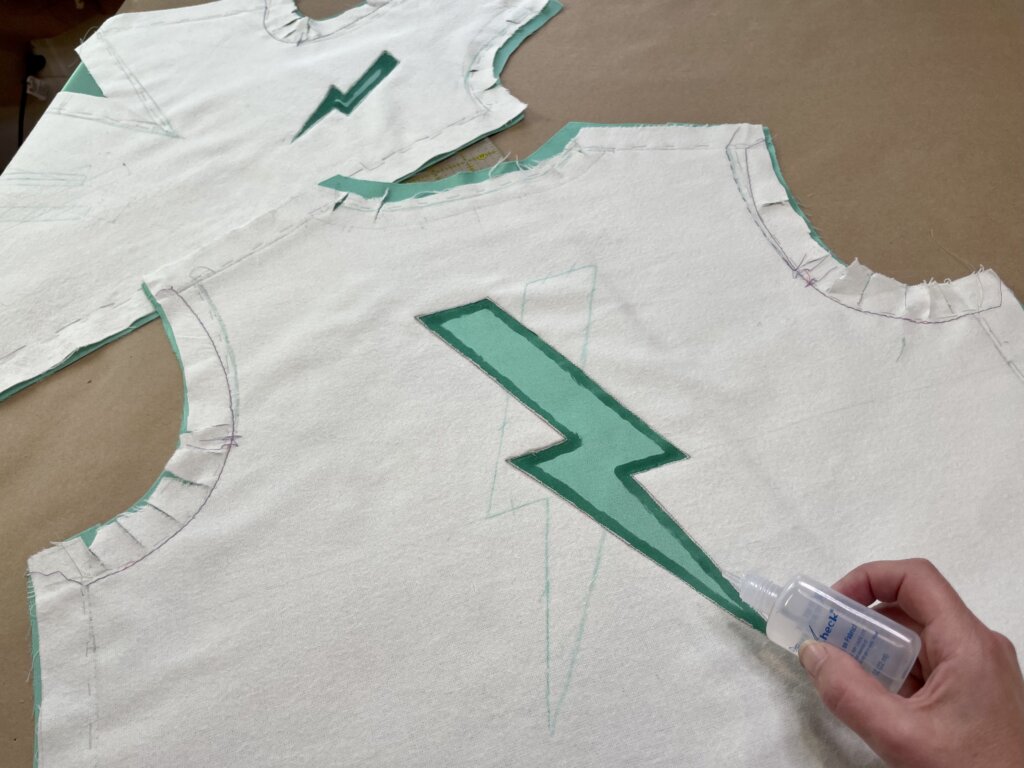
Once the Fray Check dried, the “allowances” inside each lightning bolt became stiff.
I carefully came up with a trimming plan to potentially provide the least amount of corner “blow out”,…
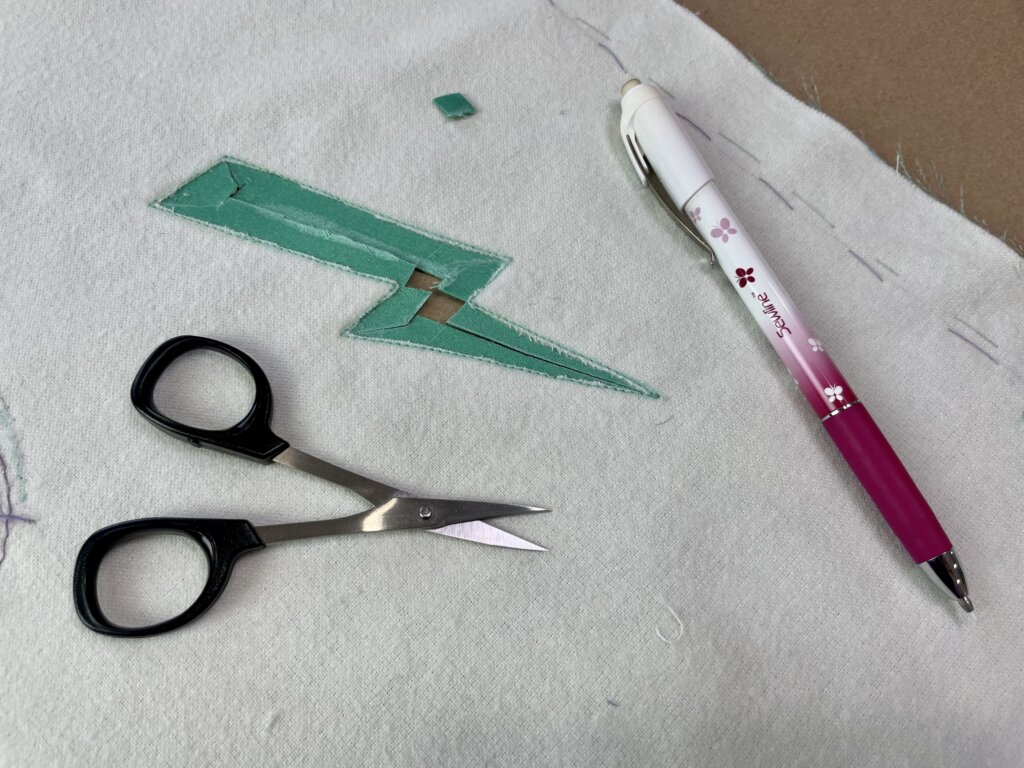
…and made a template of each lightning bolt shape, cut out on thick watercolor paper,…
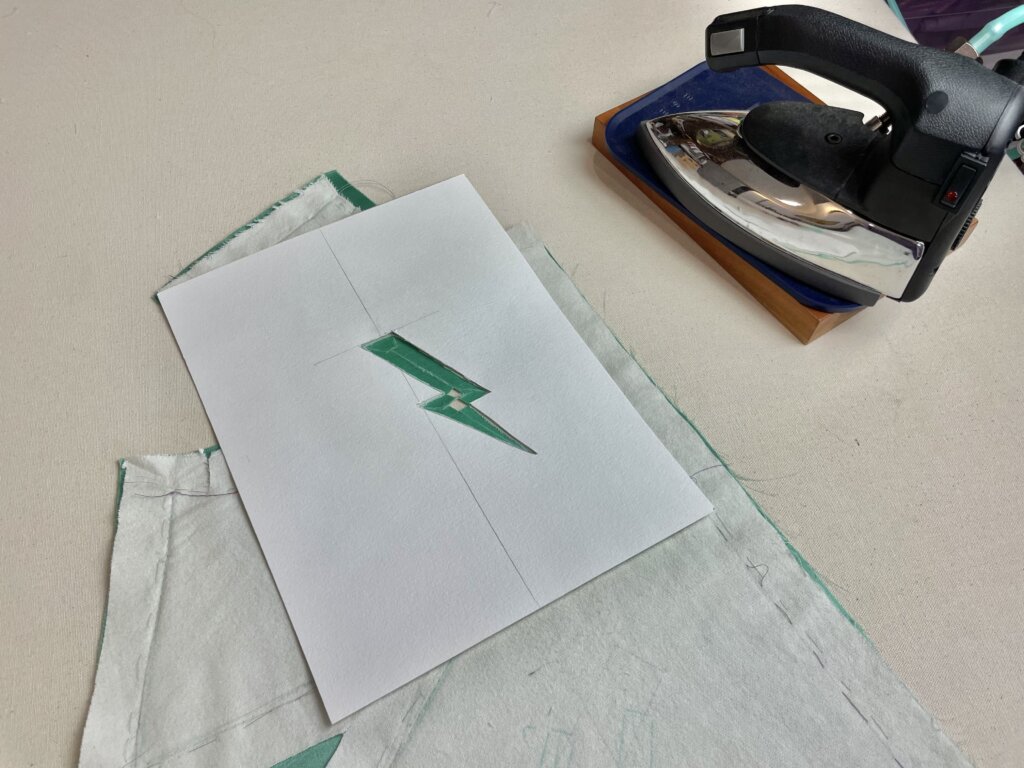
…which I used to crisply turn my lightning’s allowances to the inside, using the iron.
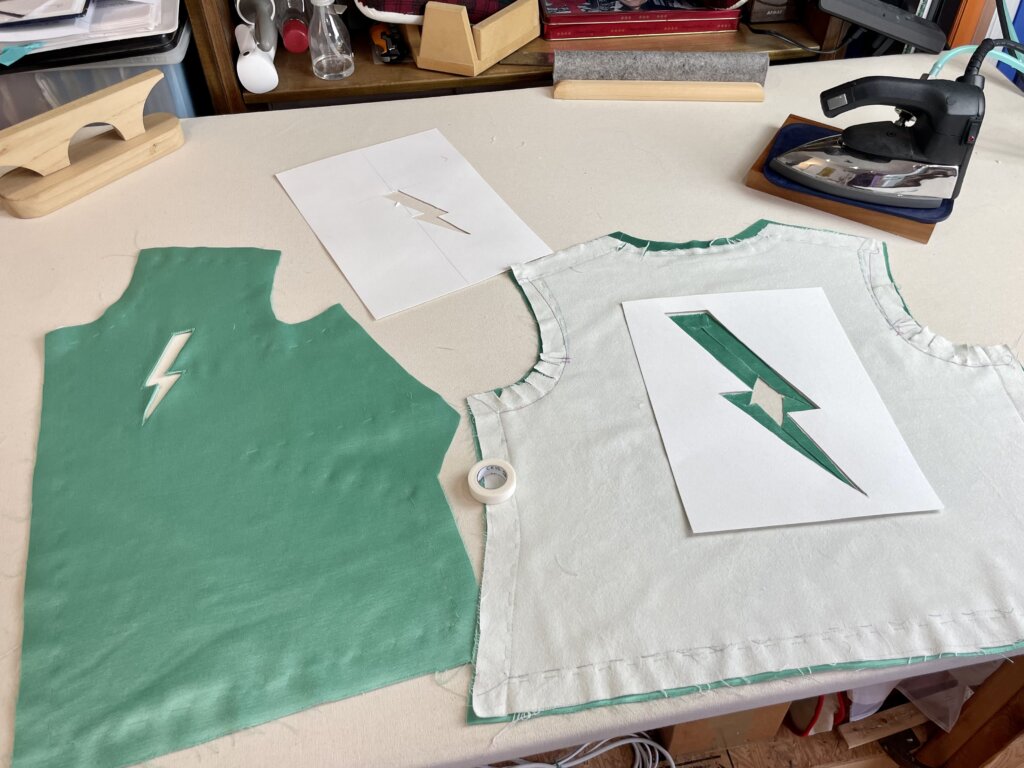
Like this (kinda sorta):
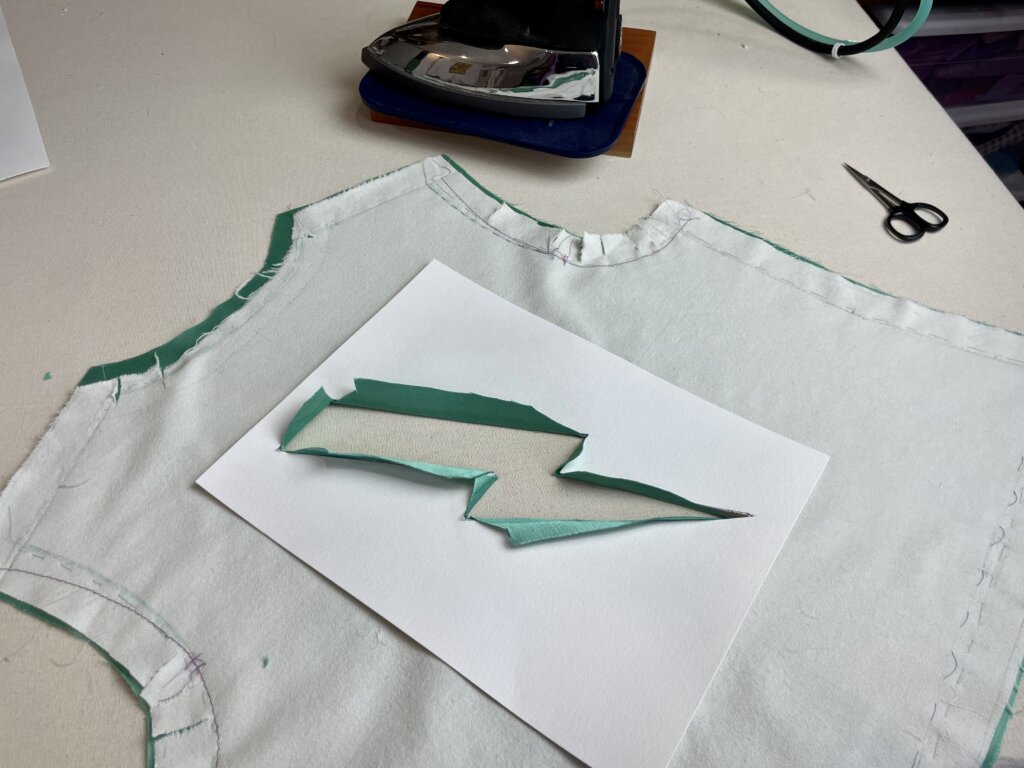
Whew! After fiddling and futzing with the iron, with careful attention at the corners, the hard part was done. And looking good!
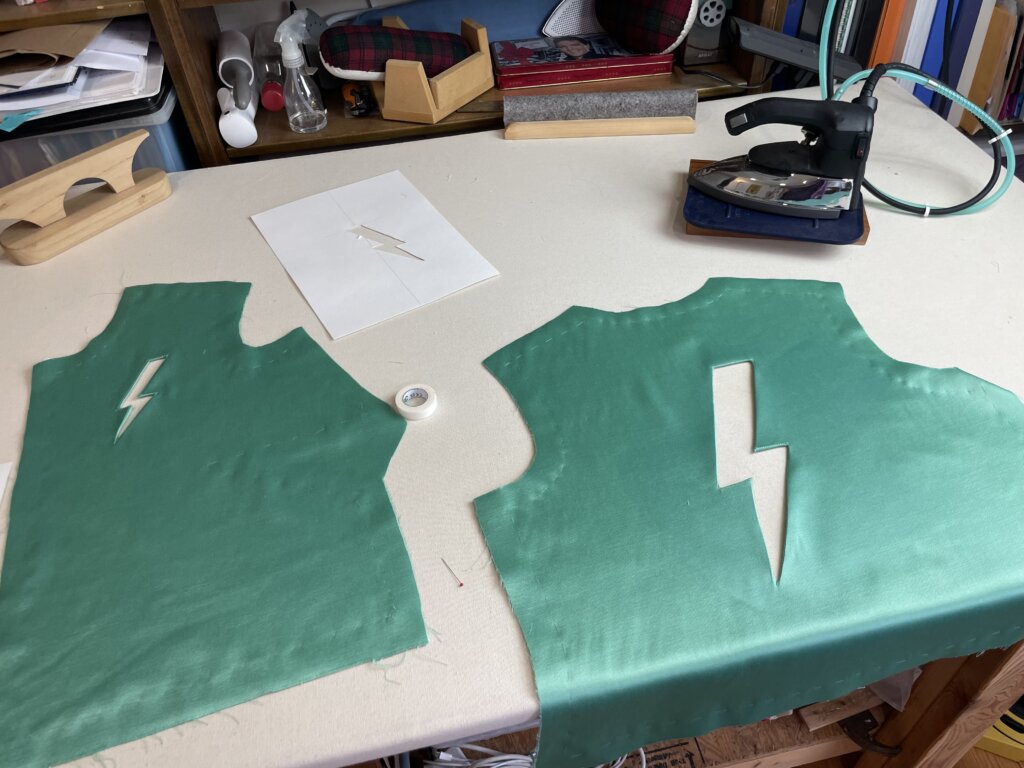
Next, I cut two on-grain rectangles of flannel, big enough for each bolt.
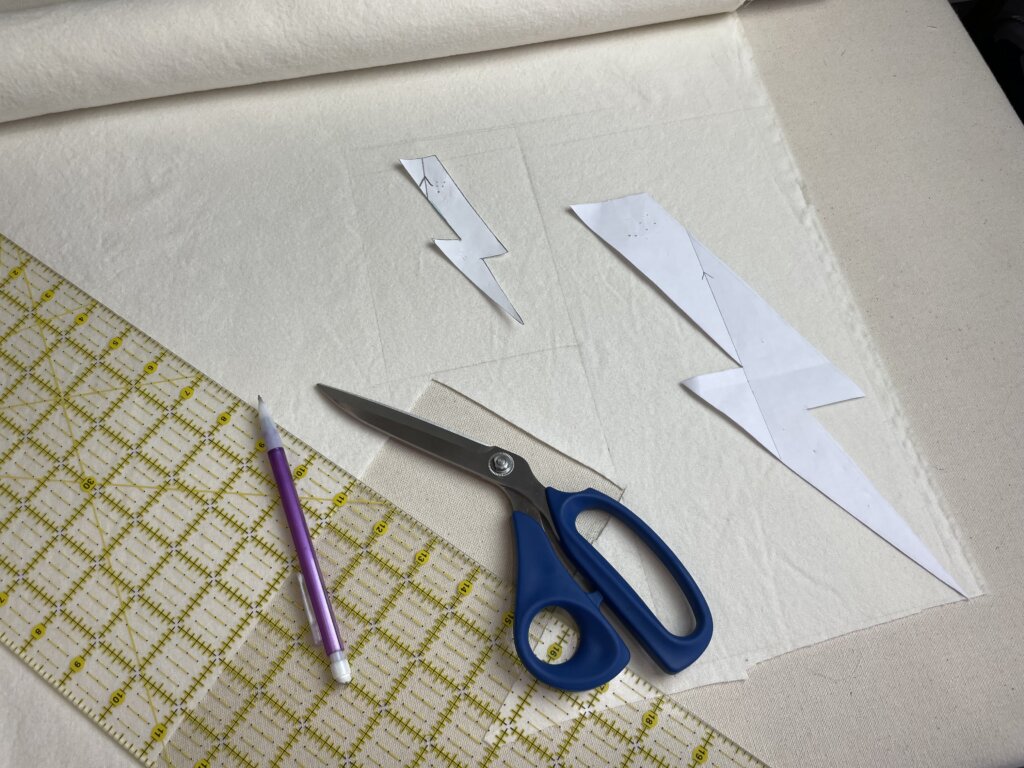
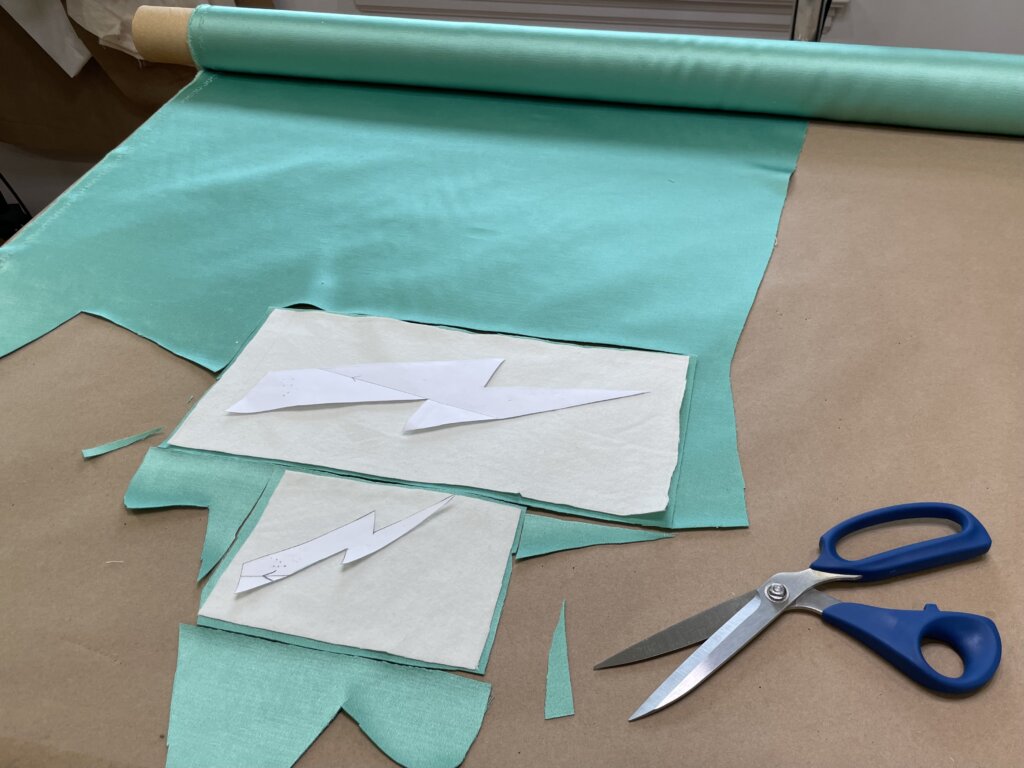
Then I cut two rectangles of satin on the cross-grain.
The cross-grain of this satin catches the light with a different sheen. Cutting the lightning bolt following the horizontal grain, in contrast to the the jacket’s vertical grain, would (hopefully) make the lightning bolt appear to “flicker” on the jacket as I move around in it, even though it is made out of the exact same fabric.
Next, I added my rectangle behind the bolt opening, and basted it in place, by hand, using a fine curved needle. At the time, I was listening to Seth Godin’s audiobook “Linchpin”, and this clip unknowingly caught a poignant passage.
Basted and ready for the machine!
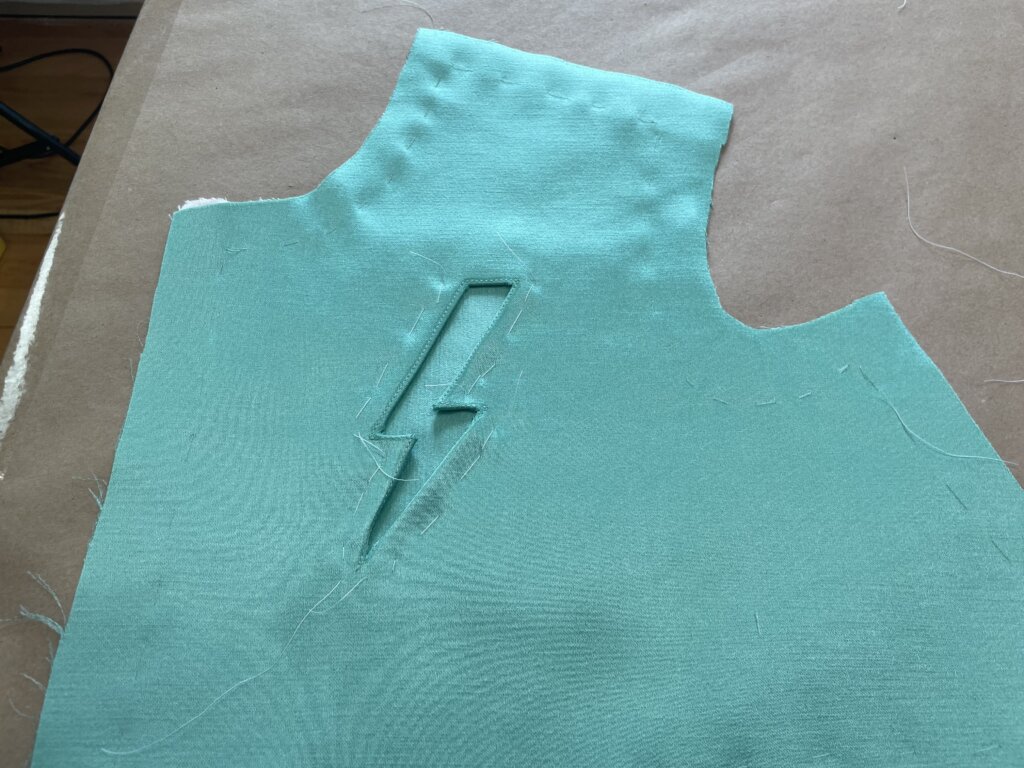
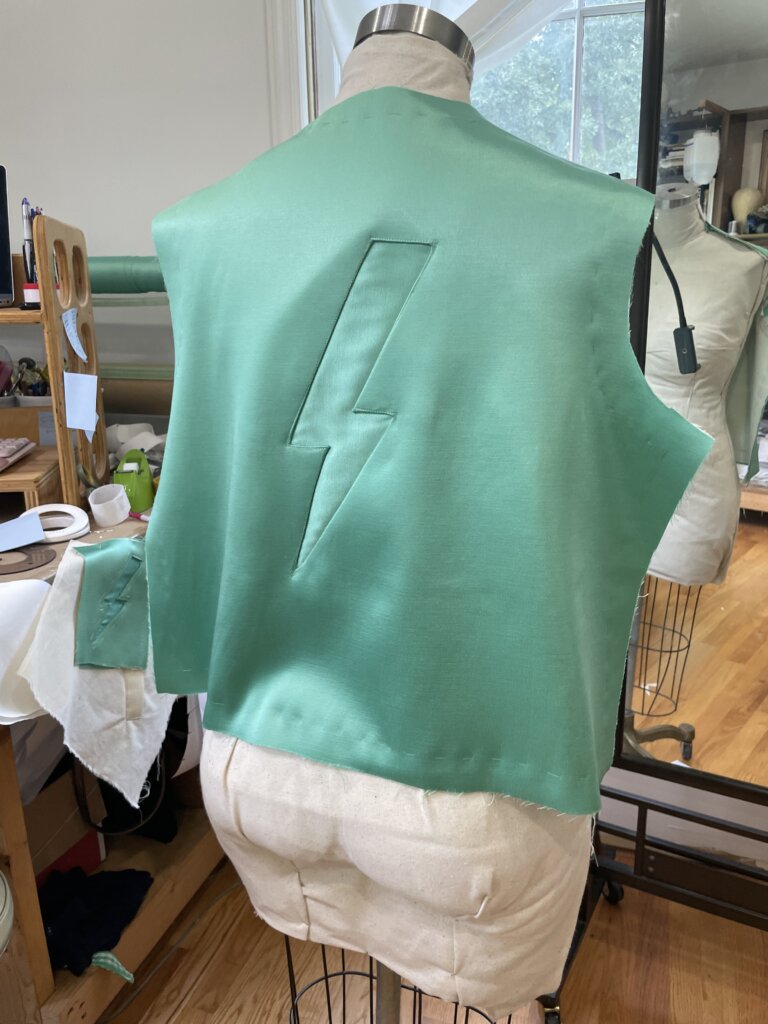
On each basted bolt, I carefully followed the edges with a machine stitch, through all layers, to permanently add the backing to the jacket.
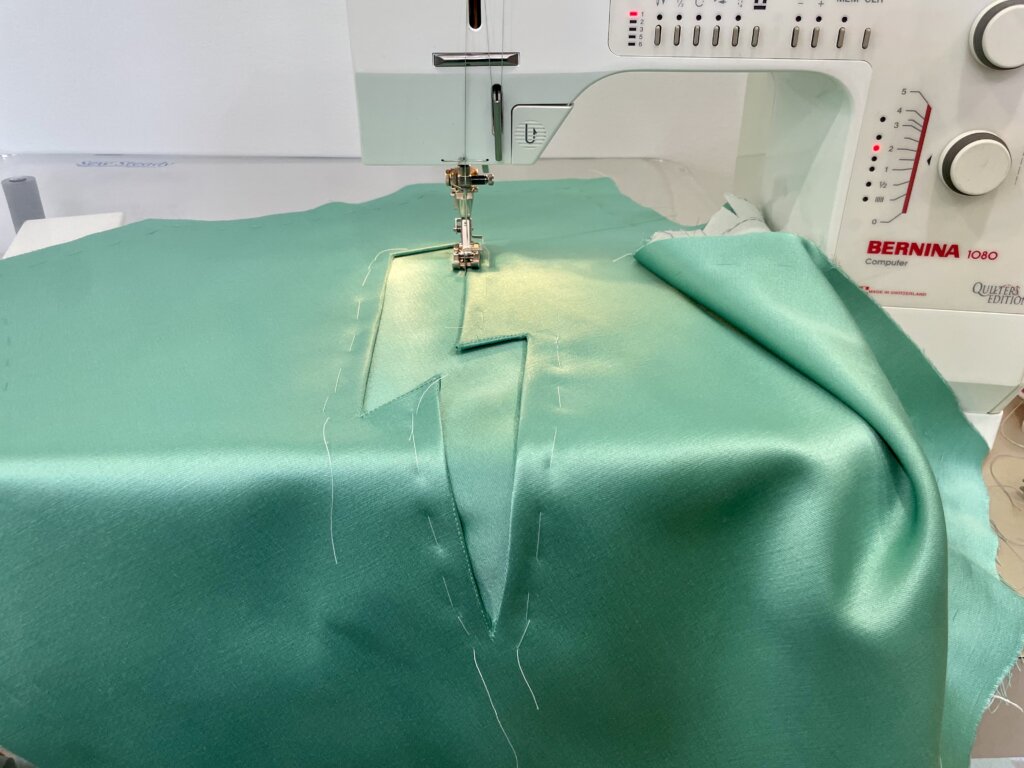
Pretty sexy, right?
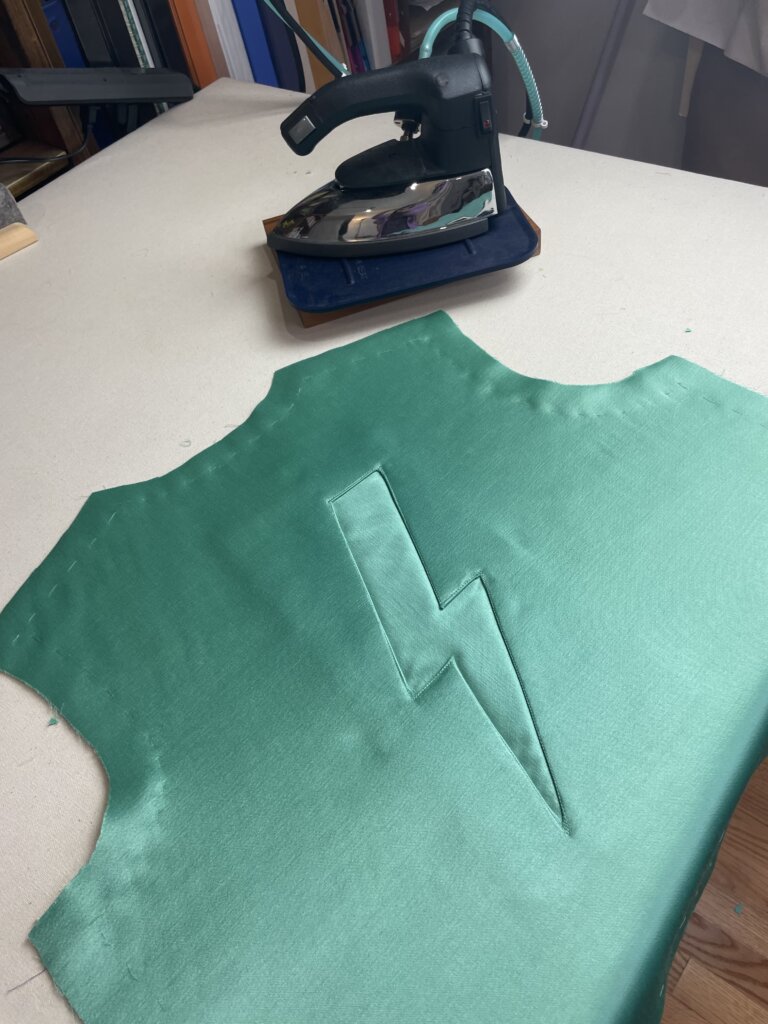
Afterwards, I trimmed away some of the extra allowance.
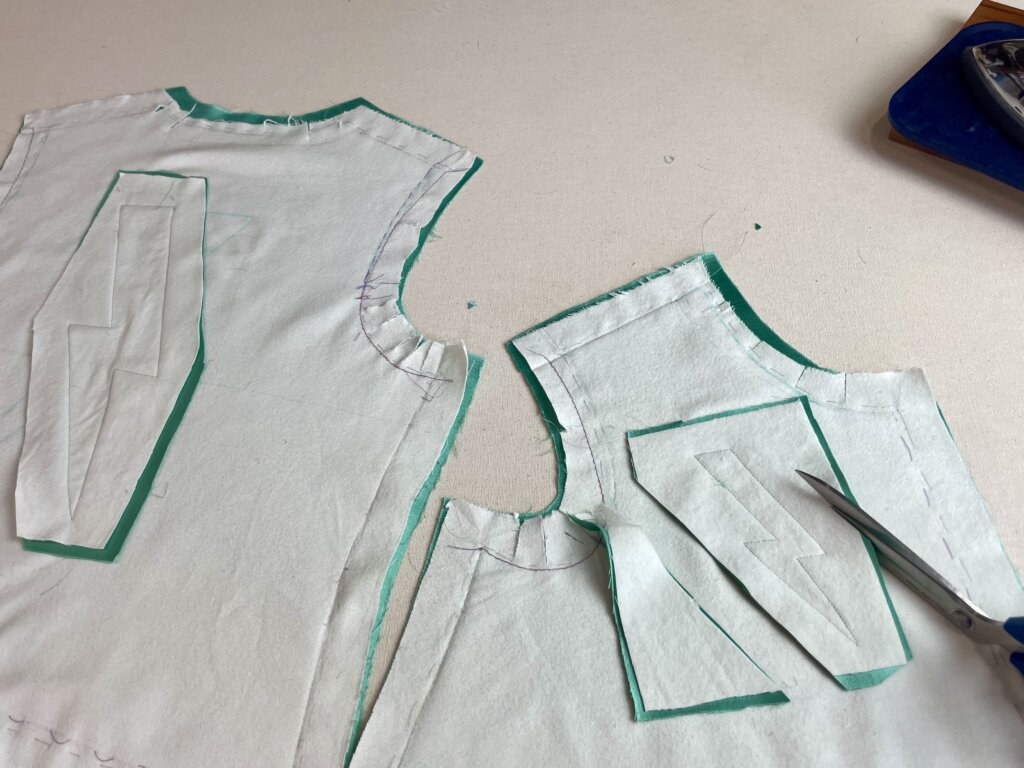
Bam! Bolted.
The Welt Pockets
Next up, those welt pockets.
Though I had previously worked through a few samples in muslin, I wanted to do a practice run, using my actual materials. And I’m glad I did!
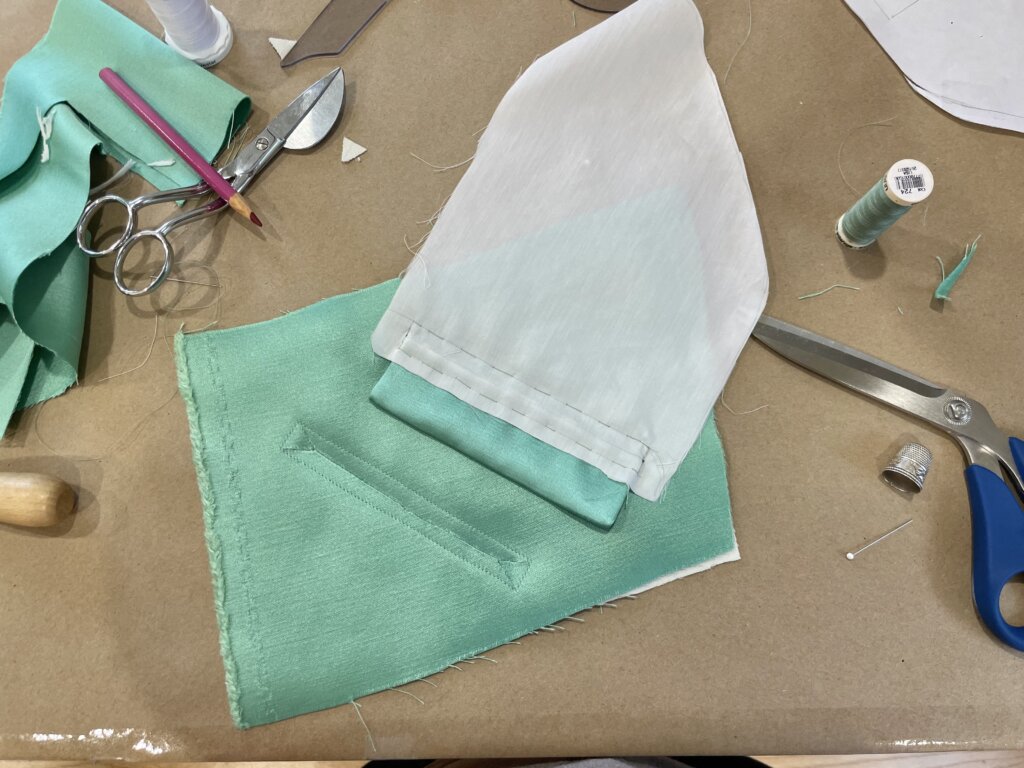
I messed up during my first two attempts, and only got it mostly right in my third…
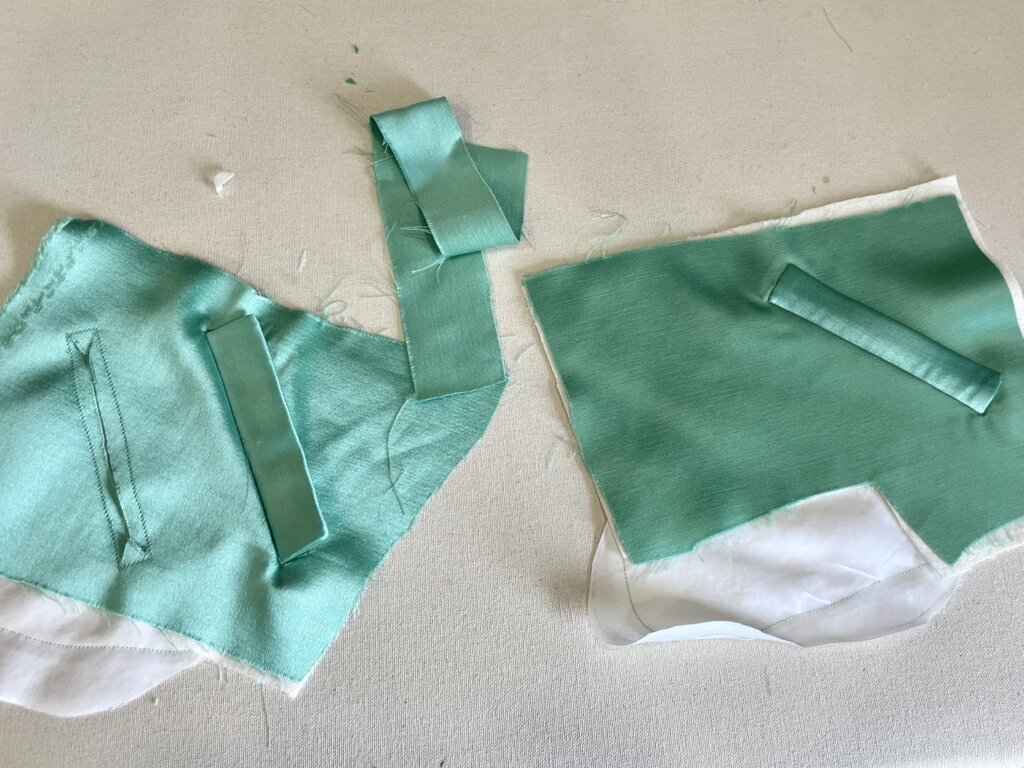
…, and though I had plenty of fabric (and desire) to keep playing around while improving my process and my skills, I did not have plenty of time. I decided to move on to the real jacket. Worse case scenario: I had enough extra fabric to cut a whole new jacket front.
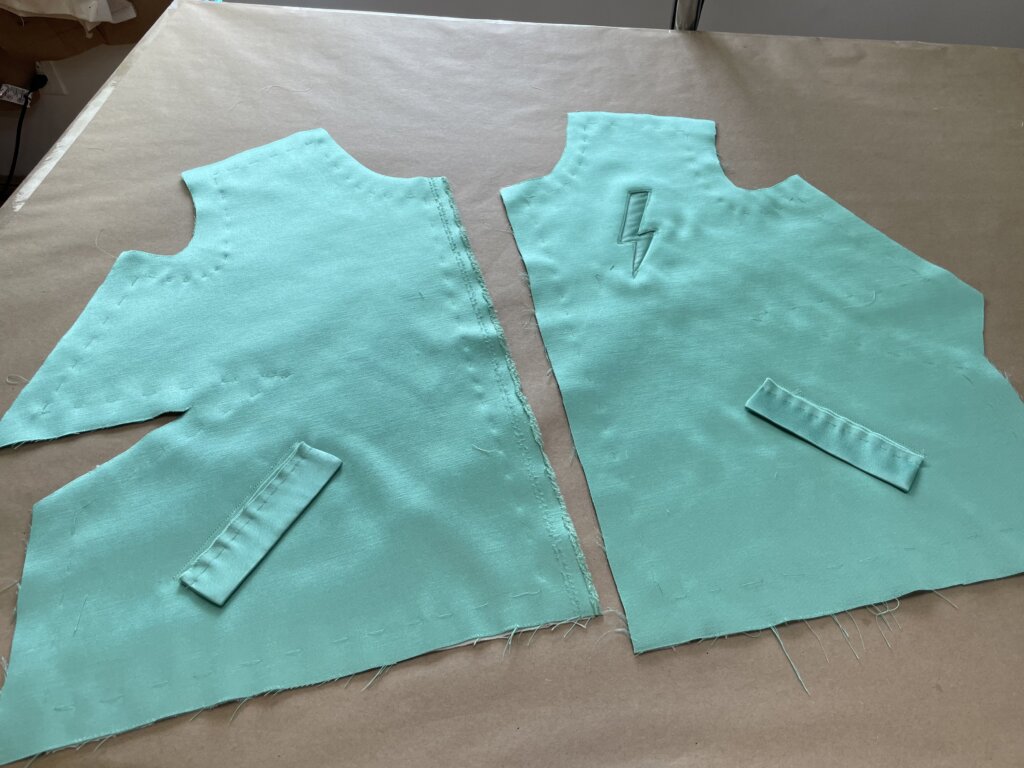
First, I made the welts.
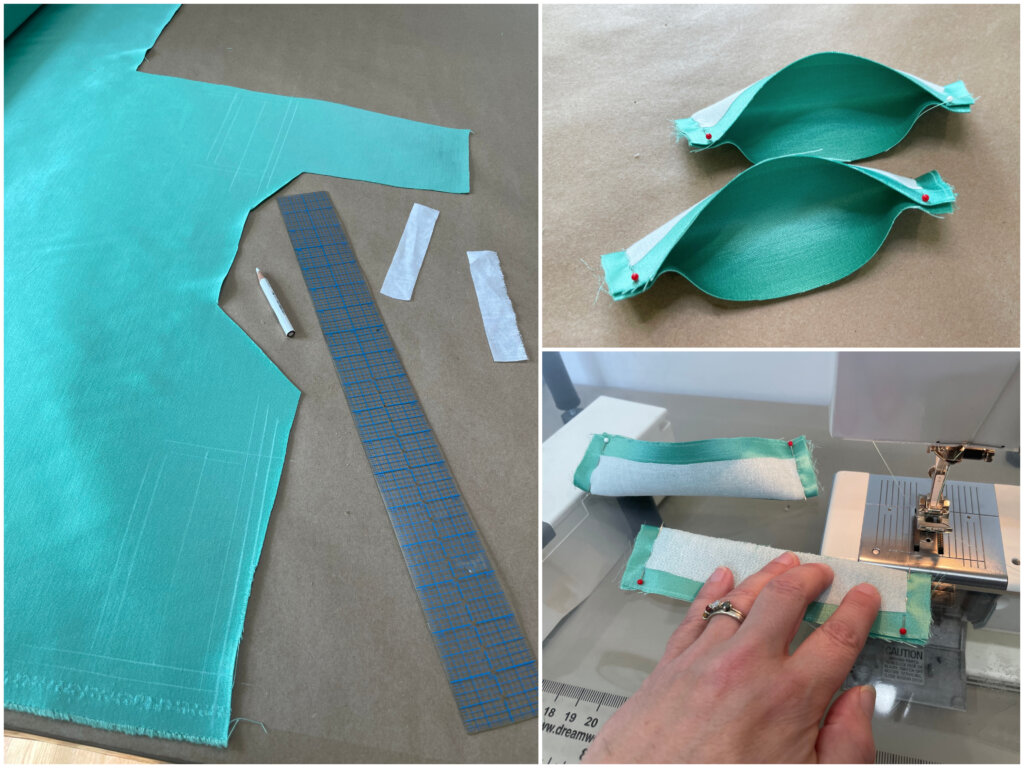
Then, I machine stay-stitched around the pocket box drawn on the flannel.
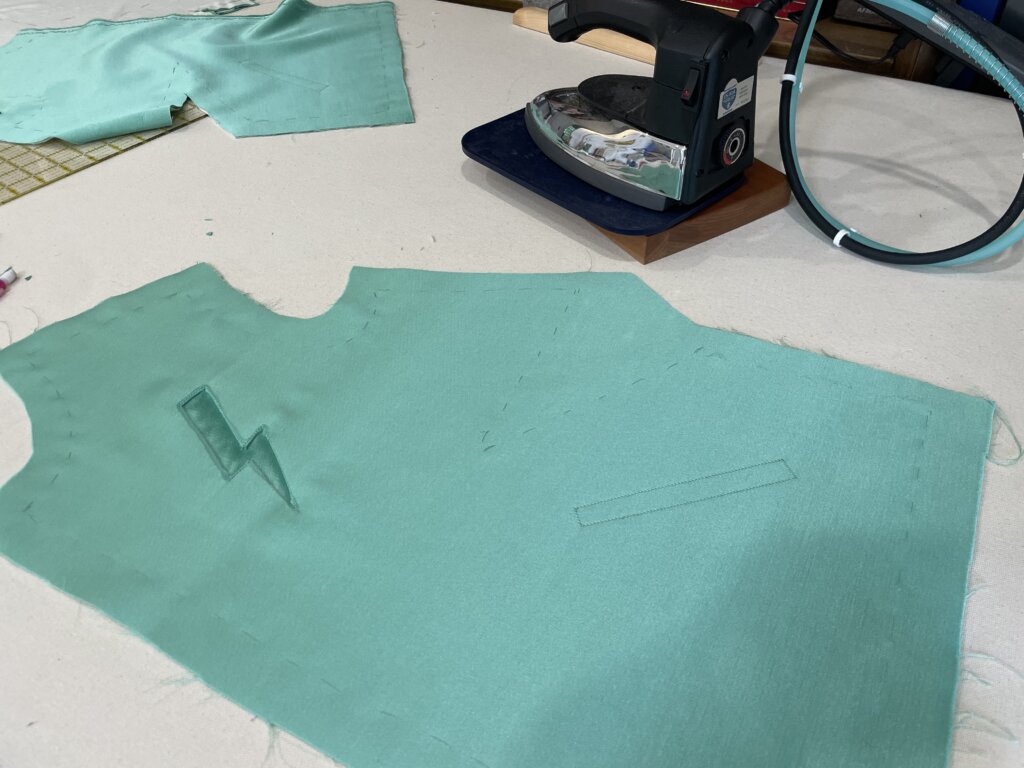
The welts were then hand basted to the front of the jacket along the lower line of the box, upside-down with the inside of the welt facing outward.
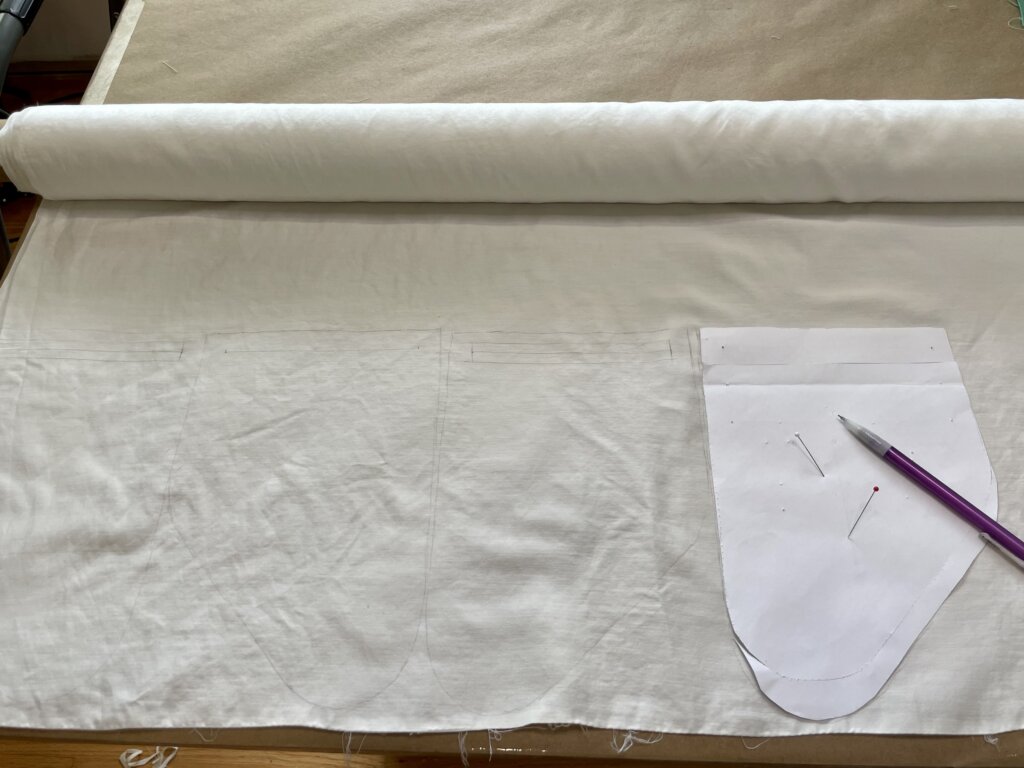
Next up, I marked and cut out my pocket bags from some slinky cotton/silk satin I had in my fabric stash.
Then, each front pocket bag was basted to each box in a specific way…
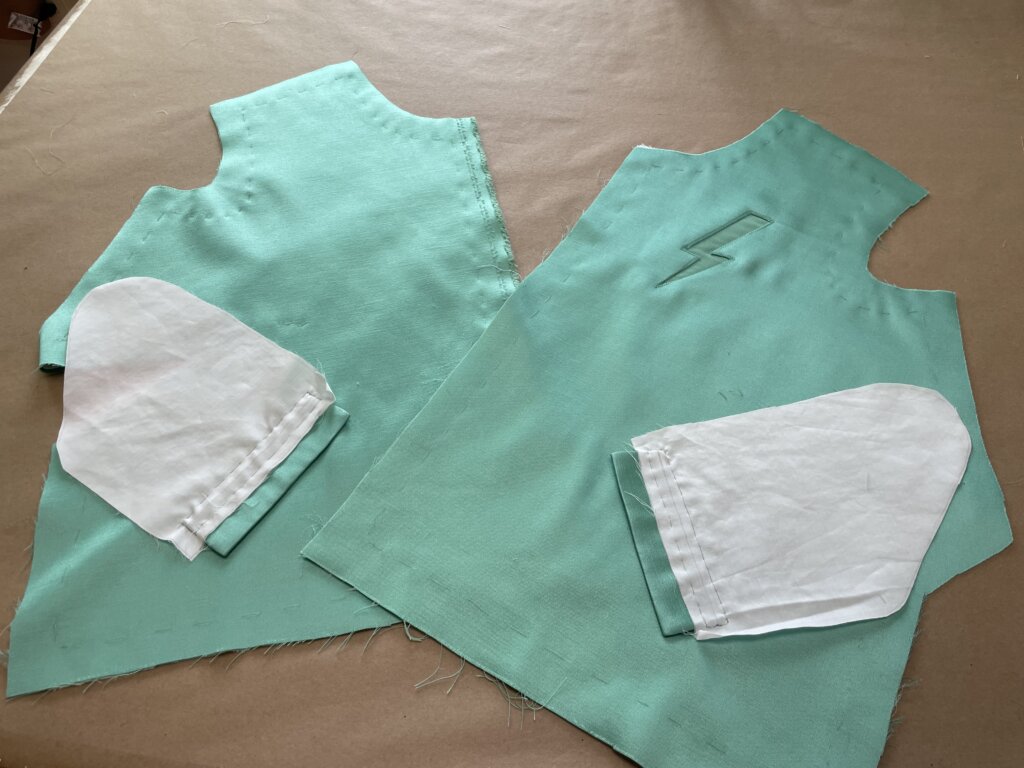
…before I permanently machine stitched over my basting lines.
Then, from the back, I trimmed away the underlining inside the box, before carefully cutting through all of the layers.
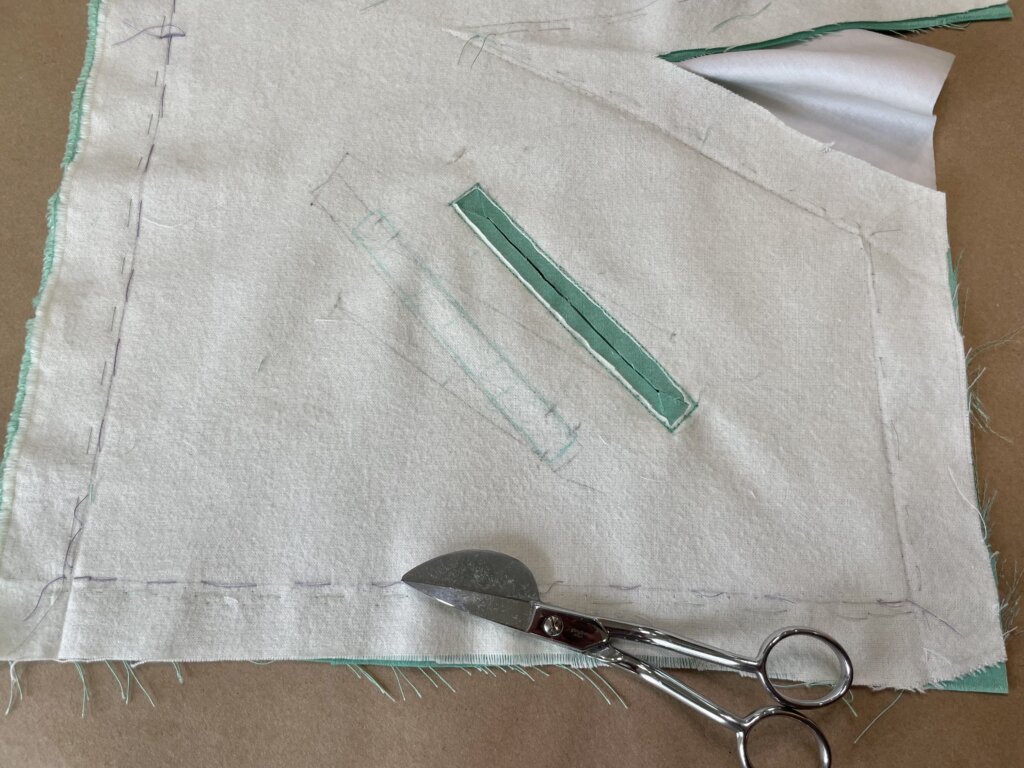
Then, I pulled the bag though to the inside…
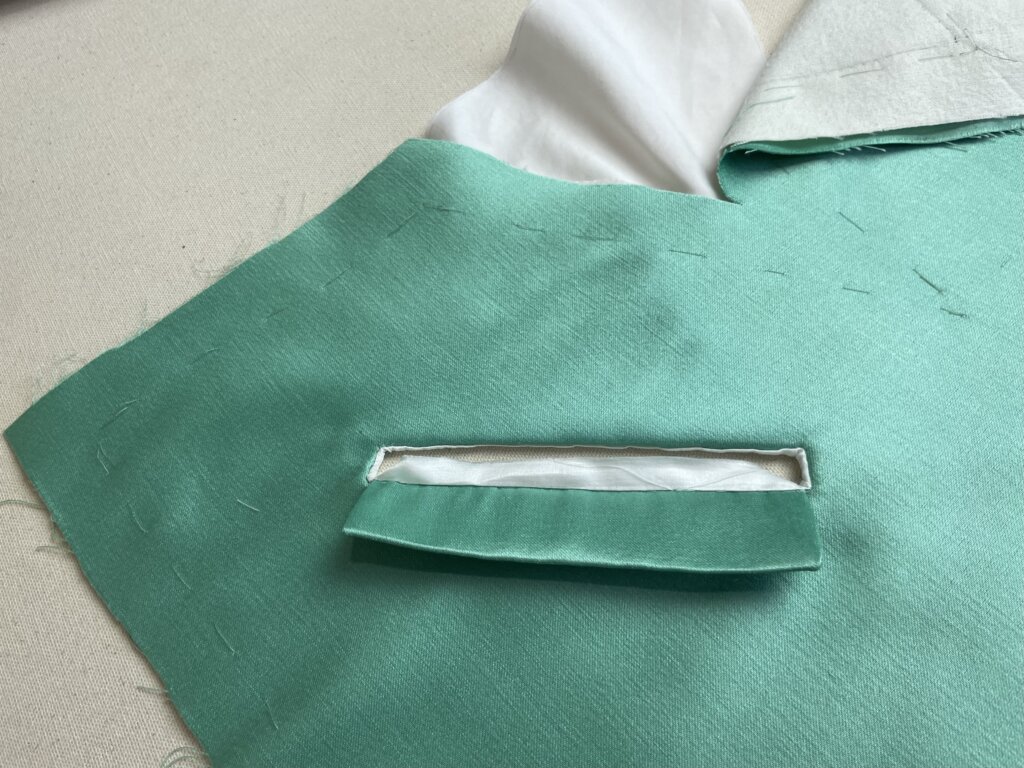
…and performed some other tiny tedious tasks that I forgot to photograph.
Remember: This is not a tutorial post! (Here’s the tutorial that I referenced the most when making these pockets.)
Here’s what the (mostly) completed pocket looked like from the outside, before the final step of stitching the welts’ sides to the jacket fronts.
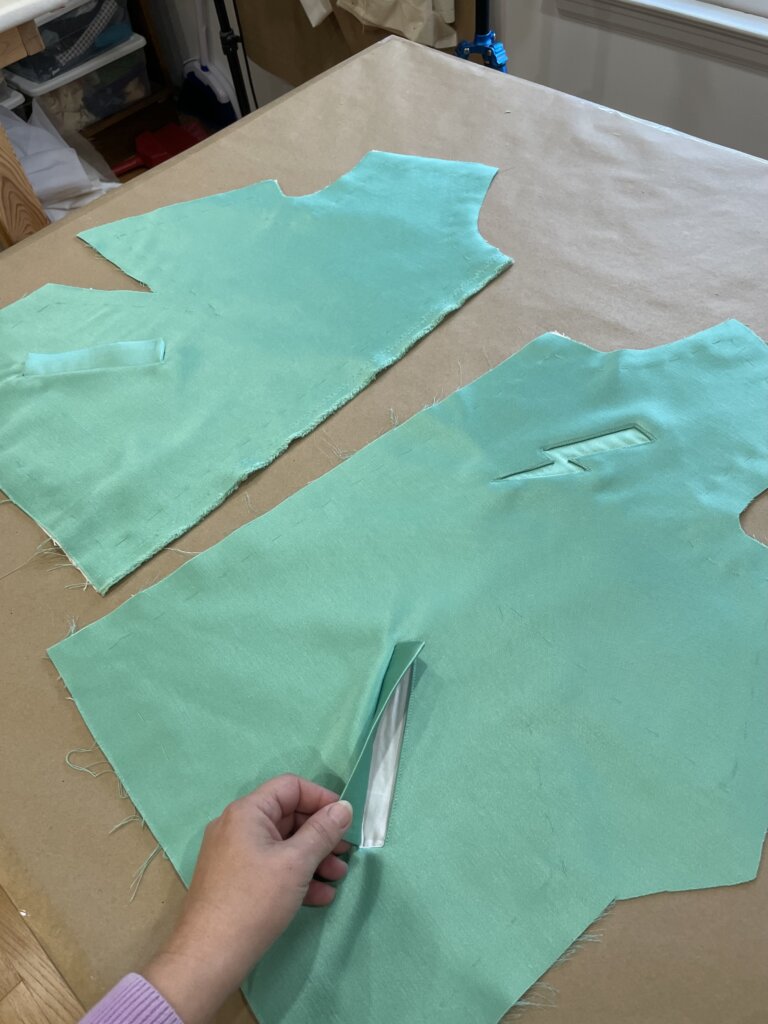
And here’s what my completed welt pocket looked like from the inside.
In the photo below, you can also see that I added a quick cross-stitch by hand, holding the graded allowance from the lightning bolt securely to the underlining layer. I’m in the process of stay-stitching the armhole curve by machine.
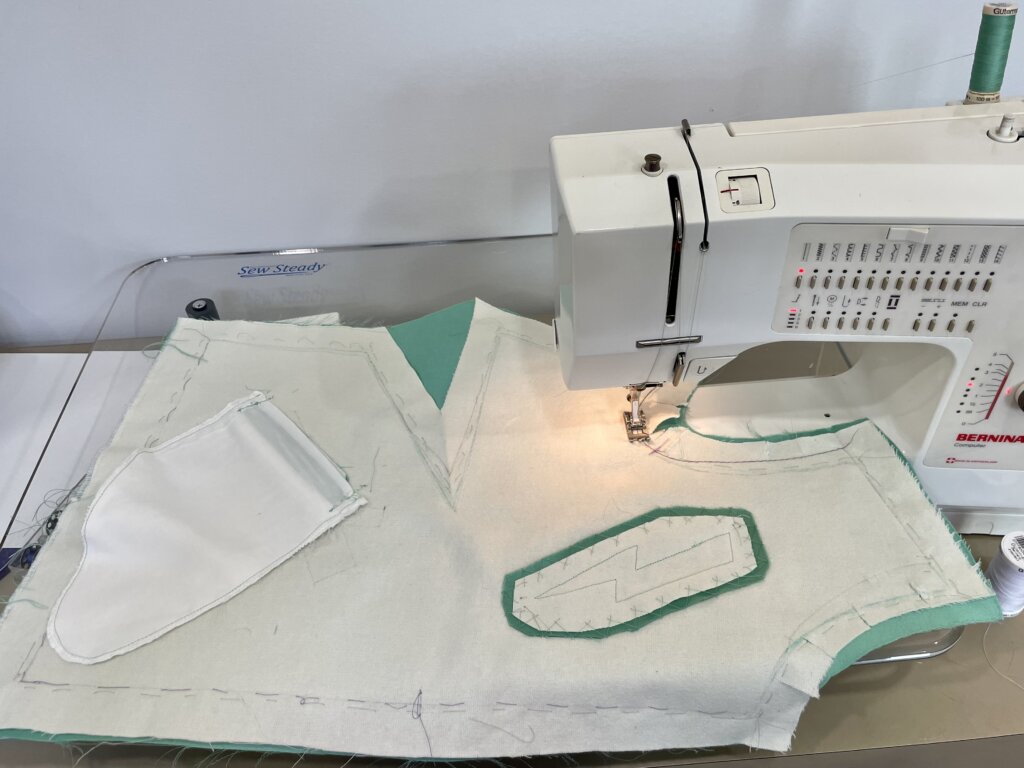
These were all of the final tasks (that I could think of) that could be completed while my pieces were still completely flat.
And bonus: I had successfully constructed the most complicated parts of my jacket!
With the lightning bolts and the welt pockets installed, I was ready to start sewing in 3D.
Intermission
You are now about halfway through this post. Feel free to take a break! You’ll find the link to jump right back here at the beginning of this post.
Part 2 - Sewing in 3D
Welcome back- to lots of work, lightning fast! There was still so much to do, and there was not much time. This “slow sewist” would be challenged to speed up!
To begin turning my flat pieces into a 3D jacket, I started with the bust darts.
But before I started stitching on my lightning-bolted welt-pocketed pieces, I practiced on a sample using my fabrics.
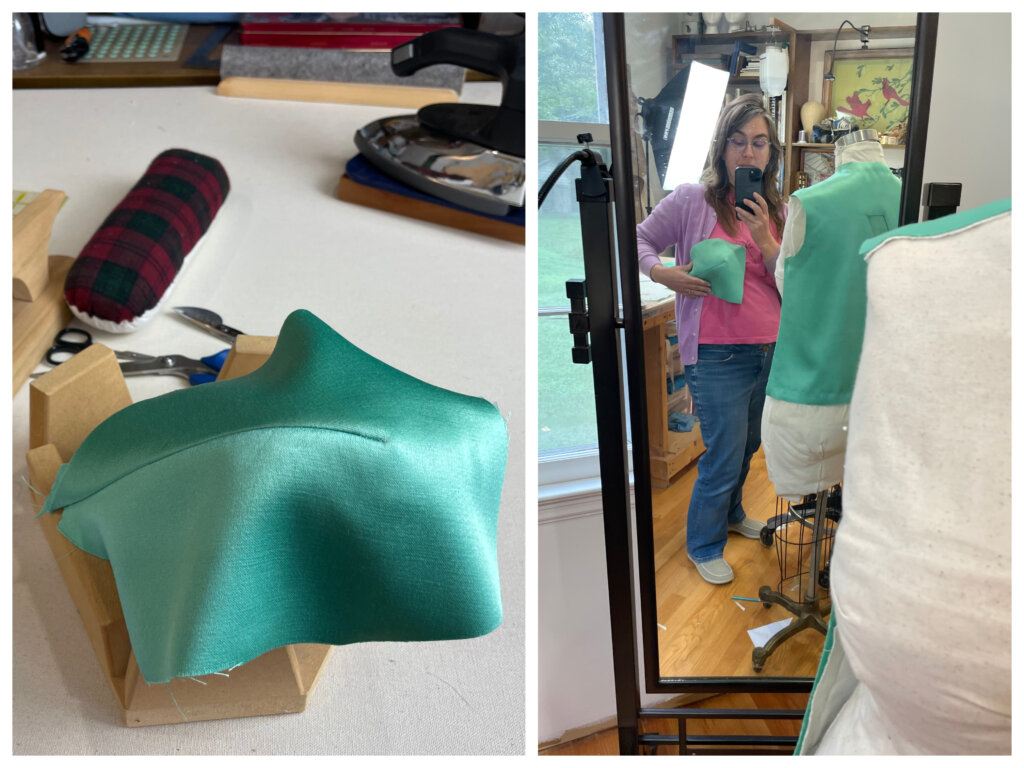
Then, I did a little machine stitching, and pressing, and clipping….
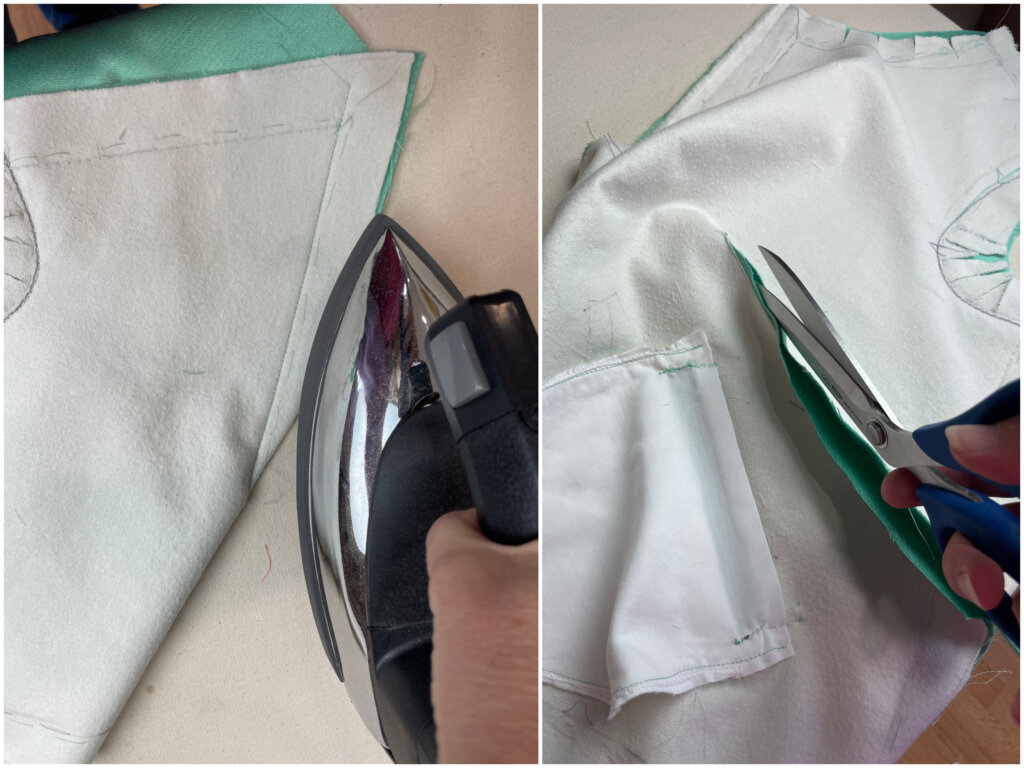
…before pressing the dart open using my tailor’s ham.
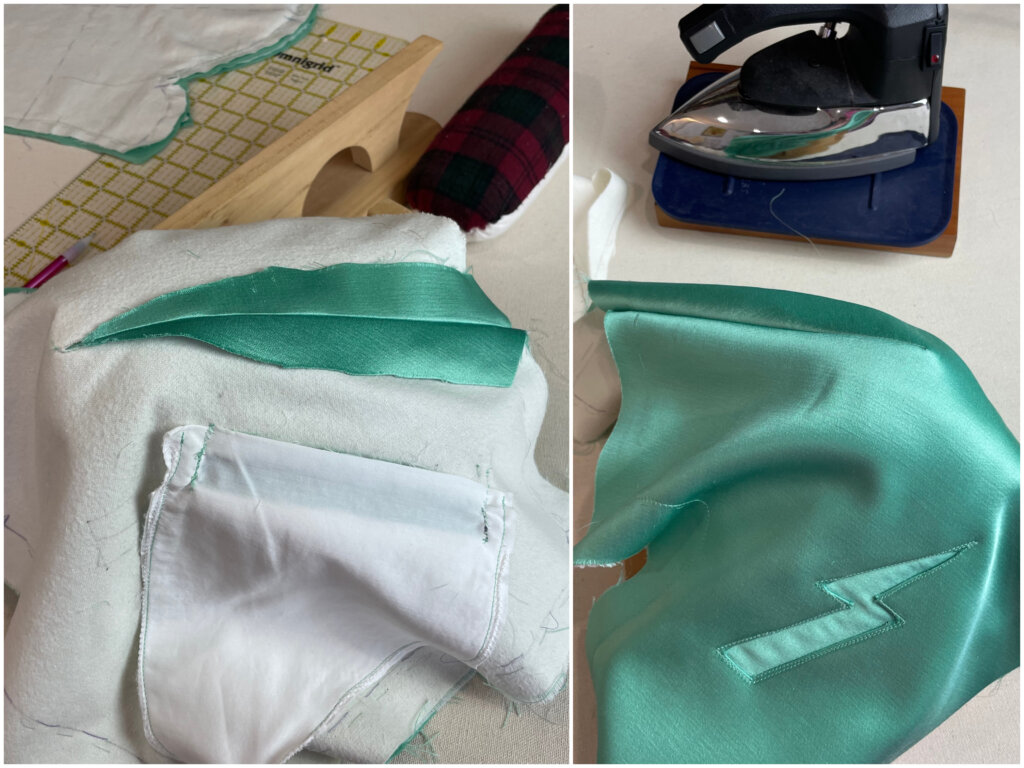
The three jacket pieces became one, when I pinned (and then stitched up and pressed open) the shoulder seams.
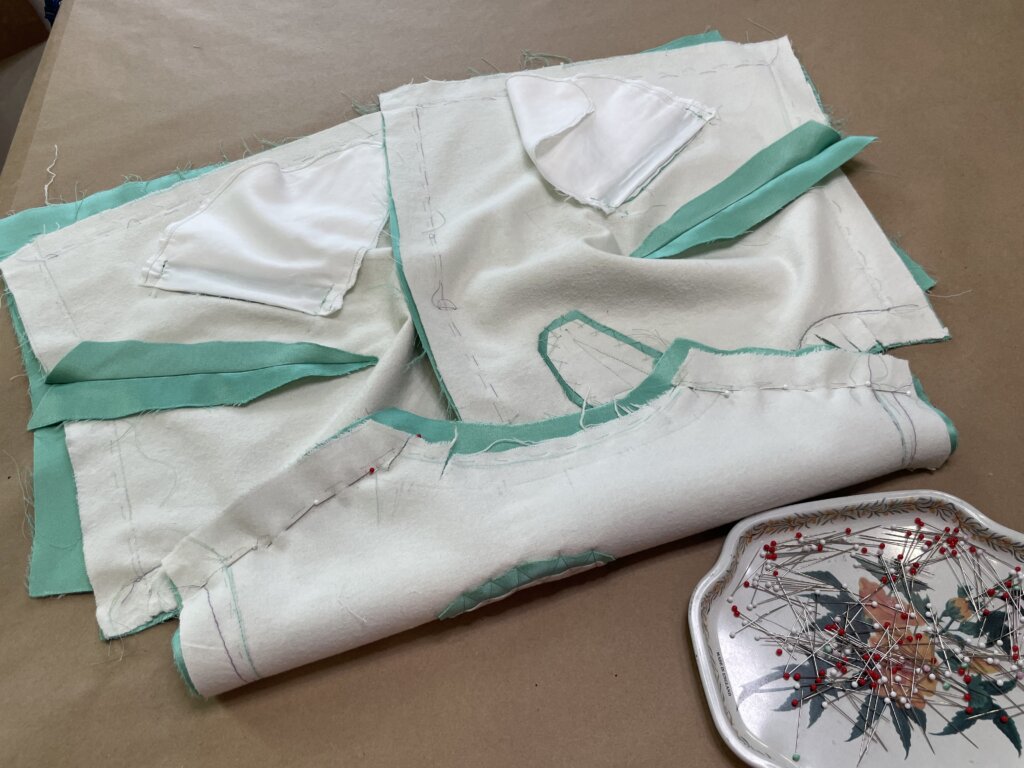
Next, I decided to work through some samples to figure out how I’d make and install my sleeve cuff…
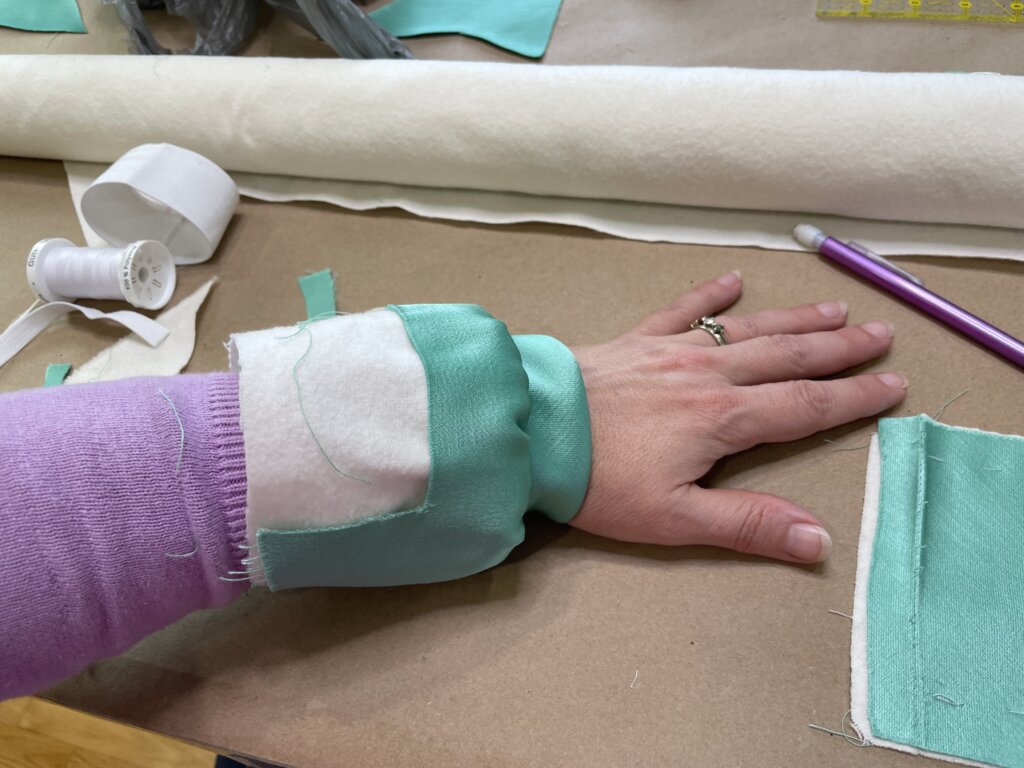
Before putting together my sleeves (mostly off-camera)!
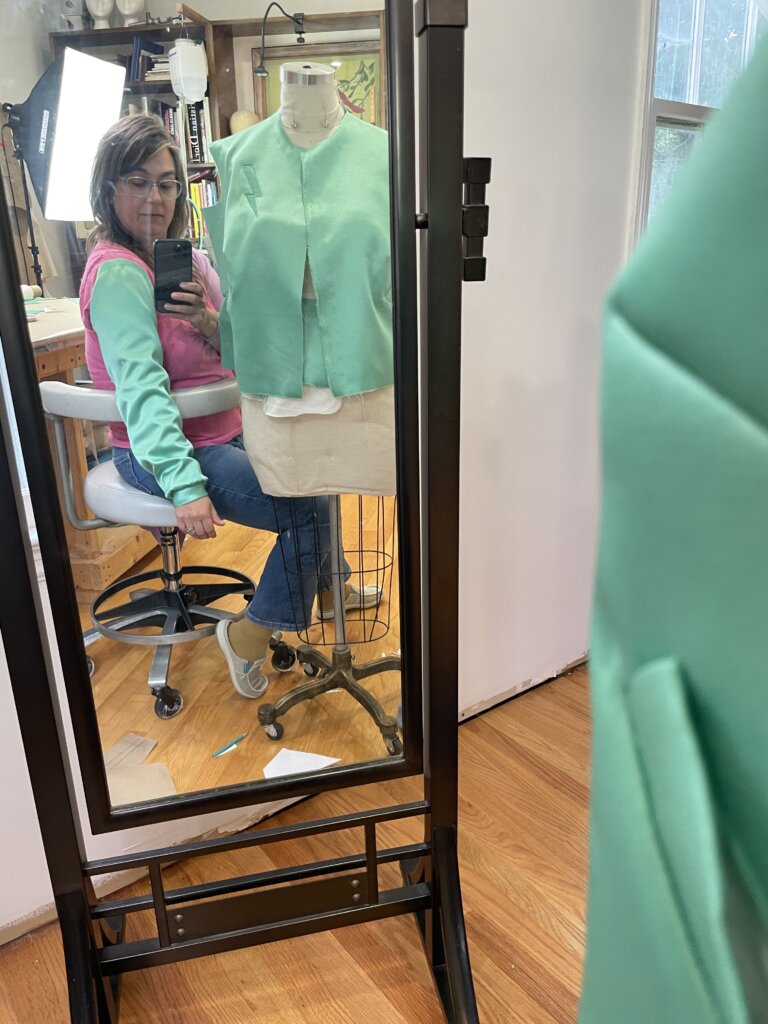
Looking good! (And yes, I’m watching America’s Next Top Model….)
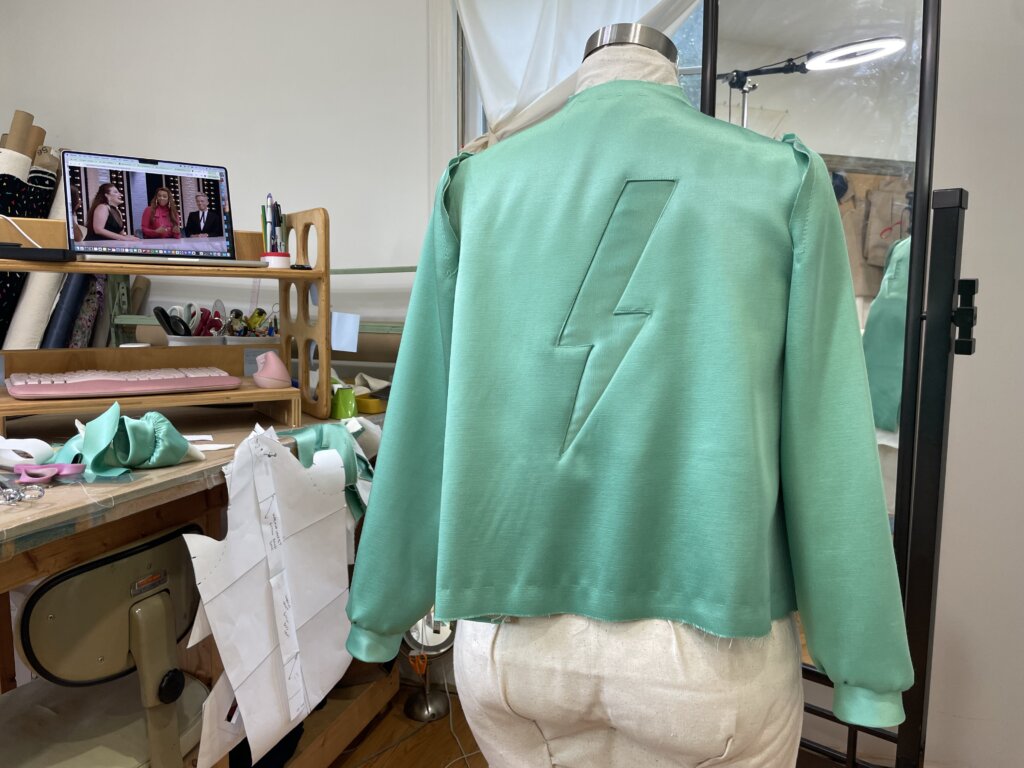
Another “rule of thumb” I like to consider is “Keep everything as temporary as possible, for as long as possible.”
If it weren’t for the injury setback, at this point, I would have temporarily basted the side seams and sleeves for a Basted Fitting. I love this part of the custom process. It offers a final chance to fine-tune the fit and get everything just like you like it.
But time was of the essence. Raleigh Frocktails (and the date I said I’d send photos of the finished jacket to Threads Magazine) was only a few days away!
Though another guiding principle I usually employ is choosing quality over quickness, I could not physically speed up my pace. Due to my injury, I needed to work even slower than usual (and I love to sew slow.)
I accepted the risk of skipping my (often magical) fine-tuning session and continued on with the finishing steps by sewing my side seams with permanent stitches.
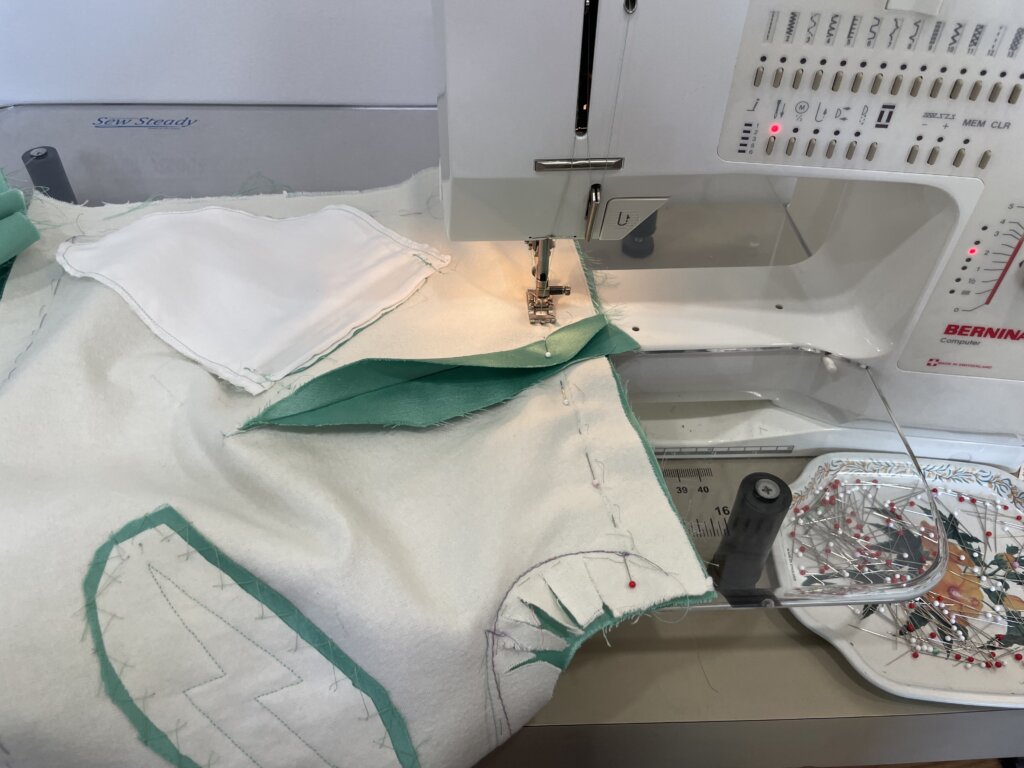
The Collar
Next, I repurposed the bias strip of my mockup collar by underlining it to a bias strip of my satin.
Cutting fabric at a 45 degree angle to the grainline makes it stretchy, which would (hopefully) offer the sportswear look I was imagining for my jacket’s collar (and hem bands).
Next, I stay-stitched my neckline edge.
Though not difficult, this step could have been a little easier to manage in Part 1, when it was still flat, but I didn’t think of it then. At that point, I was still putting off making a decision about how I’d assemble the collar and neckline…
When I don’t know how I’m going to do a step in the future, I often just wait until I get to that step. While working through other tasks and getting to know my materials, I naturally get a better idea about how the garment wants me to construct it.
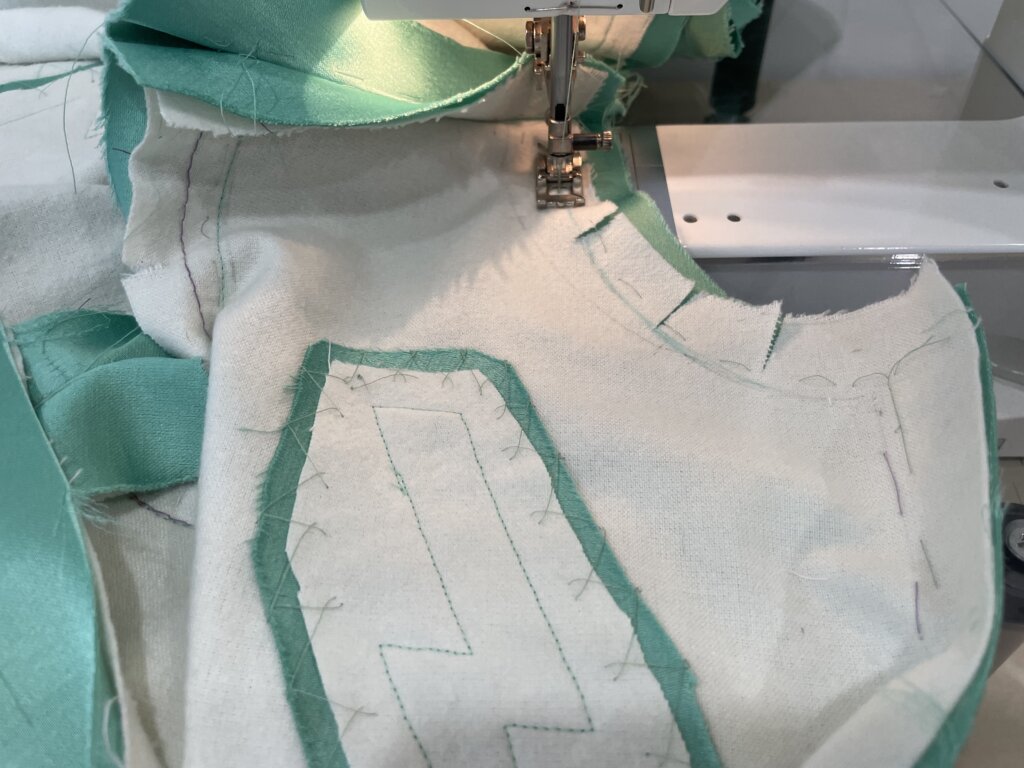
I eventually decided to sew my collar using a similar approach as the lightning bolts- though this time, the edge was a curve!
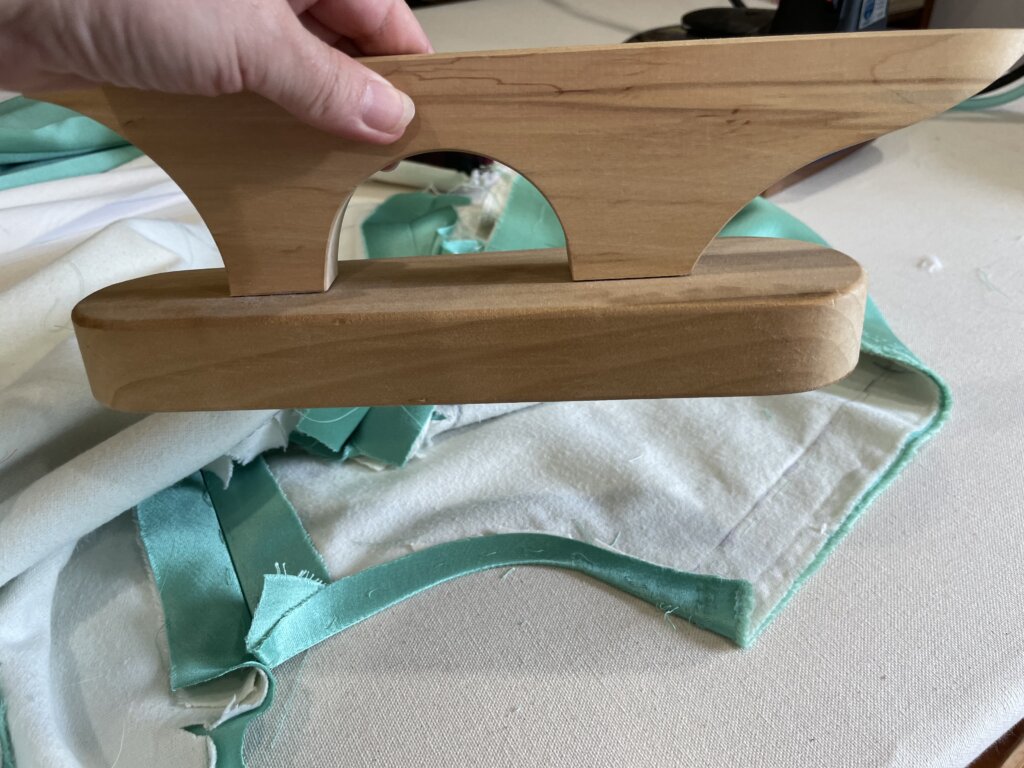
I used the stay stitching as a fold line to press the allowances to the inside. I steam pressed the curve using my clapper…
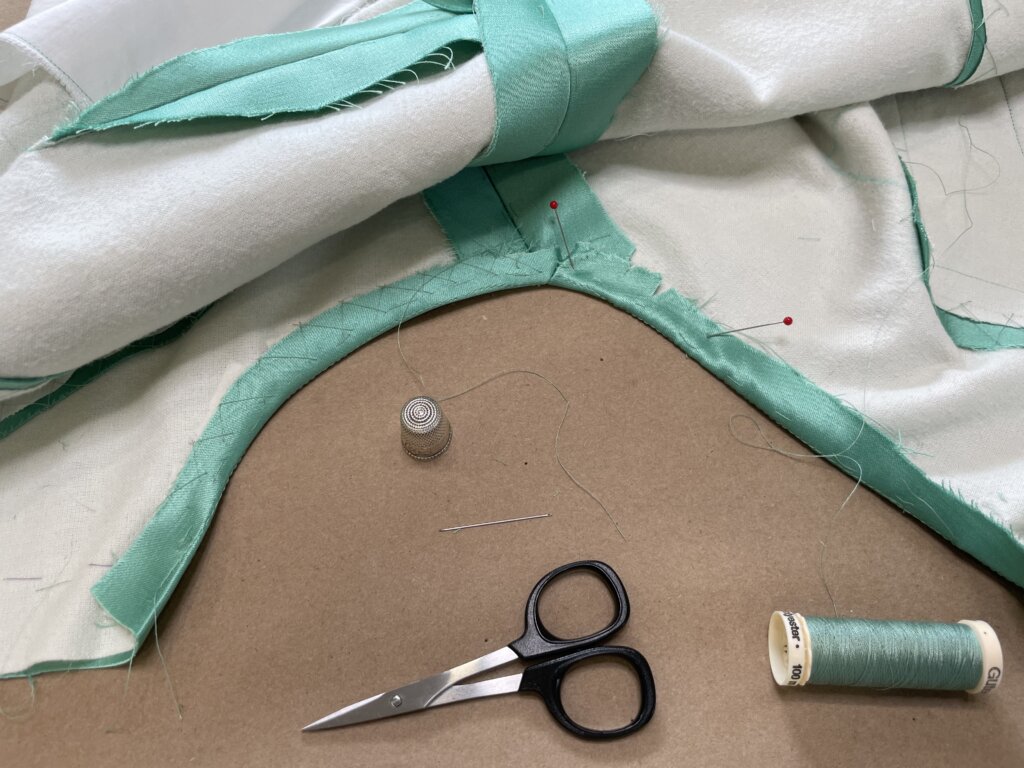
…and, for extra assurance, I cross-stitched the allowances in place. These hand stitches only pick only through the underlining layer, invisible from the front of the garment. (I love this benefit of underlining.)
On my custom dress form, I gently added my bias collar strip into the neckline edge,…
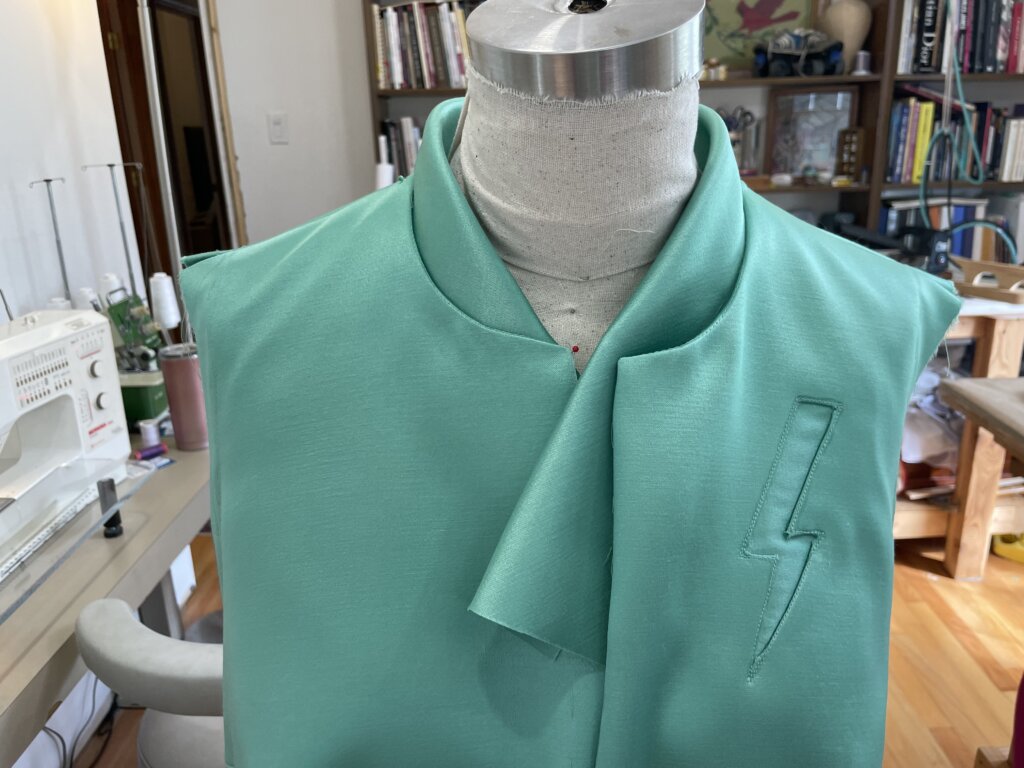
…and when it looked good, I pinned it in place,…
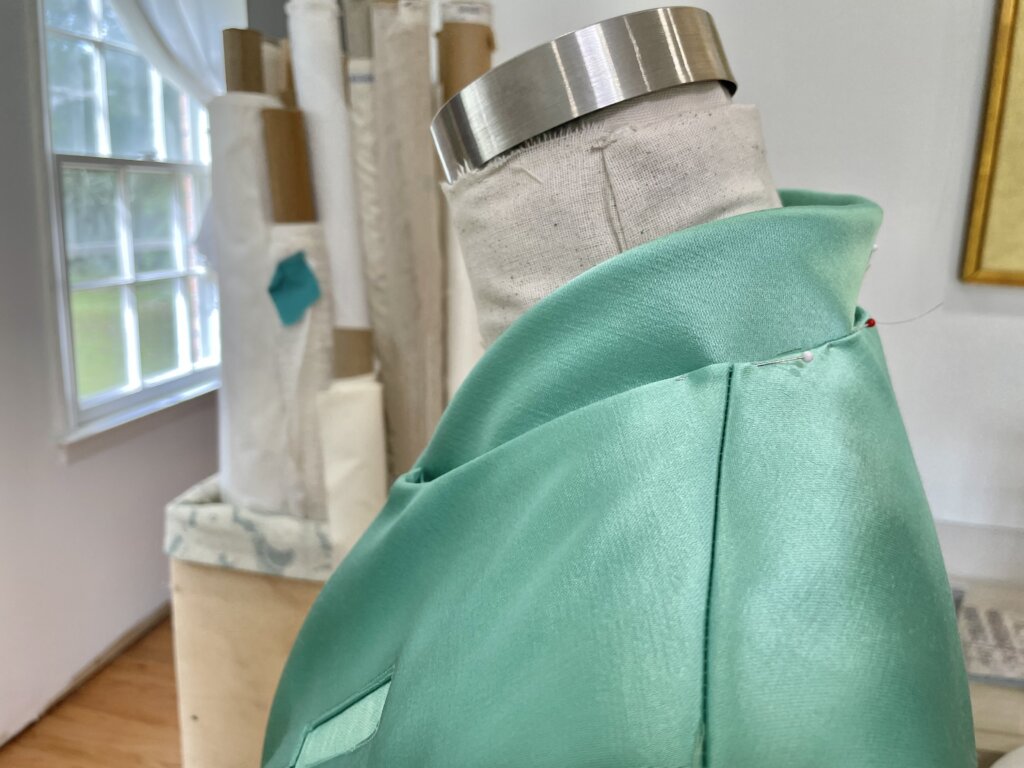
…before hand basting it into the neckline curve, and trying it on.
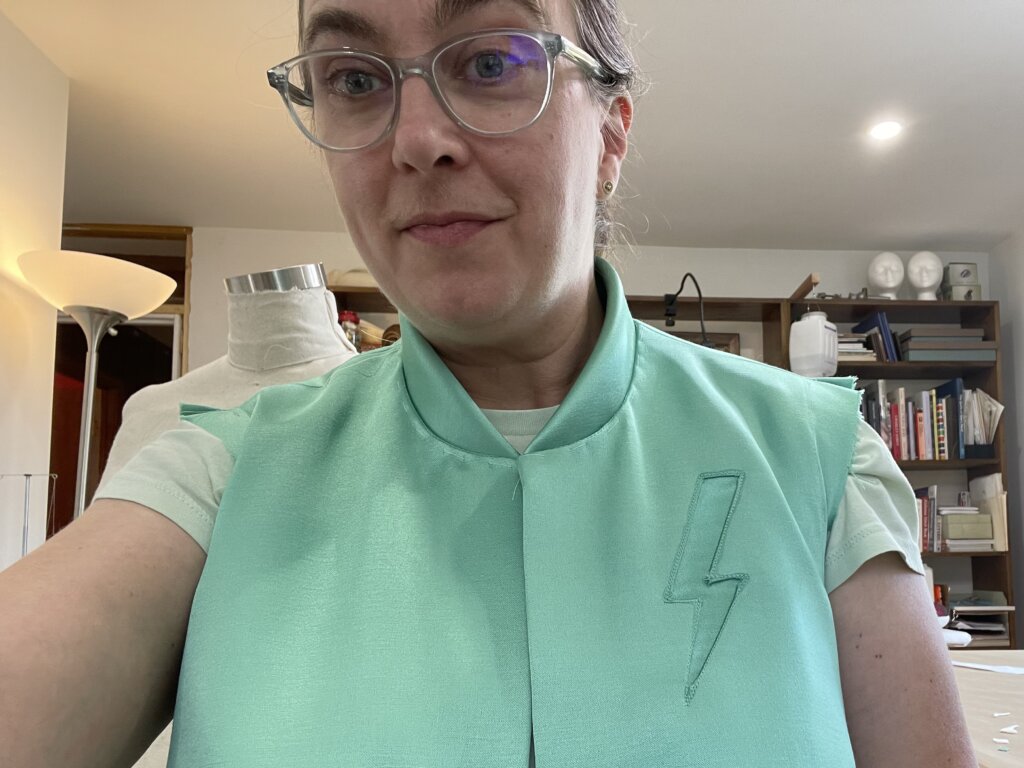
Top-stitching it permanently in place would be the last step of installing the collar, but the first step of installing….
The Closure
…as my machine stitching continued around the collar and down the center fronts.
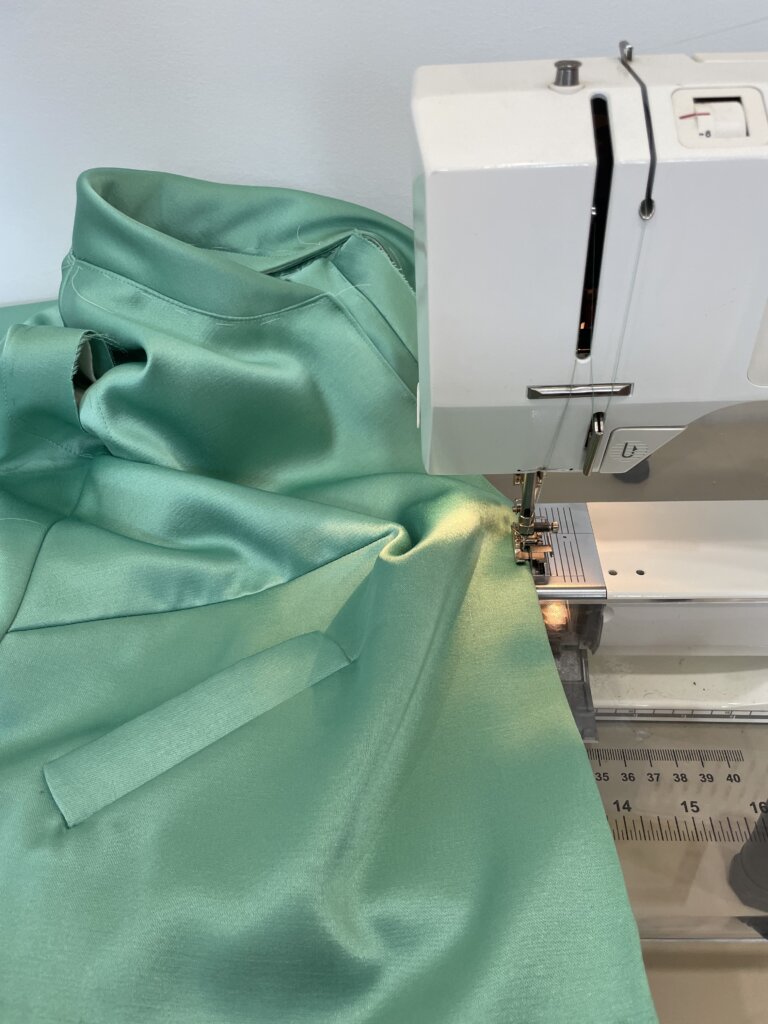
Just as my grad school professor would say “A sleeve is not a sleeve without a gusset”, she would also advise that “You’ve got to know how to get in and out of the garment”.
During my design & brainstorm stage, I thought it would be fun and kinda cool to use hook and eye tape as the center closure, instead of a separating zipper….
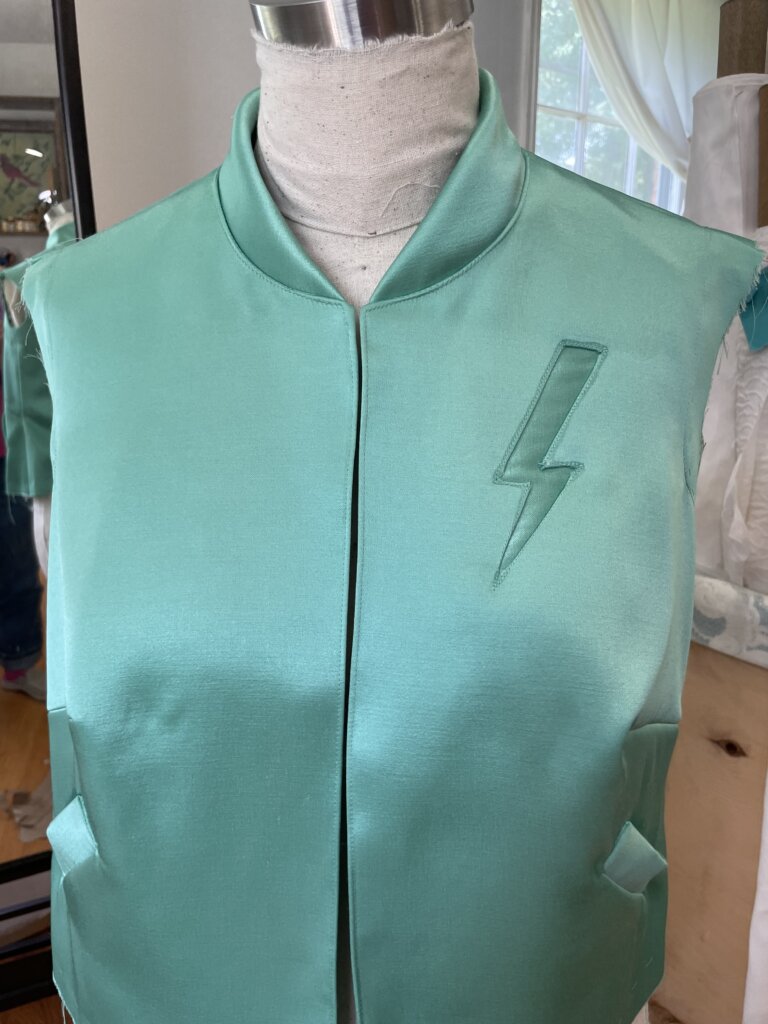
…and time was running out for experimentation.
Though I would have enjoyed taking my time and testing out different options in basted try-ons, I had purchased the tape (and not a zipper), so I just went for it.
I carefully installed the tape along the front edges with permanent hand stitches.

I like it!
I had been thinking that I might add a shield of fabric behind one edge, so there’s silk behind the gap when closed. But I also kind of liked it like this….
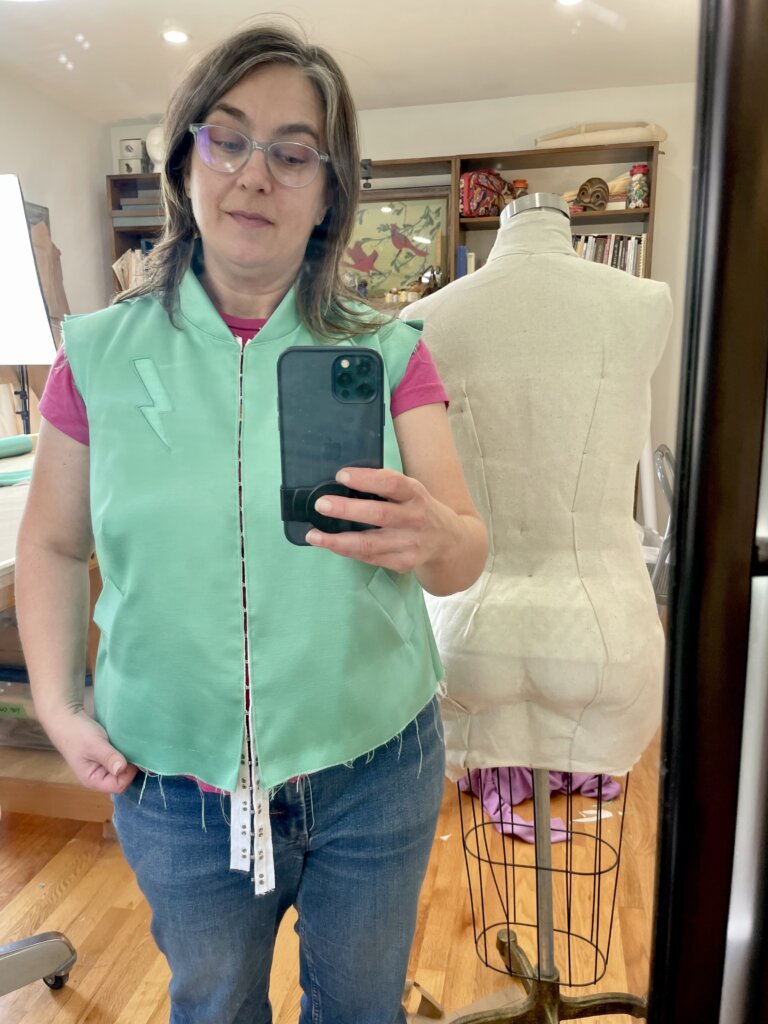
I could make that design decision later. I needed to continue constructing the essentials.
Including….
The Hem Band
Though my mockup used zigzagged elastic as the wrist and hem bands, I didn’t make my decisions about their actual construction during the mockup phase.
And it was now only about 48 hours ahead of when I’d need to be finishing up my Threads Magazine photoshoot and heading to the Raleigh Frocktails event.
I moved forward, more quickly than I would have liked, by slightly modifying the process I performed with the bands at the wrists. I started by creating bias flannel strips, that I underlined onto bias satin strips, adding side seams to conserve fabric. (Bias can take up a lot of yardage!) I also added a little rectangle of fabric, cut on grain, to be placed at the center fronts of the band, for stability.
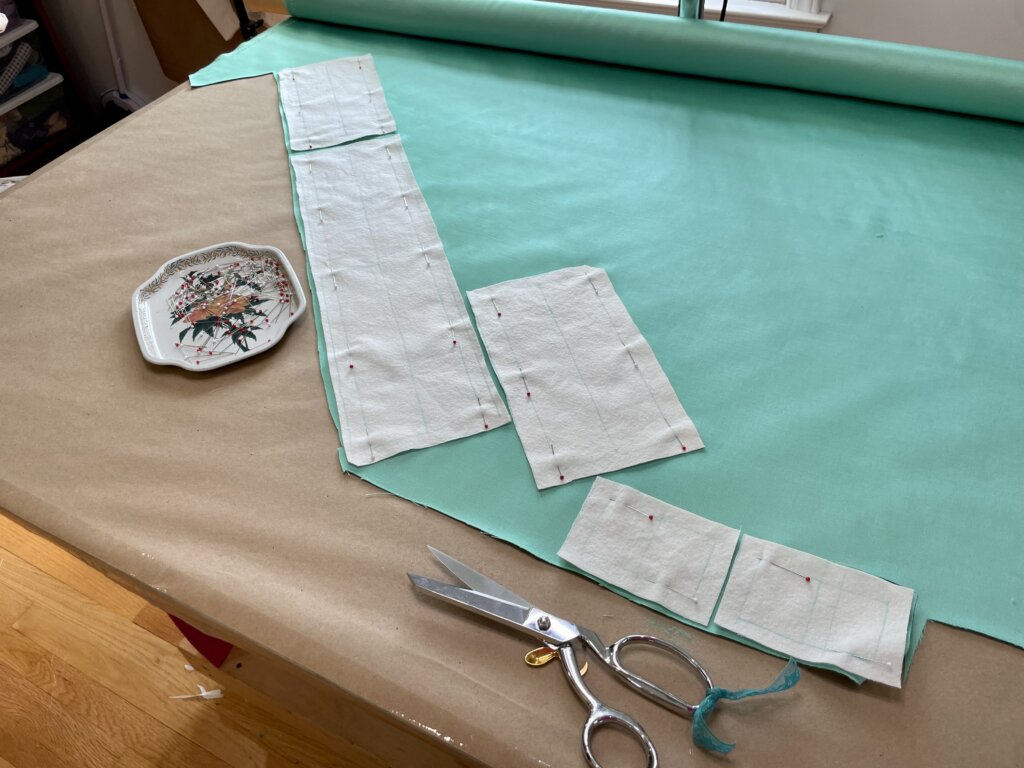
The pieces were joined into a single strip, then folded and basted to become the band. Under time pressure, I came up with a quick and clever-ish construction plan for adding the center-front rectangles onto the ends of the closure tape for a clean finish, with the least amount of handwork.
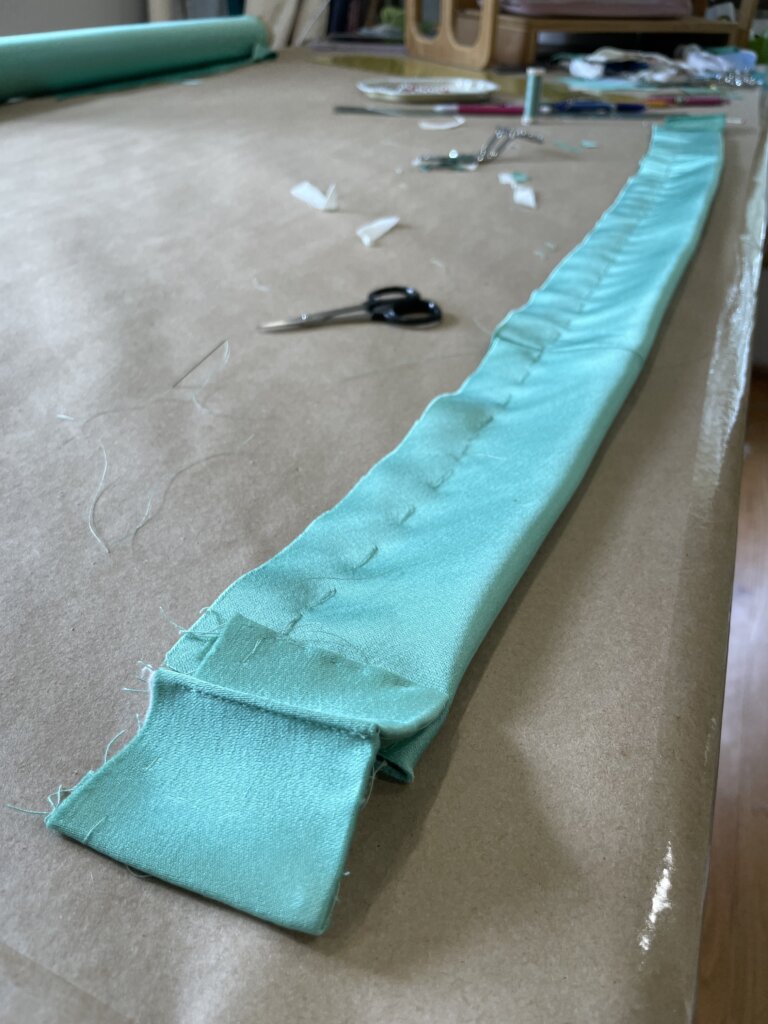
Not picking up my camera to document every step (remember this is not a tutorial!), I’ll share a bit about what’s happening in the photo below:
Into the jacket’s hem allowance, just below the stitching line, I’ve added a wide machine zig-zag stitch over a long thick piece of (brown) thread. The band (seen in the previous photo) is underneath, and now has its allowances facing the same direction as the jacket allowances.
The bottom edge of the jacket is a little longer than the band. Where each pin is pinned, through the fabric and into my pinnable topped table, I’ve divided the band and the jacket edge into equal parts.
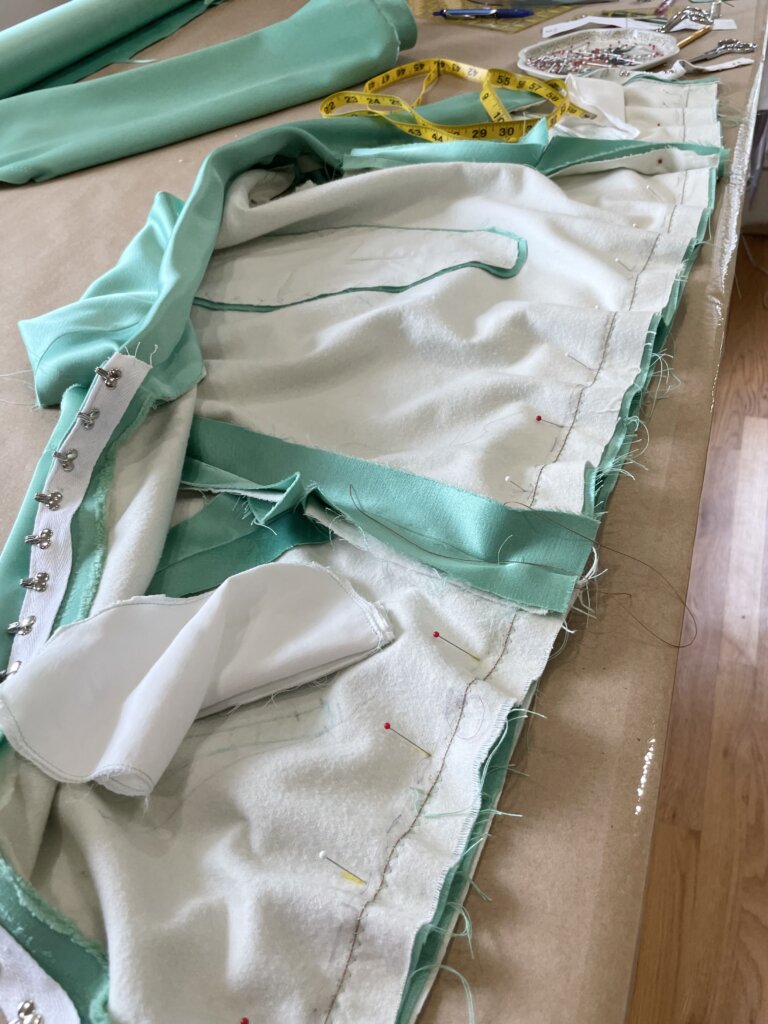
Next, each pin was picked out of the table and in through all of the fabric layers, before I pulled the long brown threads, to ever-so-lightly gather the bottom of the jacket edge to match the smaller band edge. I attached the two together permanently via another zig-zag stitch, through all of the layers.
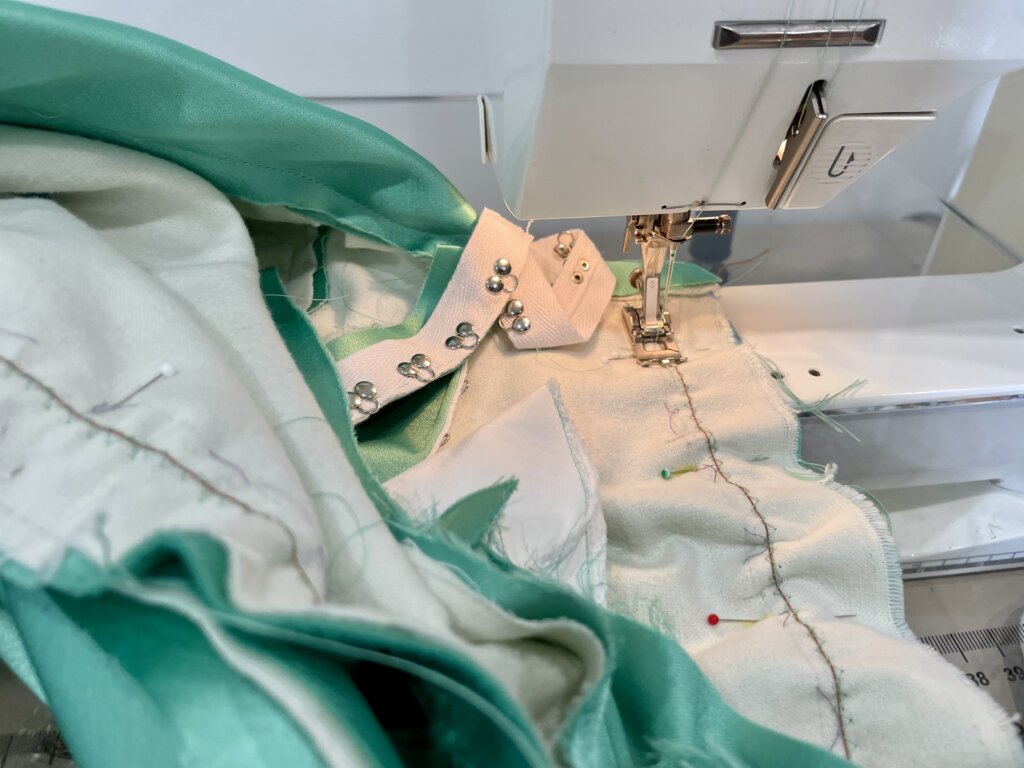
Whew! It worked!
That said, it took longer than expected.
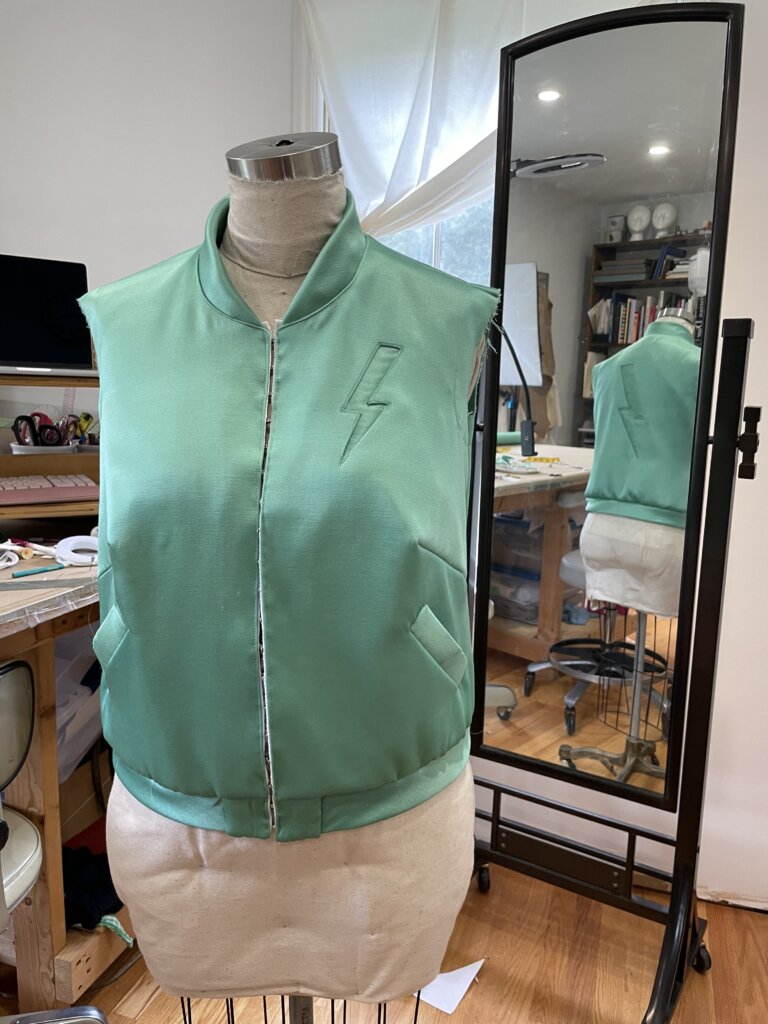
The clever(ish) idea I had for quickly finishing off the center front was accidentally reversed! I attached the band to the jacket with the opposite-side-out than I had intended. (Womp womp). It looked great on the inside, but it ended up taking extra time and hard work to make it look great on the outside of the jacket.
Uh oh. I was starting to make mistakes.
Time to call it a day.
And it’s the day before the event…
The Day-of the Event!
It’s now October 5.
Before heading to the 6pm party, I’d need to finish the jacket (or at least make it wearable), AND somehow pull off a photo shoot of the final look worthy of the pages of Threads Magazine.
I love to sew slowly.
I love taking my time.
There was very little time left.
While also tending to an injured pup, I considered what I could realistically accomplish in the upcoming hours.
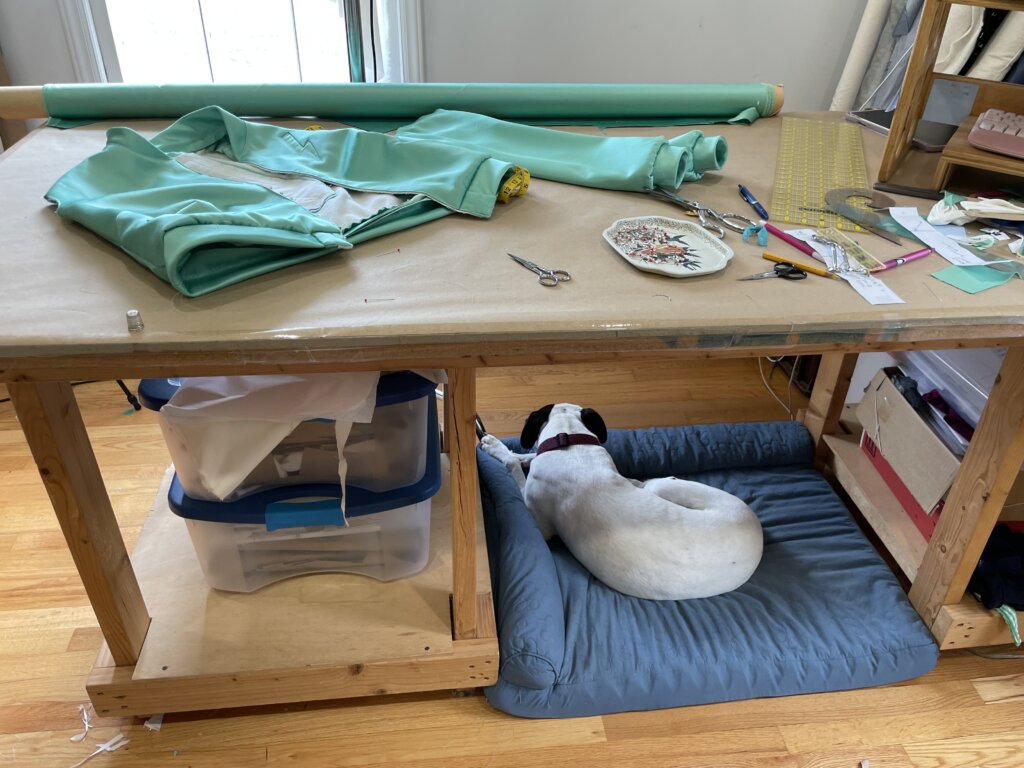
I decided to skip the lining. I’d spend some time securing my allowances to my underlining instead.
And I’d have to skip shooting process shots. Sorry ya’ll! (But I have a feeling you are ready to get to the end already anyway…)
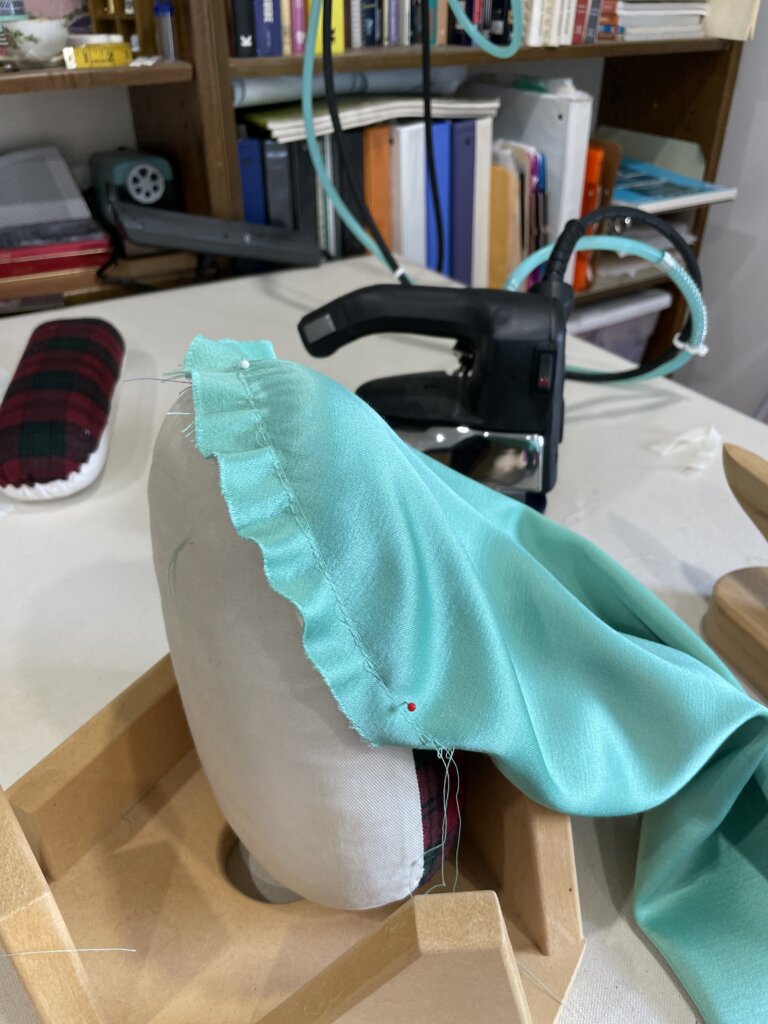
Here’s one Day-of shot, showing a sleeve being prepped at the iron…
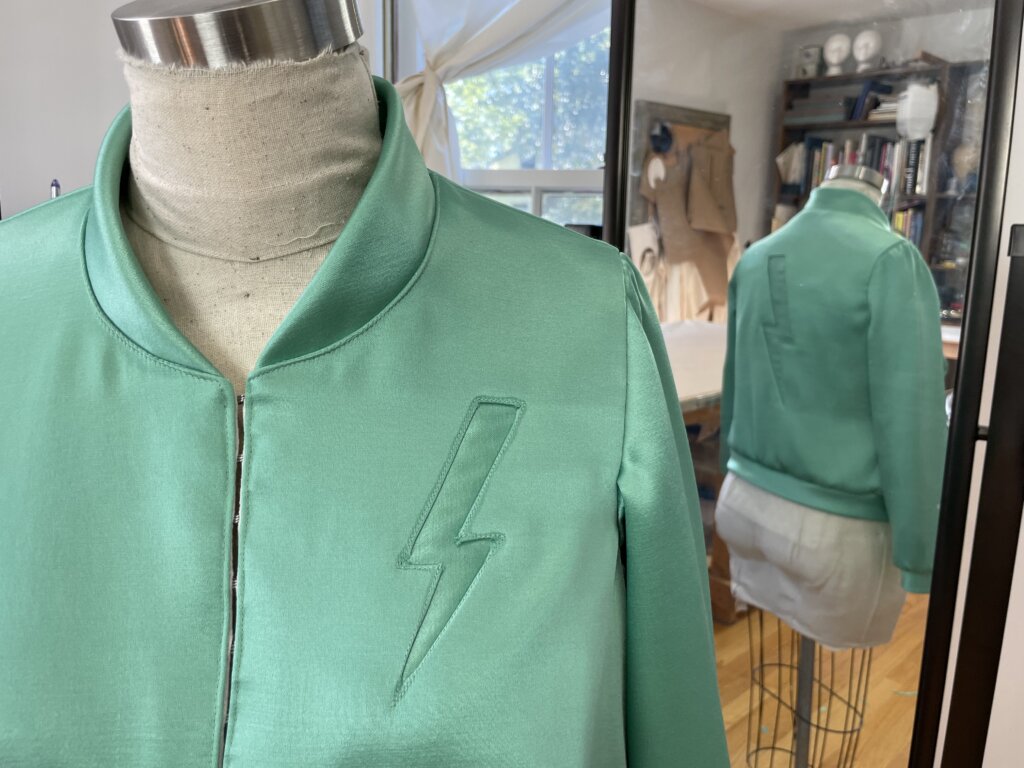
…and here’s the final look at 4pm!
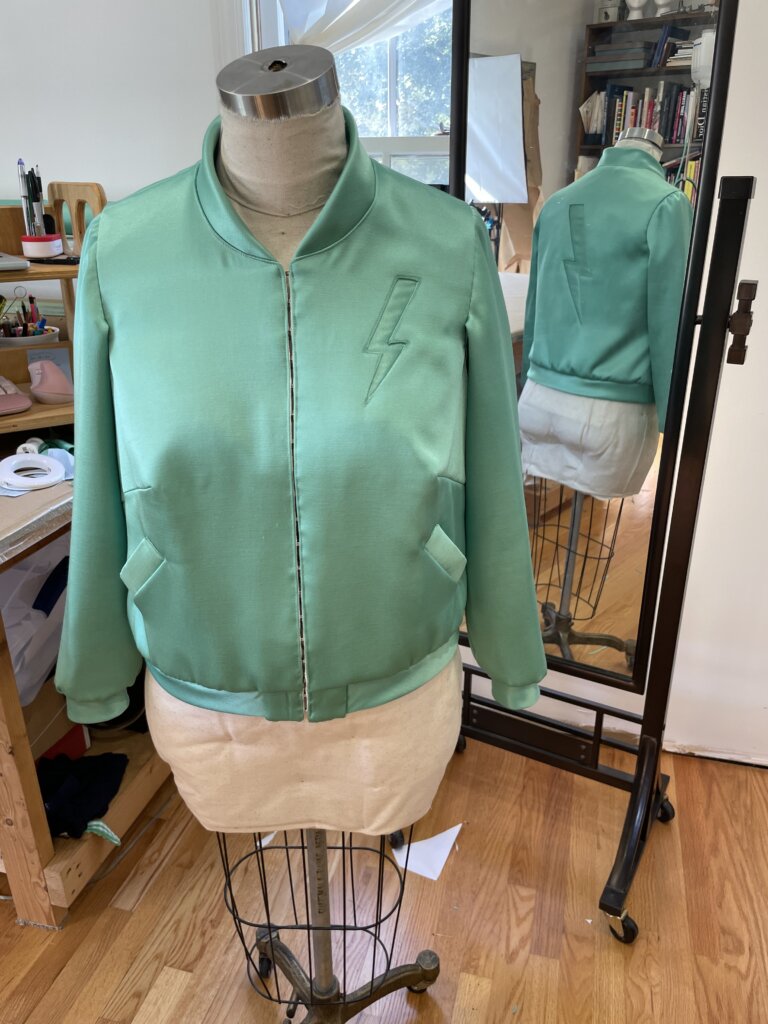
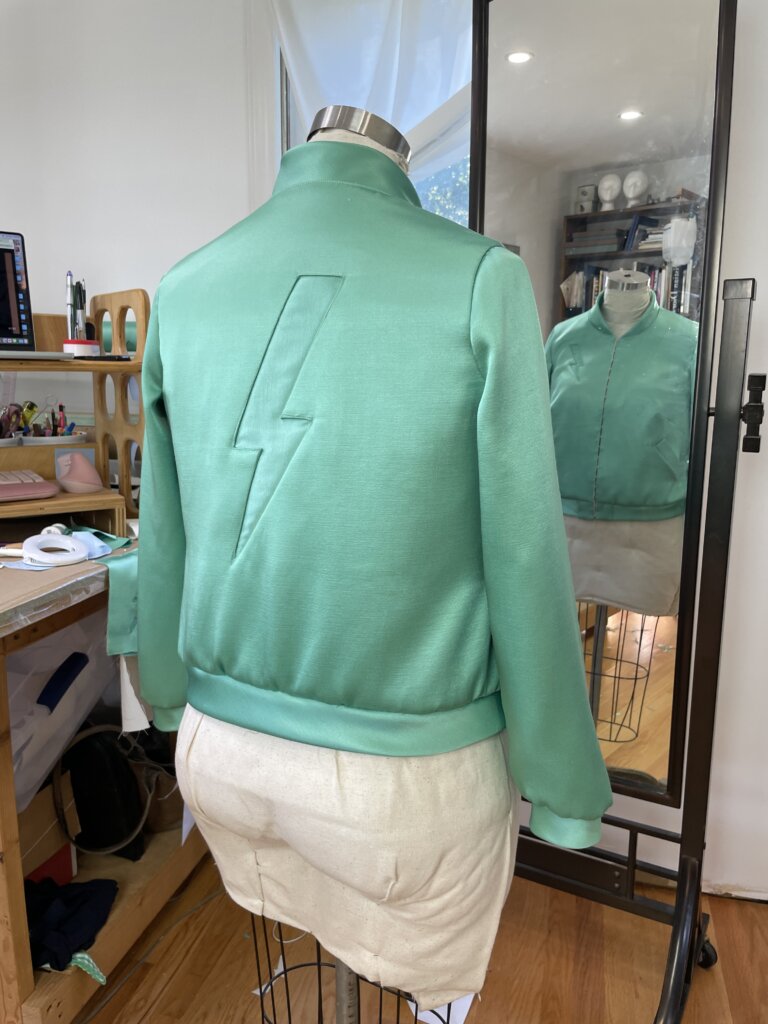
It’s beautiful.
It’s totally wearable.
Whew!
The Photo Shoot
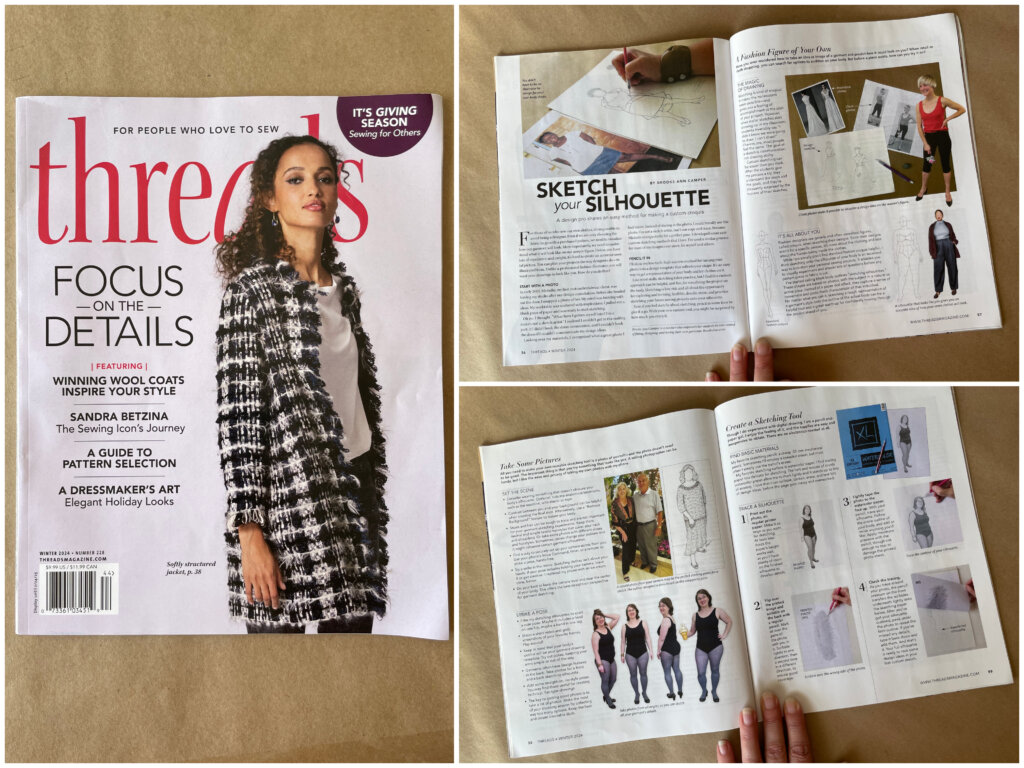
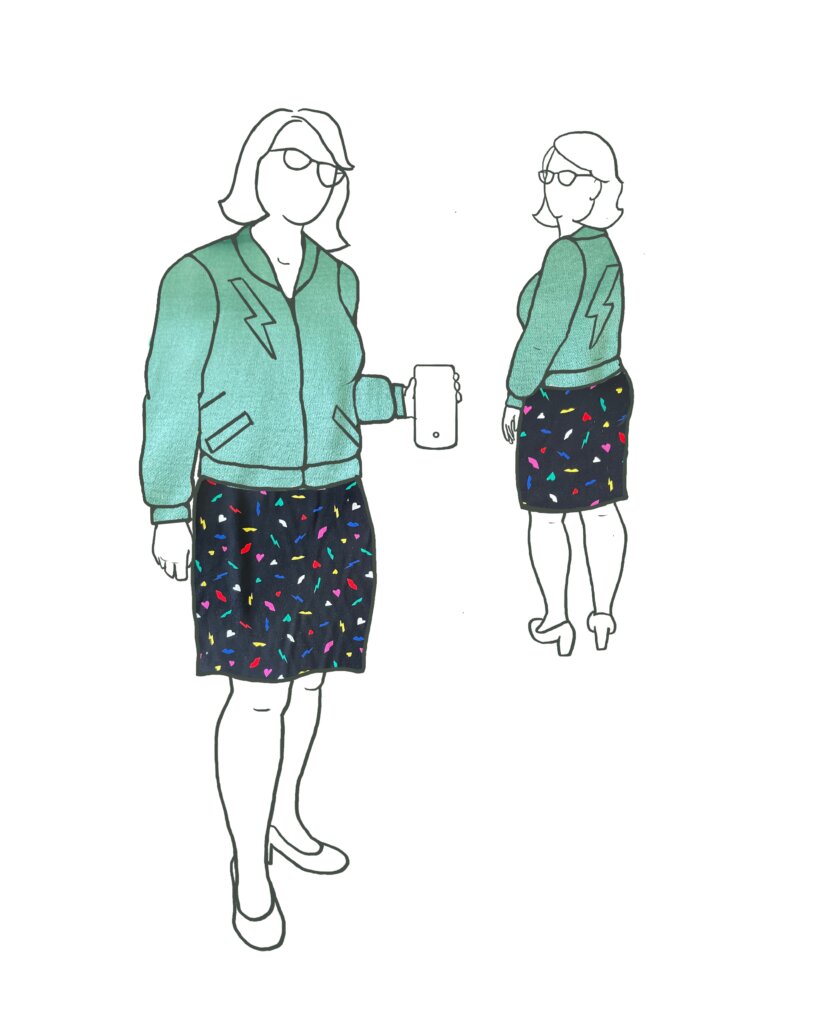
As you may remember back in the first post of this series, where I was Designing My Warmup Jacket, that I was in the process of writing an article for Threads Magazine. The 6-page spread was to be about the benefits, and step-by-step process, of creating a custom Sketching Silhouette (or Croquis) that looks like you.
The grand finale of the piece I originally submitted was this sketch:
Then, a few weeks after I submitted my article’s final draft, Threads’s editor reached out to see if there were any photos of the finished jacket that they could print along with my sketch.
And when I told her it was far from finished, but that I’d theoretically be wearing on Oct 5, she said they’d wait…
So, with the party starting in 2 hours (and a 1-hour drive), I spent a couple of minutes on hair and makeup, and got dressed in my Yves Saint Laurent separates, before adding my “finished” Warmup Jacket.
I instructed my husband to take “one million photos”.
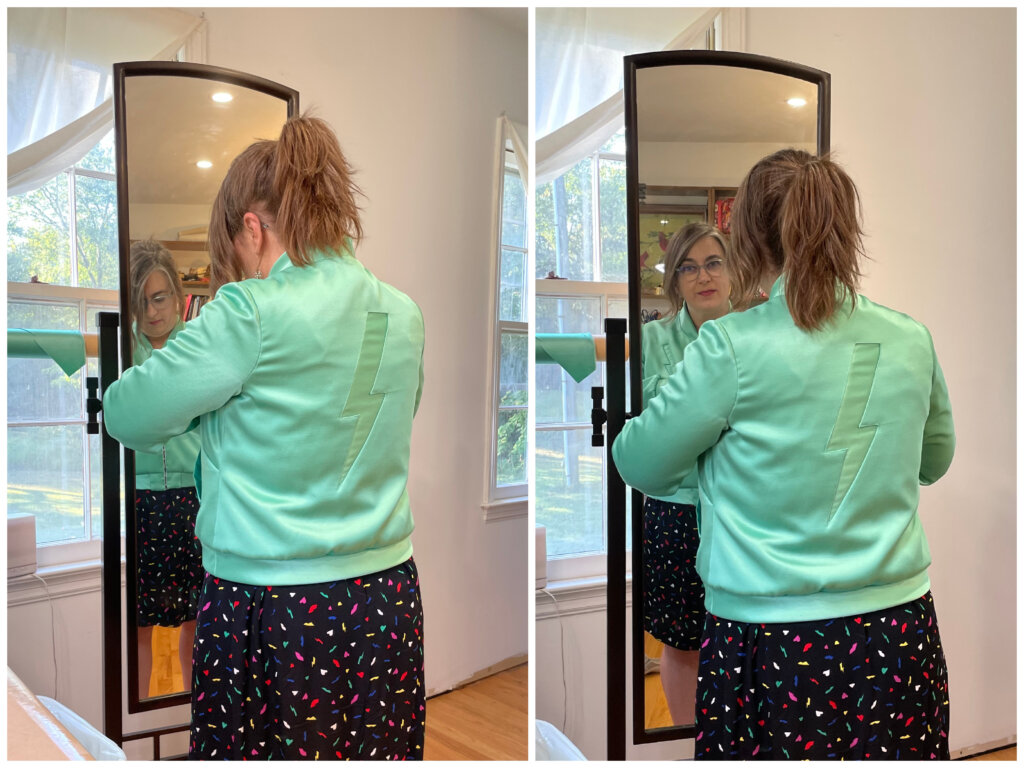
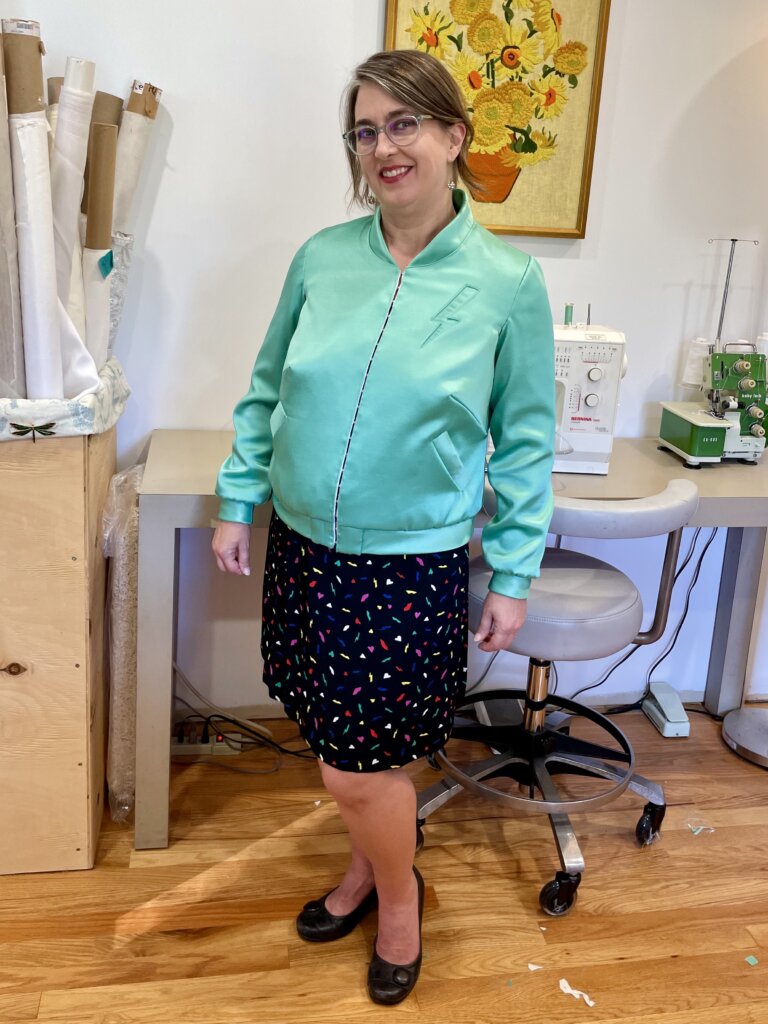
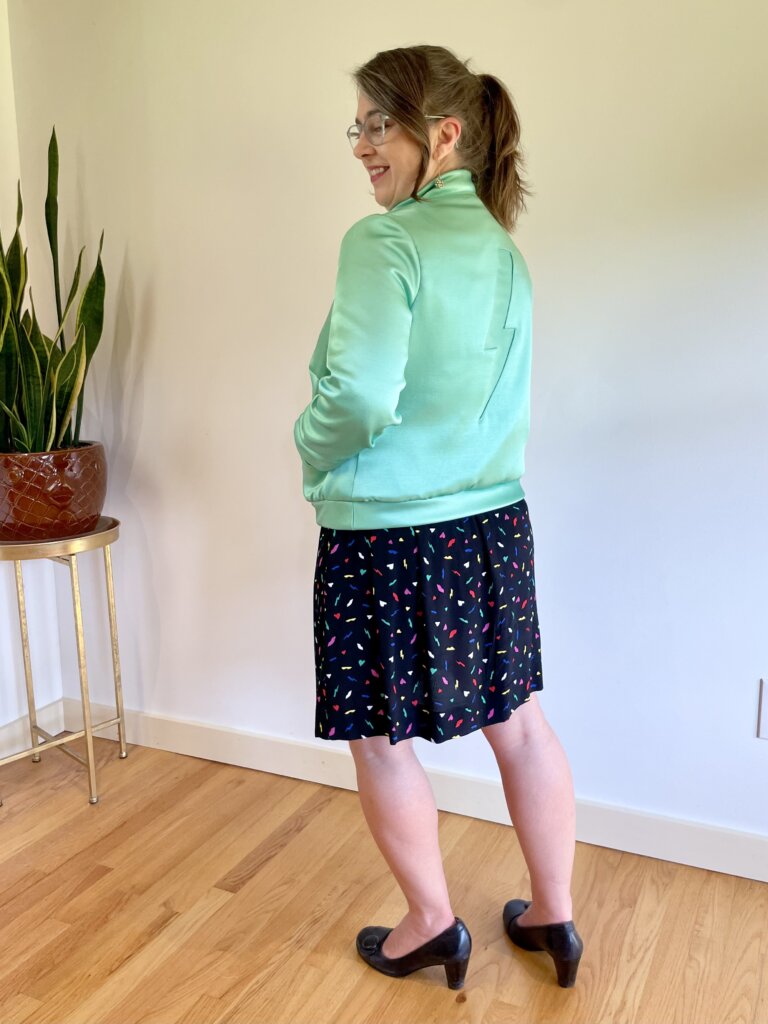
And out of approximately one million (thanks Charles!), I sent the editor 5 of my favorite options.
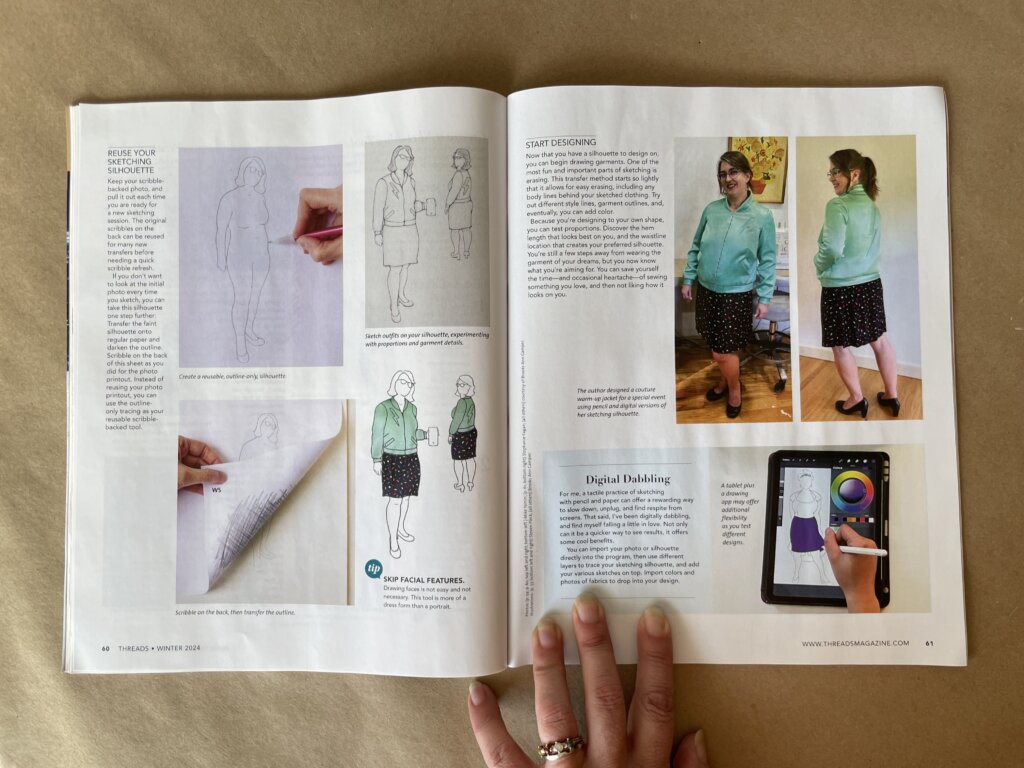
Here are the two shots that ended up in the magazine!
Raleigh Frocktails
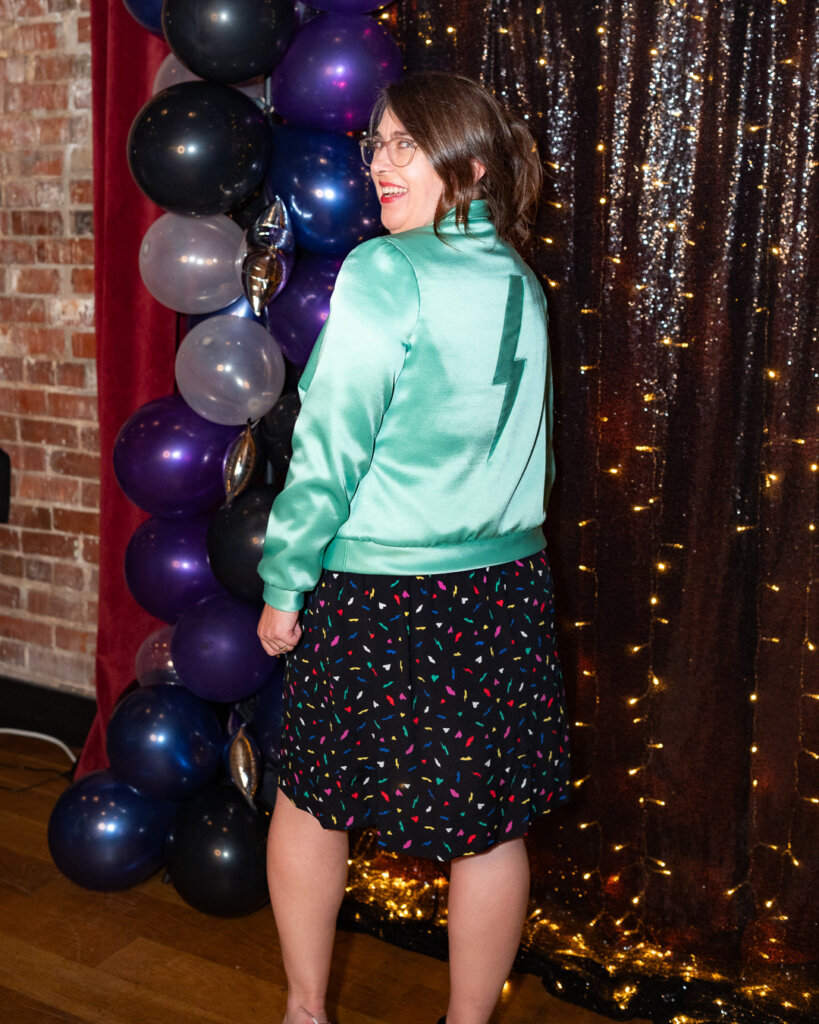
And, as you can probably guess, I made it to Raleigh Frocktails, and I had a fantastic time!
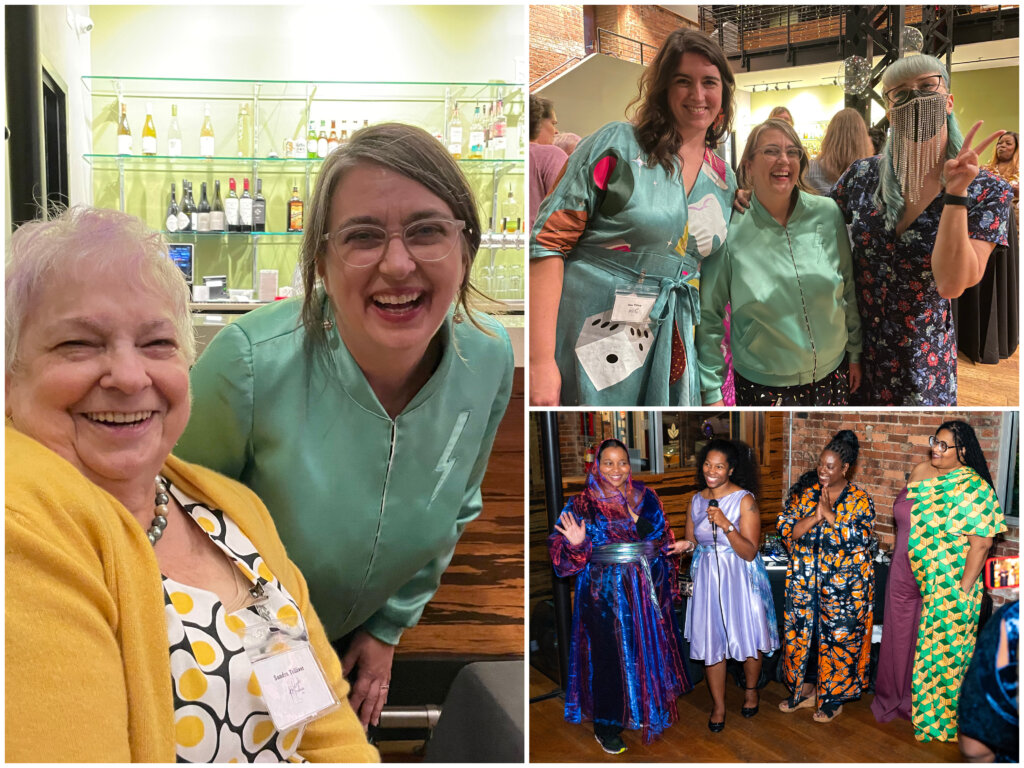
It was SO MUCH FUN to get dressed up in “Starry Night”-themed attire while hanging out with some of my local sewing friends- and meeting new local sewing friends, including our fantastic hosts (bottom photo)!
The Gala at Camp Workroom Social
Then, 2 weeks later, I wore My Warmup Jacket again to the Gala at Camp Workroom Social!
Nearly every October since 2016, I’ve taught a Couture Hand Sewing Intensive at an incredible garment sewing camp for adults, nestled in New York’s Castkill Mountains.
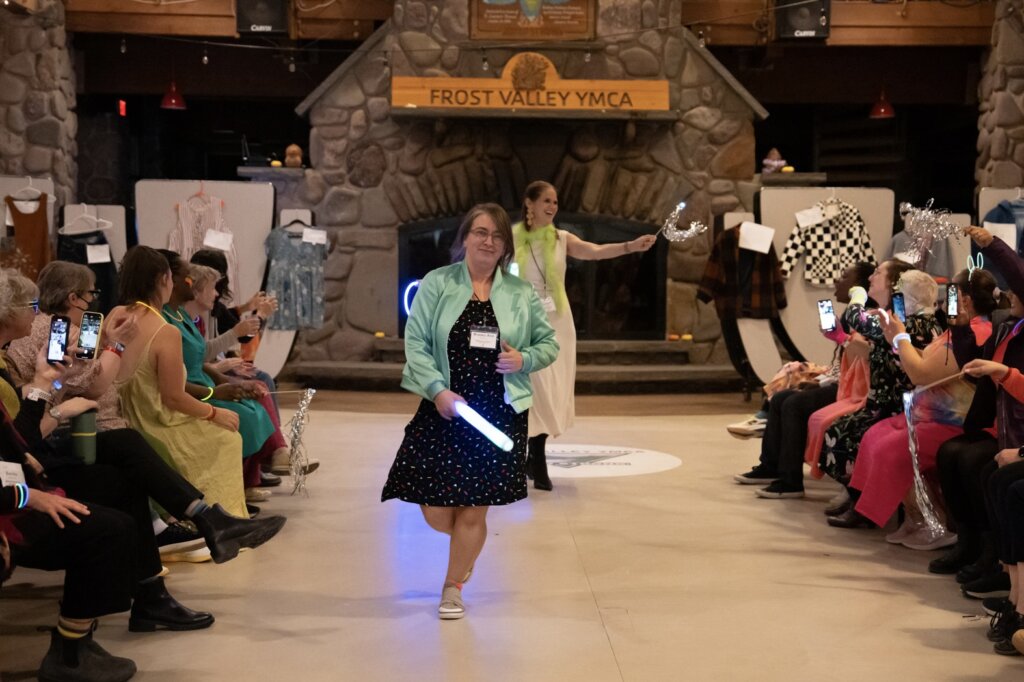
The evening after classes commence, there’s a big party. The 2024 theme was “Neon Lights”. The instructors (including the amazing Tommie Hernandez, behind me) kicked off a fun “Fashion Show”.
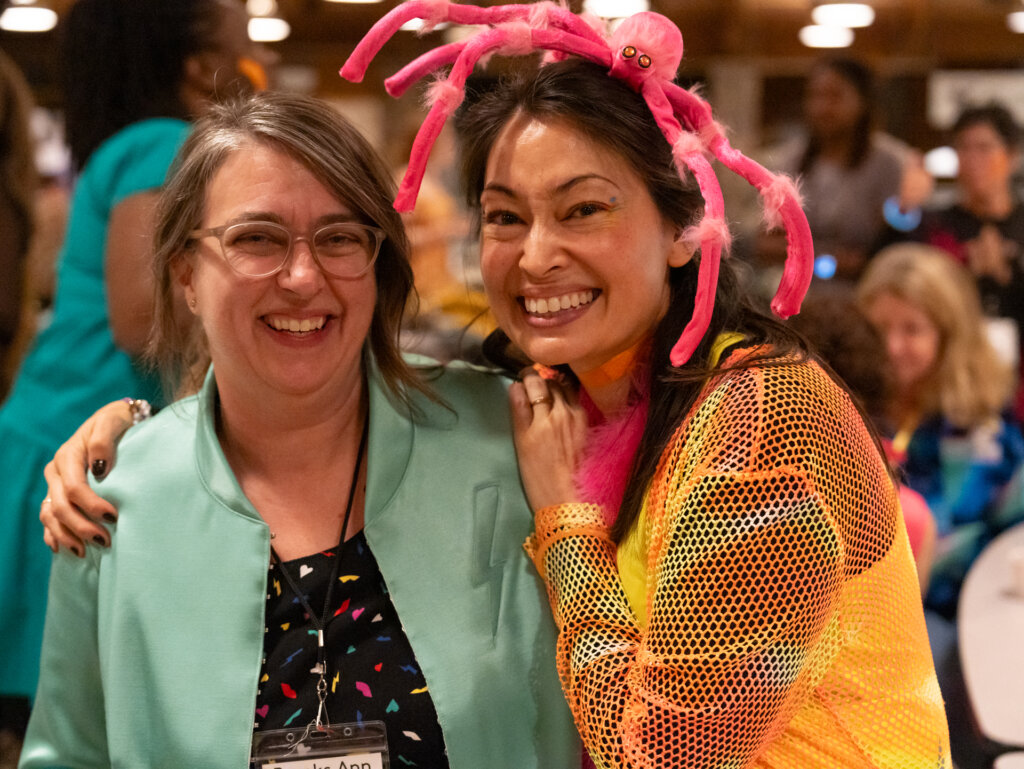
I always have a blast at Camp and I loved wearing this jacket to the Gala. Camp Director and Workroom Social founder Jennifer Wiese (shown below) always puts together a fantastic program!
The Grand Finale
While traveling back from Camp, I received the final digital draft of the 6-page spread from the Threads editor, ready for my approval.
And a few weeks later, the printed copy was in my mailbox! (Here’s the online version).
My Warmup Jacket is famous!
And I never lined it!
At Camp, I taught a quick lecture on using your mockup as your underlining. The flannel mockup exposed inside the jacket was a fantastic example to share with the Campers!
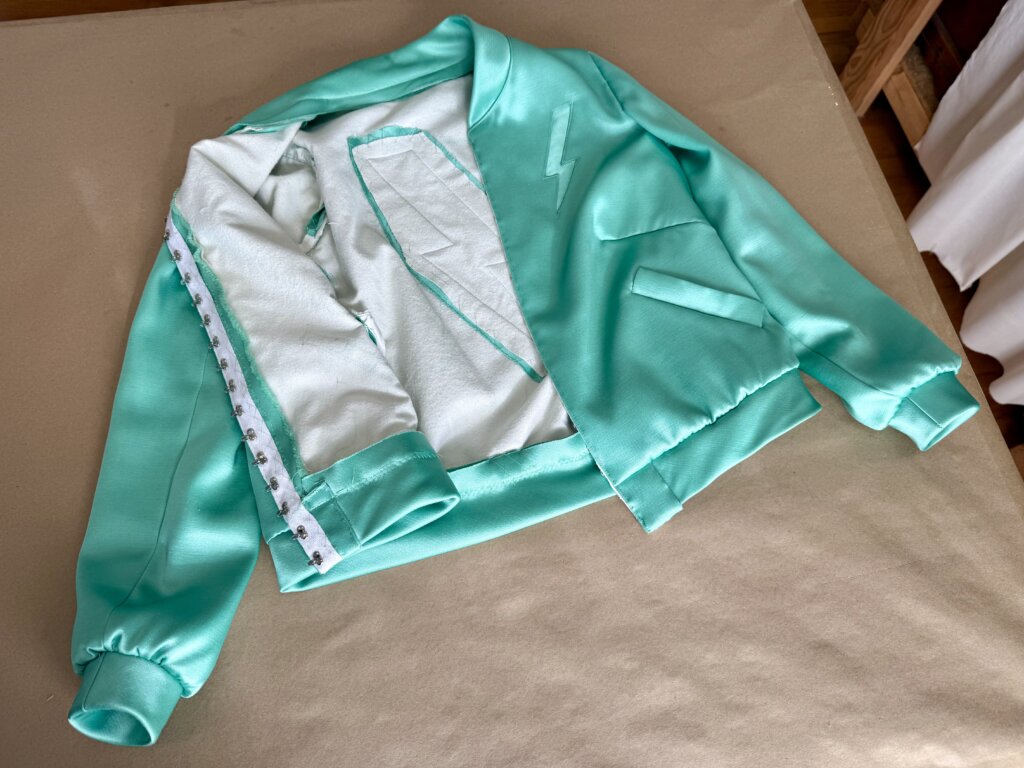
I may add the lining someday, or I might not. My Warmup Jacket feels complete, as a perfectly imperfect project. I love seeing the story that’s stitched inside. To me, it doesn’t feel unfinished. It feels like a huge accomplishment.
All setbacks and plot twists considered, this slow-sewing enthusiast designed, patterned, and constructed a really cool jacket, loosely inspired by Beverly Hills Cop 4 and Yves Saint Laurent, with comfortable gusset sleeves, lightning-fast. And the shiny silk satin, that sat in my stash for over 5 years, finally became its destiny.
And, I think this project also succeeded in offering me a nice warmup- to get me learning how to use my new studio space… as a way to ease me back into blogging and shooting… and to help kickstart my upcoming sleeves course… which was, as you may remember, how this Warmup Jacket got its name, on a late Summer walk with my husband.
It’s January now, and along with inspiration from you, I do feel warmed up!
I won’t take up much more of your time, but I hope this series inspires you to play around, keep learning, and make things happen.
Thanks so much for following along!
NEXT POST: Not sure! What would you like me to blog about next?
Want to learn more about the way I sew?
Enrollment for my Intro to Custom Sewing eCourse Skirt Skills is now open! The classroom opens online January 8.
“You never know what you don’t know, till you know. Boy, did I learn a LOT!” – Francesca


