As you may recall from Erin’s design proposal and sketch, her custom wedding dress included a unique belt. Erin shared a few Alabama Chanin appliqué inspirations during our design consultation as something she was interested in incorporating into her wedding look. While an entire hand embellished dress was out of her budget, the frugal choice to use seersucker as the main dress fabric allowed us to add these beautiful techniques sparingly into her design.
Running with this idea, I searched online and found a fun repeating pattern with a subtle “wave” pattern (without being “Hey look at me, I’m a wave!”). We decided to use this motif in a combo of beachy colors for a custom belt and shoulder decorations using hand-stitched appliqué techniques.
Experimenting
We snagged a gorgeous remnant of blue silk/linen honeycomb fabric at Mulberry Silks during our design consultation. I paired it with some other remnants I had in my studio (some left over from Melissa’s wedding dress, from Greta’s wedding dress, and from when I worked in a Broadway millinery shop). I made some samples testing different fabrics, different appliqué styles, and different thread thicknesses and colors to try to come up with the best design for Erin.
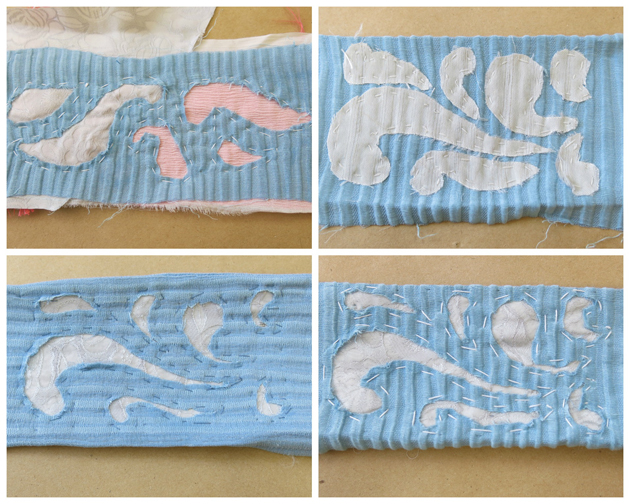
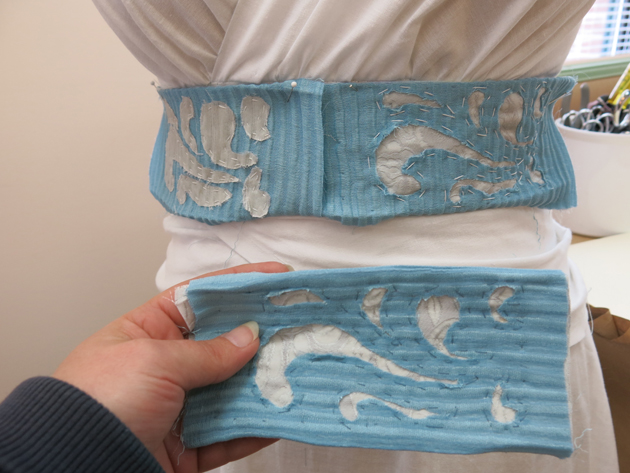
Creating the belt and shoulder decorations
I made the decision to do reverse appliqué with the honeycomb fabric (stripes going vertically) cut away to the iceberg blue doupioni underneath. I’d hand stitch it with thick white thread.
To get started, I made a “sandwich” layering the belt interfacing and the two fabrics. The horsehair canvas interfacing was cut exactly to the size of the belt and the other fabrics were cut larger to eventually wrap around the edges for a clean finish.
Here’s what it looked like from the back:

Next, I made a template of the wave design and cut out the “waves”. I used tailor’s wax to mark the design onto the fabric. This wax disappears when you iron it.
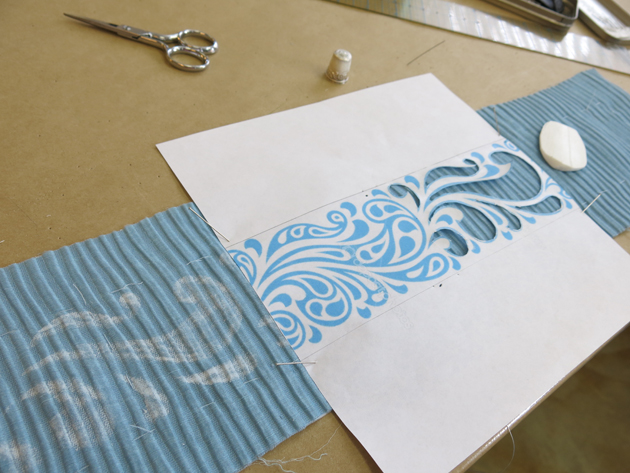
I repeated the design all the way across the belt.
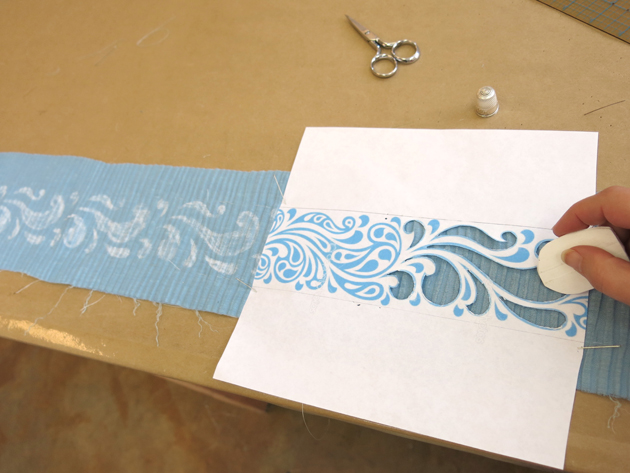
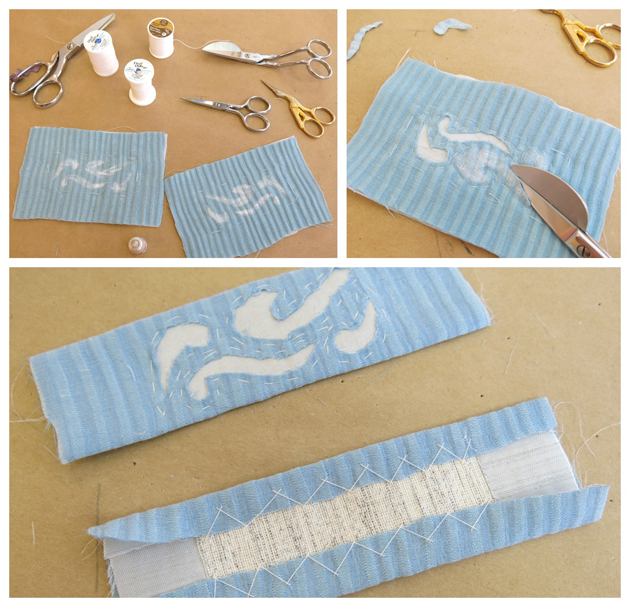
Then I hand stitched around every little “wave”…

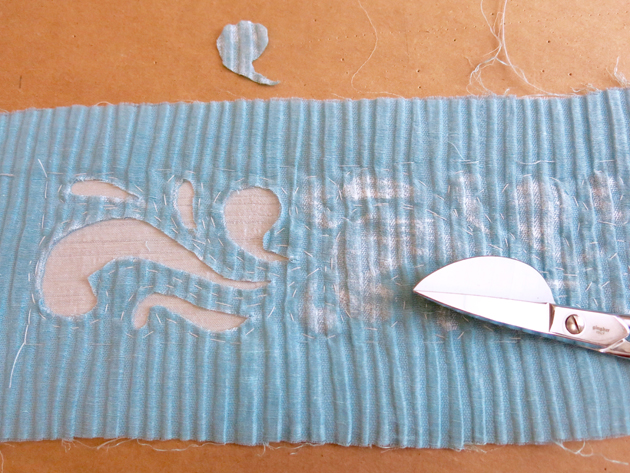
…and used appliqué scissors to cut away the top layer only, about an 1/8″ to the inside of my hand stitching.
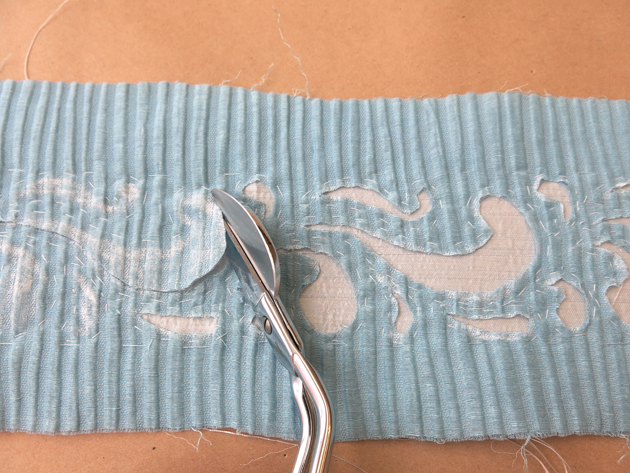
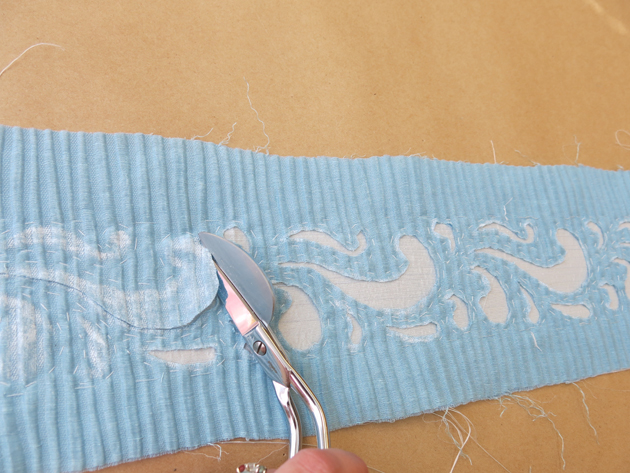
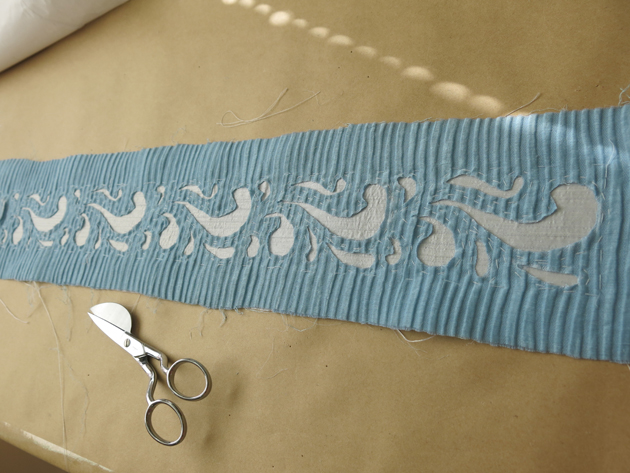
Once everything was stitched and cut, I wrapped the raw edges to the back and secured them in place with a cross stitch…
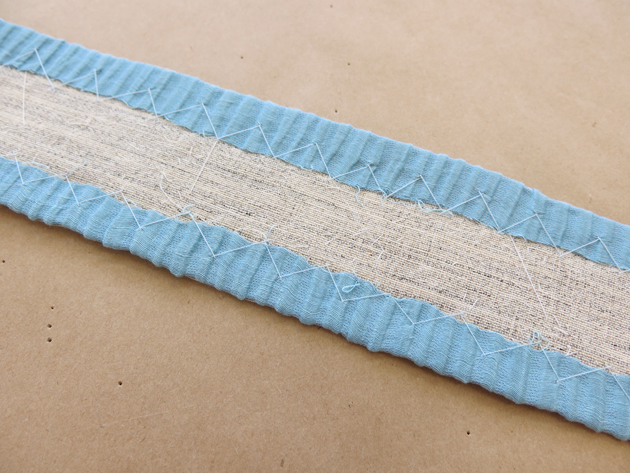
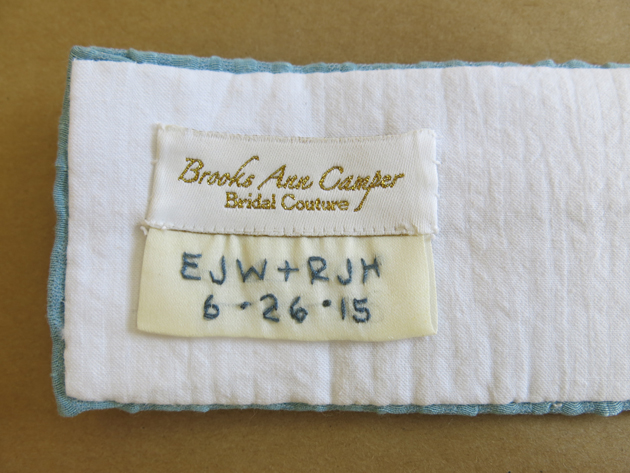
…and added a lining and a very special label.
I followed the same process with Erin’s small shoulder decorations (minus the lining and label).
The ends of these shoulder decorations will wrap around Erin’s shoulder seams. I merely basted them in place onto Erin’s dress so that I still had the freedom to make changes to the fit of her shoulders in our upcoming basted fitting.
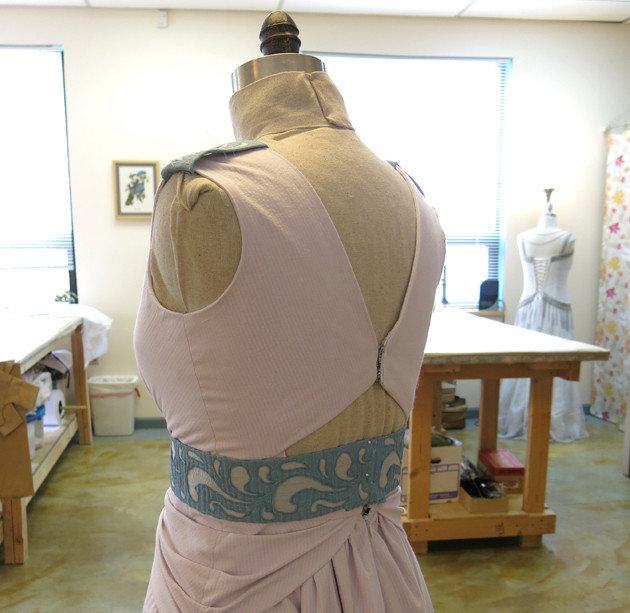
I couldn’t wait for Erin to see these new additions and to try on her actual wedding dress for the very first time!
NEXT POST: Erin is back in the studio for her basted fitting!




3 Responses
I’m new to your blog and I’m glad I found it. The belt and shoulder details for this dress are stunning!
Welcome! I’m glad you found my blog too!
Thanks so much!