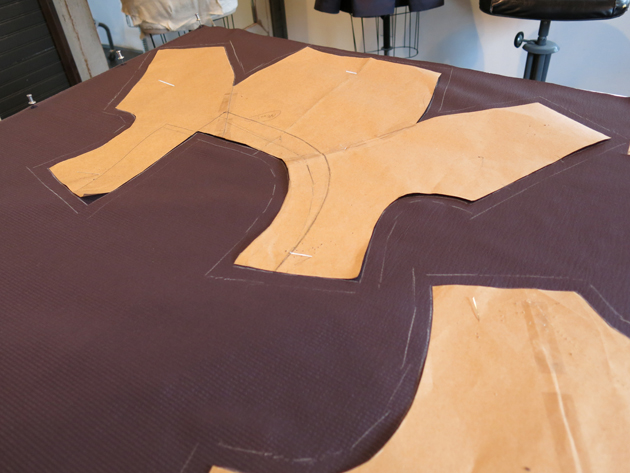
As I mentioned in my previous post, by the time we finalized a design that Margaret loved, her daughter’s wedding date was approaching. Luckily, I had my fantastic new assistant Alyssa to help me build the garments! But unfortunately, I had very little time to set up photos for blogging. So this post features the very few random shots I took during the construction process of Margaret’s custom mother-of-the-bride ensemble leading up to a photoshoot with Kent Corley Photography.
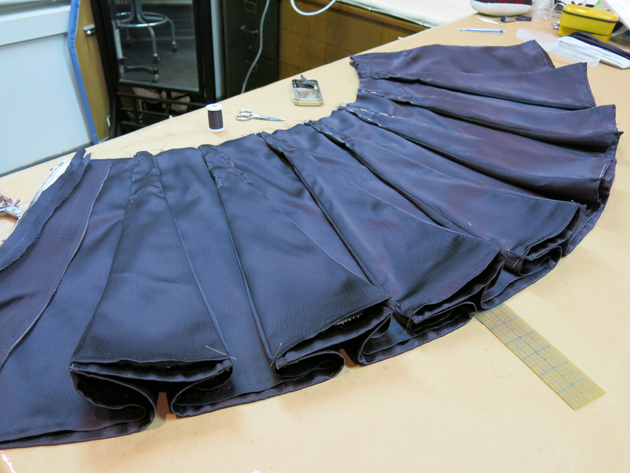
This series of photos shows the innerworkings of the pleated skirt of Margaret’s dress during assembly. Last post, I mentioned cutting and underlining all of the pattern pieces with the muslin from the mockup. Here the skirt seams are joined and ready to be lined and pleated!
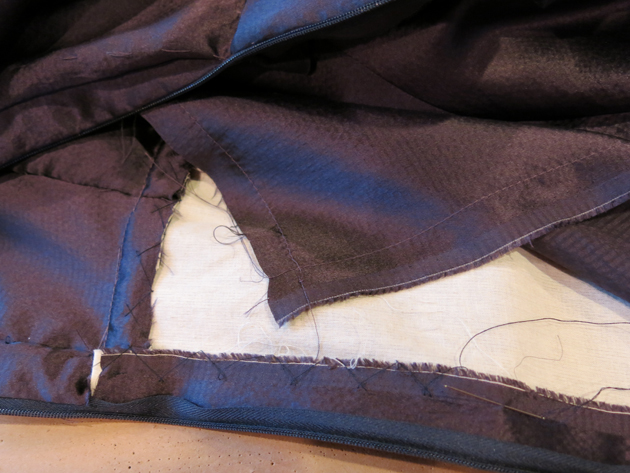
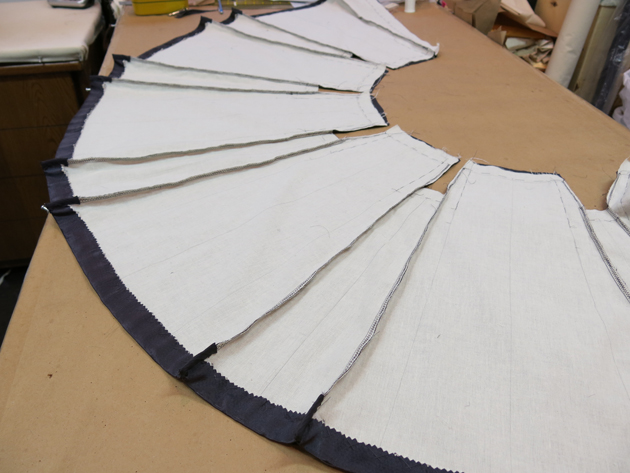 The hem was stiffened with horsehair trim cross-stitched by hand to the muslin. On a pleated skirt, you must hem and line the skirt before fitting. If any adjustments are to be made, they now must be made at the waistline.
This photo is the inside of Margaret’s skirt lined with its own self fabric, pinned and ready for hand stitching and swing tacks.
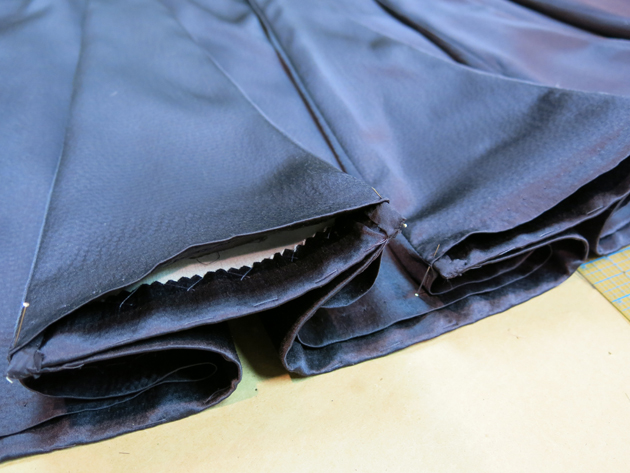
Here’s a close up where you can see the structure that the hidden horsehair trim adds to the cross-stitched hem. The pins mark where my assistant Alyssa would add swing tacks (or thread chains) to hold the two layers loosely in place.
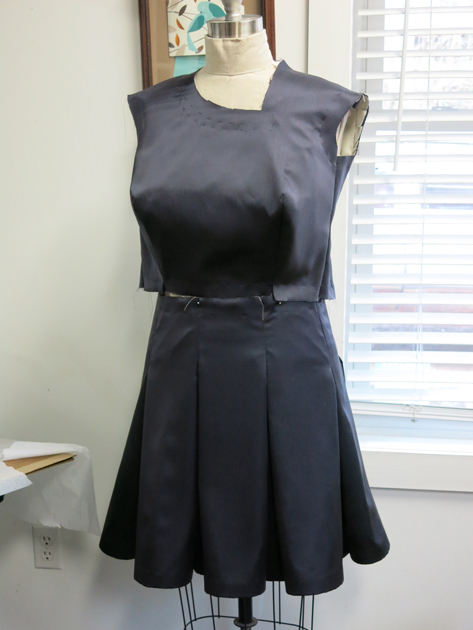
Here’s a shot where I pinned the bodice and the skirt onto the dress form during construction. It was really starting to look like a dress!
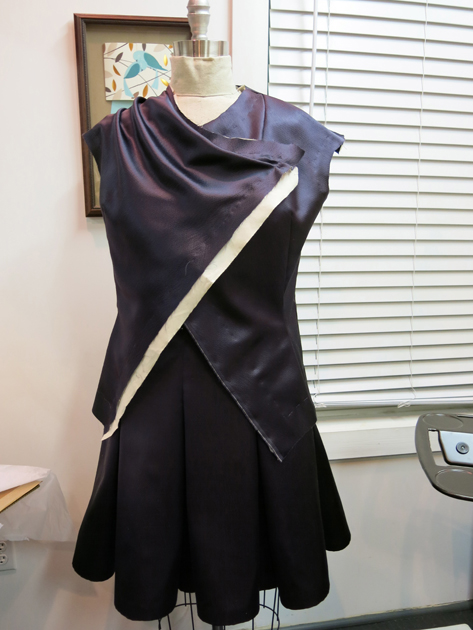
Here’s a shot of the jacket in a similar unfinished state.
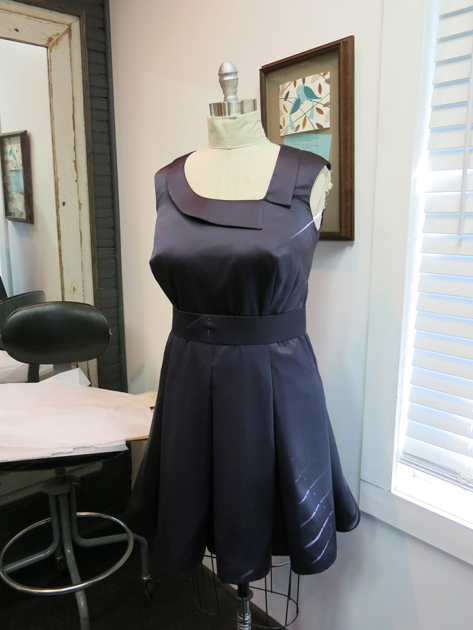
I then got the two garments ready for another fitting. Much of the dress was just basted and unlined, but much of it was completely finished. This Final Fabric Fitting was the last chance for slight changes and the first time that Margaret really got to see the real ensemble in the real fabric on herself! The fitting went marvelously, yet I neglected to take any photos! All I’ve got is this shot of the dress on the form just before the fitting:
It was now time to cut and set in linings to finish the ensemble!
Here’s a shot of cutting the linings for the dress…
…and a detail shot of setting in the linings at the closure. Lots of hand stitches!
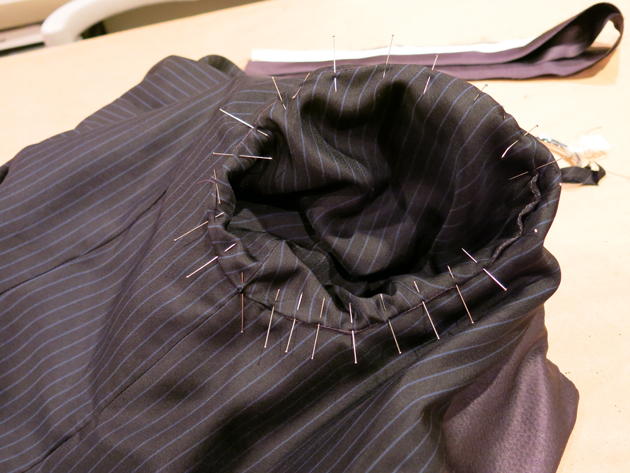
And here’s one final shot of setting in the sleeve linings for the jacket. The dress itself was lined in self fabric, but the jacket featured a black and blue striped silk that worked perfectly for a tailored look. It added a little surprise and a little fun without being too bold.
And that’s all the construction shots I’ve got to share! I had finally finished Maragret’s ensemble!
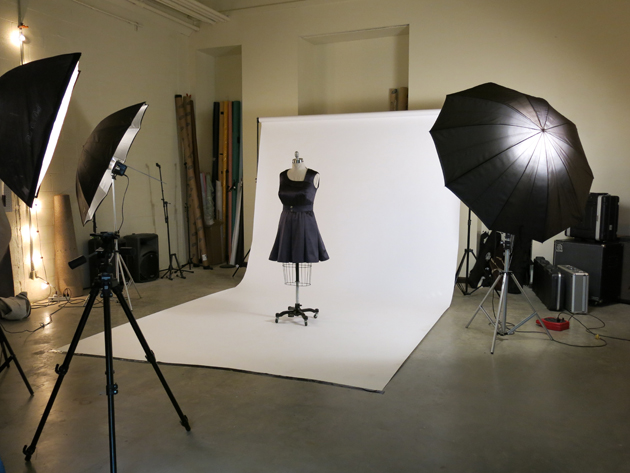
Before Final Delivery of the garments, I had the fantastic commercial photographer Kent Corley take some shots of the ensemble on the form. I’m never sure if the wedding photographer will get good images or let me use his/her photos for my blog and portfolio, so it is always in my best interest to get my own shots. Here’s a few behind-the-scenes snapshots from our photoshoot! Next post I’ll share the amazing professional shots of this outstanding mother-of-the-bride ensemble!
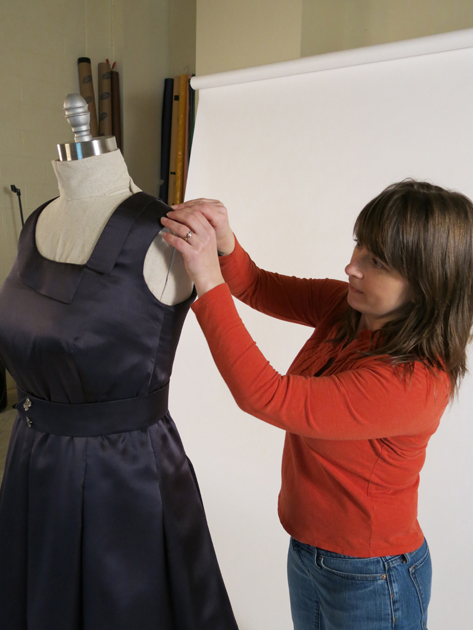
That’s me prepping the dress for the shoot…
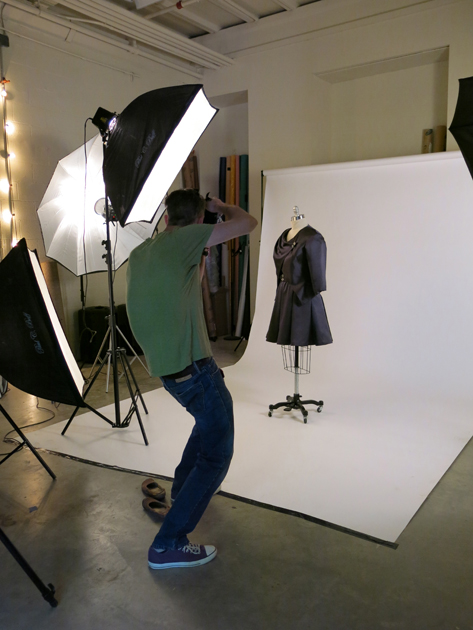
…and Kent Corley snapping some shots of the jacket!
Coming soon! The photos! I can’t wait to share the amazing Kent Corley images! You won’t want to miss my next post!




2 Responses
Beautiful! I LOVE LOVE reading your blog and following your work. That dress and jacket are stunning. You truly inspire me.
Thanks Rosalyn!