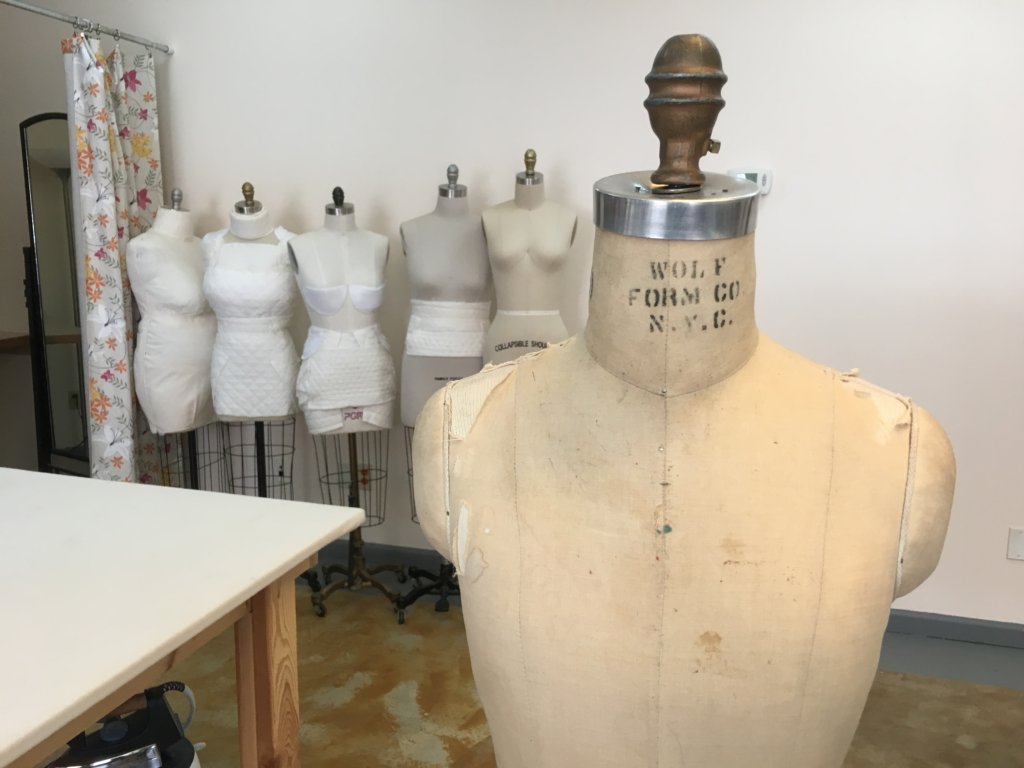
In my previous post, I introduced a new custom bride named Tiffany to the blog! I also shared about our design process and how I created a custom coqui to sketch a wedding dress to fit her unique body and style.
I’ve reached a point in my career where I mostly only accept commissions that offer a unique benefit for the bride (if she can find something in a store- I encourage her to buy it from the store) and offer a new and interesting challenge for me (I love learning new things- which is why I love teaching so much).
The benefit/challenge for this custom dress commission: Tiffany is very petite.
When searching for wedding dresses, she consistently felt “swallowed whole“. For her wedding day, she didn’t want to wear something that was designed for someone else’s proportions and have it ‘taken in’ in an attempt to work for hers. When you choose custom, you and only you are the inspiration and the starting point for the design and creation process. I was very excited to accept the challenge to design for Tiffany’s petite figure while creating the wedding dress of her dreams!
Photos and Measurements
Once the design was accepted by the bride, my next step was to measure and photograph her body for the purpose of turning a professional dress form into a Size-Tiffany body-double. This tool would allow me to create custom-fit patterns, to design and sew three-dimensionally, to display and photograph the dress in a uniquely custom way… and much more. Having an accurately shaped replica of my bride is incredibly helpful (and a lot of fun)!
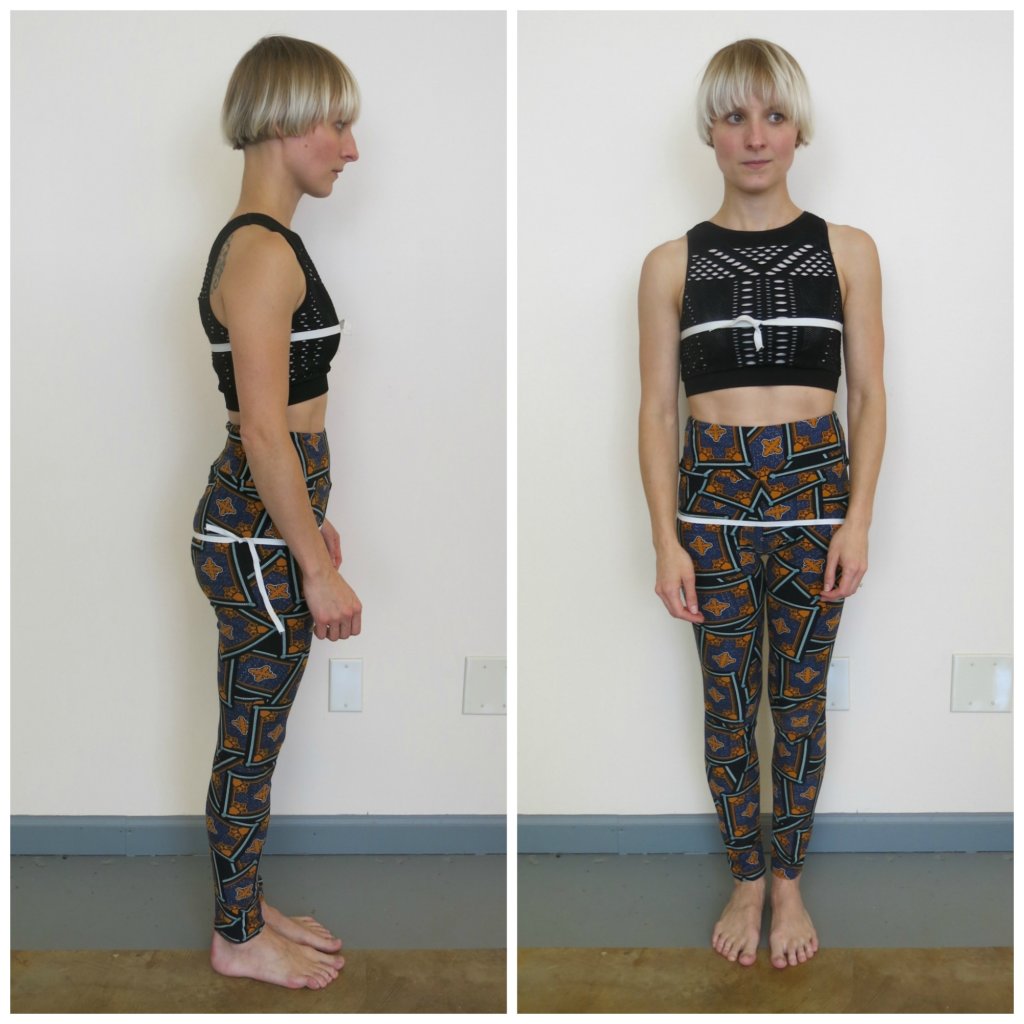
Tiffany visited my studio again to sign my contracts and to stand for photographs and measurements. I told her to wear close-fitting clothes and I added some elastic around her body for reference.
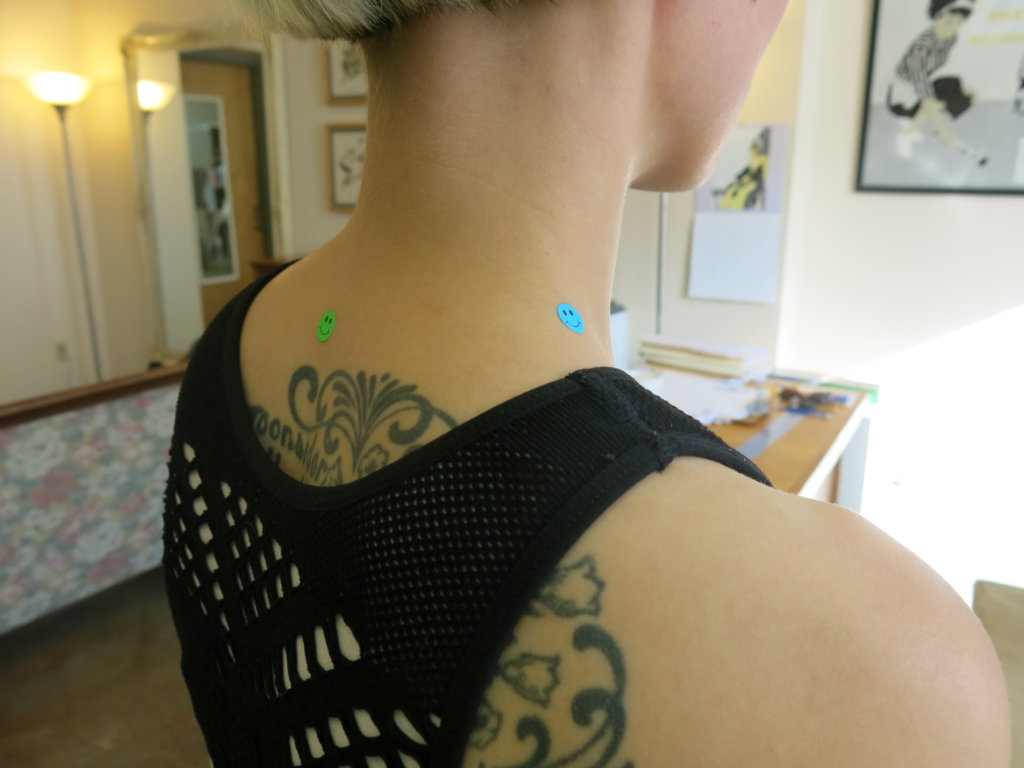
In addition to the elastics, I added a few little dot stickers at key points of her body to reference while measuring. Then, I recorded ~50 measurements!
The Petite Dress Form Challenge
Due to standard dress form sizing, working with someone who is petite is a real challenge (much more so than with someone who is larger/curvy/plus-size). My smallest dress form was a Size 2, which was much bigger than Tiffany. Definitely time to add a new form to my collection!
As you may know from following any blog series about previous brides, the key to creating a custom dress form is to have the form be smaller than the person everywhere. You can add unlimited amounts of padding to build up and reshape any part of the dress form base, but you can’t subtract any part of the dress form base to be even the tiniest bit smaller. You can transform a standard Size 2 form to match a custom Size 22 body, but you can’t change a standard Size 2 form to match custom Size 2 body. Though I design and create custom patterns for bodies with incredible variety of shape and volume, my smallest dress forms are the ones I use most often. They allow me to choose where the small bits and large bits measure on the body, instead of having to work with given proportions.
Most professional dress form brands have a Size 2 as their smallest size for women. While researching options for Tiffany, I found a few companies that offered a Size 0, but these were still too big for my little bride.
So I started looking into children’s forms…
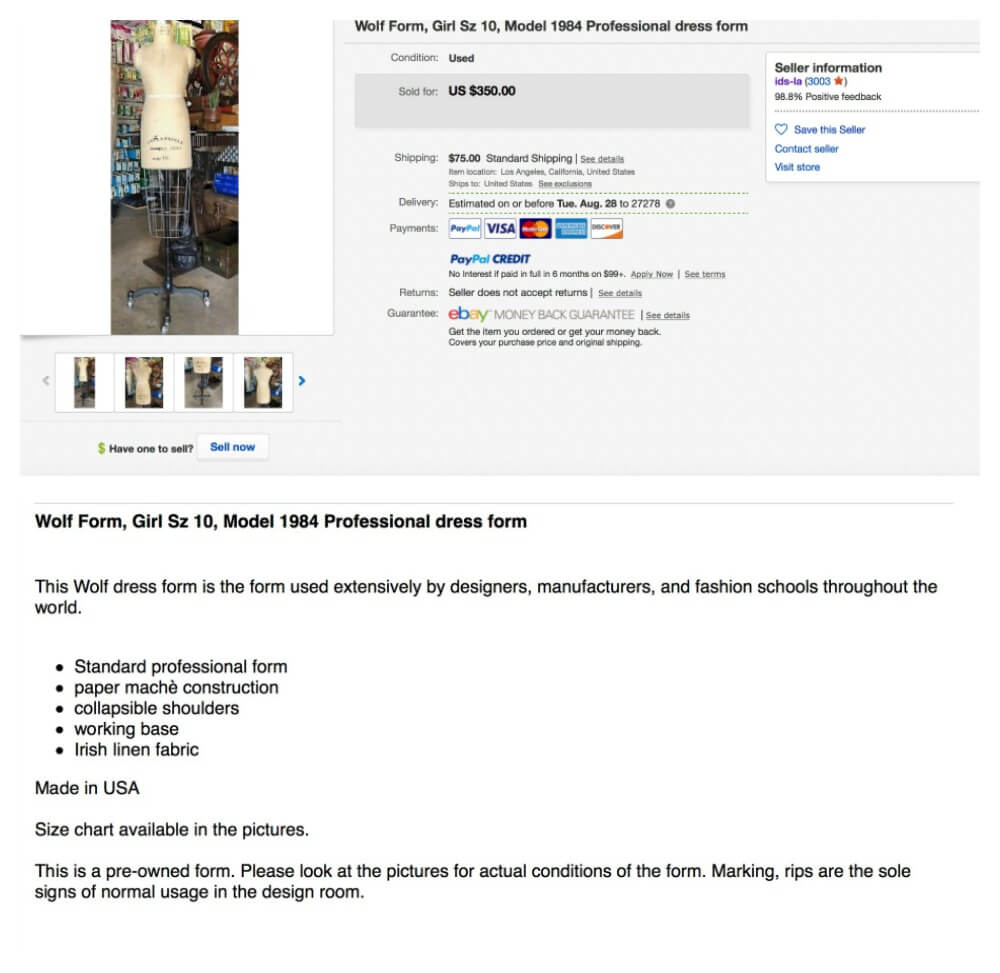
After a lot of searching online, my best choice for the smallest available professional collapsible-shoulder half-body form was a vintage Wolf brand form up for auction on eBay. Since so much of my search ended in disappointment, I was very excited to place my bid on this little cutie!
There were a couple of reasons why I chose this form over the other (very limited) options I came across.
1) Brand: It’s Wolf brand! I’ve never owned an actual Wolfform. I used them often when I worked in professional theatre, but have never had a reason to splurge on one for my own stock. Until now!
2) Info: One of the challenges of purchasing a dress form for custom work is that they are standardized for fashion sizing. The manufacturers often don’t offer the customer specific measurements beyond simple Bust, Waist, and Hip circumferences. Since I will want to move and change the placement and volume of the standard proportions, I will want to know more than a few circumferences!
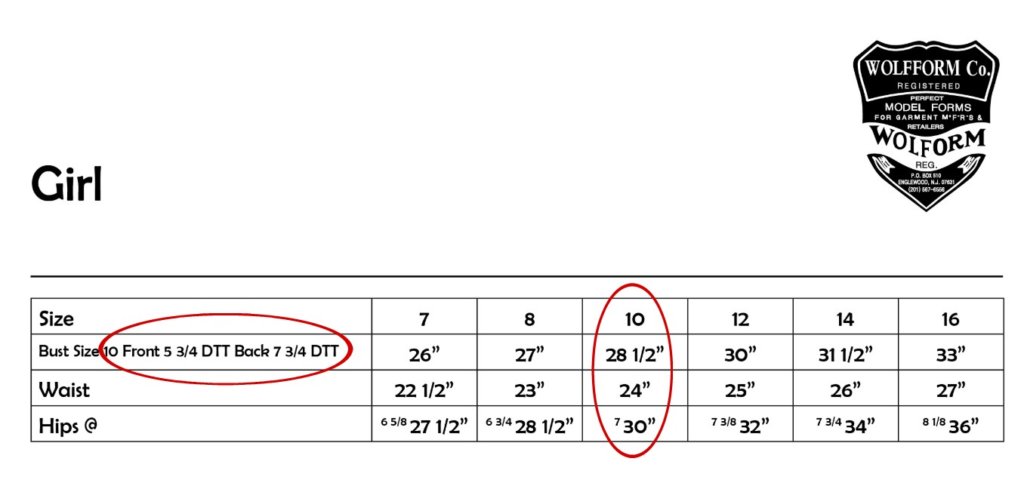
In the size chart for this Size 10 Girl form, they offered a little bit of extra info. (Though I would have loved even more info) (and I don’t know what “DTT” stands for,) I figured from the chart that the level of the “Bust Size” was measured 5 3/4″ from the neck in front and 7 3/4″ from the neck in back. The little “7” by the “Hips @” led me to believe that they took the Hip Circumference measurement 7″ below the waist…
In a photo from the listing, I could also see that there were some numbers drawn on the lower portion of the form. This, combined with the info from the chart, allowed me to figure out a lot more about the exact scale of the form- which allowed me to figure out if I could change its shape to match Tiffany’s.
It was going to be close…(I wished it were a teeny bit smaller!) but I was able to confirm that this vintage Wolf Child’s form was my best available option for the base of Tiffany’s body-double. I placed my bid and crossed my fingers!
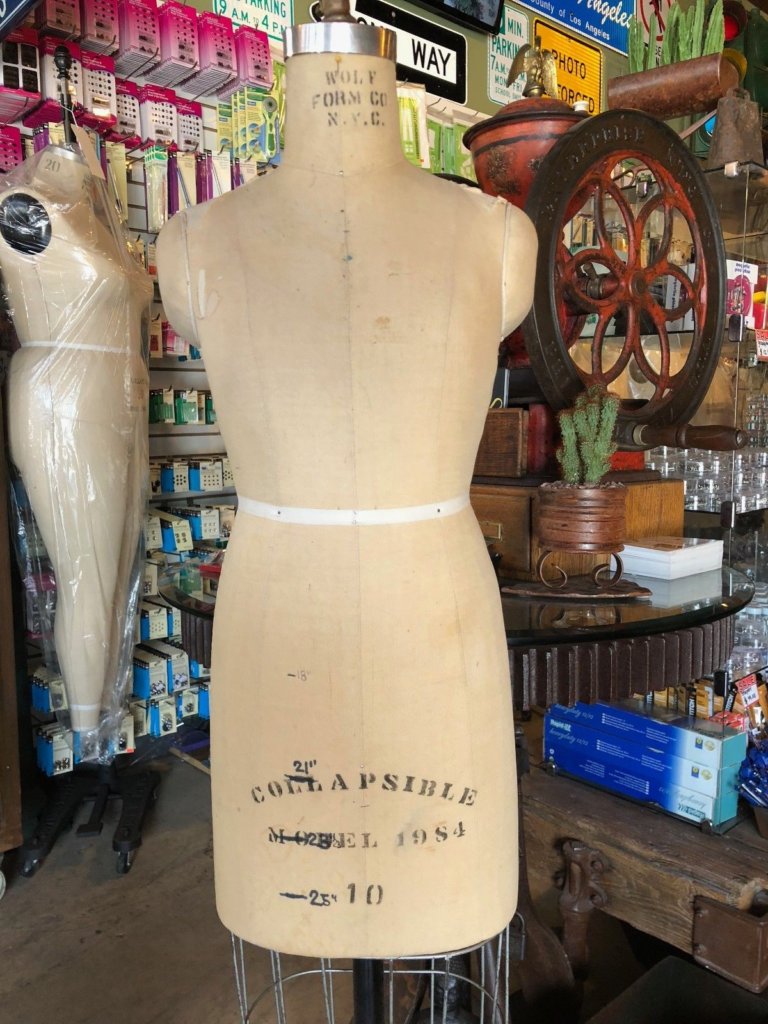
Aaaaannnddd…. I won the auction and “Wolfie” arrived in my studio!
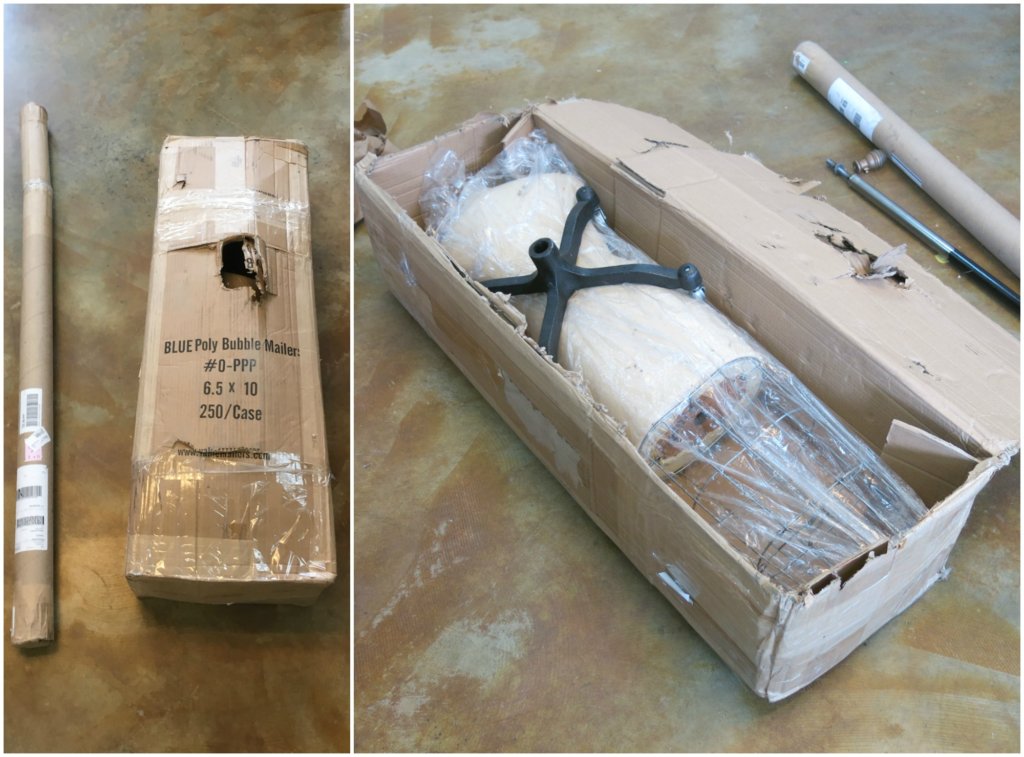
My talented and handsome husband Charles put her together for me…
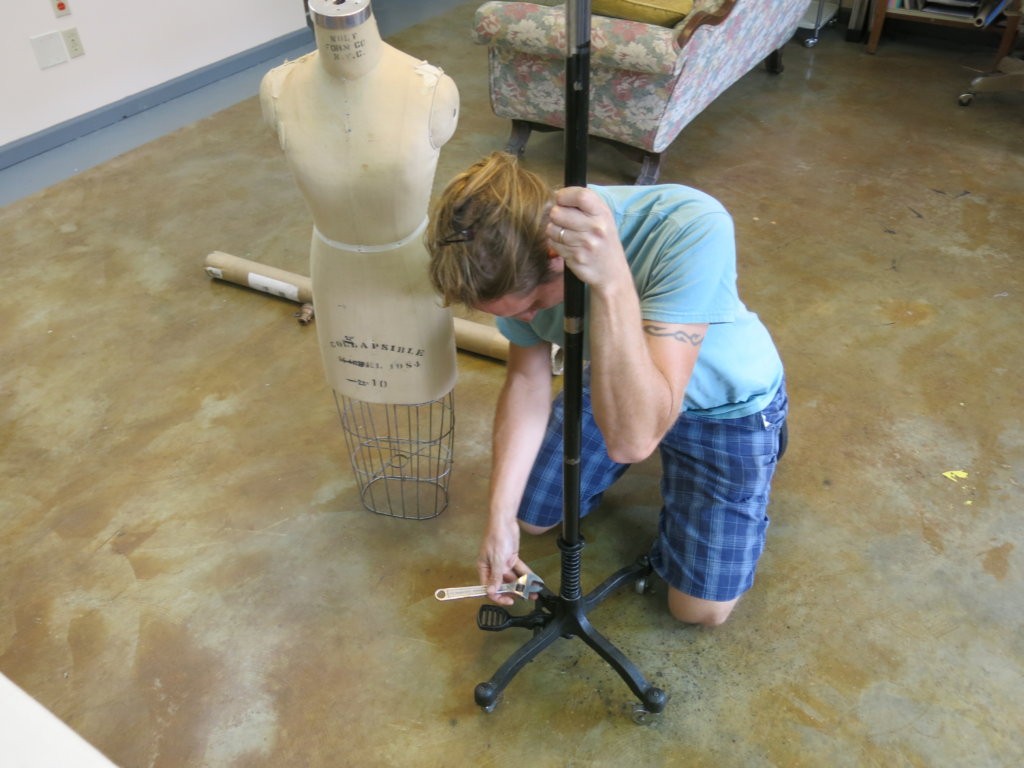
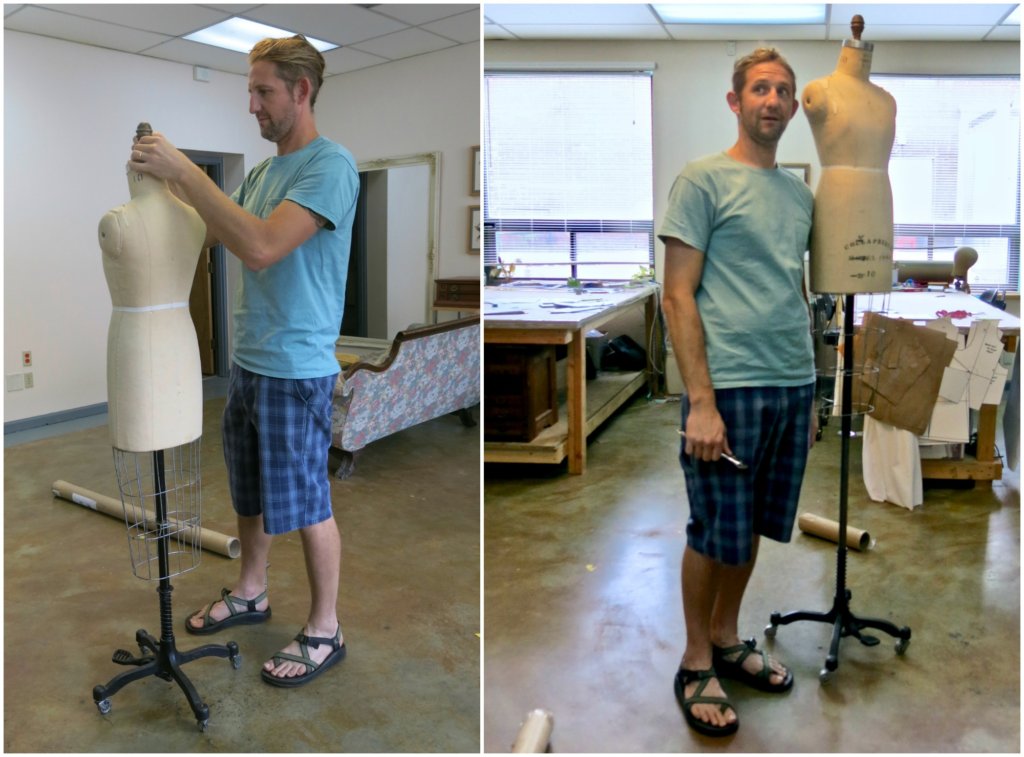
…and she joined my line-up of ladies (in various states of customization)!
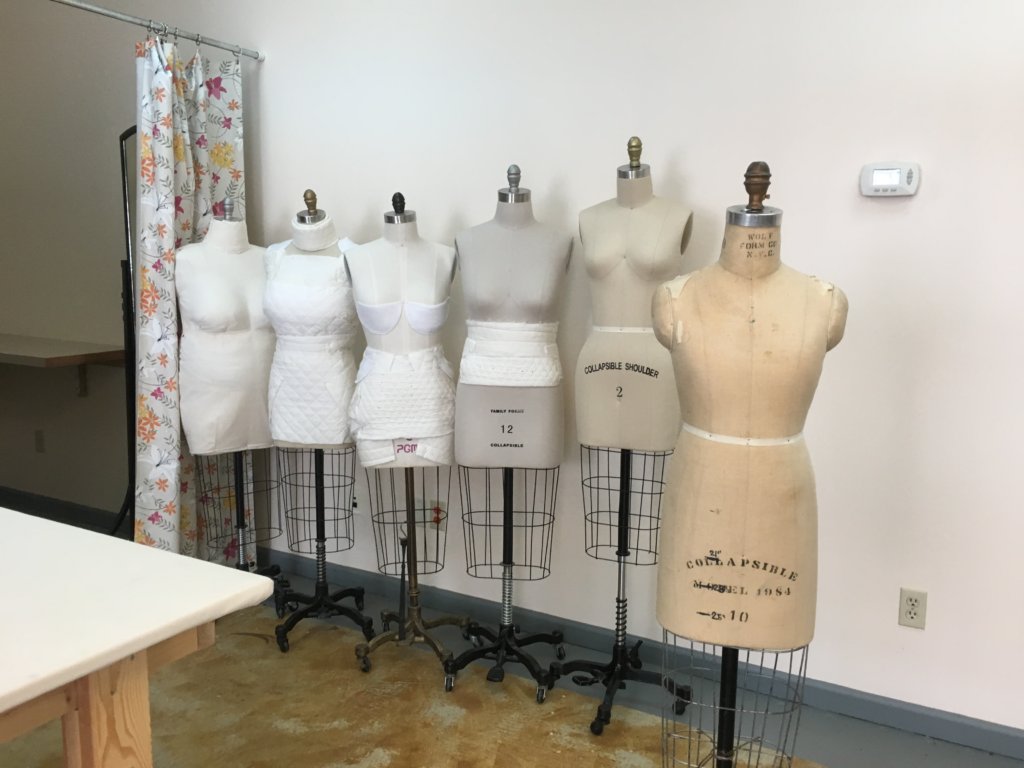
The Tools
As I gathered and set up my tools, I was getting very excited to reshape this generic child form to match the silhouette of a real woman!
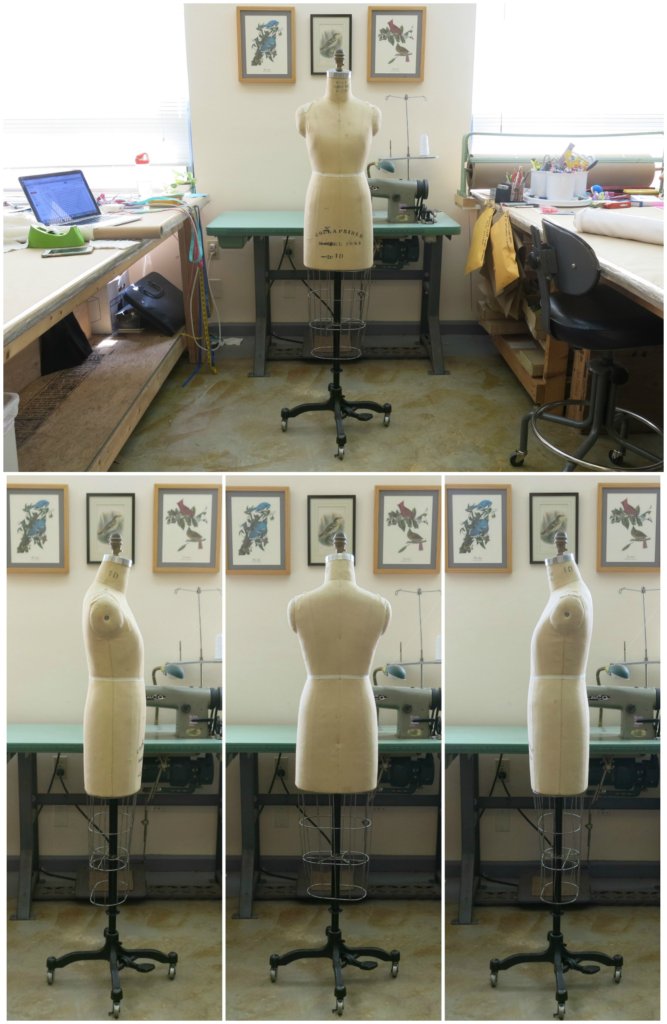
Tool #1: The Dress Form. Below you can see all sides of my cool new tool.
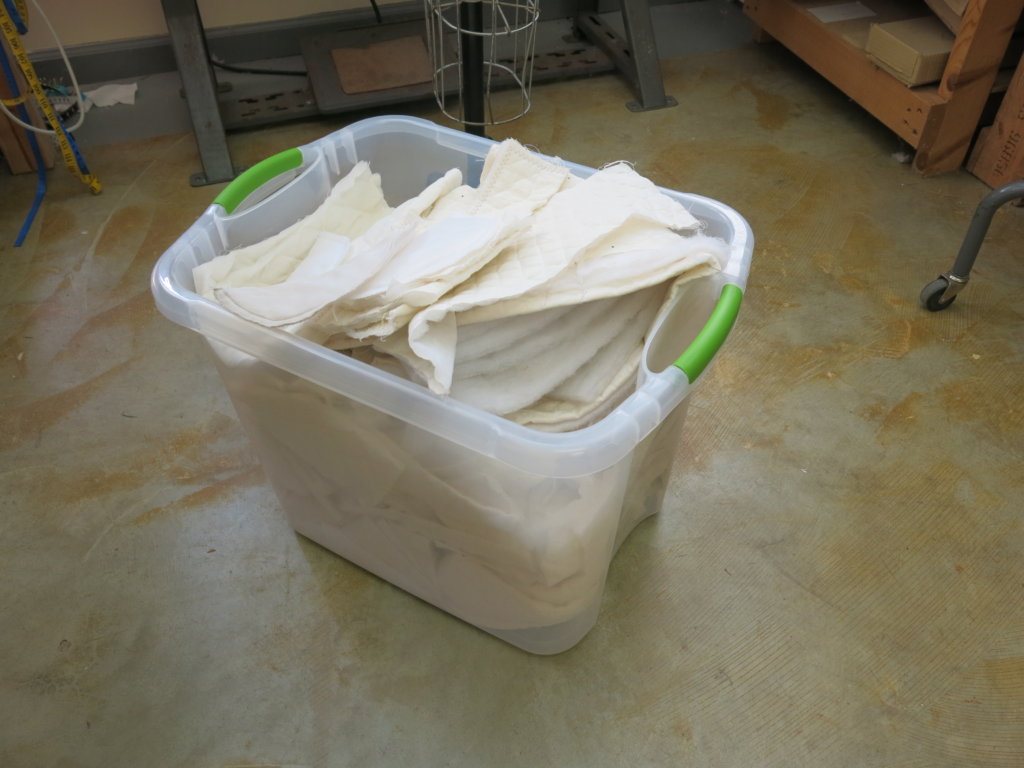
Tool #2: Lots of padding. The padding I use for customizing my dress forms starts with yardage of quilted muslin batting (from a Big Box sewing store). It can be cut into any shape or size to add a little or a lot of padding exactly where I need it. I also like to use shoulder pads (from a thrift store). I keep all my padding in a big plastic bin, pulling it out every time I create a custom form.
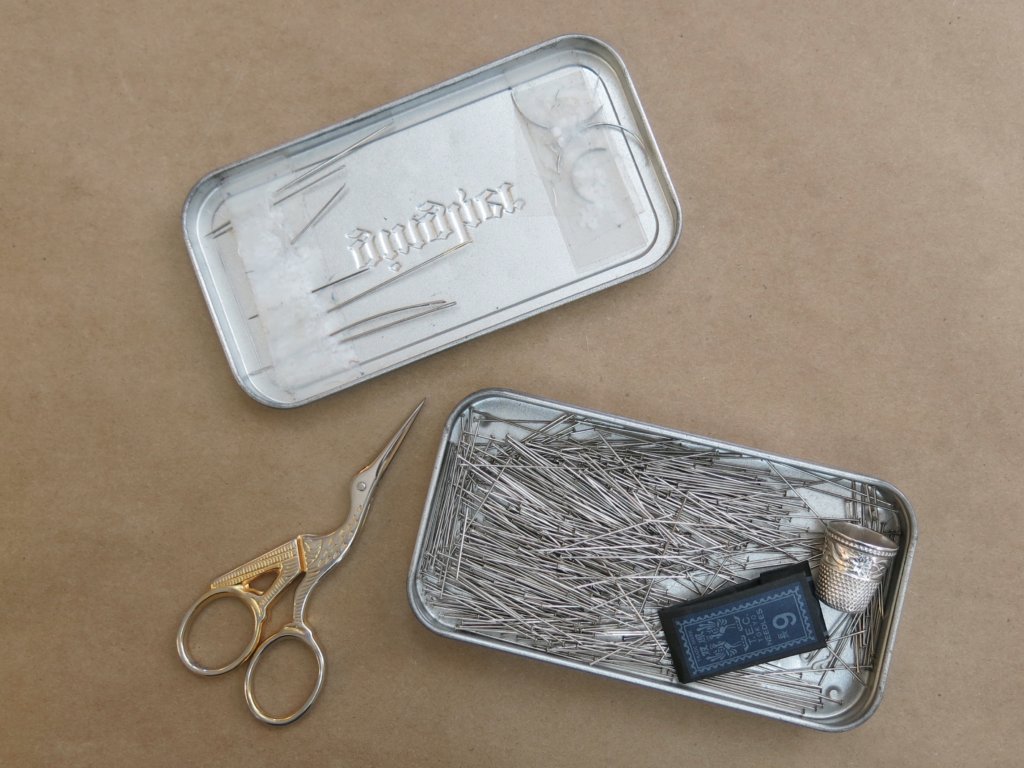
Tool #3: Straight pins. When I sew, I usually prefer extra fine silk pins with little glass head balls on the end (my favorites – Affilate link). When I pin padding to a dress form, I want something sturdier and without bumpy little balls on the ends so I use these – Affiliate Link.
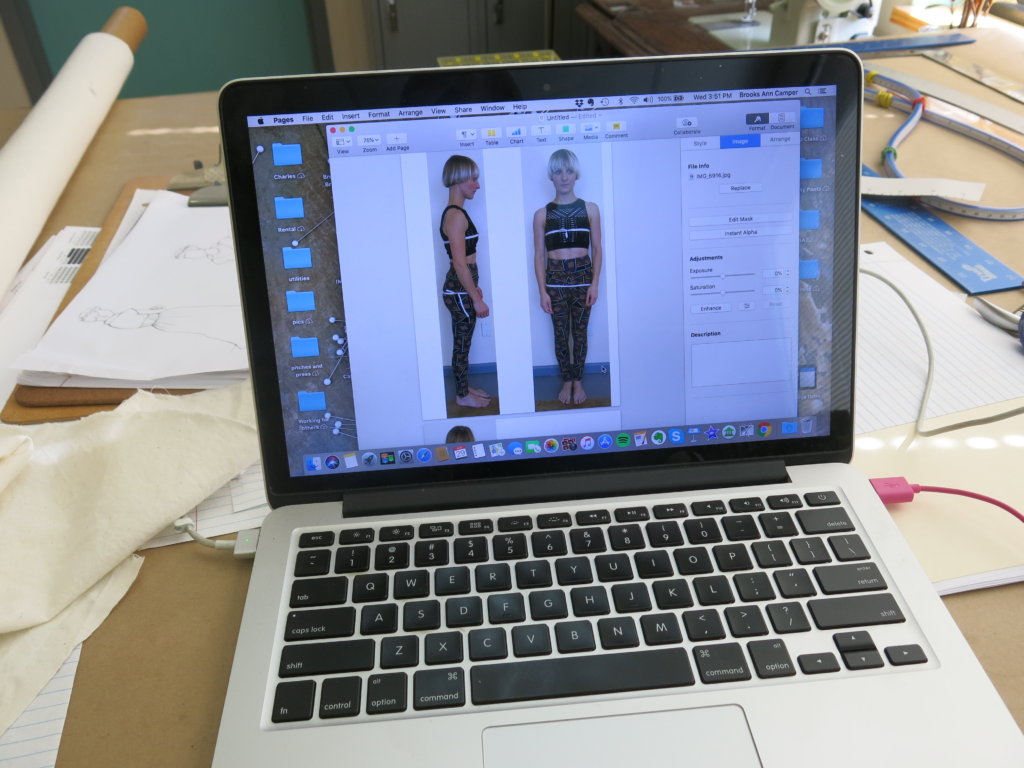
Tool #4: Print-outs of the photos and measurements: When creating a body-double dress form, I reference photos as much as (or more than!) numbers. Measurements are the data. Shapes are the art.
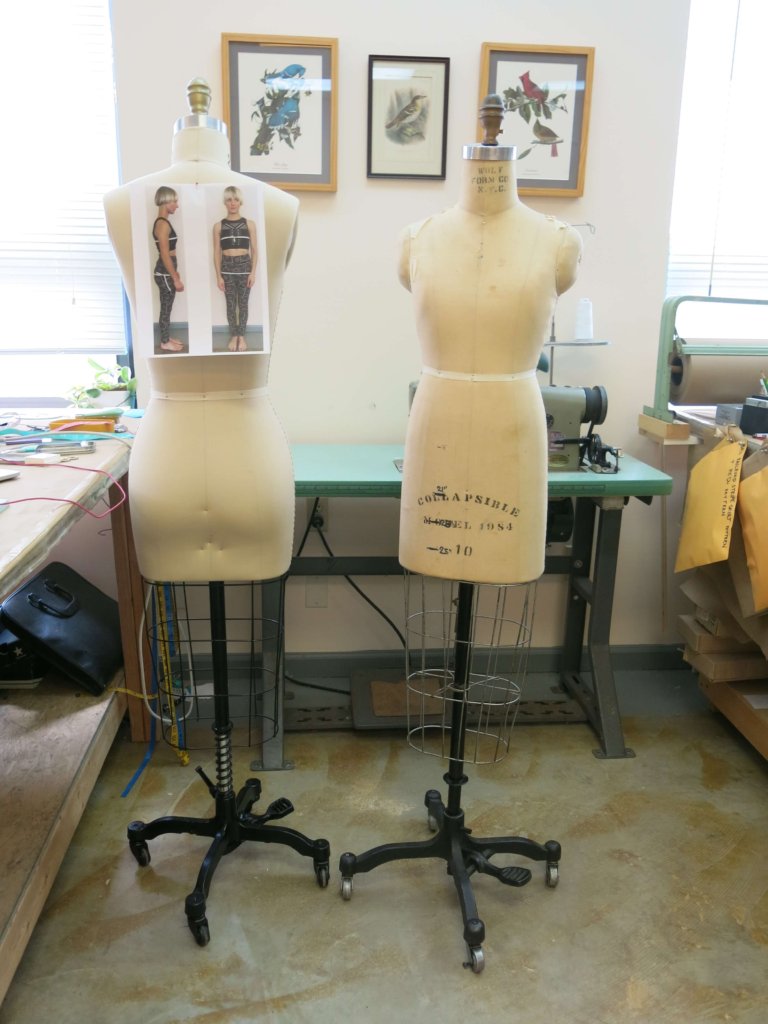
I like to have the photo print-outs very close to the form that I am customizing. I usually pin it to another dress form so I can wheel them both around, if I want to…
A Child Size 10 Becomes Tiffany
I start my evaluations from the top. First, I measure the neck circumference and adjust if necessary. Even though Tiffany’s dress design features a very open neckline, the neck was a point of reference when taking her measurements. Making sure the neck of the form matches the bride (which it did!) sets me up for success as I measure and work my way down the body.
To match the shoulder slope, I take a pencil (or anything small and straight) and match the angle in the photo.
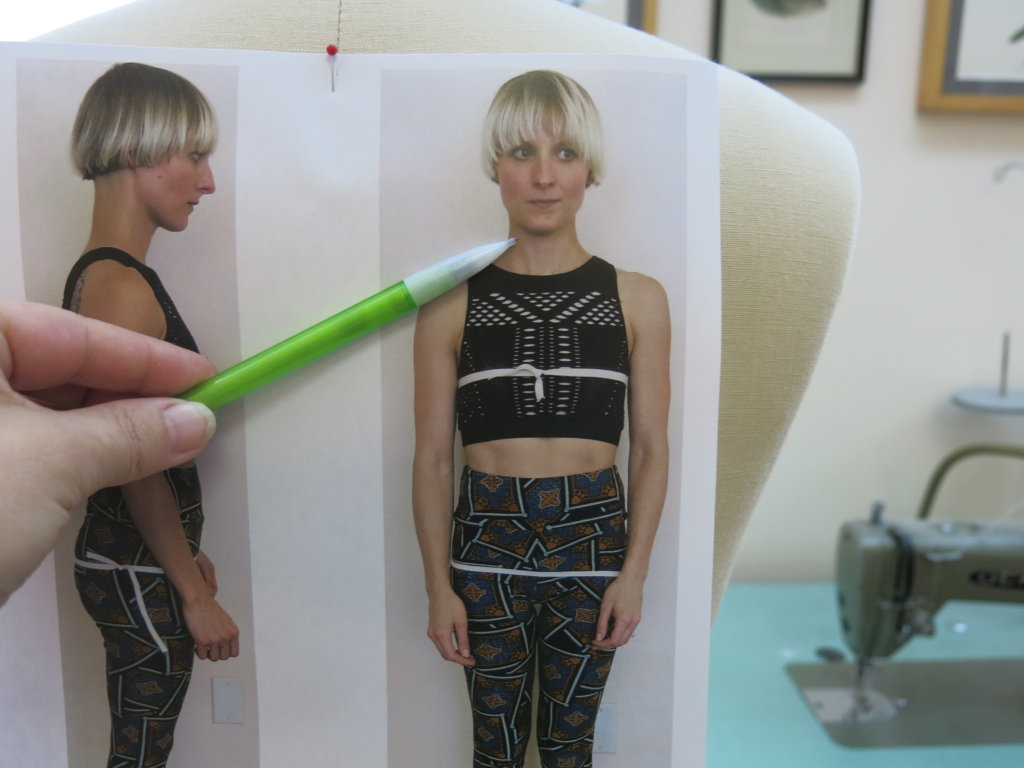
Then, without moving the angle, I move the entire pencil over to the form. Looks like a perfect match!
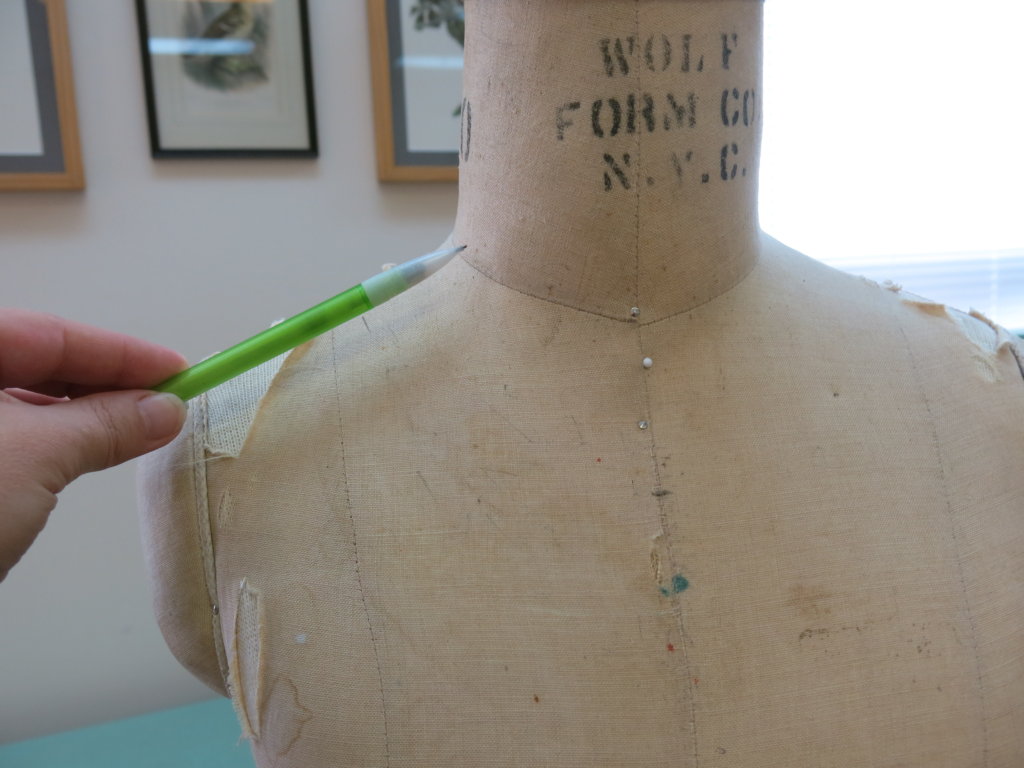
Most people have uneven shoulders, so I check both shoulder slopes.
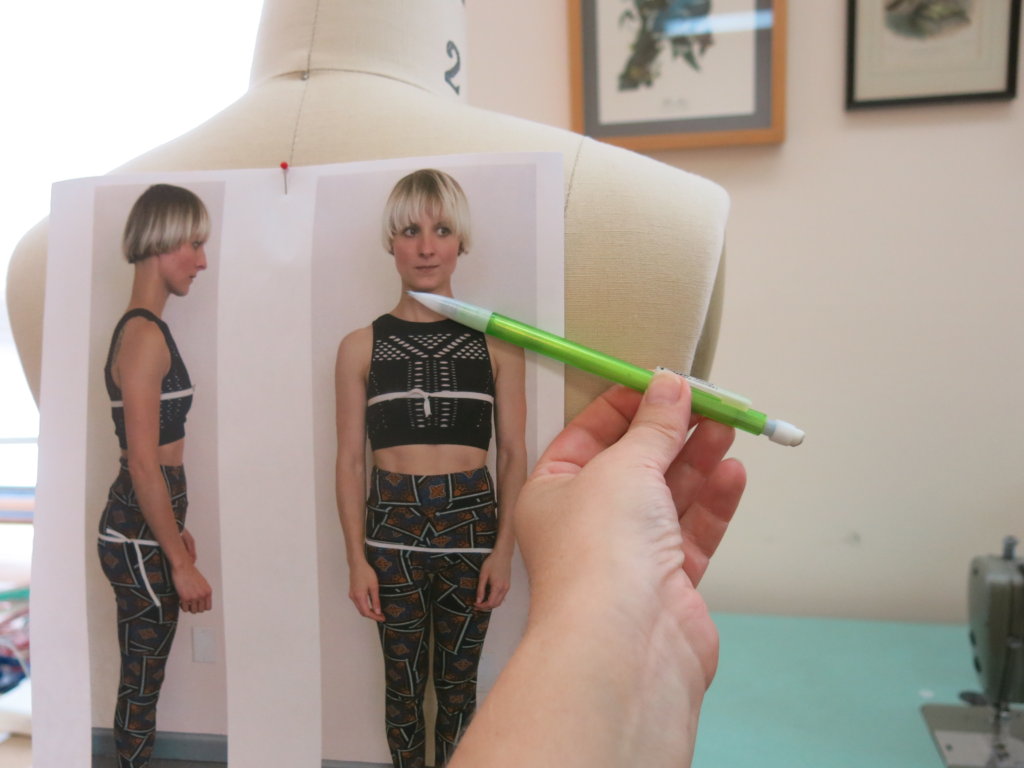
I discovered that Tiffany’s left shoulder had a little less slope than the right, so I added an appropriate shoulder pad to make a match.
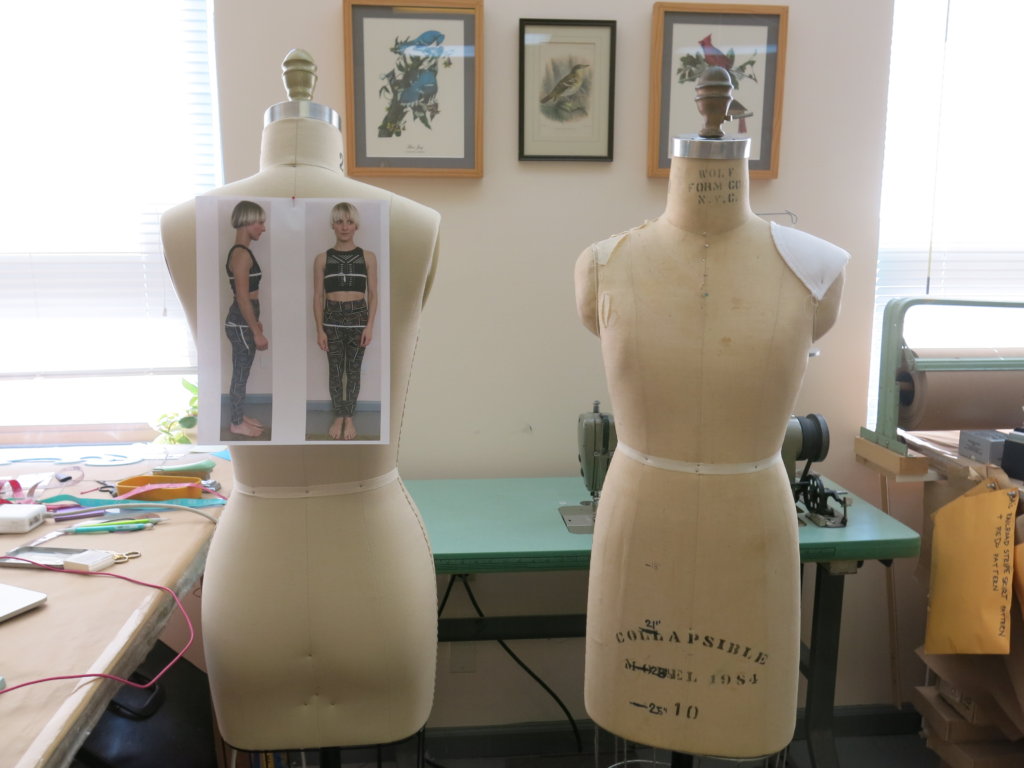
Now that the top of the form was matching the bride, I started moving down and measuring.
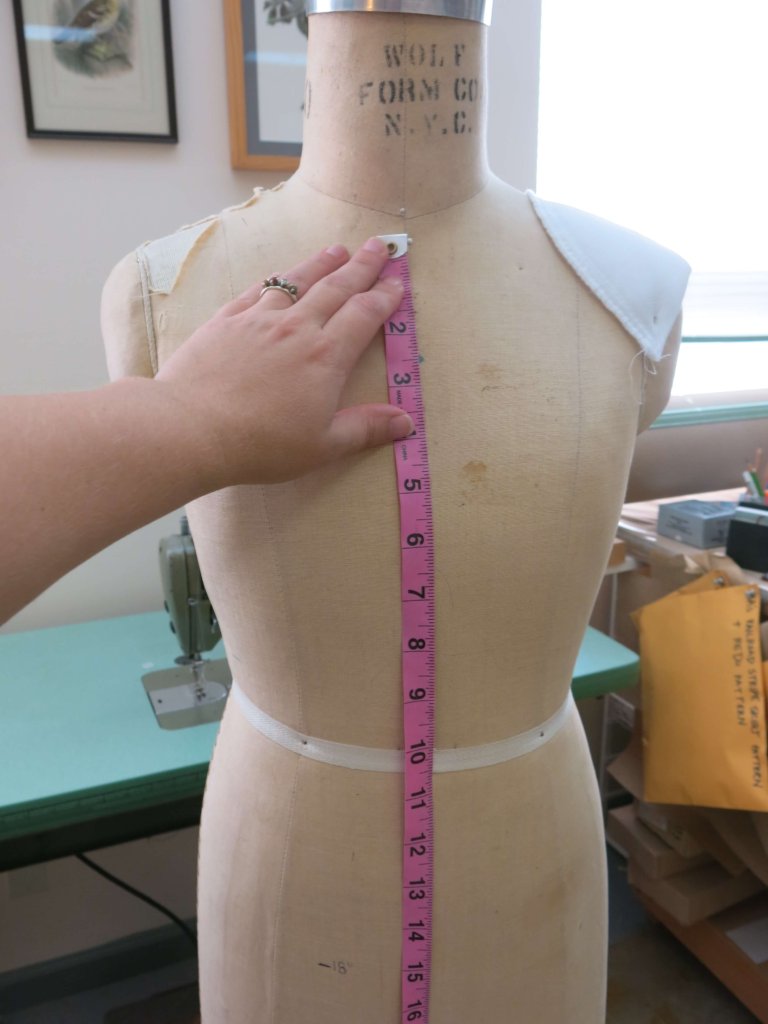
Being a Child’s form, Wolfie’s torso was shorter than Tiffany’s torso making Wolfie’s waistline higher than Tiffany’s waistline. In the photo below, you’ll see how I added a circumference of twill tape a little lower on the form to match the length of Tiffany’s torso. Then I filled in the sides a bit with padding to create a new lower waistline.
Being able to move the Waist, Bust, and Hip level up or down is one of the reasons why having a form smaller everywhere is so important. The circumference measurement ultimately needs to match the part of the form that matches the actual body, not the standard body. The Waist circumference measurement of this form is 24″. Lower on the form, where Tiffany’s waistline is actually located, measures 25″. Luckily Tiffany’s waist was 25″! Close call!
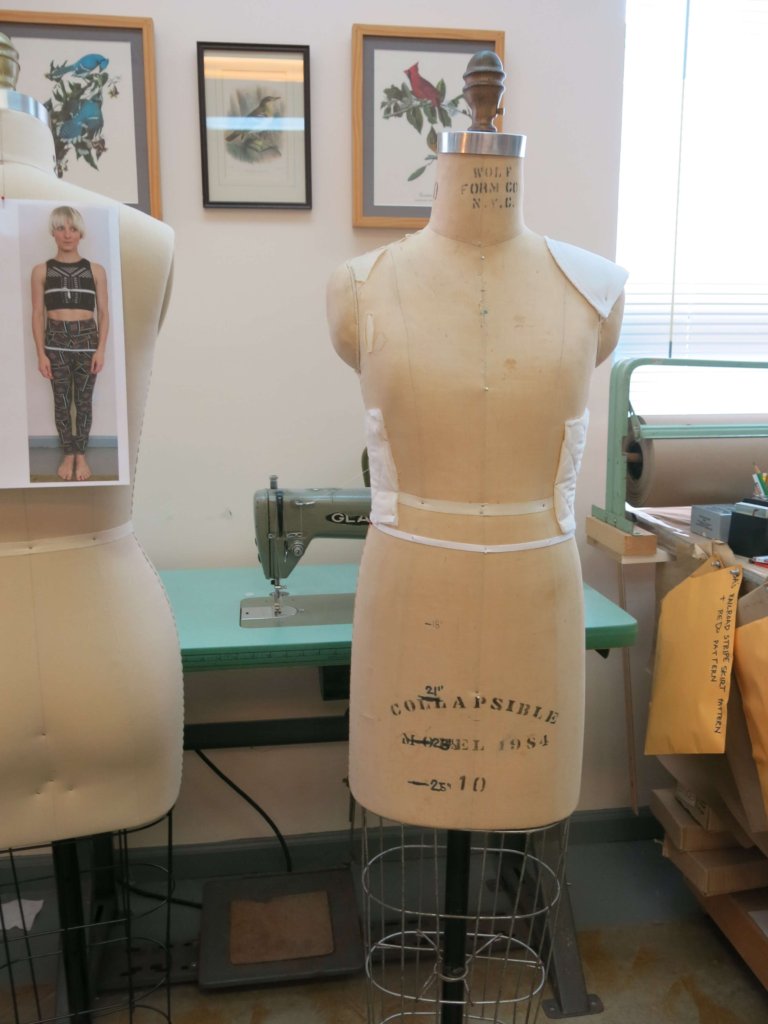
Next, using the photos and measurements, I recreated the curvature of Tiffany’s back…
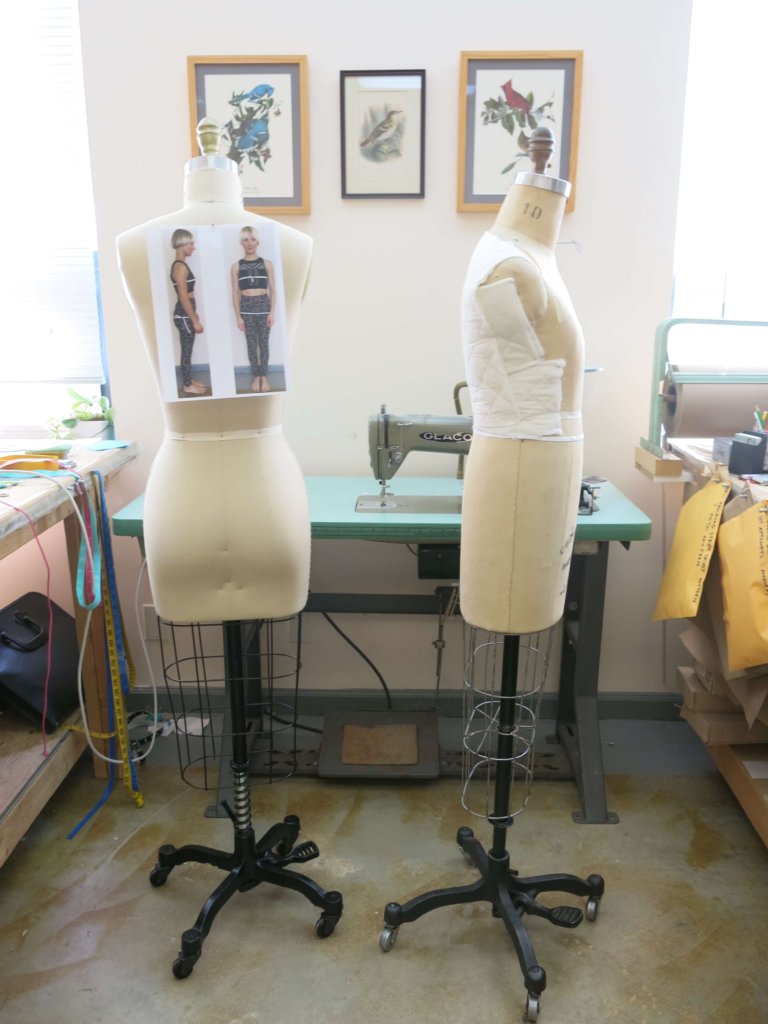
…and bust…
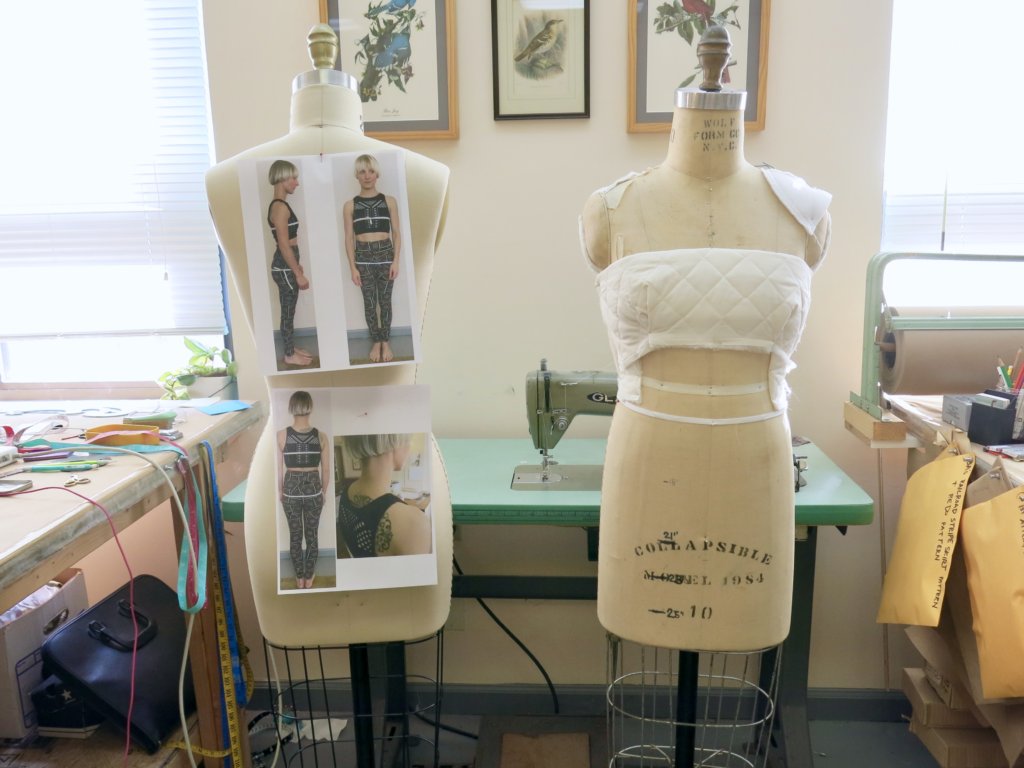
…as well as her hips and bum.
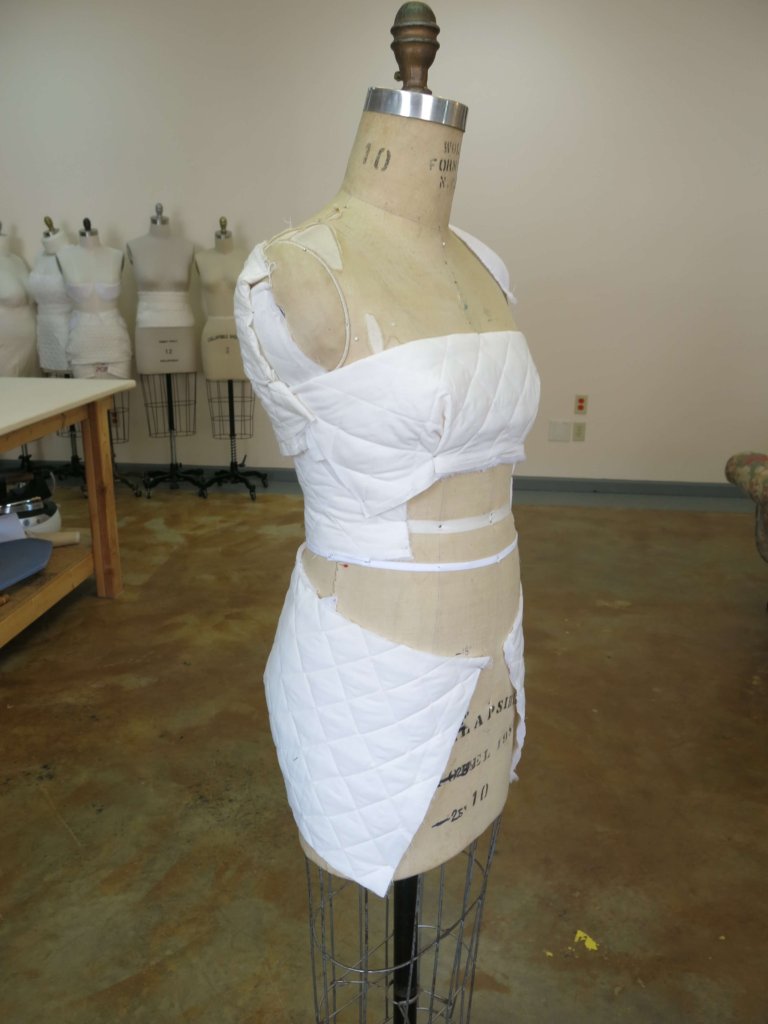
The child-like starting point became the shape of a petite woman!
Before and After
Though not perfect (I’m not a perfectionist!), here are the comparisons and transformations!
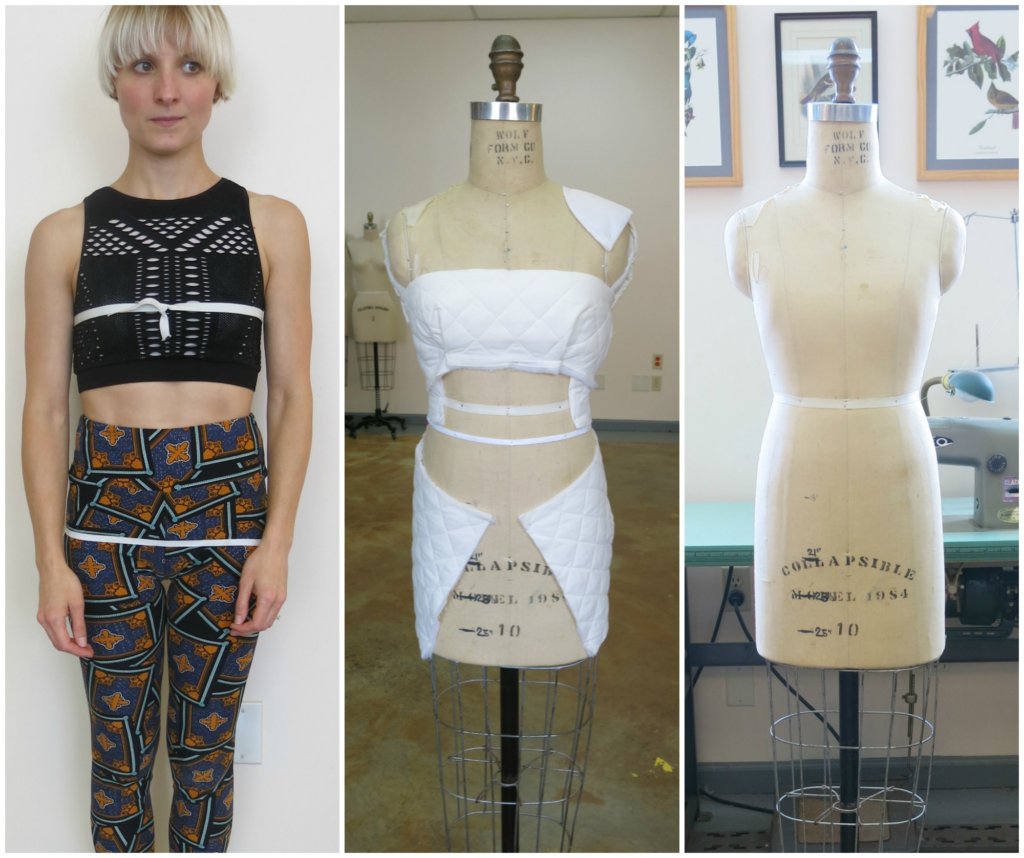
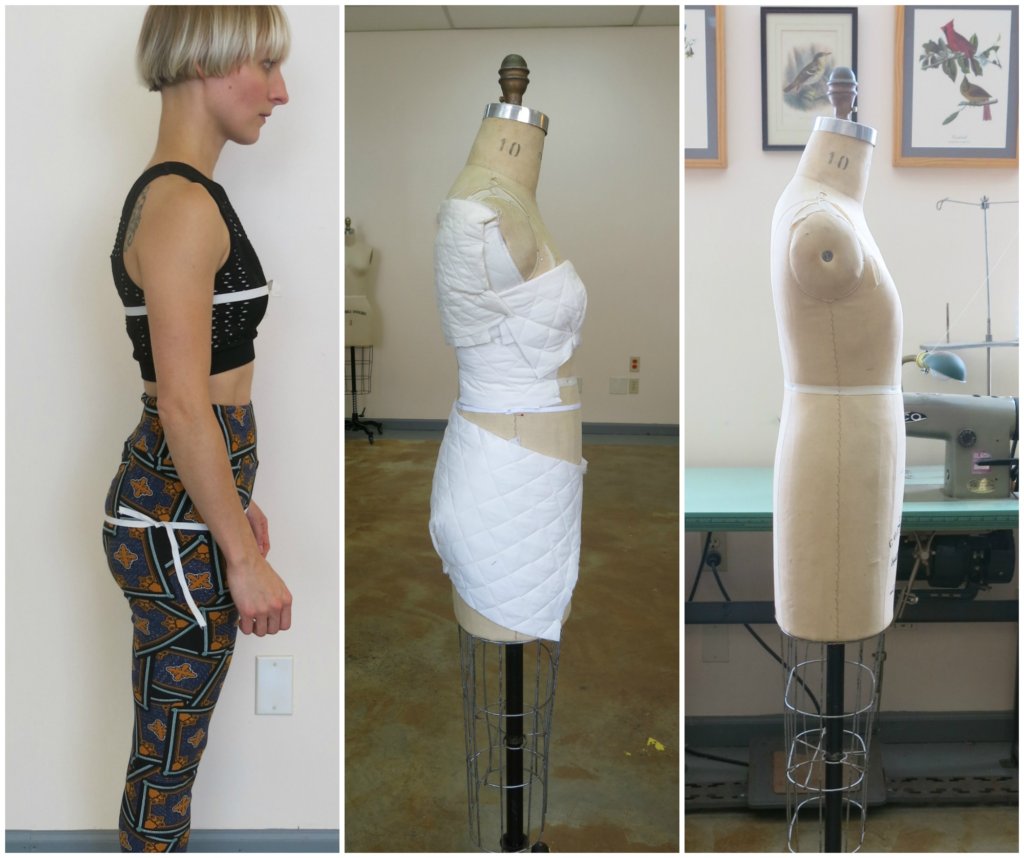
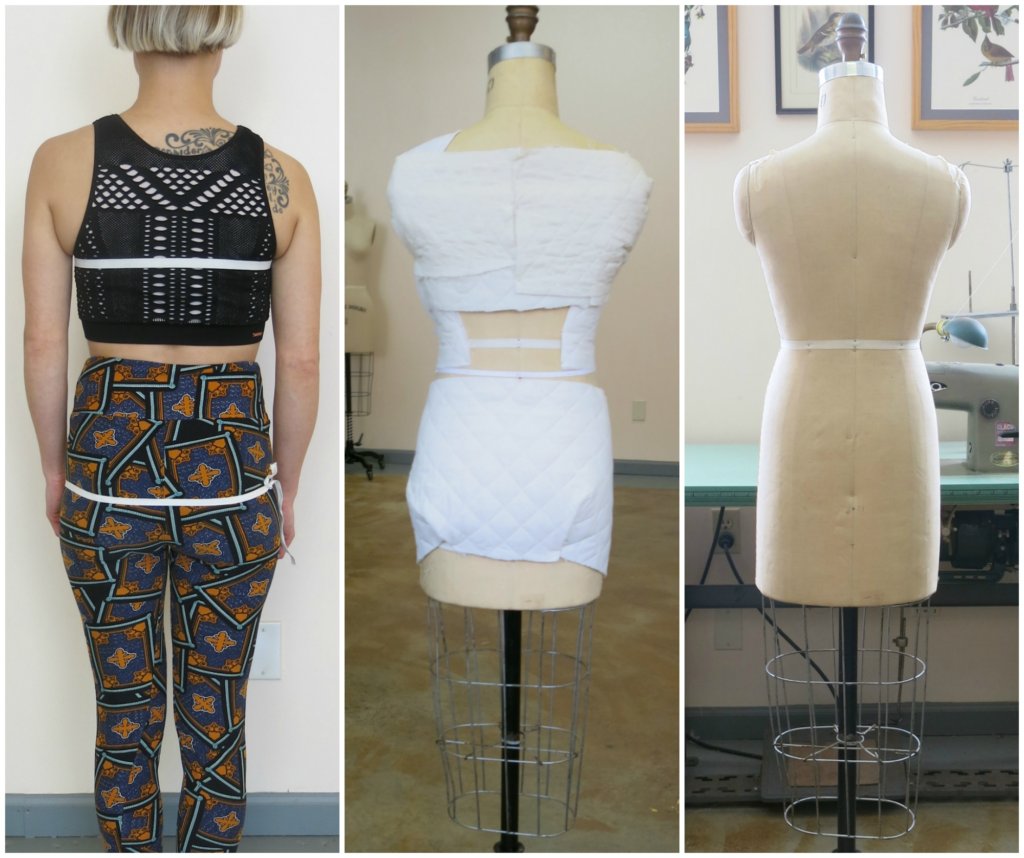
Pretty neat, huh?
I learned to create custom dress forms using these tools and techniques back when I worked as a costume technician for professional theatres. I love that it is so easy to make changes with these methods. Whether my measurements were off or whether the body changes, there are few risks and plenty of opportunity to keep tweaking. Add a pad here or there… peel off a strip or two… constantly refining and improving throughout the custom process.
Sewing people: Have you ever padded a custom dress form? Would you be interested if I created an online course teaching how to make a standard form match your body?
NEXT POST: I start draping and drafting the patterns for Tiffany’s custom wedding dress!
PS. My name and bridal millinery were featured in People Magazine this week! Read all about my friend Jenn Lyon’s love story and the celebrity wedding I attended last weekend: https://people.com/tv/claws-star-jenn-lyon-marries-longtime-love-taige-jensen-inside-the-kitschy-new-york-nuptials/
This post contains a few Amazon Affilate links. If you purchase a product via my link, I’ll earn a small commission at no additional cost to you. I truly love everything I link and I truly appreciate your support!















17 Responses
So fascinating! I bought a standard size dress form years ago and my then sewing teacher helped me pad it out. But our efforts were very minimal compared to this! We didn’t look at shoulder slants and didn’t correct for my different shaped hips. This give me a sense of how involved it is to do it right.
Yes! And (other than the search to find a small enough base form), Tiffany’s padding was fairly straight-forward. At the beginning of each bridal blog series, I often share about padding my standard forms (I have Size 2, 6, and 12) to match the bodies of all of the different brides in my Portfolio. Most often, there’s no part of the original base still showing when I’m finished!
I would LOVE a class on making your own dress form! I don’t want to spend money on a custom form that work fit forever, but my shape is so different from the standard that I’ve never found one even remotely close to my size. I am plus sized and very curvy, but also very short through the torso with narrow shoulders/back and a LOT of front projection. It makes fitting patterns very challenging!
Yay! I currently teach online courses creating custom flat pattern blocks for non-standard bodies, but I love draping patterns on custom dress forms. I’ll put in your vote for a future class someday!
I would love if you added a custom dress form class. I’ve padded out forms before but the process was far more difficult than the one you demonstrate here.
Yay! Tiffany was pretty straight-forward (once I found the form) so padding to match her body was fairly easy. It’s possible that matching your body will be more difficult, but you only have to work through the initial padding process once. After that, you can simply add and/or take away padding to refine your your fit and/or match your body changes over time. Thanks for following along!
Brooks Ann! Skirt Skills was amazing and i would absolutely sign up for a dress form class. Please do it!
I think the process of padding out a dress form is so fascinating! Thanks for sharing! I would love to have a size-me dress form, but my sewing space is a bit too transient for that right now. But if you made a course about it, I would absolutely be interested!
Hi Brooke, I have been reading your blog for many years. I would be very interested in an online custom dress form class to create my body on my standard form. I find all your wedding creations very enjoyable and informative.
Best Wishes,
Alexandria
I would absolutely take a dress form class by you! I love watching your process. Thanks for sharing!
Ah thank you for this post! I love love love reading about the custom process but I have never really delved into custom forms. The most I have done covers the basic circumferences but the shaping is so interesting. The circumferences get you to a basic fitting but I have been wanting to go more in depth with this kind of padding. I think it also help to have good quality padding and thinner strips. I would jump at such a course if you created one!
Keep up the good work! Can’t wait for your next post!
I would be very interested in a dress form customizing e-course. I’ve learned so much from your other e-courses (Skirt Skills, Tops Class, etc). I’m certain I’ll learn equally as much from your customized dress form class. I want this information, no I NEED this information to successfully make a wedding dress for my niece who lives on the other side of the country!
Hooray! If the wedding is anytime soon, don’t wait for an online class from me. Since I DIY everything, it usually takes me a year or so to develop and produce a single course (and this one isn’t at the very top of the list).
BUT since you live locally to me, you could bring your niece and your dress form to my studio sometime for a private lesson! Keep in touch if you think we can make this happen. I’m so excited to hear you are making a wedding dress!
Very nice. I would be very insterested in padding out my dress form. I have one that was custom made to my body, but alas I have put on weight and it no longer fits. But it seems many parts of it would be correct, such as my shoulders, neck, etc. I will keep my eye open for the class if you develop it or you can put my on a mailing list for it.
Oh wow! Don’t wait on me! I will not be able to add this course creation into my 2020 plans but I do hope to offer it someday. If you had a custom form made, and gained rather than lost weight, you are in luck. All the hard stuff (like shoulder slope, frame size etc.) are already done for you. Simply compare yourself to the form and add a little padding to match your new shape. You don’t need me for anything (other than maybe saying “Go for it!”)! You totally got this.
Here in February 2021 to say I would take this class if you ever decide to offer it!
Ah ha! You are in luck with excellent timing! NEXT WEEK, I’ll be publishing a “How to Pad a Dress Form as Your Body Double” and an eBook is in the works!