

After turning my new tiny dress form into a replica of my bride, it was time to create the custom-fit patterns for Tiffany’s future wedding dress. With the custom sketch of the dress design and the Size-Tiffany dress form as my guides, I experimented my way through a first draft of paper patterns.
There are essentially two ways to create a custom-designed custom-fit pattern: Draping and Flat Pattern. Draping works in 3D by manipulating fabric onto a dress form that replicates the individual’s body. Flat Pattern works in 2D by manipulating paper based on the individual’s body measurements. I usually use a combo of both and Tiffany’s dress was no exception!
The Rough Drape
Though I teach custom flat patternmaking in my online courses, I most often start off with draping for my brides. Most beginners can’t afford the space (physically, mentally, and financially) for a full-sized body-double in their sewing space but, as a pro, I adore working with this tool. Not only is the custom dress form the foundation for creating my patterns, it is also great for photographing the dress, storing/displaying the dress, and it helps with designing and sewing and fitting and much more!

To begin replicating a sketch in 3D, I usually start at the top and work one piece at a time. To drape the front of Tiffany’s bodice, I cut a rectangle of plain muslin fabric with a straight line drawn 1″ in from the on-grain cut edge. I pinned this line to the dress form’s CF line with most of the fabric laying over one side. Since Tiffany’s design is symmetrical, I only need to create a pattern for half of her body. (When I’m ready for the other half, I’ll just flip the pattern over.)
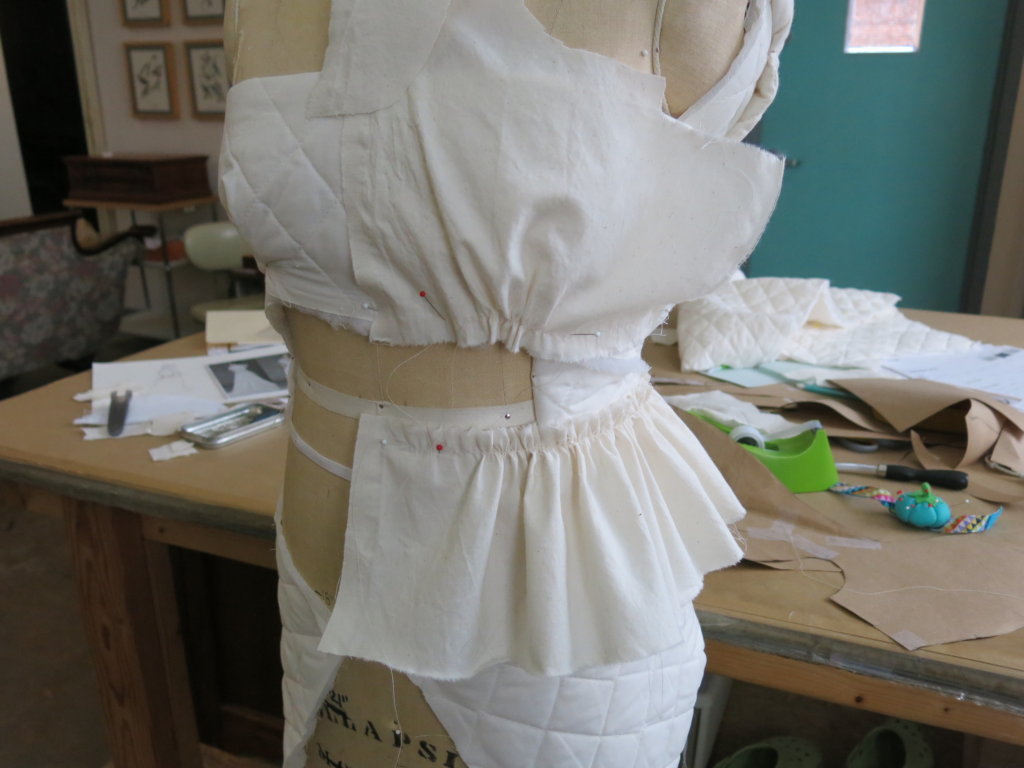
The bodice of Tiffany’s wedding dress design features an open sweetheart neckline and some light gathers into a seam under the bust. I smoothed the muslin over the shoulder and down the side, securing my work with a few pins. With a pencil, I roughed in the shape for a potential neckline edge.
I took the excess fabric that was hanging under the bust and roughed in a underbust seam line with some rudimentary gathers.
Next, I cut and prepared a new smaller piece of muslin which I draped and pinned on the form to create the front of her midriff band. I also began to rough in the diagonal decorative design lines of this piece with light pencil marks.
Next, I draped the back bodice pieces in a similar way. Since these back pieces would join the front, I continued to revise and darken my original lines and ideas to make something that looked nice overall. I played around with how open the neckline would be at the shoulder, knowing that a collar piece will be added later.
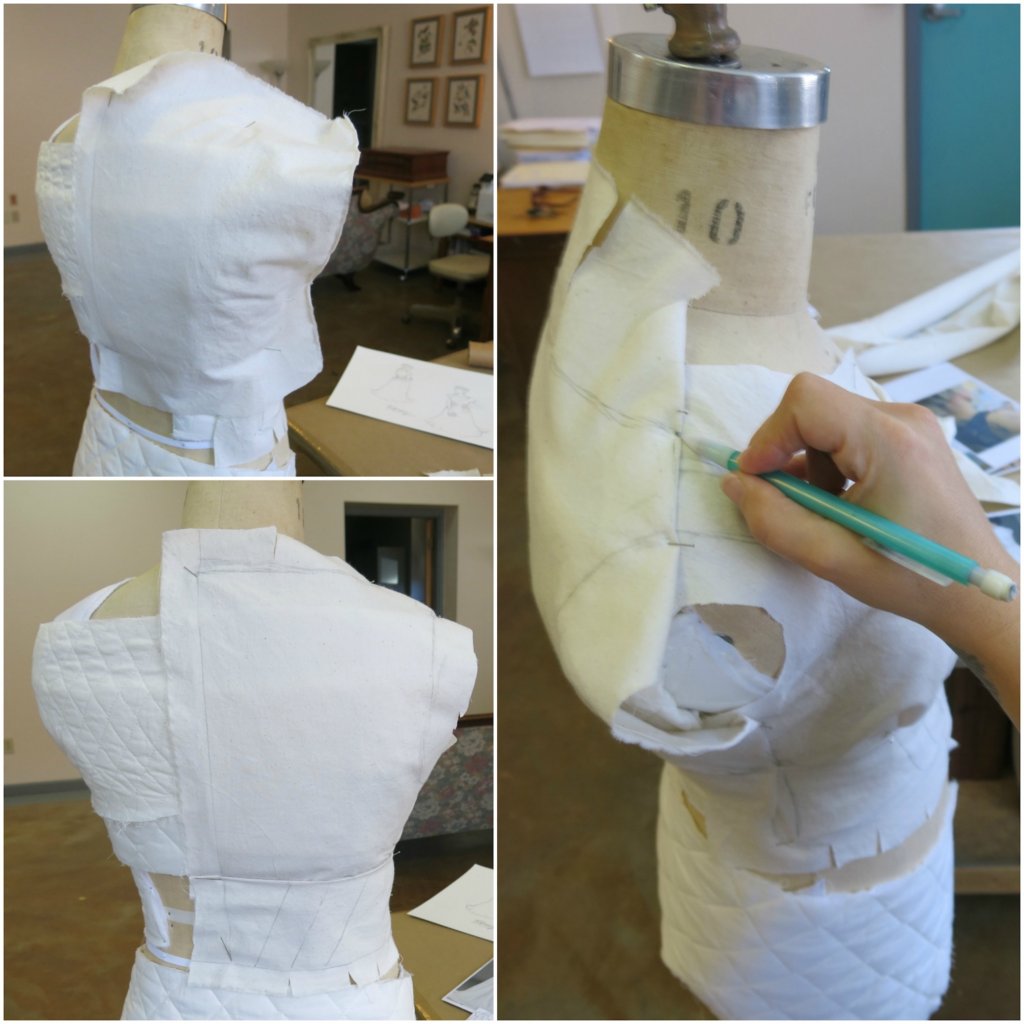
Once I had a good start with all four bodice pieces, I darkened my preferred lines and added some notches. Even though this bodice design will eventualy include cut-in-one short sleeves, I drew in a rough armhole opening for reference.
I sure do love the look of a rough drape! It’s the beginning of something beautiful…
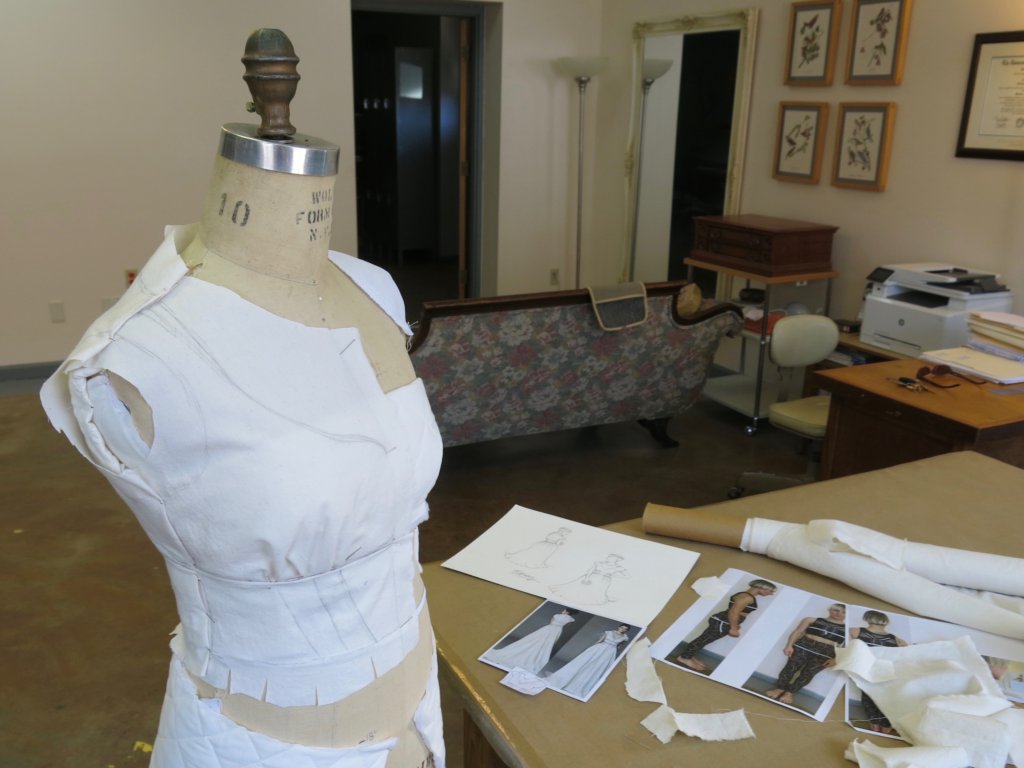
And since I prefer to create collars, sleeves, and skirts through Flat Pattern techniques, this 3D rough drape was now ready to become flat.
3D becomes 2D
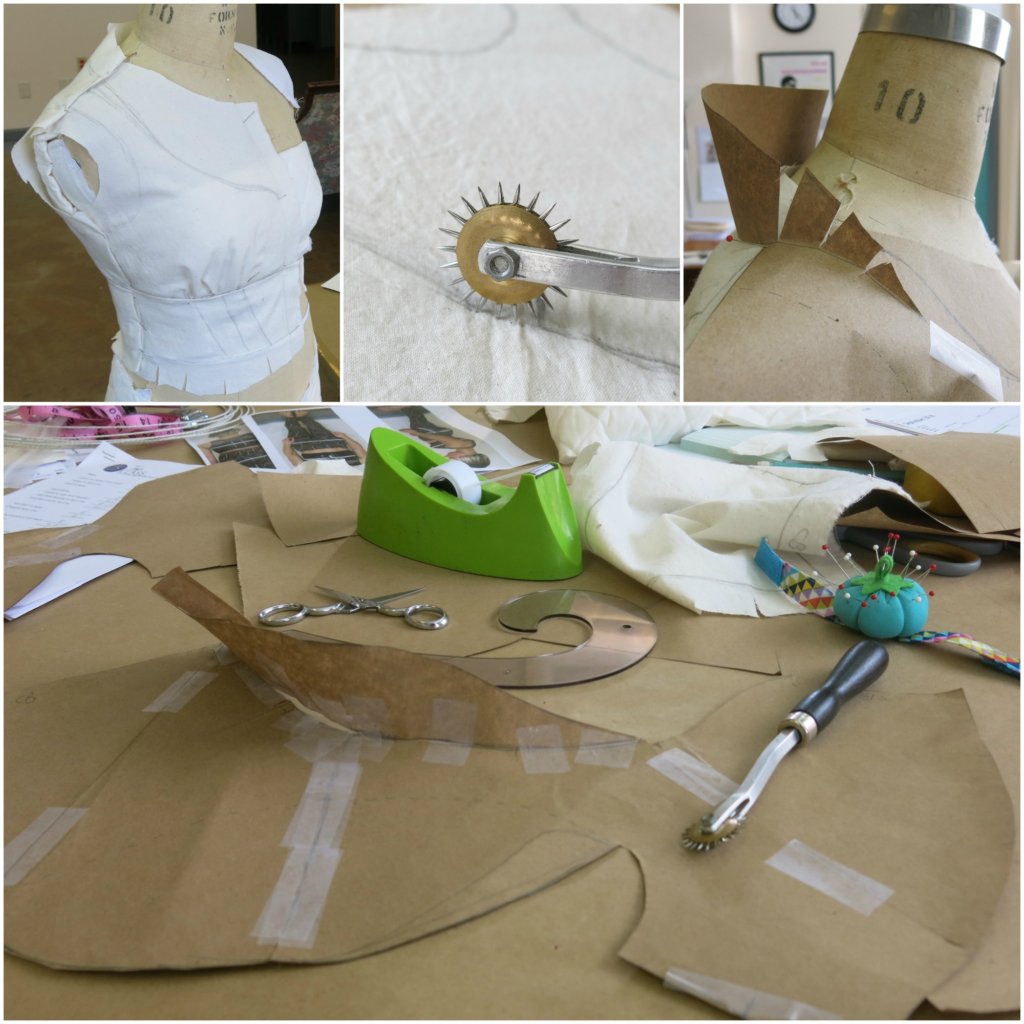
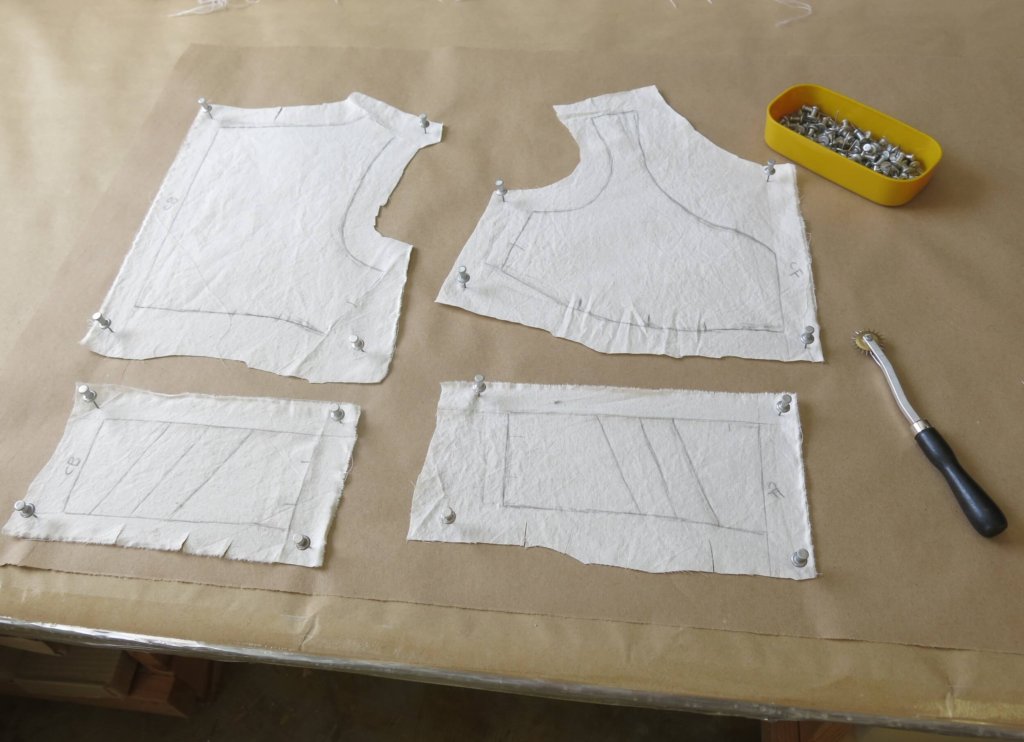
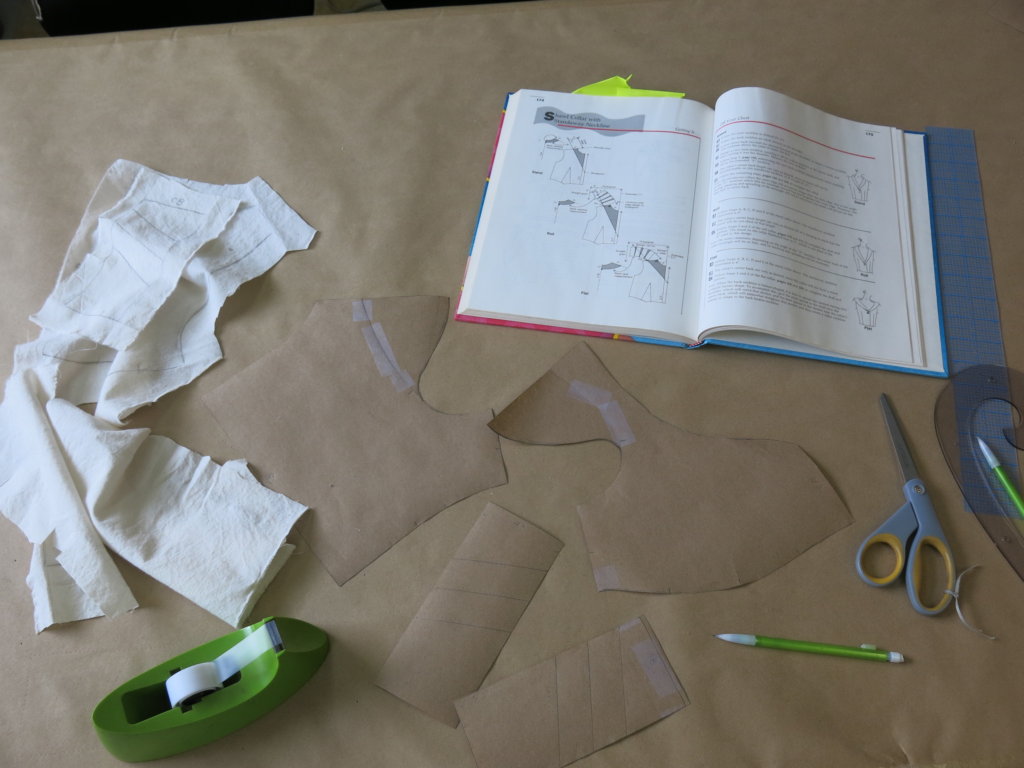
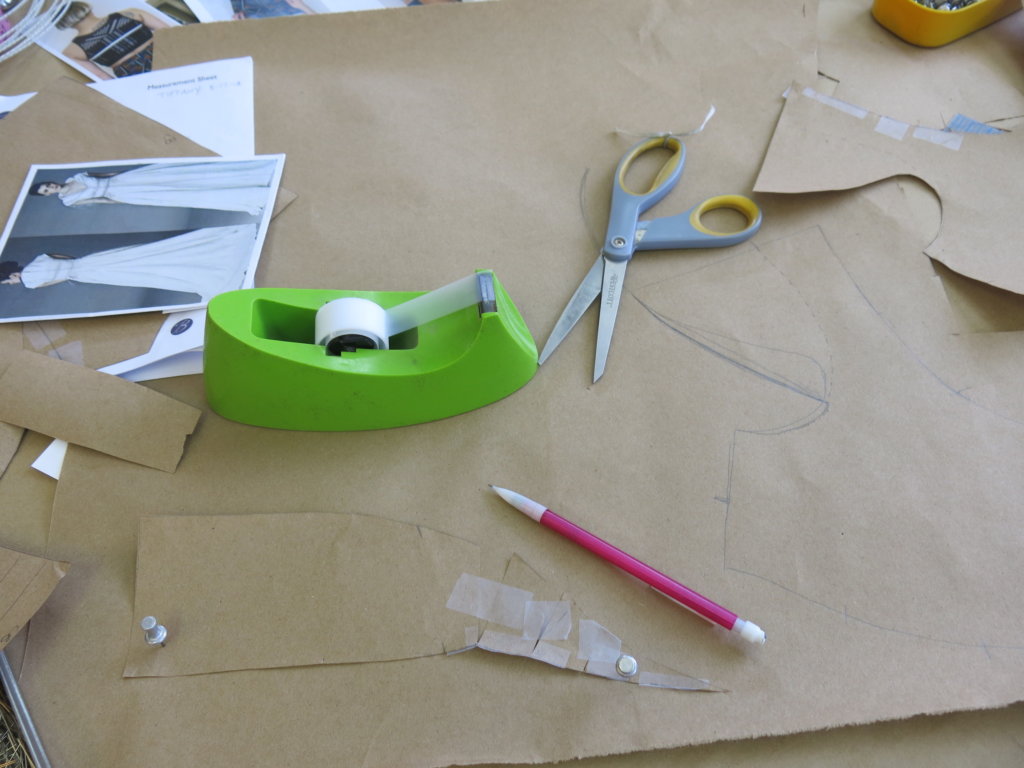
To create a flat pattern of my rough drape, I removed the pieces from the dress form and gave them a flat press. I then used my rulers to tidy up my lines before push-pinning all four pieces to a sheet of paper on my pinnable-topped worktable.
With my Needlepoint Spiky Wheel (affilate link), I trace along all my pencil lines and marks…
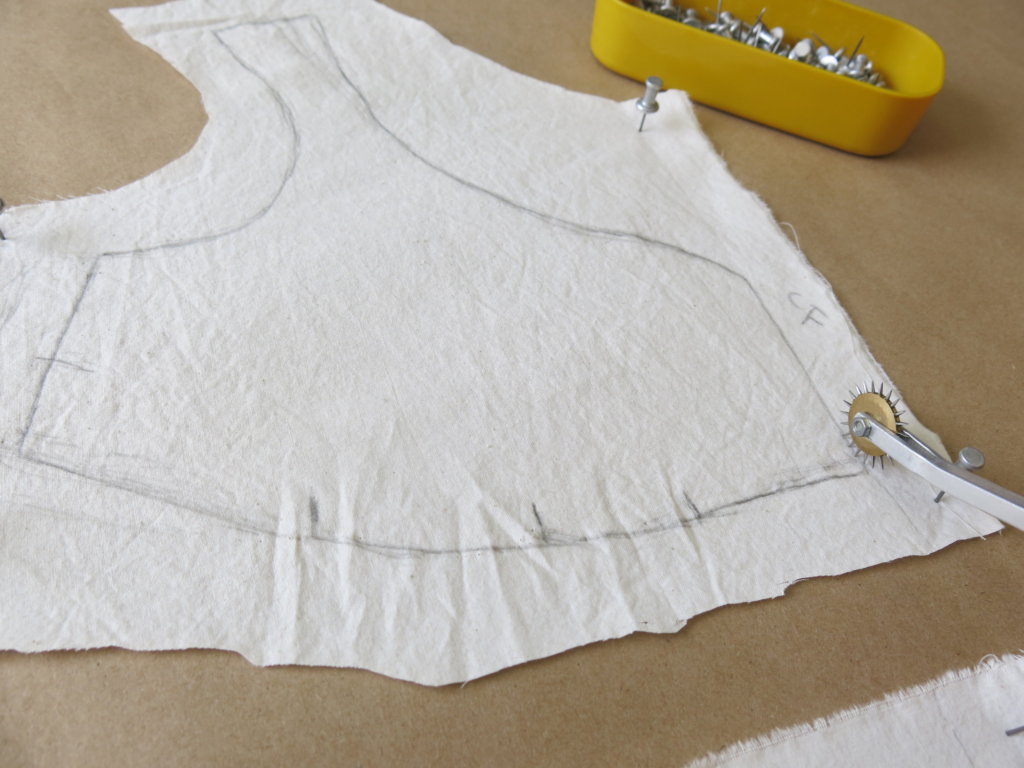
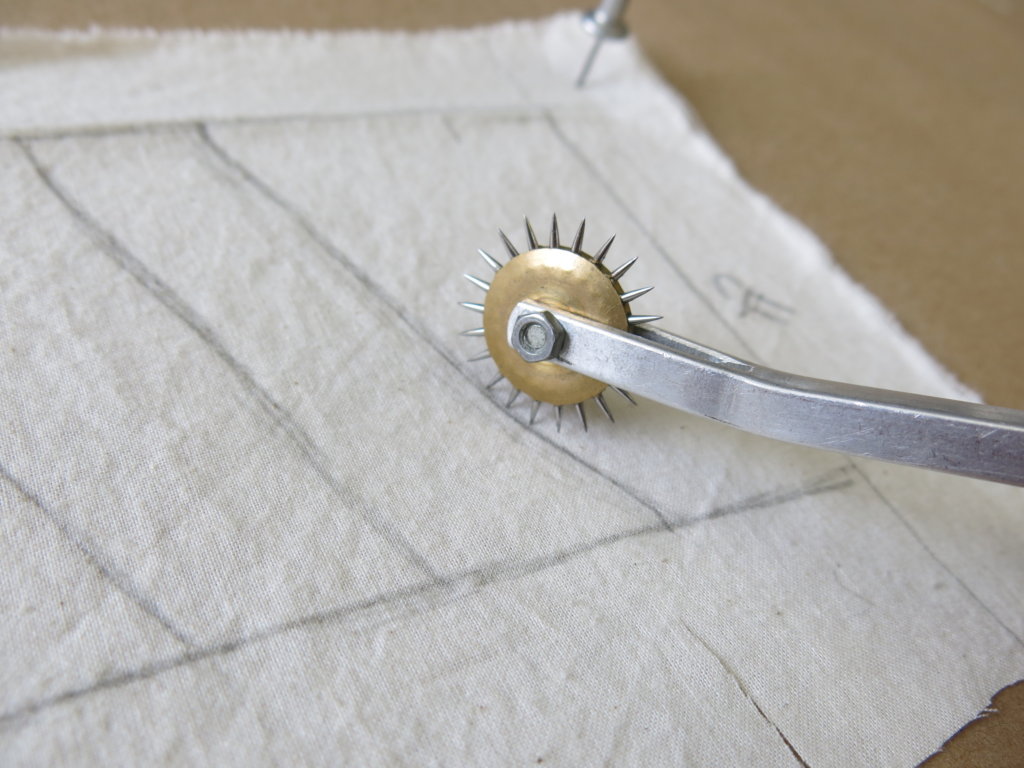
…and then remove each piece of fabric to reveal dotted lines of tiny holes on the paper underneath.
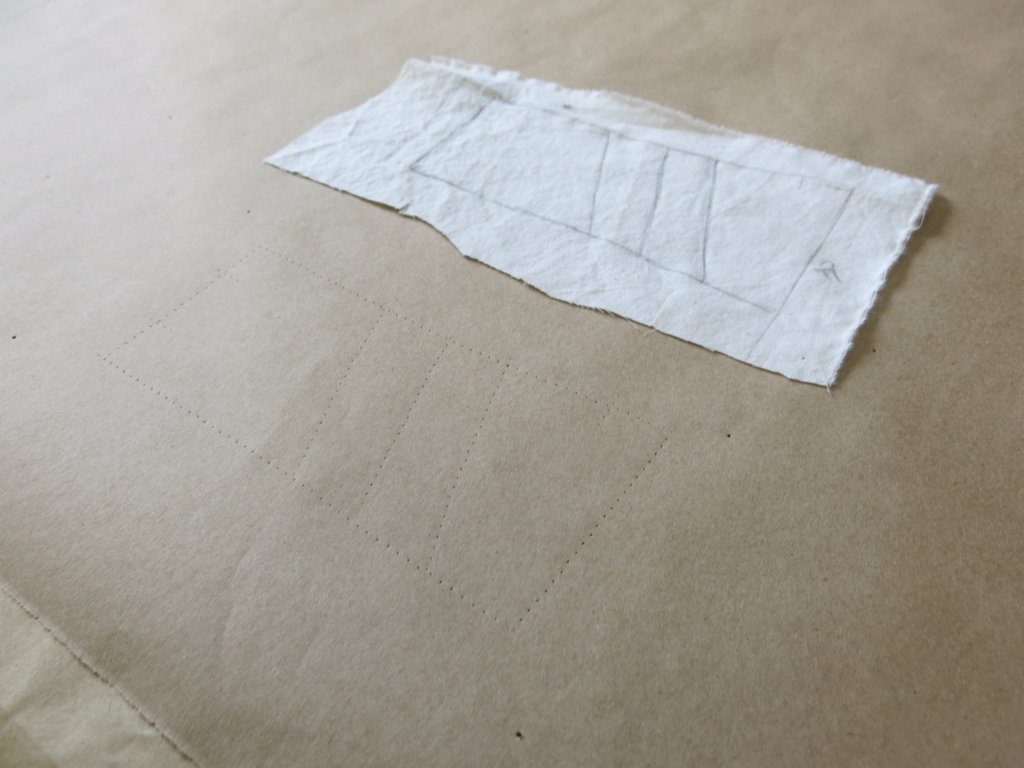
With my rulers and curve tools, I connect the dots with smooth pencil lines…

…to reveal each pattern piece on the paper.
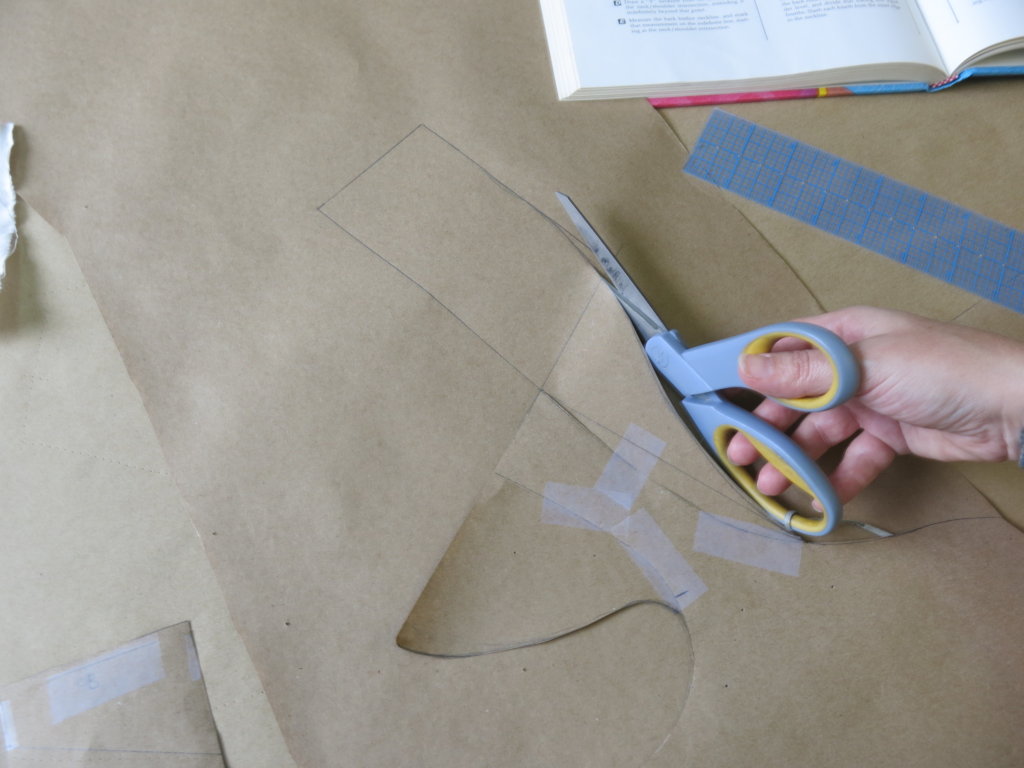
I then cut out each piece before blending and trueing any edge that will attach to another (not pictured).
Flat Pattern Additions
Once my paper pattern pieces were created, I was able to play around with drafting the cut-in-one short sleeve. I added some paper, joined the shoulder seams, and played around until I drafted something that looked worth a try.
I don’t draft collars often, so I consulted one of my favorite pattern drafting books. I have a lot of books and Creative Pattern Skills for Fashion Design (which is the follow-up book of Basic Pattern Skills for Fashion Design) (affiliate links) by Bernard Zamkoff and Jeanne Price is probably the one I reference most often. It was one of my textbooks from graduate school.
Though fashion books usually give you step-by-step instructions, I only ever use them as a rough guide. Custom drafting often needs to break away from fashion “rules”.
That said, the book was able to give me a good starting point for experimenting my way through my own draft!
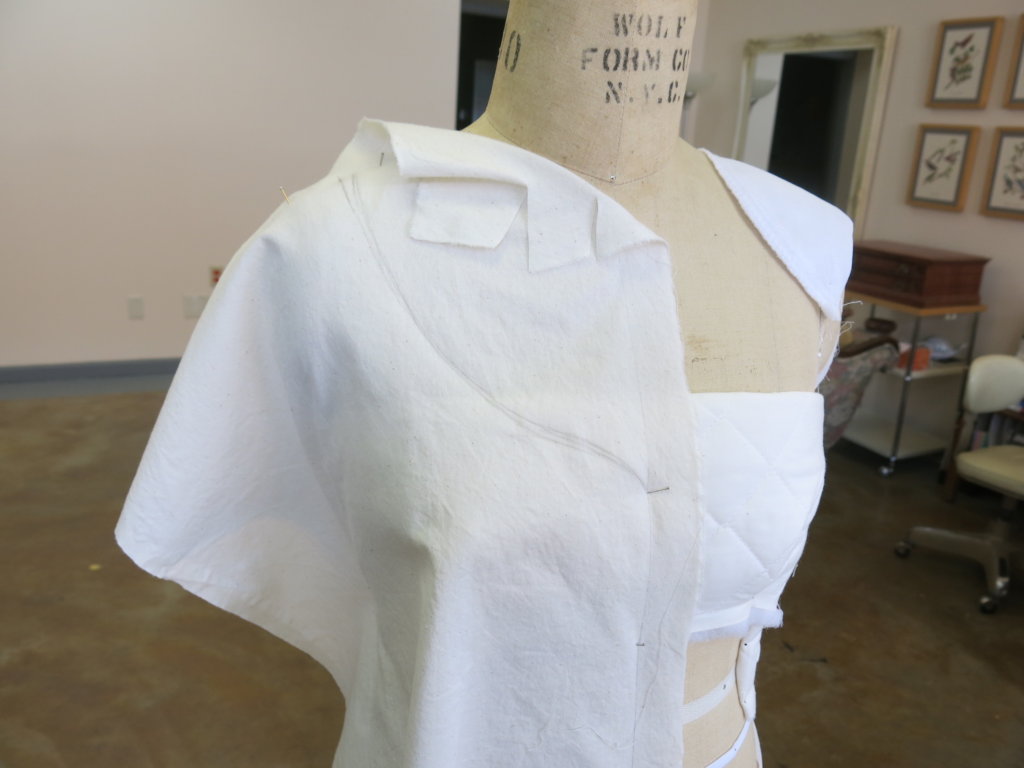
To see how it worked, I tried the paper draft on the dress form. Not bad! This first draft led me to several new draft experiments (not pictured) while trying to figure out exactly what shape I wanted to create.
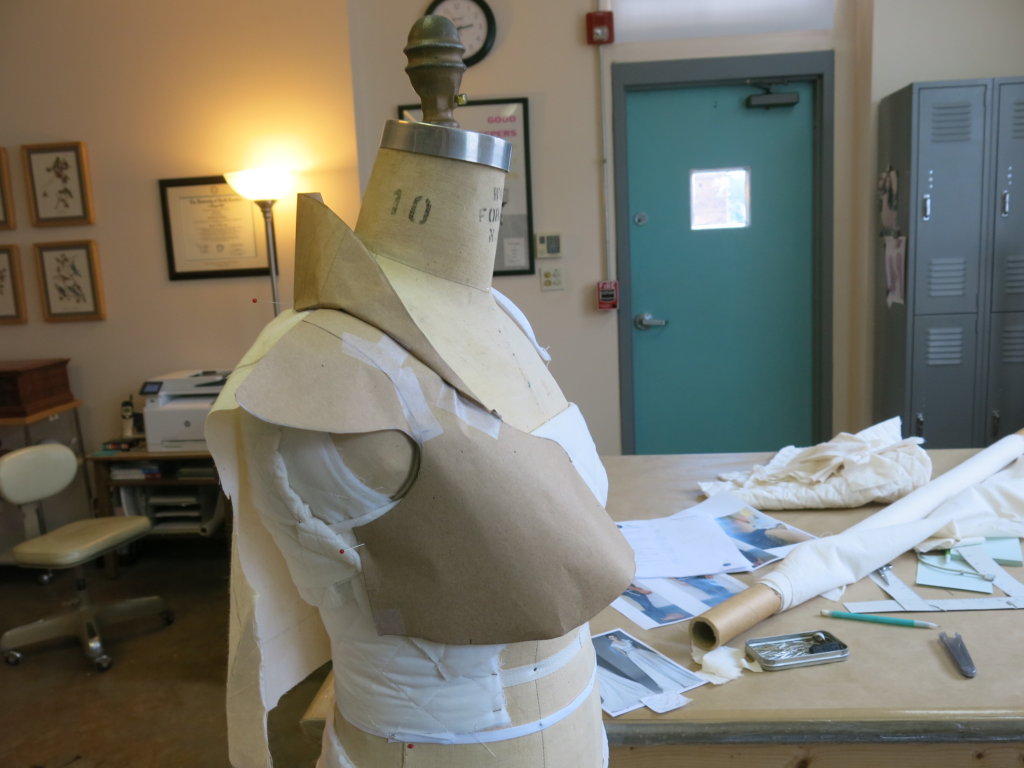
Eventually, slashing the draft on the form got me closer to where I wanted to be. Draping and Flat Pattern Combo for the win!
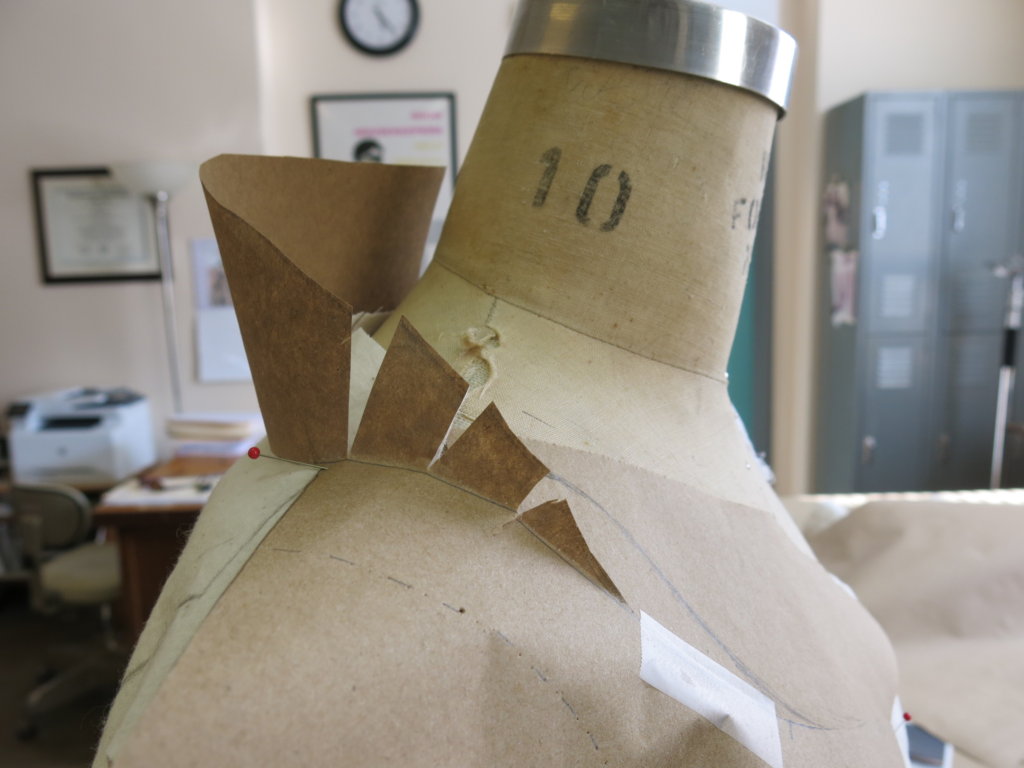
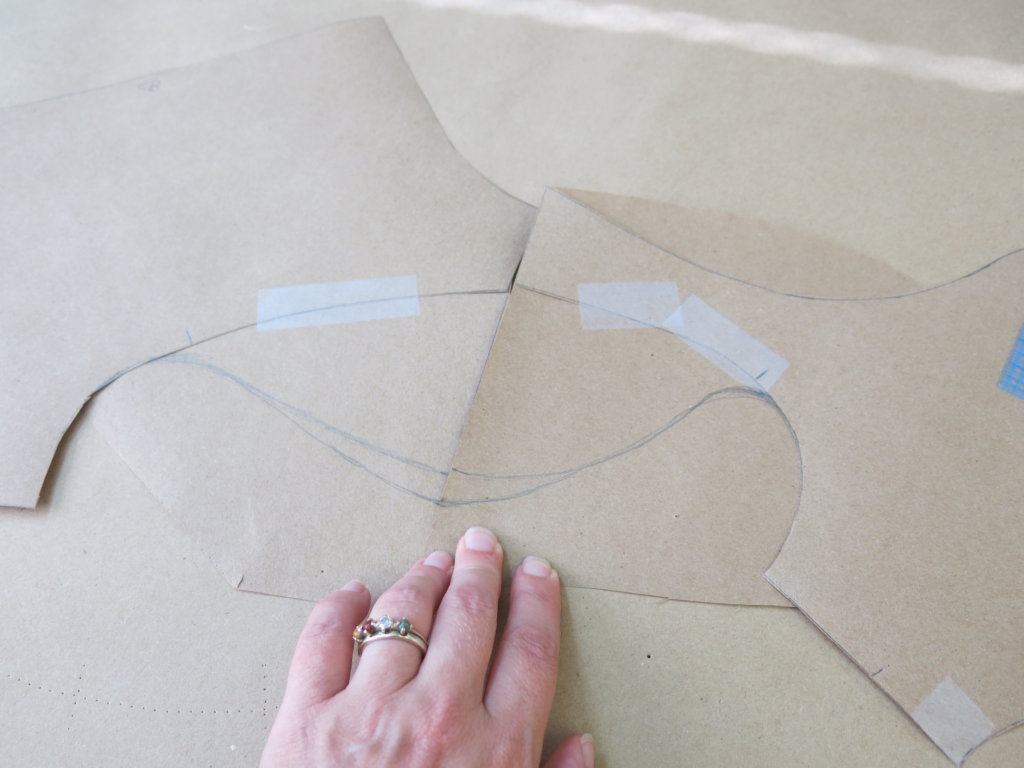
When I was happy with the paper collar in 3D, I taped the slashes in place and traced out a new flat shape. I also decided to make some changes to my original cut-in-one sleeve shapes.
To create the decorative diagonal seam lines that Tiffany wanted in her midriff band, I decided to draft them as a series of tucks. Even if I cut the pieces apart in fabric, this seemed more manageable than fiddling with a bunch of teeny geometrical pieces.
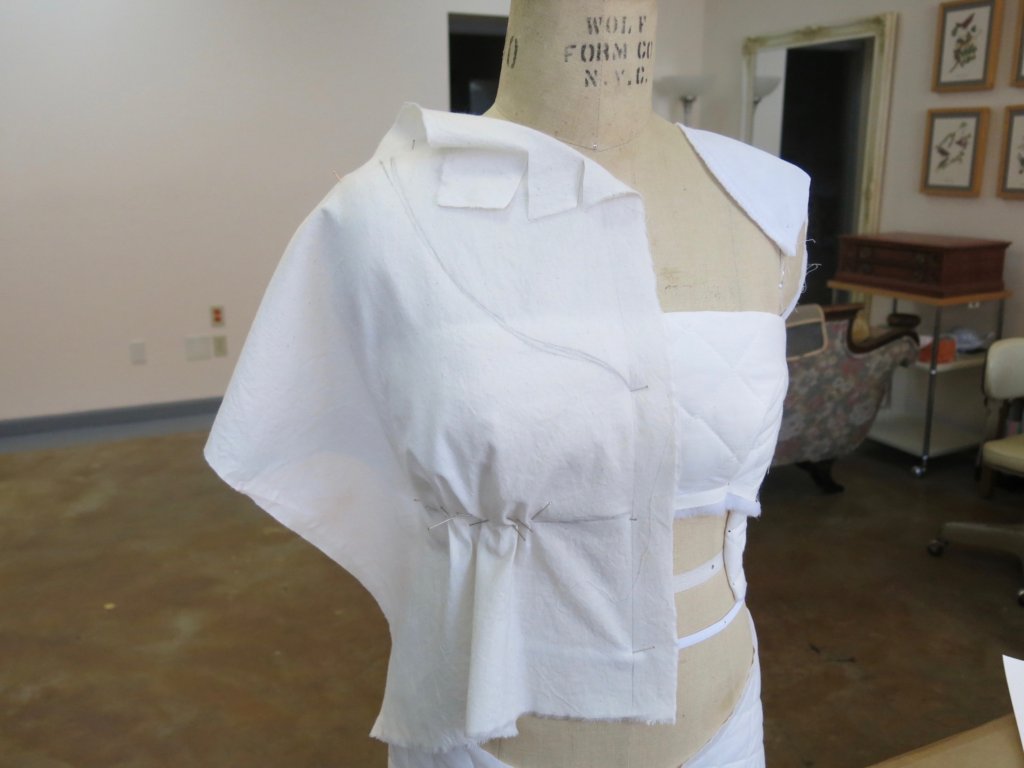
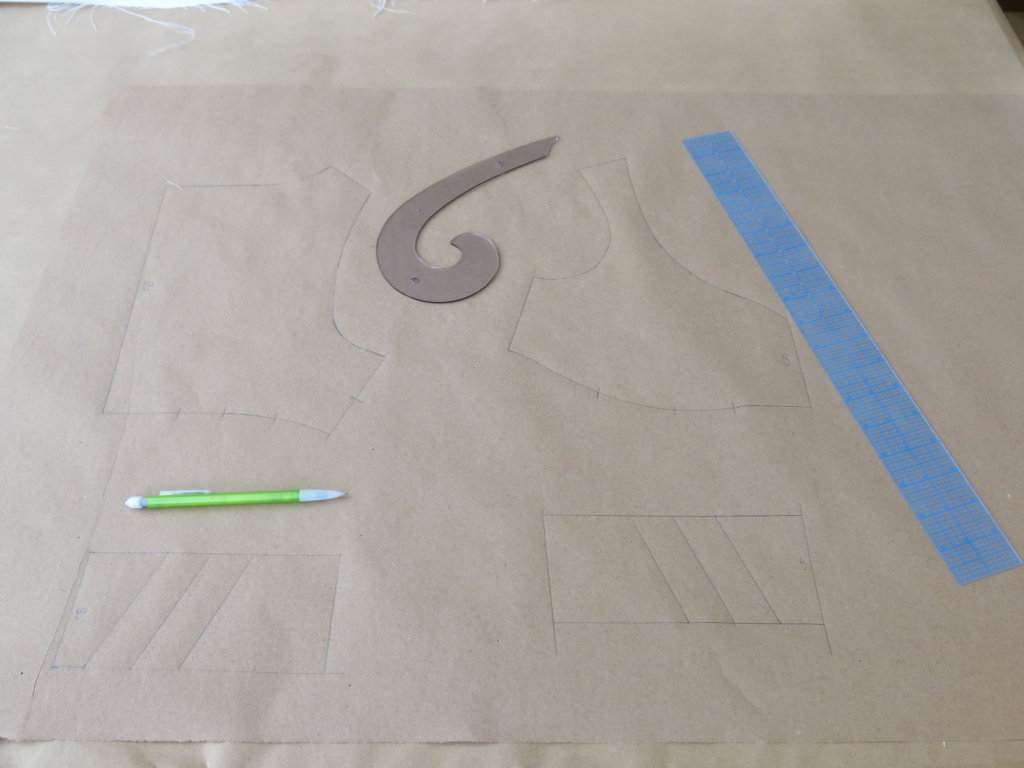
After some cleaning up, my drafting and draping led me to create this set of paper patterns to try out in Tiffany’s first mockup dress!
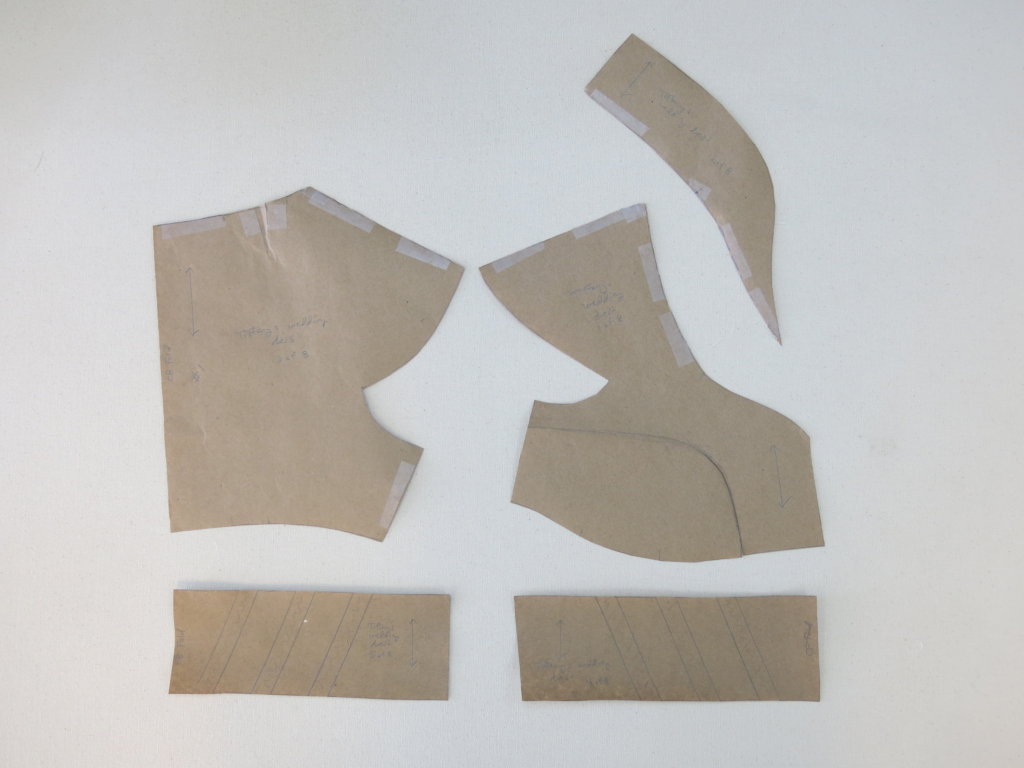
One of my favorite features of custom sewing is that all you need to do is get started and keep moving forward (even if forward means going backwards) making revisions and improvements with each new step. I don’t ever view my many earlier attempts as “mistakes”- they are exactly what led me to something better!
The Skirt
The final bit of pattern puzzle was everything below the waist. Tiffany’s dress design featured a full flared floor-length skirt gathered into the waist of the midriff band. To create the flat pattern, I needed to figure out 3 basic bits of Data: 1) the length from waist to hem, 2) how much fabric I wanted around the waist, and 3) how much fabric I wanted around the hem.
The first was easy: the length from waist to floor was something I noted on Tiffany’s measurement sheet and her custom dress form was already set up accordingly.
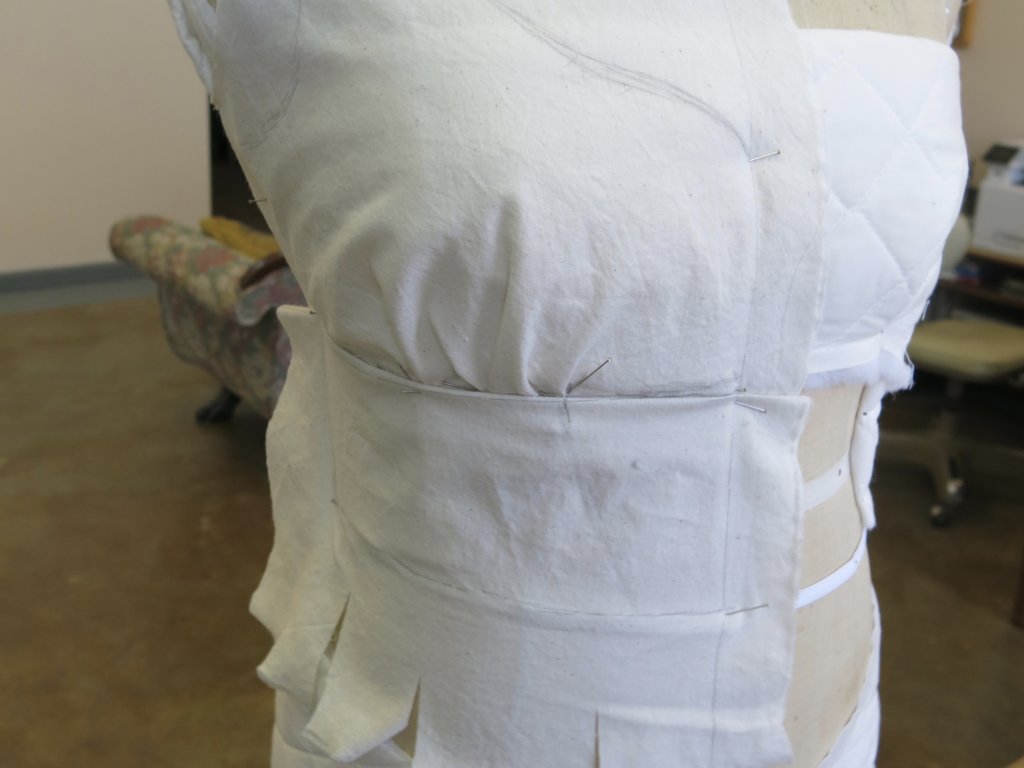
To determine how much fabric I wanted gathered into the waist, I played around on the dress form with bits of muslin topped with gathering stitches. I set up another muslin sample above it to give me a rough visual of the bodice’s underbust gathers.
While making gathering decisions, I decided to try gathering each of the swatches I had collected as potential silks for Tiffany’s dress fabric. While this experiment offered a little insight to my patternmaking, it mostly helped me start narrowing my fabric options based on which offered the nicest gathered look and which was the most enjoyable to work with.

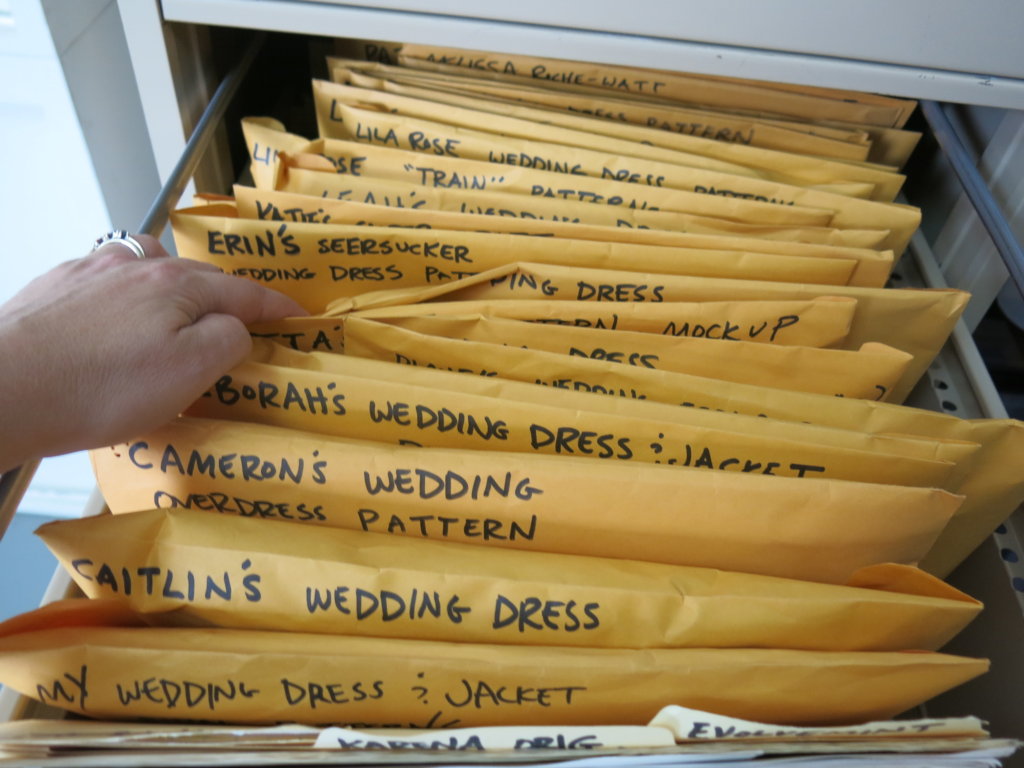
To figure out how much fullness I wanted in Tiffany’s hem, I first thought about wedding dresses I’d made in the past. I remembered Erin’s seersucker wedding dress having a lovely amount of hem, so I measured the bottom of her custom skirt pattern to get a ball-park starting point.
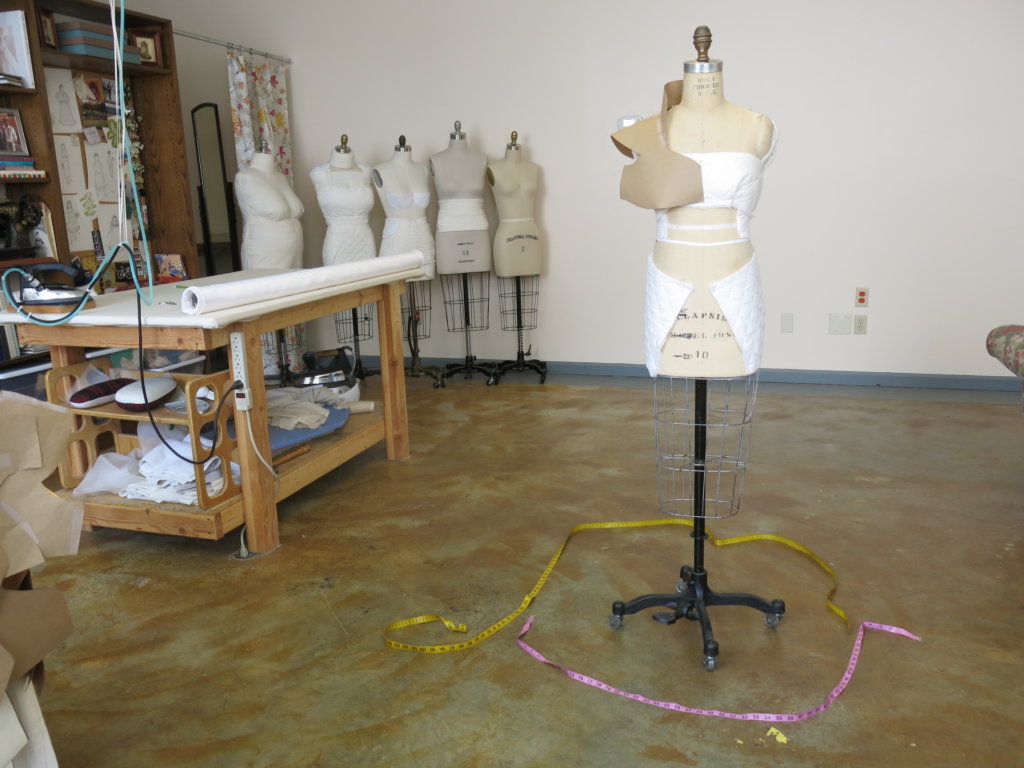
But ultimately I made my decision for my first draft by laying measuring tapes onto the floor around the Size-Tiffany dress form.
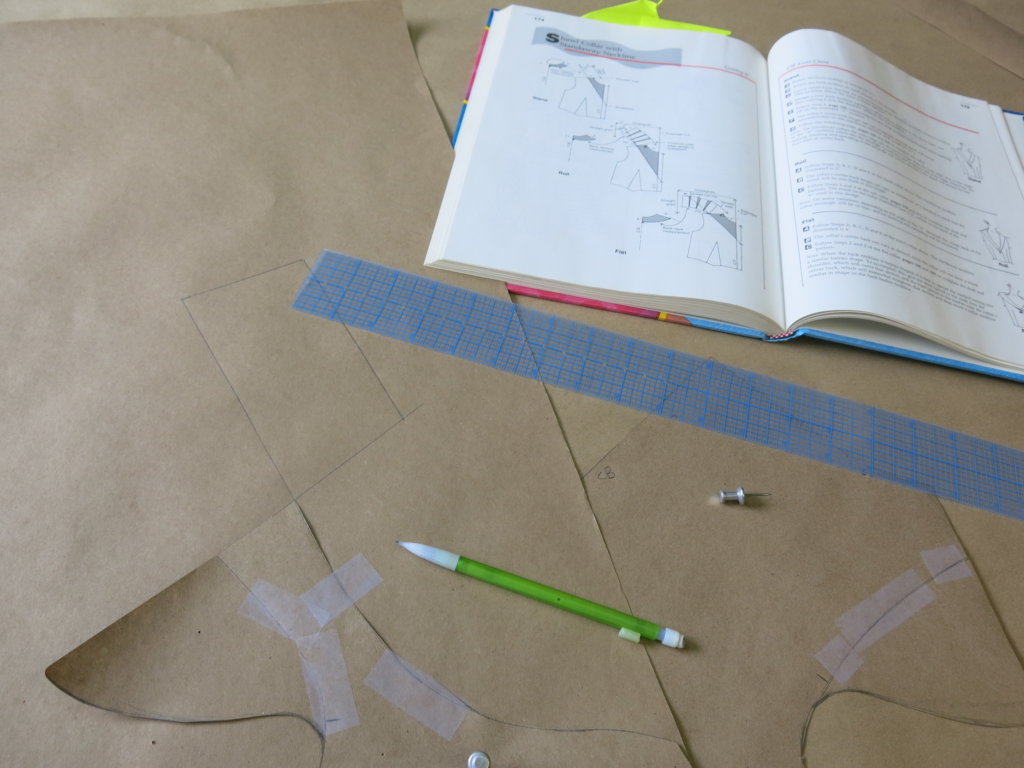
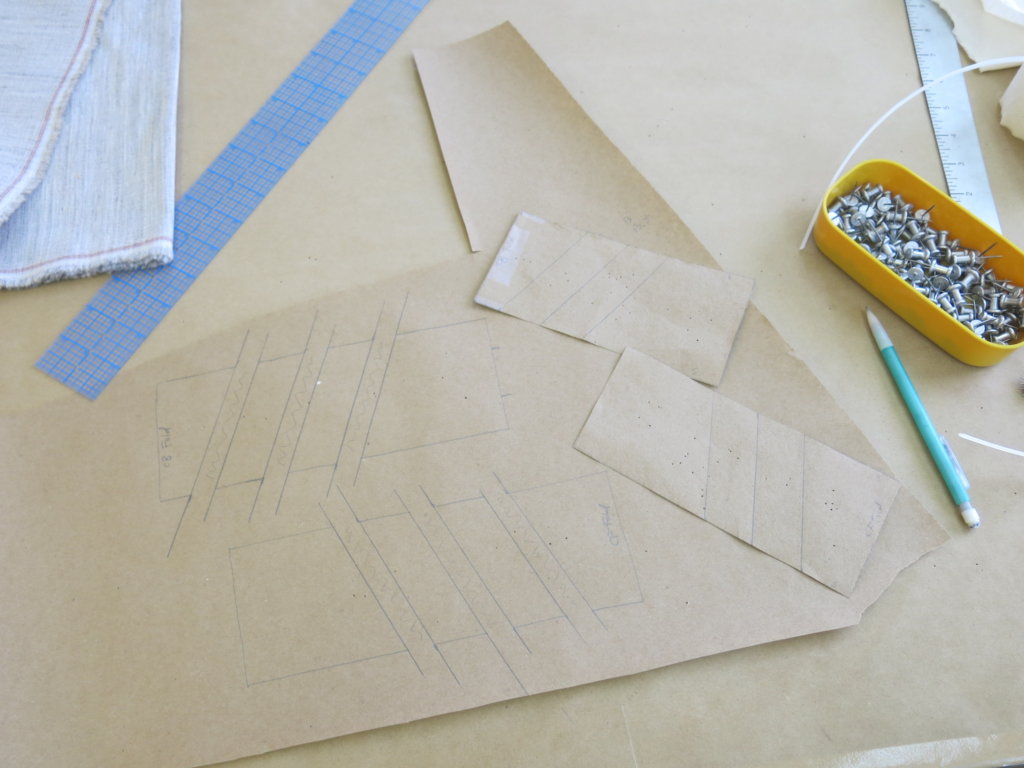
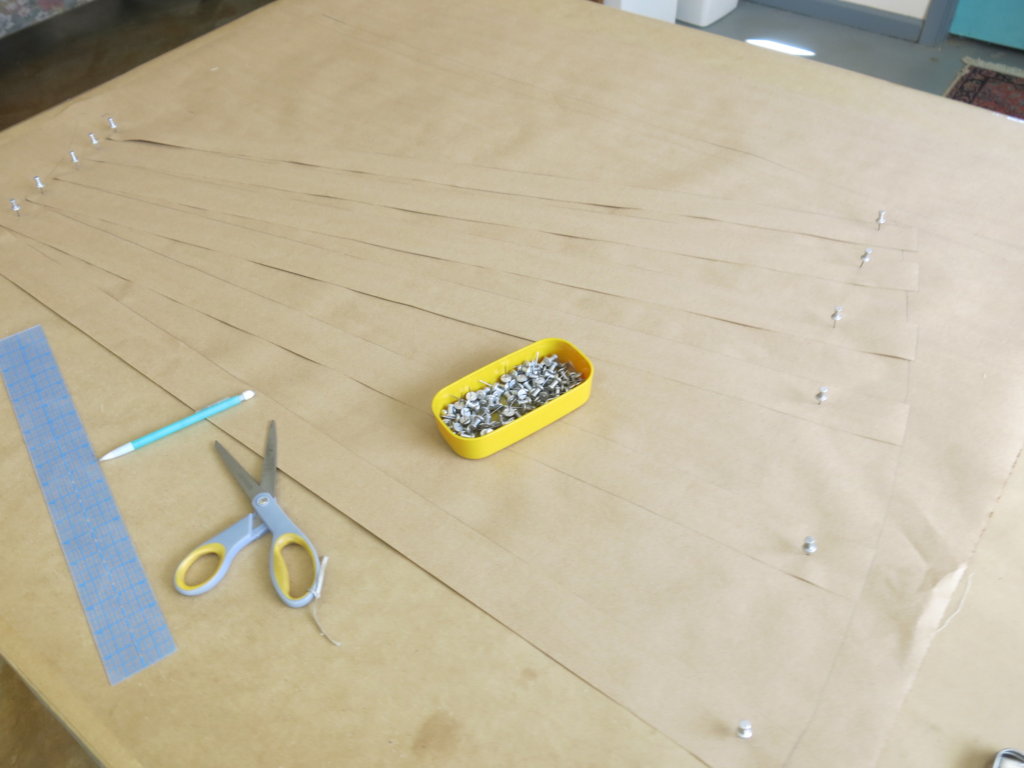
To make the flat pattern for the skirt pieces, I drafted a rectangle that was as long as Data Point #1 (waist to hem) and as wide as Data Point #2 (desired gathered waist fullness) on a large sheet of paper. Then I drew lots of even parallel lines down the length of the rectangle.
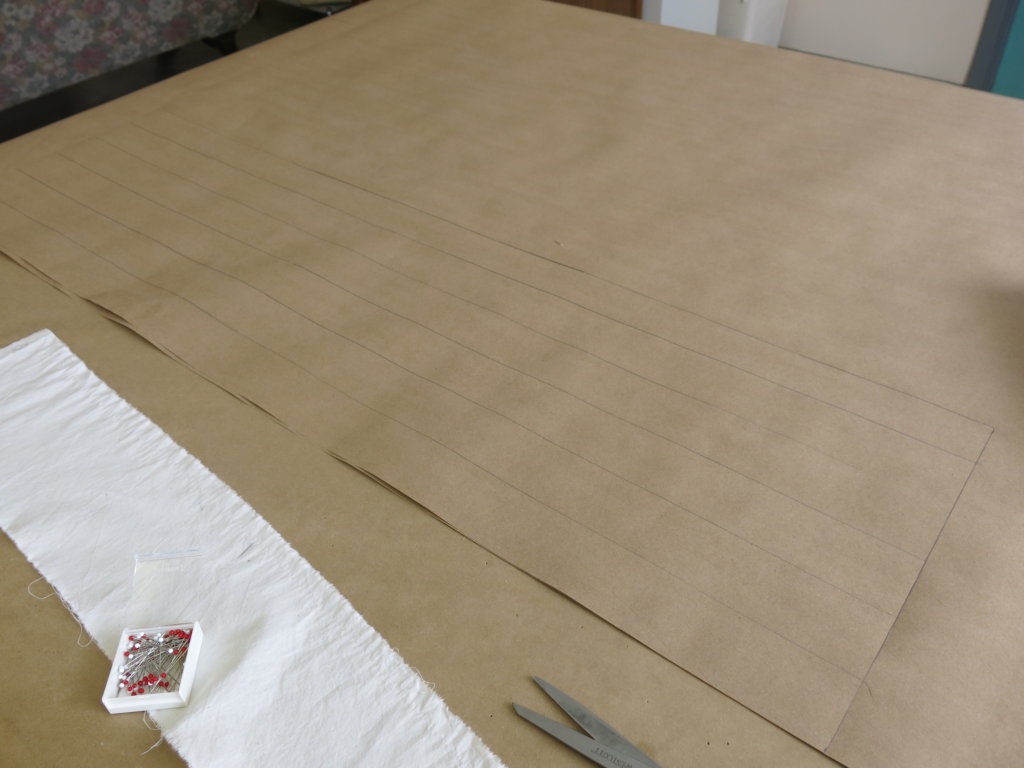
I cut along these lines starting at the hem edge and cutting up to (but not all the way through) the waist edge. Next, I spread the strips open evenly at the bottom until they matched Data Point #3, my desired amount of hem fullness. When the shape is traced onto a clean sheet of paper, a curve is created at the waistline and hem which gives it the shape needed to fit and fall beautifully on the body.
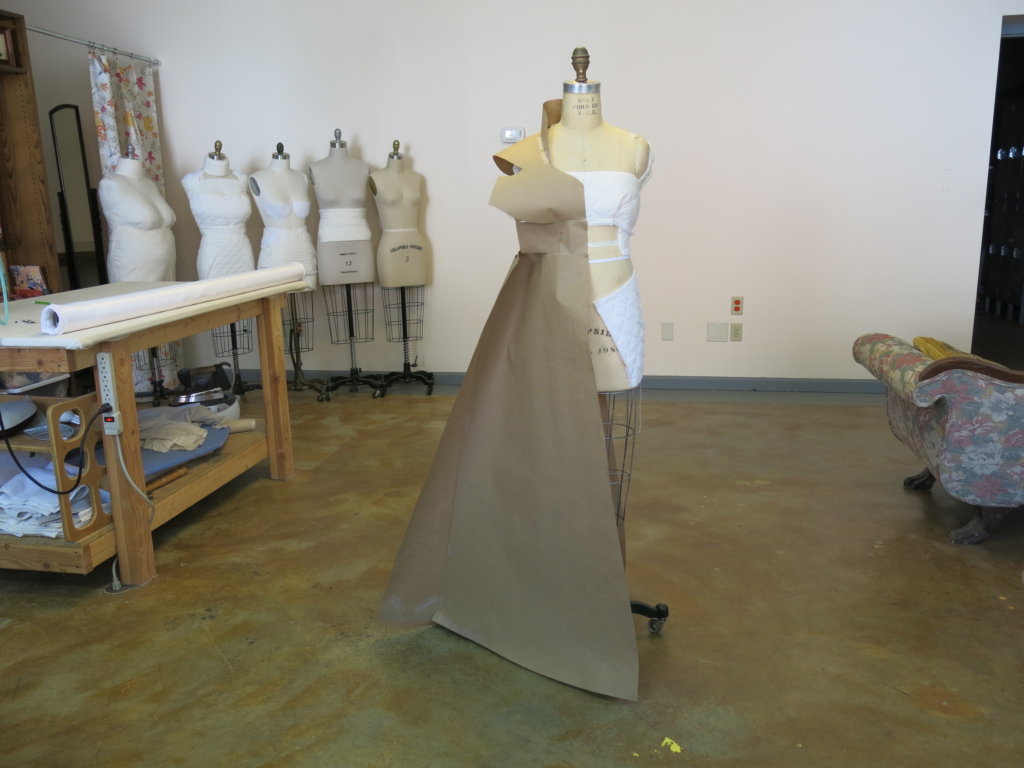
Though my paper does not have the same qualities of fabric, I pinned all of the completed pattern pieces crudely in place on the form. With a little imagination, I could tell that my first draft was the start of something really cool!!!
Sewing people: Do you drape or draft your own custom patterns? I never learned the process of altering and sewing from sized commercial patterns, mainly because I adore the process of making my own so much!
NEXT POST: I use this first draft to construct Tiffany’s first mockup dress!
ALSO: Would you like to learn more about the unconventional way I sew by designing and drafting your own custom-fit patterns? My interactive Intro To Custom Sewing eCourse opens for registration online soon!
A few items (that I love love love) are linked in this post with Amazon Affilate links. If you purchase something via my link, I’ll earn a small commission at no additional cost to you.


2 Responses
To answer your question: I have a few commercial patterns that I have adjusted to fit me well over the years (no joke, I have made at least 6 of the “same” gored skirt over the past 20 years – shorter ones, longer ones, cotton ones, wool ones, etc.). From those, I have a top block and a skirt block that fit me well, and I mostly draft from there these days. I also have a ready-to-wear buttonfront shirt that I cut apart after the sleeve blew out to duplicate as a shirt and a shirtdress.
Hooray! Riffing off of a staring point that you know represents you or something you love can be a really fun way to sew. Thanks for sharing!