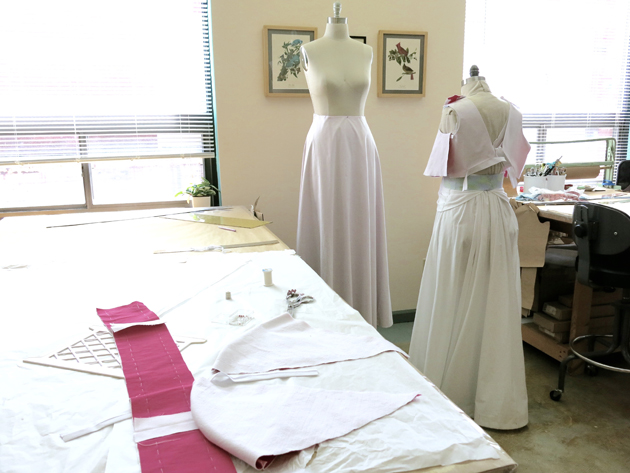
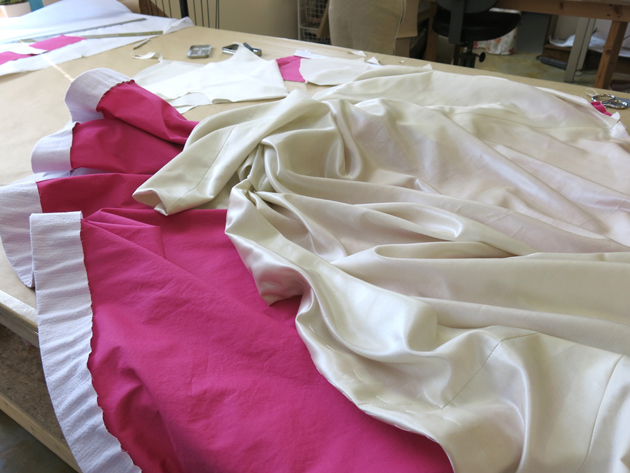
After Erin’s mockup fittings, the fabric for her custom wedding dress was cut and underlined. If you are wondering about the hot pink, see my previous post showing how you can change the color tint of a fabric by the choice of underlining.
Finally, it was time to start sewing and basting her actual dress together!
Even though we finalized most of the design and fit during Erin’s mockup fittings using inexpensive fabrics and test garments, I can’t simply complete her real wedding dress. Different fabrics work differently. In order to observe these differences and to avoid the need to alter anything that has been finished, I prepared for what is called “the basted fitting.”
In the basted fitting, much of the dress is completely finished but some areas are still simply basted together in order to make one more round of final adjustments, if needed. What is finished and what is left basted can vary from dress to dress.
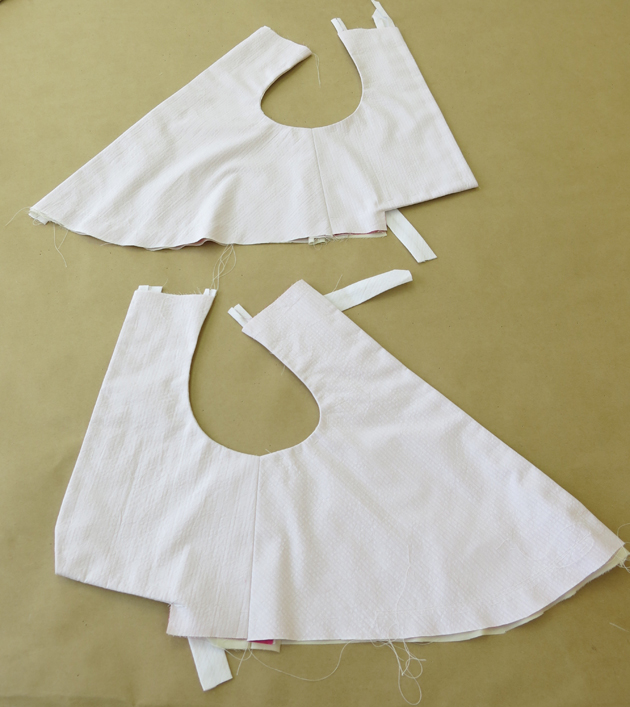
For Erin’s dress, I decided to finish the armholes and edges of her top, but leave the shoulder seams basted to be adjusted in the fitting. I’d also leave some room for adjustment at the seams under the bust and at the waist.
Bias Binding Edges
To finish the edges, I used a custom made bias binding.
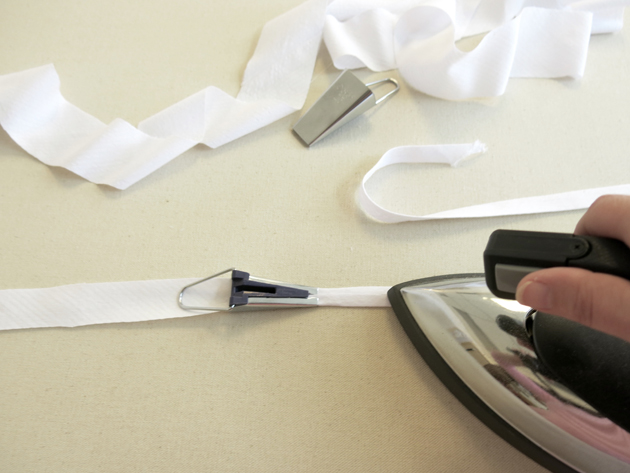
To do this, I took some of her seersucker fabric and cut long strips on the bias. I then ran these strips though a bias tape maker. This creates even folds as the fabric passes through the device when chased with an iron.
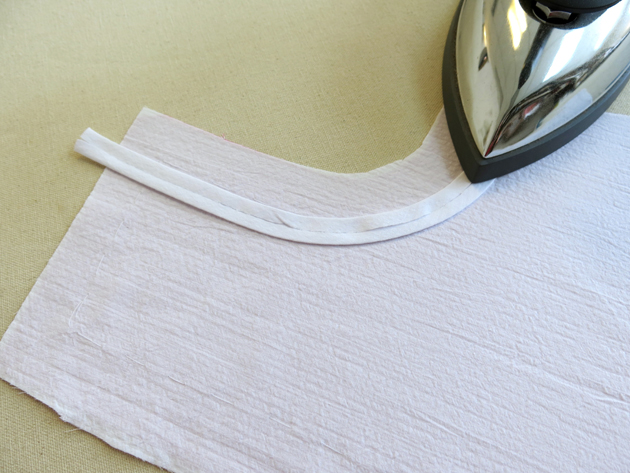
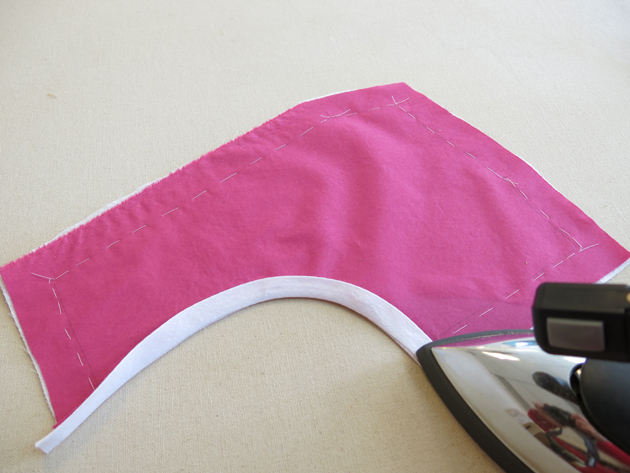
I was then able to use the iron to shape the bias strips to exactly match my armhole. I hand basted it in place before heading to the sewing machine.
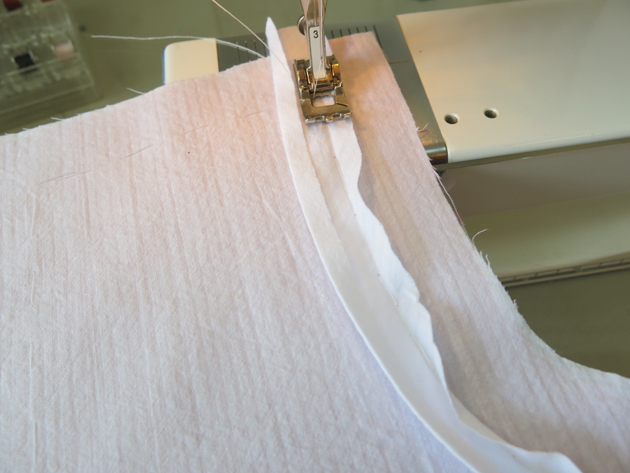
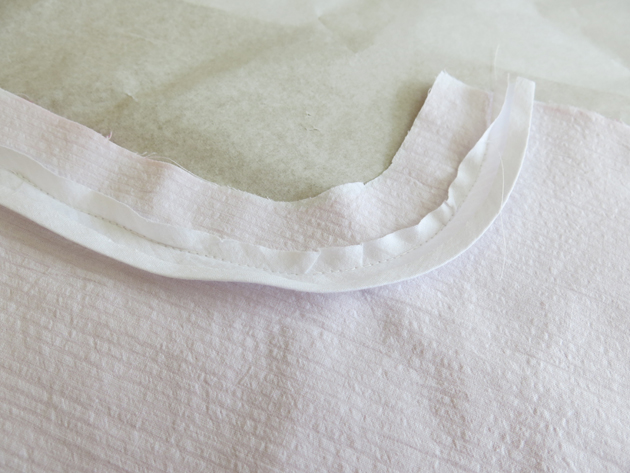
Once at the machine, I sewed exactly onto my basting line which was placed exactly where I wanted the edge of the garment to end.
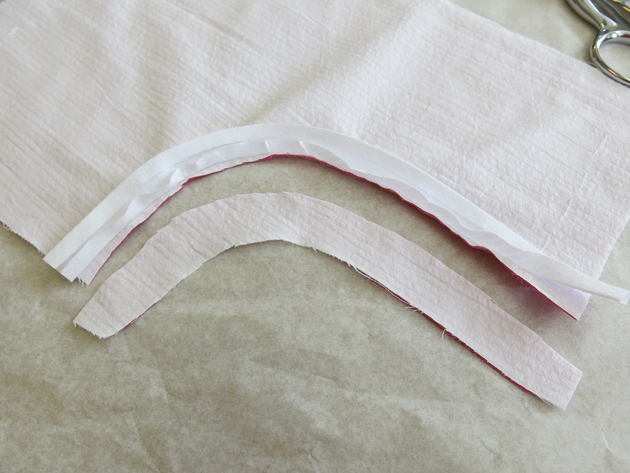
Once stitched and secured, I cut off the excess fabric…
…and turned the entire binding to the inside of the garment and pressed it perfectly into place.
This is a clean way to finish any edge. When I add my lining, I’ll attach the loose edge of the binding with a slip stitch only through to the underlining creating a completely clean finish inside and out.
Horsehair Hem Basting
I rarely ever finish a hem for a basted fitting, but I do baste it in place as it would be sewn. If adjustments need to be made, they are easy to move. If adjustments don’t need to be made, having the hem basted makes it much easier to complete the final finishing.
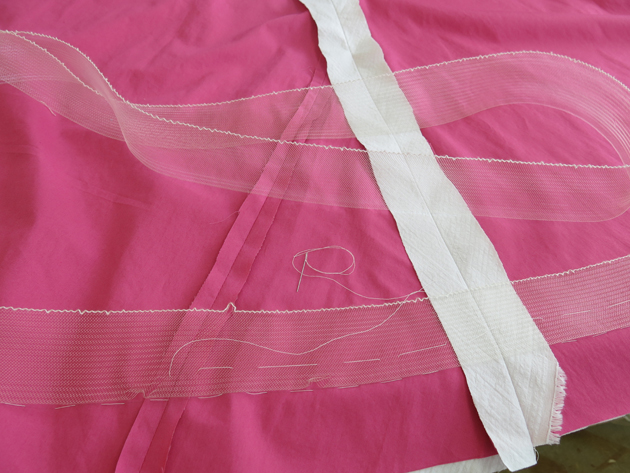
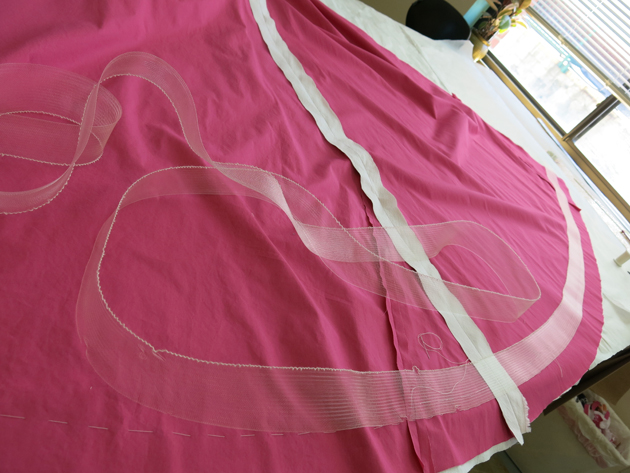
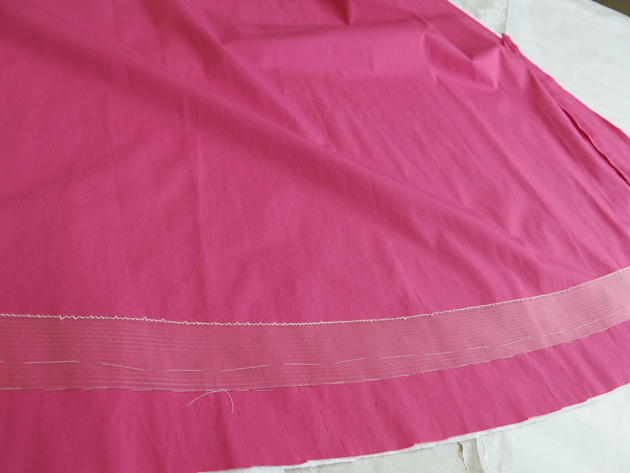
I line the bottom of my horsehair up to my thread marked hem line and add a long running stitch basting it into place.
The edge of the horsehair with the string woven through it should be at the top. This string can be pulled, making the top edge slightly shorter, in order to shape it exactly flat along the hem’s curved shape.
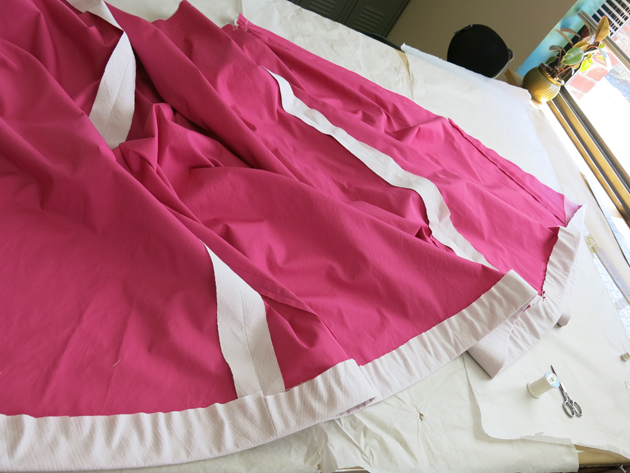
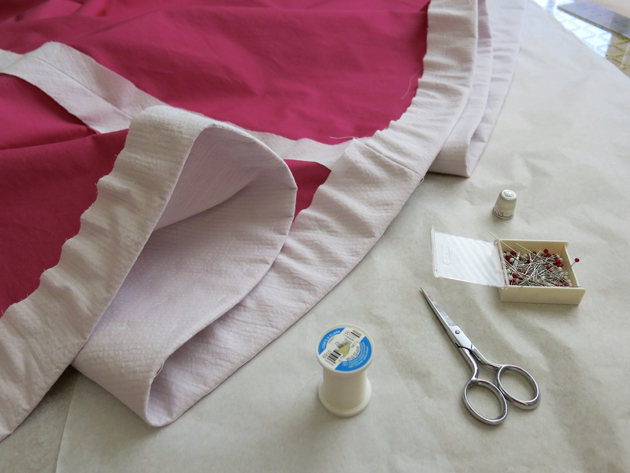
Then I turn the hem edge up and baste it into place.
There’s no need for it to look perfectly beautiful yet. At this point we are only checking for length. The real hem comes after the basted fitting.
Adding a Lining
While I usually wait until after the basted fitting to add the lining, for Erin’s custom wedding dress, I wanted to go ahead and baste it in.
1) I didn’t anticipate there being much adjustment beyond maybe the shoulders and/or hem and 2) Erin’s dress has criss crossed panels of gathers under the bust and gathers under the hip panels on the skirt back that would make it difficult to go in and add a lining after it was already assembled. For these reasons, I decided to go ahead and assemble and line as much as possible before Erin’s basted fitting.
And all that pink fabric would be hidden inside…
Taking Shape
Keeping the pieces as flat as possible for as long as possible is a great way to achieve an efficient workflow and keep things from getting dirty or looking overworked. But soon enough, this dress was ready to take shape.
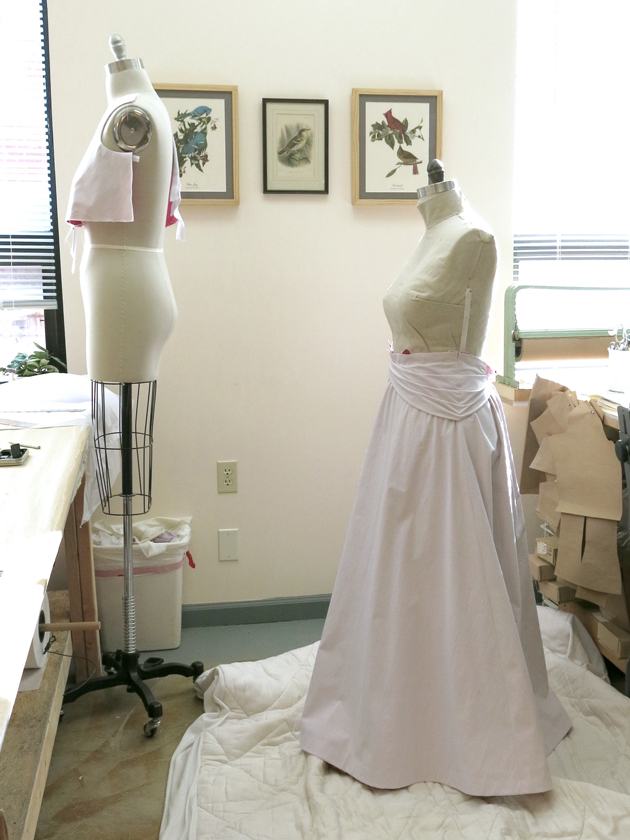
I added the hip decorations while the skirt portion was hanging on Erin’s custom dress form. I used an old mattress cover to keep the hem off the floor while I worked. The dress form that worked best as a starting point for Erin’s figure is the oldest one I have and it doesn’t like to go up and down anymore…
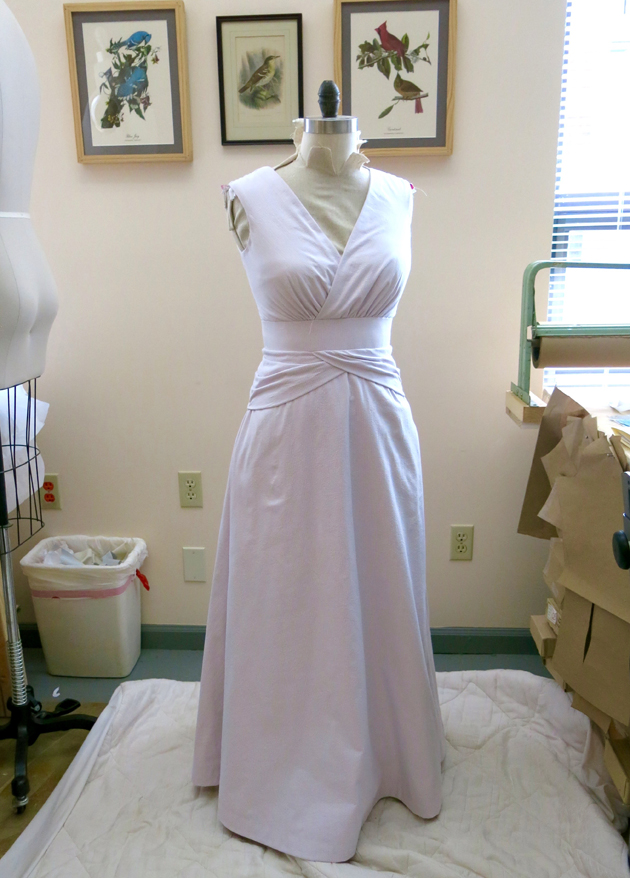
And eventually the other pieces of Erin’s wedding dress were either permanently stitched or simply basted together!
Ta-da! It finally looks like a seersucker wedding dress!
I couldn’t wait for Erin to try this on!
BUT… I still had some things to craft before the fitting… Remember the custom Alabama-Chanin-inspired belt and shoulder decorations from Erin’s sketch?
NEXT POST: The creation of Erin’s custom belt and hand stitched silk appliqué decorations!


