At this point in the couture process…
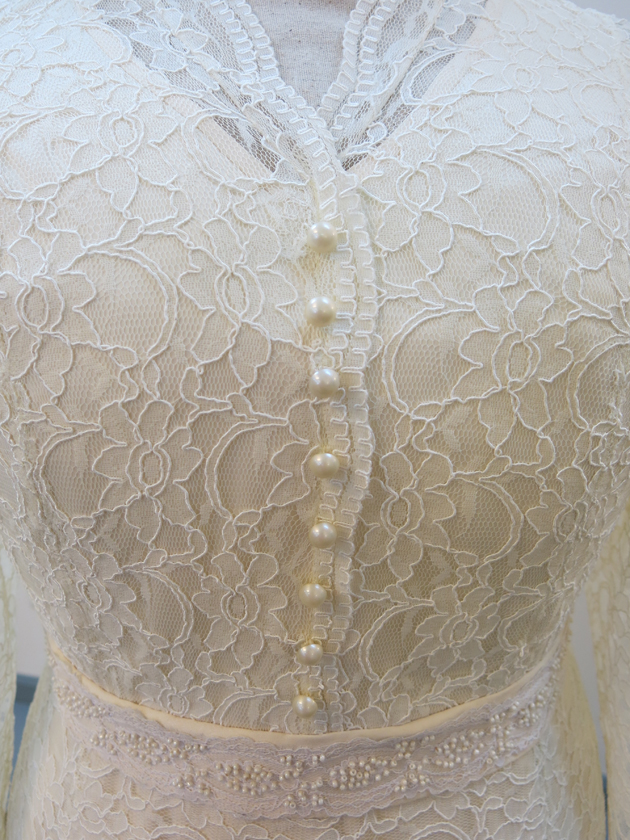
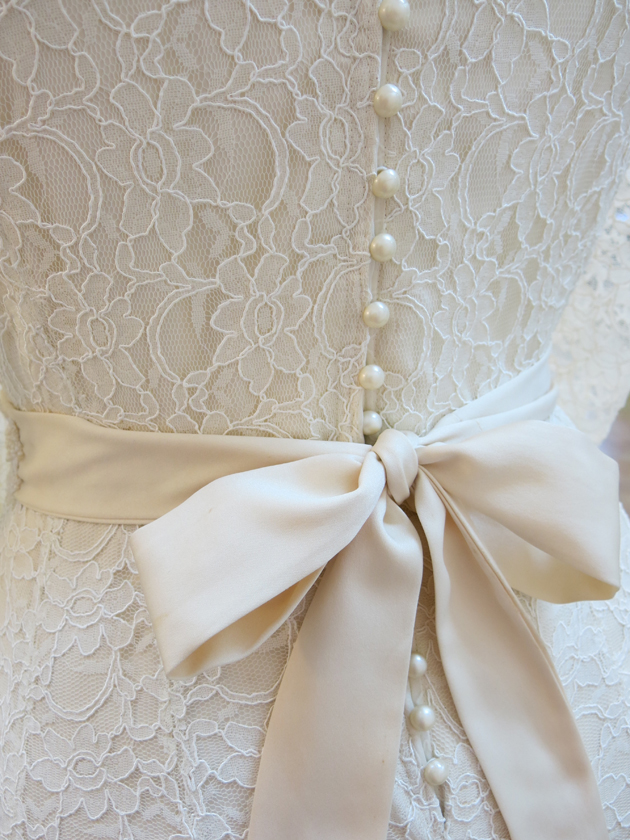
I was ready to finish Caitlin’s custom wedding dress! After adding the lining and all those buttons all that was left was the hems, the label, and the final press. This is such an exciting part of the process!
Couture Hems
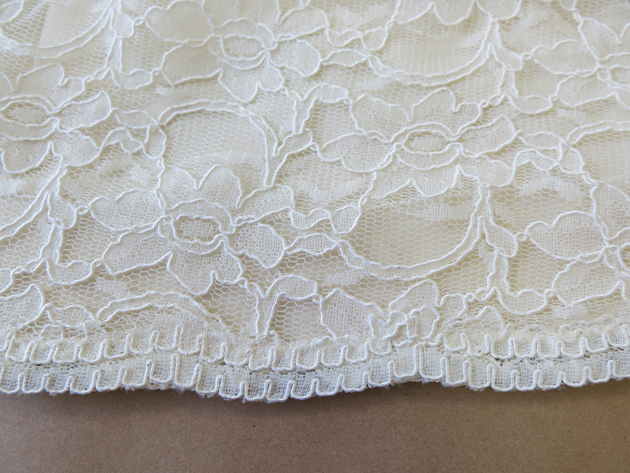
To create the scalloped lace hem, I first hemmed the lace yardage of the dress. I stitched a narrow hem on the machine while catching 2″ horsehair of a matching color. This gives the hem a lot of body while remaining invisible even through the lace. (Can you see it hiding in the hem?)
Then I hand stitched the scalloped lace right on top of my previous hem.
The underskirt (made of Caitlin’s mom’s wedding dress fabric) also featured a hand stitched horsehair hem.
I love using horsehair in hems because it gives fullness and body to the hem of a skirt without all the fuss of having to wear petticoats or underskirts. It’s a really lightweight and comfortable way to get impact and volume at the hem.
I also hemmed the lining layer and attached it to the skirt’s hem with swing tacks. I left the lace layer free and unattached because I wanted Caitlin to be able to show off her mother’s wedding dress fabric underneath. I knew that she and her mom would like to tell the story of how the stains got there back in 1969!
Hand embroidered labels
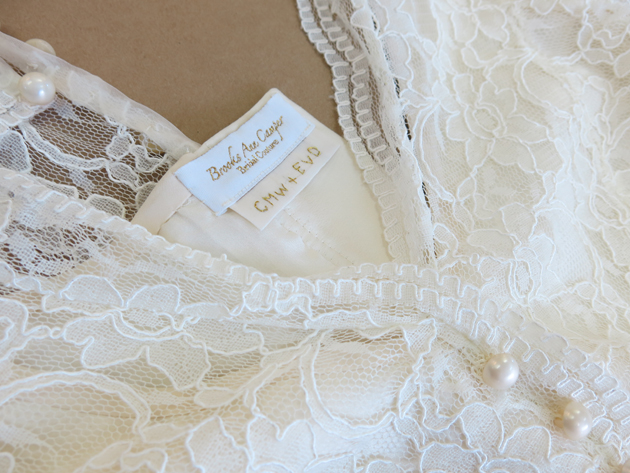
I always like to hand embroider the couple’s initials and wedding date into the dress hanging from the label. Caitlin loved the idea of the initials, but asked not to add the date “in case a future child would like to use it”.
I love that there are already plans to keep this dress as an heirloom!
Final Press and Inspection
It was finally time to press and inspect the finished dress. I like to double check the whole dress inside and out, clipping any stray threads and pressing any little wrinkles. Final inspection is a great time to reflect on all the hard work that has gone into creating the dress, as well as get excited about it leaving the Sewing Room for the wedding venue!
It looked so beautiful…
Winding down…
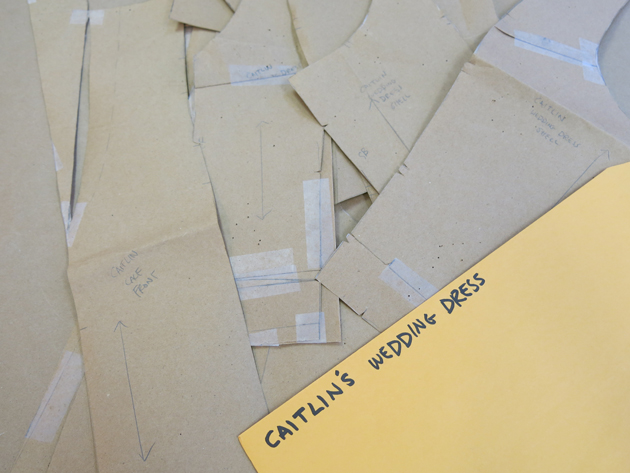
It is always bittersweet to pack up the patterns. I love creating and working with hand drafted patterns. They have such history in them…
Caitlin would be by very soon to try on the dress one last time and to finally take it home with her!
Photography
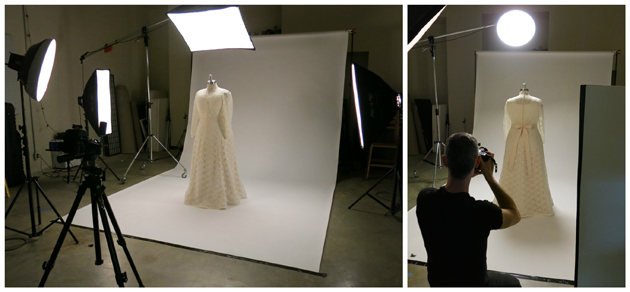
Before one of my custom dresses is released to the bride, I always like to get some professional photos taken. Luckily my new Sewing Room is adjacent to my photographer. This was the first shoot where I literally rolled the dress from my dressmaking studio through the lobby to the photography studio. What a treat!
Here’s a behind-the-scenes sneak peek:
NEXT POST: I’ll share the shots from the photoshoot! You won’t want to miss Caitlin’s gorgeous dress captured by Kent Corley‘s gorgeous photography.







2 Responses
Lovely work and beautiful detailing! Can’t wait to see the gown in it’s entirety.
Question: Do you use a serger for any of your gowns or work in general?
Also, there’s an error in the last link. https://www.kentcorely.com/ shows a page error. Is it https://www.kentcorley.com/?
Thanks Maryam! I’ll be sharing lots of photos really soon!
And thanks for catching that error. It’s all fixed now, thanks to you! I got a little carried away with my spelling…
Great question about the serger! I have a super-cute vintage serger that was once my Grandmother’s that I love, but I rarely ever use it. Serging isn’t very “couture” and I don’t quite care for the “manufactured” look it creates. All of my wedding dresses are fully lined, so I don’t have the need for those types of seam finishes in them. And even when sewing my own casual clothes, I opt for stitch-and-pink or stitch-and-zig seam finishes over pulling out the serger. Just my personal preference. Thanks for asking!