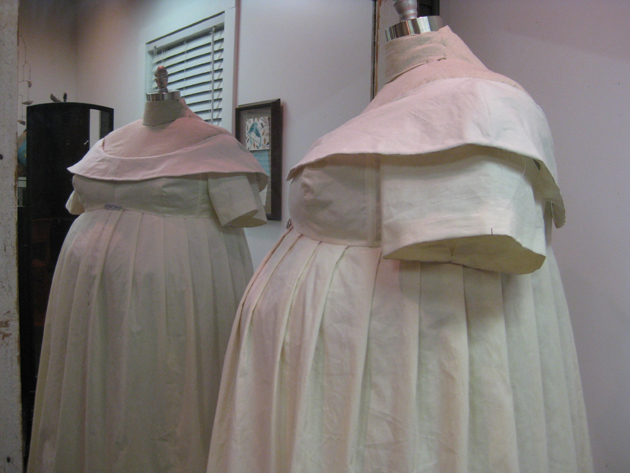
 I’ve been working like mad on Greta’s mockups! I have found that I often get so wrapped up in the dressmaking process that I neglect to blog about it. To fill you in, I will share with you the few photos that I took while working on Greta’s mockup(s).
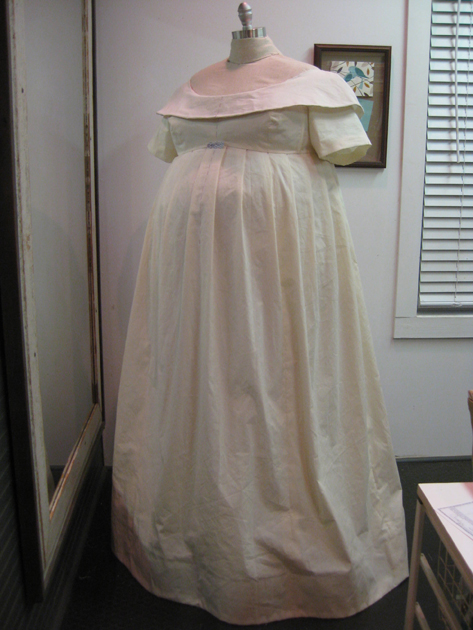
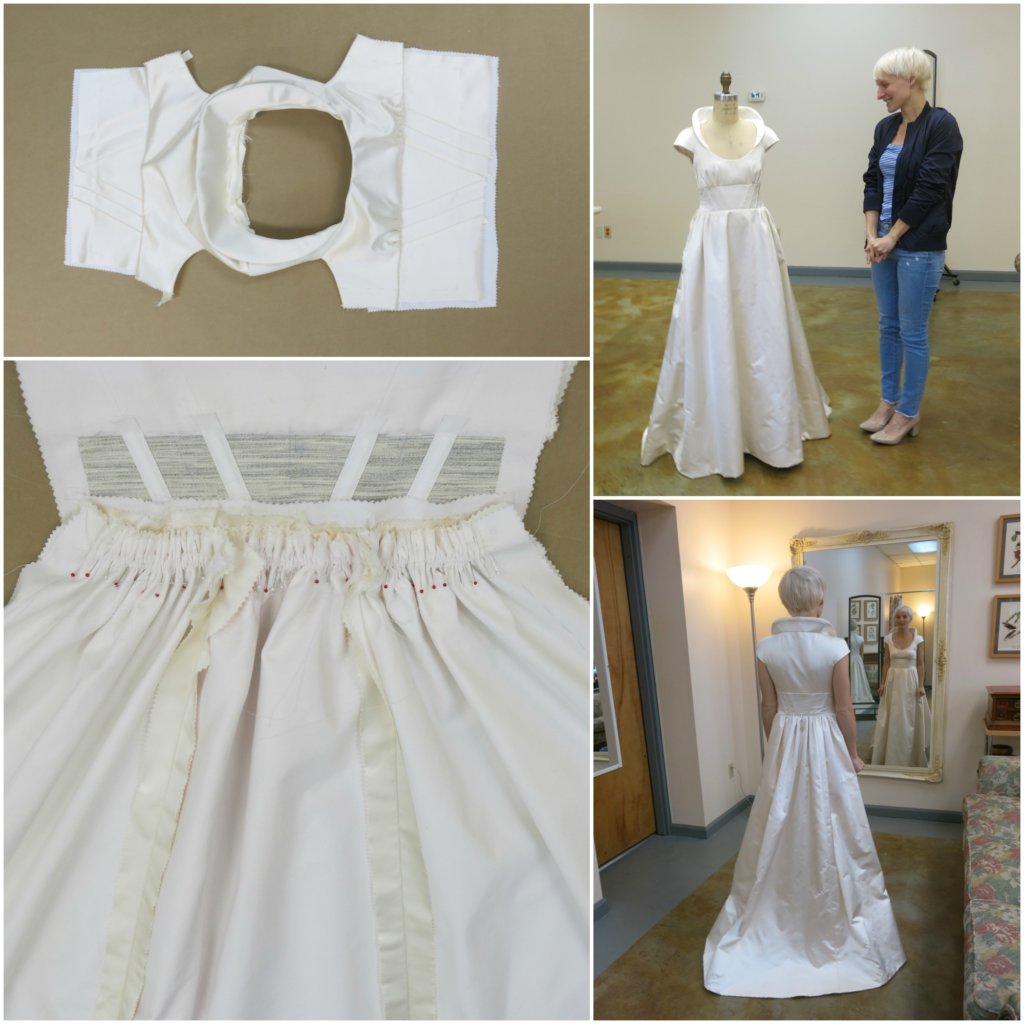
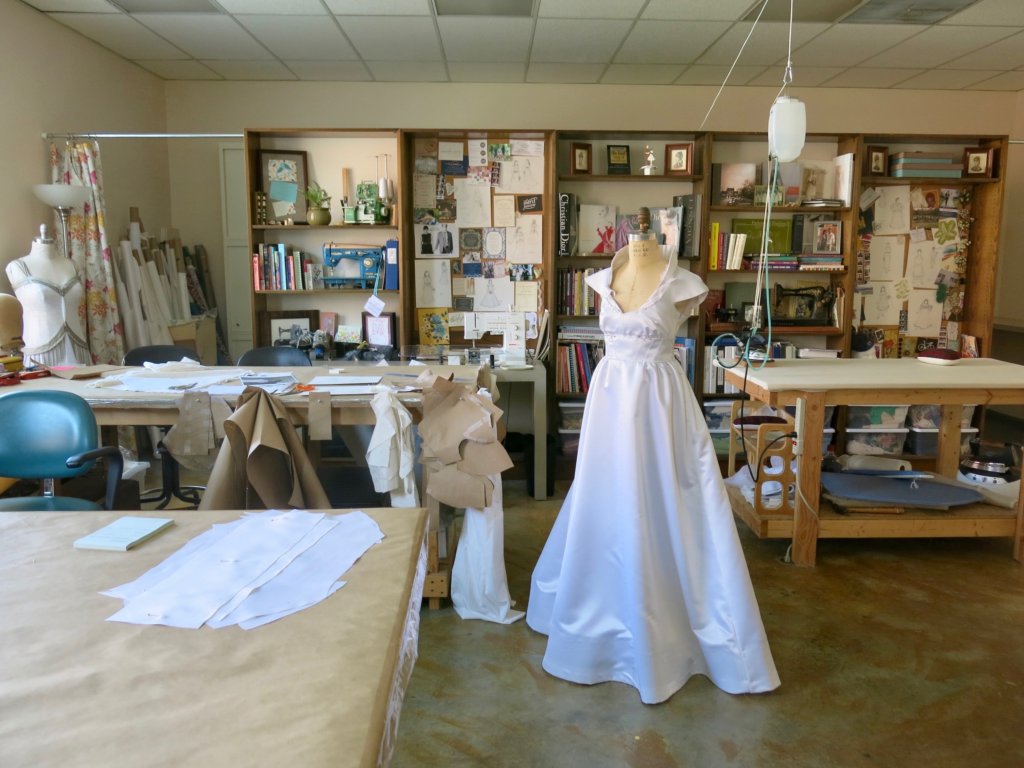
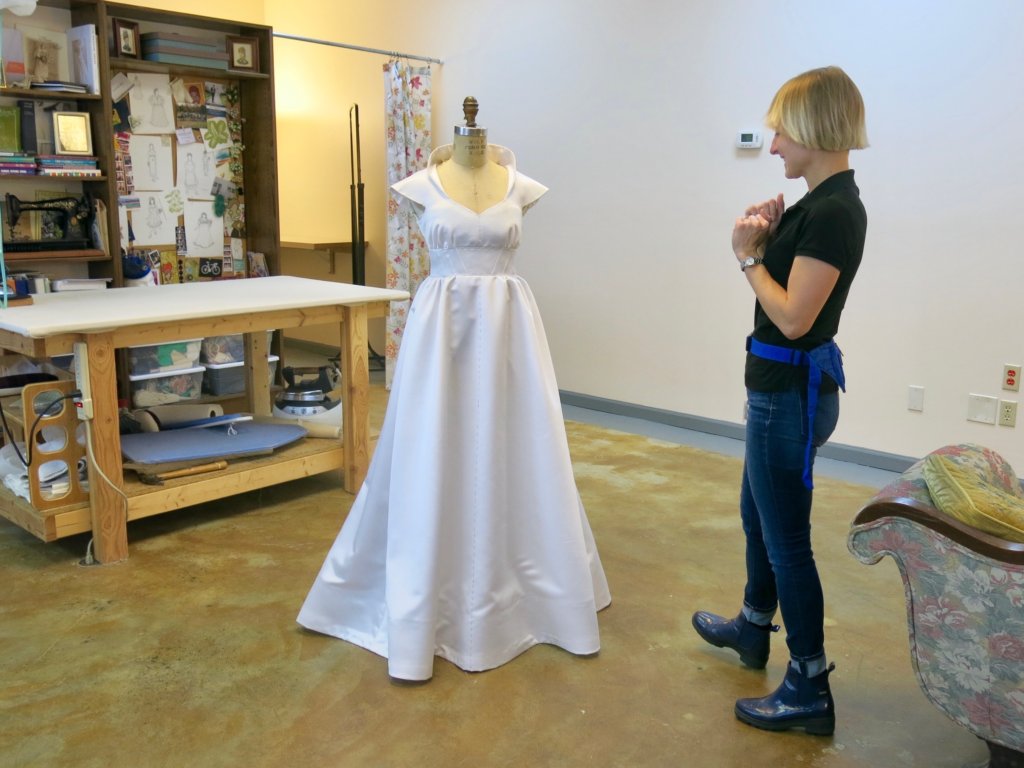
Currently Greta’s second mockup is ready for a fitting. Above is a photo of the second corrected mockup that she will try on. She’s bringing her mom with her to my studio this weekend for our second fitting. Afterwards, we are all going to Mulberry Silks to finalize our fabric choices for her custom wedding dress! I’m so excited (!), but I am also getting ahead of myself.
A mockup is a “test dress” that is fitted on the bride to work out all of the pattern details without the risk of ruining the actual dress fabric. We can cut, pin and draw all over this dress!
Here’s a few photos that I took during the assembly process:
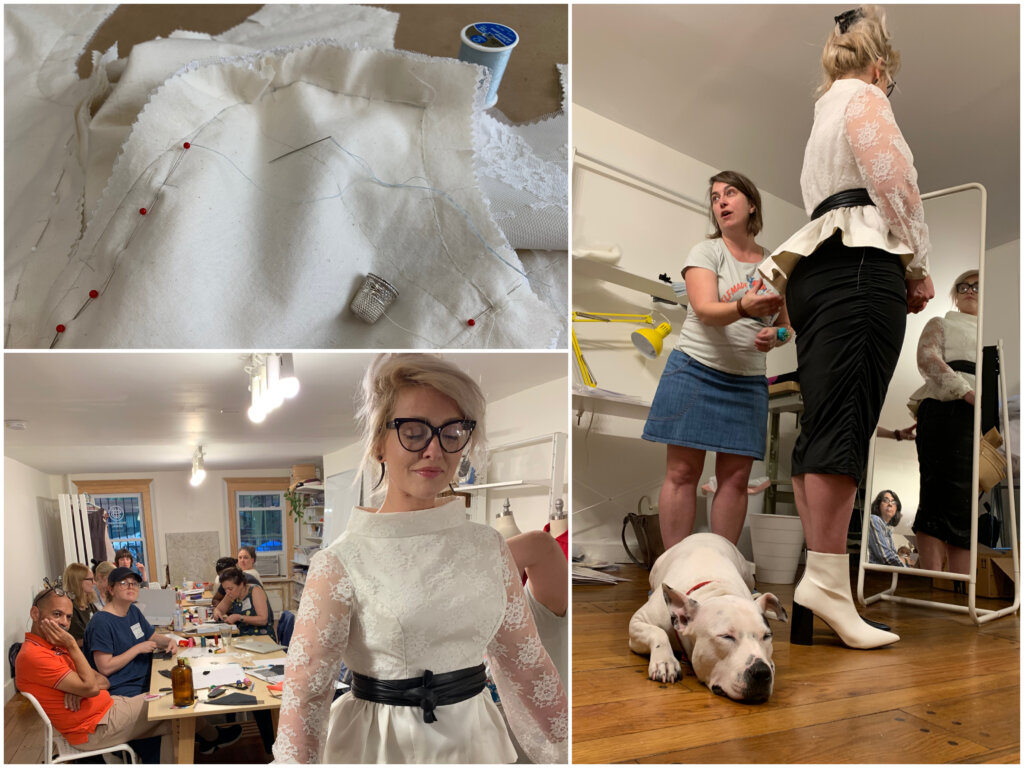
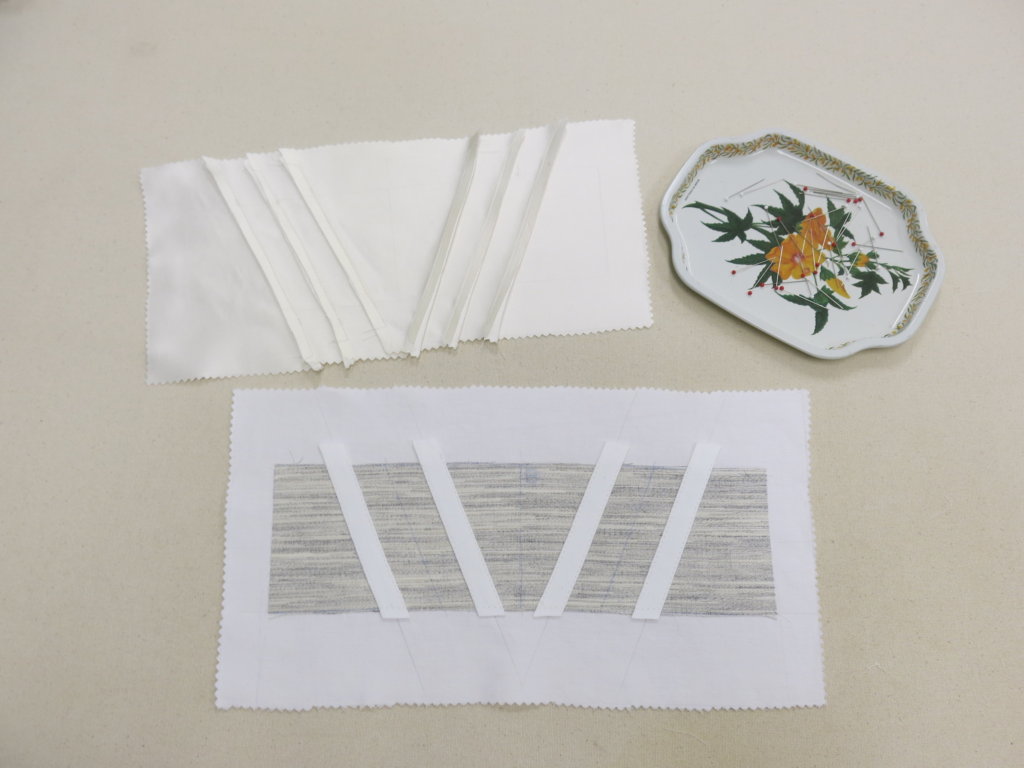
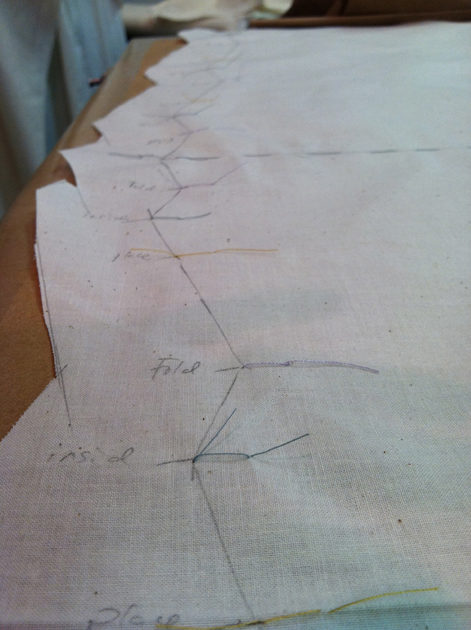 This shows the threadmarking of the pleats before assembly…
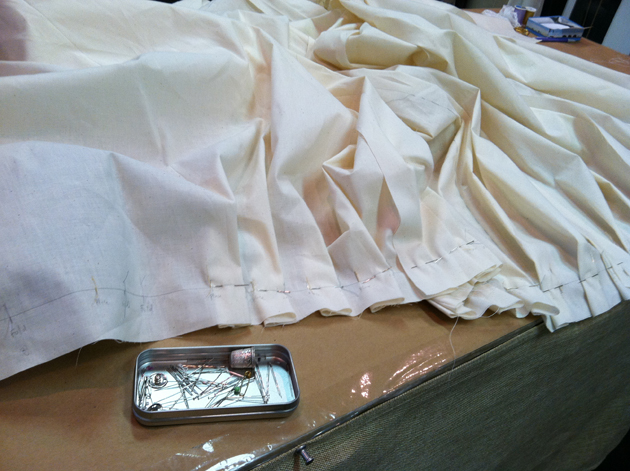 …and the pleats being pinned for assembly.
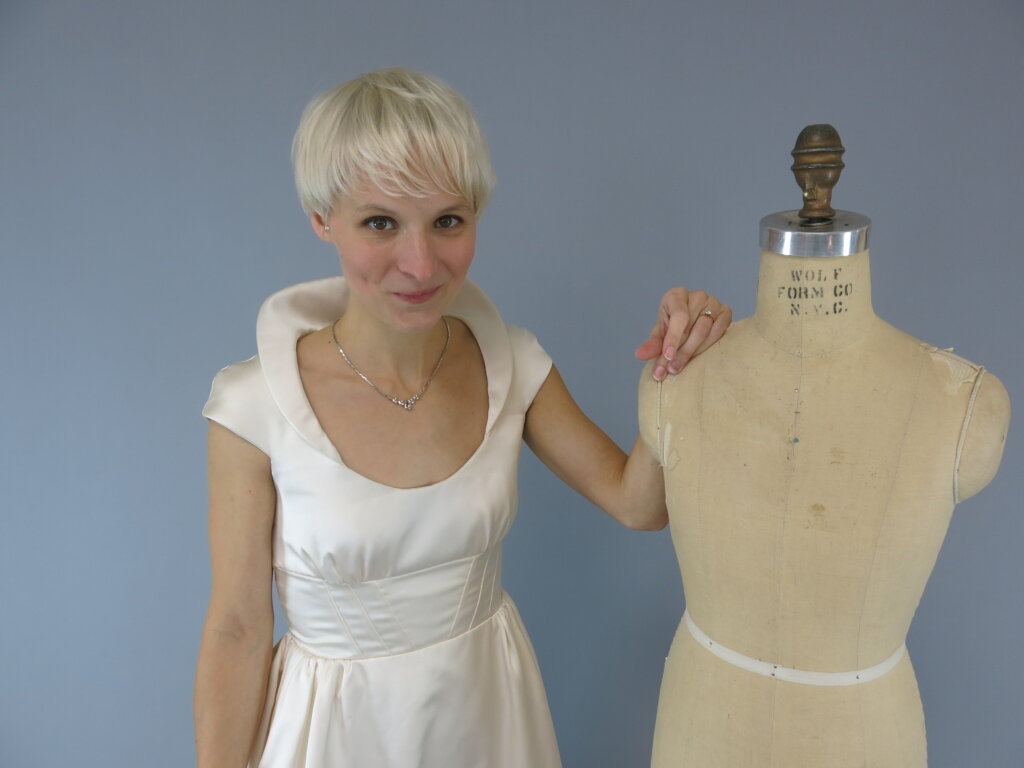
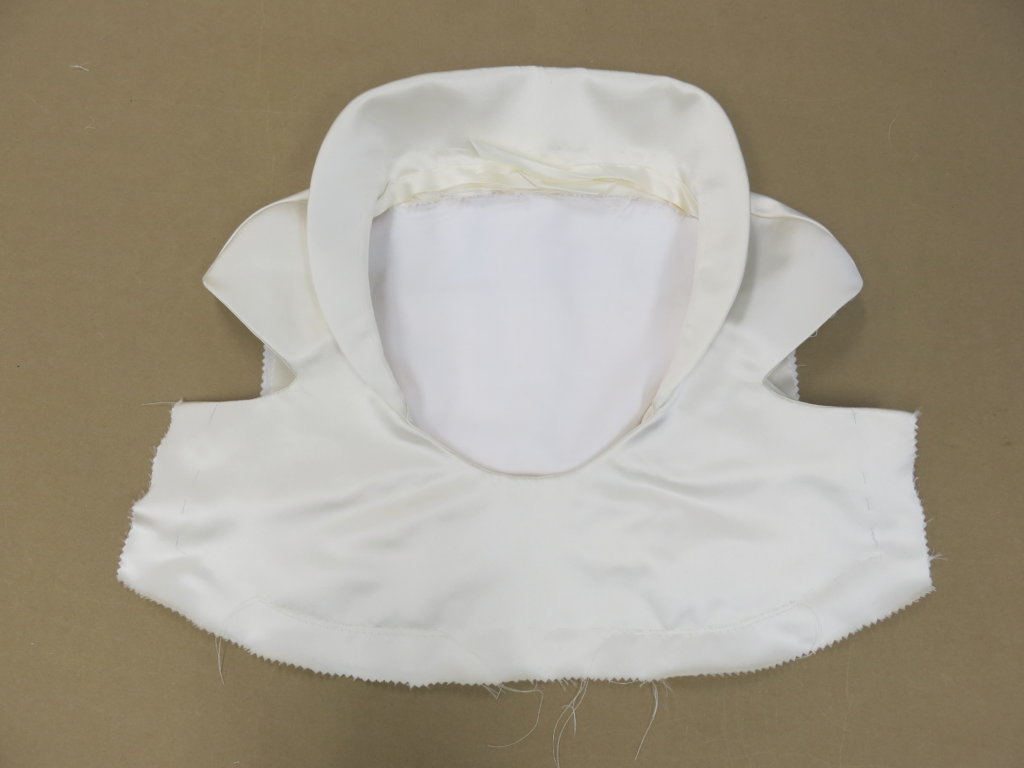
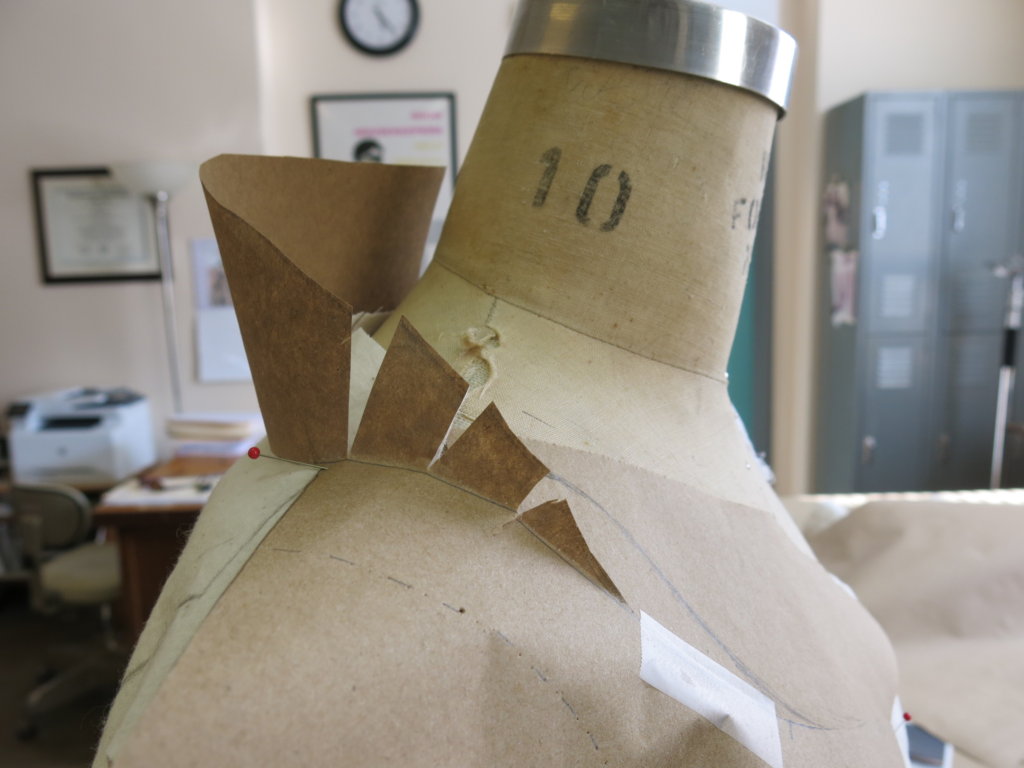
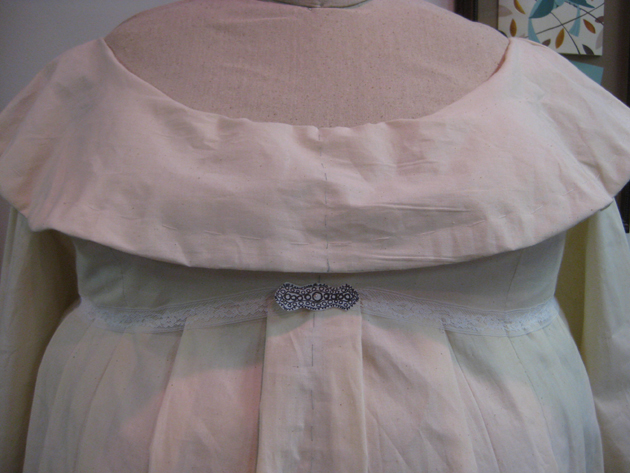 Here’s a closeup of Greta’s first mockup, ready to try on! I added a bit of cheap lace to show the potential trim placement and I even made a paper mockup of Greta’s amazing diamond brooch for scale. Remember the collar will be made out of that beautiful Sposabella lace.
More photos of Greta’s first mockup can be seen on the second page of her Design Proposal website by clicking here.
Our first fitting was a success! The dress definitely had some fit issues, but that is why we do a mockup! I made a lot of corrections marking and pinning right onto the dress.
 Above is a photo of the first mockup dress that features a few of our edits.
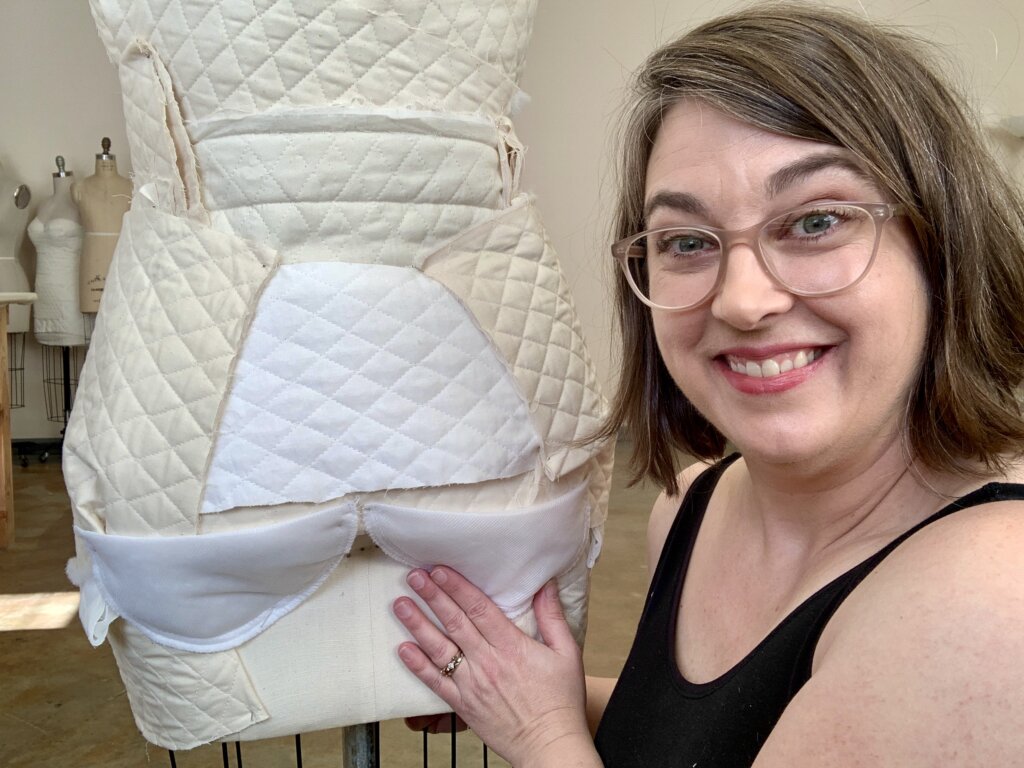
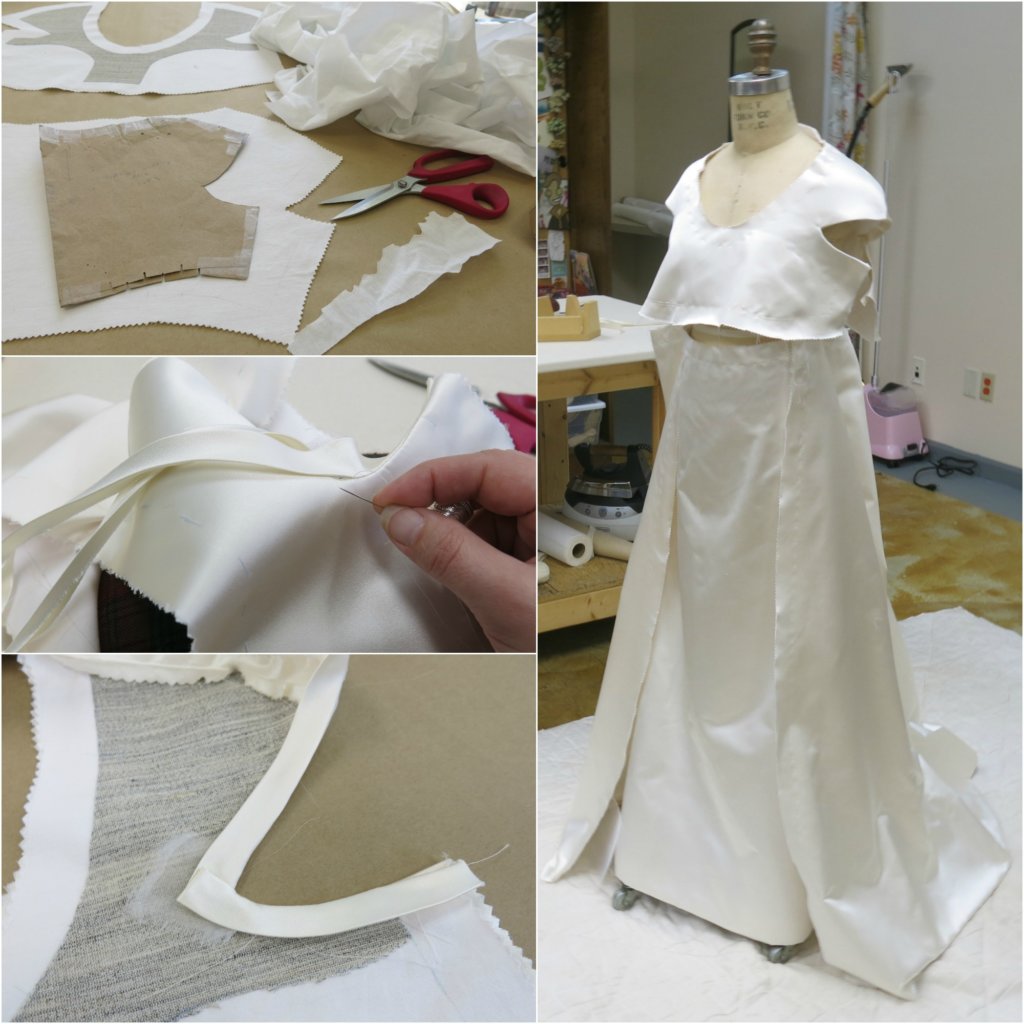
For the second mockup dress, I applied all of our edits to the muslin. We also decided to add a light crinoline to add a bit more fullness to the skirt. For the crinoline mockup, I used cheap tulle. For the real crinoline I will use some beautiful crisp domestic organdy.
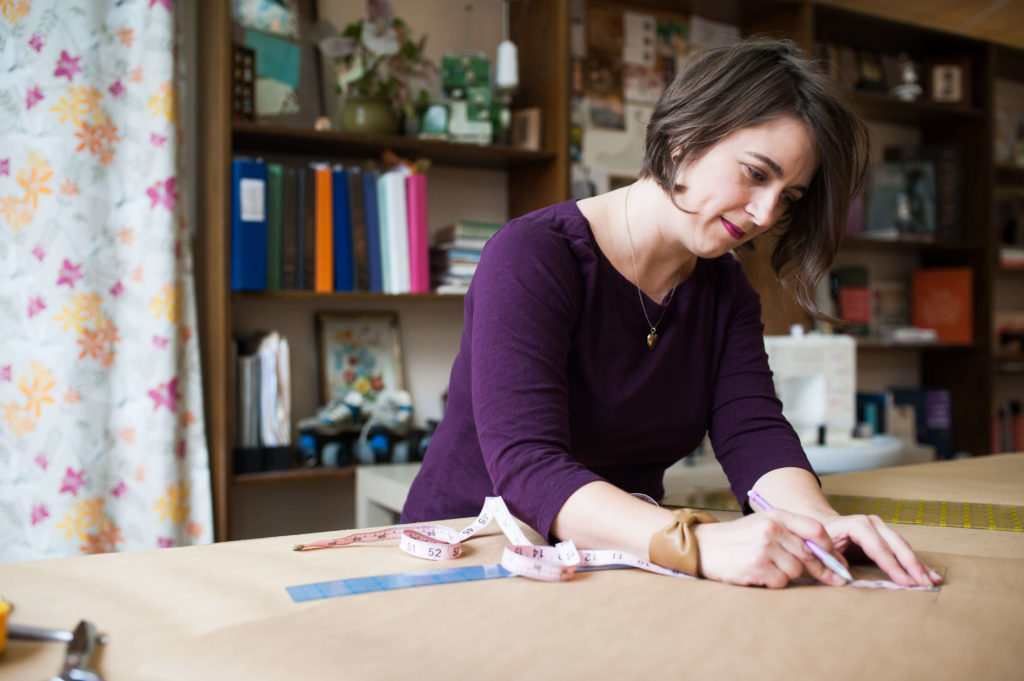
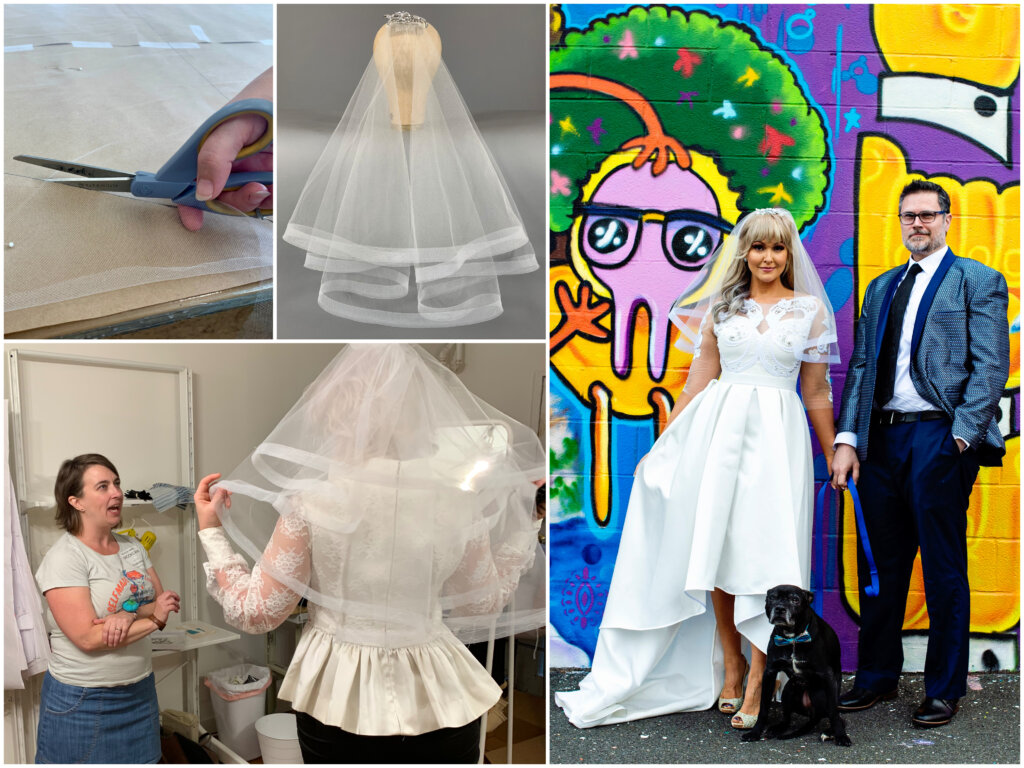
In order to cut the layers of crinoline evenly, I drew a line down the middle of my cutting table and laid out my yardage along the edge of the table. 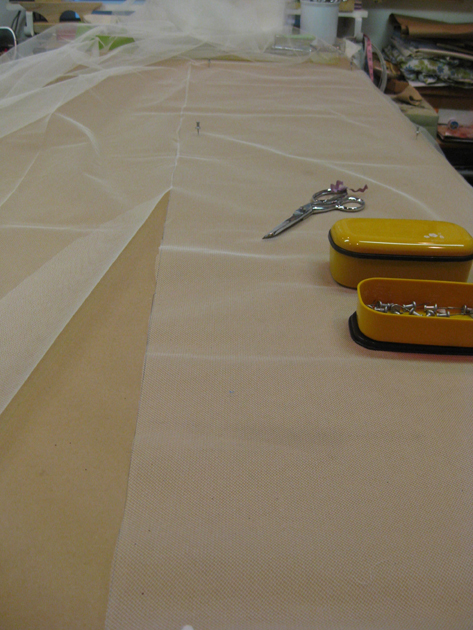
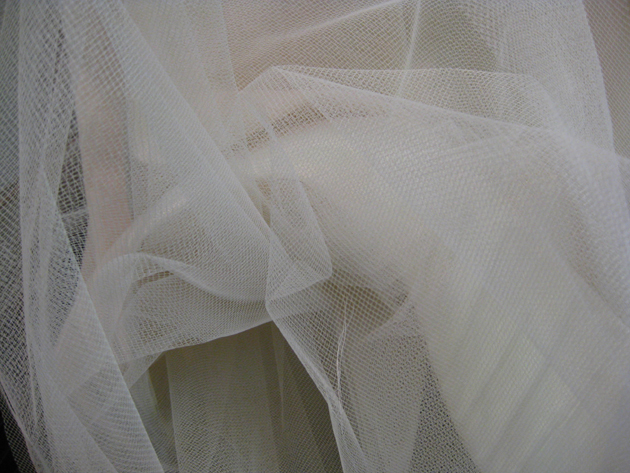
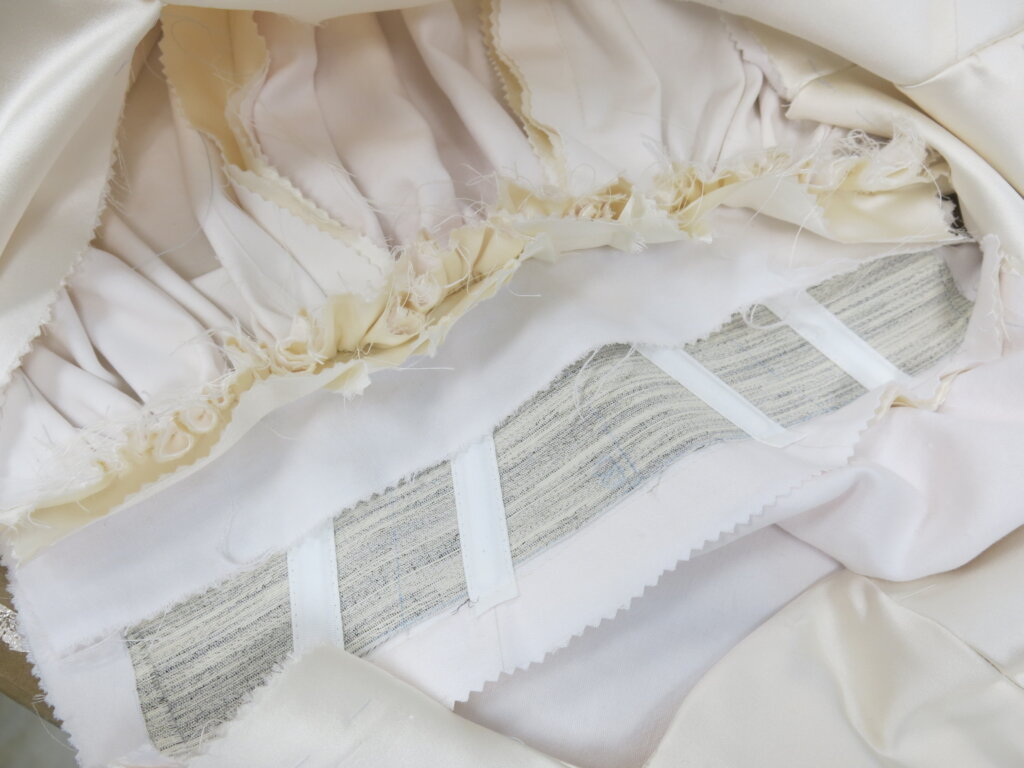
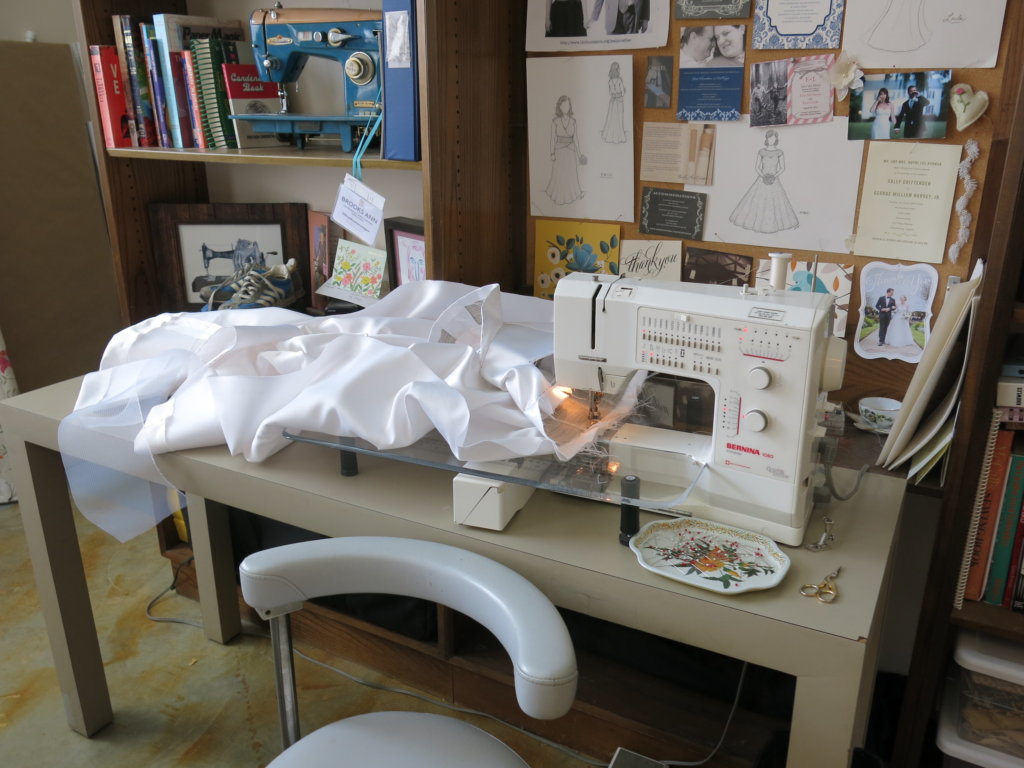
I cut 6 yards of tulle into 3 layers and gathered them onto horsehair-edged powernet. It always looks like a big mess (see below) until you get it totally finished!
 And that brings us up to date! Greta’s second mockup is finished and ready for another fun fitting in just a few short days!
I can’t wait to to try this new version on Greta this weekend and meet her mom!



















One Response
Friend of mother of the bride. Wow! this is a beautiful mock up, can’t wait to se the real thing. the collar is stunning. xo