Welcome to Part 2 of the story behind making Andy’s 2019 wedding dress, where I’ll recount the testing phase of the custom process.
If you’ve been following my blog for any amount of time, you know I love a mockup.
What is a Mockup?
A mockup (also known as a muslin or toile) is a test garment; the most basic version of what you are intending to test. It has no real finishes, no real fasteners, no extra features.
A mockup is a temporary garment made with temporary stitches designed specifically for making changes. Its purpose is to allow you to practice and to experiment via trial and error. You can’t mess up a temporary garment made of temporary stitches, so there’s no risk and no expectation for perfection.
And since is impossible to mess up a mockup, it can be super fun to play around with. You learn so much! You can cut, pin, mark, and draw all over it. Don’t like the changes you made? You can easily go back to where you were or try a new idea. It’s your laboratory and learning time.
You start off with a bunch of questions/ideas/guesses/unknowns and then you learn so much while figuring out the answers. With questions answered, it’s a joy to move confidently on to completing the real thing.
Mockups of garments allow you to easily adapt and test for improvements in the fit, design, and proportion of your new patterns. It is also a chance to play around, practice and perfect your process for creating the final garment.
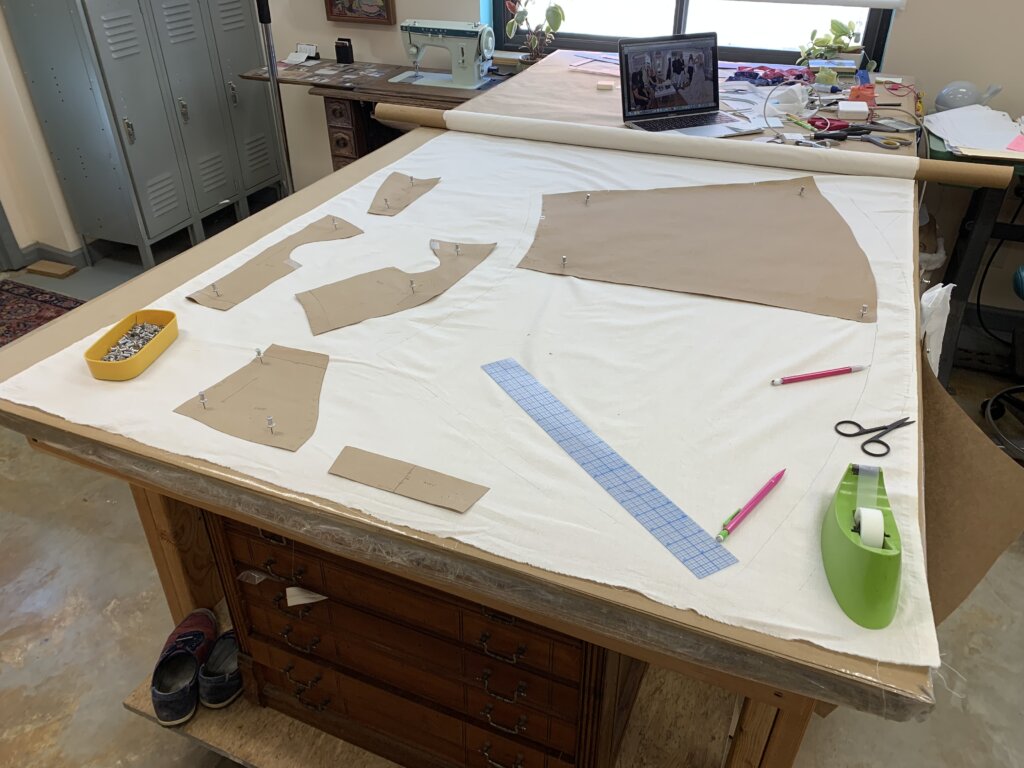
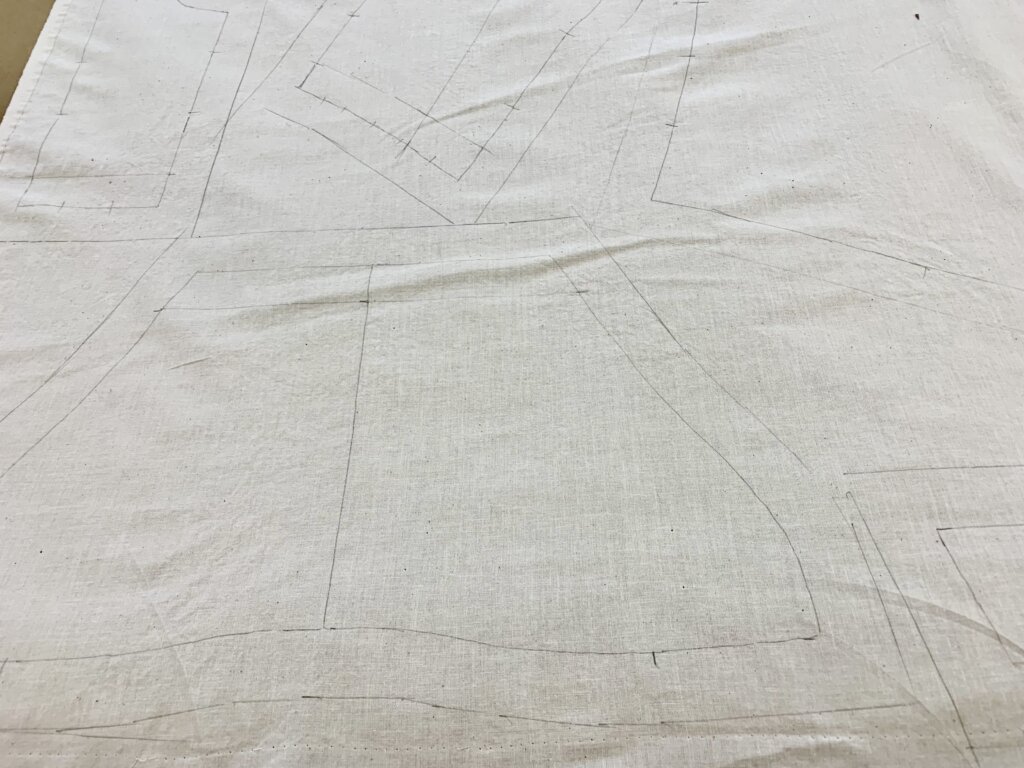
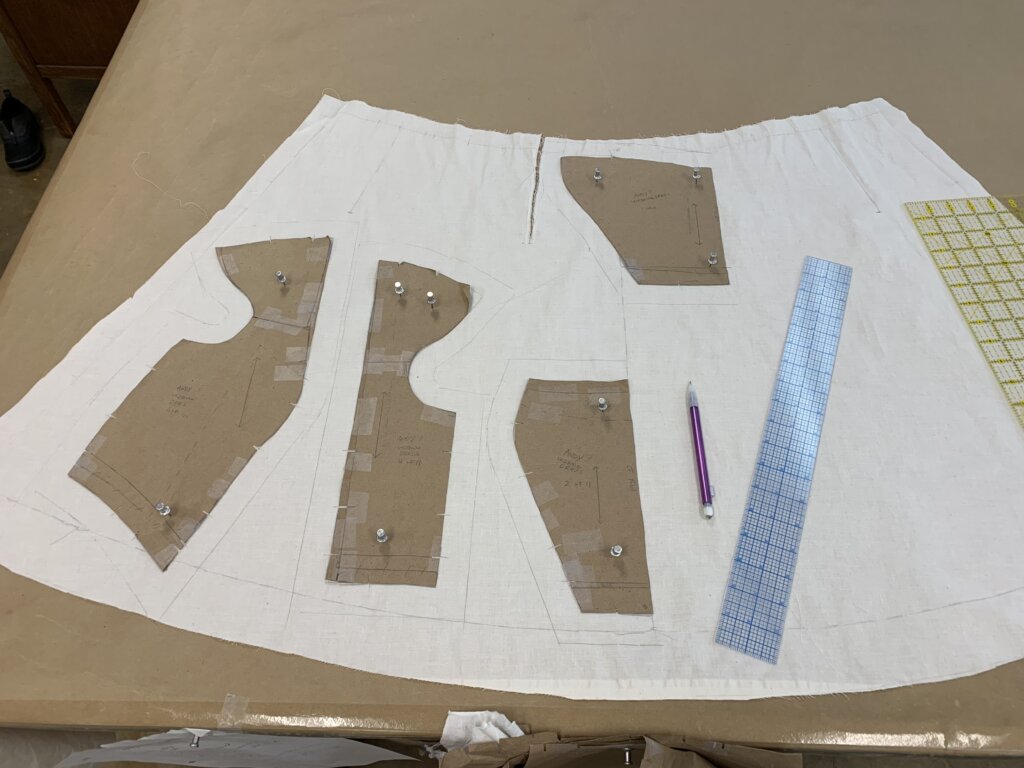
The cut edge of my pattern pieces are mystitching lines, which I trace directly onto the fabric with a regular pencil. Then I trace an inch border around the marked stitch lines, as my rough cut lines. The cut edge requires no precision.
This not only makes cutting and sewing fun and easy,….
The stitching lines are what represent the design and fit of the garment. Very important! The cut edge of my fabric (which is also the least stable) is not super-important. Adding allowances onto your pattern pieces is about finishing. I am far from the finishing stage of this dress!
I’m in the testing phase. I really only care about the design and fit. Allowances are just extra fabric. I like mine big.
Next up, some threadmarking.
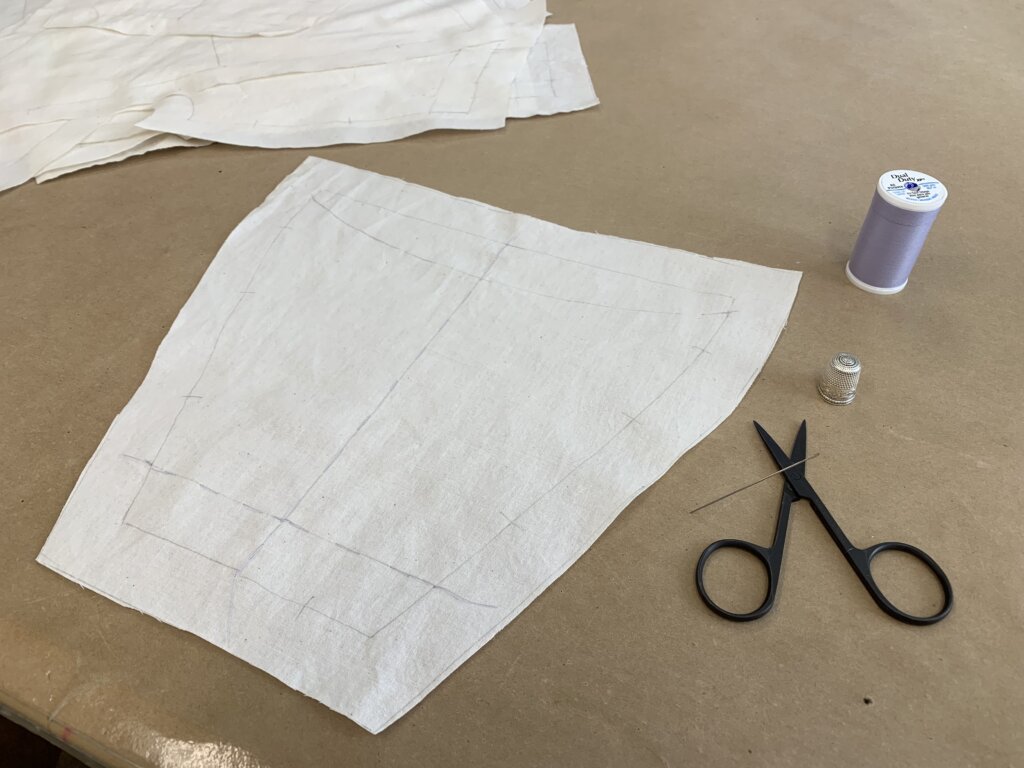
The pencil lines I’ve drawn are on the inside of the garment. That’s where I need to see them when I sew. Any lines that I also want to see on the outside of my fabric, I quickly trace with thread. Edges, design lines, CF… Anything that might be helpful to see during construction or fitting, I follow with a big quick running stitch by hand.
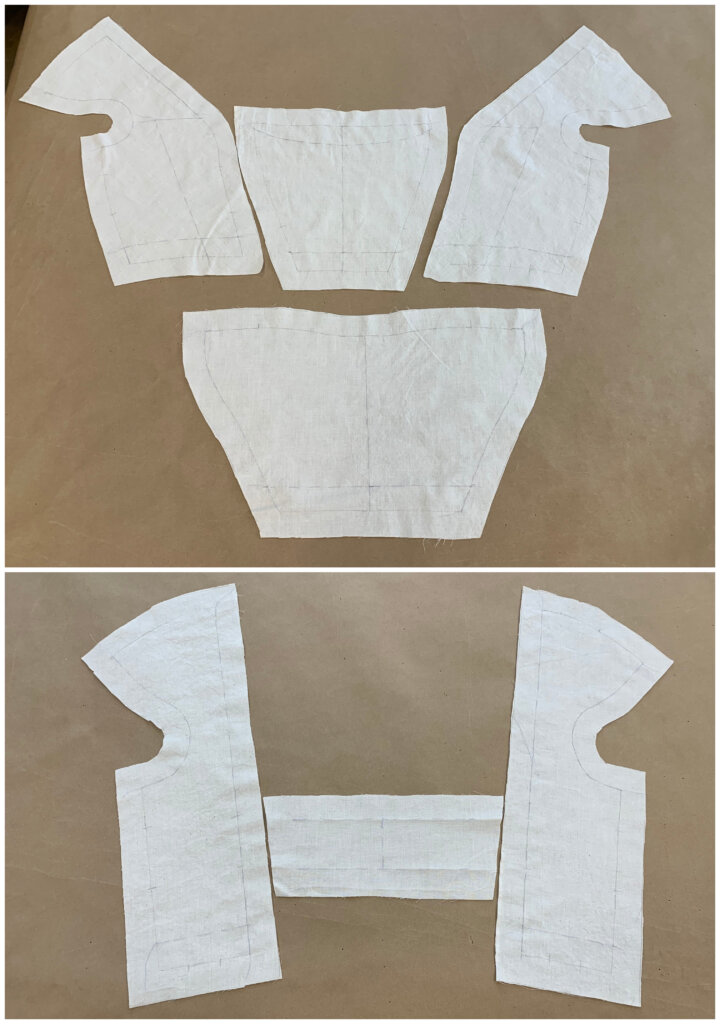
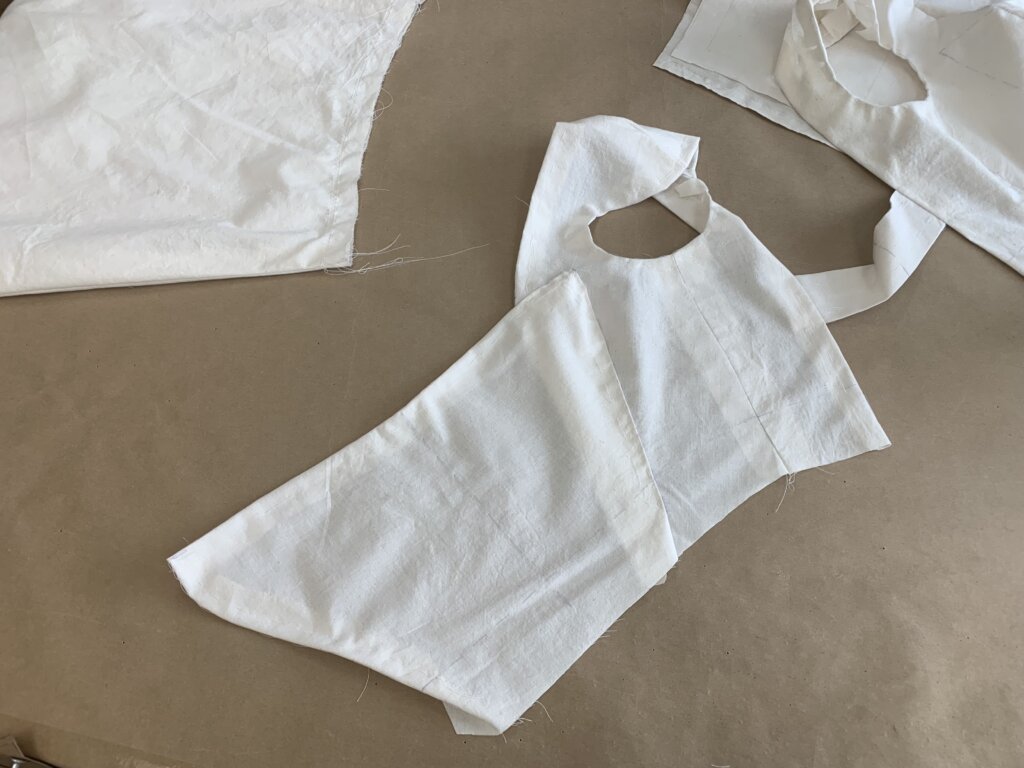
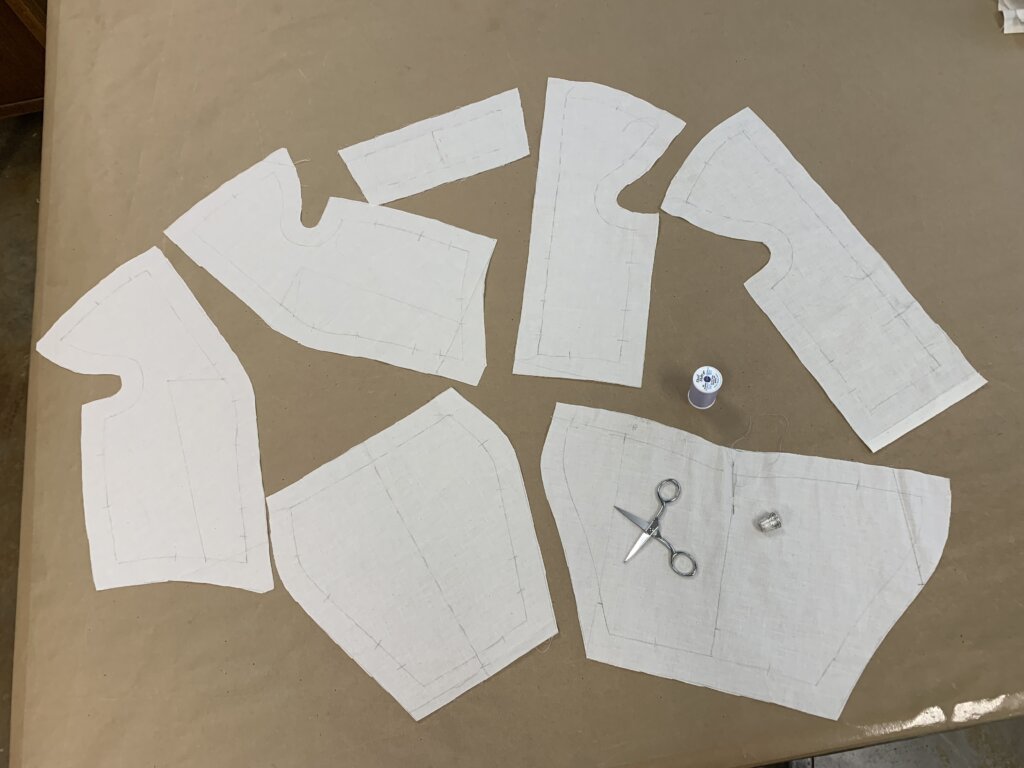
Here’s the inside view of Andy’s muslin bodice pieces cut and marked.
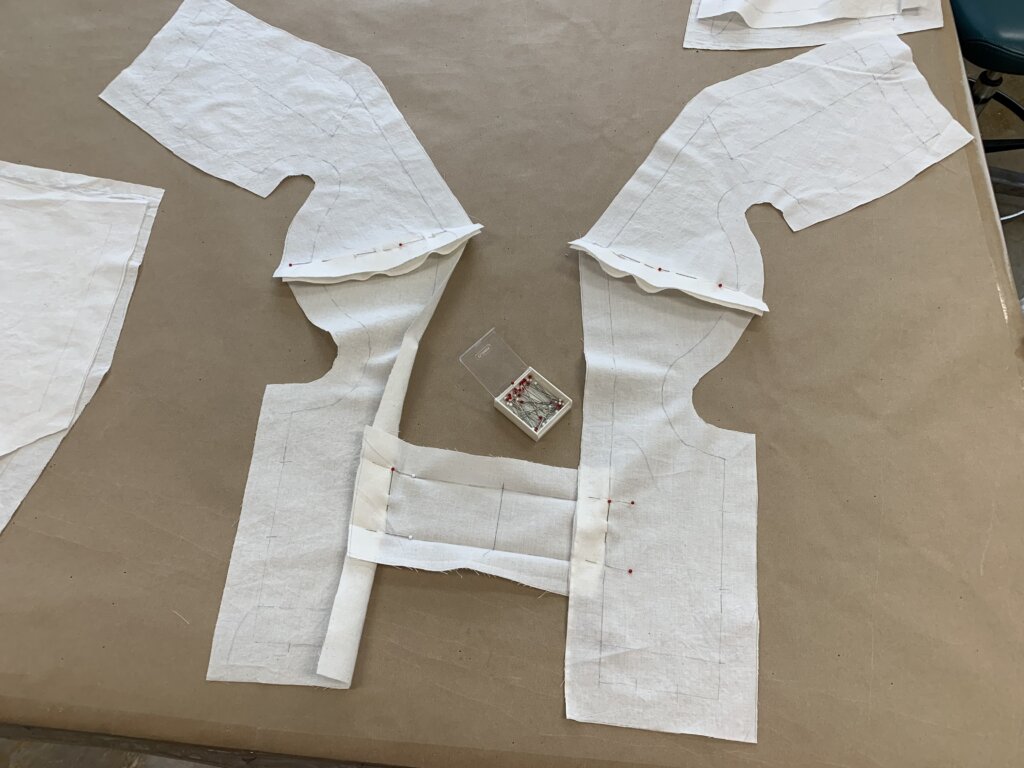
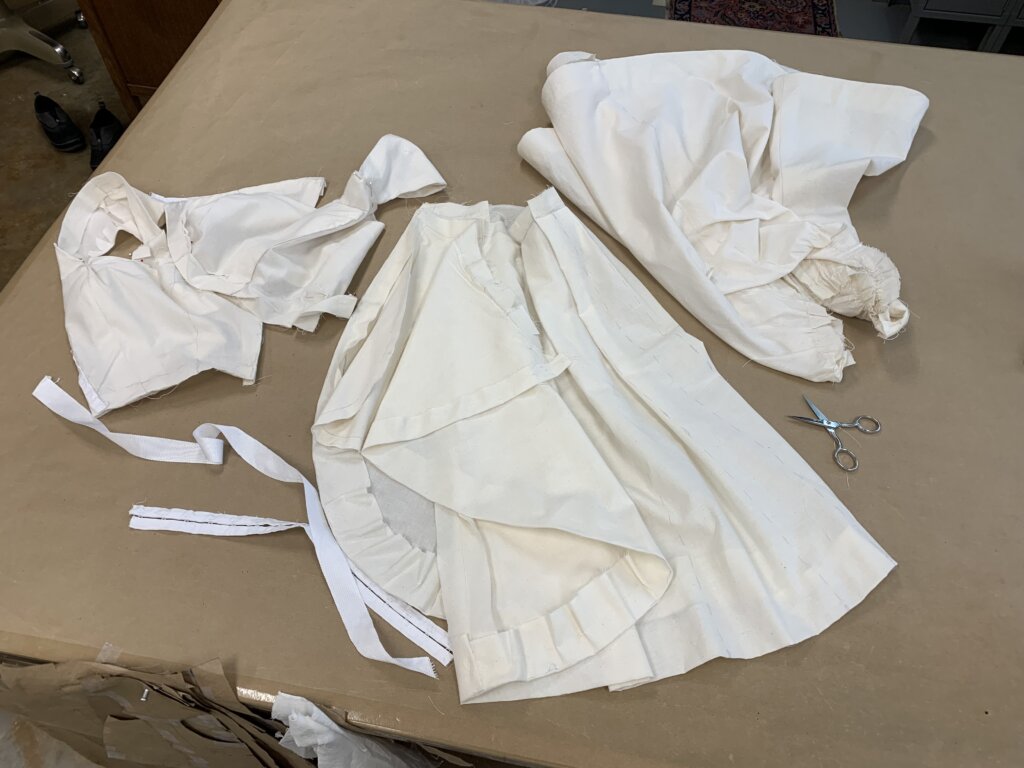
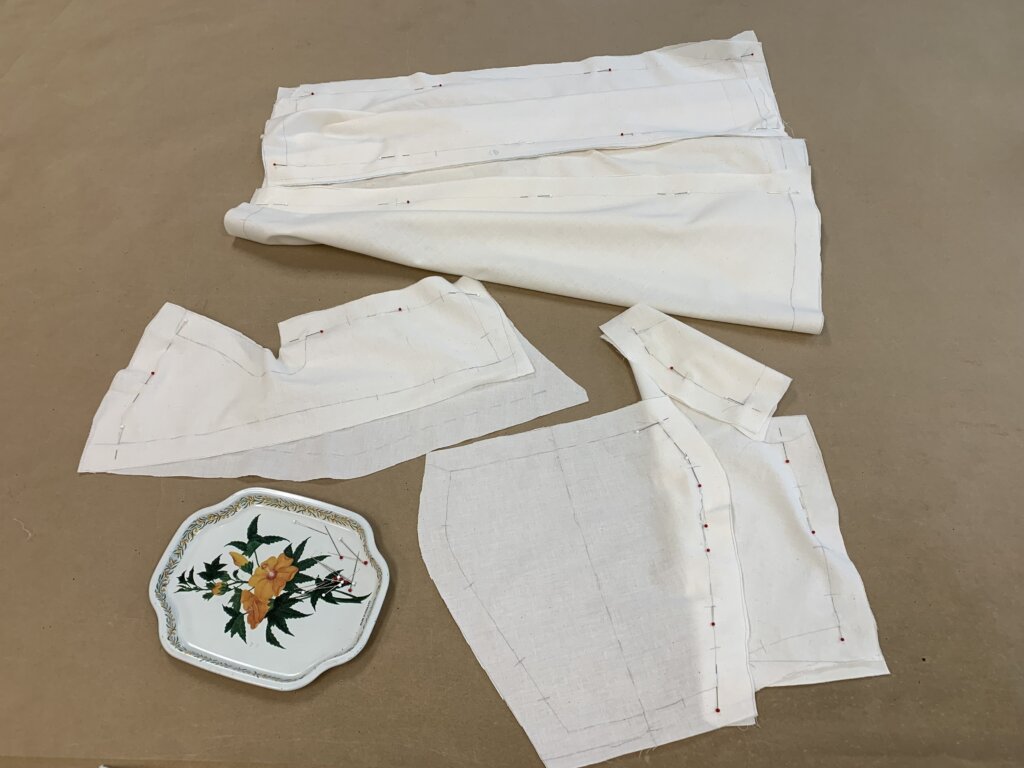
Next, I connect the pieces with pins along my stitch lines…
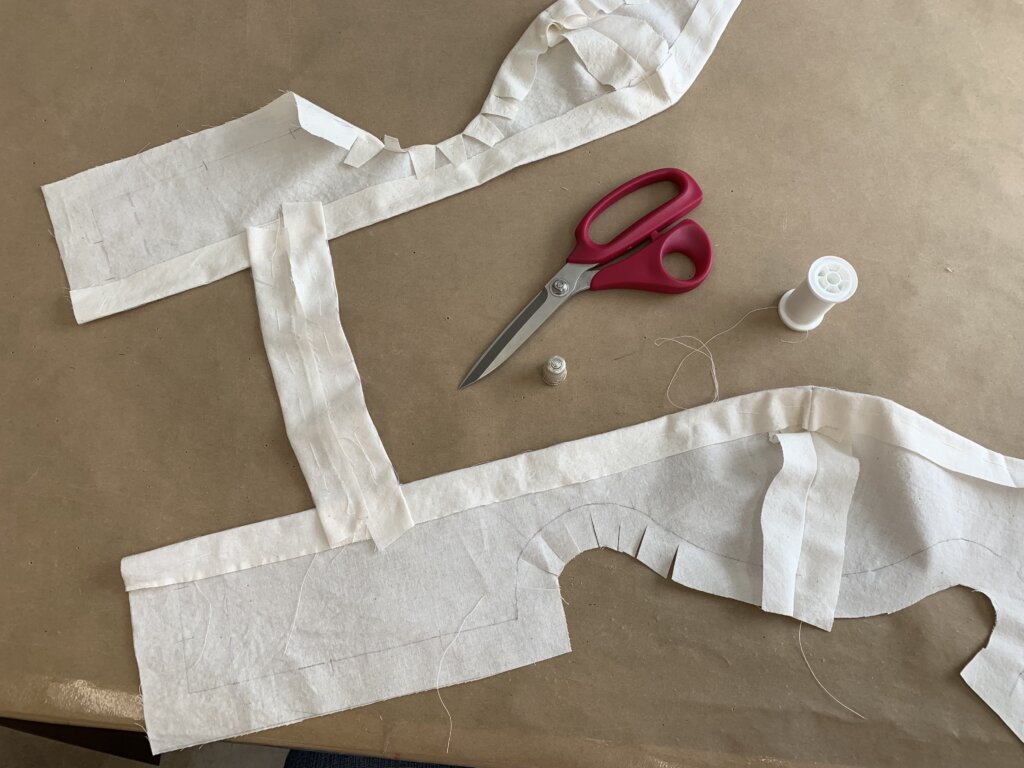
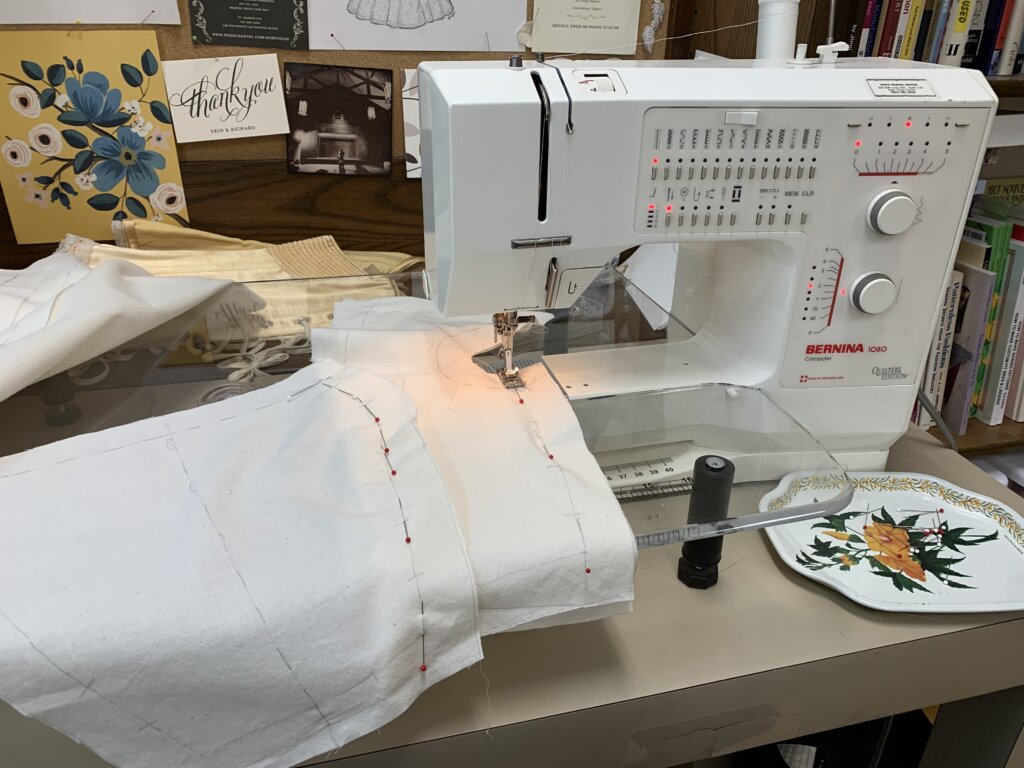
…before using a mix of machine and hand basting to secure the seams and edges.
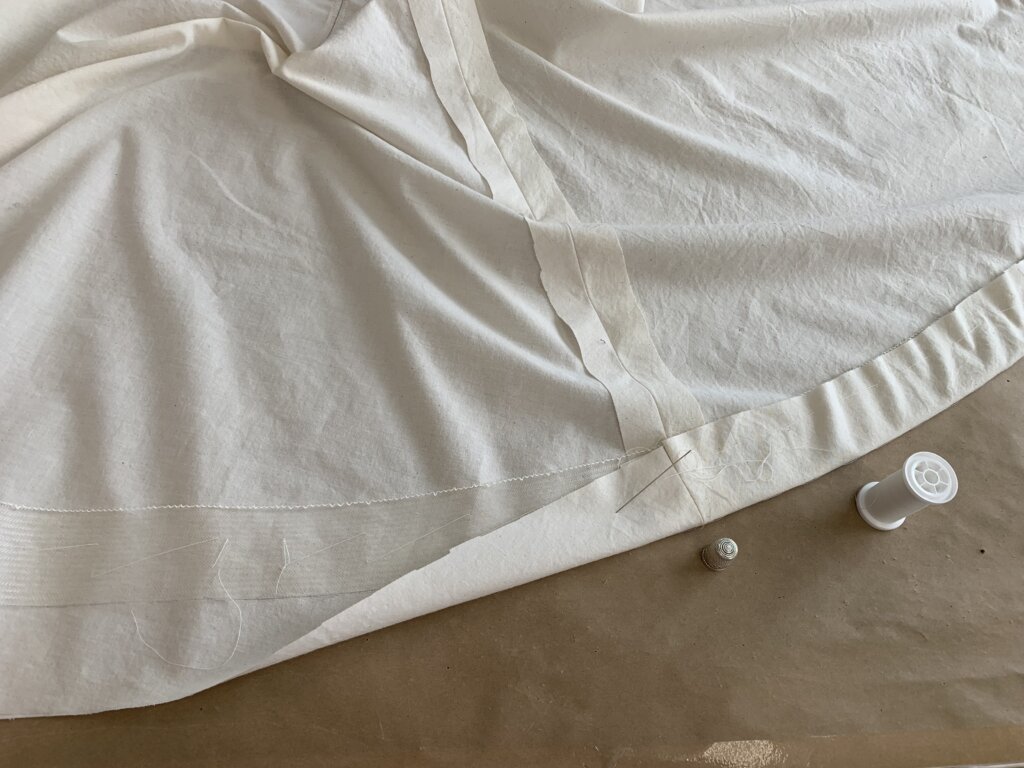
I quickly basted a little horsehair as I turned up the hem of the underskirt…
…and gradually added all of the pieces together with temporary basting stitches.
No need to even think about seam (or edge) finishes this early in the process. My goal for this mockup is to evaluate and play around with the design and fit. The goal for my stitching is to be quickly and easily removed. Nothing about a mockup is permanent- which is what makes it so useful (and so fun)!
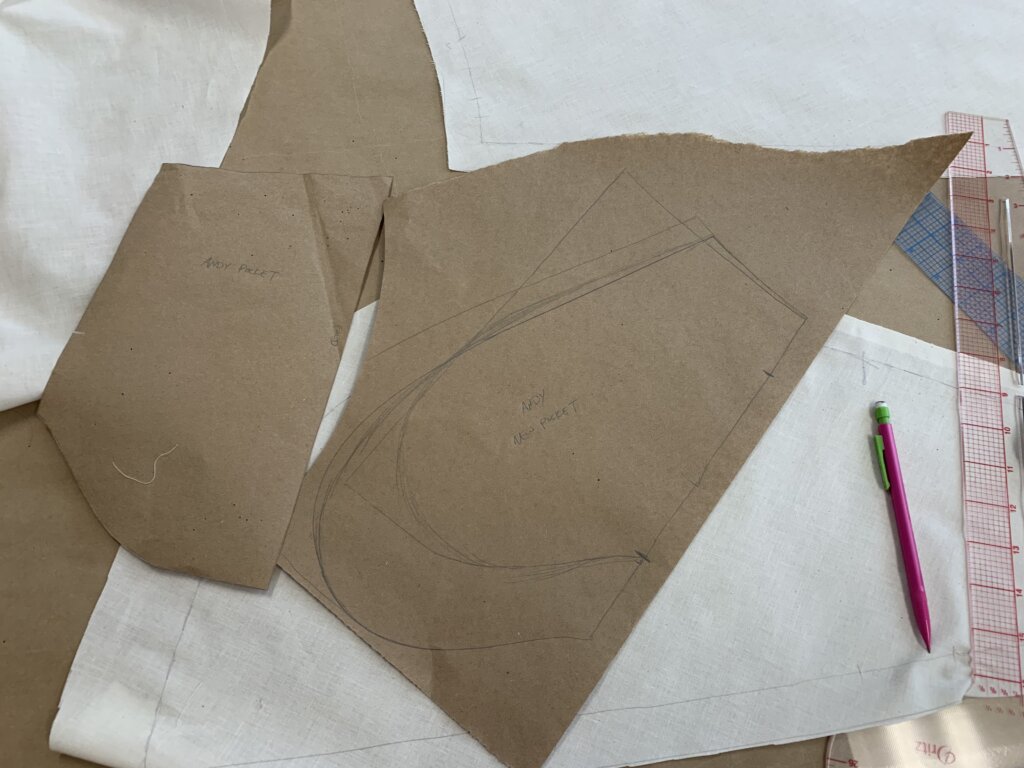
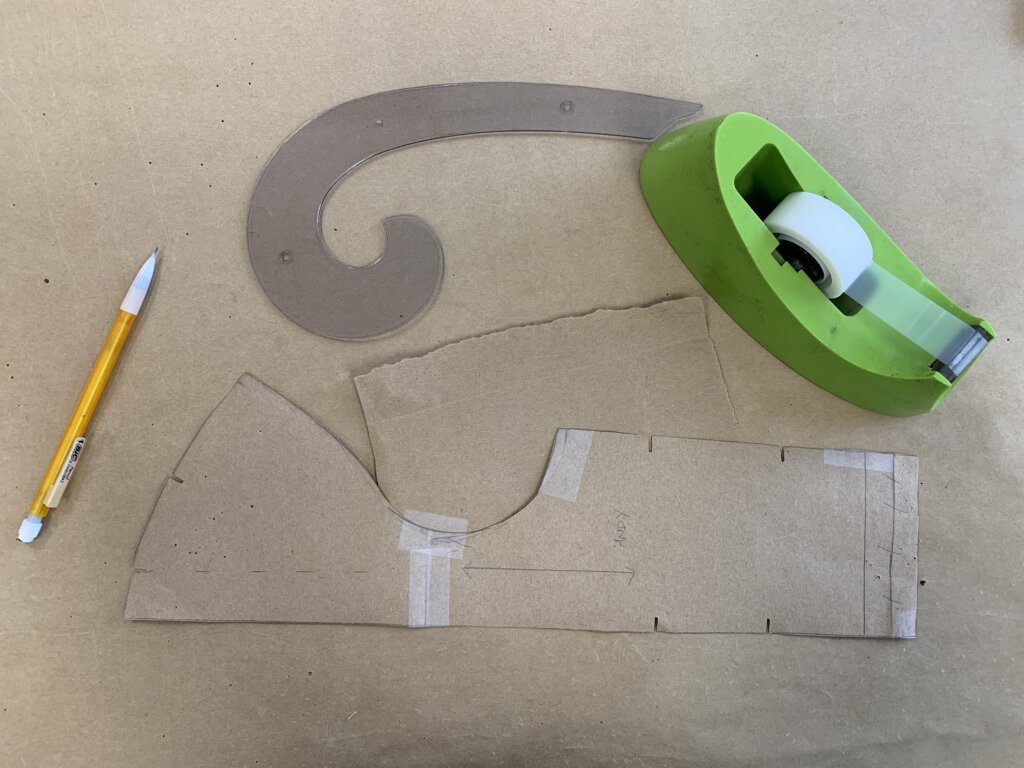
There were a few pattern pieces that I still needed to draft.
Up until now, I stalled on patterning the overskirt. I wanted to see the results of the rest of the test dress on the custom-padded dress form in order to inform the overskirt’s pattern design.
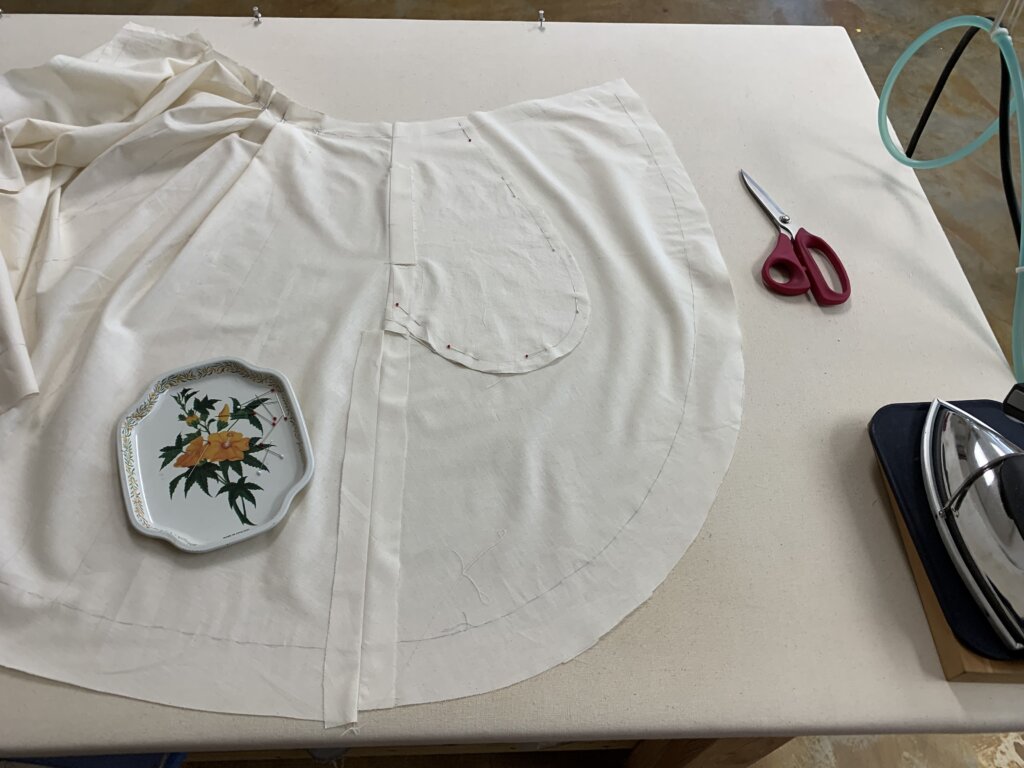
And, yes. It will have pockets.
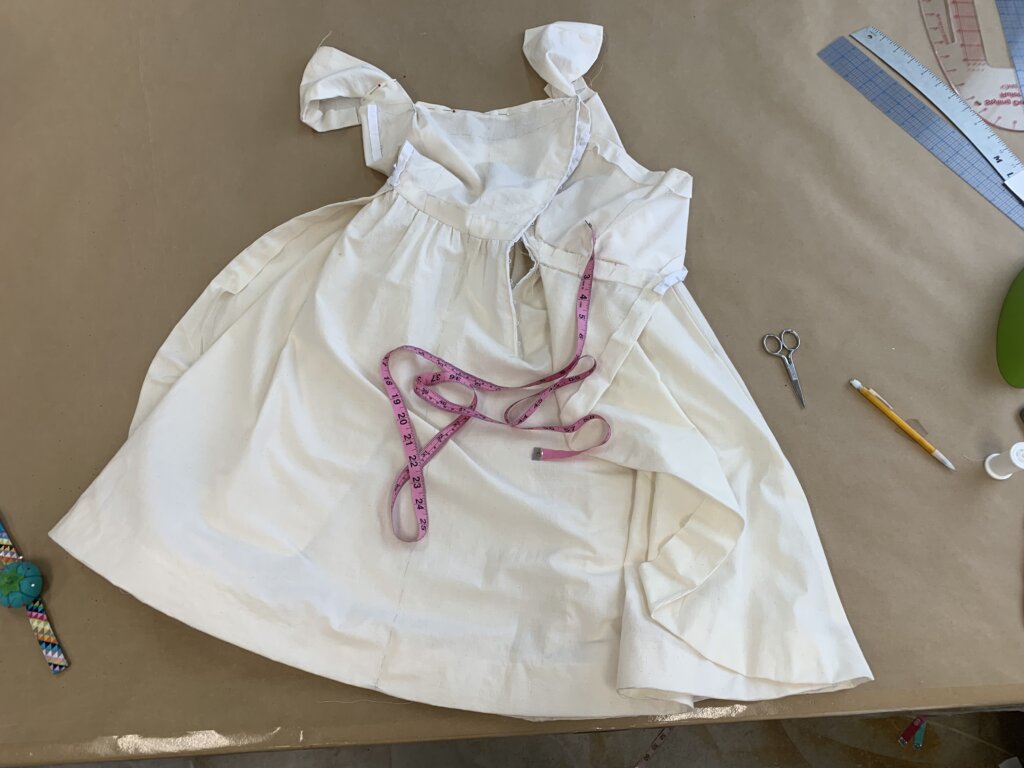
Once the overskirt was patterned and all basted together, it was ready to become part of the test dress!
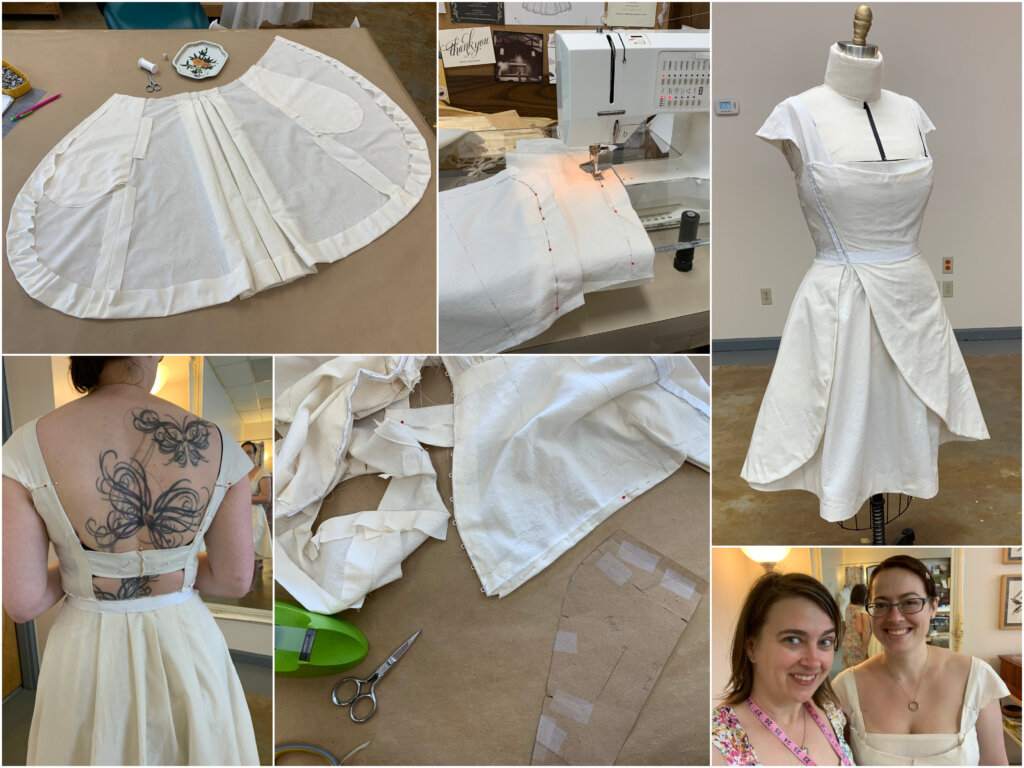
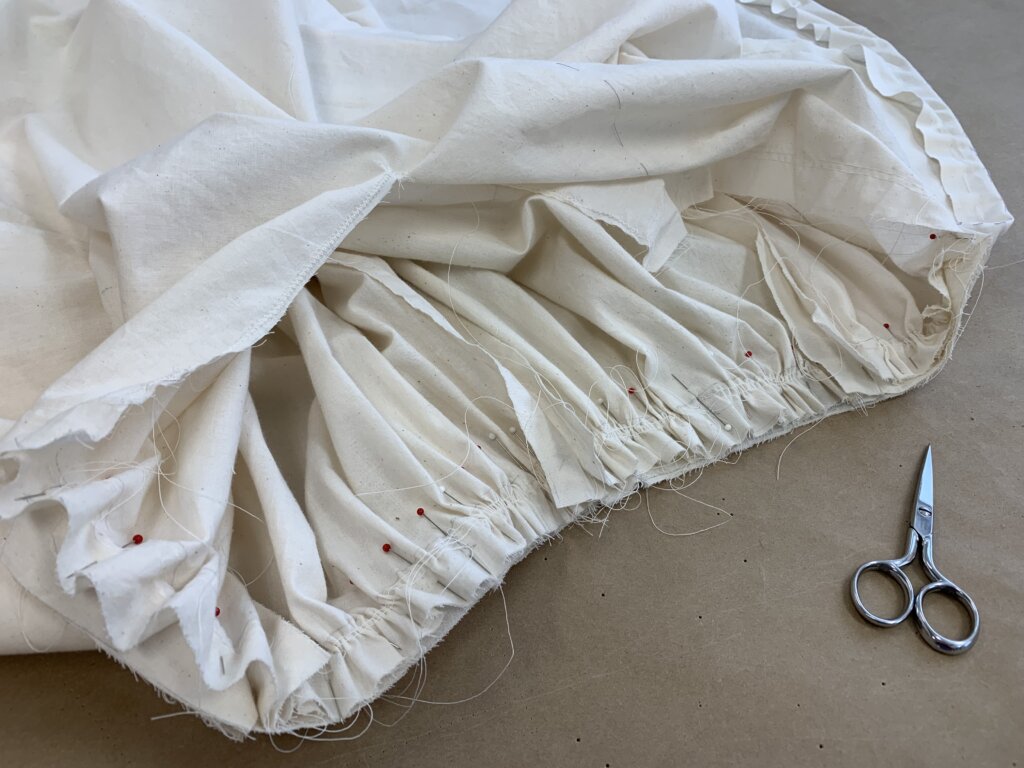
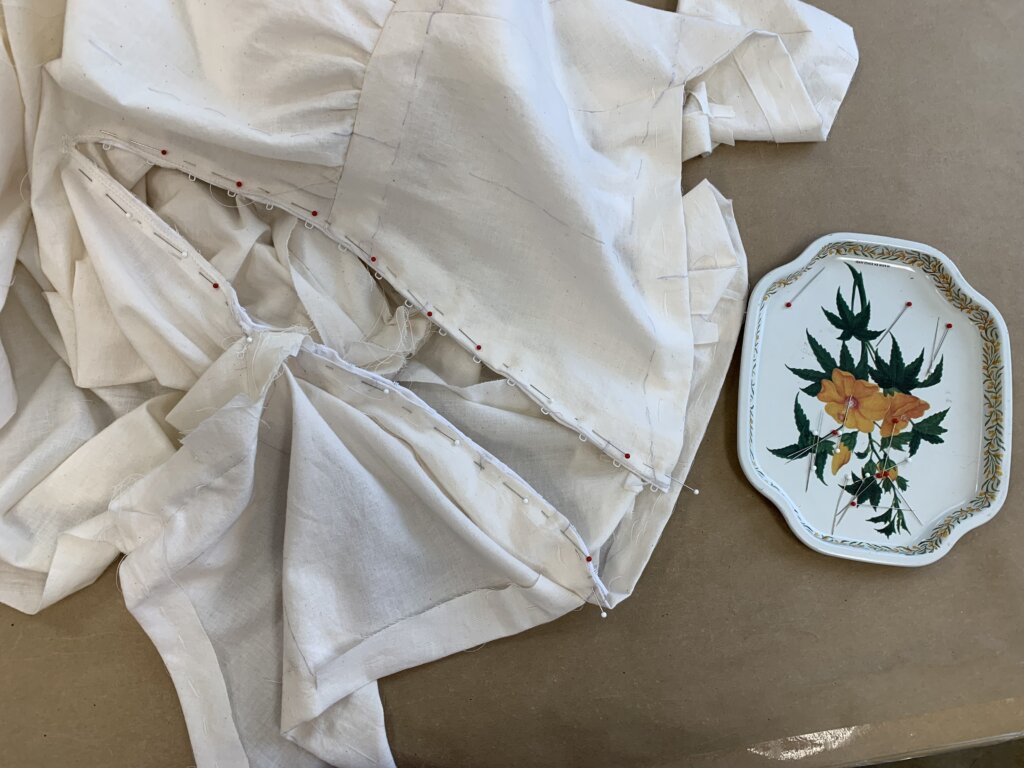
Here’s a peek at attaching the two: the underskirt with a gathered waistline and the overskirt with a fitted waistline. After some strategic pinning, I basted the two waist seams together by machine.
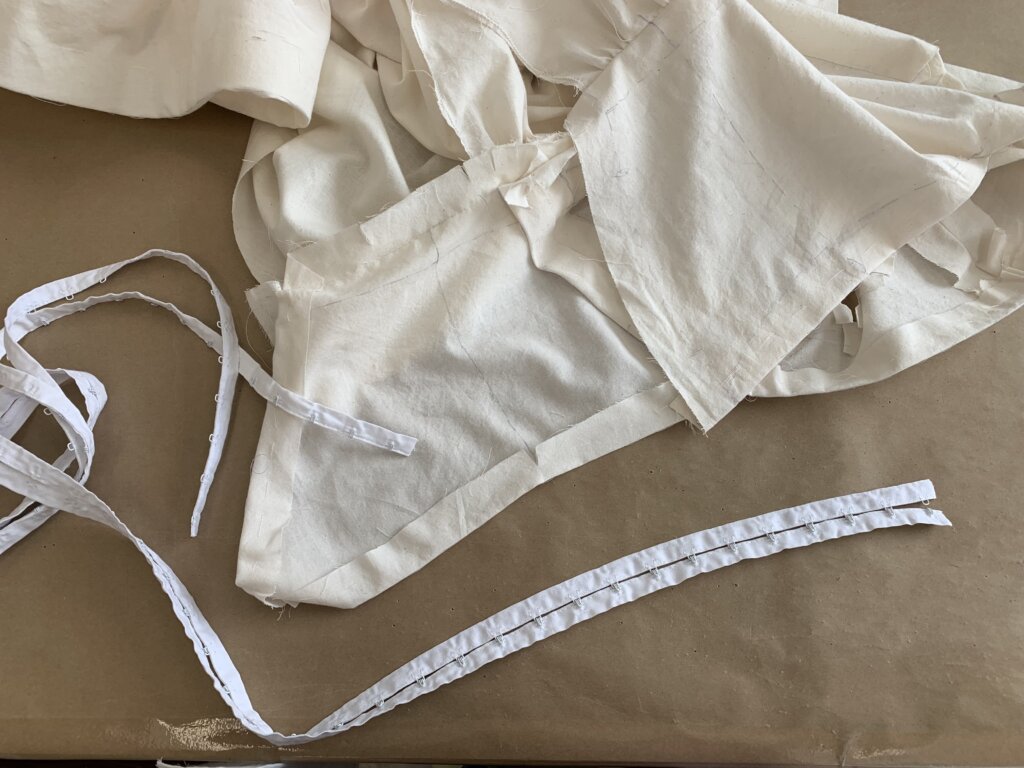
Andy’s wedding dress was designed to be laced up along an asymmetrical front opening, but mockups don’t include complicated closures.
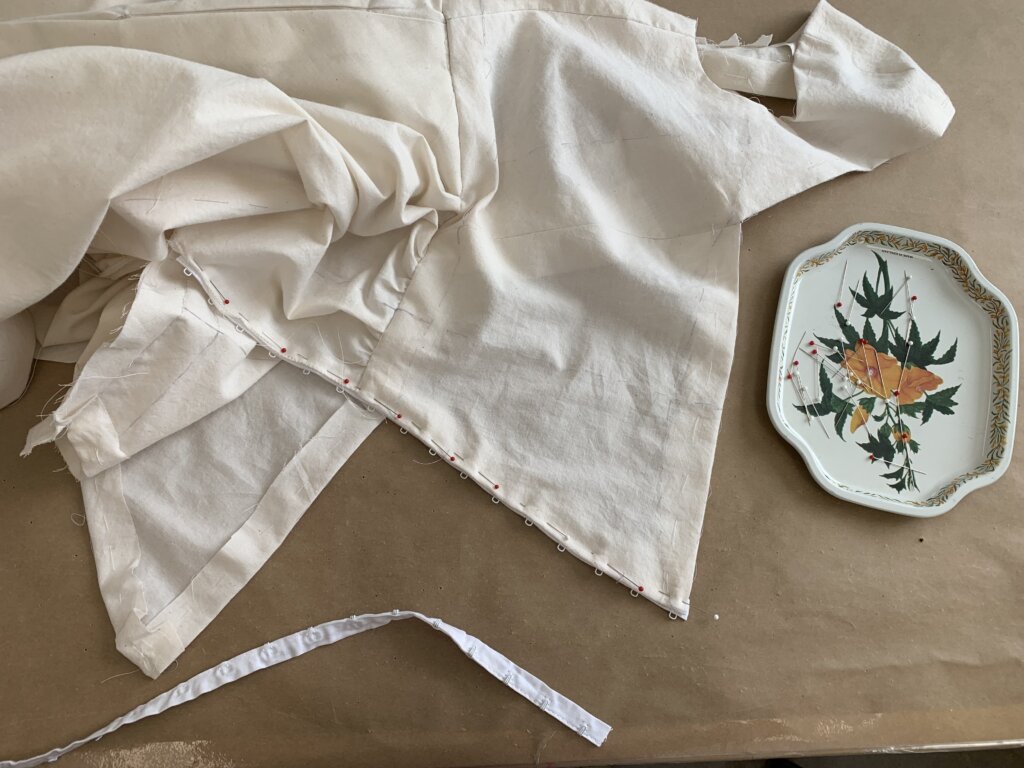
I decided to baste in some hook and eye tape, to replicate the look and the fit of the lacing, in an easily adjustable way.
After some additional finishing touches, Andy’s first draft was ready for its first fitting!
Andy's 1st Mockup Fitting
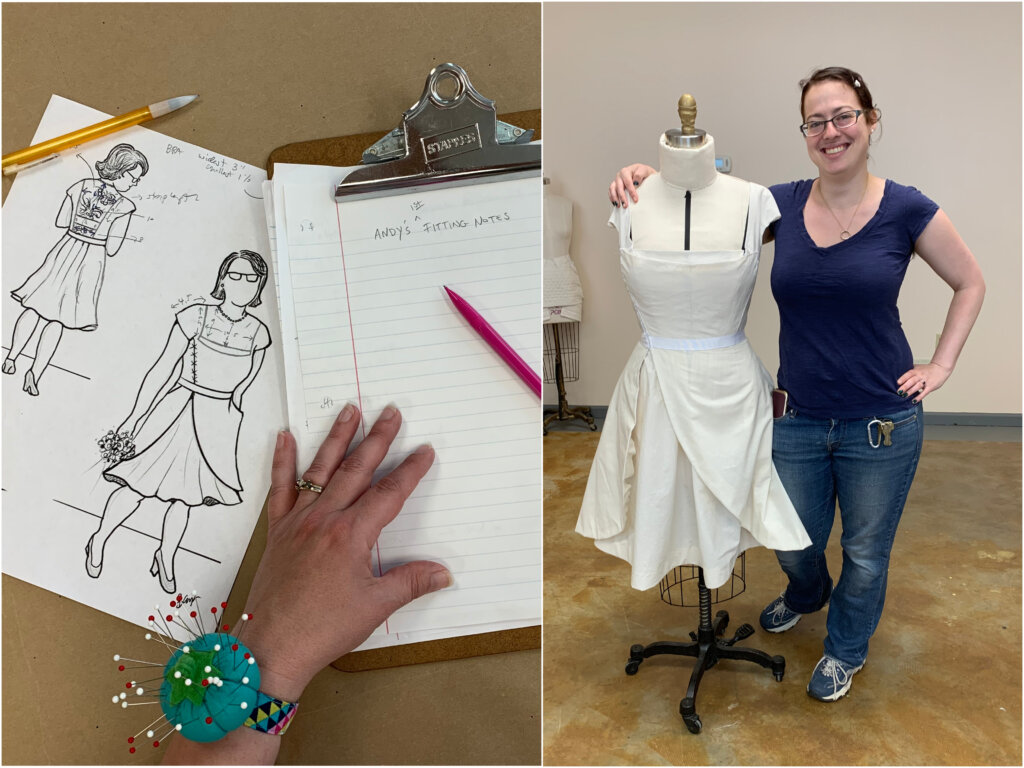
With the mockup all basted together, it was fitting time! I invited Andy to my studio.
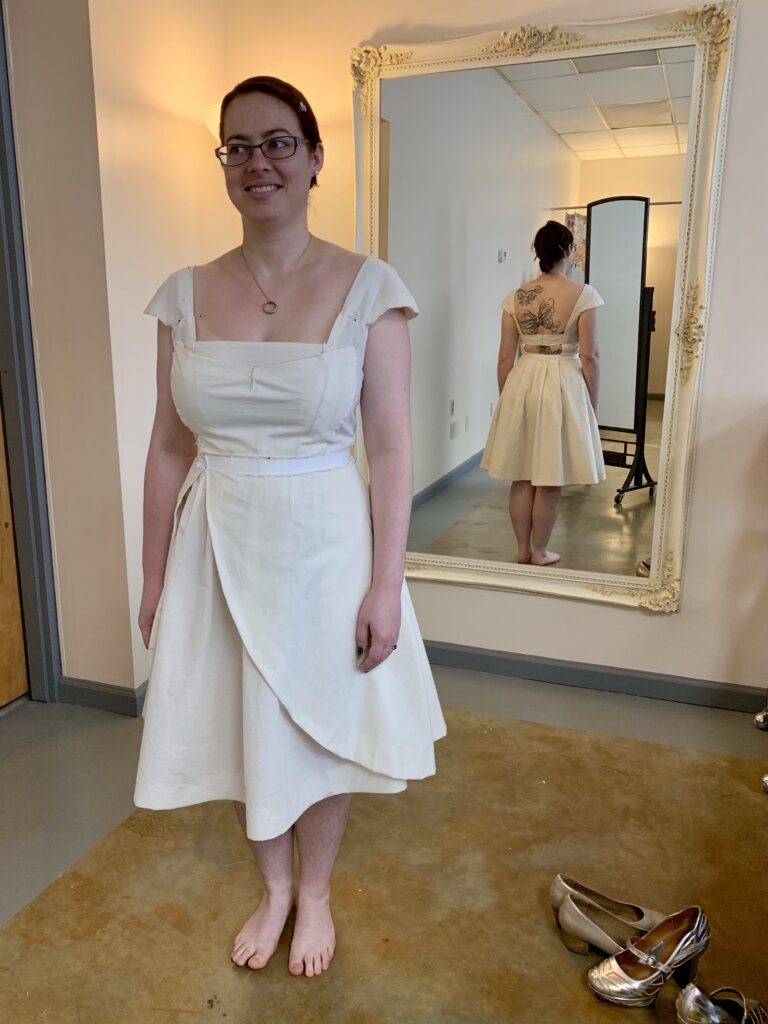
The first draft fit pretty well, with only one major exception.
No worries! With a little pinch here and a little tuck there, I was able to achieve an even better fit all over. All the info I need to make my second draft is stored in those pins.
Doesn’t this design look so great on Andy, even in a test garment? And how about those shoes?
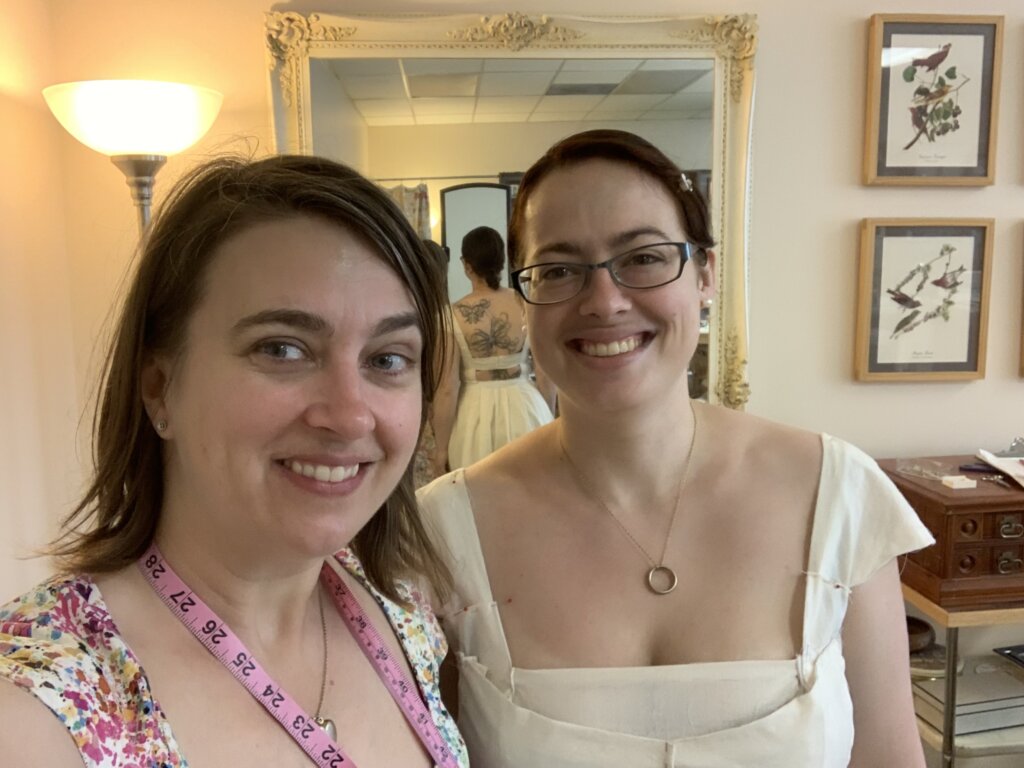
First fitting success! It was so fun to hang out with Andy, playing dress-up, way back in 2019. We were all so young and innocent then.
Mockup #1 becomes Mockup #2
With the fitting pins still in, I assessed the mockup after Andy left the studio.
I love the pattern correction part of the custom process. Since the pattern was custom-made for Andy, all corrections are minor. I love editing from a great starting point. Fine tuning is really fun to me.
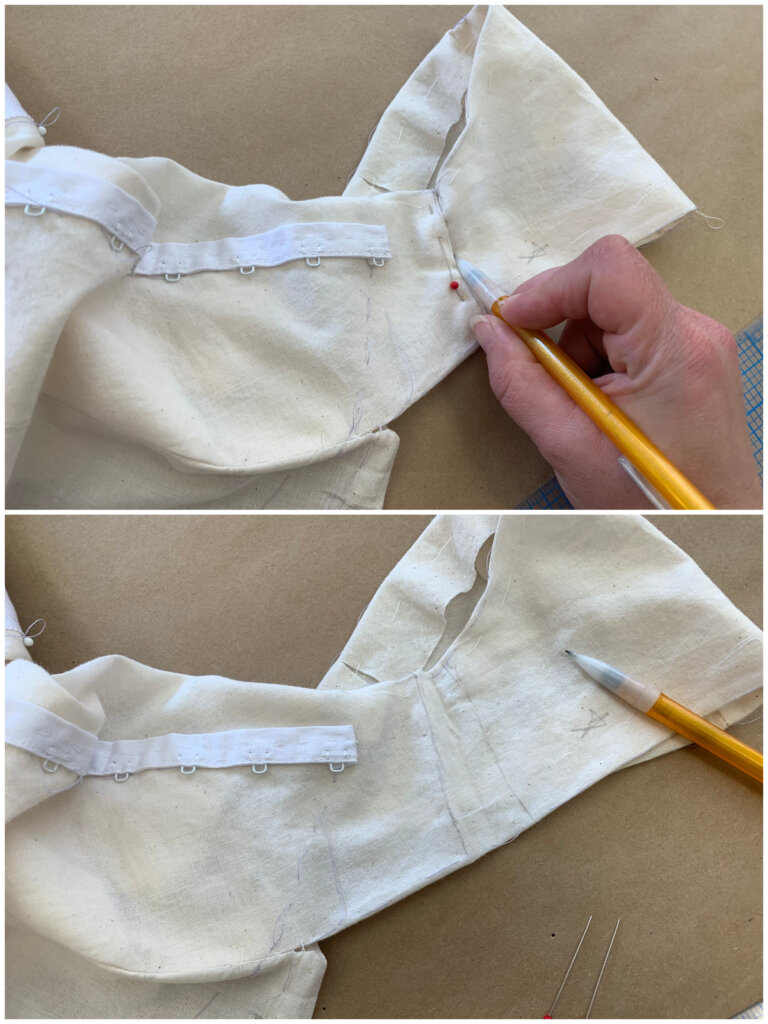
I mark or trace each line of fitting pins with a pencil line, directly on the fabric, to reveal the edit I need to make to the pattern piece.
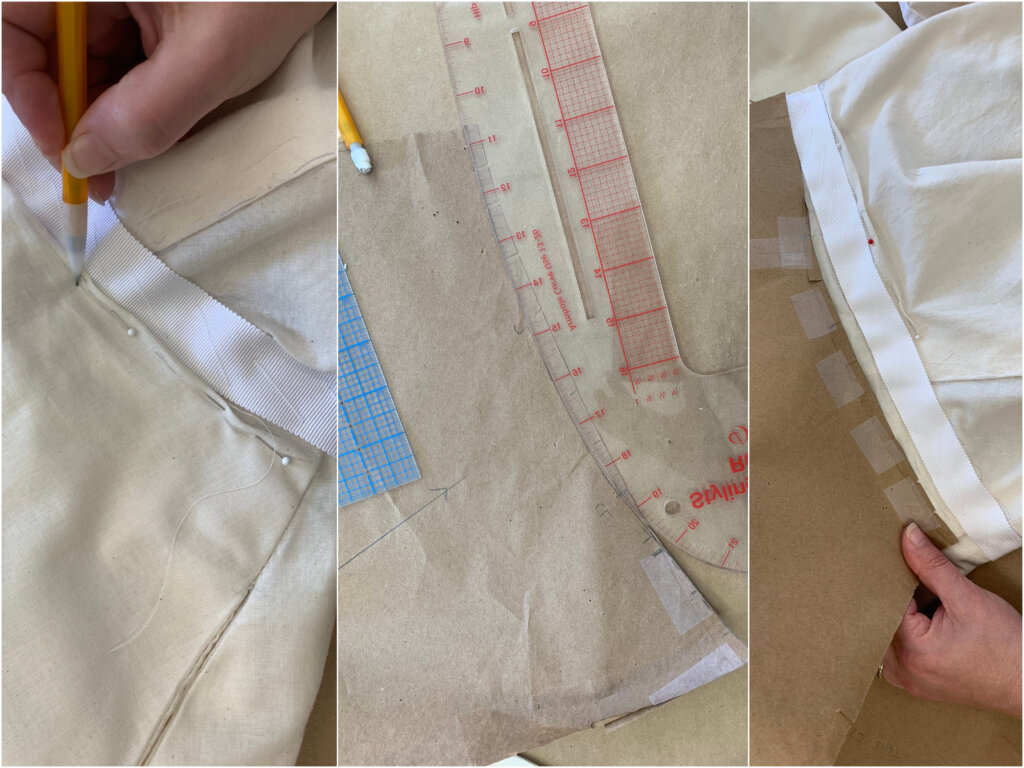
For example, I made a mark on the front neckline where I pinned out an inch of fabric. I recreated that same inch mark on the same part of the corresponding pattern piece, made a new line that blended in with the original, then cut off the excess. Pattern correction complete!
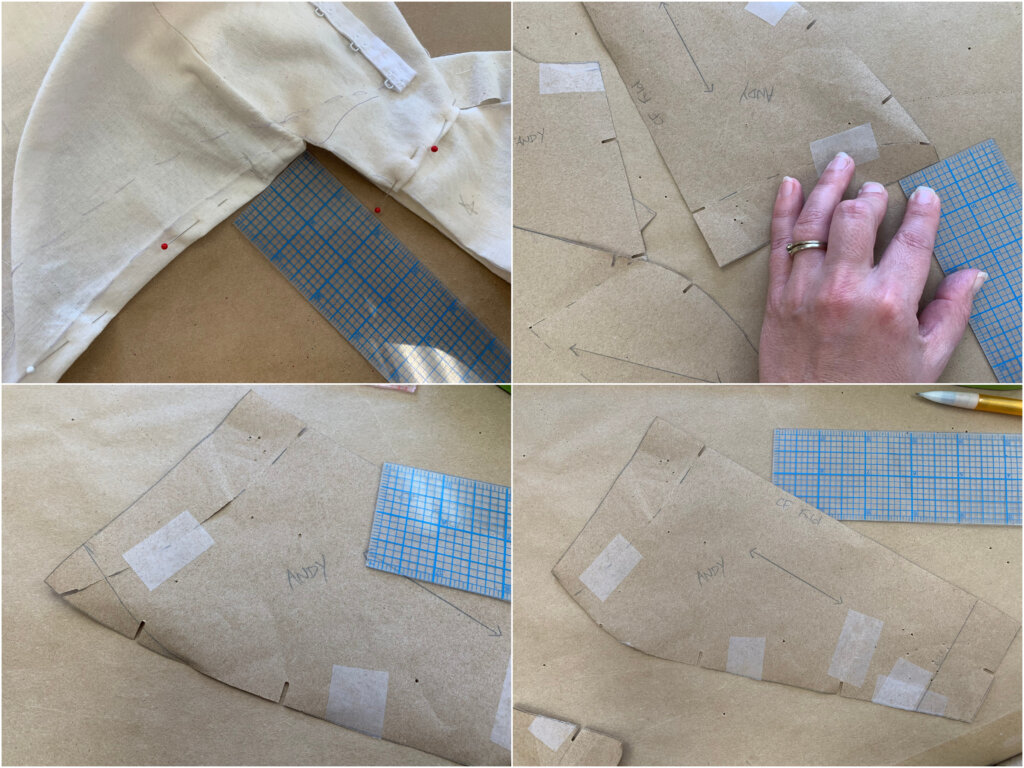
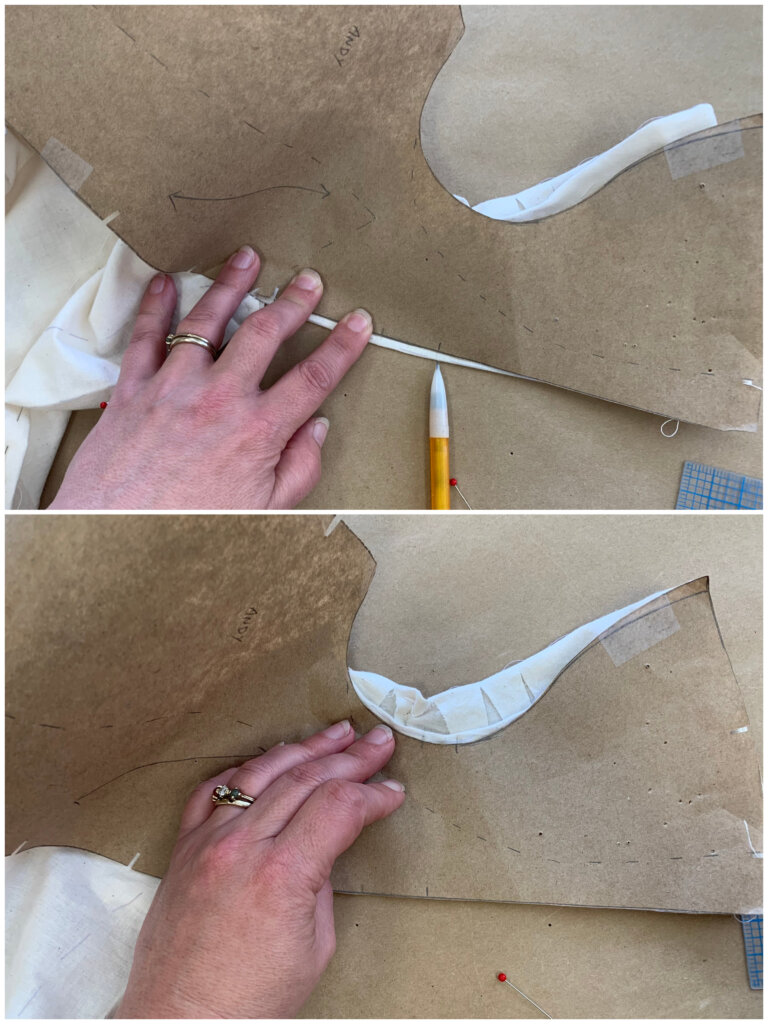
To get the mockup’s shoulders to stay on Andy’s shoulders, I pinched some fabric out of the straps during the fitting.
In the front, I traced each side of my pinned tuck with my pencil, before removing the pins to reveal the correction.
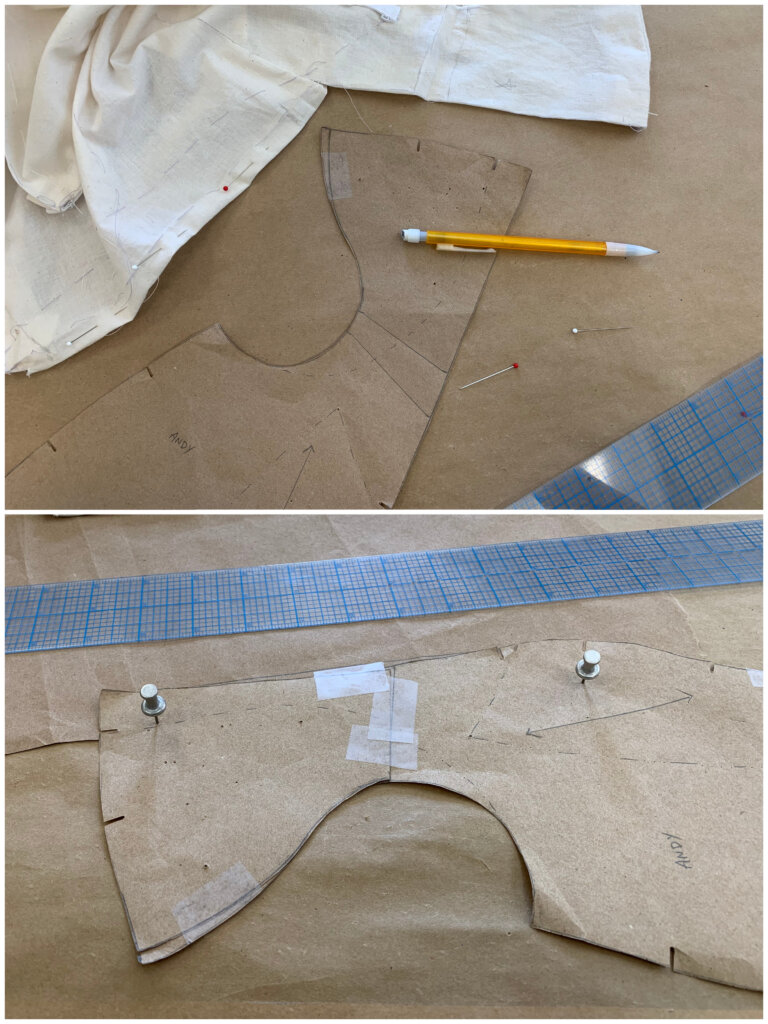
To record those changes, I added the corresponding pattern piece over the marked mockup to copy each mark on each edge…
…then I connected the new marks with straight lines. I folded and taped the lines to match each other, did a little blending to make a neatness along the edge, and the correction is complete.
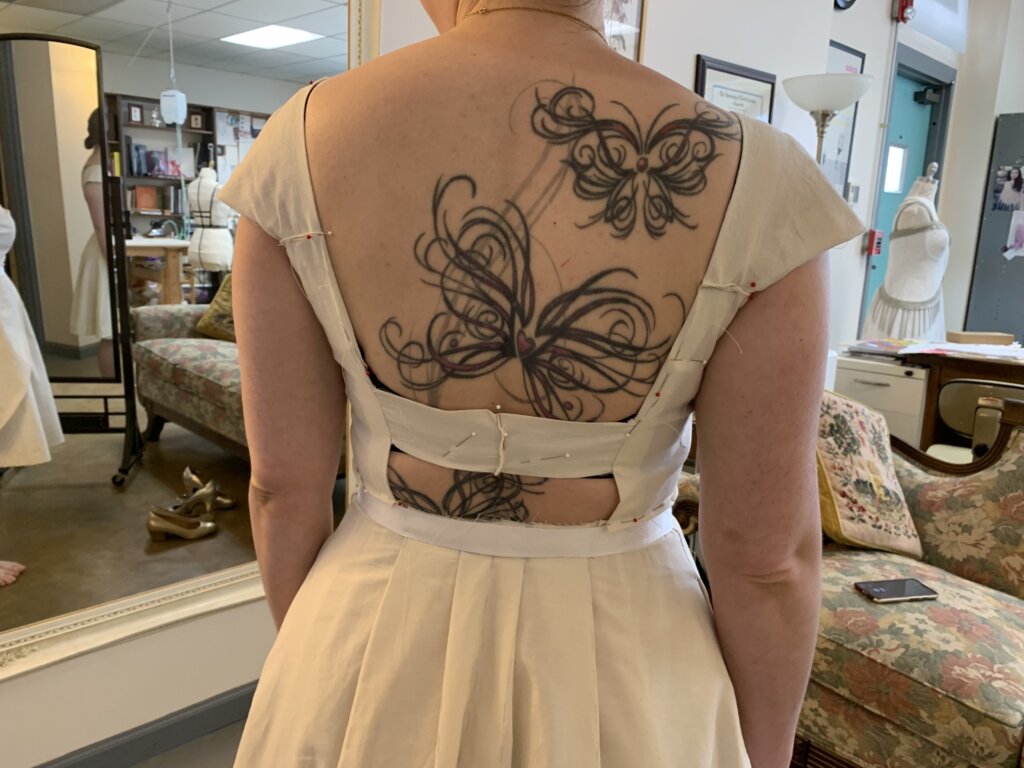
And there was also a similar correction in the back. Fun and easy!
I’m not sure how you’d go about fitting a pattern that already had seam allowances included. I wonder if this is (one of the reasons) why home sewing people have such trouble with fit?
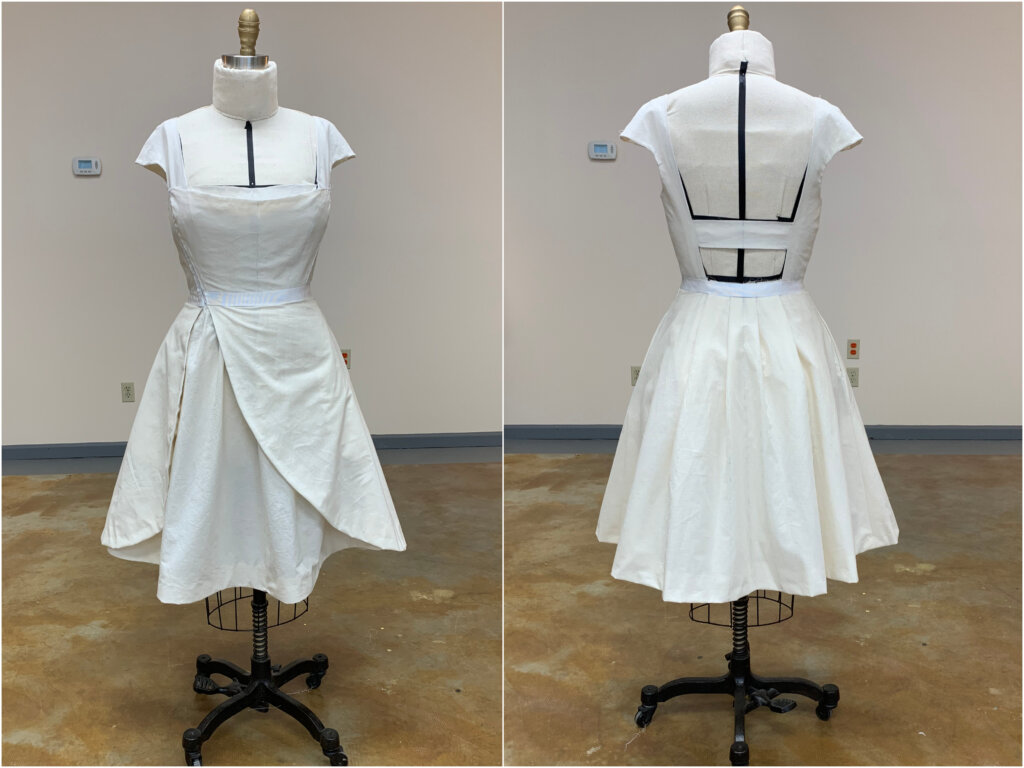
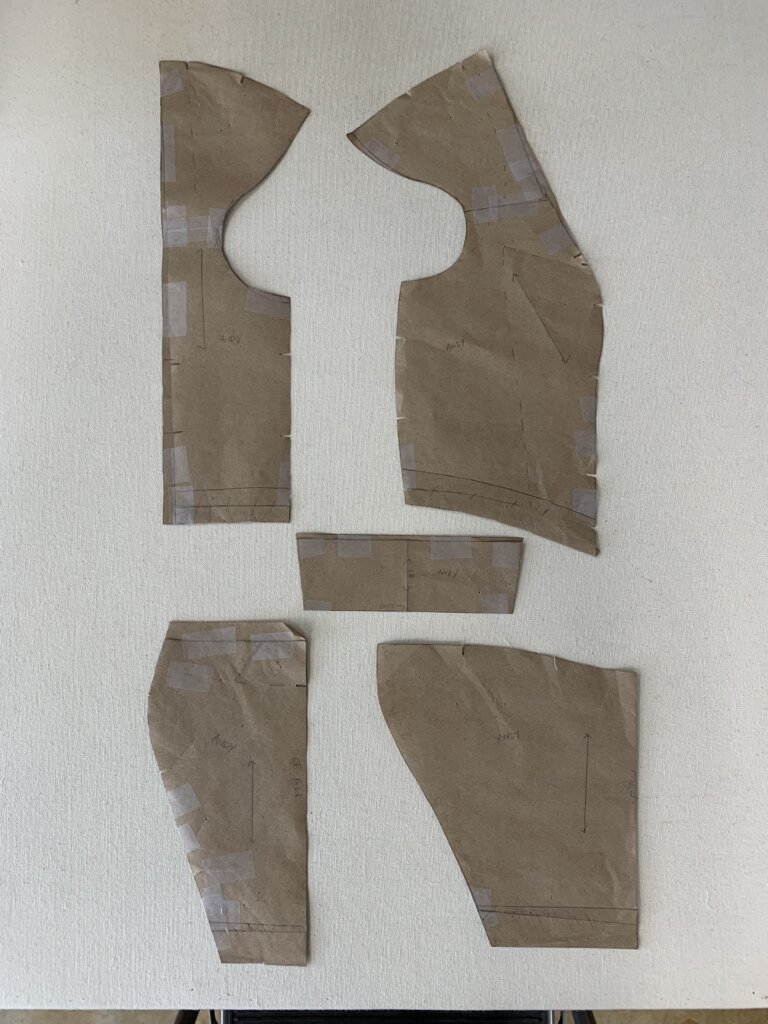
Here is my gorgeously messy second draft of Andy’s bodice, with its fit fine-tuned from the first.
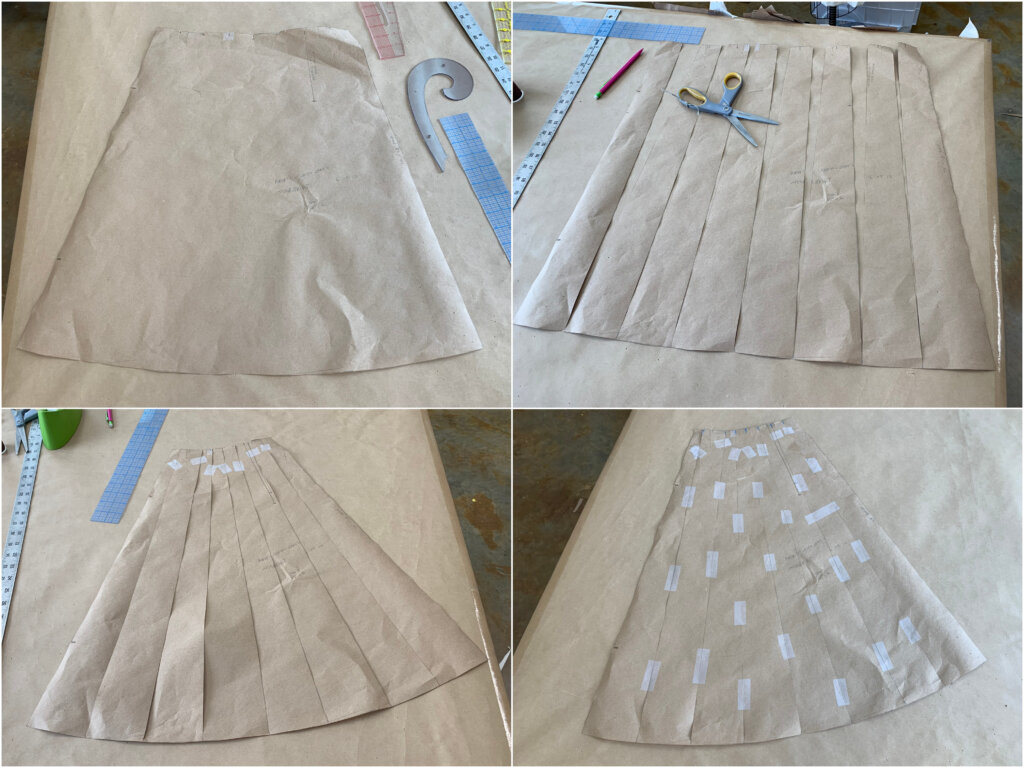
Though the fit of the skirt was fine, we decided to make a change to its design. The gathered underskirt would instead become smooth and fitted at the waist.
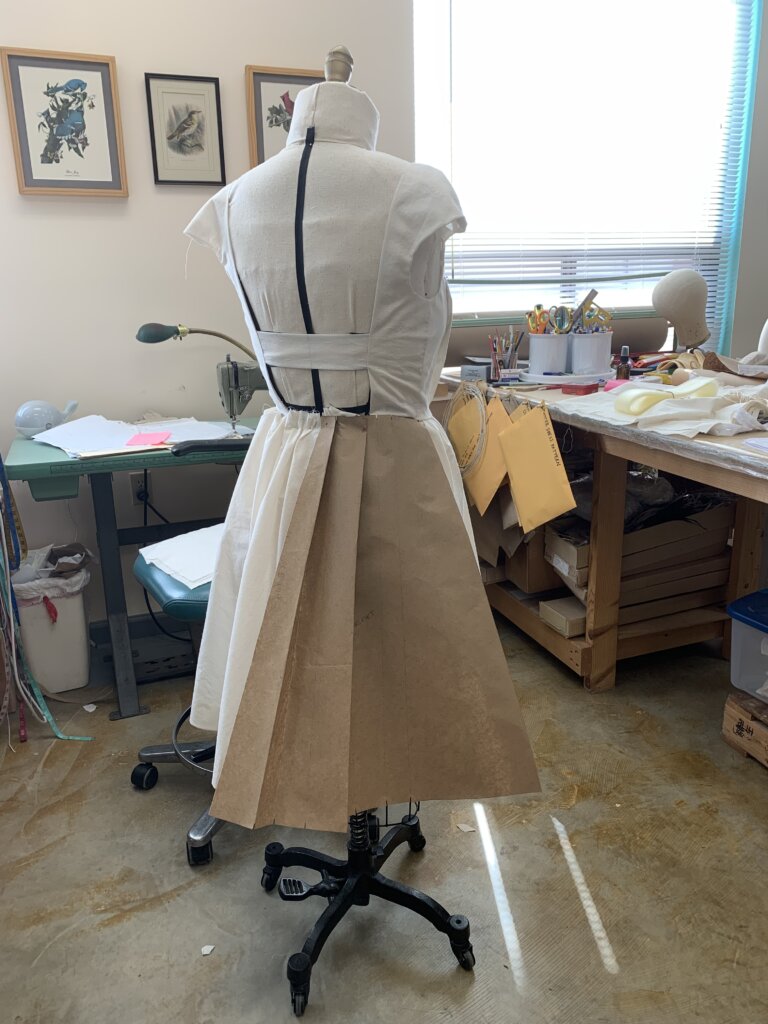
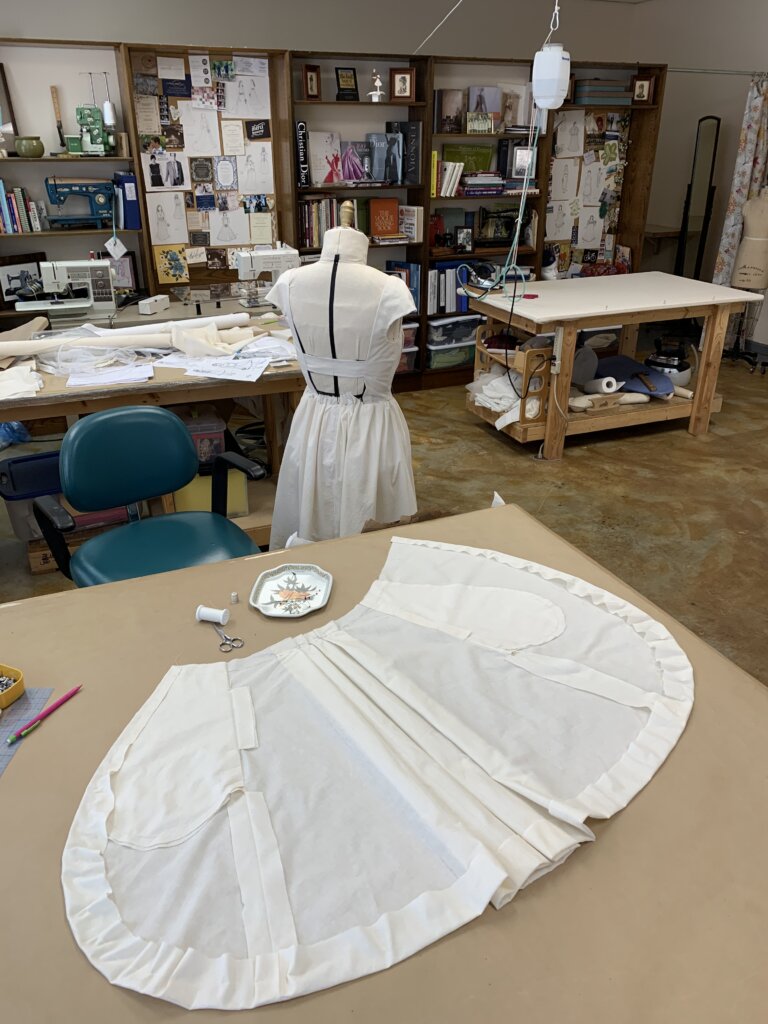
Here I’ve “slashed and spread” the first draft. While leaving the hem with the same amount of fabric, I overlapped the slashes at the waist until it reached the desired measurement. Same basic fit, but with this new shape, the underskirt’s waistline will now be smooth with no gathers.
Once all of my fine tuning was transferred from the mockup to the pattern pieces, it was time to transfer the pattern lines back into a mockup!
I’d reuse the first mockup’s fabric as much as possible. In mere minutes, I quickly unbasted everything (mostly by pulling apart seams like a Hulk) to get all of the first mockup’s muslin pieces flat again.
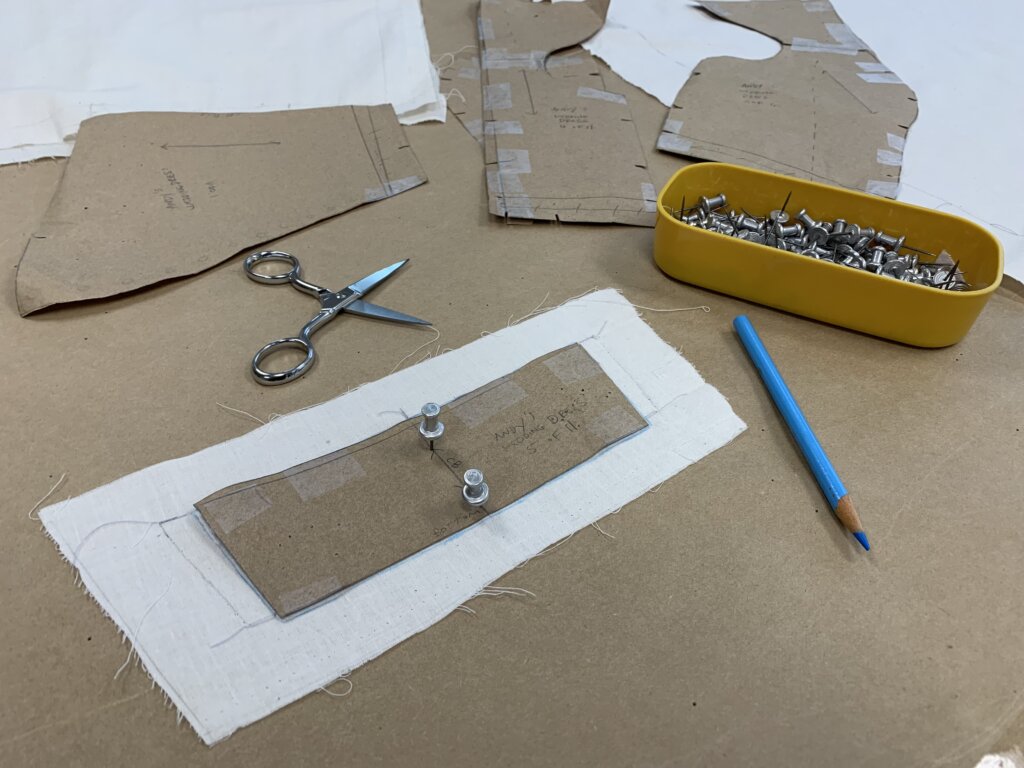
Some pieces just got a little smaller, so they were very easy to remark and reuse. I used a blue pencil to mark my new stitching lines onto the fabric.
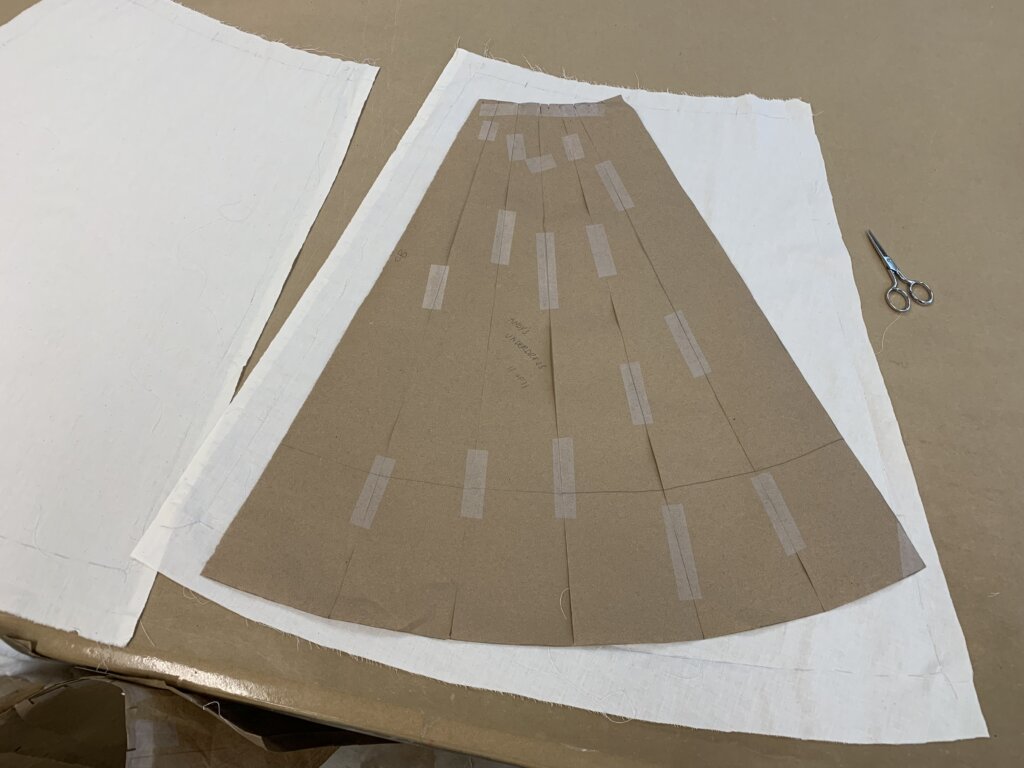
I was even able to (just barely) fit the new underskirt pattern on their original pieces of muslin in the back!
I was able to use mockup #1’s front underskirt’s muslin piece to mark and cut new versions of the bodice pieces.
Yay!
Then I pinned the new version of my old mockup together along my new stitching lines…
…and basted up mockup #2 using temporary machine and hand stitches.
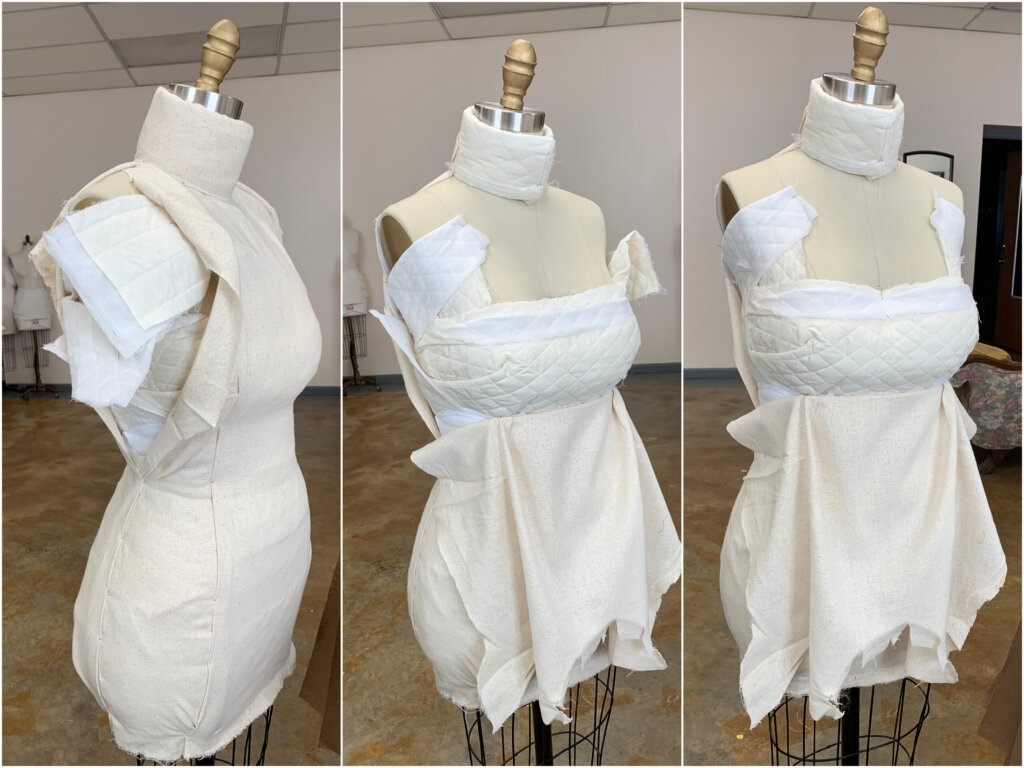
The changes I made in the fitting also inspired me to fine tune the dress form’s padding a little bit.
Each tool gets a little closer to Size-Andy with each test!
Andy's 2nd Mockup Fitting
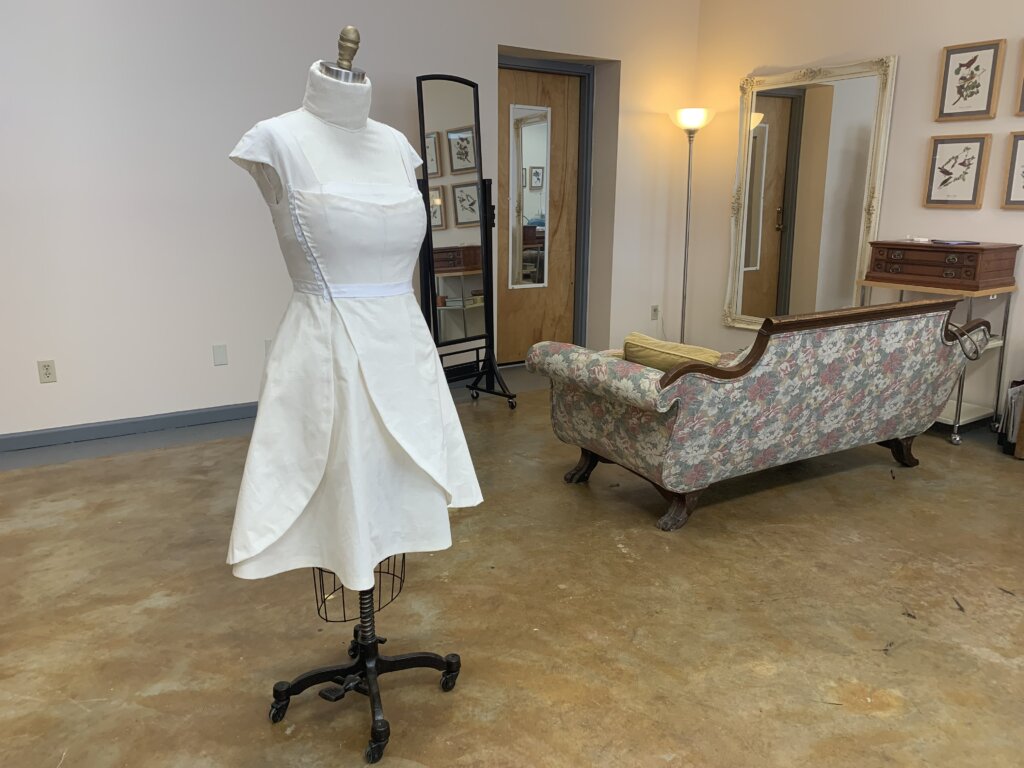
Mockup #2 (mostly made of mockup #1) was now ready for Fitting #2!
Almost by definition, a second draft is better than the first. I was very excited to try the revised version on Andy!
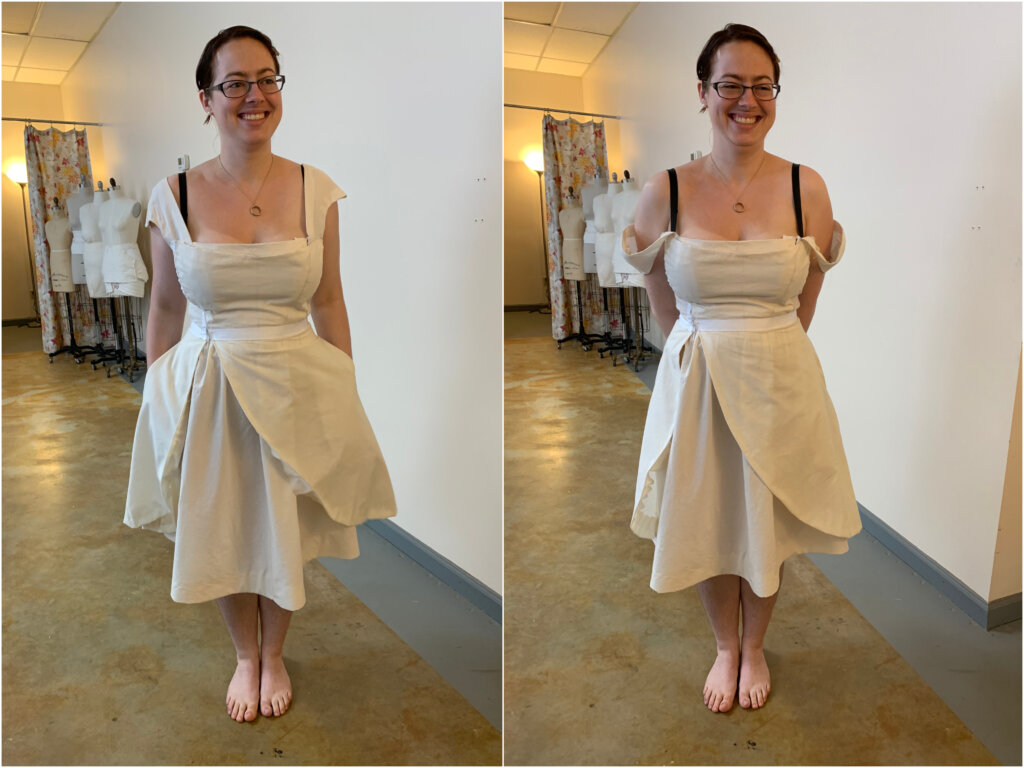
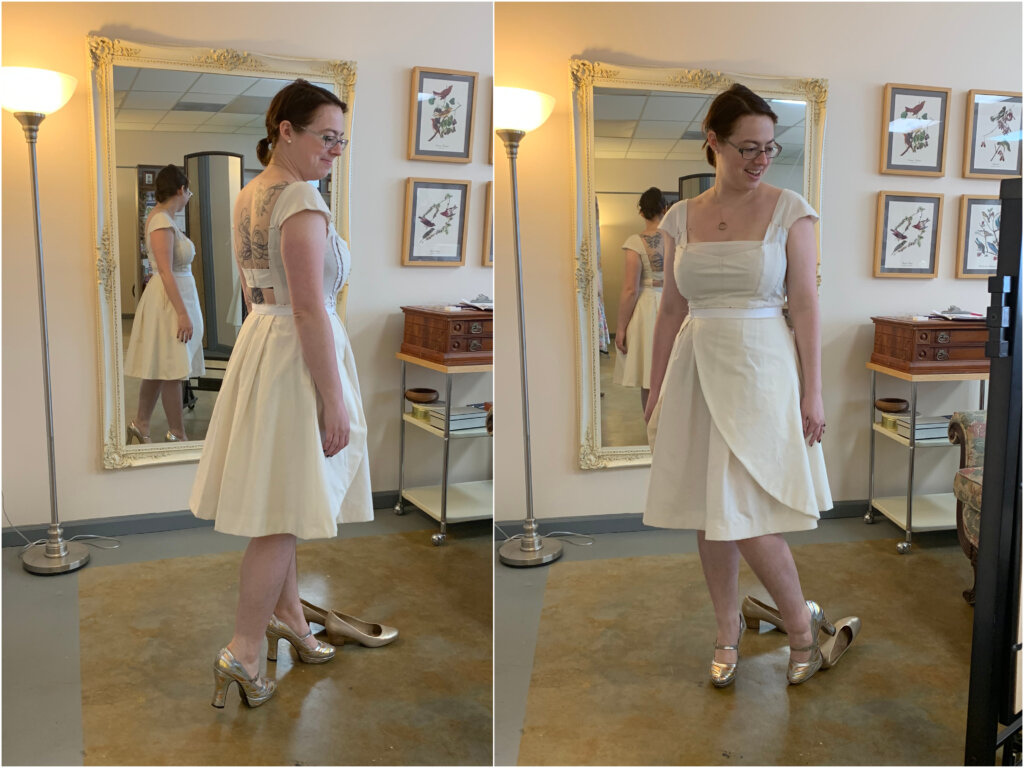
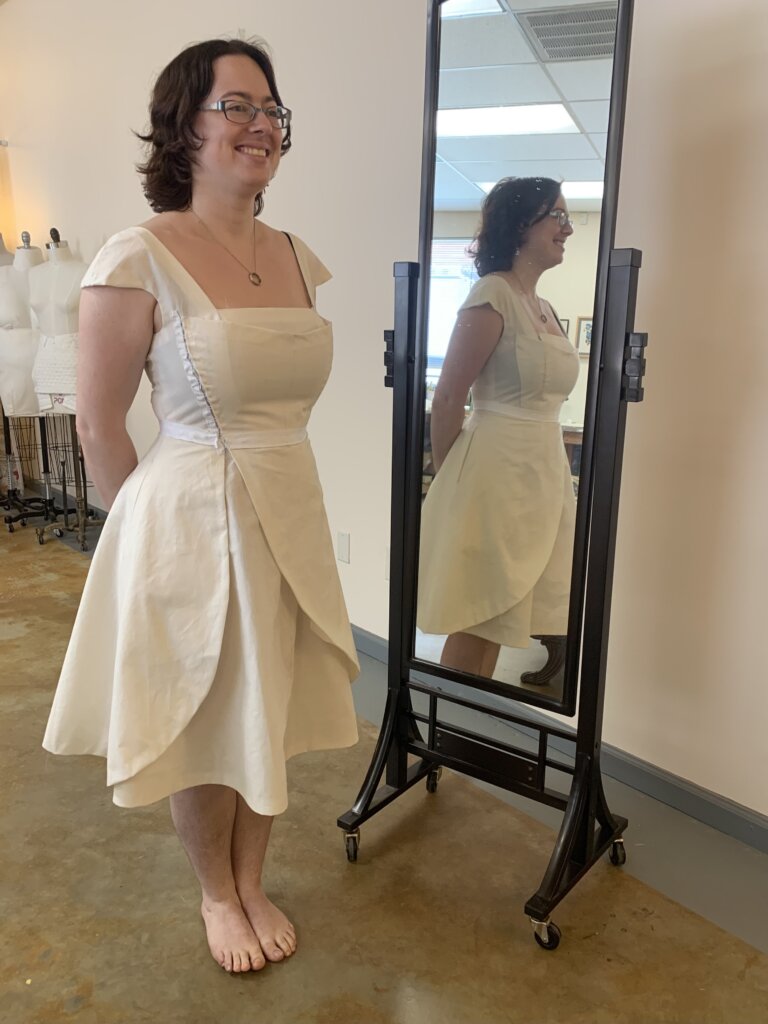
Look at that, ya’ll!!!
We both loved this test dress!
With a few more bits of fine-tuning pinned in place, we kept playing a little.
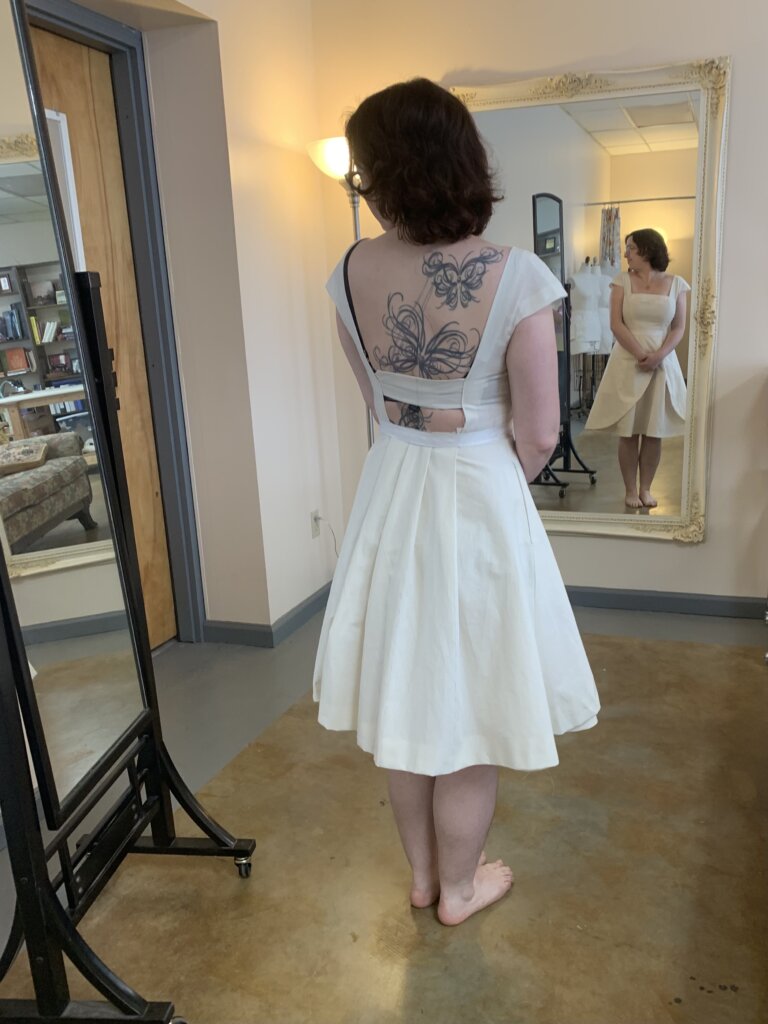
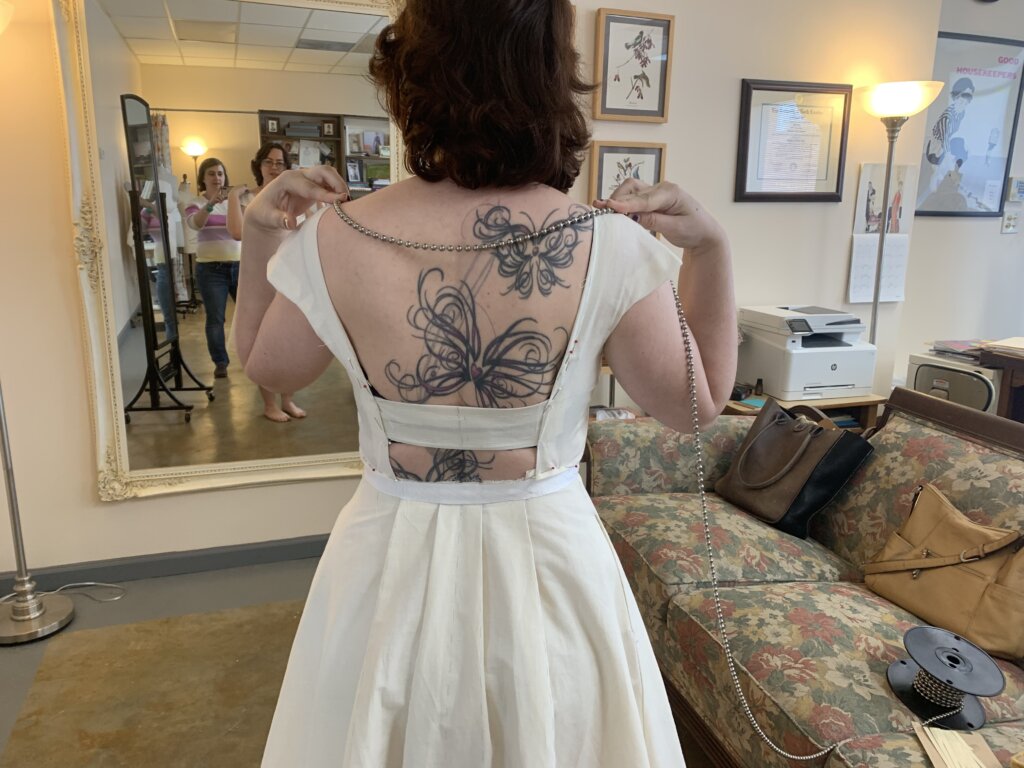
The shoulders technically fit now, but when something is low-cut in both the front and the back, there’s not a lot of anchor to keep them in place. Adding a chain, to keep the top from flopping, seemed like a really cool solution to add a little security. What do you think?
Onward!
With two mockup fittings behind us, Andy and I were thrilled to start moving out of the mockup stage and into the real fabric.
Without the mockup testing phase, we’d both have so many unanswered questions about the fit and design. With my questions now answered, I’ll now be able focus on the fabric.
I was really looking forward to letting my materials tell me what finishes and construction techniques I’ll use…
Which is where I’ll start part 3!
Did you learn anything new? Do you love the mockup stage? Loathe or skip it entirely? Do you sew from marked stitching lines, or do you prefer to sew a certain distance inward from a precise cut line? Have you ever sewn a wedding dress? How do you like Andy’s dress so far? I’d love to know! Thanks for following along!
NEXT POST: I’ll jump back into 2019 again to start cutting and constructing Andy’s actual wedding dress. Yay!
Want to learn more about the way I sew?
The final 2026 Session of my Intro to Custom Sewing eCourse Skirt Skills starts online August 19. Enrollment opens Aug 8. I’d love to work with you!
“The more I review the lessons the more I’m learning, even though I’ve been sewing off and on most of my adult life. This approach is so freeing from the confines of commercial patterns. Brooks Ann put the joy back into my sewing! – Barb
“I’ve learned so much, and feel the most relaxed about sewing I have ever felt.” – Nicola
Another gorgeous dress as always! There is one aspect of your process that I can’t figure out, and to my knowledge you haven’t specifically explained this anywhere [I’ve read all your blog posts over the years :) ]. When you mark the sewing lines rather than the cut lines, how do you see both lines (i.e. the lines on two adjacent pieces that you want to join) to match them together? Do you just poke a pin through the line from one side, and then flip things over and make sure it comes out on the line of the second piece of fabric? Or is there a better way?
This might be incredibly obvious to other people, but it’s not obvious to me. Can you please explain this part – matching pieces together using sewing lines? Thank you very much!
Exscellent question! And you got it right. You’ll pin your pieces together along the seam, line to line, using your pins as if they were a stitch. Poke your pin through the line on one side, out through the line on the other side, then back in line to line. It’s fairly easy and incredibly accurate. You know if you are off and can easily fix it. (I’m not sure how you’d even know if you are off, without marked lines.)
And if you point your pins in the direction where the point will be fed toward the machine, you can easily pull your pins out, toward you, as you stitch.
Takes a little practice, but seems so worth it in the long run.
Hope this makes sense! Thanks so much for asking. It will inspire me to be more detailed about that part in a future post. I love delving into all the nerdy details.
I’ve been wanting to take your sewing classes for years. I’m finally moving to a house where I’ll be able to have a craft space devoted to sewing and quilting, so hopefully I can sign up for the next Skirt Skills after that. Can’t wait!
I’m a former professional costumer and couture dressmaker for one-of-a-kind bridalwear located in rural North Carolina, who teaches custom garment sewing to sew-curious solo-sewists online.
My blog mostly follows along with the couture process of how each heirloom-quality custom wedding dress was made from idea to wedding day, as well as personal sewing projects and other couture curiosities.
Welcome to my (temporary) Sewing Studio! Come on in! I love seeing other people’s workspaces and tools, so I thought I’d show you mine. I cleaned up after a big...
Duplicating the Vintage Dress’s Pattern (without taking it apart)
In my previous post, I introduced Jenn and the custom bridal wear project(s) for her wedding weekend. Check out the full story for all the deets, but to catch you...
I Made Myself the Coolest Dress pt. 1 – Pattern Design & Mockup
Though my personal wardrobe is mostly “the dressmaker has no clothes”, when I do make something for myself, it’s usually an epic project. I’m so excited to finally share this...
I’ve been blogging for TEN YEARS now, ya’ll! In “My 10 Year Blogiversary pt. 1”, I share links to each bridal blog series that I’ve created over the past decade....
It’s finally time to share about Deborah’s wedding day! HOORAY! Deborah and Blake were married in November 2017 at a church in Greensboro, NC with the reception at a nearby...
New Bridal Blog Series: My (kinda famous) friend Jenn!
Brooks Ann, Jenn, & Charles January 2017 Going Way Back… To begin my next bridal blog series, let’s head into the Way-Back Machine. And we’ll head farther back than this...
The bridal blog series is back! In each bridal blog series, you meet a new bride and I slowly post-by-post recount the process and share the behind-the-seams story of creating...
The bridal blog series is back! In each bridal blog series, you meet a new bride and I slowly post-by-post recount the process and share the behind-the-seams story of creating...
The bridal blog series is back! In each bridal blog series, I recount the process and share the behind-the-seams story of creating a one-of-a-kind custom couture wedding dress from start...
Sally is someone special. Back in December, I got an email from a dear friend named Sally that I had lost touch with. The subject line: “dear lord i’m getting...
As it starts to get cold, it sure is nice to think about summer! Gin and tonics… BLTs… beach trips… seersucker… Earlier this year, I worked with a bride who...
They say documenting the process triples the production time. (And I work more slowly than most.) My Nimbus was cold.She needed a new coat, sooner than later.
Welcome to Part Two! I’m back to share the nerdy behind-the-seams details of creating my Vanishing Tie Top for the Precious Fabric Challenge. But this photo-filled blog post doesn’t feature...
Do you have a fabric that you’ve been SAVING instead of SEWING? Yeah. Me too. So when Whitney Luckenbill of TomKat Stitchery asked me to be a part of her...
Welcome to my (temporary) Sewing Studio! Come on in! I love seeing other people’s workspaces and tools, so I thought I’d show you mine. I cleaned up after a big...
Welcome back! It’s the series finale! In this third and final post of My Warmup Jacket series, I share the behind-the-seams details of my jacket’s construction and finishing stories!
In this second post of My Warmup Jacket series, I share the behind-the-seams details of my jacket’s patternmaking and mockup stories! And after putting this patterning post together (which was...

4 Responses
Another gorgeous dress as always! There is one aspect of your process that I can’t figure out, and to my knowledge you haven’t specifically explained this anywhere [I’ve read all your blog posts over the years :) ]. When you mark the sewing lines rather than the cut lines, how do you see both lines (i.e. the lines on two adjacent pieces that you want to join) to match them together? Do you just poke a pin through the line from one side, and then flip things over and make sure it comes out on the line of the second piece of fabric? Or is there a better way?
This might be incredibly obvious to other people, but it’s not obvious to me. Can you please explain this part – matching pieces together using sewing lines? Thank you very much!
Exscellent question! And you got it right. You’ll pin your pieces together along the seam, line to line, using your pins as if they were a stitch. Poke your pin through the line on one side, out through the line on the other side, then back in line to line. It’s fairly easy and incredibly accurate. You know if you are off and can easily fix it. (I’m not sure how you’d even know if you are off, without marked lines.)
And if you point your pins in the direction where the point will be fed toward the machine, you can easily pull your pins out, toward you, as you stitch.
Takes a little practice, but seems so worth it in the long run.
Hope this makes sense! Thanks so much for asking. It will inspire me to be more detailed about that part in a future post. I love delving into all the nerdy details.
That makes sense – thanks so much!
I’ve been wanting to take your sewing classes for years. I’m finally moving to a house where I’ll be able to have a craft space devoted to sewing and quilting, so hopefully I can sign up for the next Skirt Skills after that. Can’t wait!
Yay! Your new space sounds awesome. I look forward to working with you soon!