 Have I mentioned that I love pattern drafting?
The first thing that a patternmaker needs to do after taking a full set of measurements is to use them to create a body double. There are two ways to pattern: draping and flat pattern. In draping, you are physically manipulating fabrics in three dimensions on a properly sized dress form to create the desired design. In flat pattern, you are using drafting formulas to apply the measurements directly onto the paper to create the desired design while flat. I usually do a little bit of both types of patterning.
Back in October I attended a class taught by Susan Khalje and Kenneth D. King. On the first day, several of the students who had taken the class before were talking about their “moulage”. Having never heard the word before, I asked Kenneth what it was. Once he explained it to me, it sounded like exactly what I had been trying to do on my own for years. Kenneth had written a drafting book and teaches courses on this method. I couldn’t wait to buy the book and try it out in my studio!
From Kenneth’s D. King’s website: “The moulage is the foundation of the couture pattern drafting system taught by the Ecole Guerre-Lavigne in Paris. This is a system of measuring the figure, calculating, and drafting a pattern that will fit the torso like a second skin, incorporating any of the infinite variations of shape the human figure can take.”
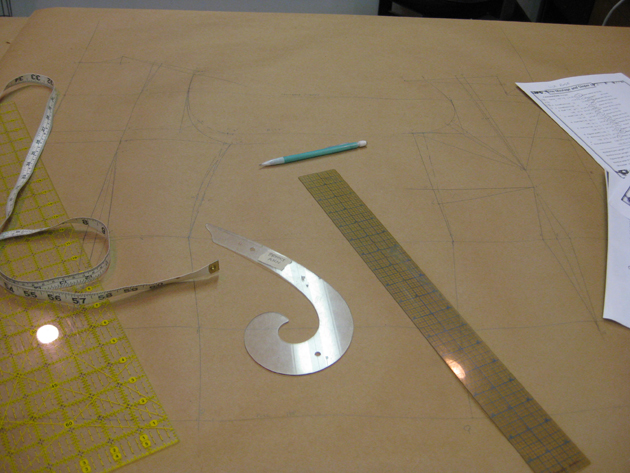
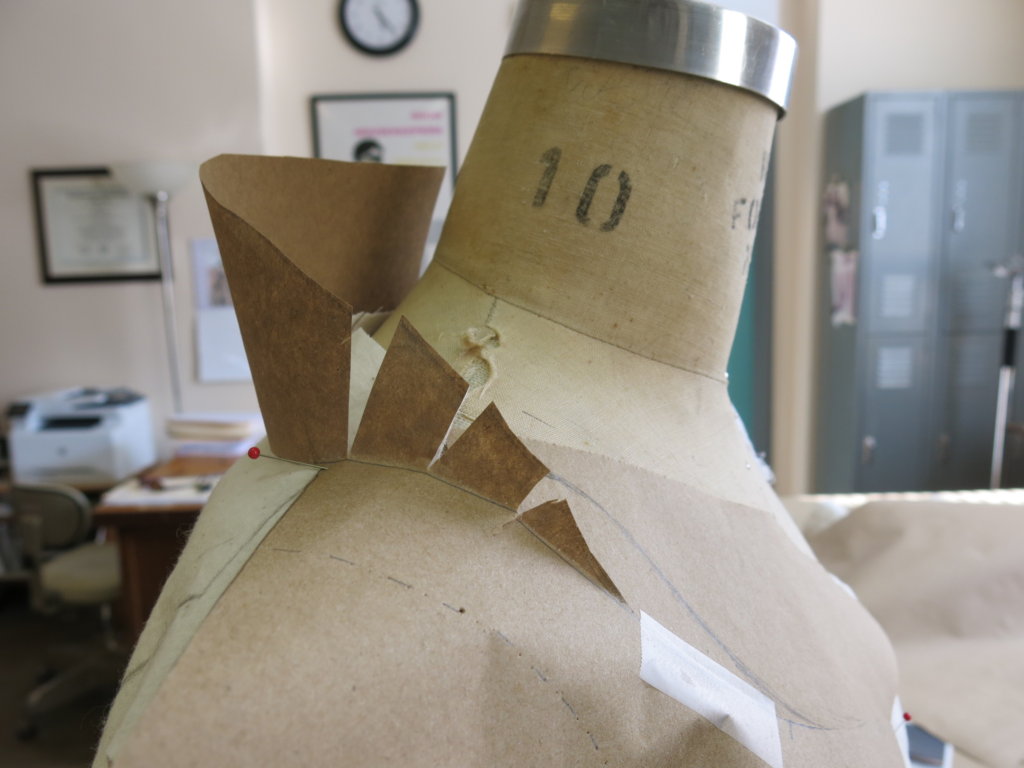
The book takes you step by step using special measurements to create a flat version of your exact figure. You can see some of my draft in progress for Lila Rose’s moulage (front and back) above and a closeup (of the front draft) below.
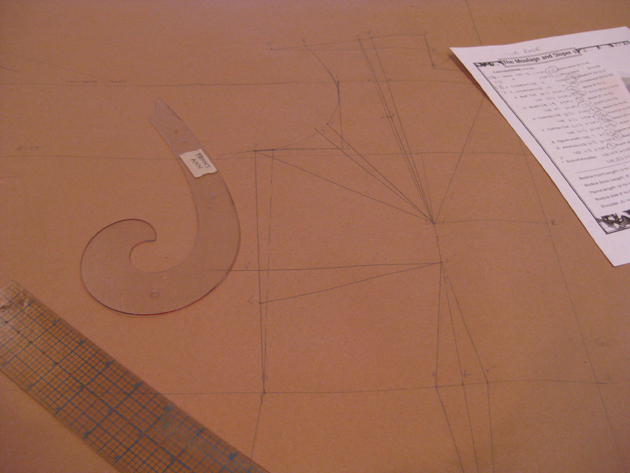 It’s basically a precise sloper, or basic pattern that has no design to it, that you can use to create designs (or alter patterns) so that they fit perfectly. If you want to learn more or try it yourself, you can buy Kenneth’s books here.
I really enjoy drafting, so this method was right up my alley. It was an especially valuable tool for Lila Rose’s dress since it was very easy to translate the sloper/moulage into the dress that we designed.
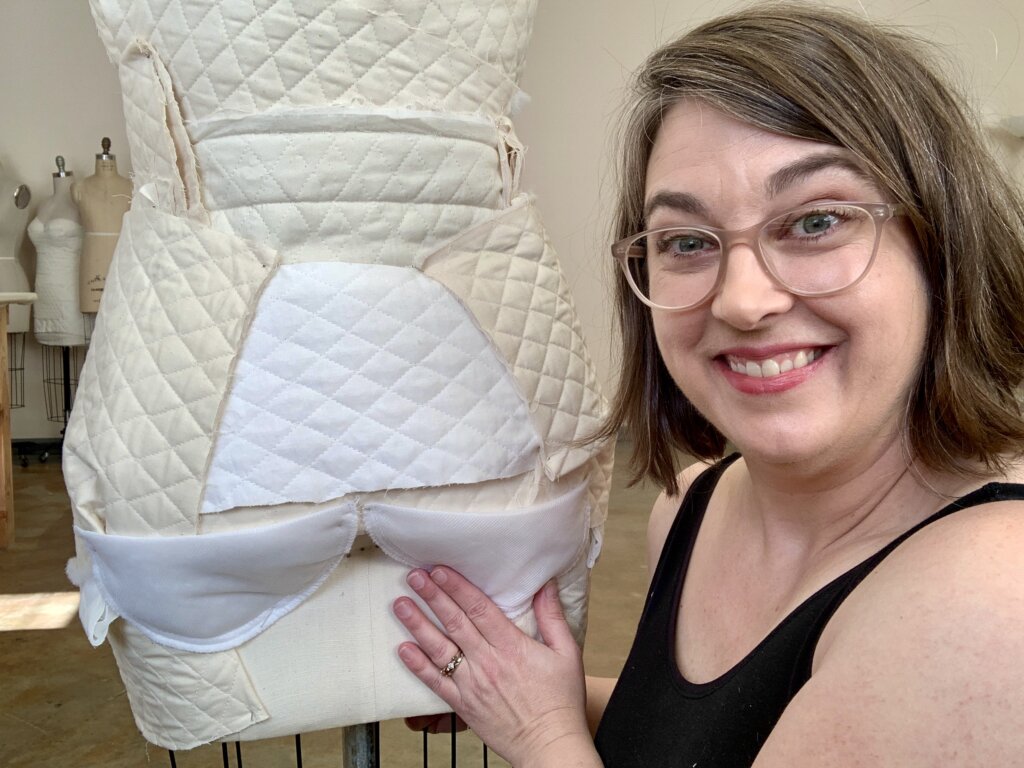
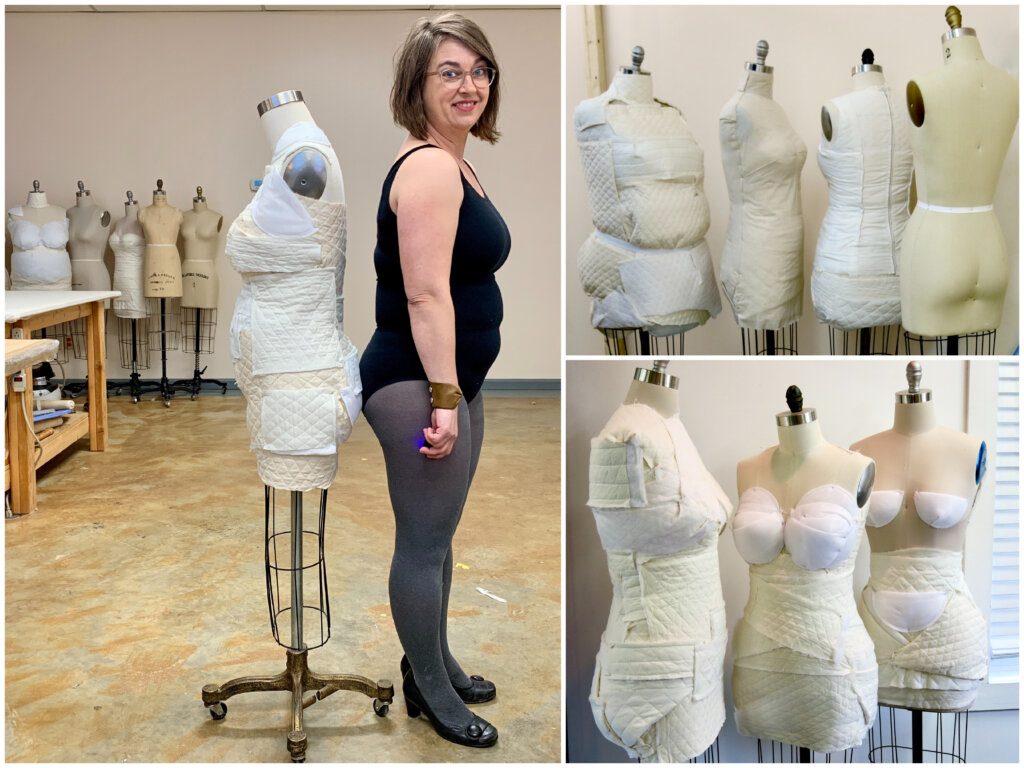
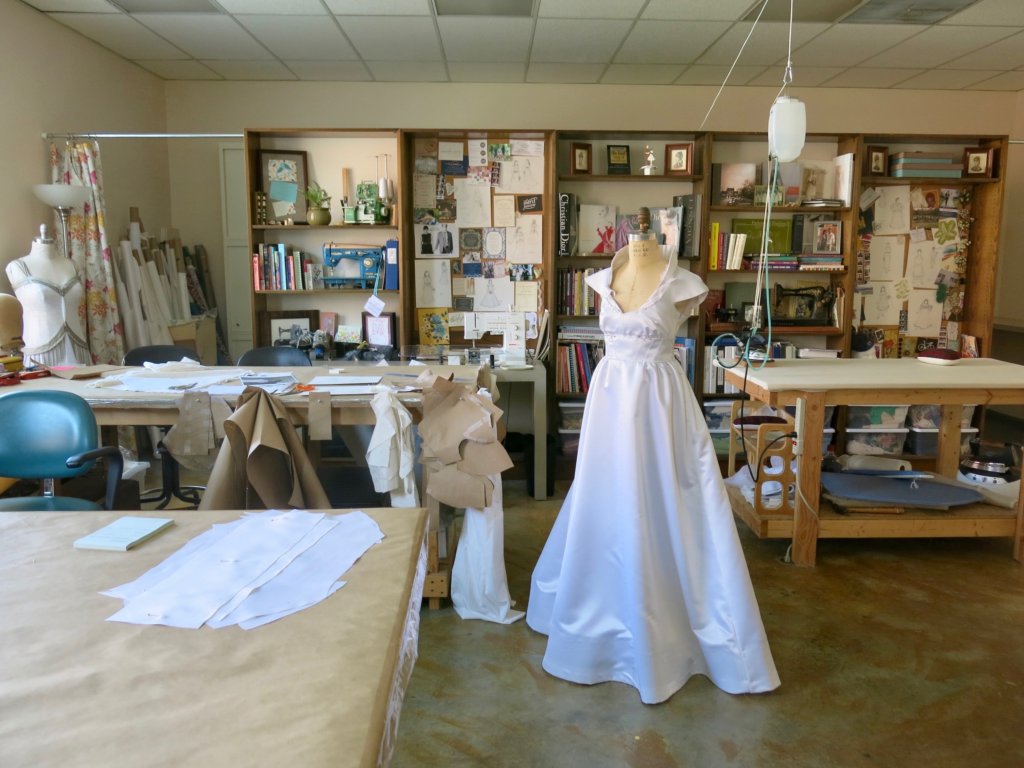
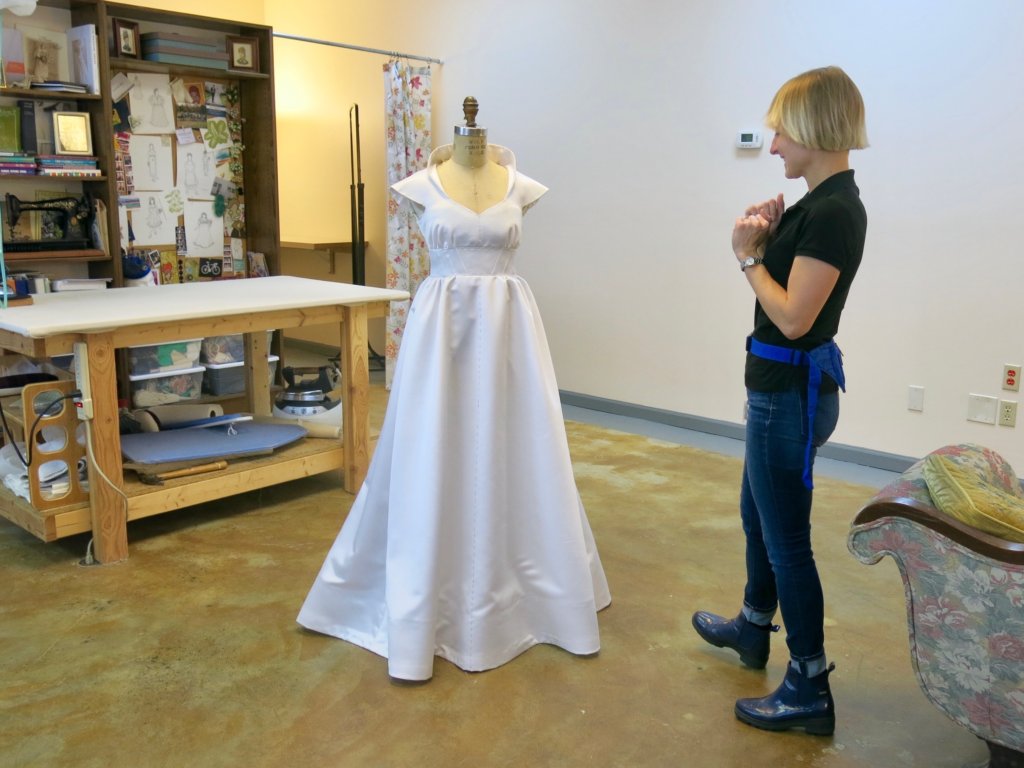
In addition to the moulage, I made the standard padded dress form that I always do for my brides. It not only serves as a draping tool, but it allows for fitting and showcasing the dress.
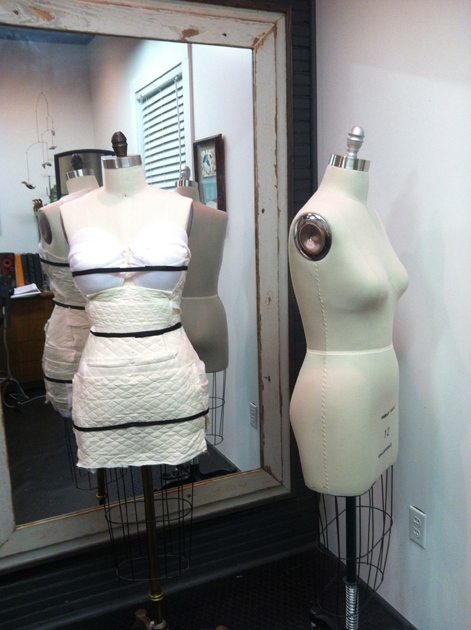 I used the original set of measurements and some photos that I took of Lila Rose to recreate a 3D version of her. I always start with a dress form that is a little smaller than the person I want to fit, and then add padding to create her unique shape. The padding will eventually be covered in a neutral fabric for a seamless look. In the photo above, you can see a glimpse into my process of recreating Lila Rose’s unique figure.
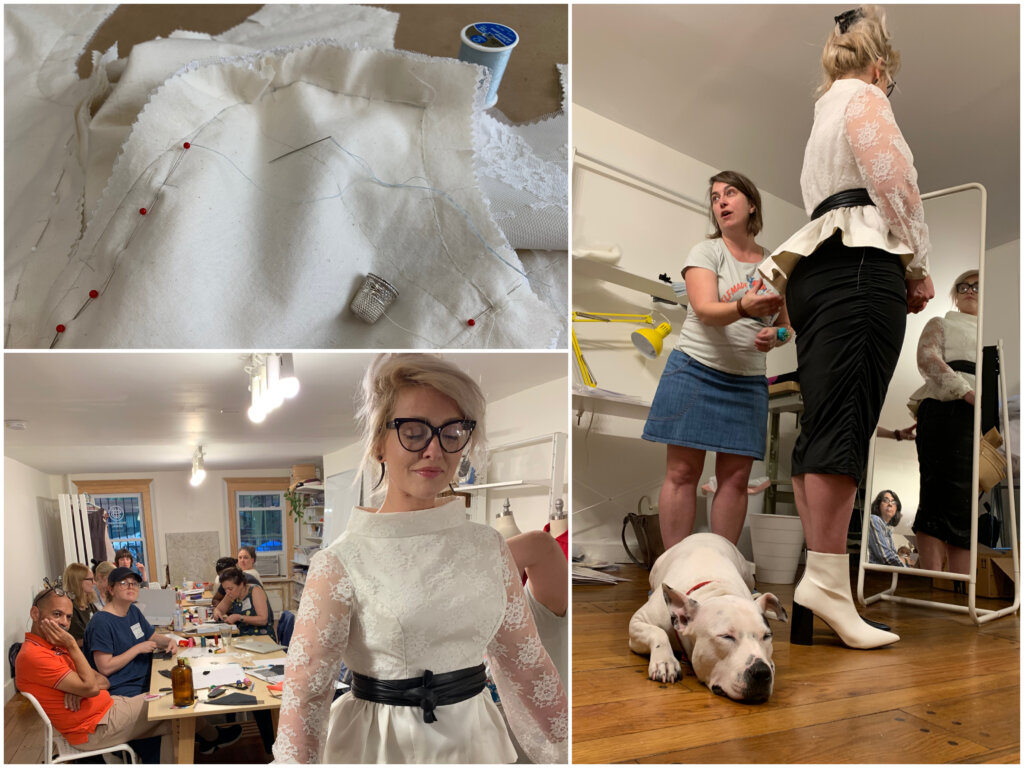
Once I was satisfied with the shape I had created, I made a fabric version of my moulage to try onto the dress form. It fit really well, but not perfect.
Since I have not used a moulage before, I decided to split the difference between my dressform measurements and my moulage measurements, adjusting each. I think this should give me a very good start to creating a pattern for a mockup dress that will be easy to fit once Lila Rose is in town!
More on patterning and mockups next post!


















2 Responses
That is exactly what I have been wanting to do! My dress form is too small for me, and I don’t want to replace it. I suspected I could draft my form a “no ease sloper” and pad it out so its closer to my size. I would love to know how this worked for you :)
Thanks for commenting Jay! I’m so glad that your dress form is too small rather than too big. You can always pad up, but you can’t take away. You are in good shape to make a body double for yourself and I certainly don’t recommend replacing it!
I make custom wedding dresses for a living and I always pad my forms out to fit the exact measurements of my brides. I usually just do this by taking A LOT of detailed measurements as well as some photos (front, side, back) to get a sense of the varied curves of the woman’s unique shape. Then I just sculpt with strips of batting and shoulder pads, (or if the woman is much larger than any of my forms, I’ll even use pillows) until the measurements add up and it looks like my photos. You can see a few forms padded up in this post: https://brooksann.com/from-measurements-to-mockups/
This was the first time I was trying a “moulage” and I had mixed feelings about the results. I love flat pattern drafting and I love the concept. It really got my mind spinning and has actually changed the way that I think about pattern drafting. Mostly because of the frustration! I am so grateful to have worked through Kenneth King’s 100+ page book to make what you read about in this post, but I did find a lot of it unnecessarily complicated and confusing. I tried making one for Lila Rose here, and I also made one for myself and my assistant made one for herself and they all came out less than perfect. I was able to use it and make it work, but not without a lot of redrawing. I have not tried it again for future brides since I already had a padding system that worked and was quicker for me.
It did however get me thinking about how to make a “moulage” that didn’t involve a lot of piddly stuff, calculations, “industry standards”, etc. I then spent about 3 years researching different methods for custom “no ease slopers”, noting the parts I liked and didn’t like about each and working to create my own. Though I haven’t yet perfected my system for the bodice, I have made a skirt drafting system that really works and is really easy. I teach it in my upcoming online course Skirt Skills! Check it out if you are interested at: http://skirtskills.com
So, going through this process worked for me in the sense that it kind of changed my life, inspiring me to find a better way and to start teaching those methods!
If you like to use your form mostly for draping, I recommend just doing strategic padding and then just drape a cover over it, rather than starting with the cover. But if you love drafting and want to use the pattern for more than a cover, maybe check out Kenneth King’s book and see if it’s right for you. It certainly is thought provoking and inspiring.
Hope this helps!