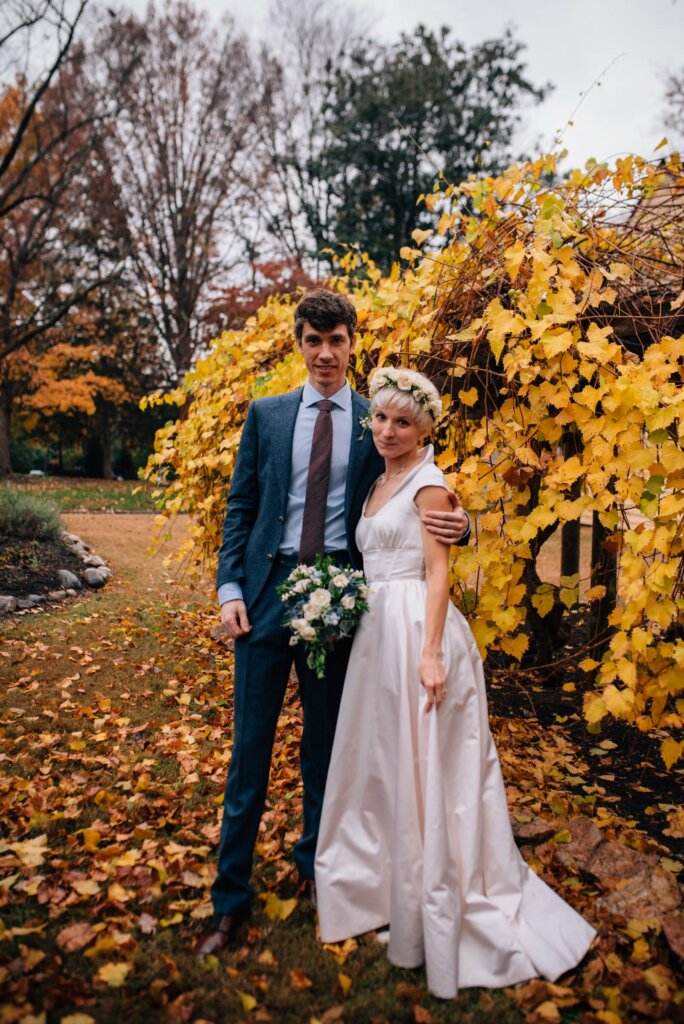
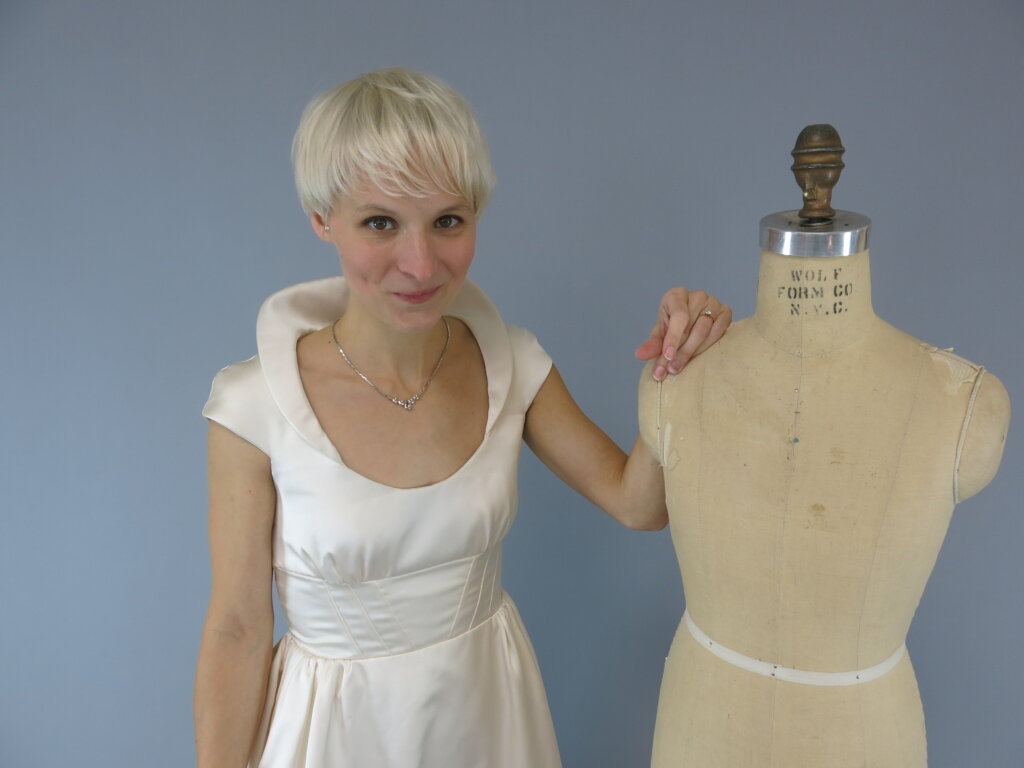
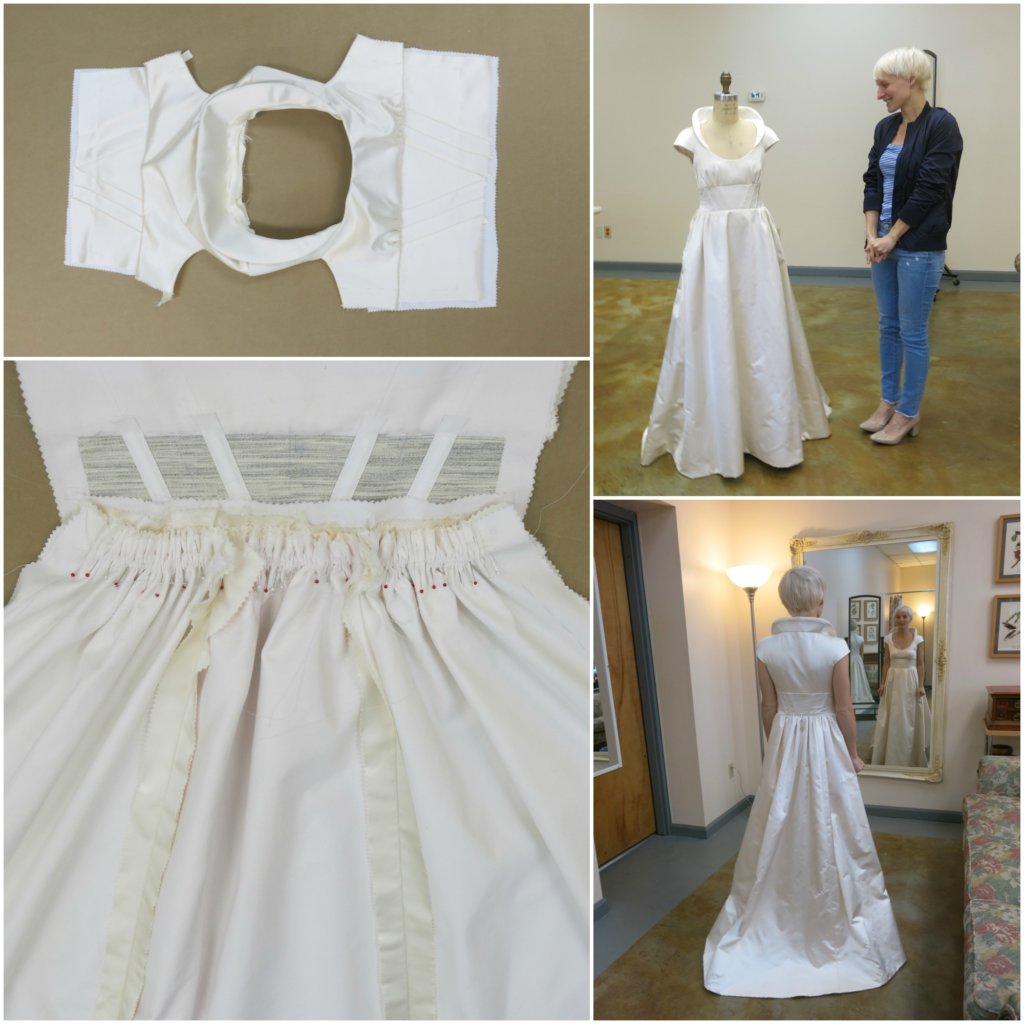
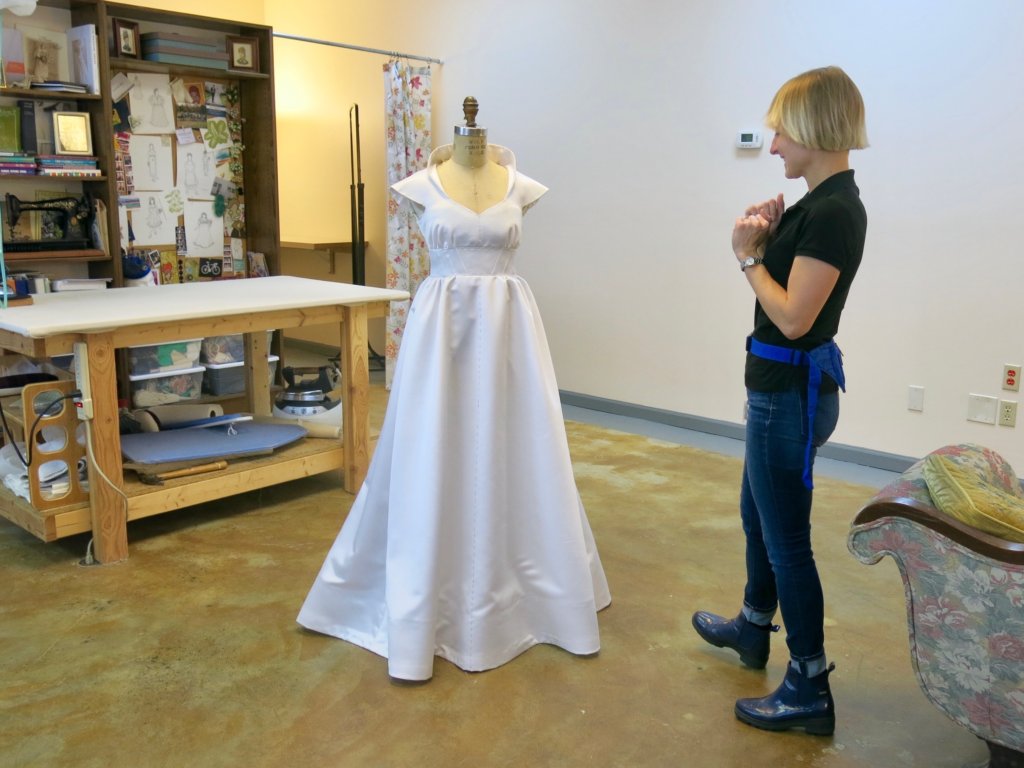
 After our fabulous Final Fitting, it was finally time to finish Greta’s dress!
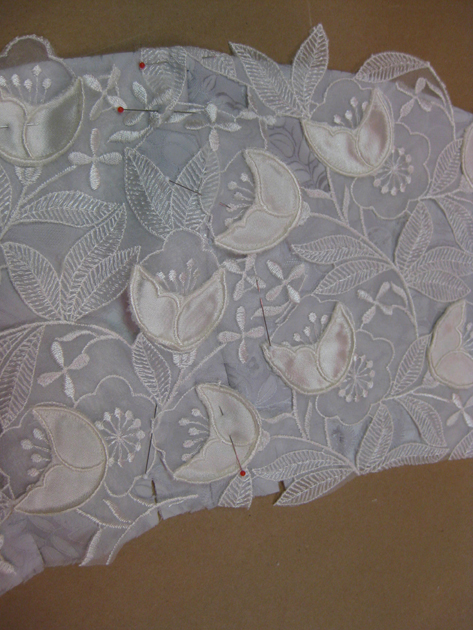
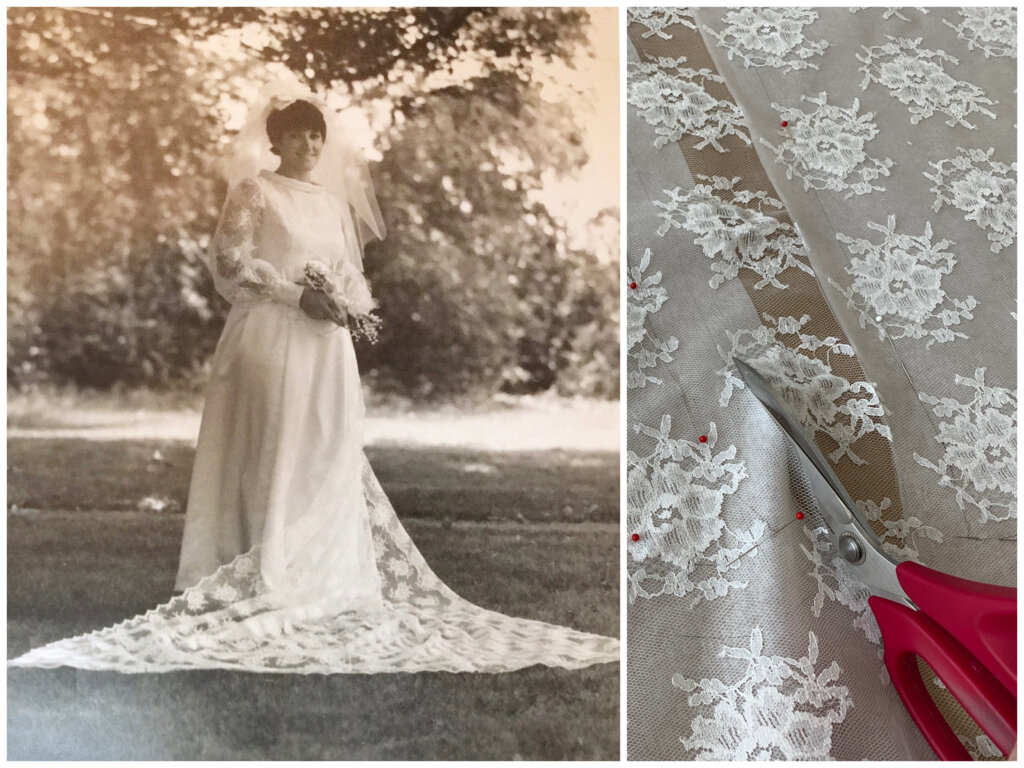
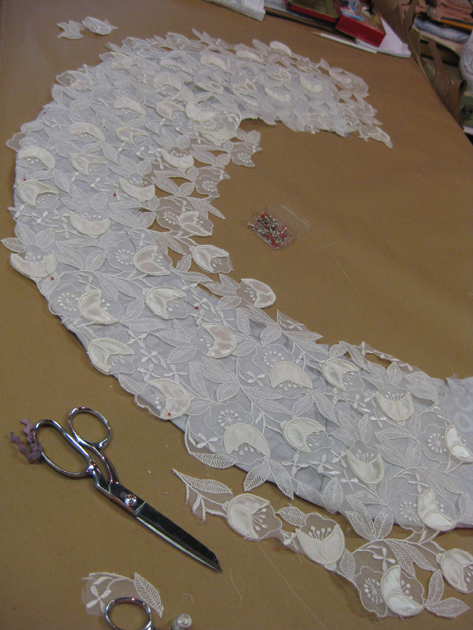
The collar was finally ready for its Sposabella lace to be sorted out. I cut the lace a little larger than the pattern pieces and then laid it onto the collar. Greta and I decided that we’d like the flowers and leaves in the lace to provide a textured edge, rather than just fold under at the bottom of the collar. I worked out where the lace looked the best, pinned it in place and started (very carefully) trimming!
I did the “pinning and trimming” with each pattern piece leaving extra lace at the shoulder seams for piecing.
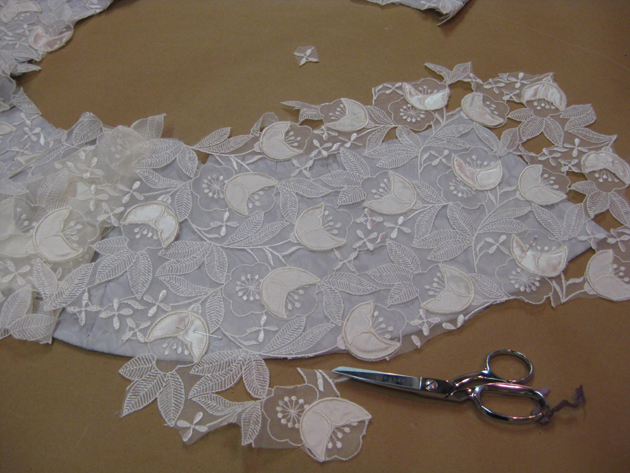 The lace was too beautiful to just sew into the seams. So at the shoulder seams, I worked the lace together in a way that made it appear to be one continuous piece of lace. With just a little strategy, careful cutting, and invisible handstitching, the lace fit together like a little puzzle!
Here, you can see the piecing in process…
…and here’s the finished shoulder seam and fancy collar edging almost ready to be attached to the dress!
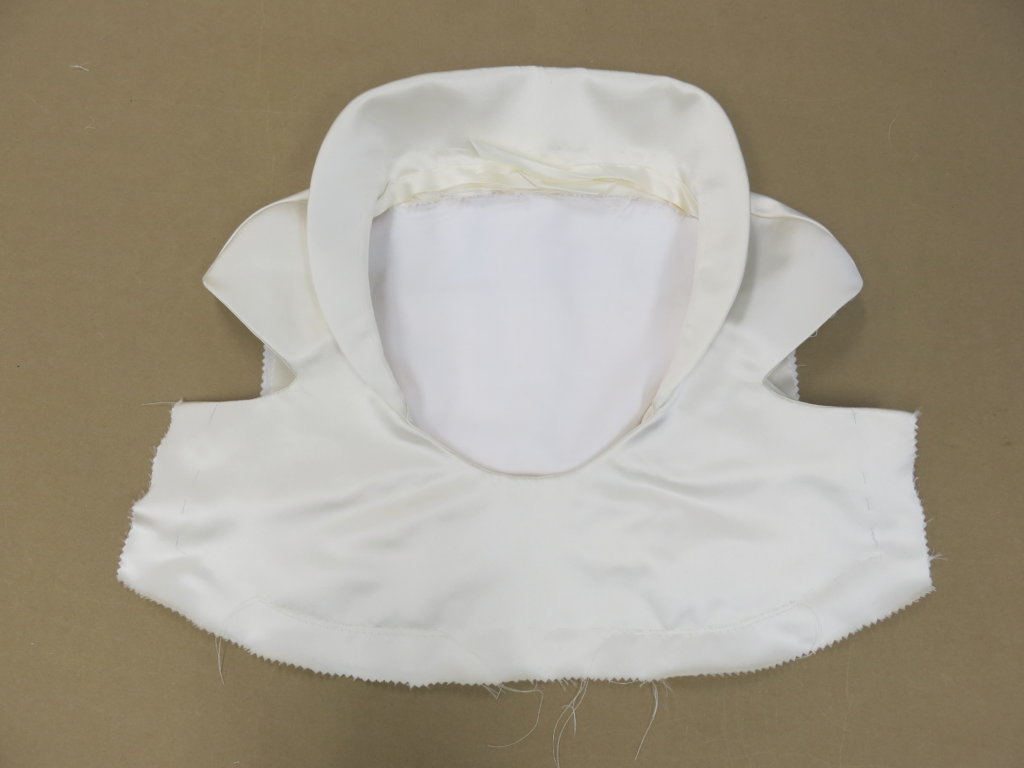
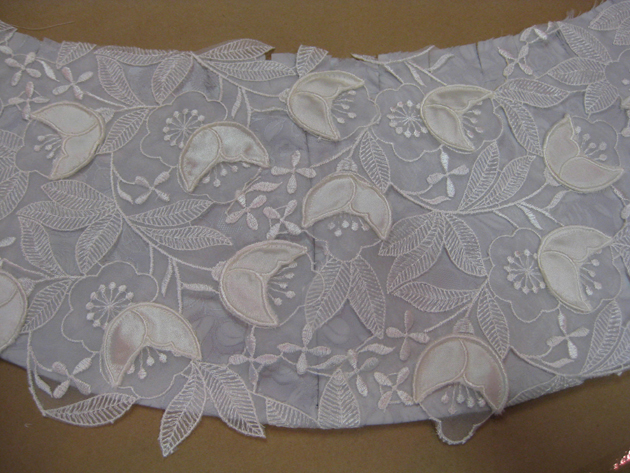 Next I needed to finish the back of the collar! I lined it with our silk shantung and hand finished the bottom edge with our silk jacquard bias trim.
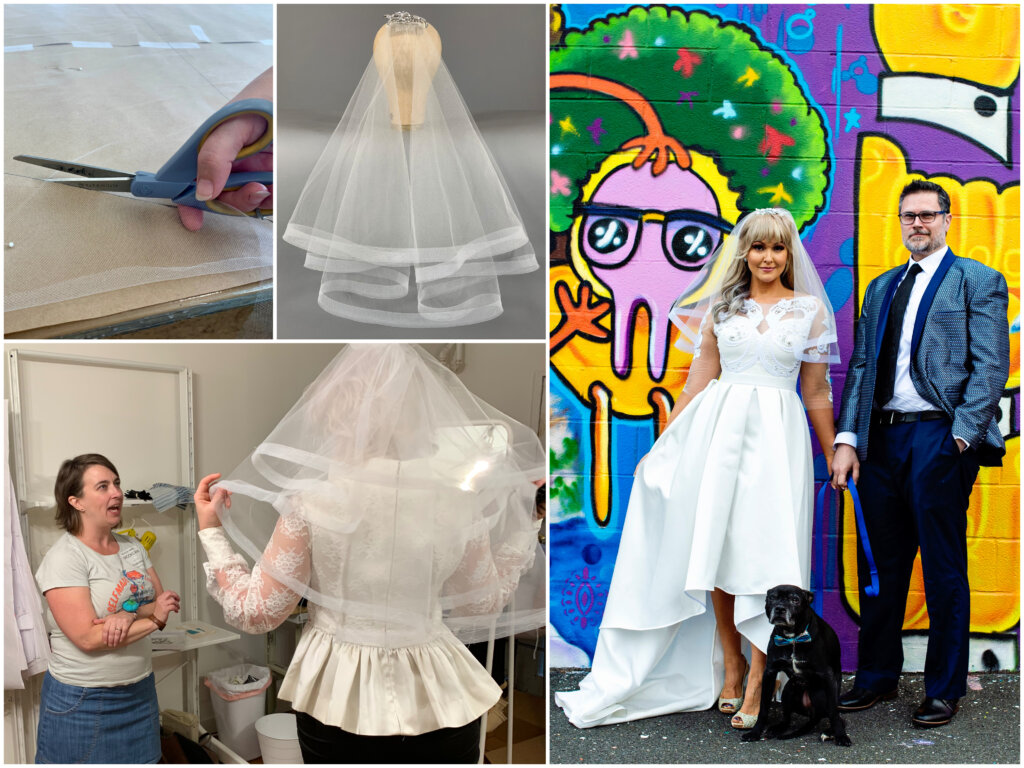
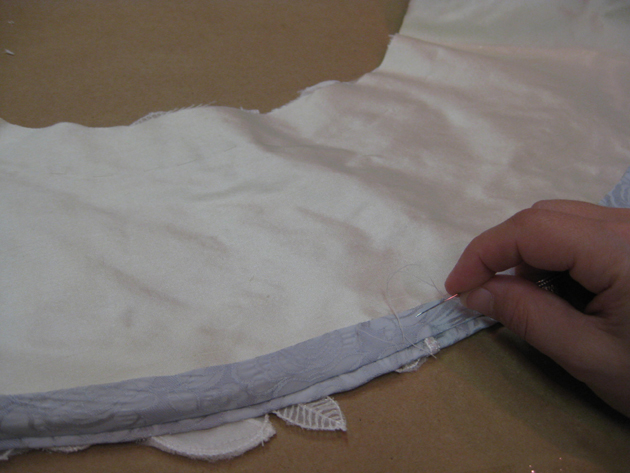 Speaking of bias edging, (and the fact that I forgot to mention the creation of the veil in any of the other posts) I also used this technique to finish the edge of the veiling. I pressed my half inch bias binding in half, so that the edging on the veil was only a quarter of an inch. This was a nice delicate touch that also covered the netting’s edge on both sides.
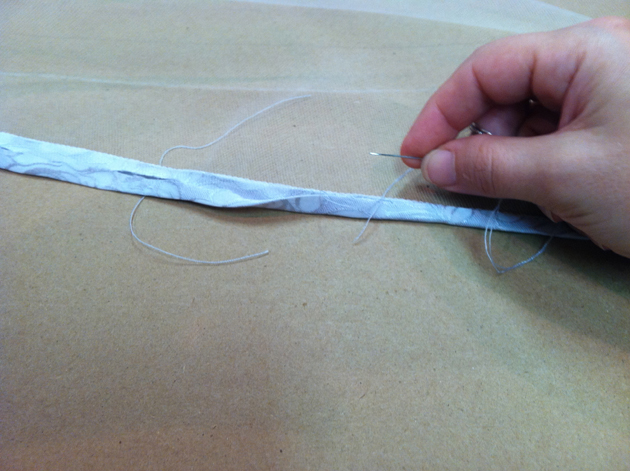 The veil itself was a circle of net with the radius as our desired length. During the ceremony, Greta would wear the veil over her face and the veil would circle her shoulders. For the rest of the wedding, the entire circle of the veil would cascade down her back.
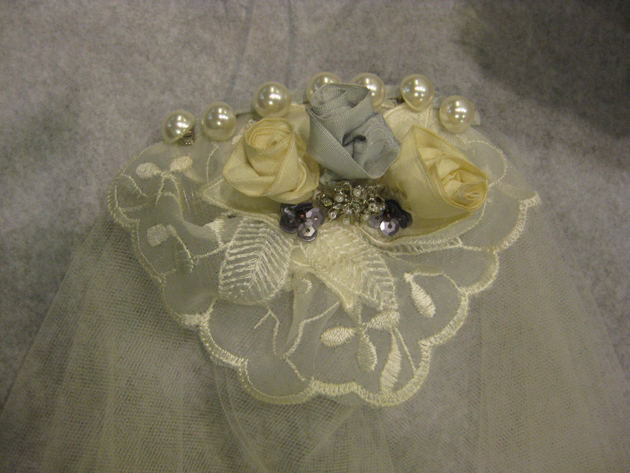
The center of the circle of net was attached to a small comb that was embellished with bits from the dress itself. It’s always really fun to play with all the scraps and make them into something beautiful! I just let the materials themselves tell me what they want to become.
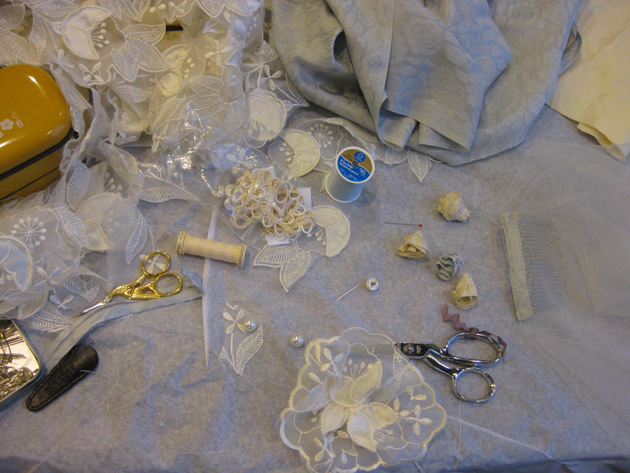 I made flowers from the blue jacquard and the ivory shantung and I made a lacy base from the Sposabella’s edging. Then, I embellished with a few of the pearl buttons and topped it off with two blue sequin flowers and a rhinestone button! What bride doesn’t want a little bit of glitz and glamor?
 At this point, the list of “things to do” was getting smaller and smaller! Next post, I’ll fill you in on the final finishing of Greta’s custom couture wedding dress! Yahoo!!


