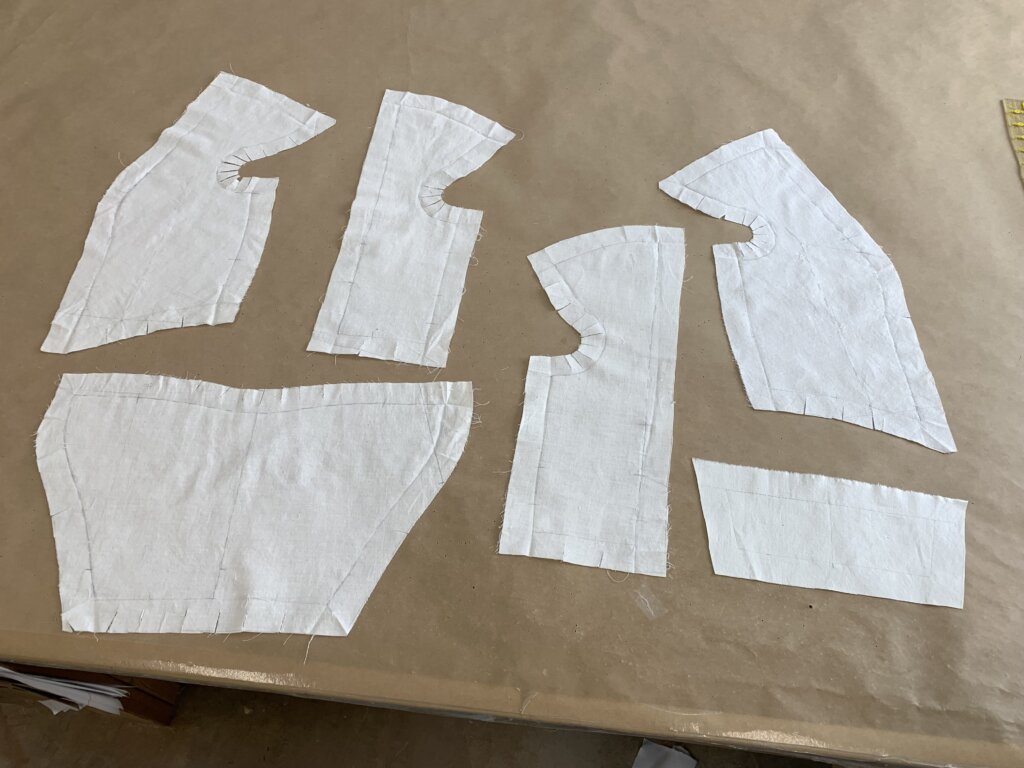
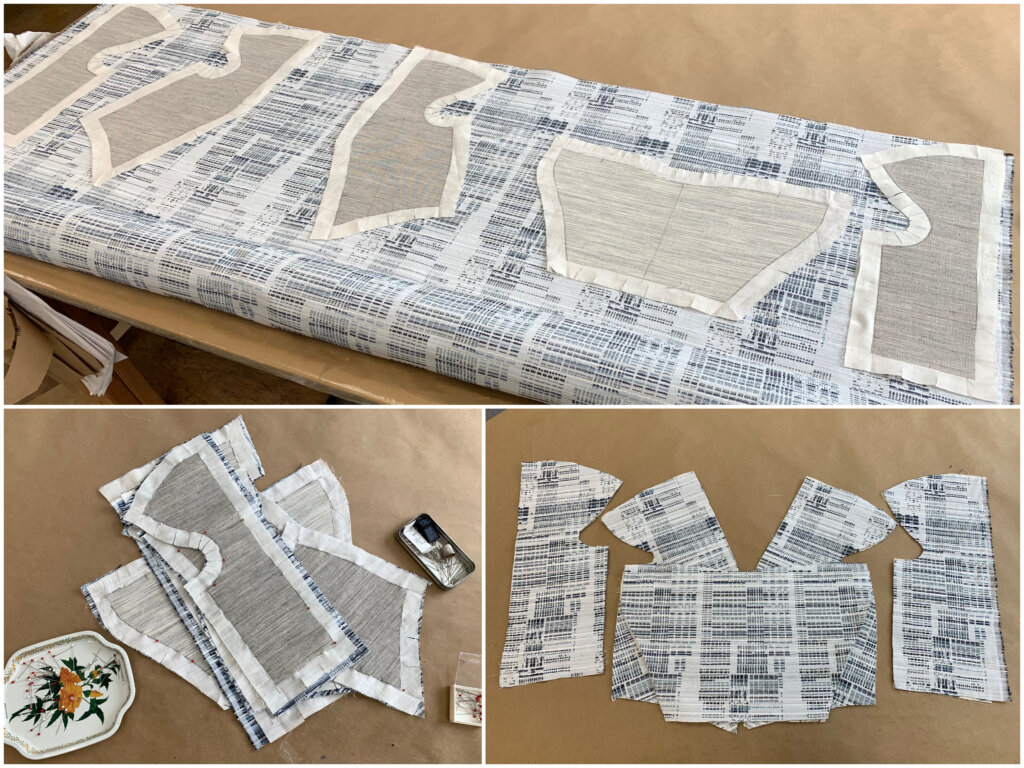
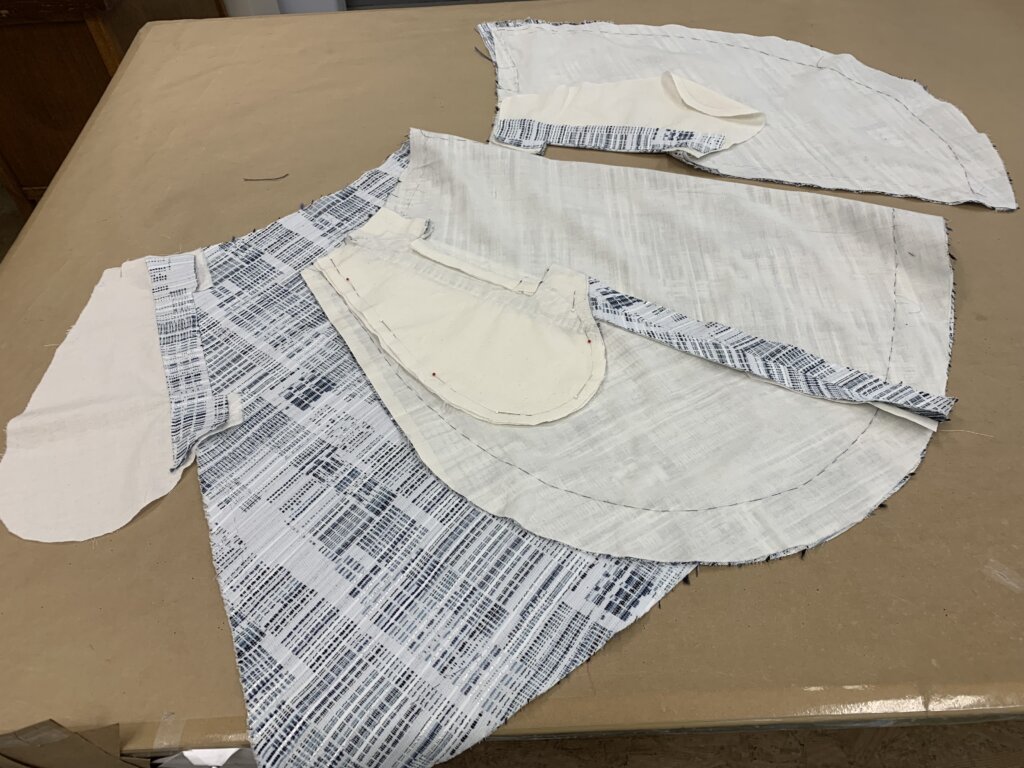
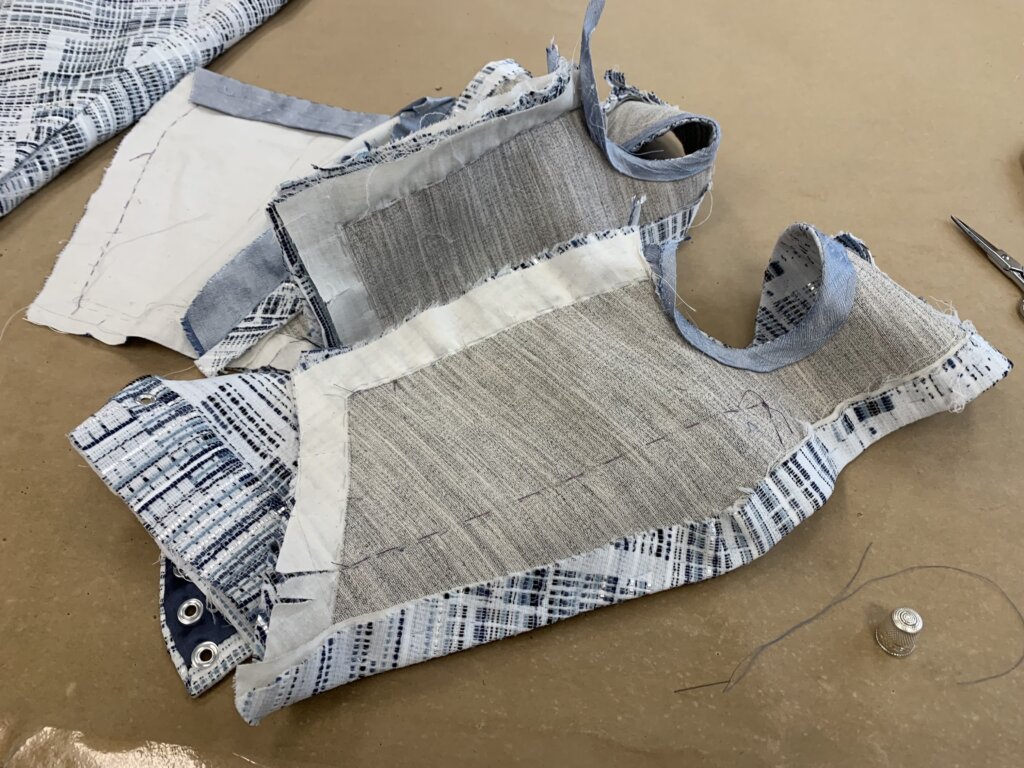
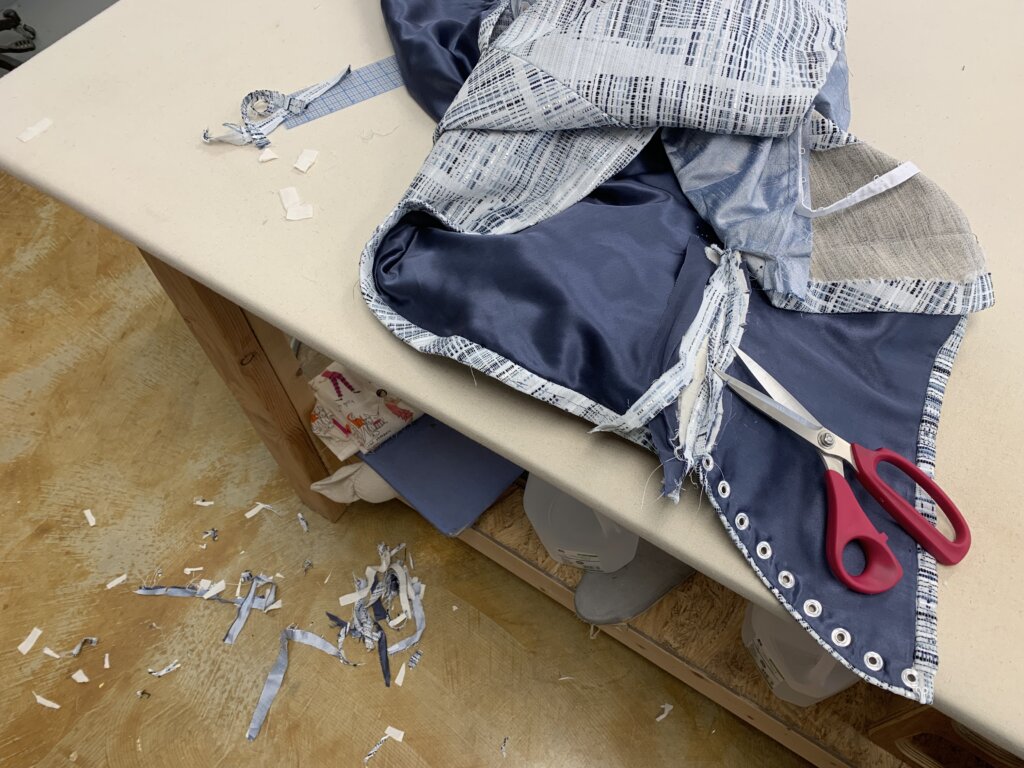
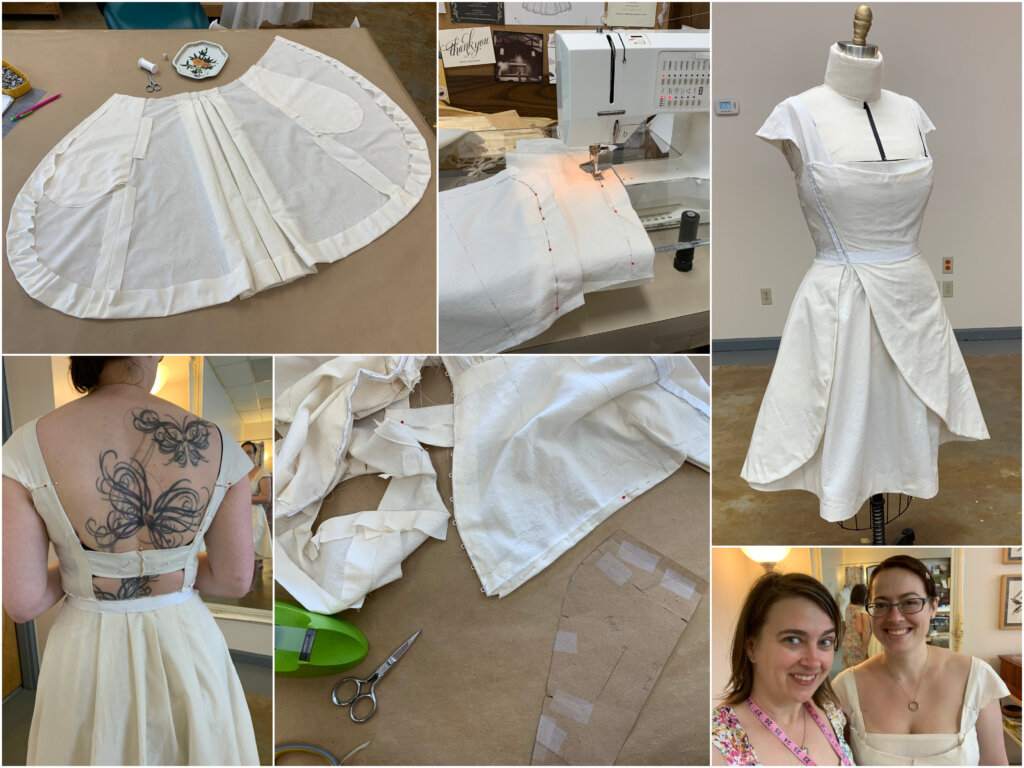
The first step in creating her actual wedding dress was to take apart the second mockup, which was made from the first.
Since the stitches holding this mockup together were all temporary basting stitches, it was super-easy (and a lot of fun) to take apart.
Here’s about 10 minutes of unbasting reduced to about 30 seconds:
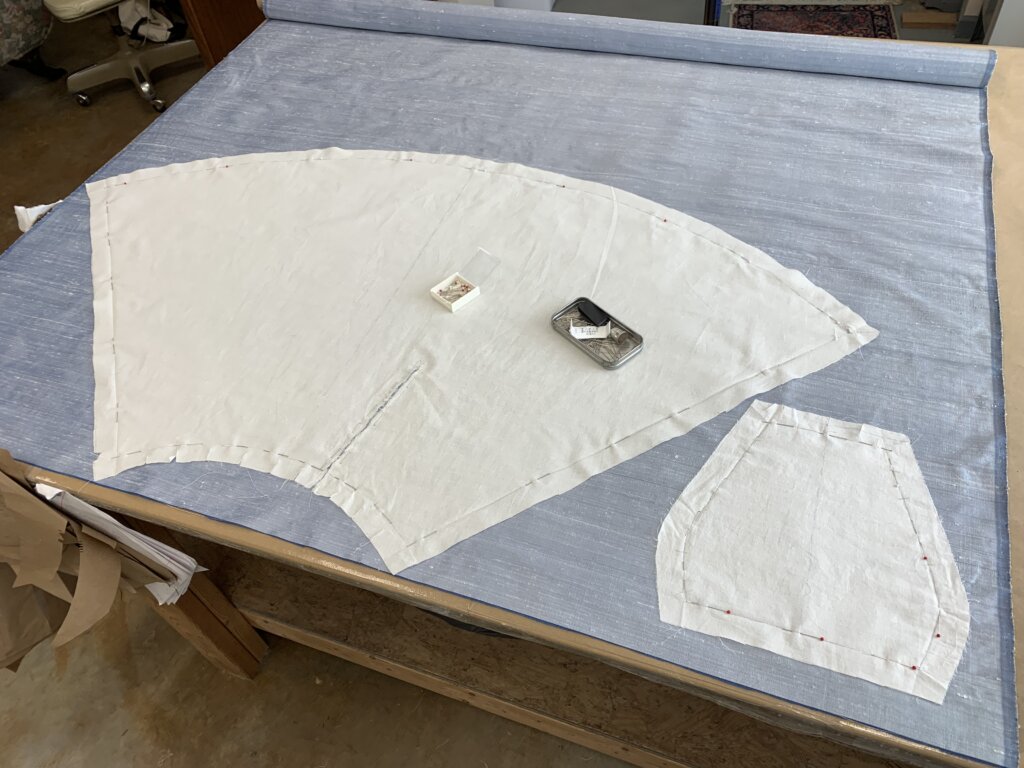
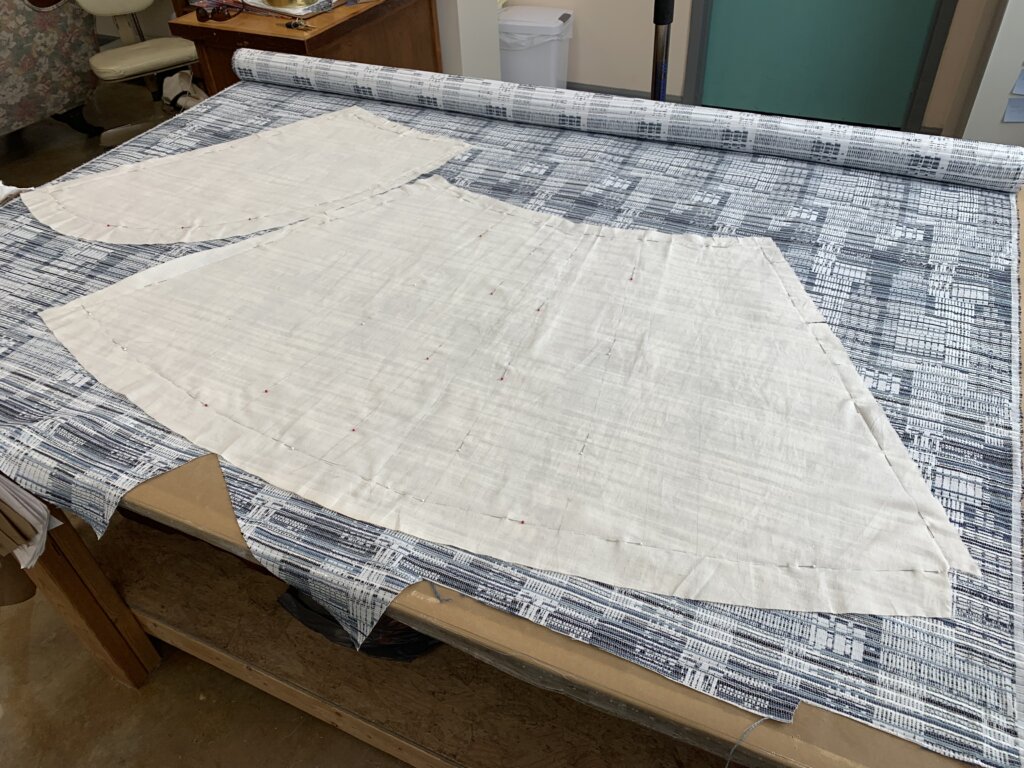
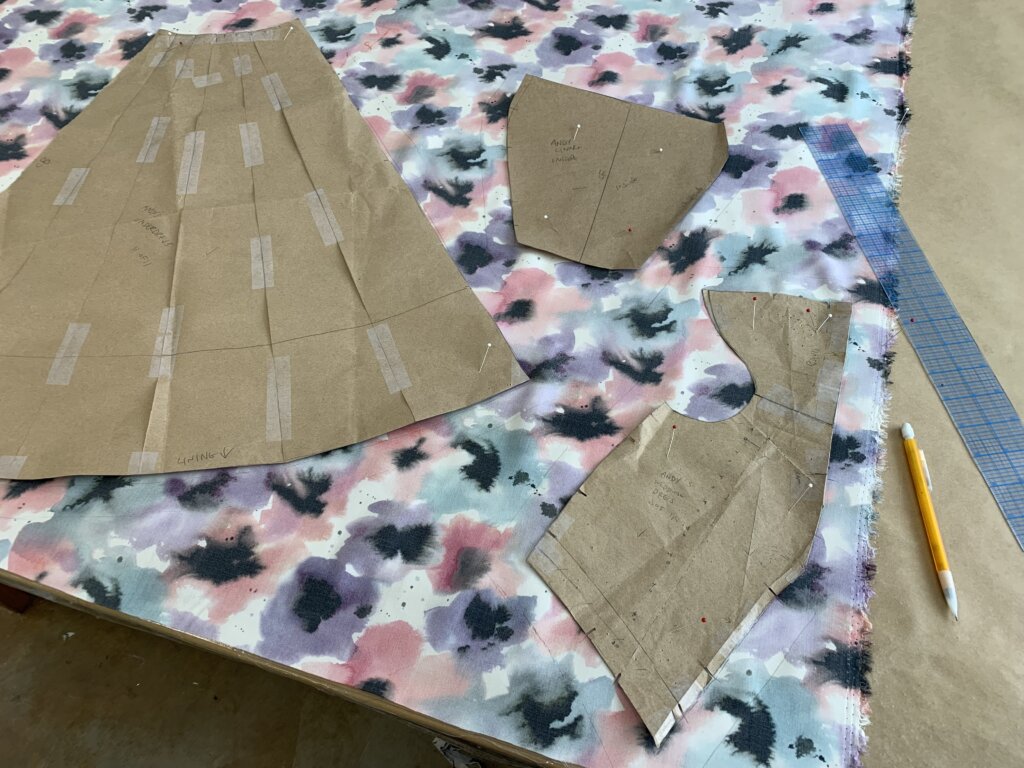
After pressing all of the pieces flat, and transferring any corrections from our previous fitting to the pattern and the mockup pieces, I laid them out, matching the grainlines onto their corresponding fancy fabrics (all purchased from Mulberry Silks). I’d be reusing the mockup as my underlining.
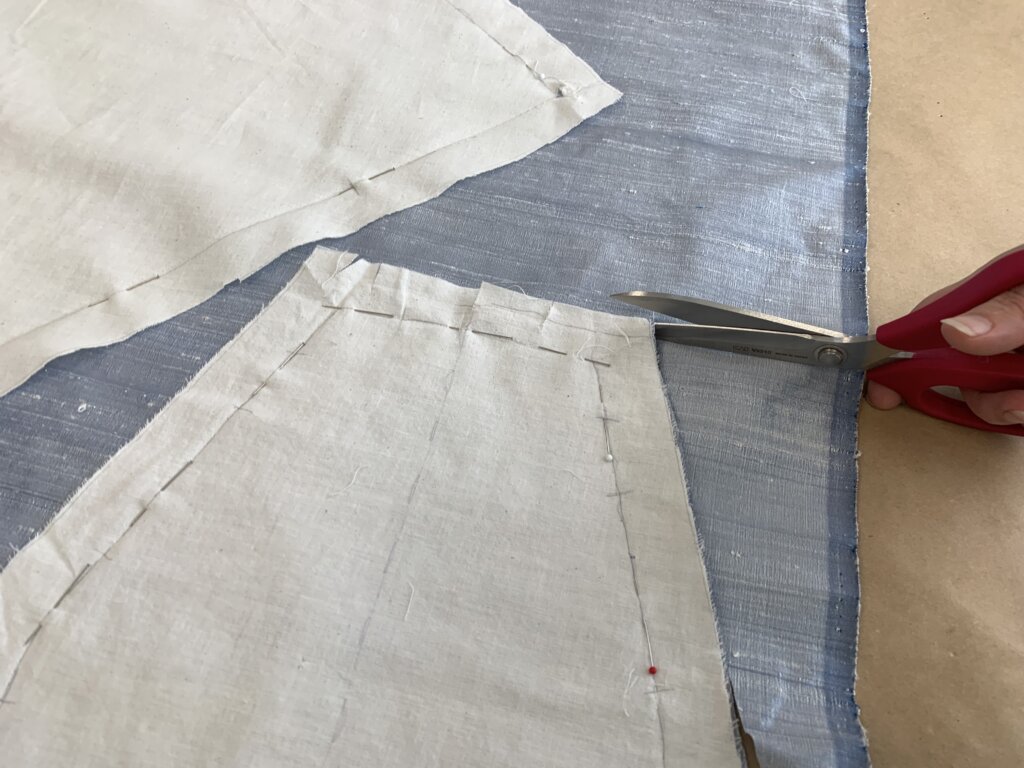
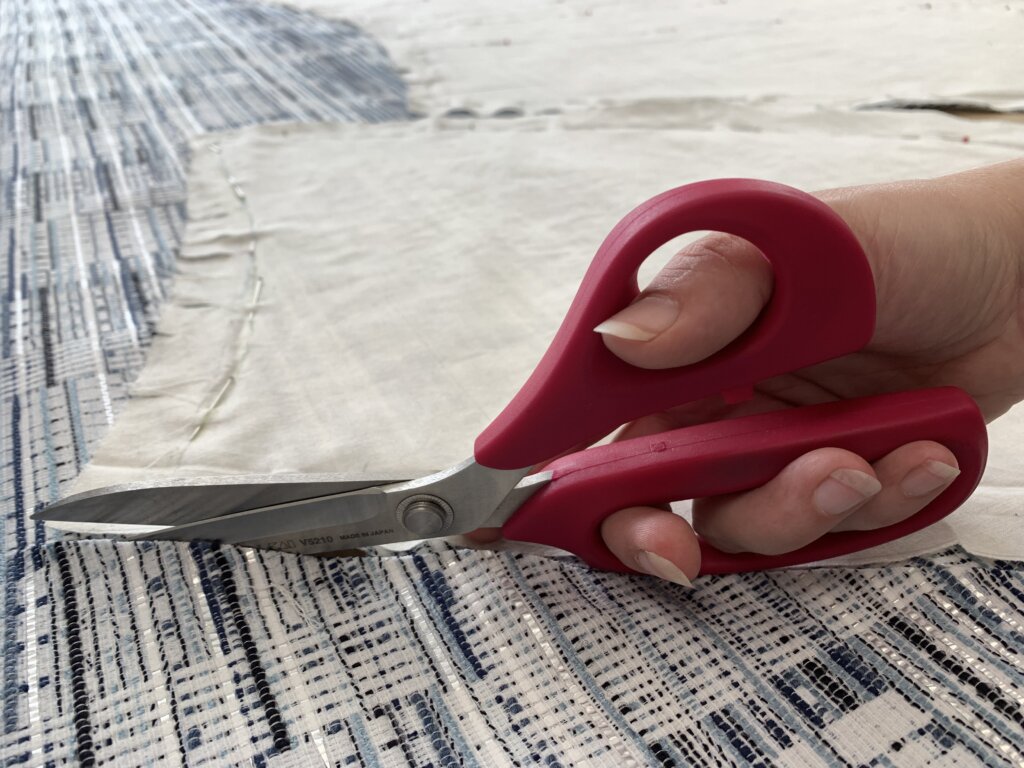
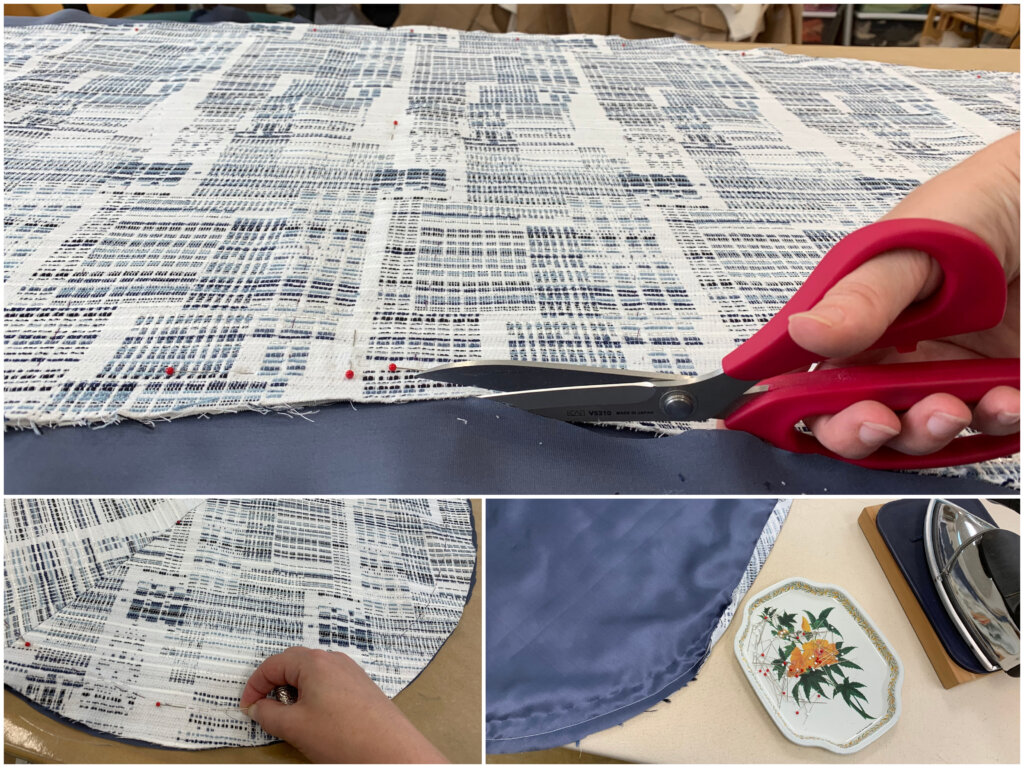
I pin the muslin to the fabric, then cut out each piece, using the edges as my guide.
Since my stitching lines are already marked on the muslin, precise cutting is not needed!
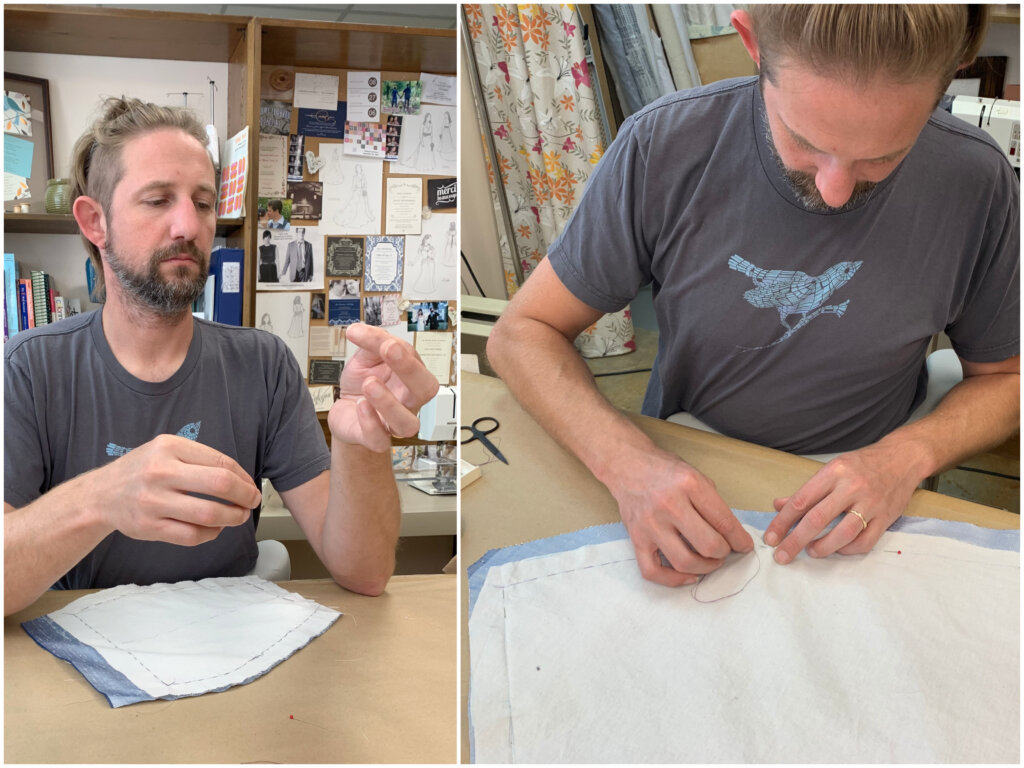
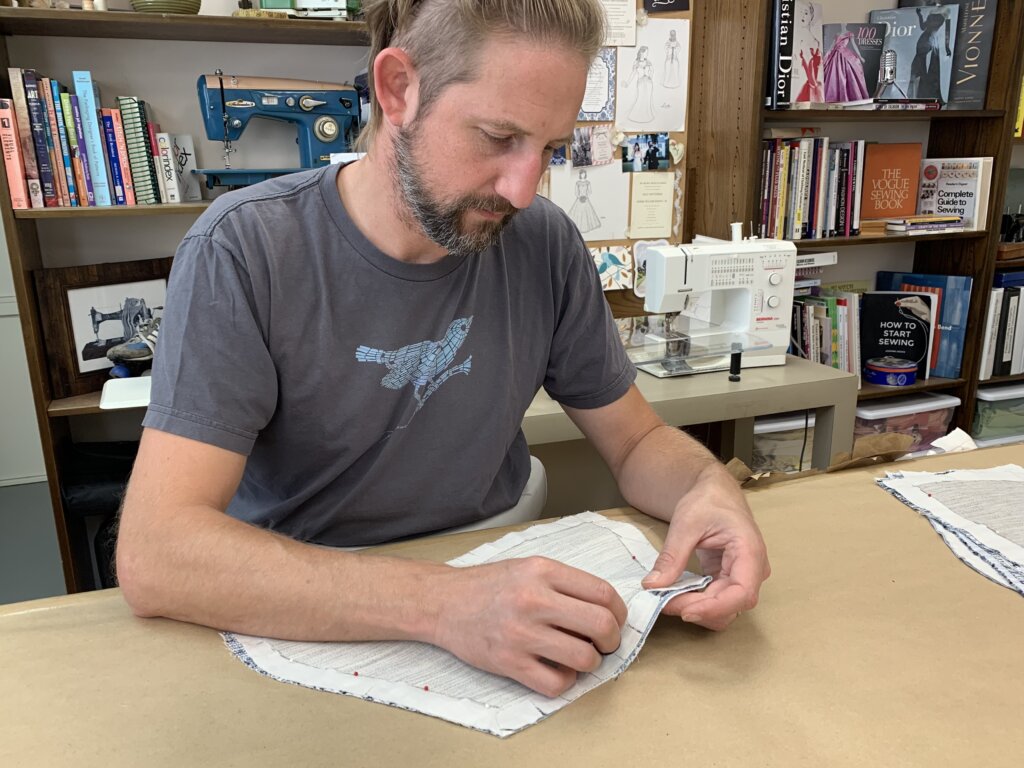
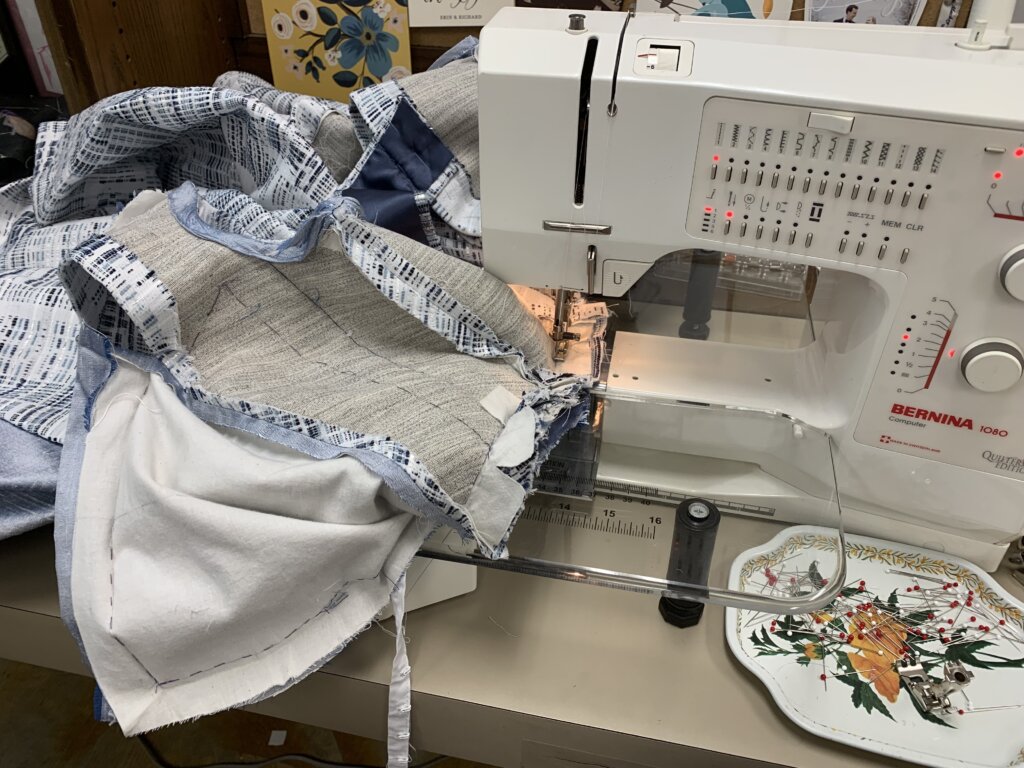
The next step of underlining is to baste the two layers together. These stitches will be hidden in the seam allowances forever, so again, no precision necessary.
I employed my handsome husband Charles for the task.
Eventually, I got through the core construction of the silk doupioni underskirt (after testing some samples to practice that placket.)
The plan for the bodice pieces was to stiffen them up a bit…
…so I did some tests to see what interfacing layers would work best.
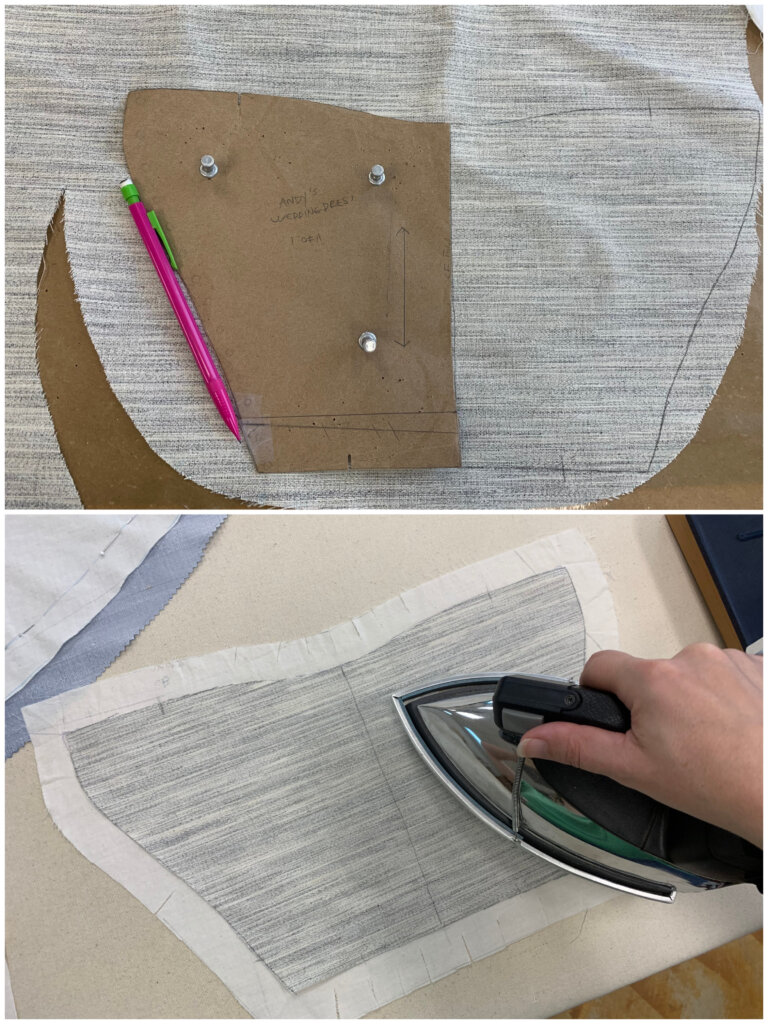
I decided to add fusible hair canvas to the muslin layer before underlining.
After the bodice pieces were interfaced, I added them to the corresponding fashion fabric, and prepped them for underlining…
…which I, again, handed off to Charles.
Same goes for the underskirt!
Thanks Charles!
Constructing Andy's Underskirt
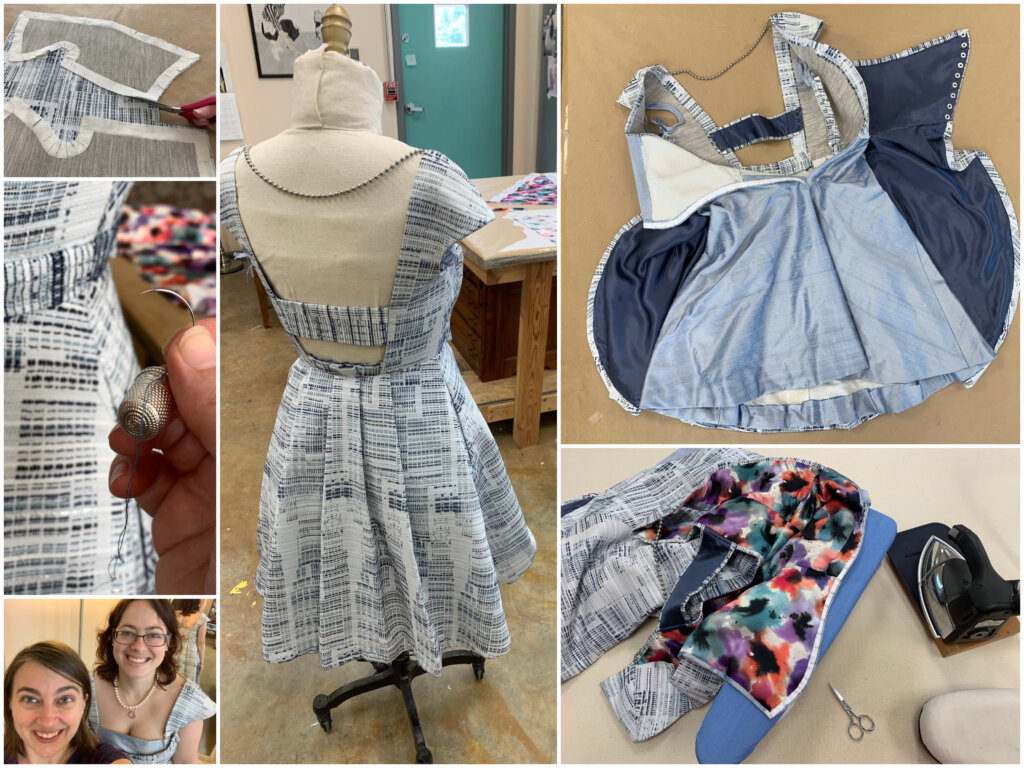
Here’s some highlights of constructing the underskirt, starting with: Pockets in progress!
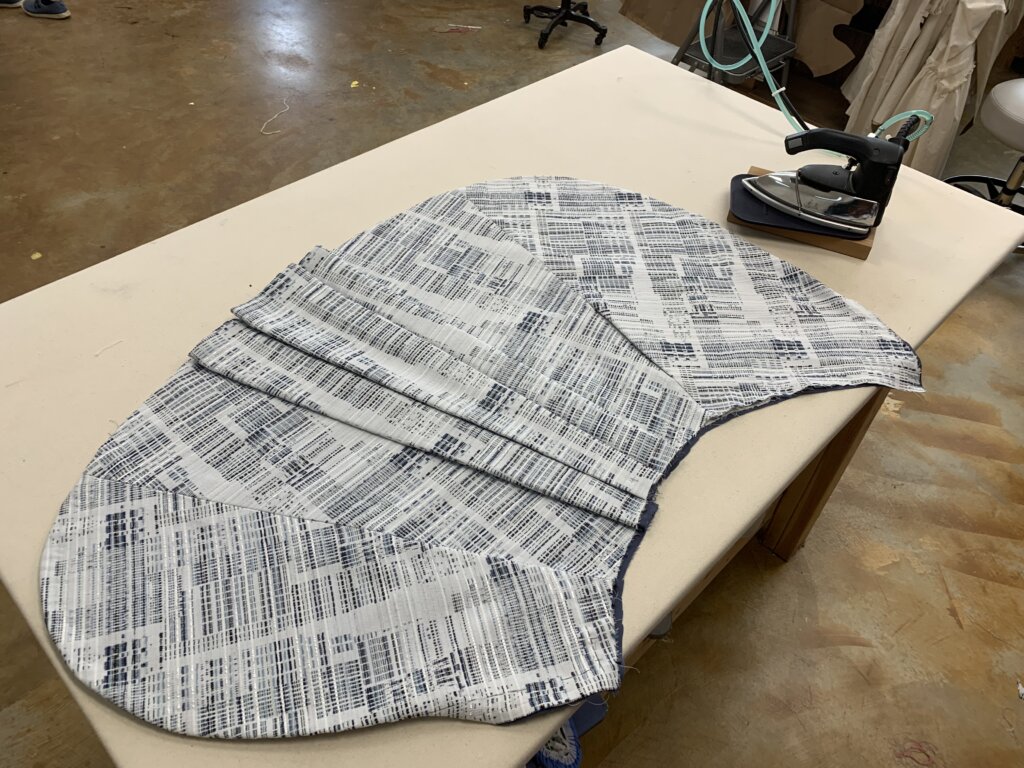
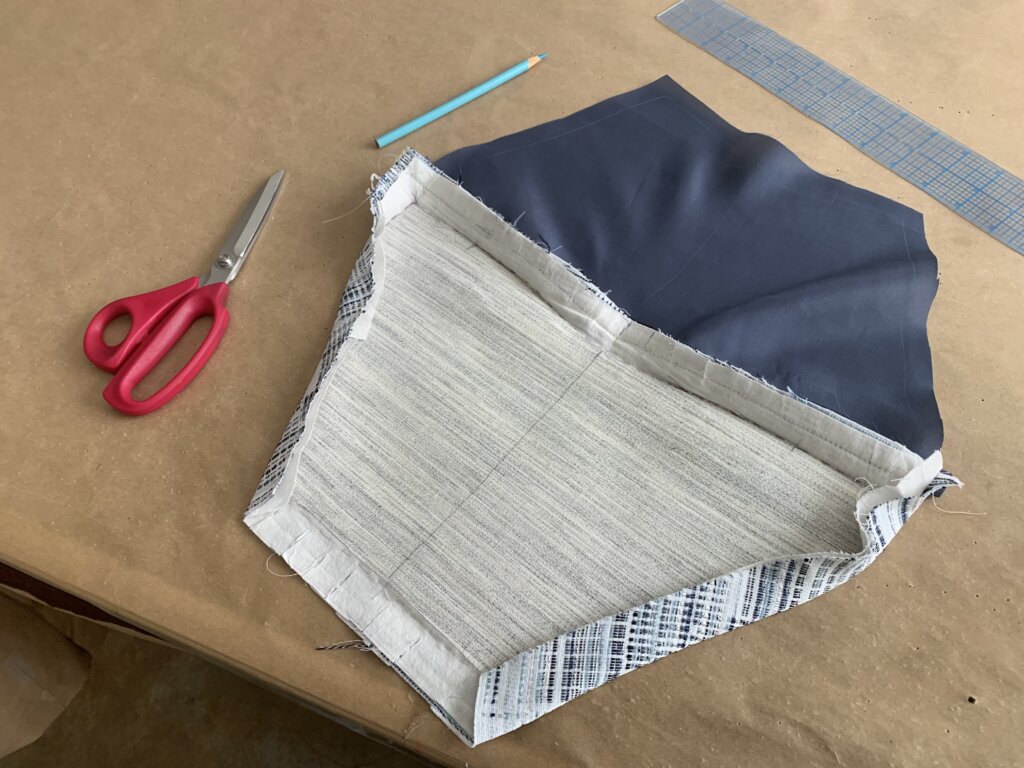
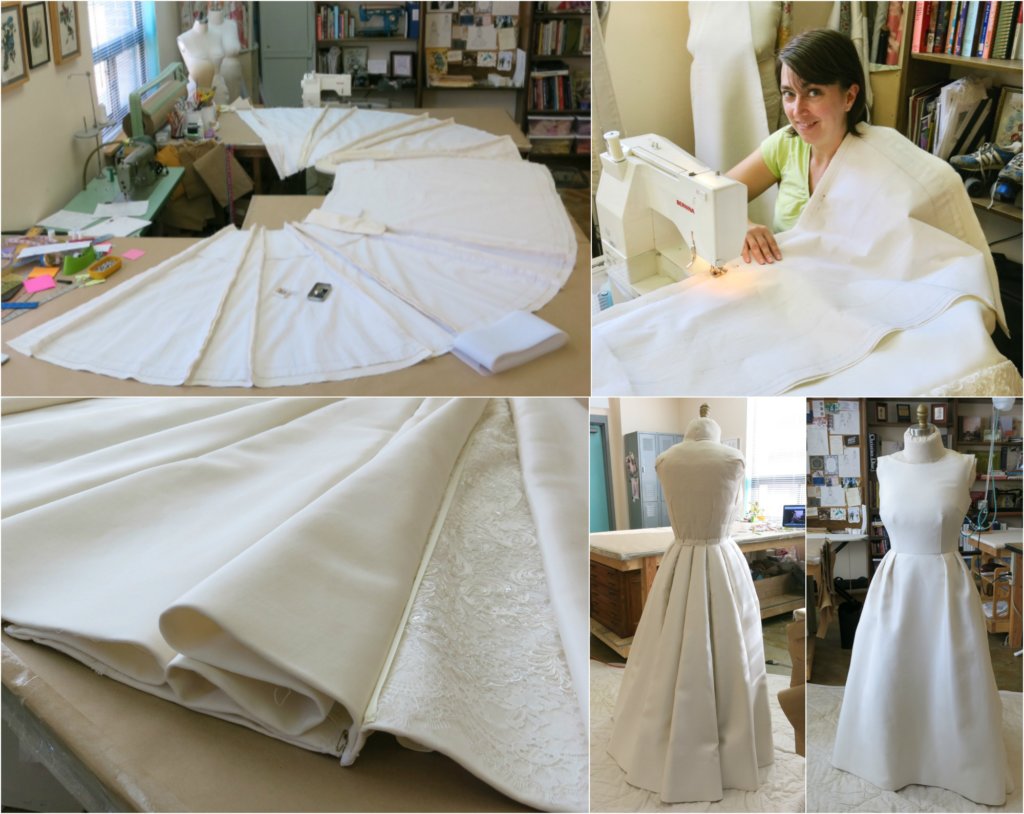
When the entire underskirt, and its pockets, were sewn together and laid flat, I decided that I would add its lining as a single (cross-grain) piece, almost like a third underlining layer.
After pinning, cutting, and basting the layers together, I finished the edges by rolling a hem to the inside.
With the overskirt’s lining and hem complete, I added the pleats!
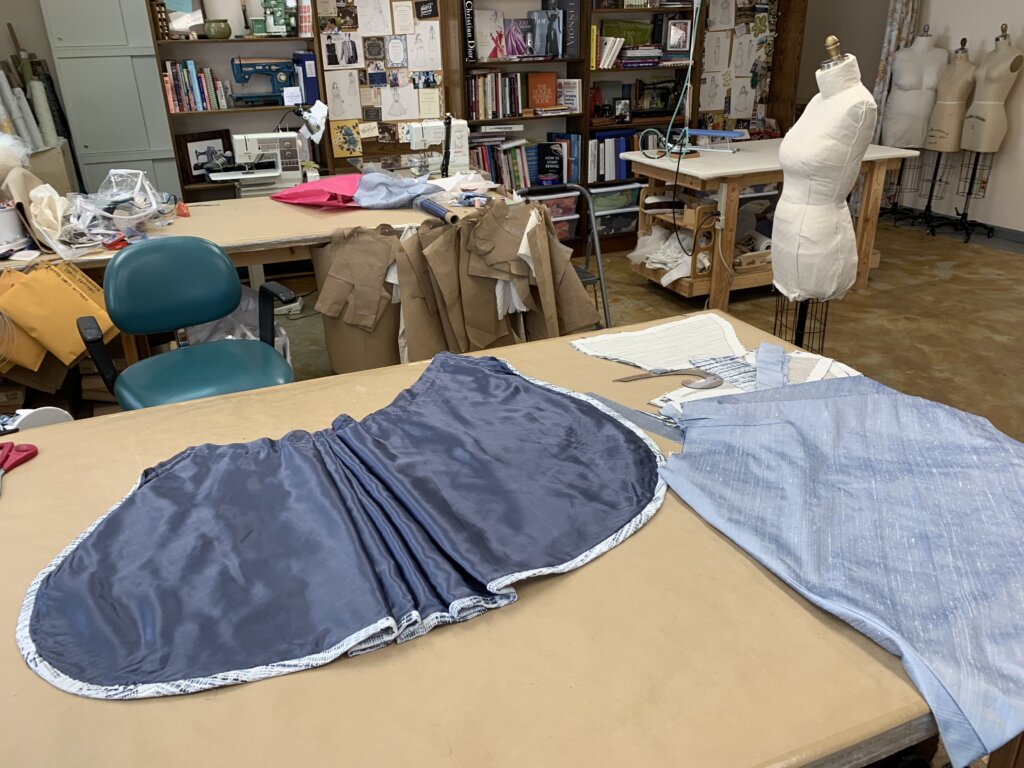
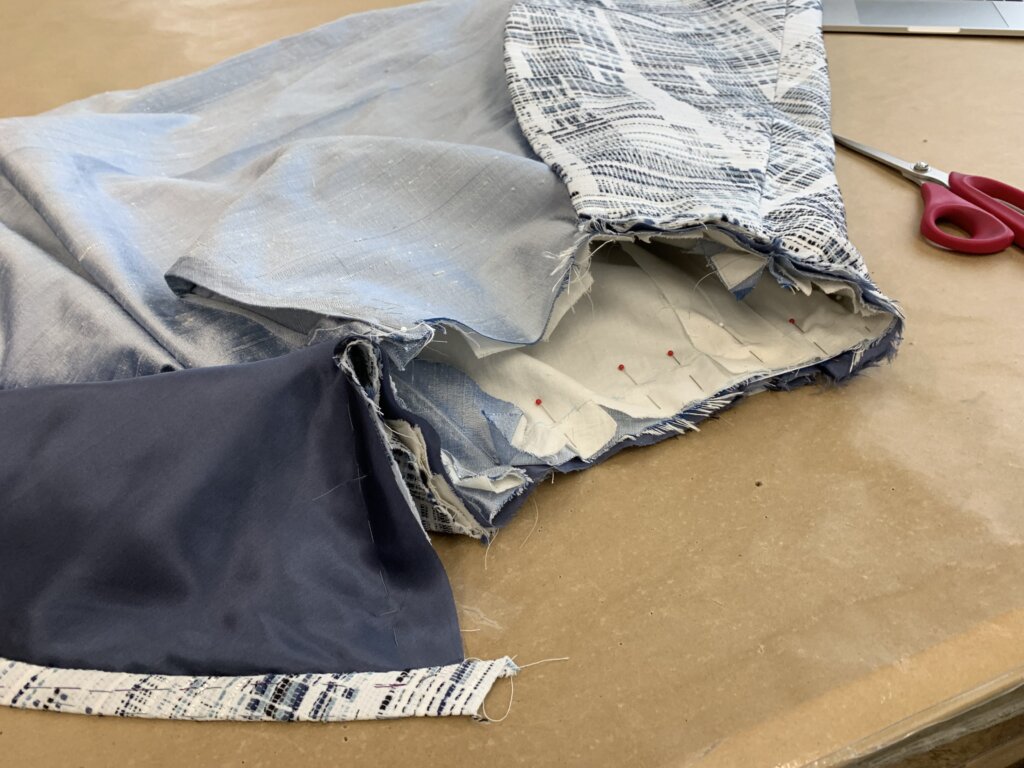
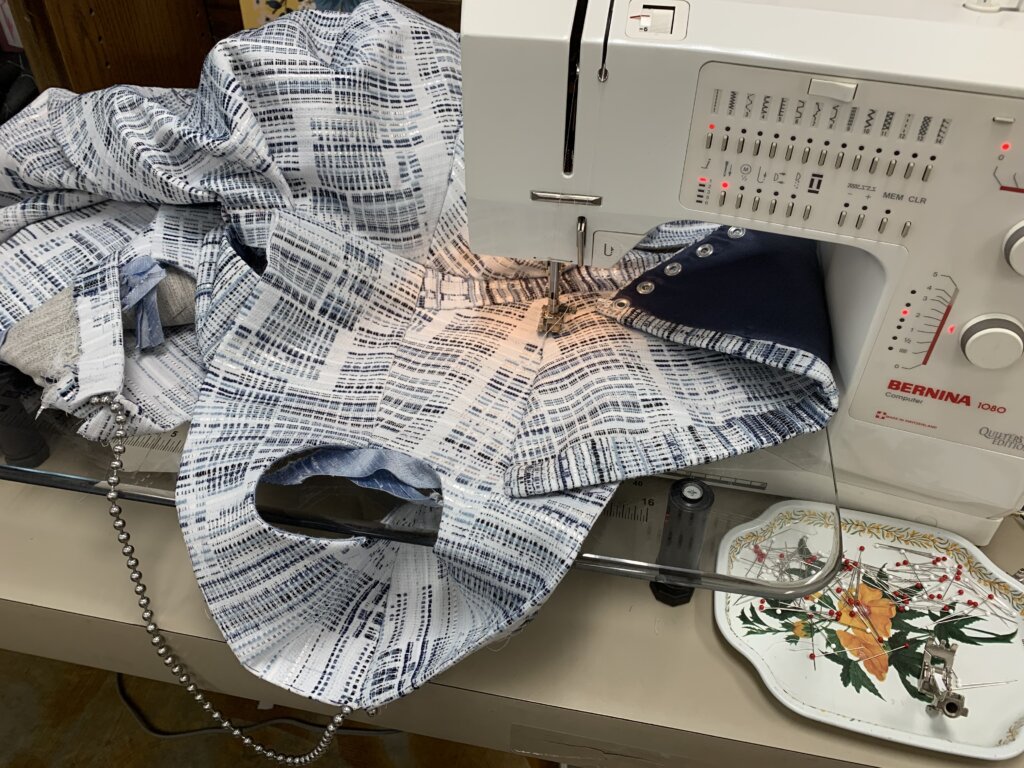
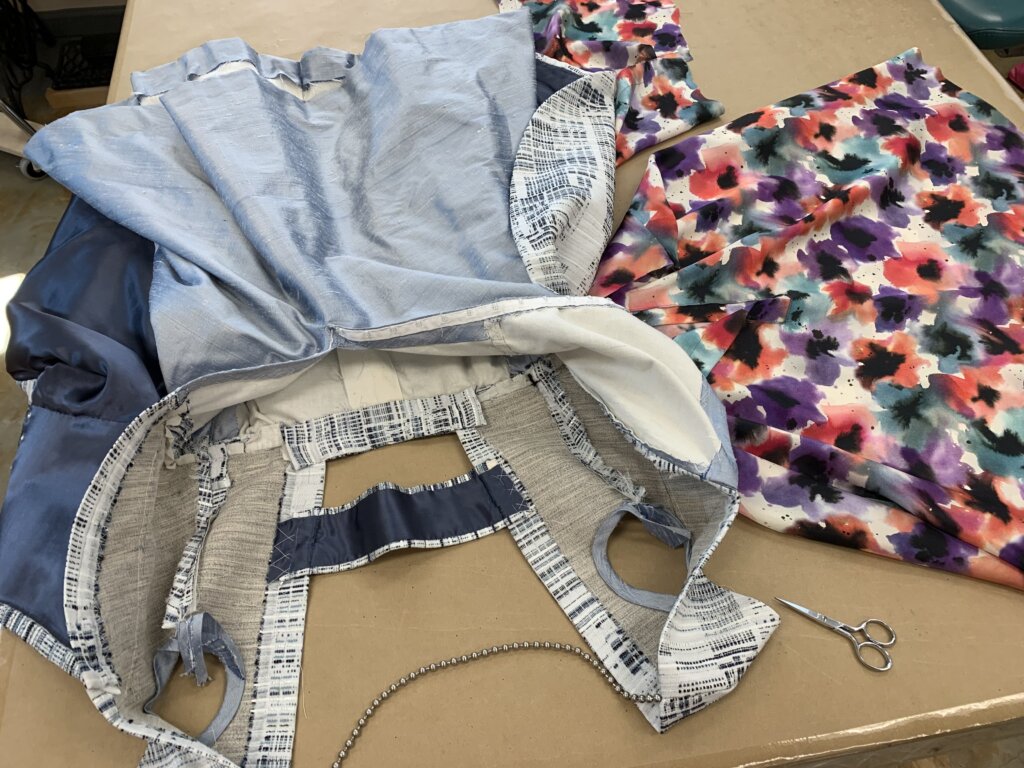
Here’s what it looked like from the inside, in this fun studio shot of my progress.
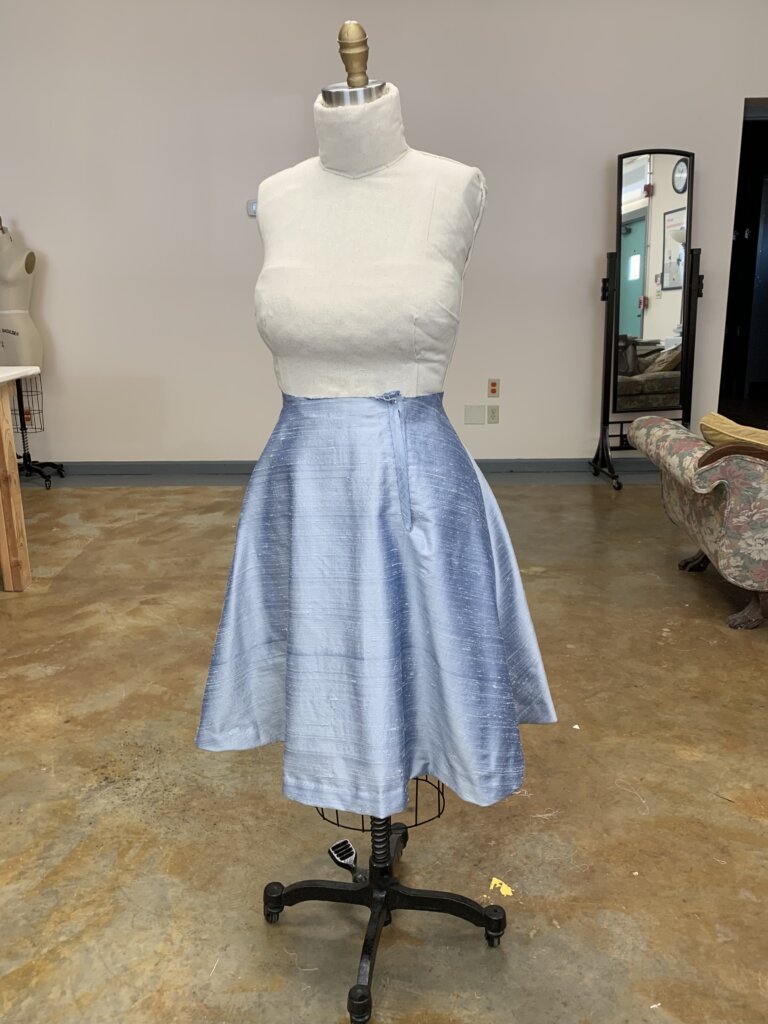
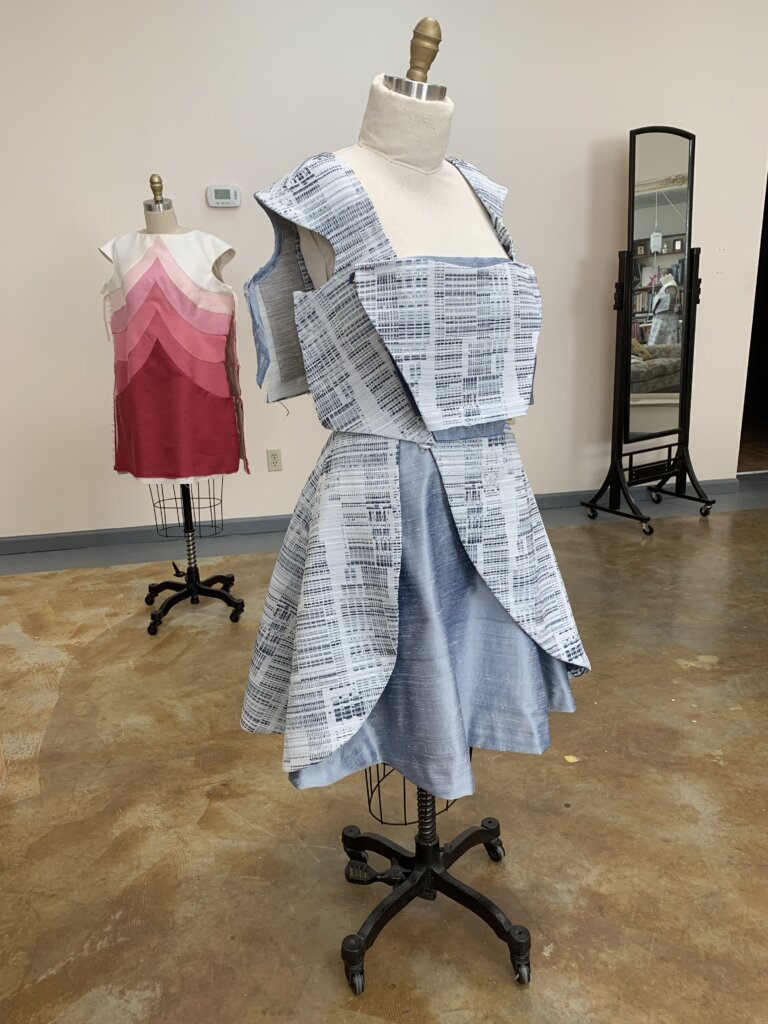
The lower half of Andy’s wedding dress became (almost) complete when I stitched the two skirts together.
Constructing Andy's Bodice
Time to start putting the bodice together!
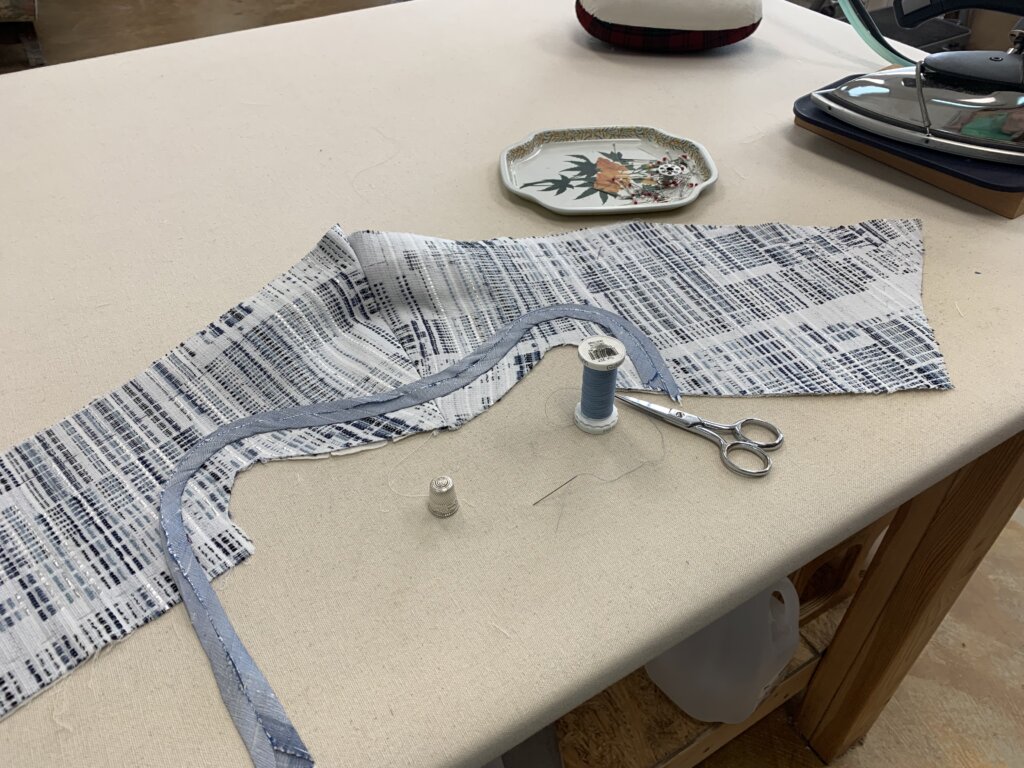
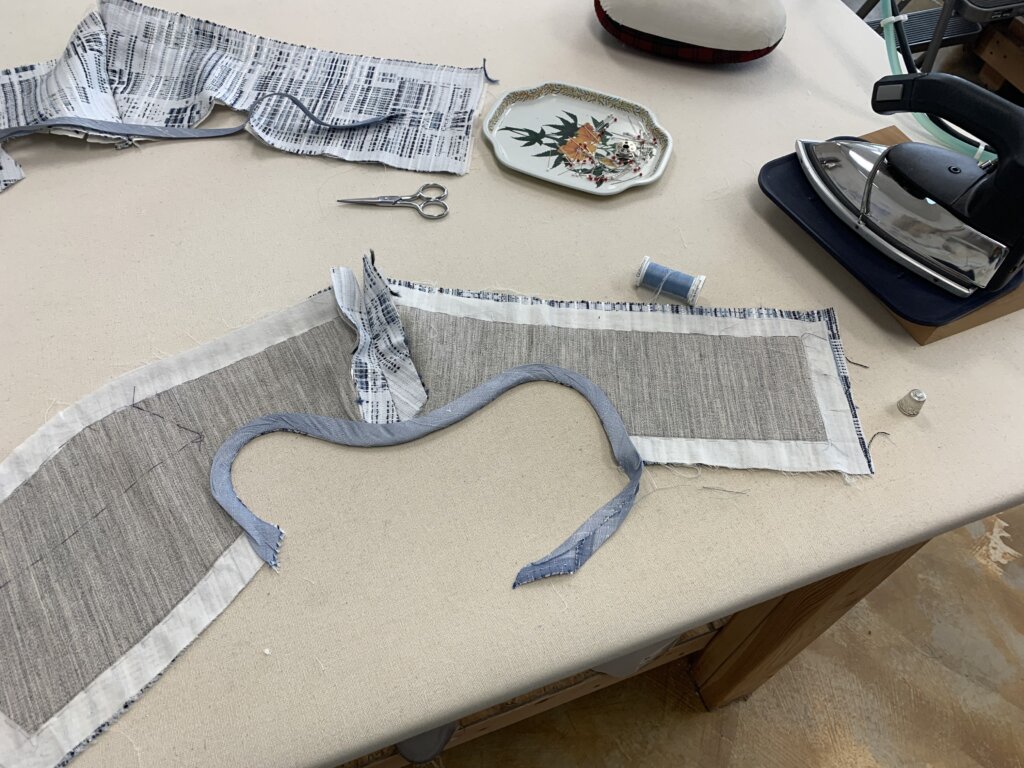
To finish off the edges of the armhole and cut-in-one sleeves, I started with a piece of bias binding that I made from the doupioni.
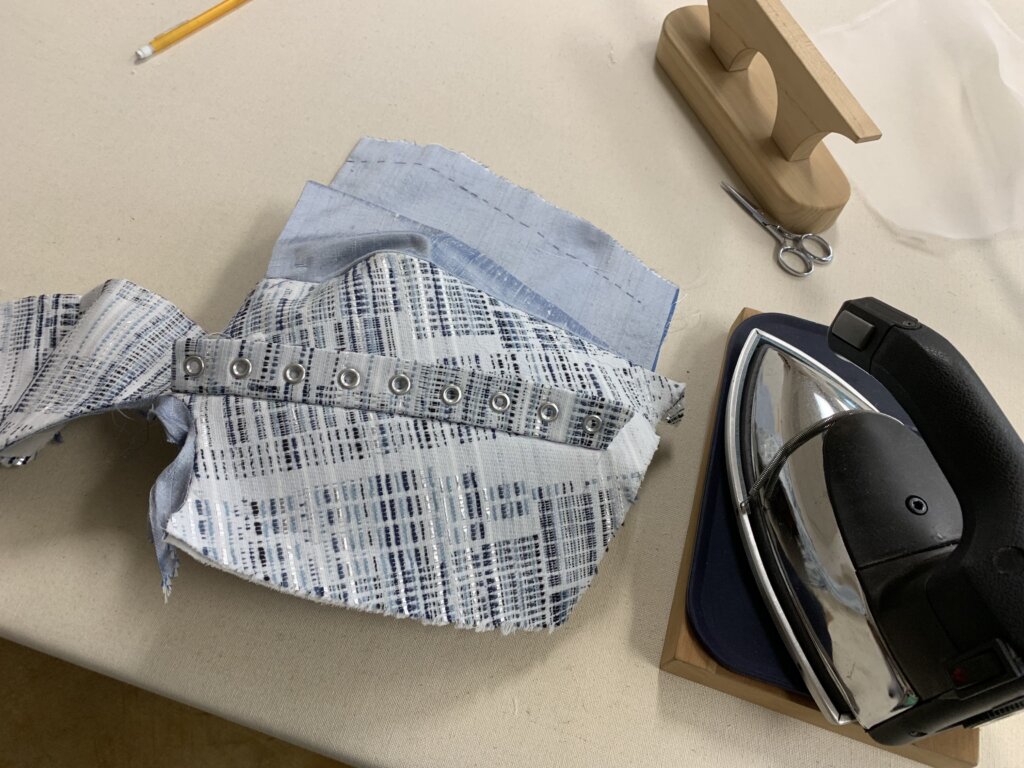
I used my iron to shape the tape to match the opening and hand basted it in place.
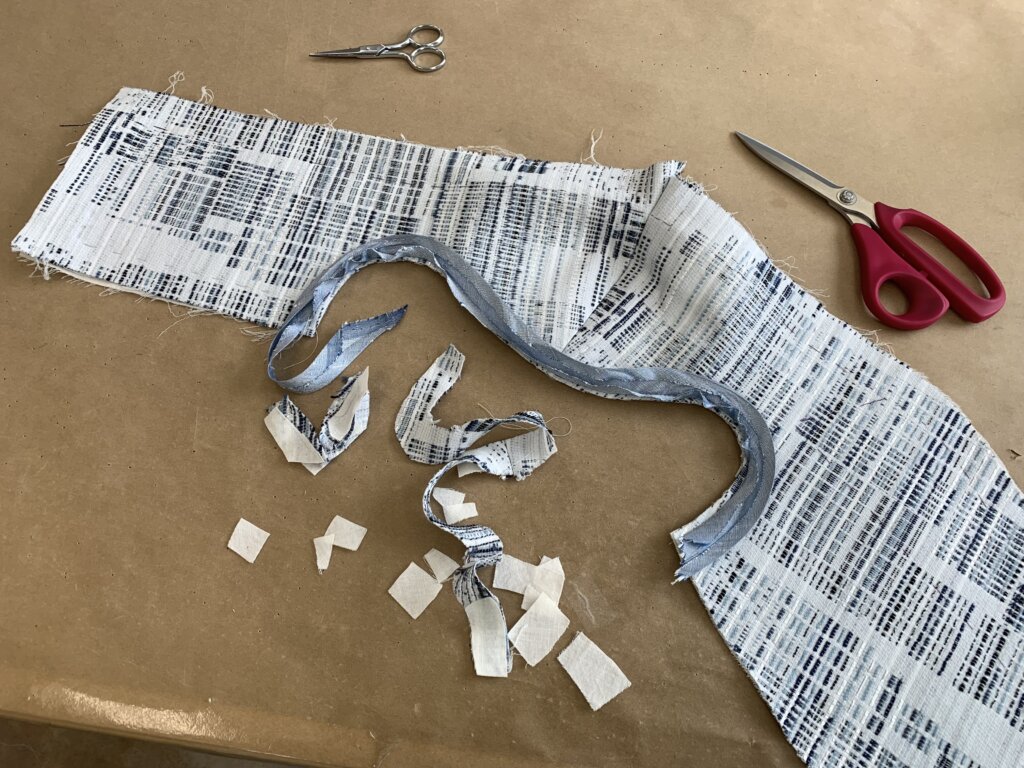
Then, I replaced my hand basting with permanent machine stitches, before trimming away the excess allowance.
Next step: Turn the bias to the inside and give it a press. This will eventually get attached to the lining. But I wasn’t ready to line the bodice just yet…
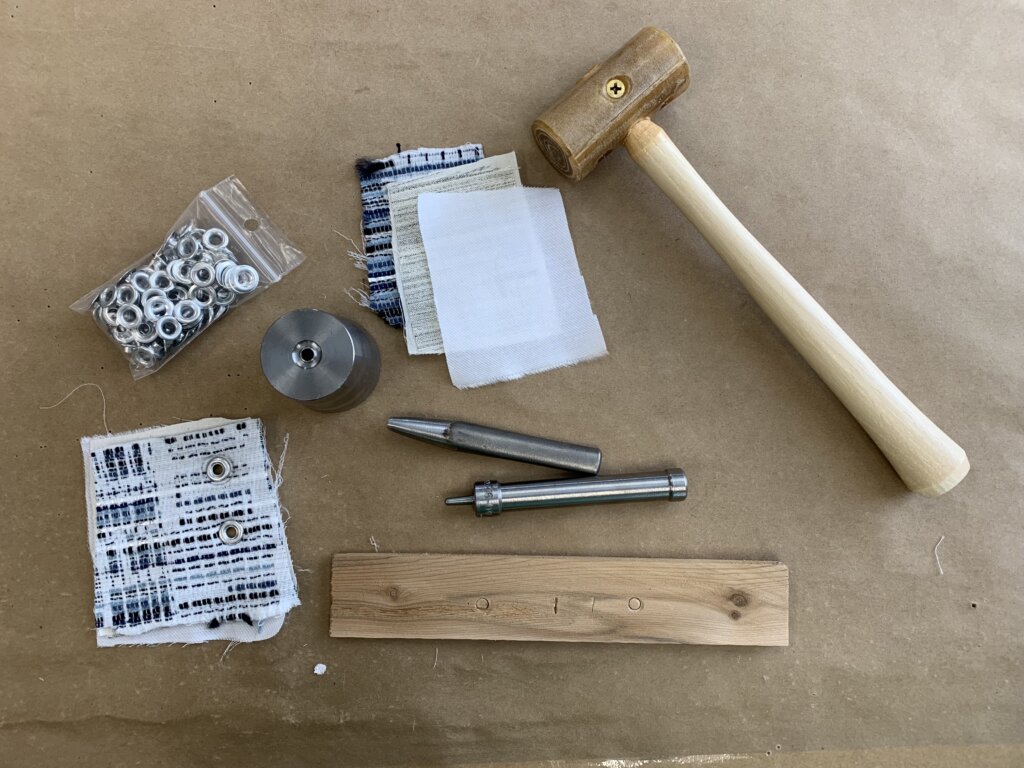
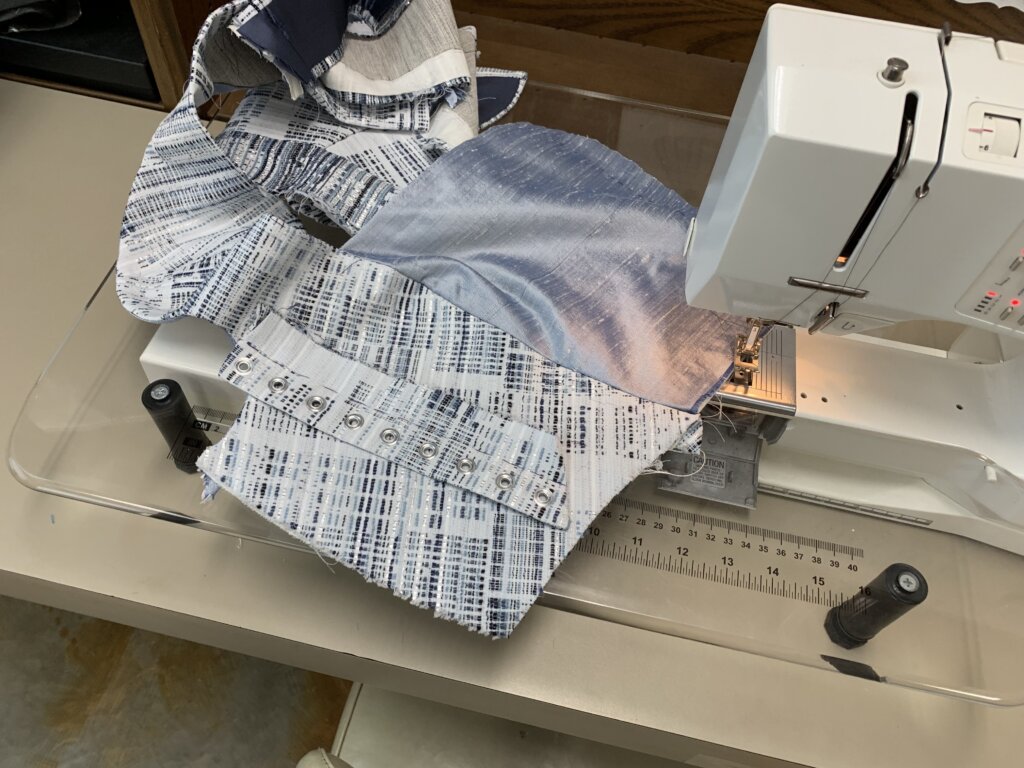
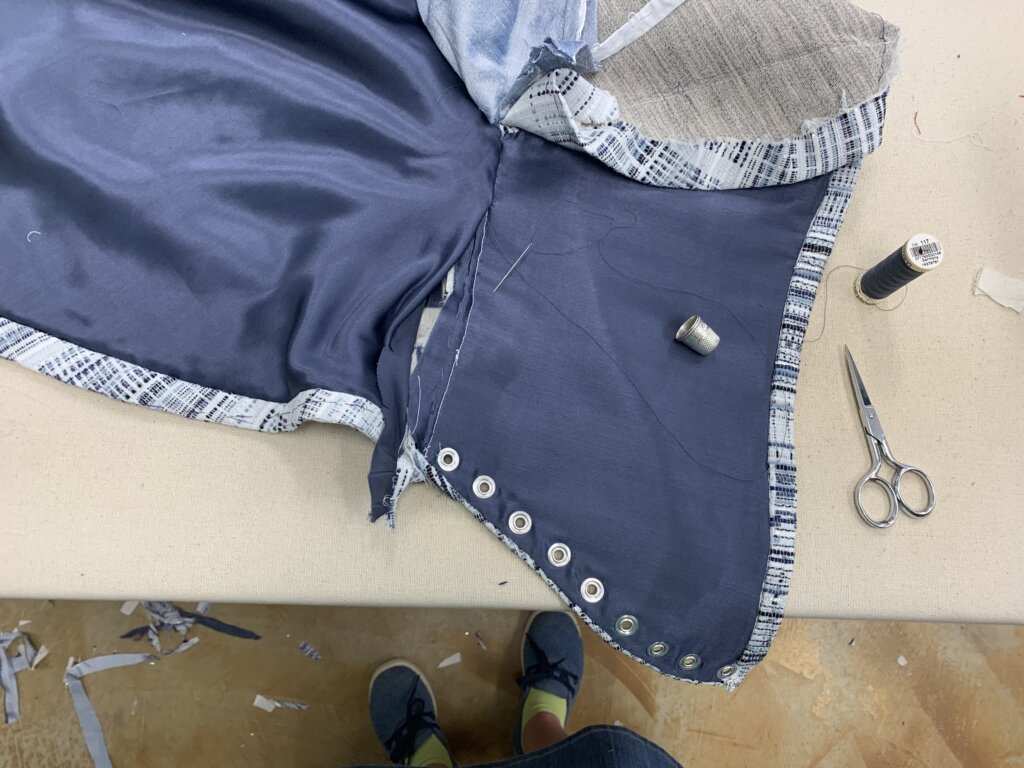
I’d need a grommet or two to go through the “belt”, so I got started by adding that piece to the bodice.
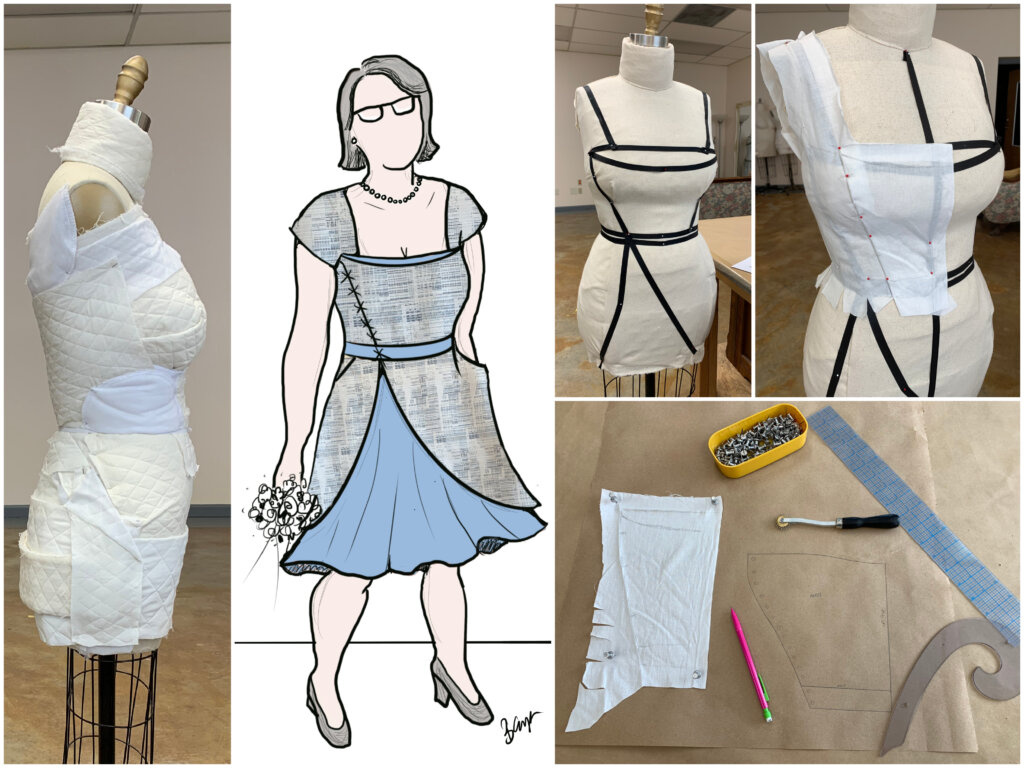
Next, I needed to come up with my plan. Up until now, I had only been working in mockups, which don’t have real closures. I’d need to play around to decide on the specifics of how Andy’s wedding dress would actually lace up.
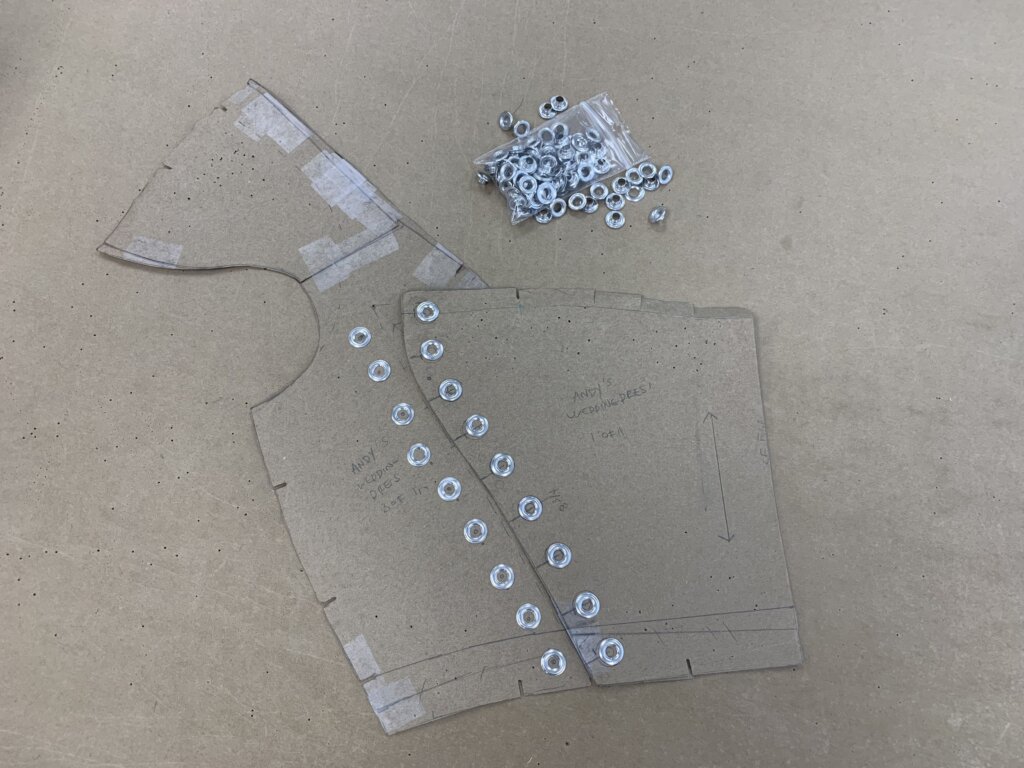
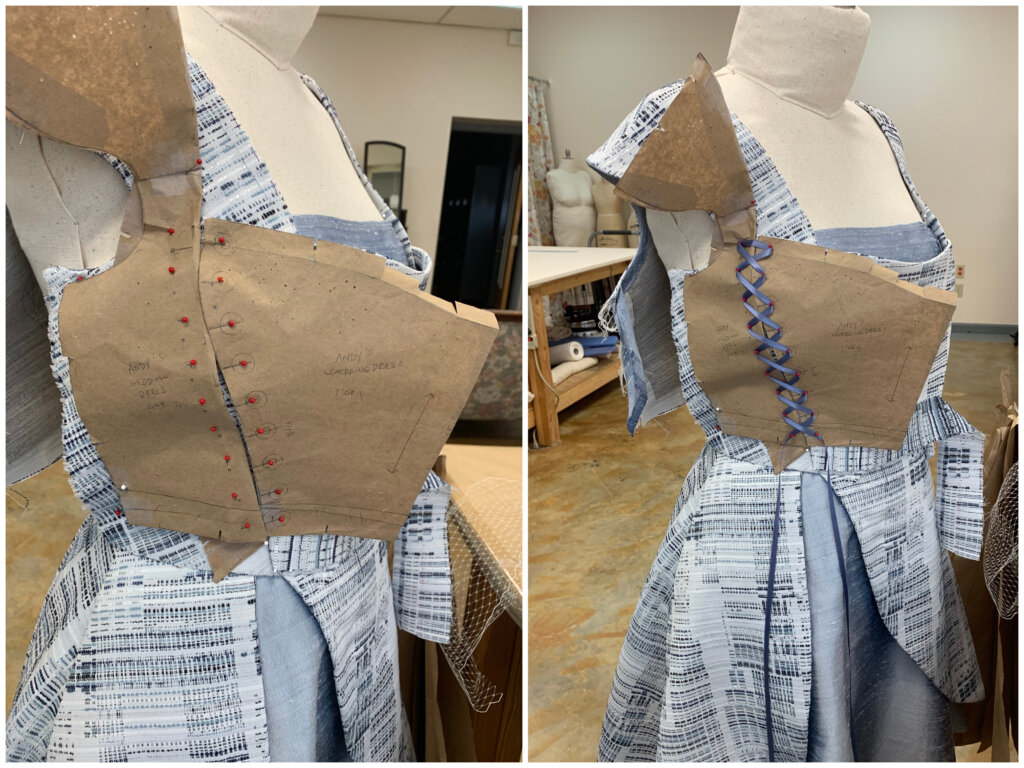
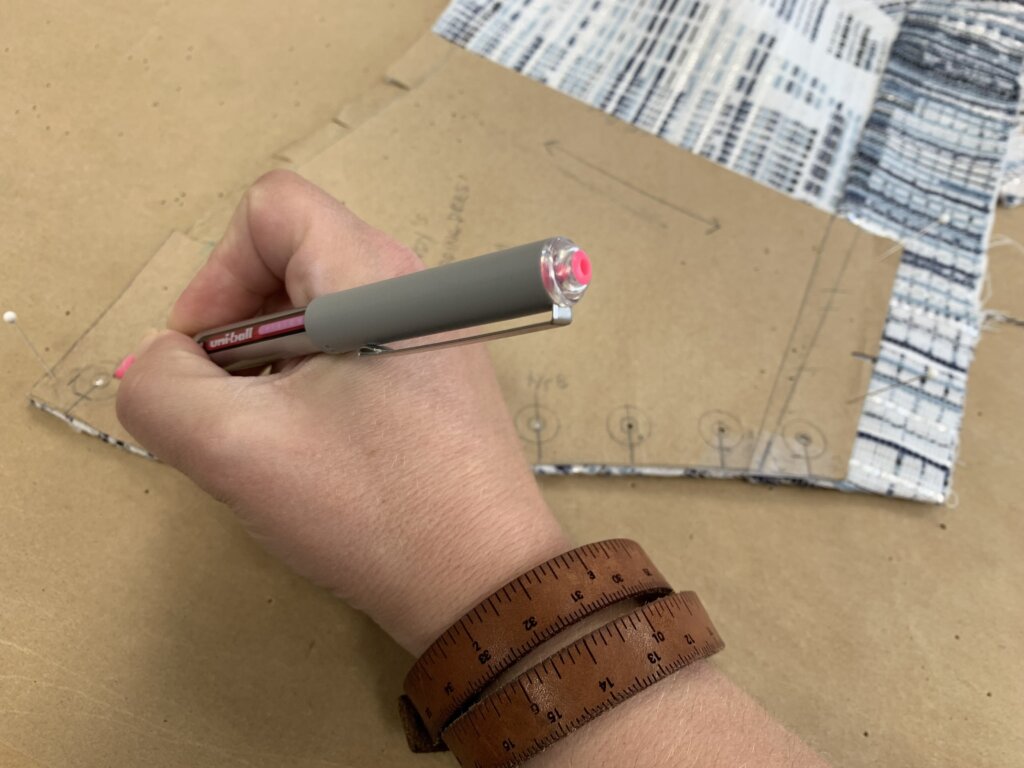
I started to visualize different grommet plans by playing around with them on my paper pattern.
When I found a layout that I thought I might like, I traced the circles onto the pattern, and added the pattern pieces onto the form with pins in each potential grommet center.
Then I “laced up” the pattern pieces using the pin heads.
I liked it!
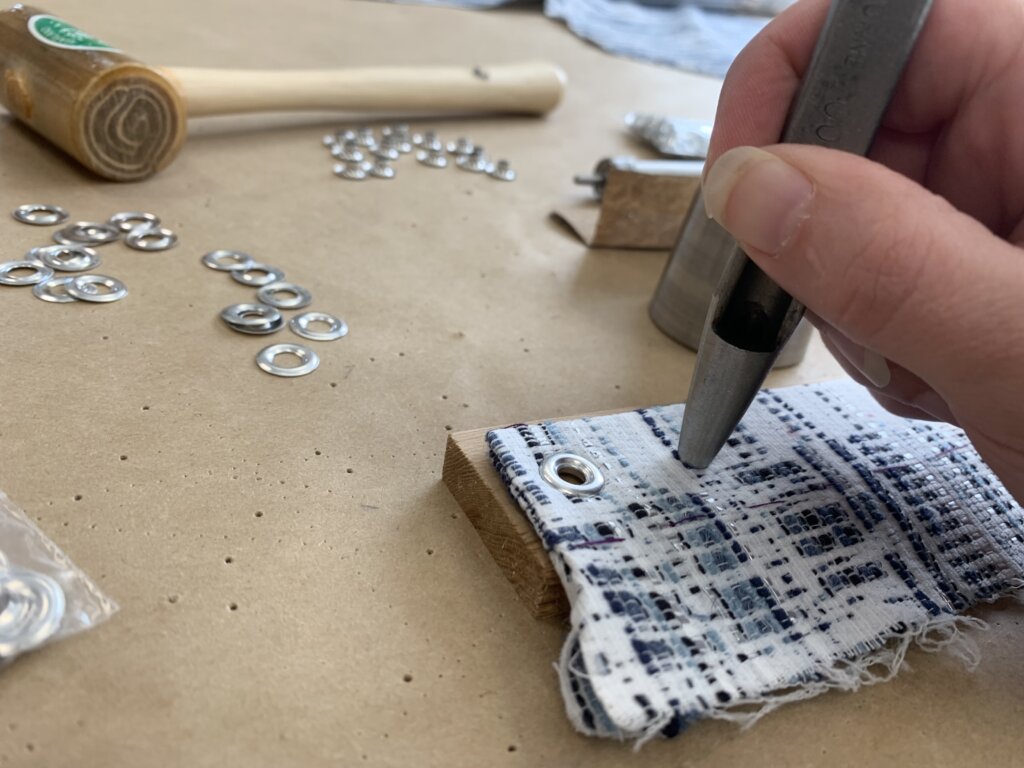
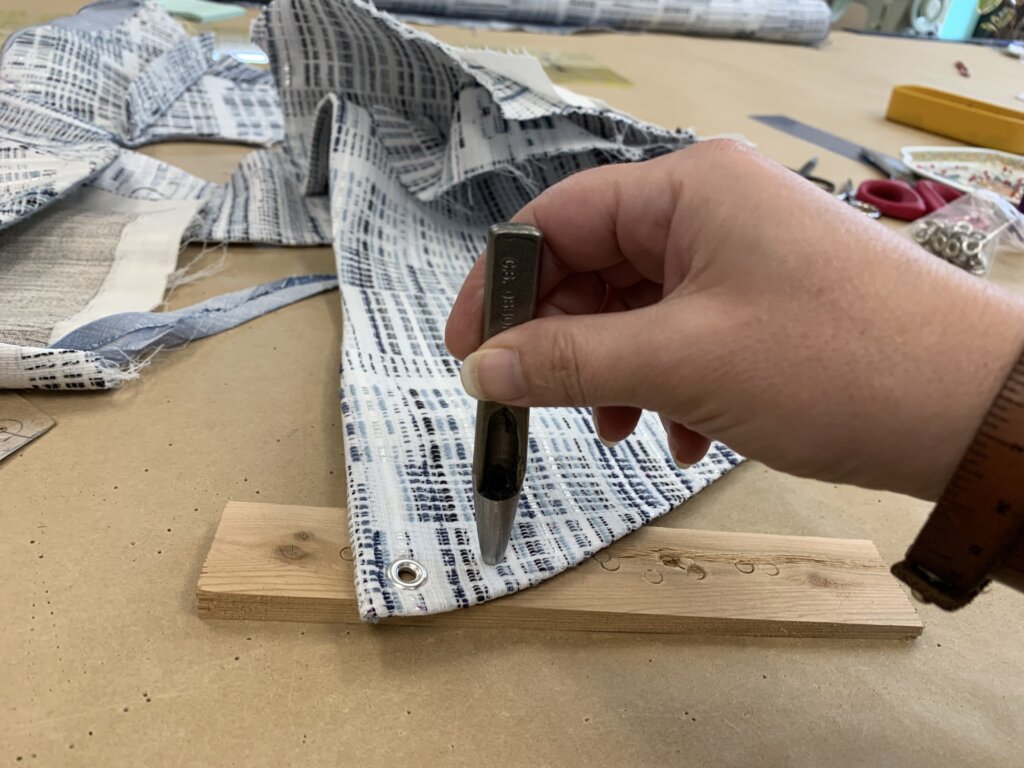
So I practiced grommeting by starting with the side I could redo easily, if neccessary.
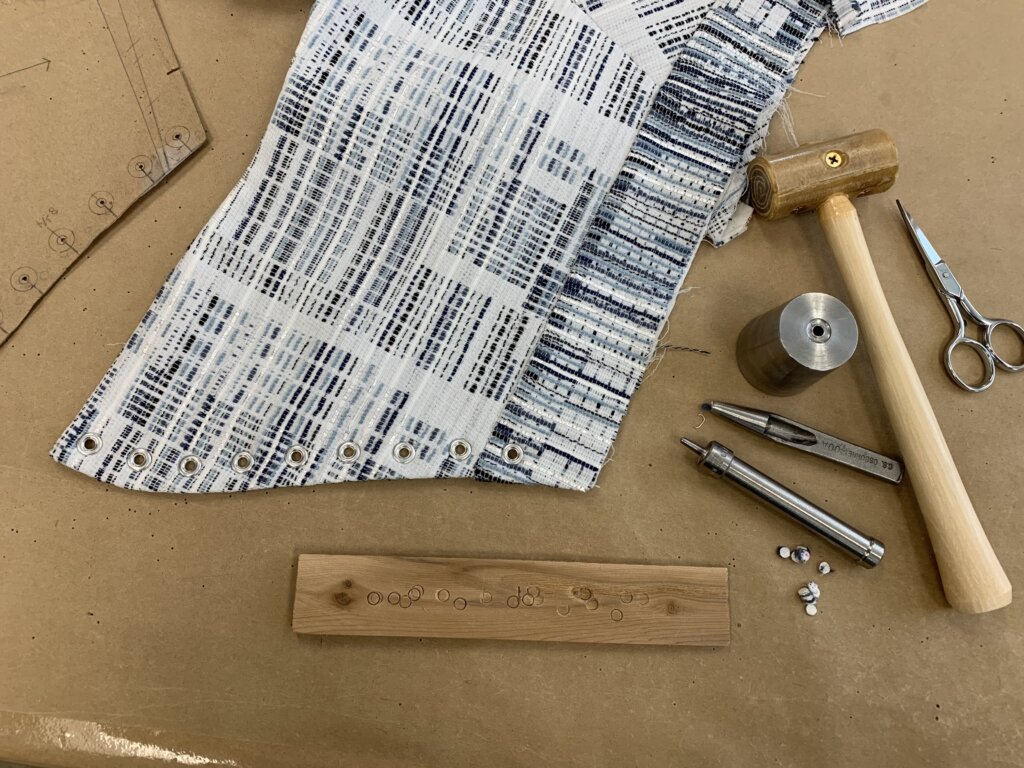
All went well, so I permanently added one side of the grommet closure to the dress.
Love it!
Time for the opposite side! I used my paper pattern to mark each center….
…and carefully added each grommet.
Looking good!
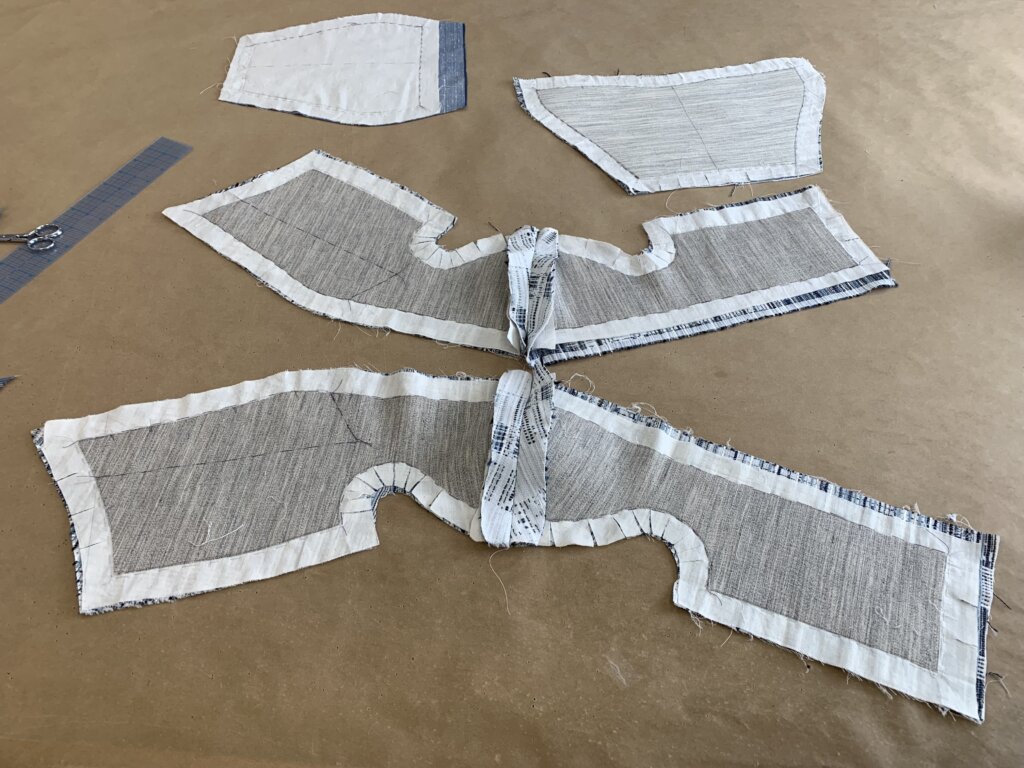
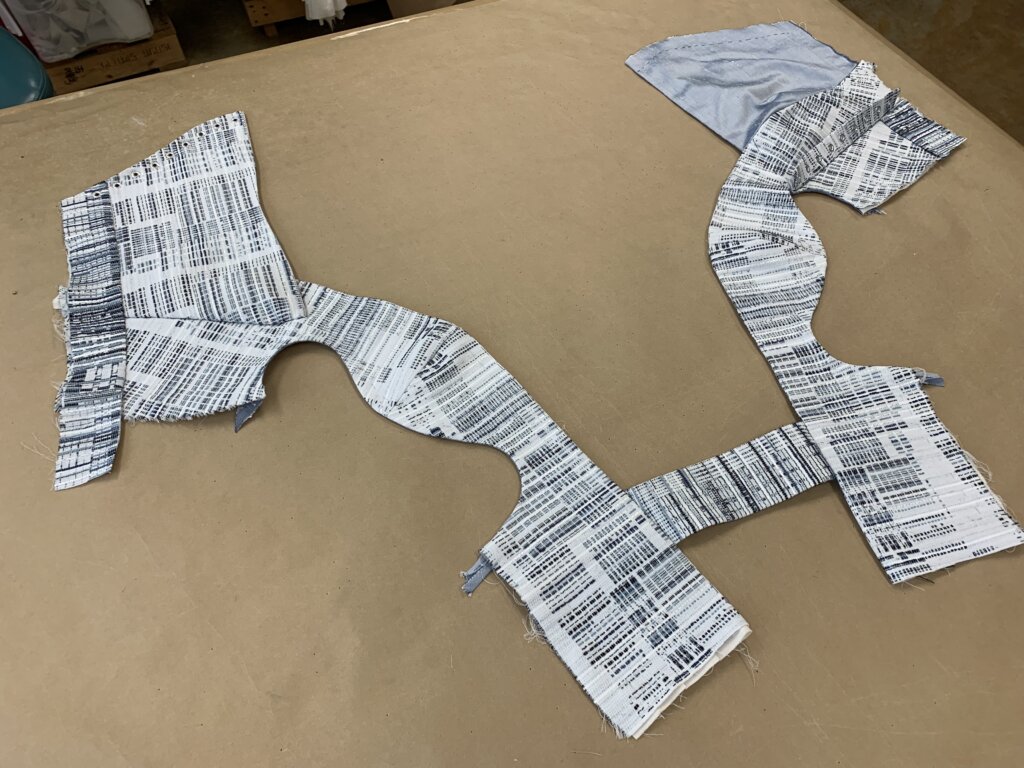
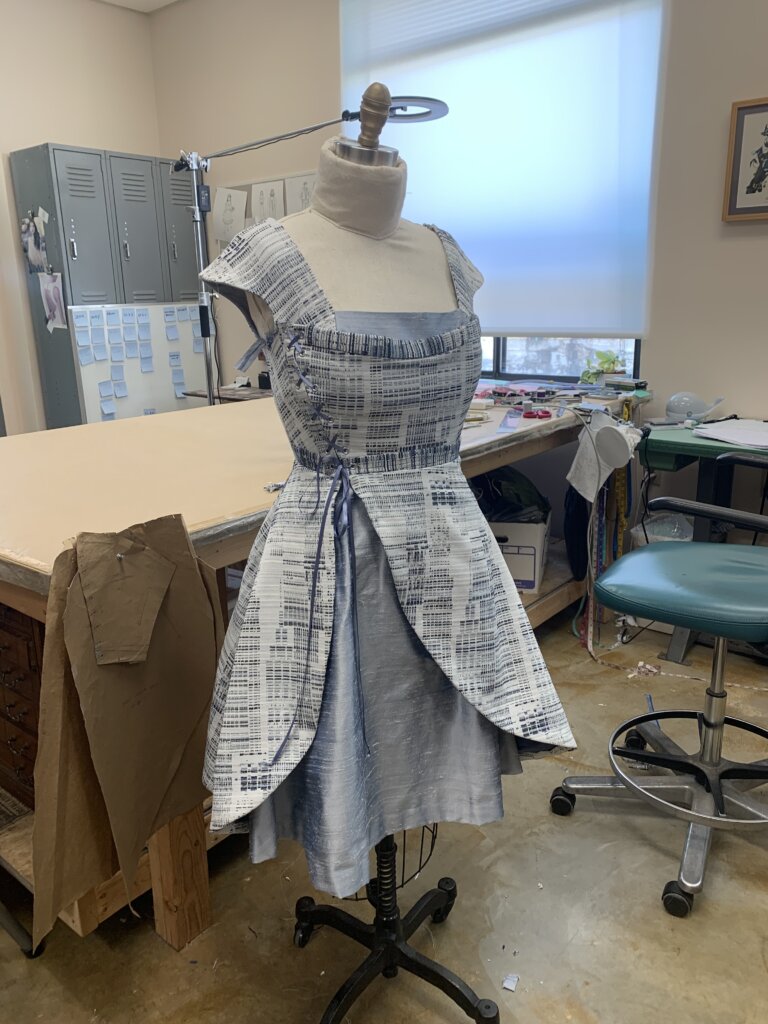
Here’s a cool shot of the bodice before the side seams were basted.
Next, I basted the side seams together and would leave the bodice unlined.
Before completing Andy’s dress, I’d have her try it on one more time; one last chance to make changes to the design and fit!
Andy's Basted Fabric Fitting
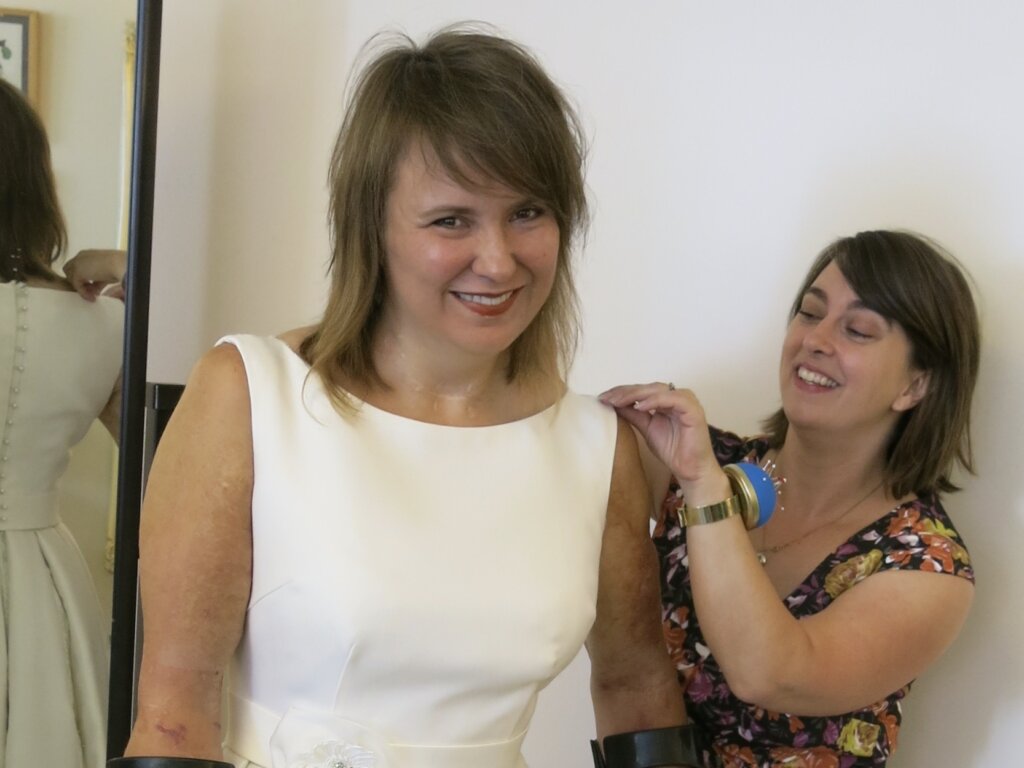
With much of the dress permanently finished, and some bits merely basted, it was time for the Basted Fabric Fitting.
I love the basted fabric fitting! It’s the first time the person tries on their actual garment and a magical opportunity to do any last minute fine tuning.
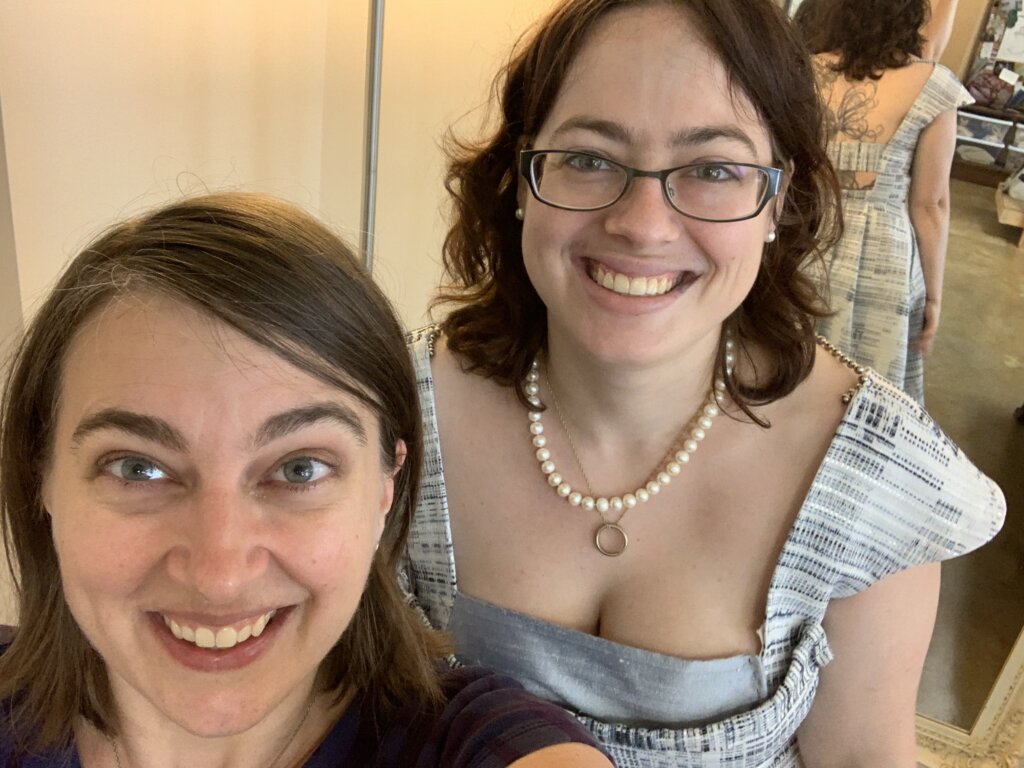
I invited Andy back to my studio and…
She loved it!
I can’t quite remember if we made any changes to the dress, but I do remember having a lot of fun!
Finishing Andy's Wedding Dress
It was finally time to start finishing Andy’s wedding dress!
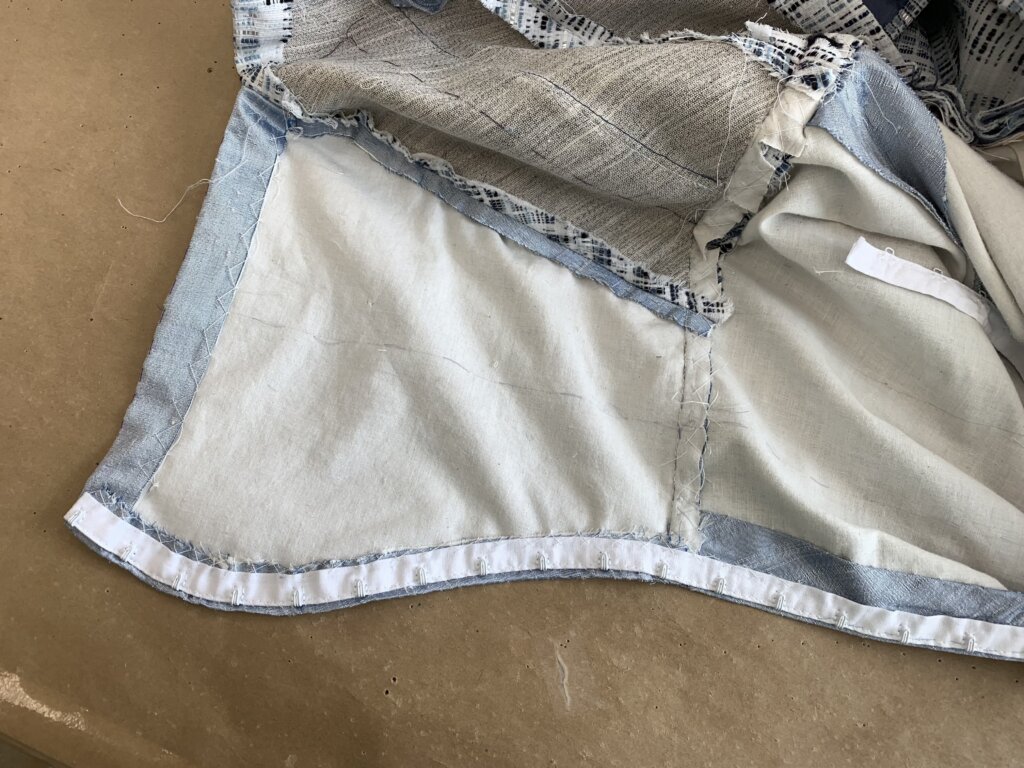
Basting stitches were replaced with permanent stitches,…
…excess fabric was trimmed away,…
…openings were closed,…
…and closures were permanently installed.
Hooray! Andy’s wedding dress was looking gorgeously done, but there was still a little more lining to do…
Lining Andy's Underdress
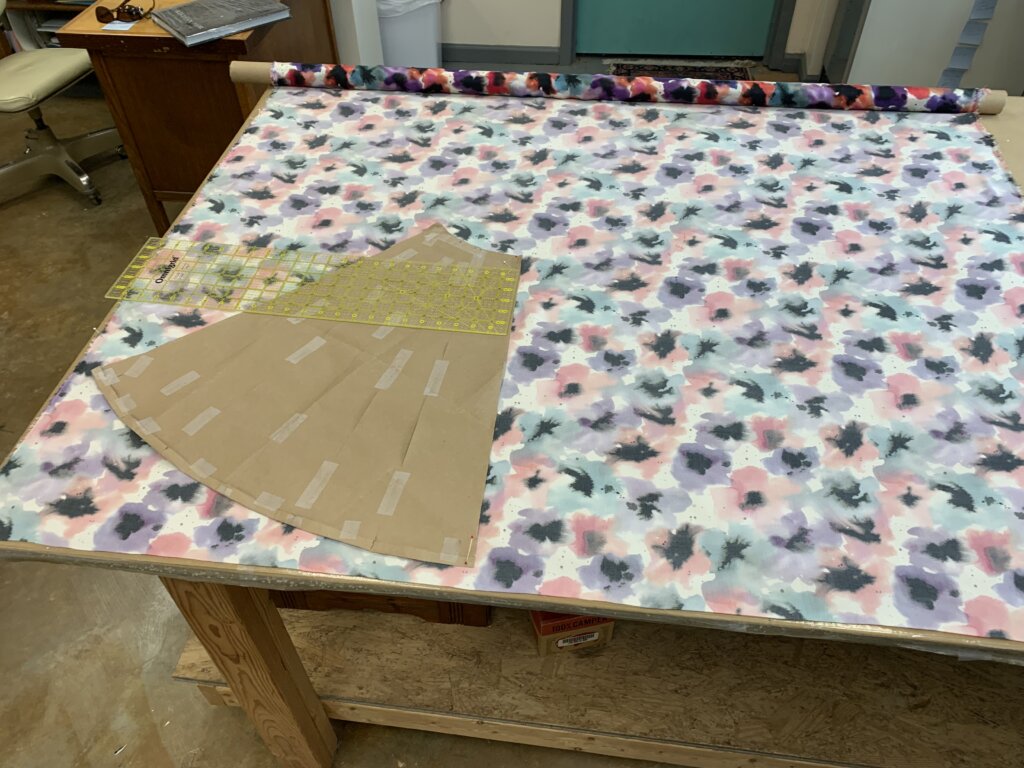
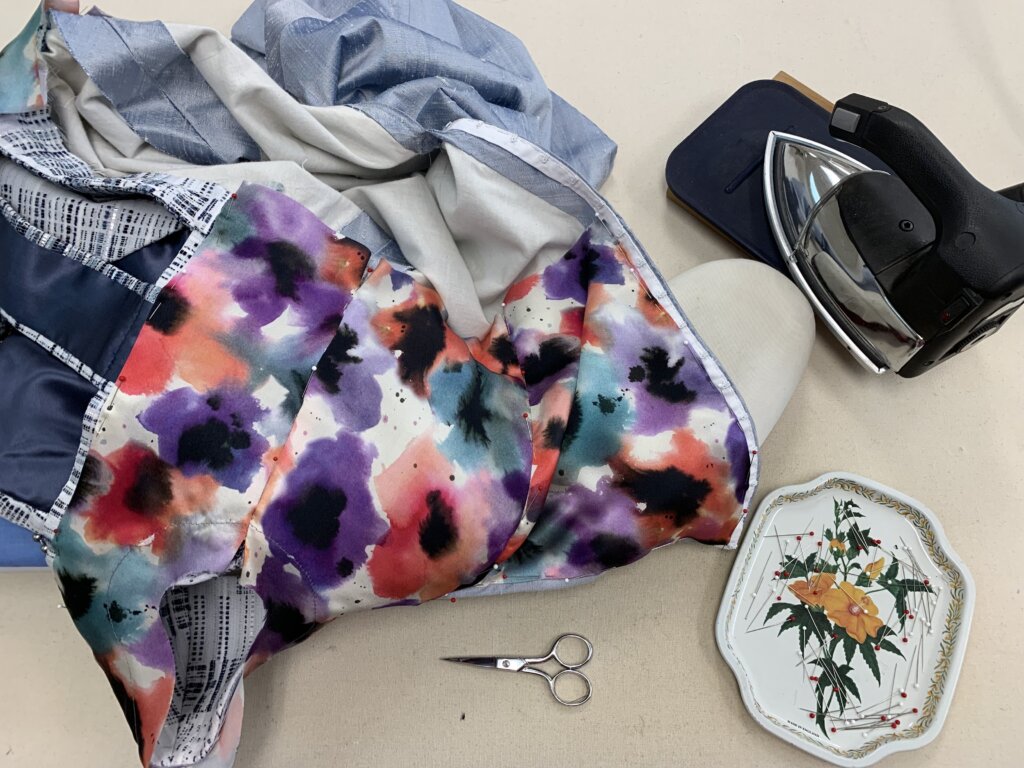
Andy chose a beautiful watercolor-inspired floral silk for (the rest of) her dress’s lining. She fell in LOVE when she saw this at Mulberry Silks.
I rolled out the fabric (with the backside up), laid out and pinned the corresponding pattern pieces through the fabric to my pinnable topped table, marked my stitch lines (which are the pattern’s edges) with a pencil, and then marked roughly an inch border around them as my cut line.
Even though these pieces aren’t being underlined, the cut edge is still unimportant, thanks to my marked stitch lines.
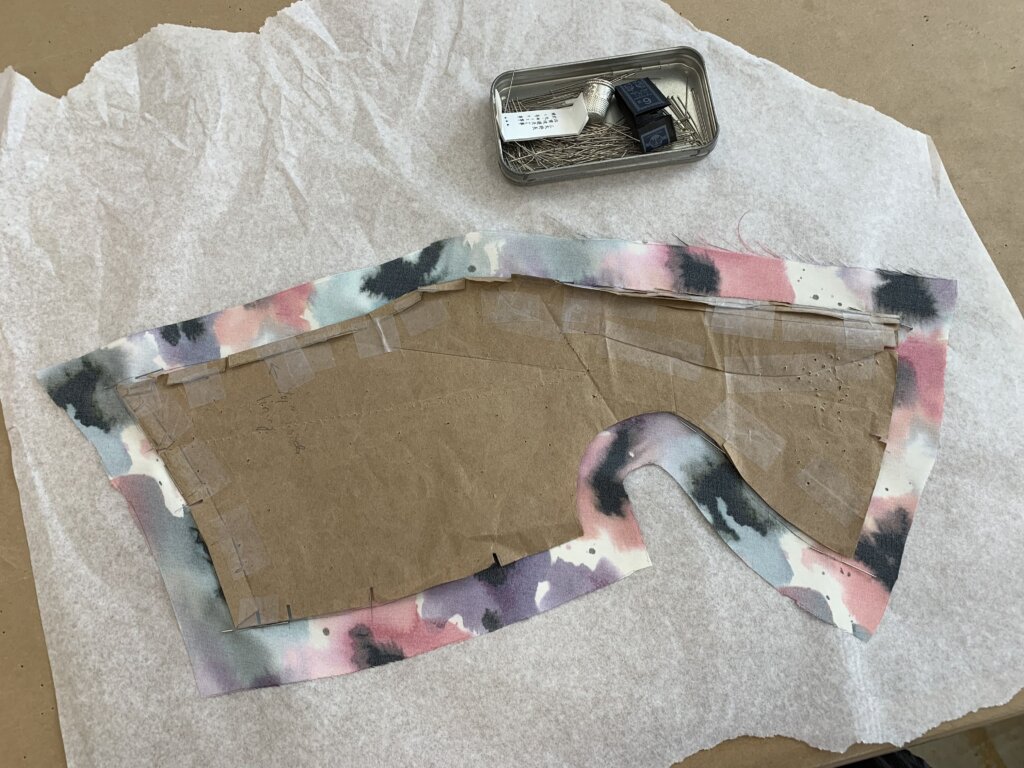
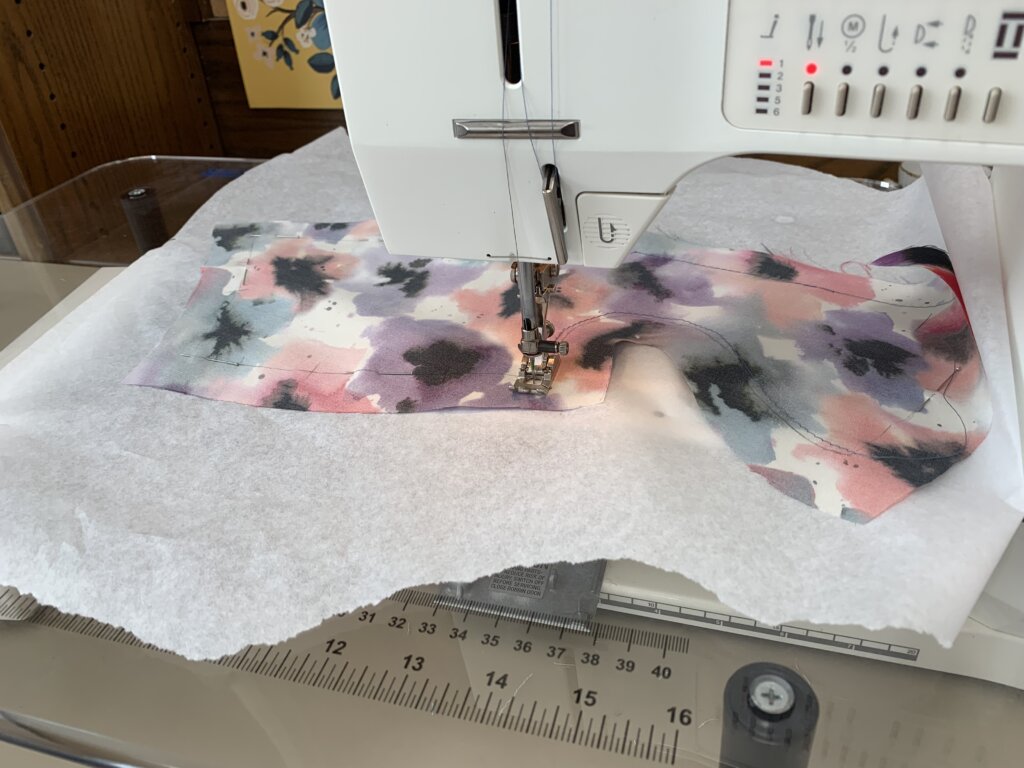
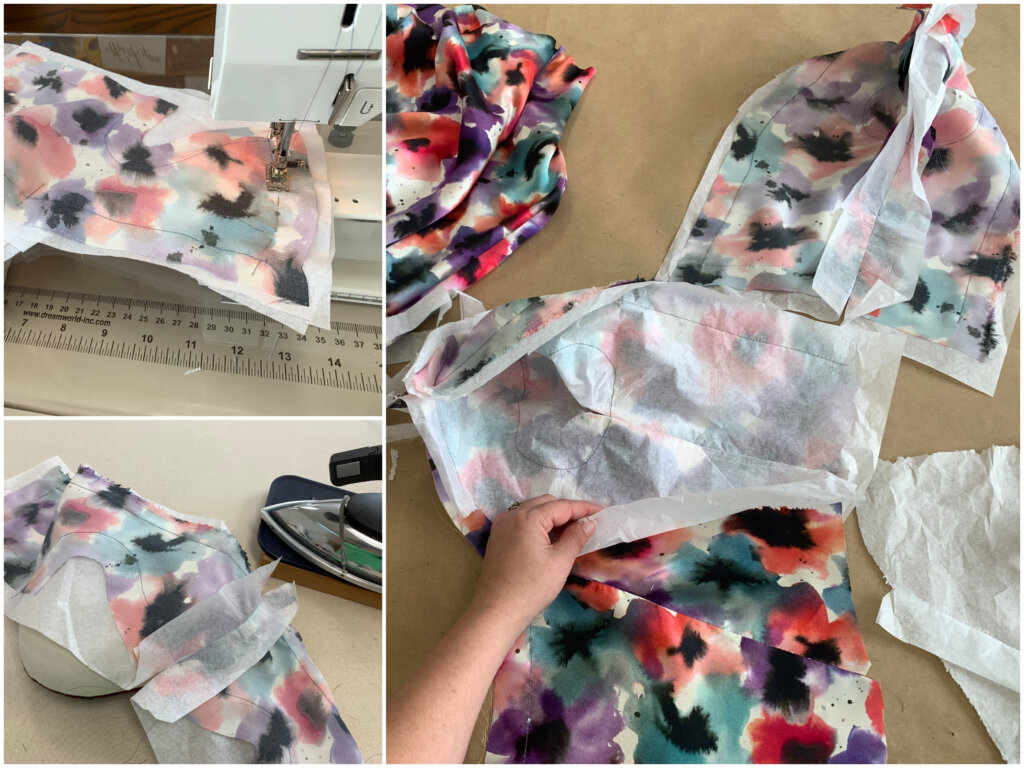
Since this scrumptious silk was super-slippery, I used tissue paper to help me sew.
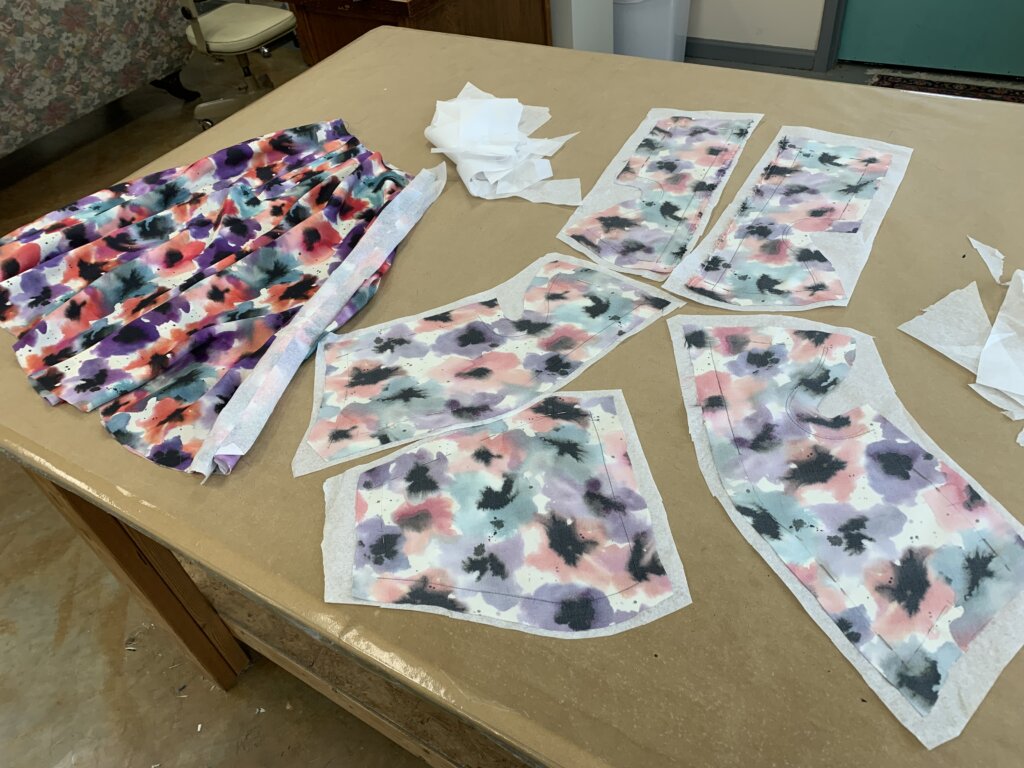
Using my pattern piece’s edges and the stitch lines marked on the fabric, I got each slippery lining piece back into the shape it was intended to be, and securely pinned it to the stable tissue paper.
Where needed, I added stay-stitching through both the silk and the tissue.
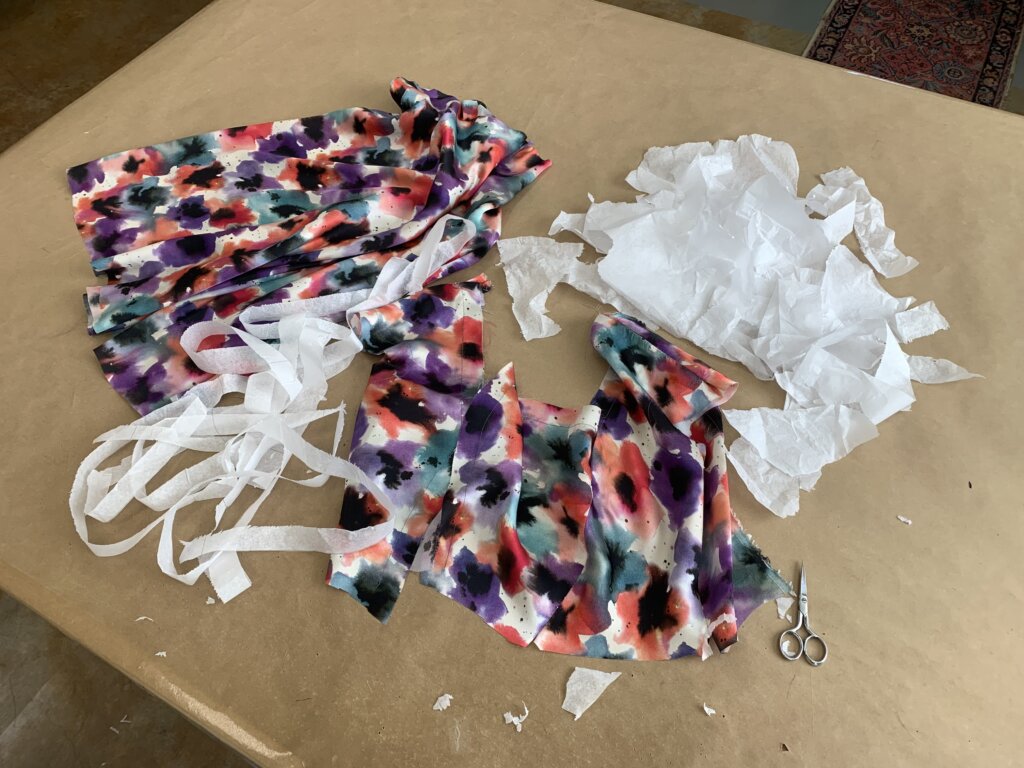
I eventually added each fabric piece to paper, trimming away excess borders, and started stitching some seams together.
Did you know that you can sew, pin, and press tissue paper, then tear it away when the stitching is complete?
The machine needle creates a perforated line as it stitches through the paper, which makes it easy to pull away and reveal the nicely stitched lining, as if it were never slippery at all!
Sew cute!
Finishihng Touches
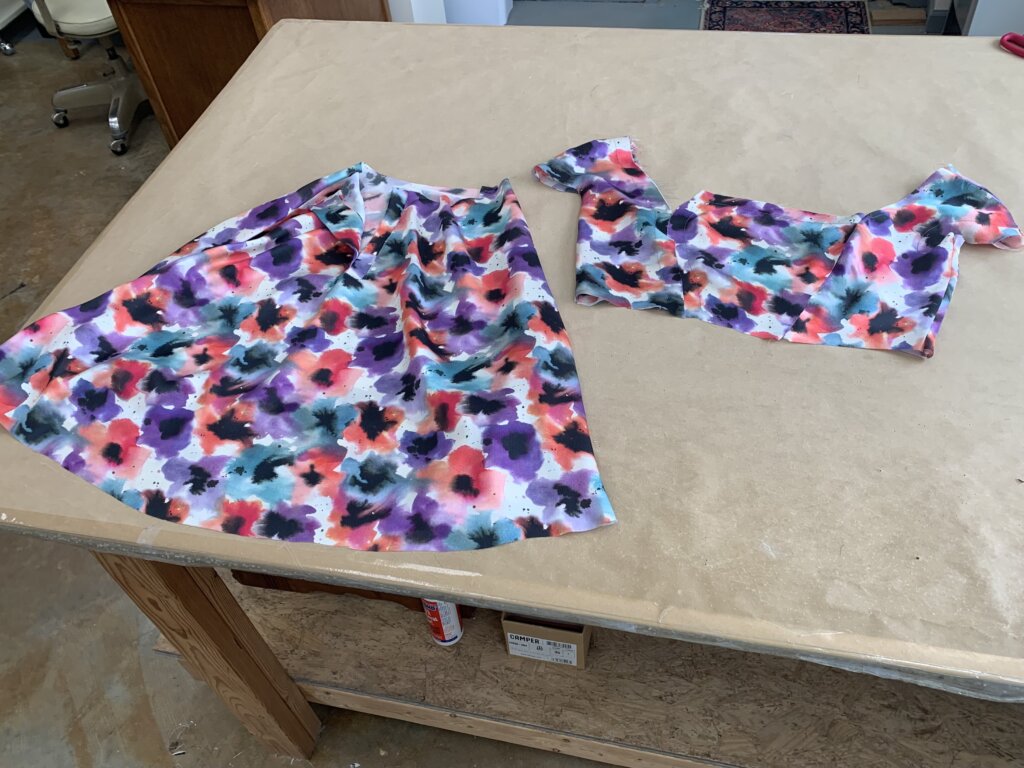
With the dress mostly together and the lining mostly together….
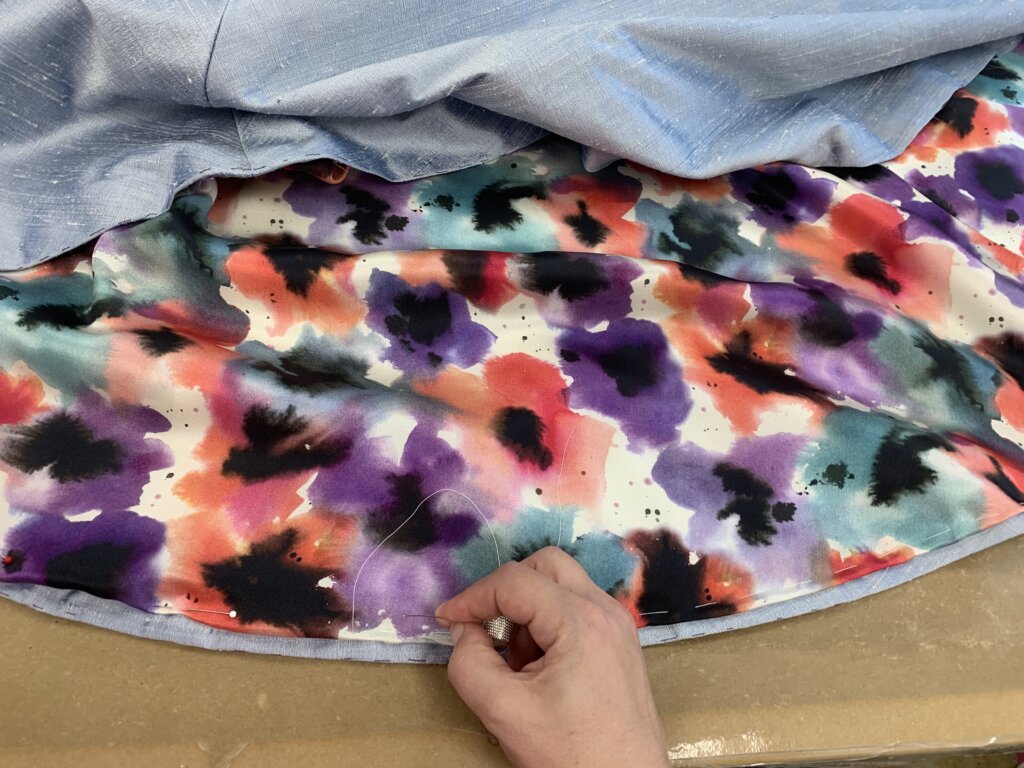
…I added the two together with hand stitches.
The final finishing bits were the hem….
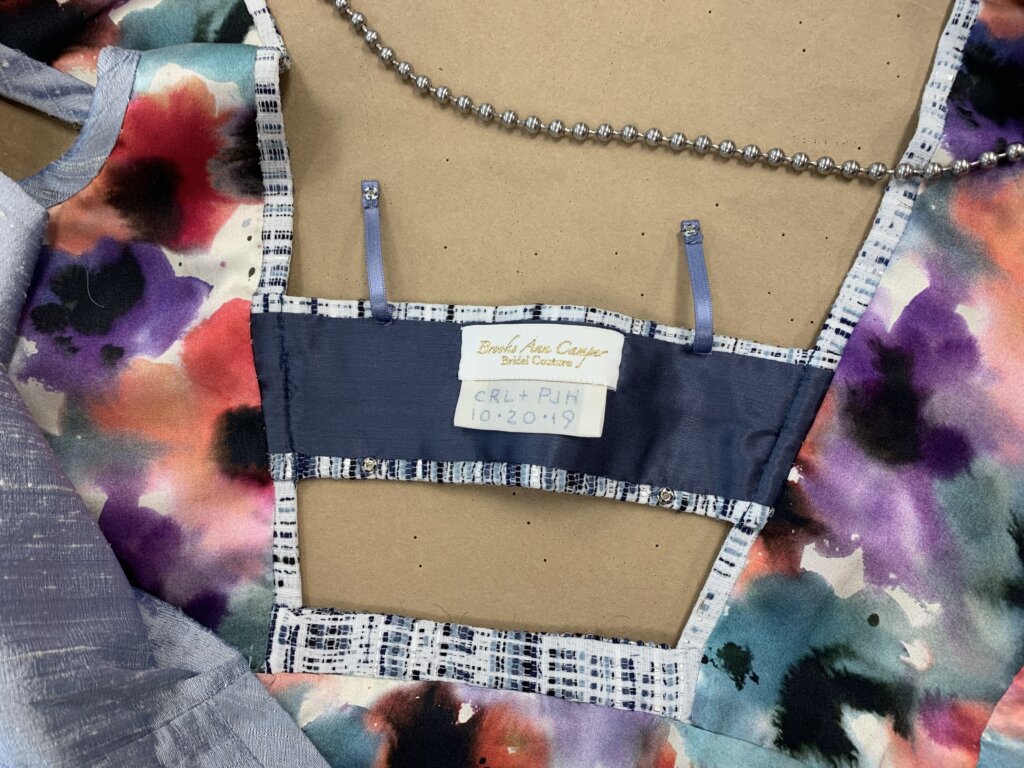
…and adding the label!
Sew exciting!
The Photos!
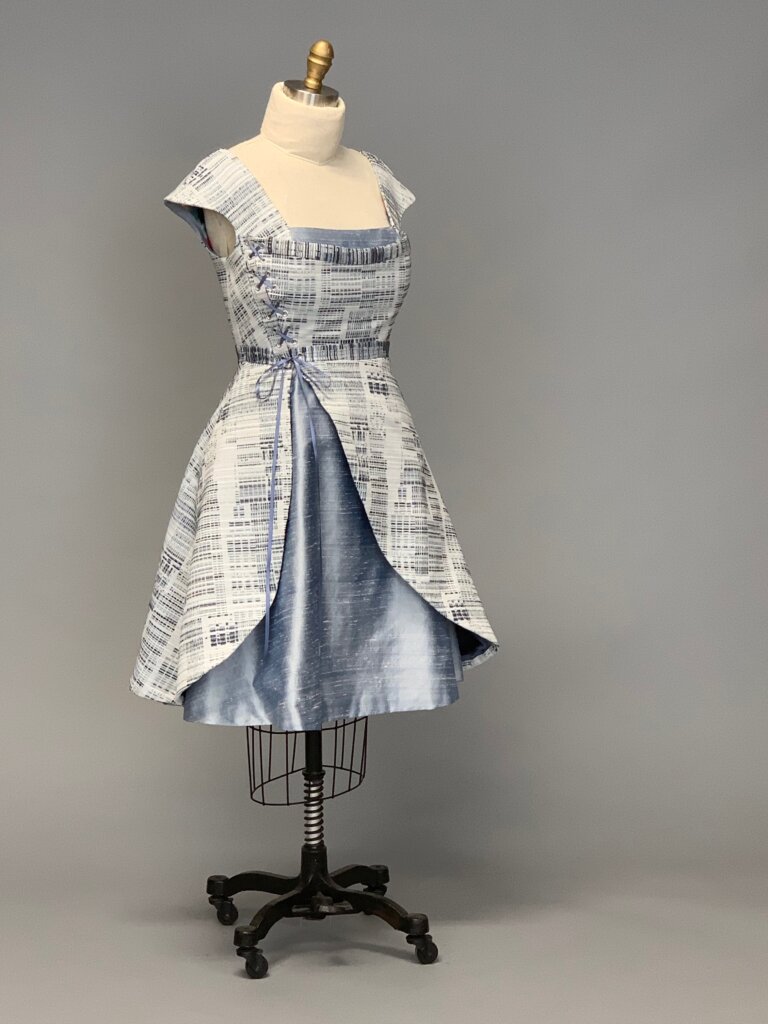
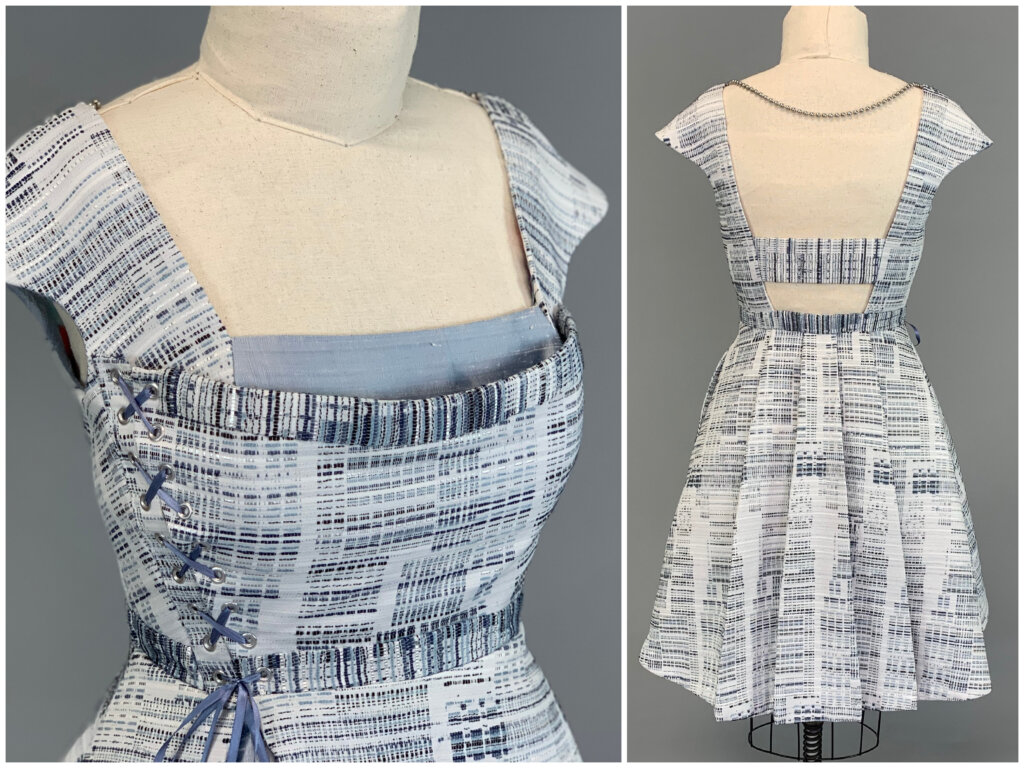
And now…. What you’ve all been waiting for… The photos of the finished dress and Andy’s wedding day!
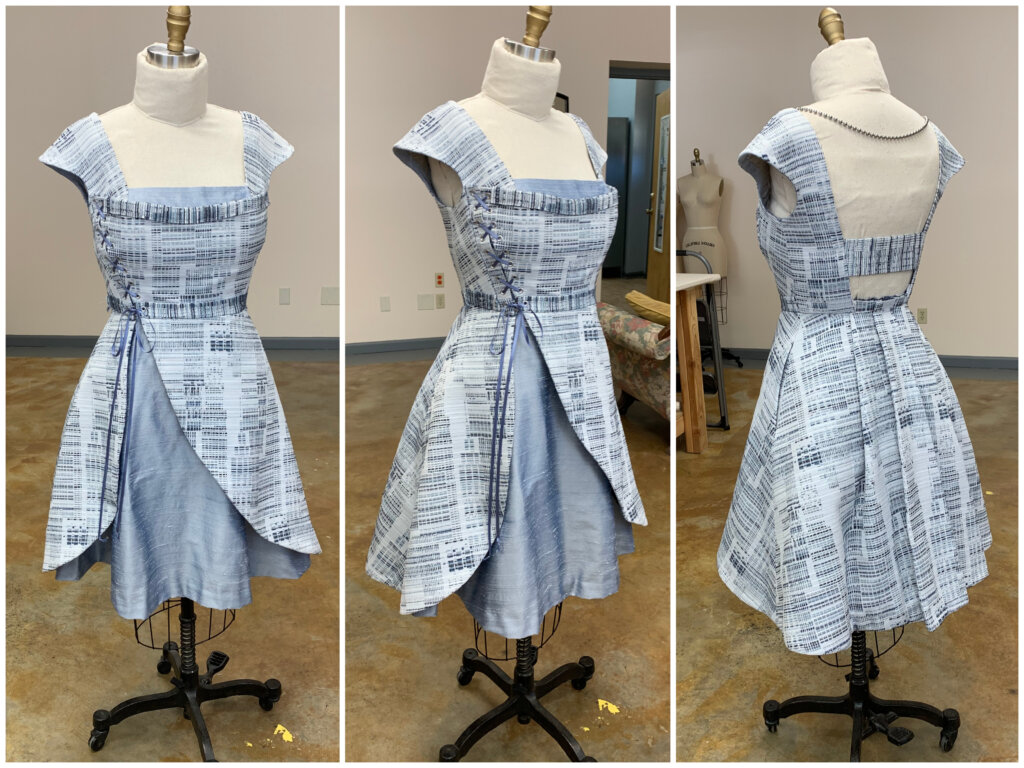
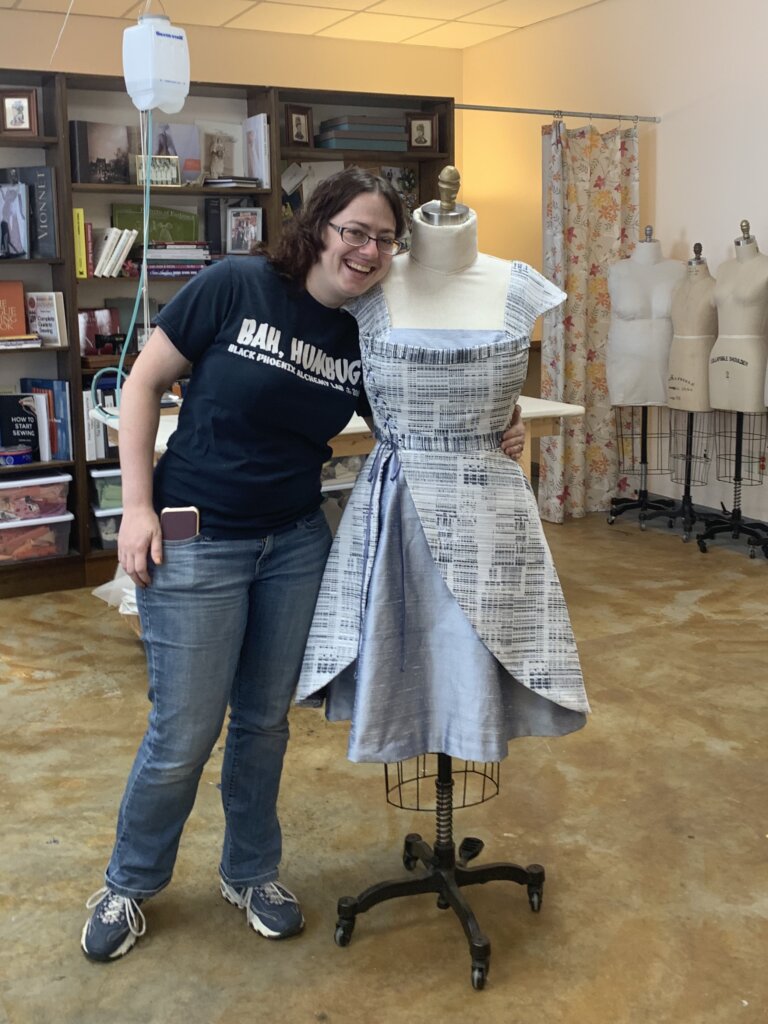
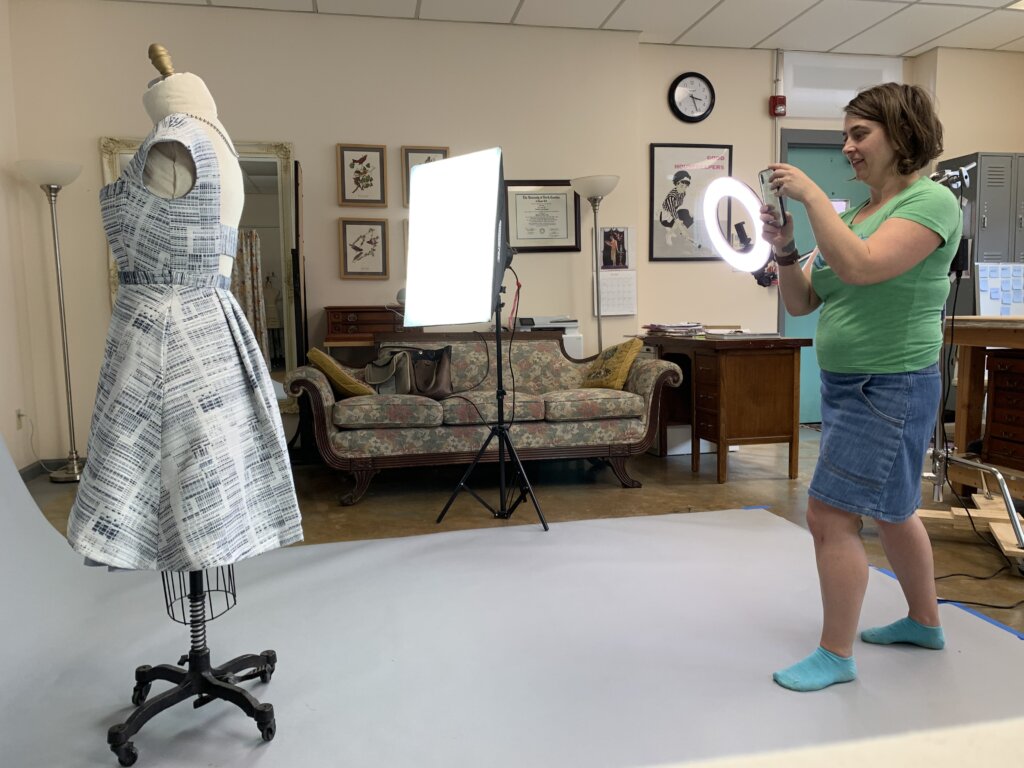
Here are some shots I took of the finished dress…
…before Andy took it away to her wedding!
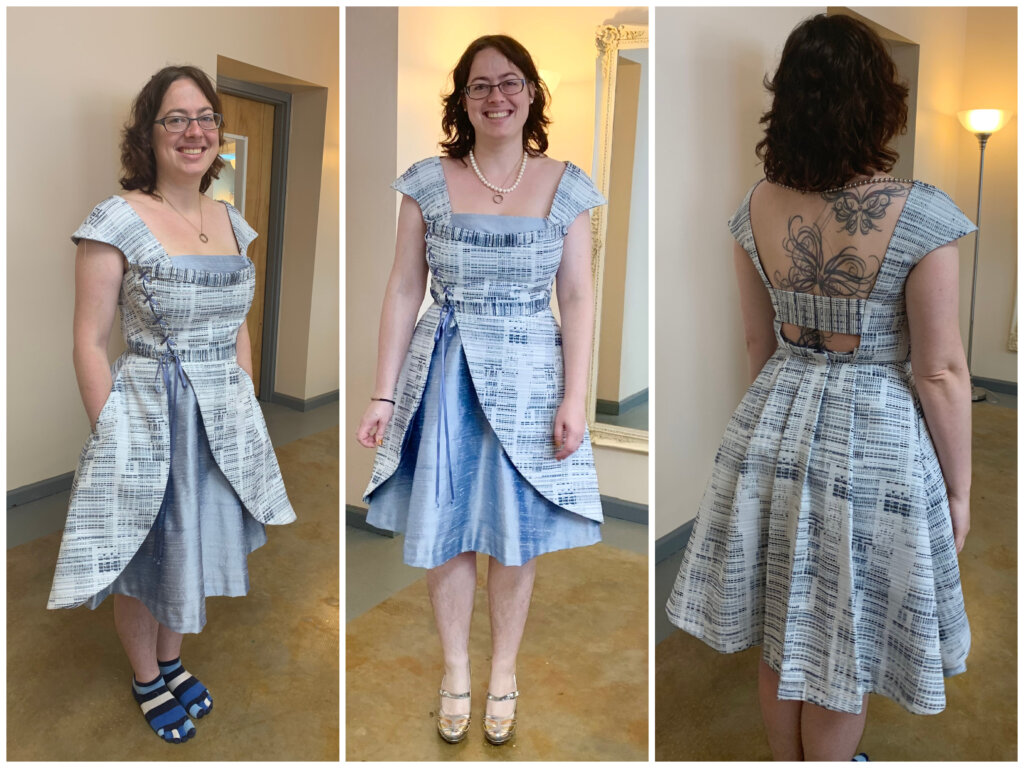
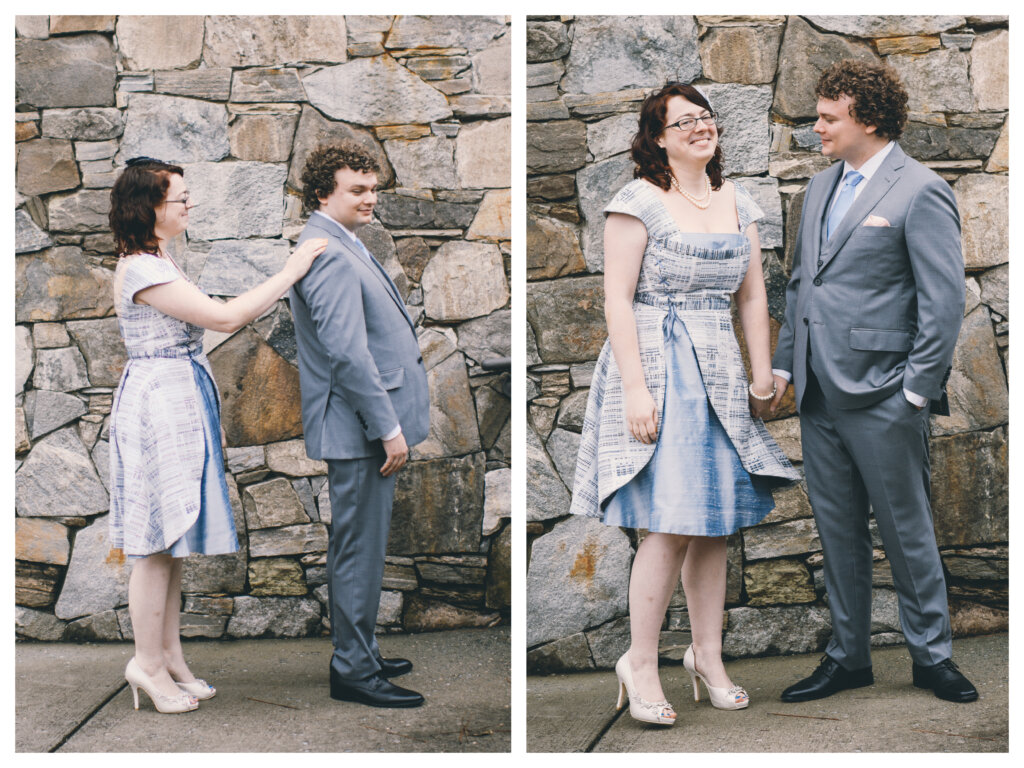
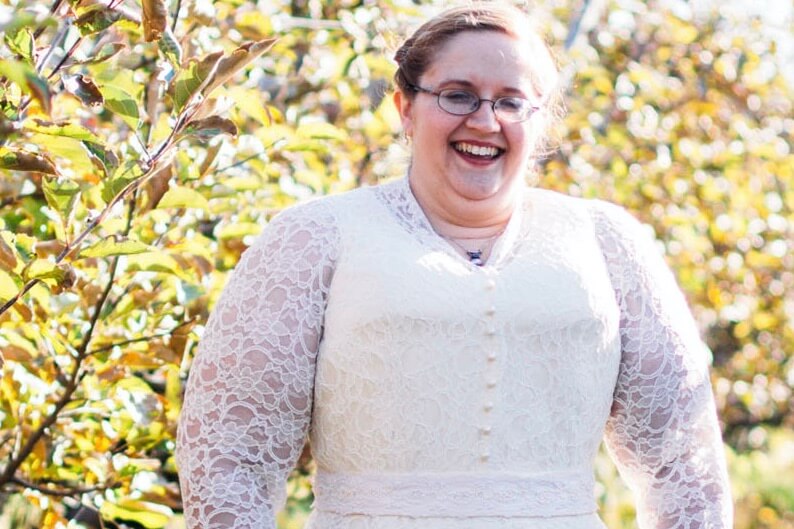
I looooove these “first look” shots!
Kristi Marie's Photography
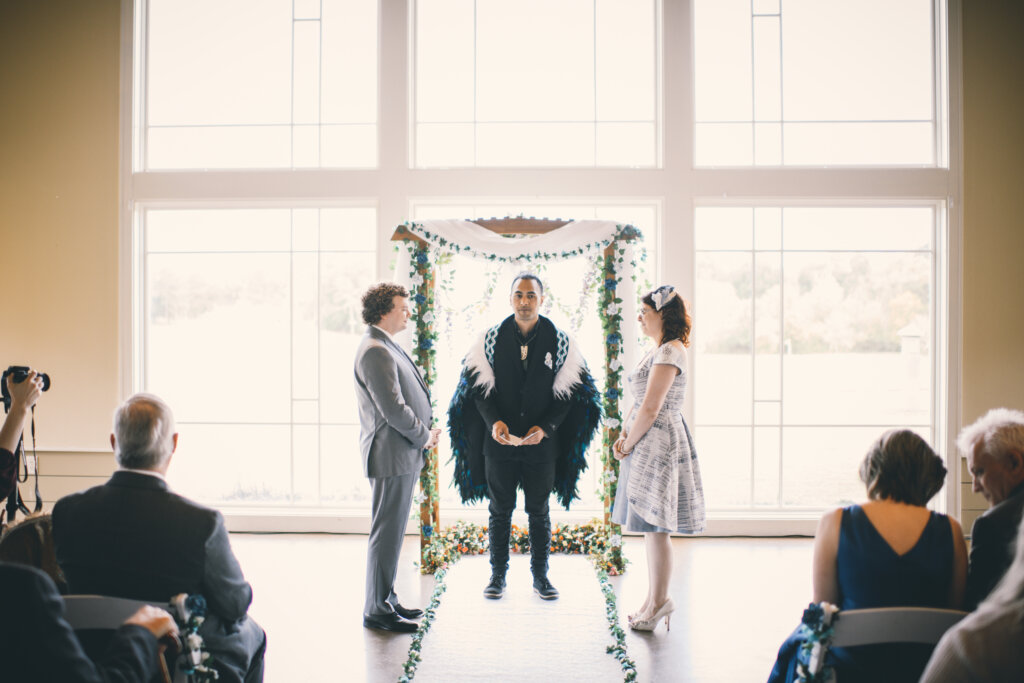
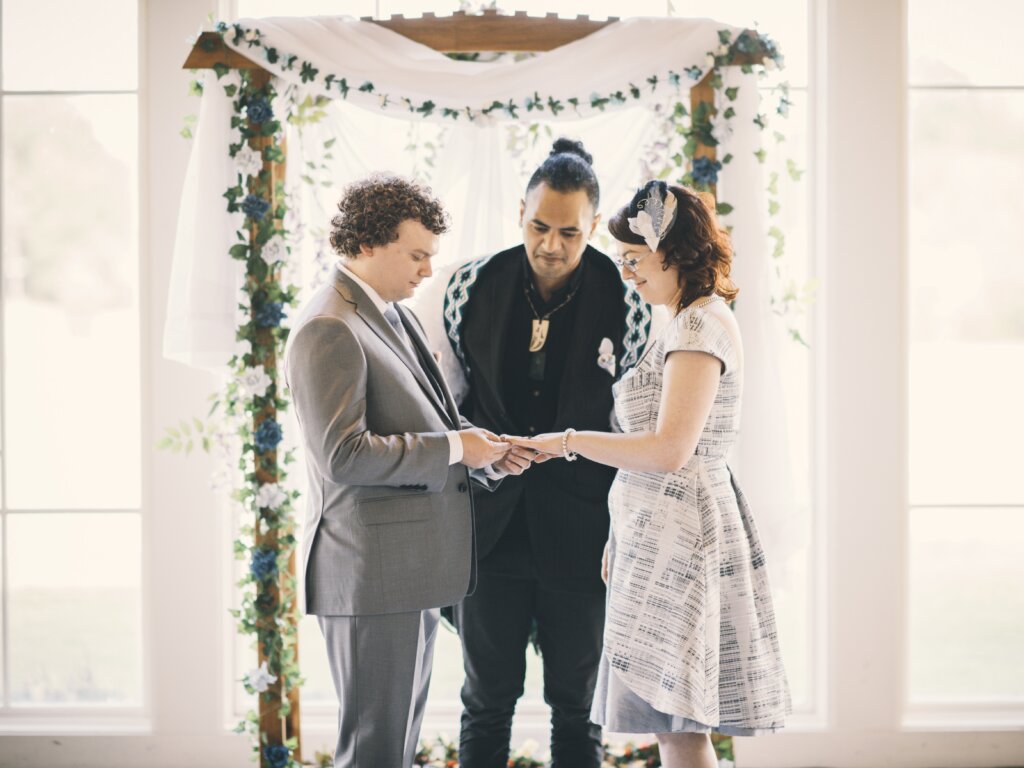
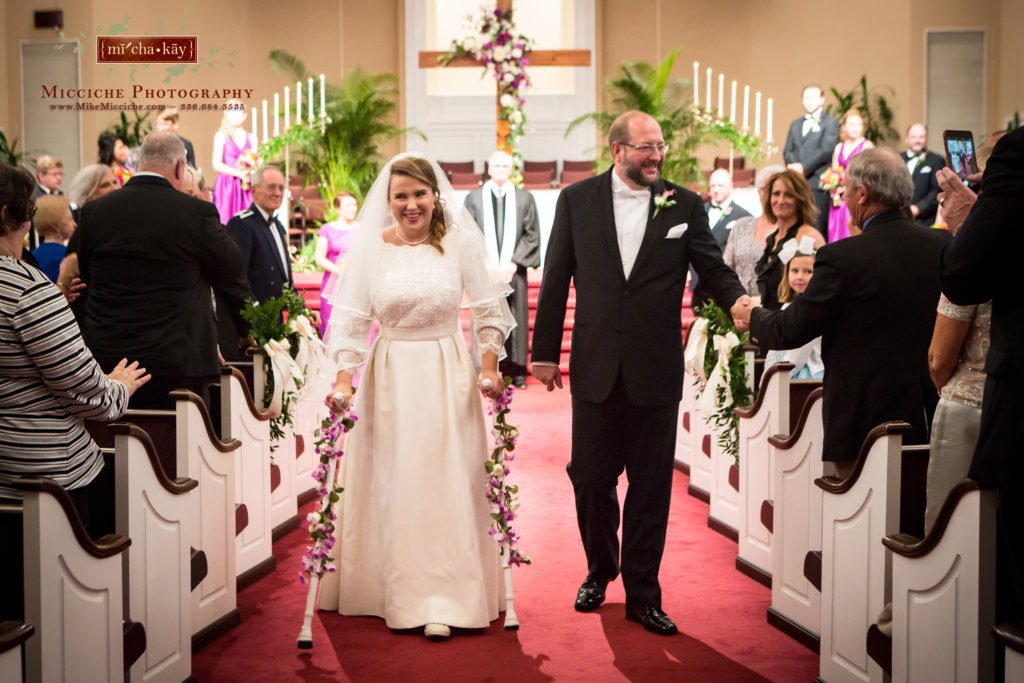
Wasn’t the ceremony so gorgeous?!
Kristi Marie's Photography
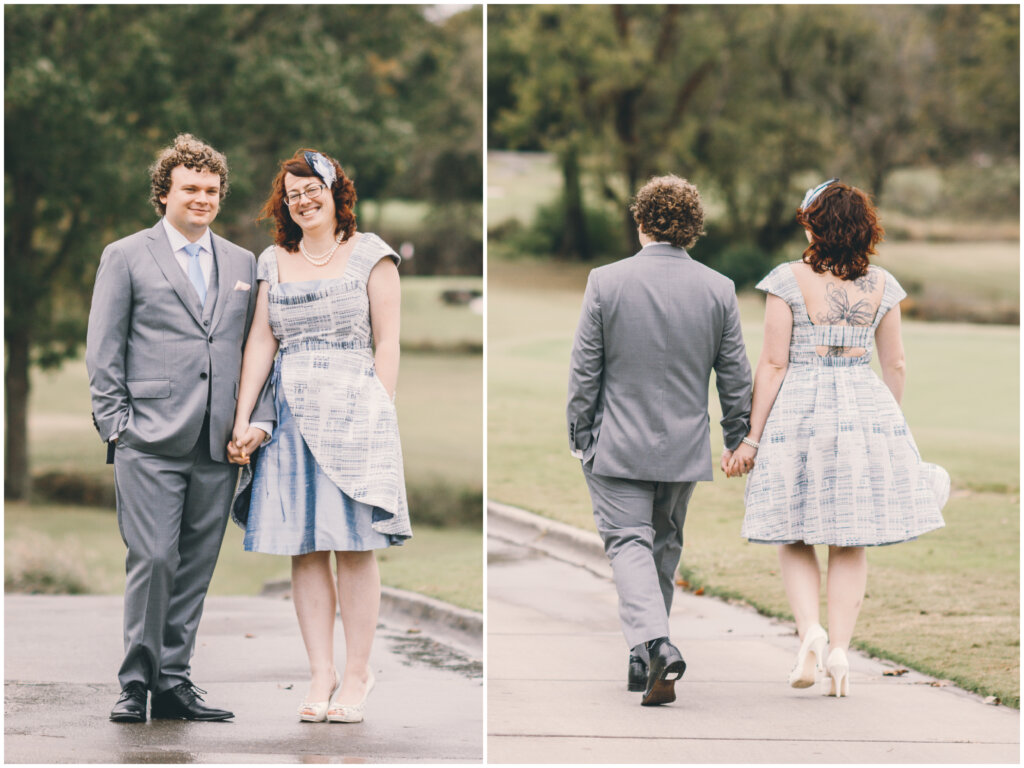
Kristi Marie's Photography
And they lived happily ever after!
Kristi Marie's Photography
Thanks for following along!
It was high time I get Andy out of the Archives and onto the blog. Thanks for inspiring me to go back to my final bridalwear days (that I didn’t know would be my final bridalwear days) and share this lovely dress and this lovely bride with you.
Many have asked “Will you go back to doing bridal someday?”
And I love my current sewing space, which isn’t quite right for taking in custom clients. Someday, in another studio, I might entertain it. Andy’s blog series reminded me what a joy it is to work one-on-one to create one-of-a-kind masterpieces for lovely individuals.
Thanks to Andy for letting me share her story, and thanks to YOU for following along!
I’m a former professional costumer and couture dressmaker for one-of-a-kind bridalwear located in rural North Carolina, who teaches custom garment sewing to sew-curious solo-sewists online.
My blog mostly follows along with the couture process of how each heirloom-quality custom wedding dress was made from idea to wedding day, as well as personal sewing projects and other couture curiosities.
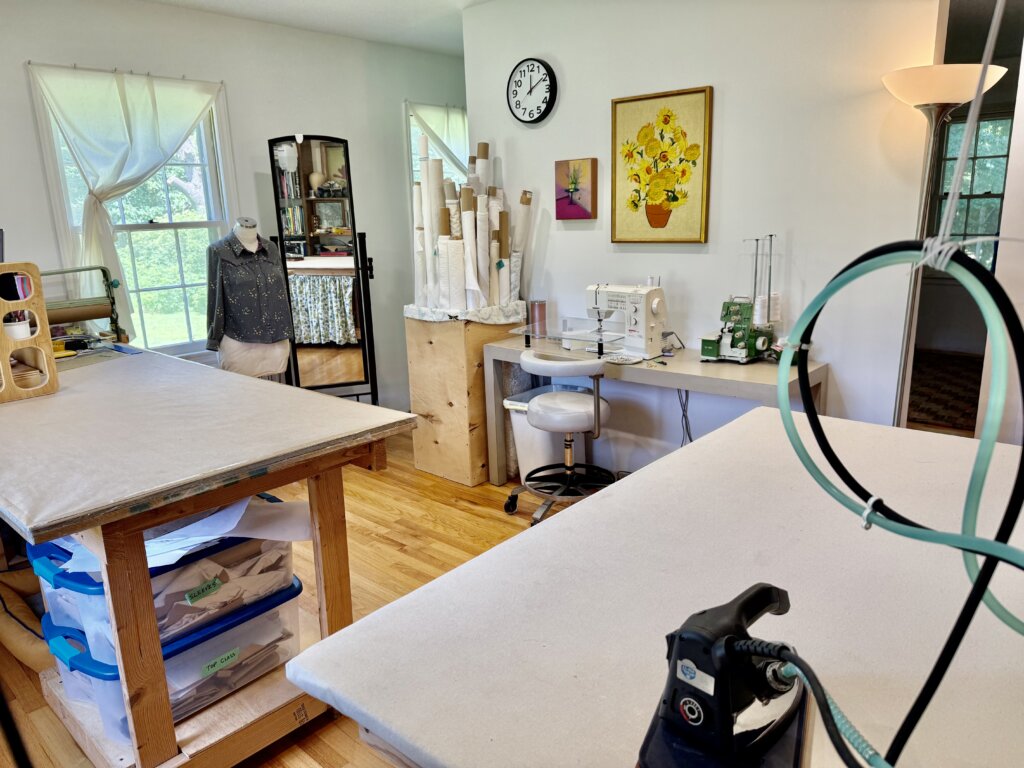
Welcome to my (temporary) Sewing Studio! Come on in! I love seeing other people’s workspaces and tools, so I thought I’d show you mine. I cleaned up after a big...
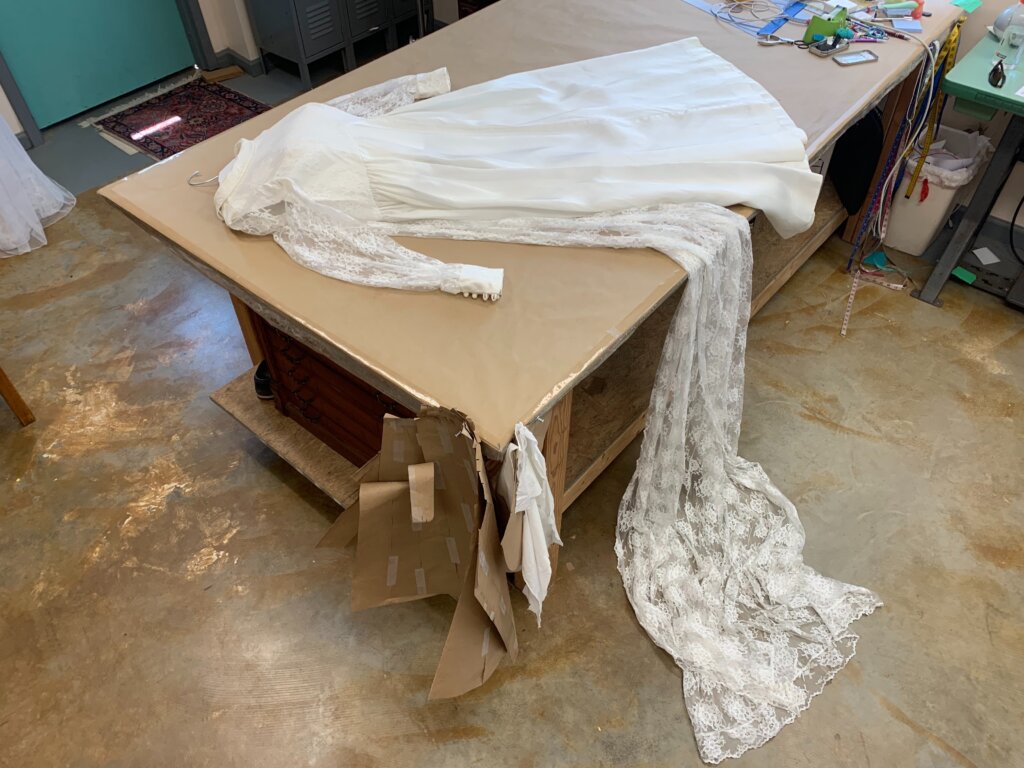
Duplicating the Vintage Dress’s Pattern (without taking it apart)
In my previous post, I introduced Jenn and the custom bridal wear project(s) for her wedding weekend. Check out the full story for all the deets, but to catch you...
I Made Myself the Coolest Dress pt. 1 – Pattern Design & Mockup
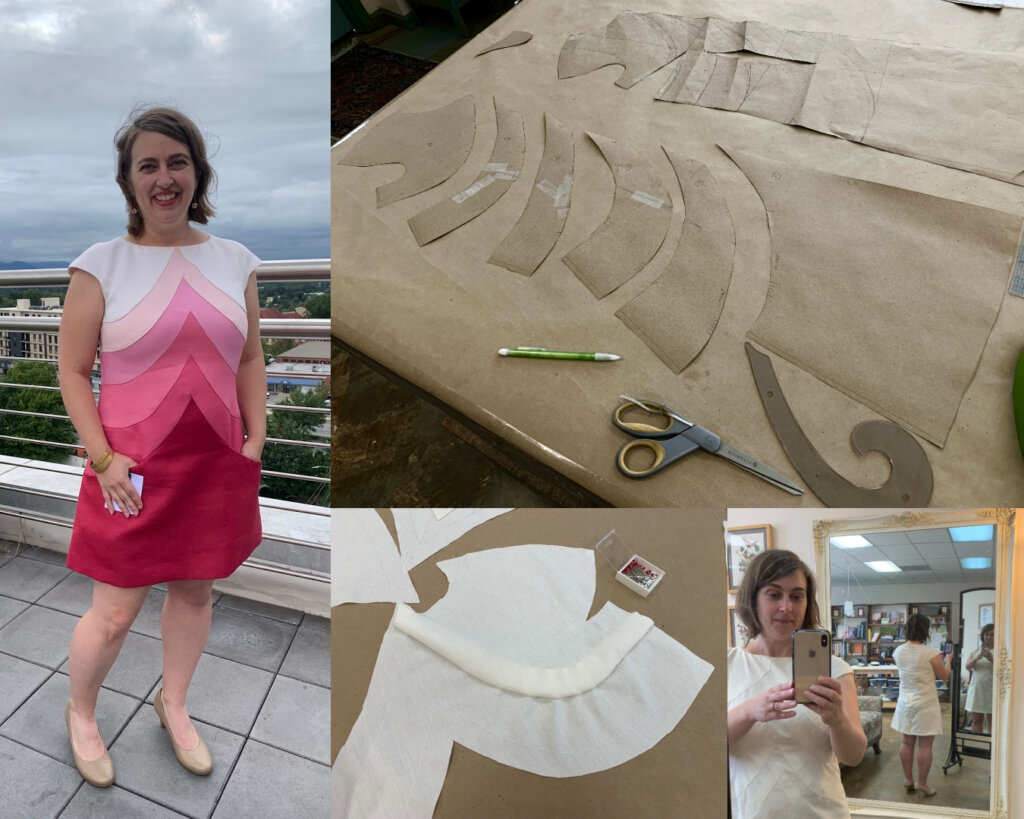
Though my personal wardrobe is mostly “the dressmaker has no clothes”, when I do make something for myself, it’s usually an epic project. I’m so excited to finally share this...
I’ve been blogging for TEN YEARS now, ya’ll! In “My 10 Year Blogiversary pt. 1”, I share links to each bridal blog series that I’ve created over the past decade....
It’s finally time to share about Deborah’s wedding day! HOORAY! Deborah and Blake were married in November 2017 at a church in Greensboro, NC with the reception at a nearby...
New Bridal Blog Series: My (kinda famous) friend Jenn!
Brooks Ann, Jenn, & Charles January 2017 Going Way Back… To begin my next bridal blog series, let’s head into the Way-Back Machine. And we’ll head farther back than this...
The bridal blog series is back! In each bridal blog series, you meet a new bride and I slowly post-by-post recount the process and share the behind-the-seams story of creating...
The bridal blog series is back! In each bridal blog series, you meet a new bride and I slowly post-by-post recount the process and share the behind-the-seams story of creating...
The bridal blog series is back! In each bridal blog series, I recount the process and share the behind-the-seams story of creating a one-of-a-kind custom couture wedding dress from start...
Sally is someone special. Back in December, I got an email from a dear friend named Sally that I had lost touch with. The subject line: “dear lord i’m getting...
As it starts to get cold, it sure is nice to think about summer! Gin and tonics… BLTs… beach trips… seersucker… Earlier this year, I worked with a bride who...
Welcome to Part 2 of the story behind making Andy’s 2019 wedding dress, where I’ll recount the testing phase of the custom process. If you’ve been following my blog for...
They say documenting the process triples the production time. (And I work more slowly than most.) My Nimbus was cold.She needed a new coat, sooner than later.
Welcome to Part Two! I’m back to share the nerdy behind-the-seams details of creating my Vanishing Tie Top for the Precious Fabric Challenge. But this photo-filled blog post doesn’t feature...
Do you have a fabric that you’ve been SAVING instead of SEWING? Yeah. Me too. So when Whitney Luckenbill of TomKat Stitchery asked me to be a part of her...
Welcome to my (temporary) Sewing Studio! Come on in! I love seeing other people’s workspaces and tools, so I thought I’d show you mine. I cleaned up after a big...
Welcome back! It’s the series finale! In this third and final post of My Warmup Jacket series, I share the behind-the-seams details of my jacket’s construction and finishing stories!
In this second post of My Warmup Jacket series, I share the behind-the-seams details of my jacket’s patternmaking and mockup stories! And after putting this patterning post together (which was...