

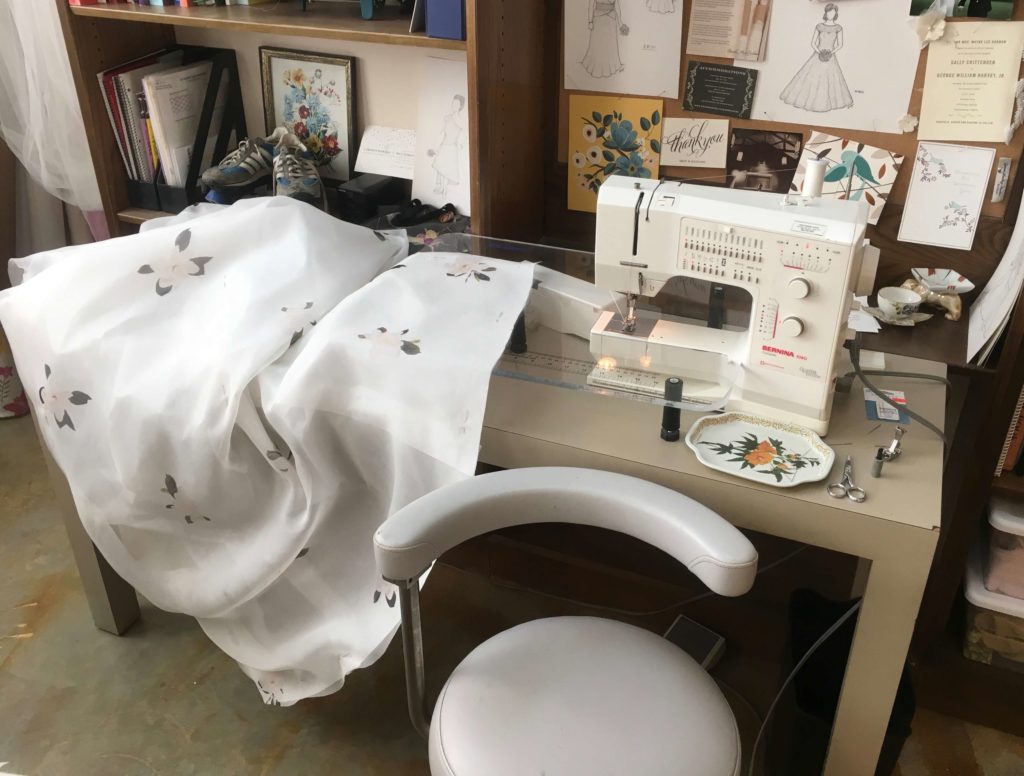
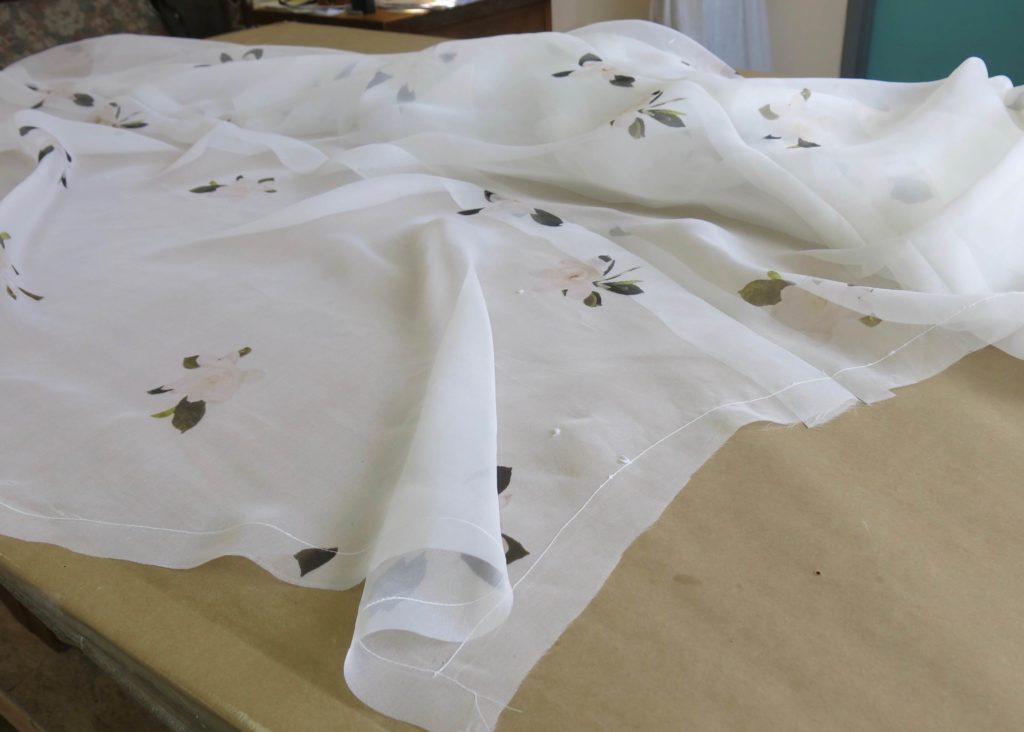
All the pieces of Cameron’s wedding overdress were cut, so it was finally time to start stitching! I started the construction process with the skirt portion, which includes a long train.
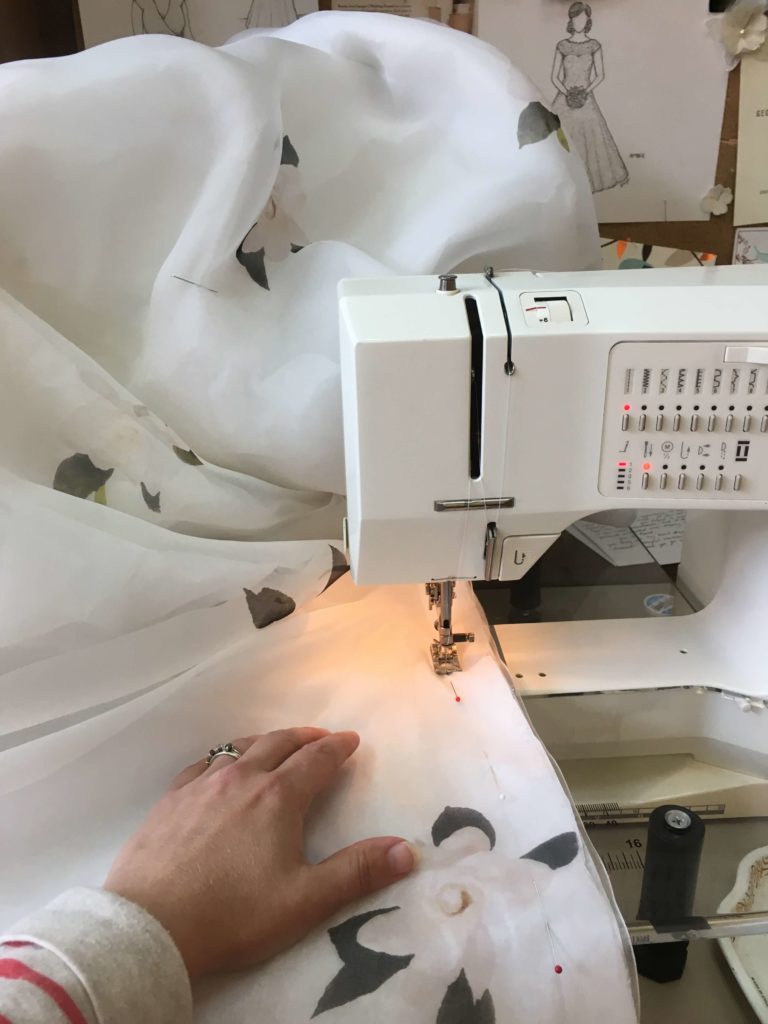
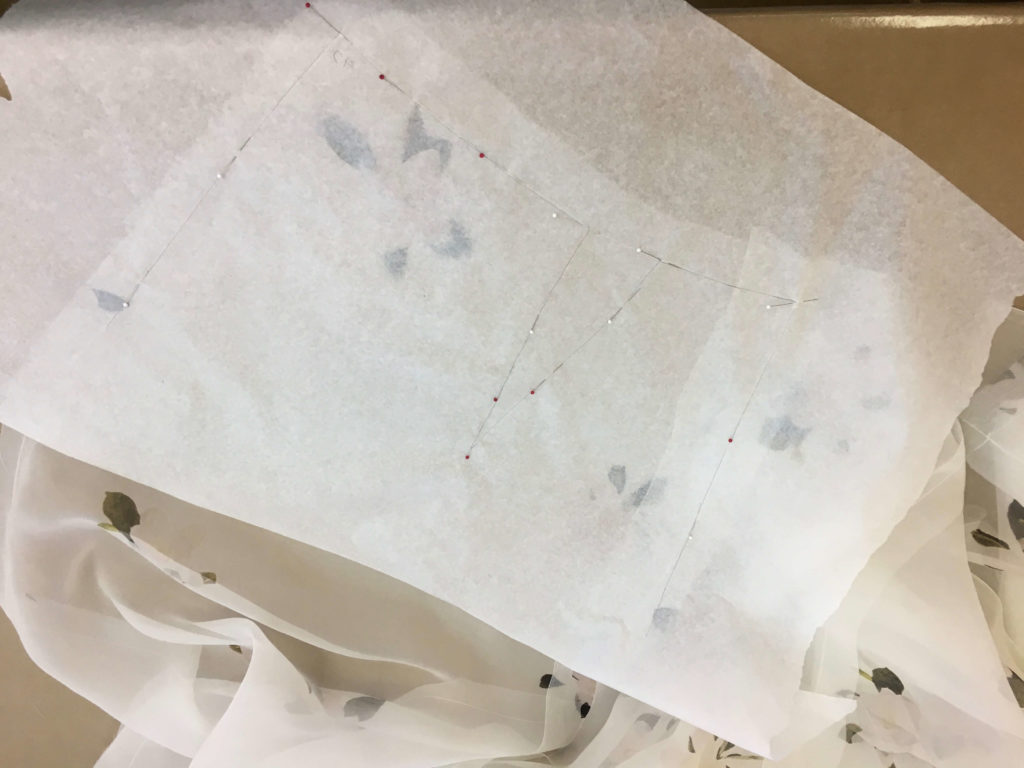
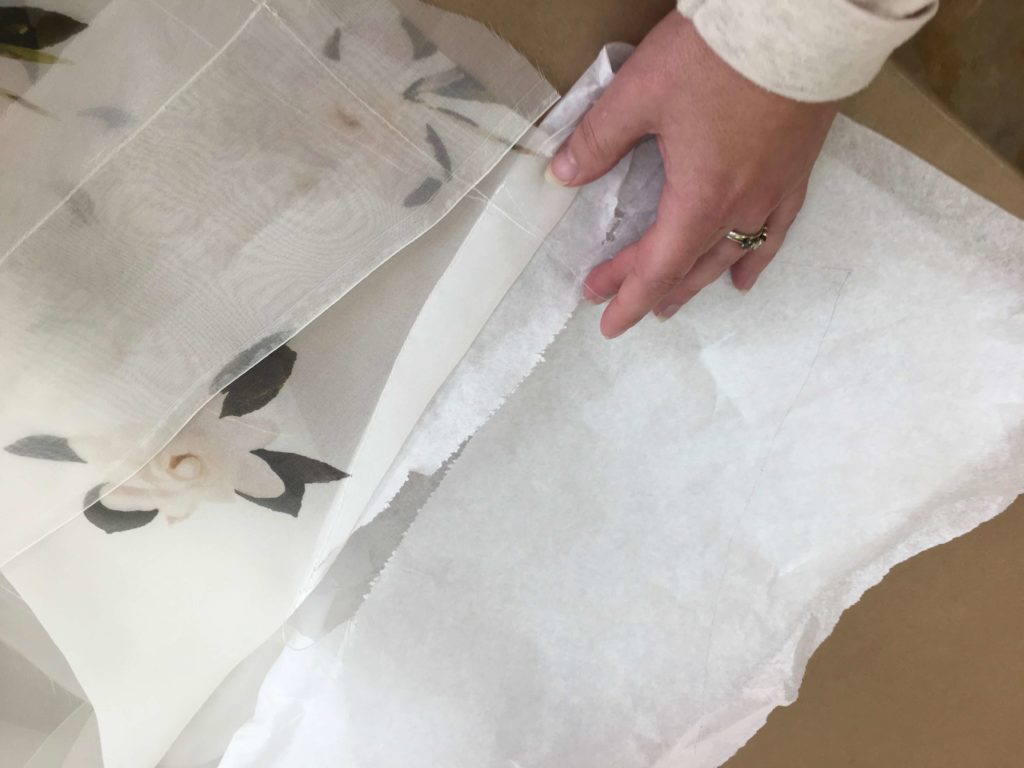
Since the custom printed silk was so beautifully slippery and sheer, I added a tissue paper backing marked with my stitching lines. This would help keep everything stable while cutting, moving, and stitching. Without it, the risks of stretching and distorting the fabric during construction were very high!
Stitching the Skirt
I started by stay stitching along the skirt’s edges, through both the silk and the tissue. Rather than joining two fabric pieces together, a stay stitch is a single-layer line of stitching added simply for stability. Cameron’s custom overdress design features a very full open-front skirt with a very long rounded hem, which will ultimately be finished with satin bias binding. By adding a line of stay stitching where the hem will be, I can discourage the edges from stretching and distorting, both before and during the finishing process (which will happen later).
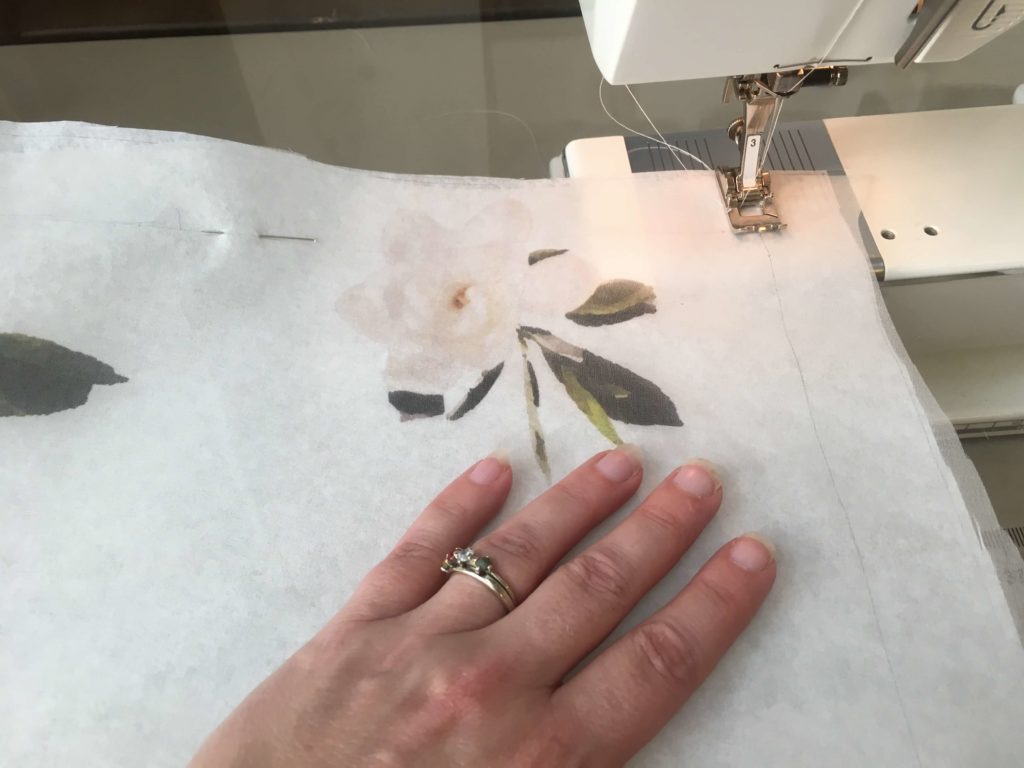
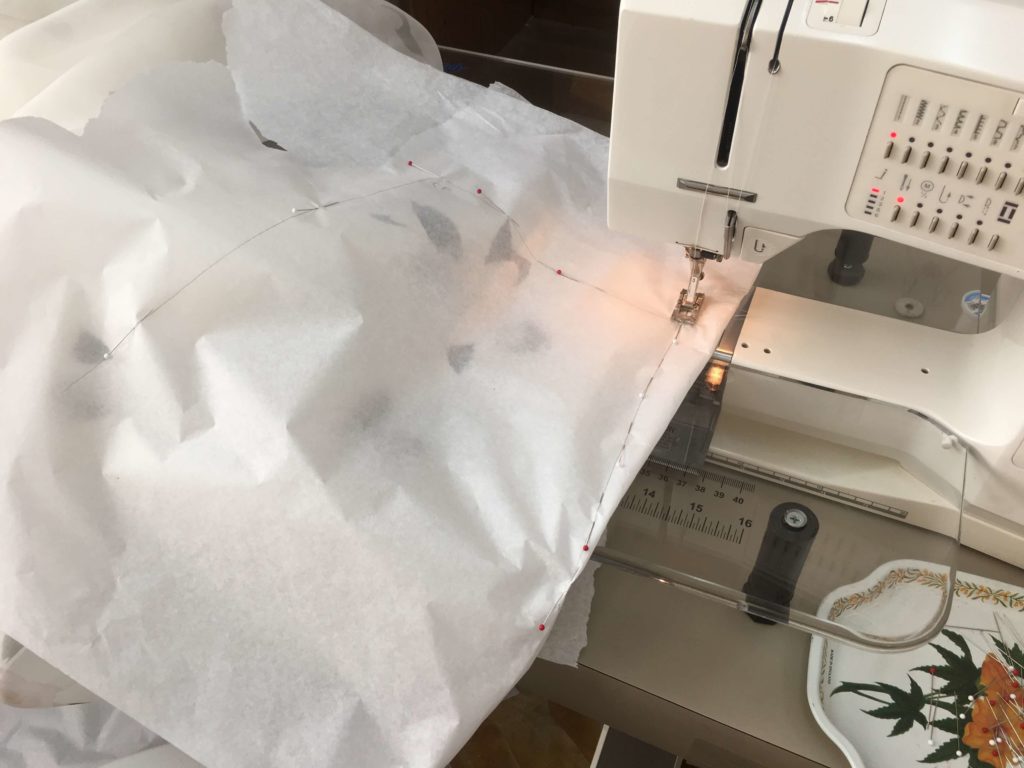
With the edges stabilized, it was time to stitch the seams. Matching up my stitching lines and notches, I pinned through the layers of tissue and silk…
…and positioned it under the sewing machine…
…to sew the yards and yards of seams.
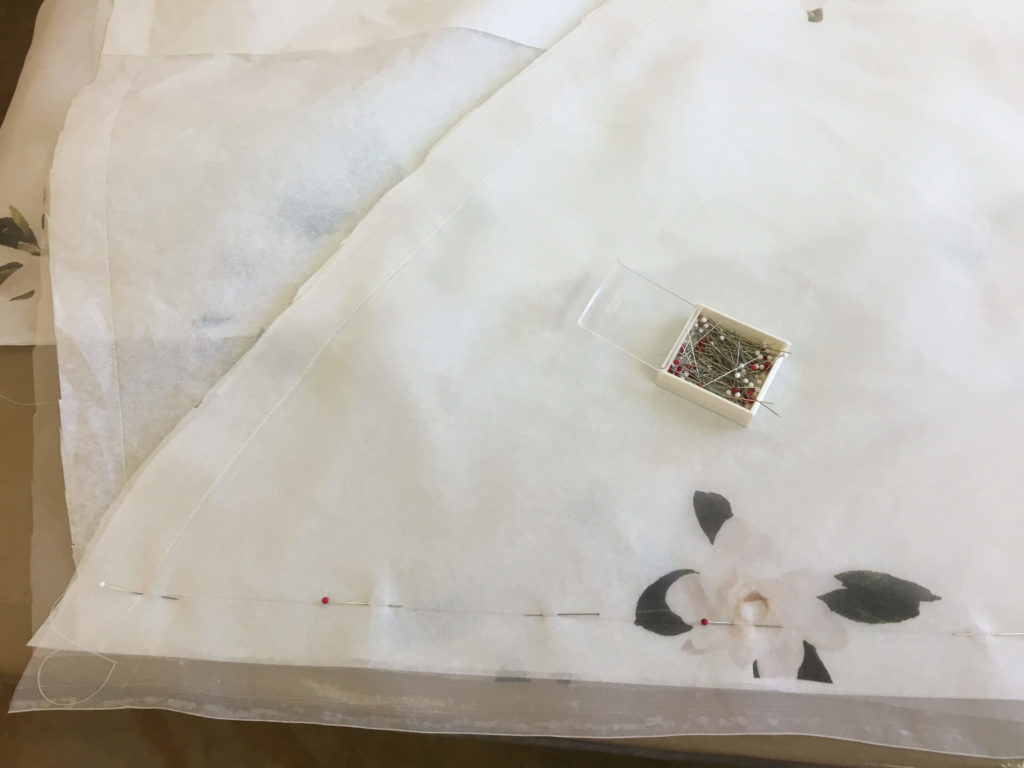
Gigantic piece by gigantic piece,…
…I continued to carefully stitch each paper-backed seam together…

…until all the skirt pieces became one!
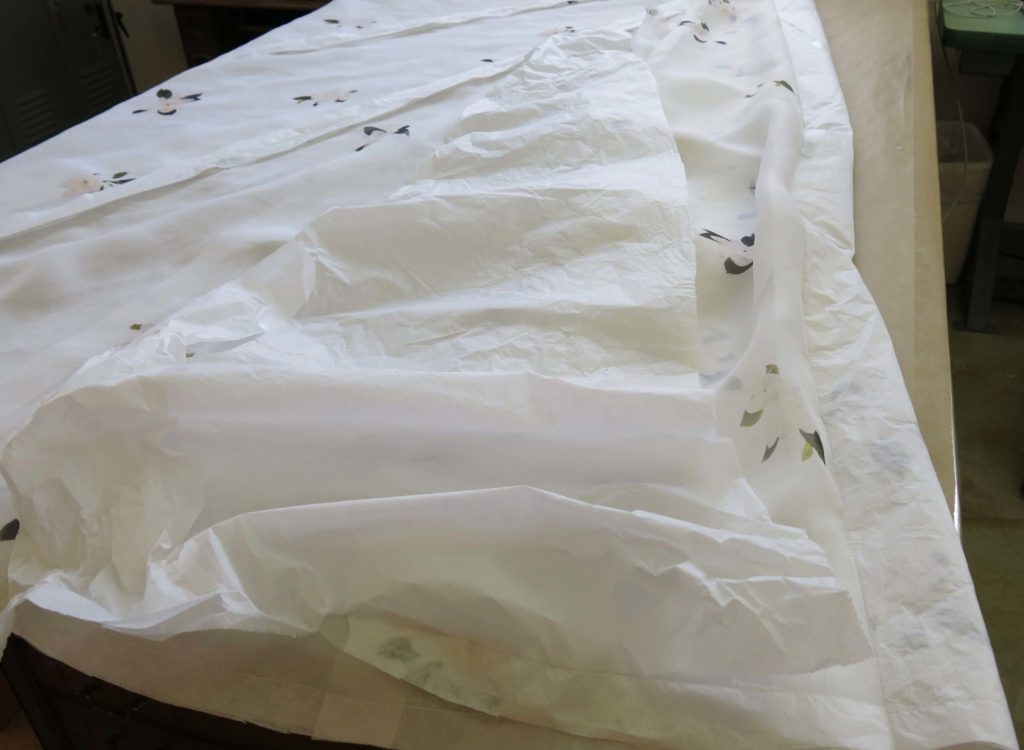
Ironing the Insides
Here you can see Cameron’s entire paper-backed skirt on my ironing table (and also the unstitched paper-backed top pinned over her bustled mockup in the background).

With the paper still in place, I carefully pressed open all the super-long seams.
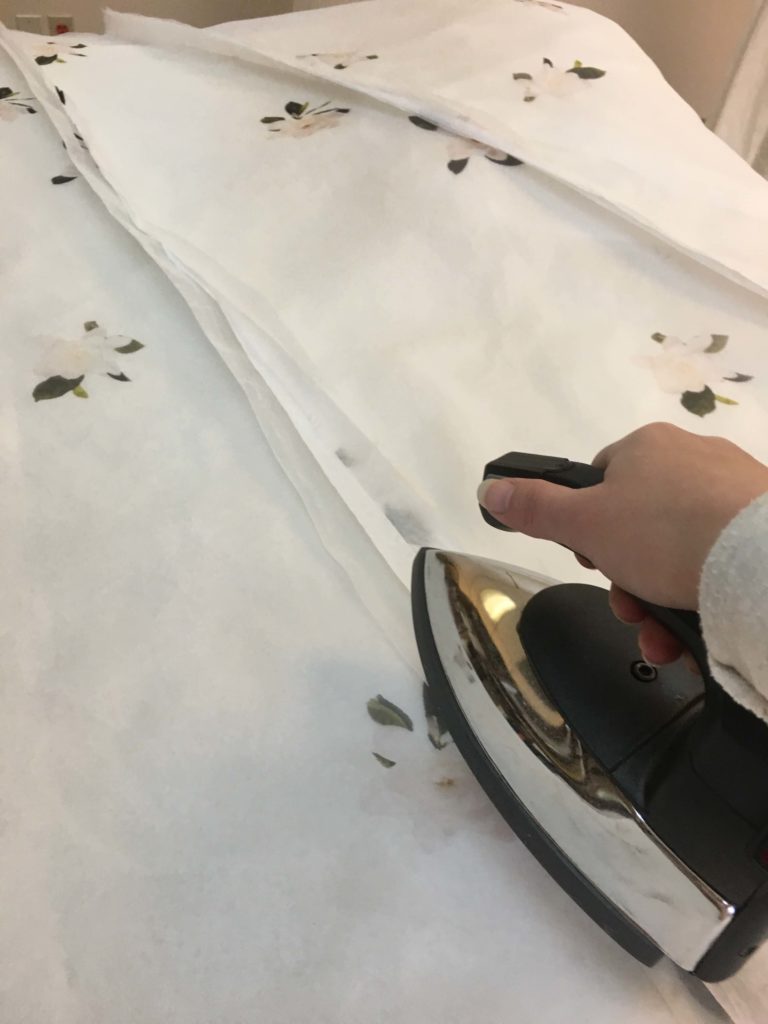
Similar to how I created Mary’s sheer custom overdress, the tissue paper helped immensely during the construction process. I had no stretching or slipping as I handled, cut, stitched, and pressed this otherwise unruly type of fabric.
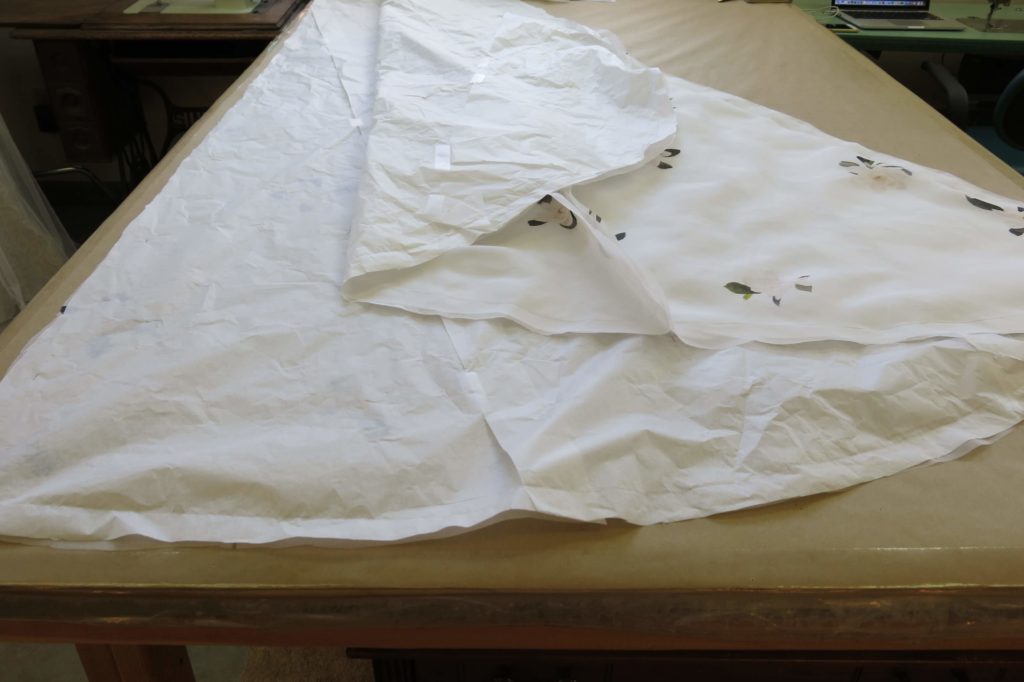
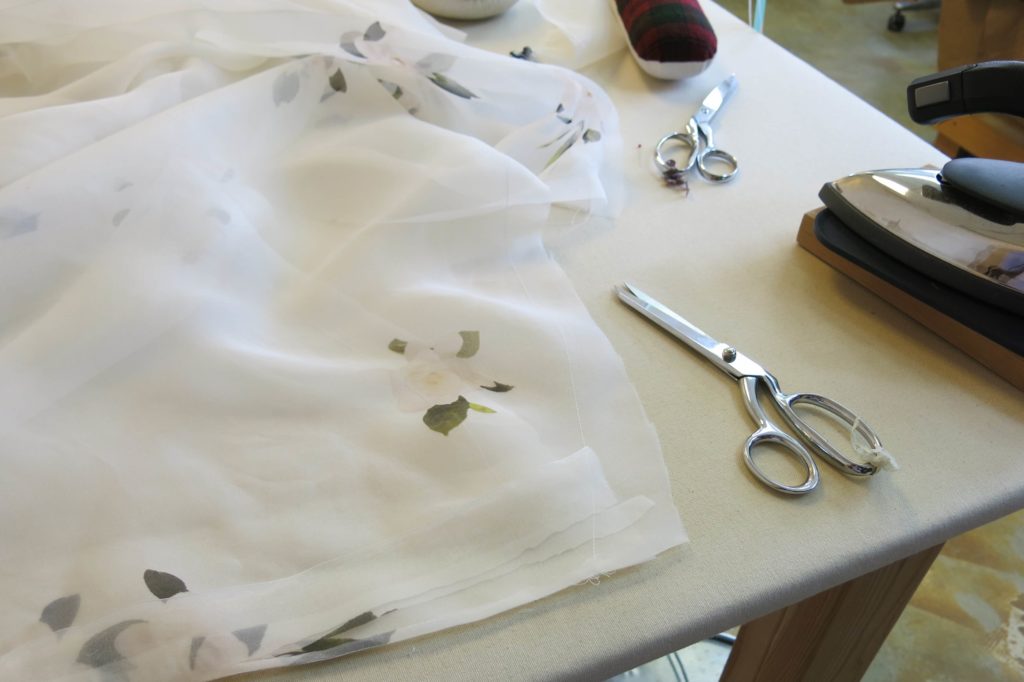
Tearing Away the Tissue
Once I managed to get the stitched and pressed paper-backed skirt onto the cutting table, the tissue’s job was done. Time to start tearing it away!
The machine needle perforates the paper as it stitches, so all I needed to do was gently tug along each line of stay stitching…
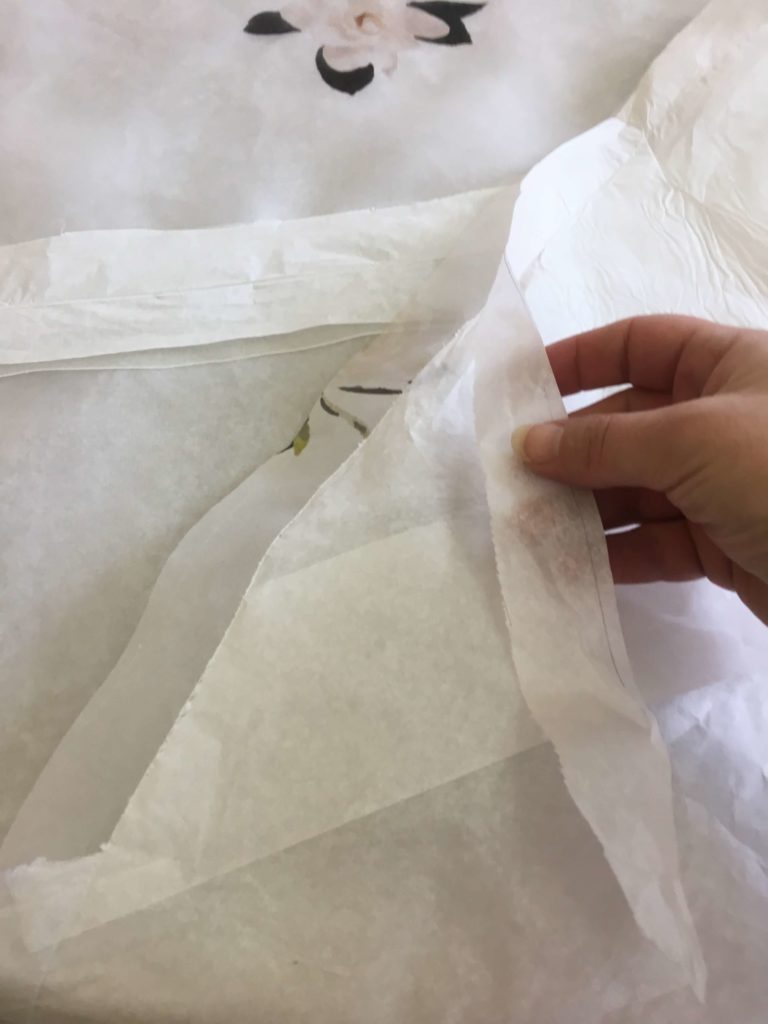
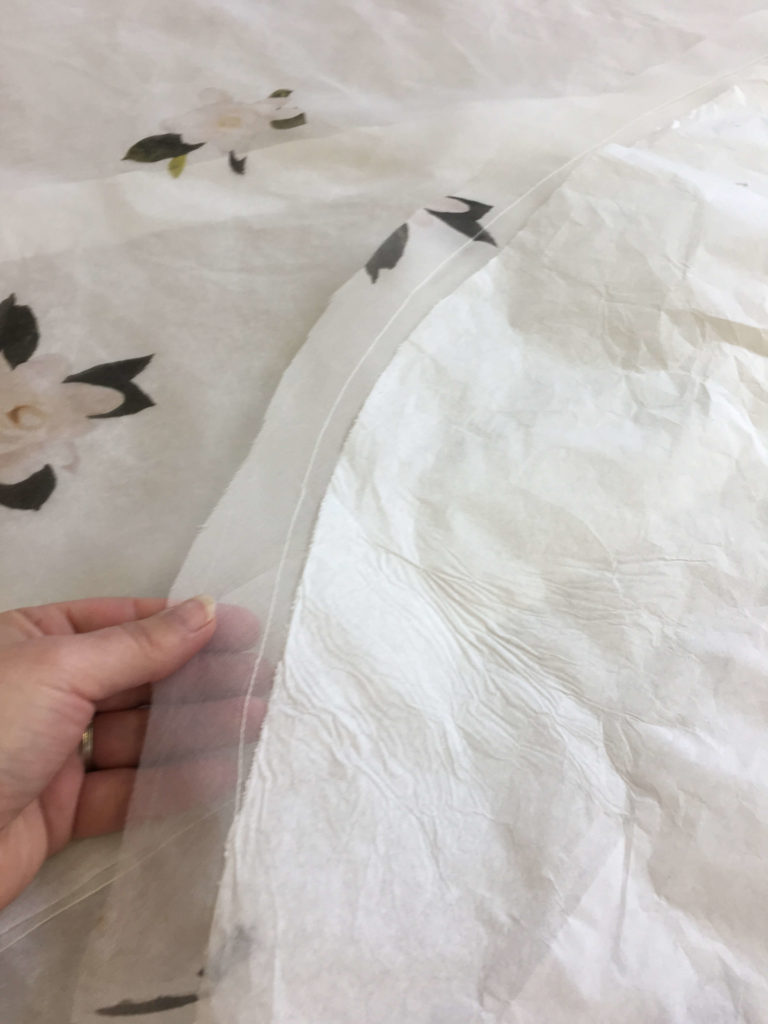
…and along each seam…
…and each seam allowance…
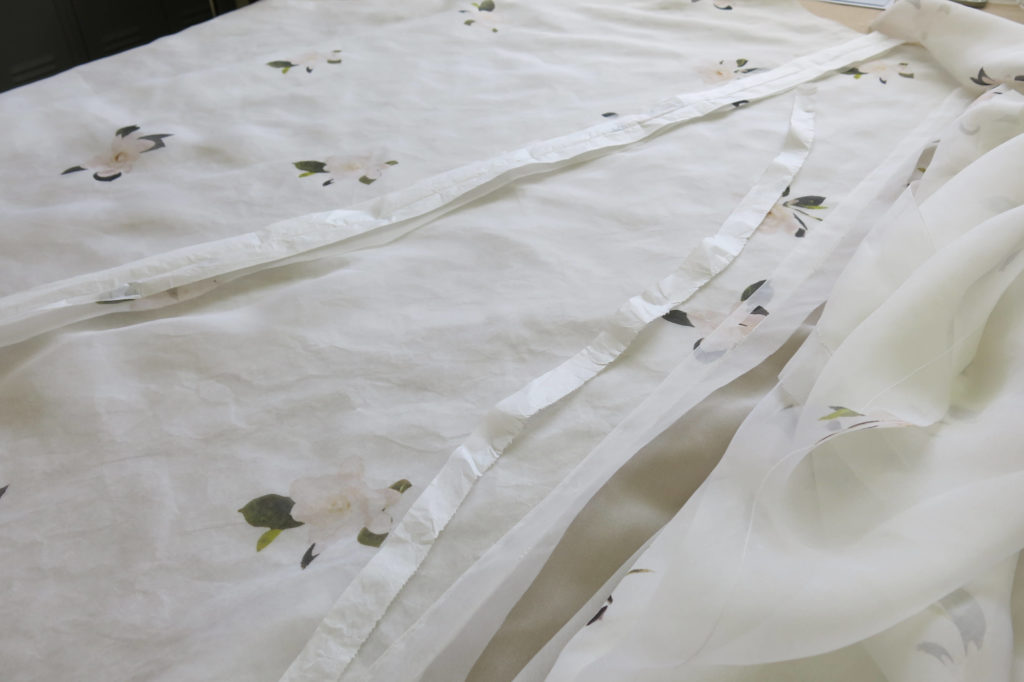
…until the fabric was completely paper-free.
So gorgeous…
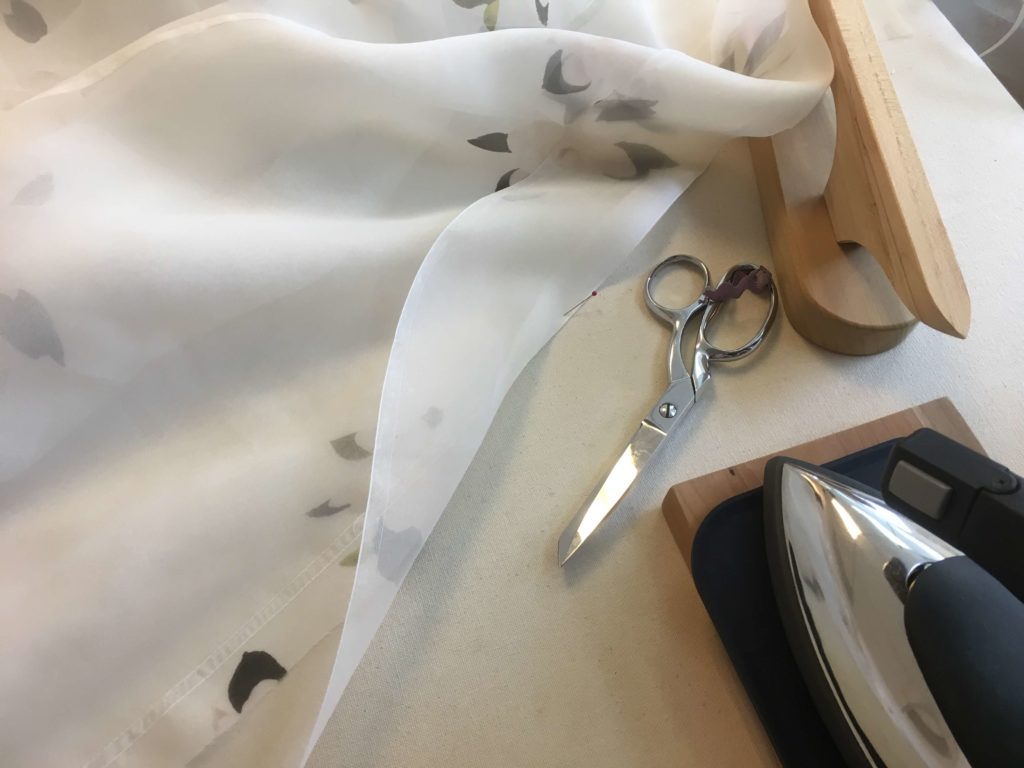
Dealing with the Darts
There were a couple of darts in Cameron’s skirt which presented a puzzle: the way the paper was arranged before would have caught the paper inside the dart’s intake. However, with the original paper layer removed, I came up with a new stitching plan designed just for the darts.
I created a new dart template on a fresh piece of tissue and pinned it in place on the opposite side of the fabric as before…
…so that when I stitched it up…
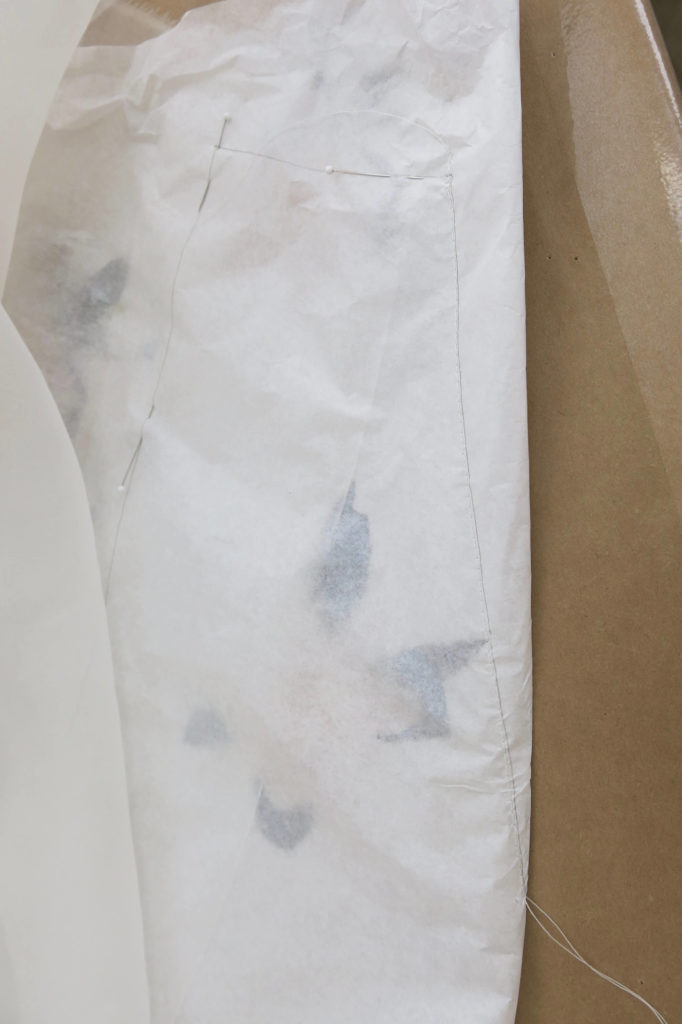
…I could easily pull the paper away…
…creating a beautiful and stable dart.

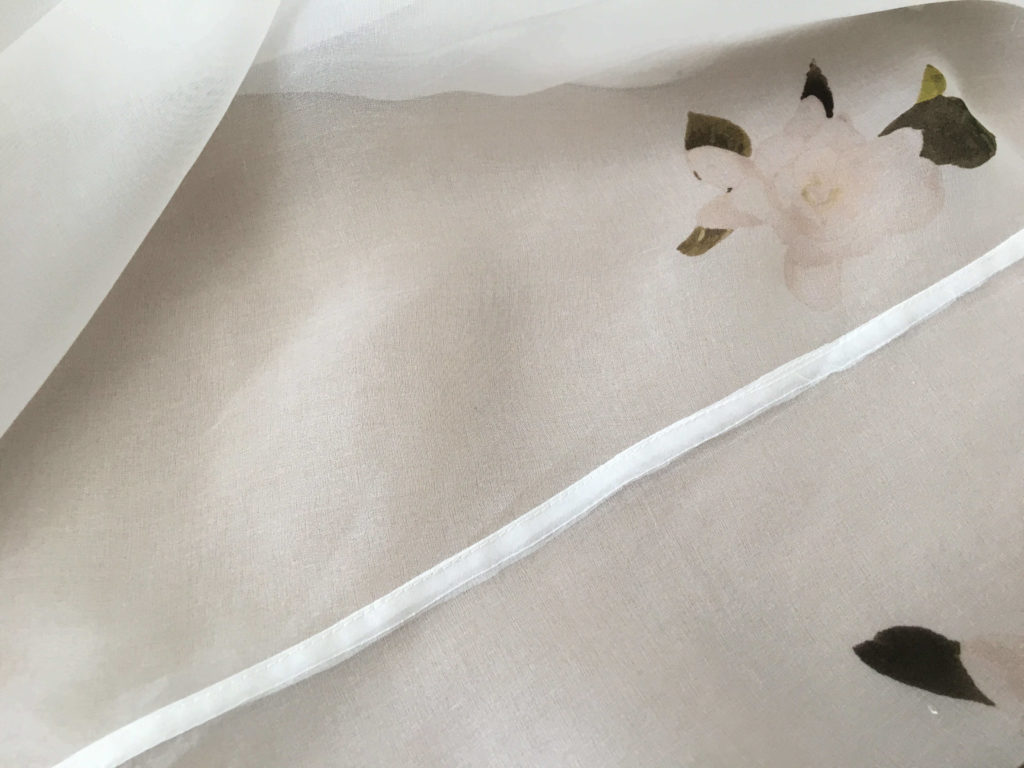
Flat Felled Finishing
After experimenting my way through a variety of seam samples, I decided to finish Cameron’s sheer seams with a 1/4″ flat fell seam. A flat fell completely encloses the raw edges and lays flush with the fabric.
Since it involves crisp folding, I did most of my work at the ironing table.
Prepping, folding, and trimming seams…
…is a lot easier when you pin into your table while using tools like your iron and a wooden clapper.
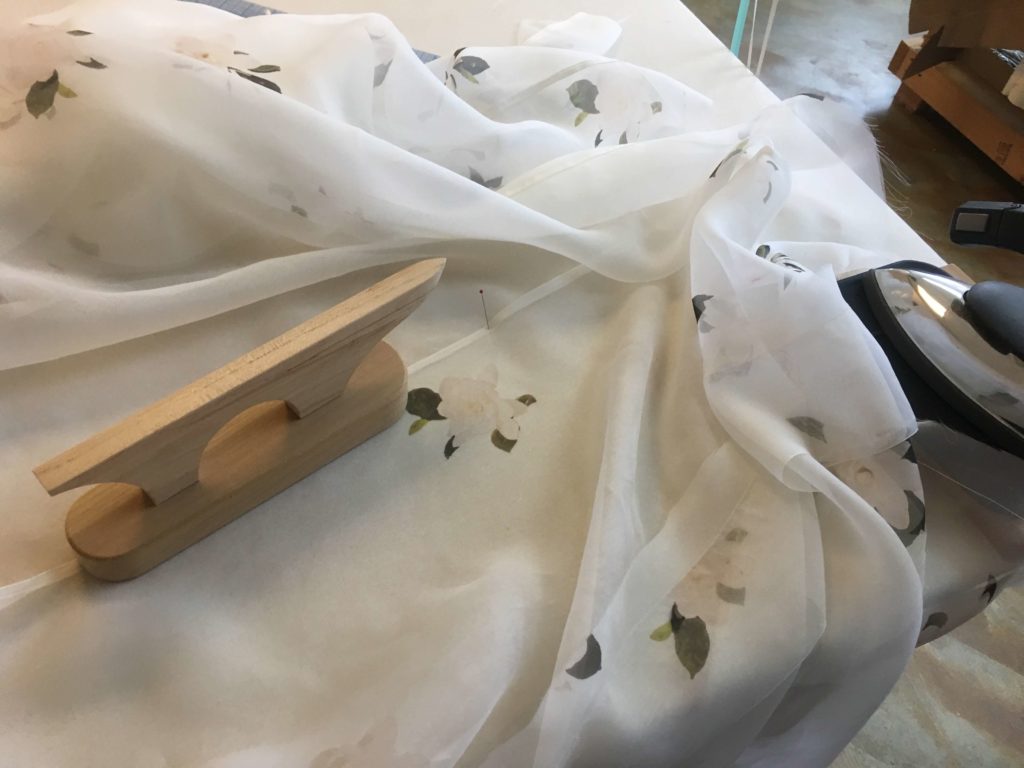
Seams good to me! (ha ha)
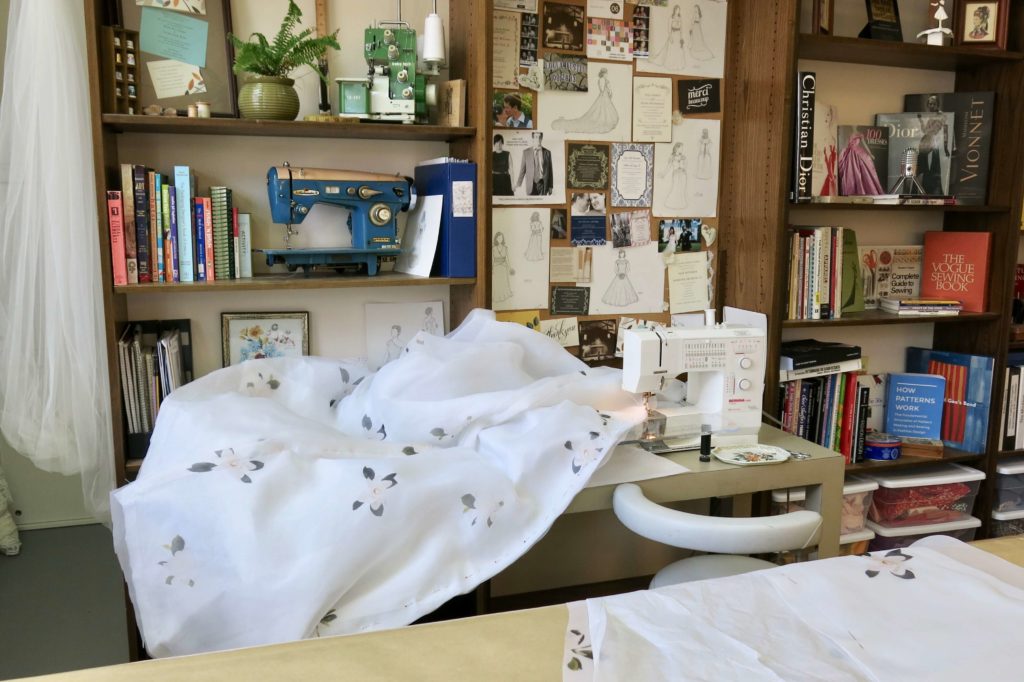
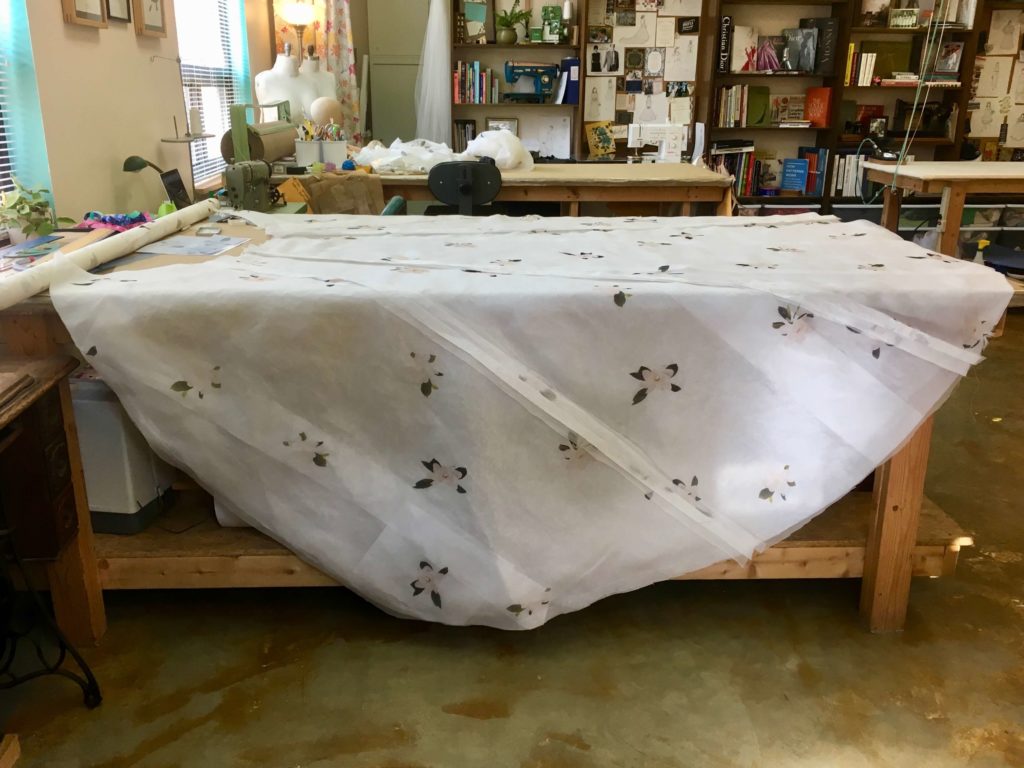
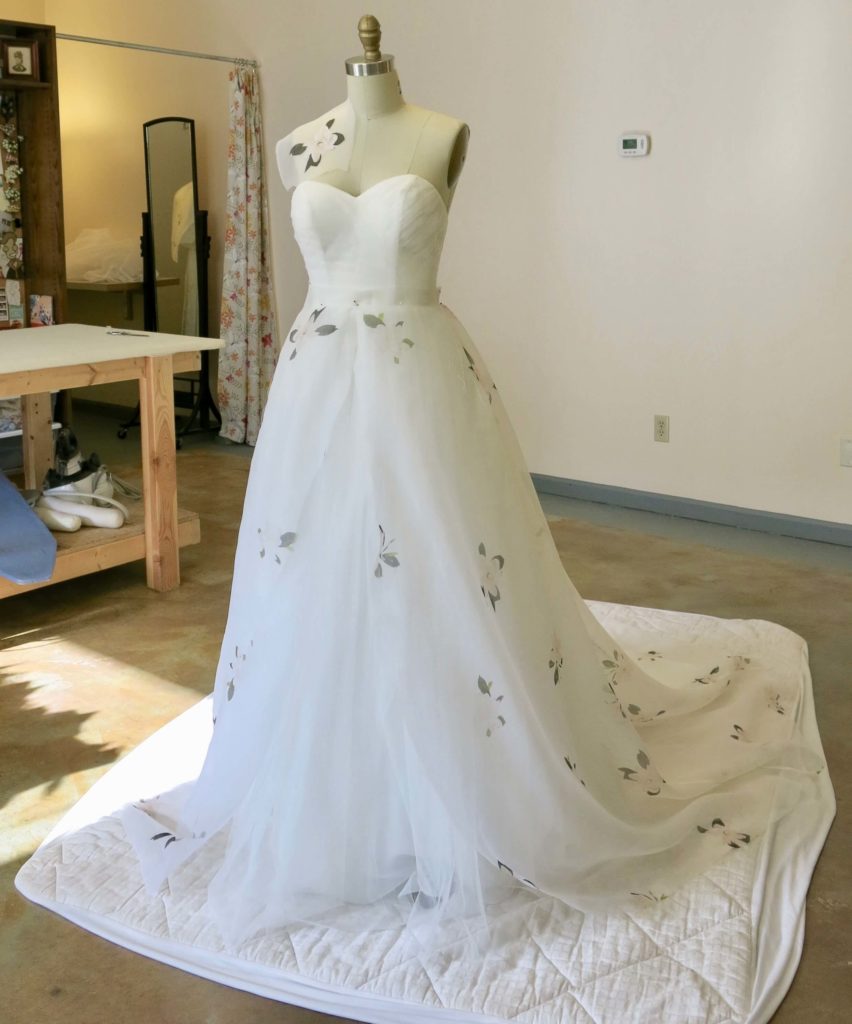
Pretty Pleased
Once the seams were finished, I pinned the sheer floral skirt over Cameron’s underdress (with a sample flower pinned to a shoulder). It was super exciting to finally see the real fabric starting to look like a real dress!
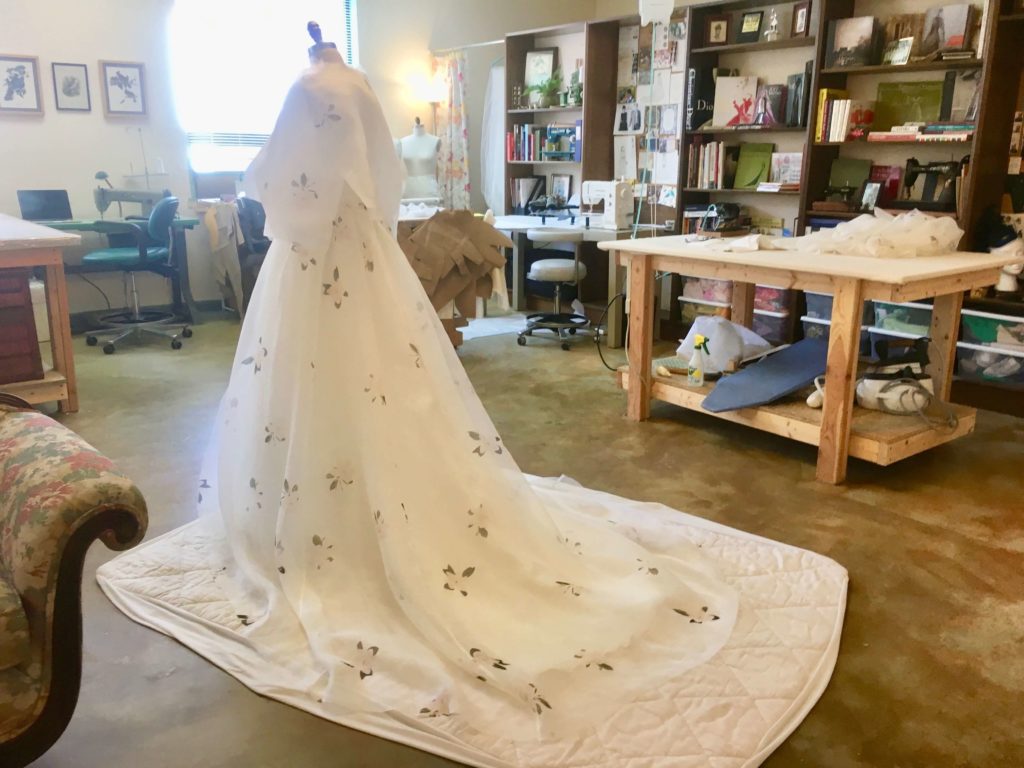
Here’s another view (along with the paper-backed top pieces)…
…and two short samples (one ivory and one white) of the binding that will eventually enclose the edges.
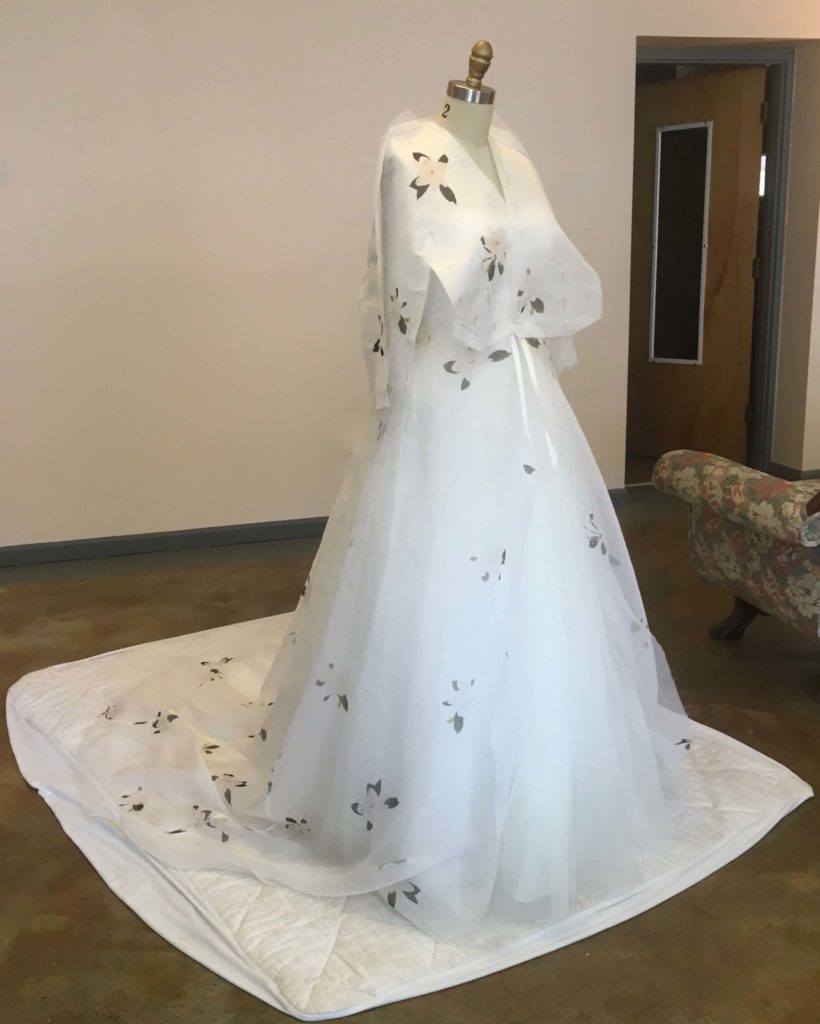
Cameron’s vision was becoming a reality! Constructing the large skirt was a great warm-up for the the more detailed construction to come. I’m glad I had plenty of practice before beginning the top of the dress, with its cut-in-one gusseted sleeves. I love a challenge and I am in love with this dress!
NEXT POST: Tackling the top!


6 Responses
The dress is gorgeous and thanks for sharing the process. It is very helpful to a beginner like me.
Thanks for following along!
This is going to be so beautiful. So enjoying following along. Thanks for sharing.
Thank you!
This dress just keeps getting more gorgeous every step of the way. The construction details are so exquisite. Those flat fell seams are absolute perfection! One question: Did you use a walking foot on your lovely Bernina (I’m still using my beloved 831 that I bought in 1975 with my babysitting money when I was 14) to sew the flat fell seams? I’m guessing that since the tissue paper had been torn away by then that slippage might have been a factor.
Hi Trish! Thanks for following along!
I don’t have a walking foot, but would love to get one someday. I did the skirt’s flat fells by machine with my regular #3 Bernina foot. (I did the flat fells on the bodice by hand, which you’ll see in the next post!) The seams are only 1/4″, so the already-stablized seam was very close by and any slipping would be hardly noticeable and/or cured by a trip to the iron. Great question!