

After I drafted her custom pattern (and went on a little a custom fabric designing trip), I was ready to cut and construct the mockup version of Cameron’s custom wedding overdress!
The overdress would ultimately be a handcrafted from a lightweight sheer silk fabric (with custom printed flowers!) with satin bias edging. For my mockup test version, I used cheaper versions of the same: polyester organza fabric to be edged with cotton bias binding.
Even though I did my rough drape using muslin, it is important that the test dress is as close to the real thing as possible. Custom sewing is all about experimenting, so I want the results of my tests to be as accurate as they can be! I also want my bride to have an easy time imagining the real dress while wearing the experimental one.
Cutting Out Cameron’s Mockup
Using the pattern to mark and cut the fabric is actually one of my favorite tasks!
The skirt part of the overdress includes a lot of fabric and features a long train. My huge 4×8 cutting table (find my tutorial to make your own here) was still too small for the largest piece. I needed to pull out my table extender for the job.
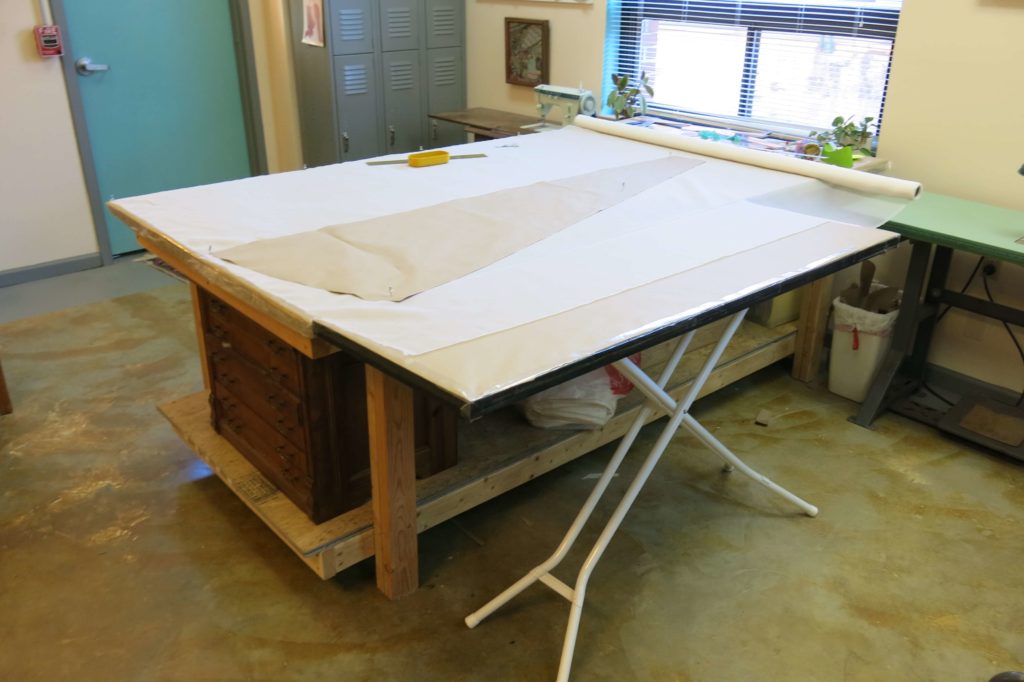
The table extender is something my husband and I dreamed up when I was still working out of our house. At that time, the room I was working in and my cutting table were quite a bit smaller and I needed a portable way to create more space on demand. This clever “table extender” also doubled as an ironing station when I needed to press yardage. Click here to read all about my portable table extender/ironing station and learn how to make your own.
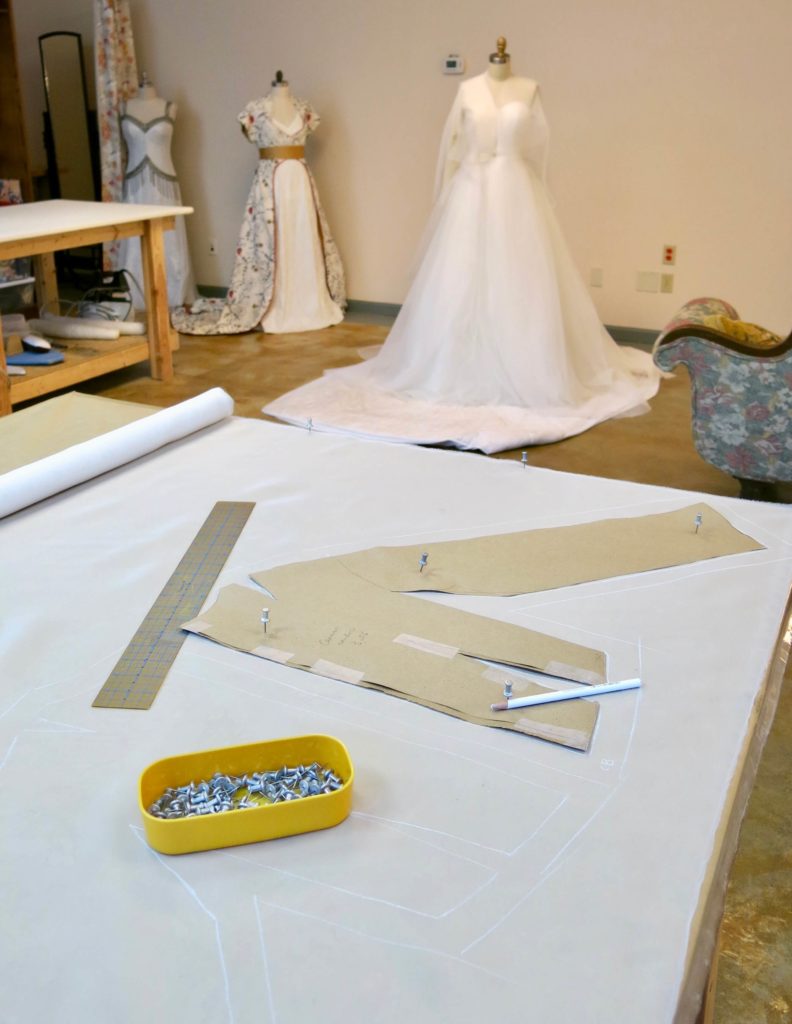
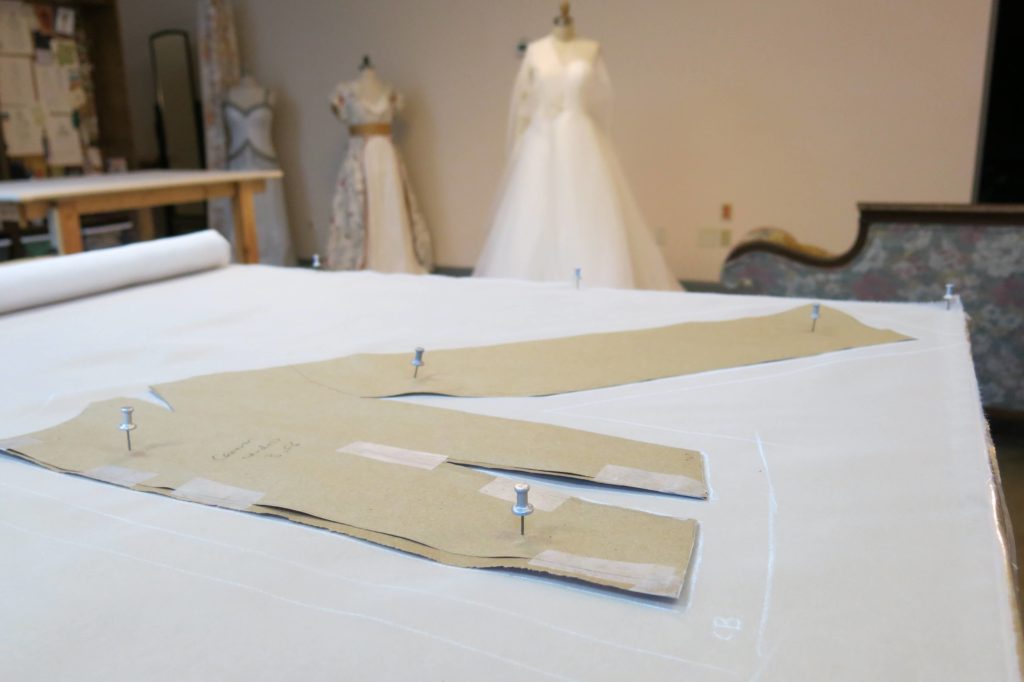
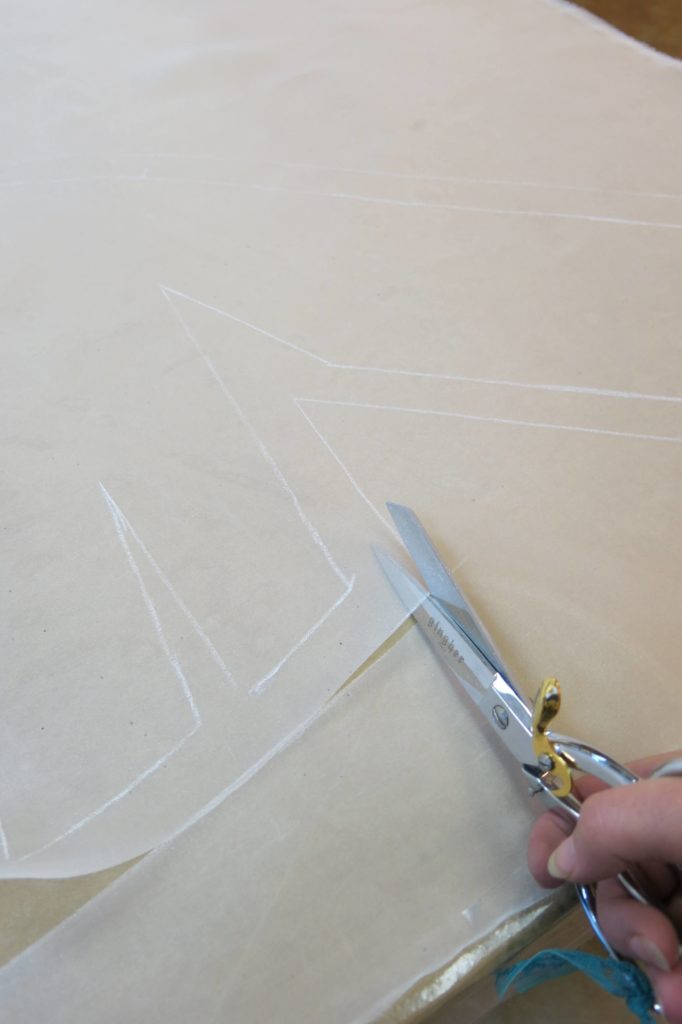
One of the things I love most about my tables are the pinnable tops. I pin the pattern to the table through the fabric which holds it in place as I mark my stitch lines, cut lines, and any other info I might need during construction.
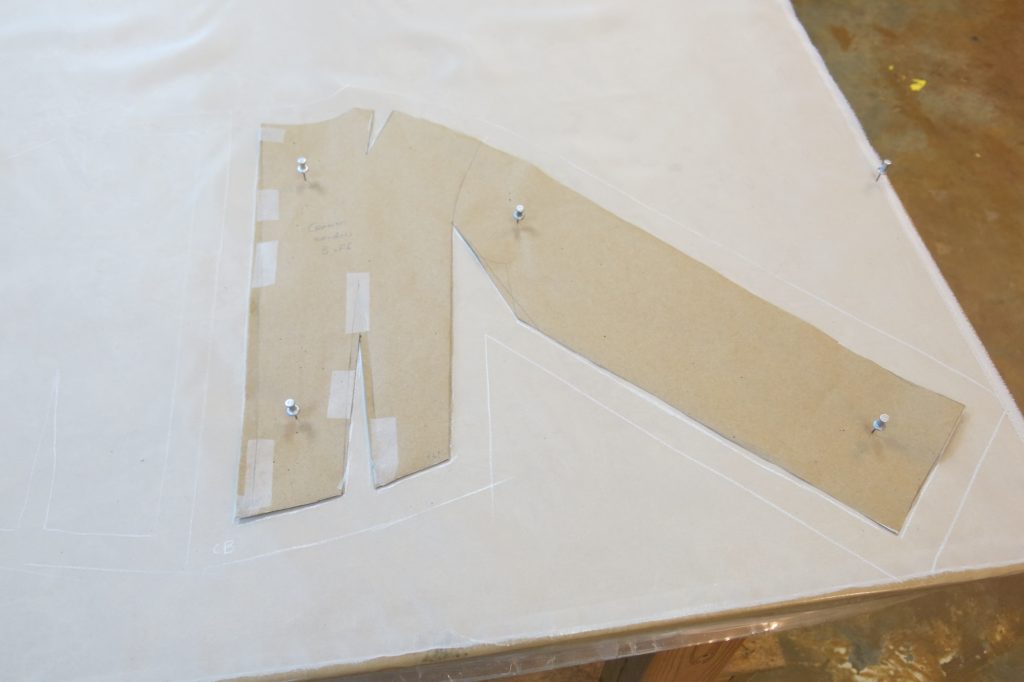
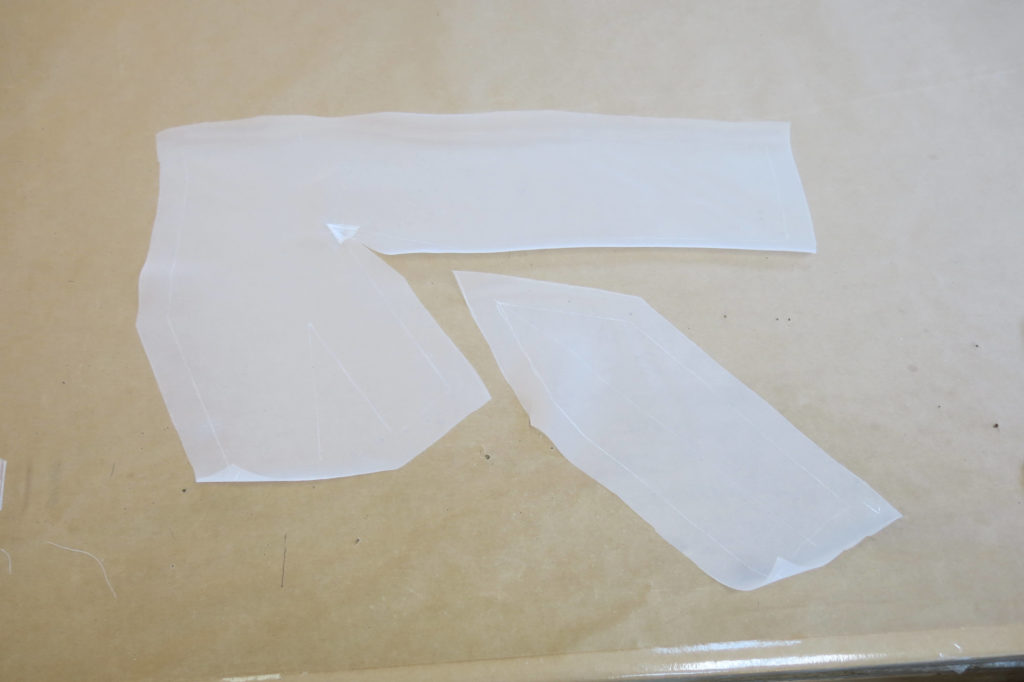
Since the fabric is sheer, these lines will be seen from both sides. To avoid confusion, I made sure to add marks that let me know which side was which. Labeling my pieces in the seam allowances with CB (center back), CF (center front), SS (side seam), etc., would allow me to see if my writing was backwards or forwards to determine whether I was looking at the right or wrong side.
I used my fancy ergonomic spring loaded scissors (affiliate link) for all the cutting.
Constructing Cameron’s Skirt
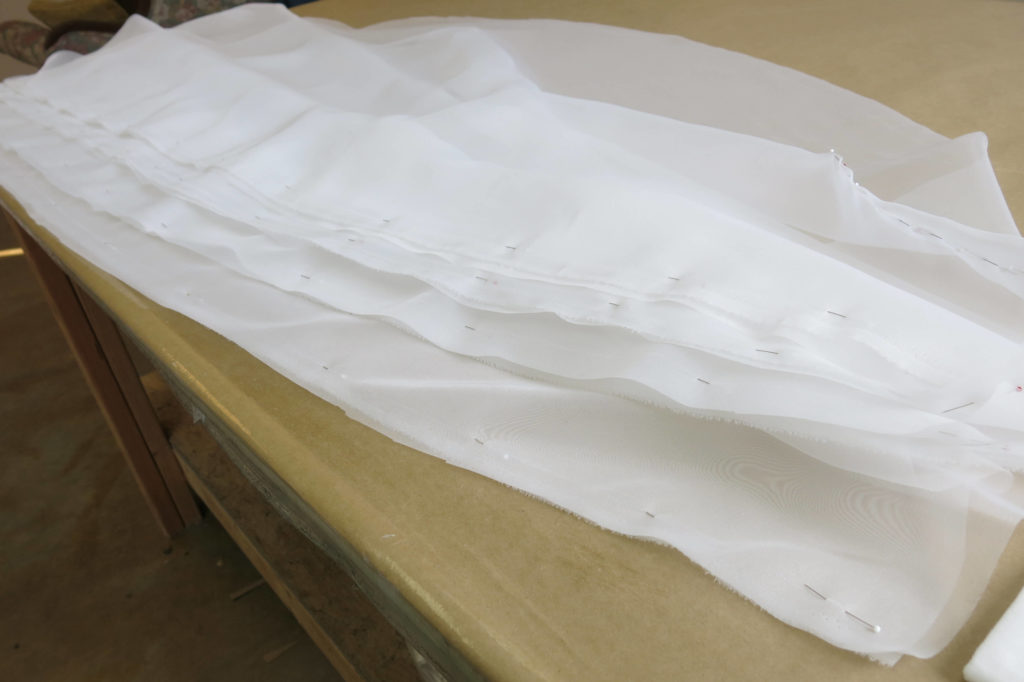
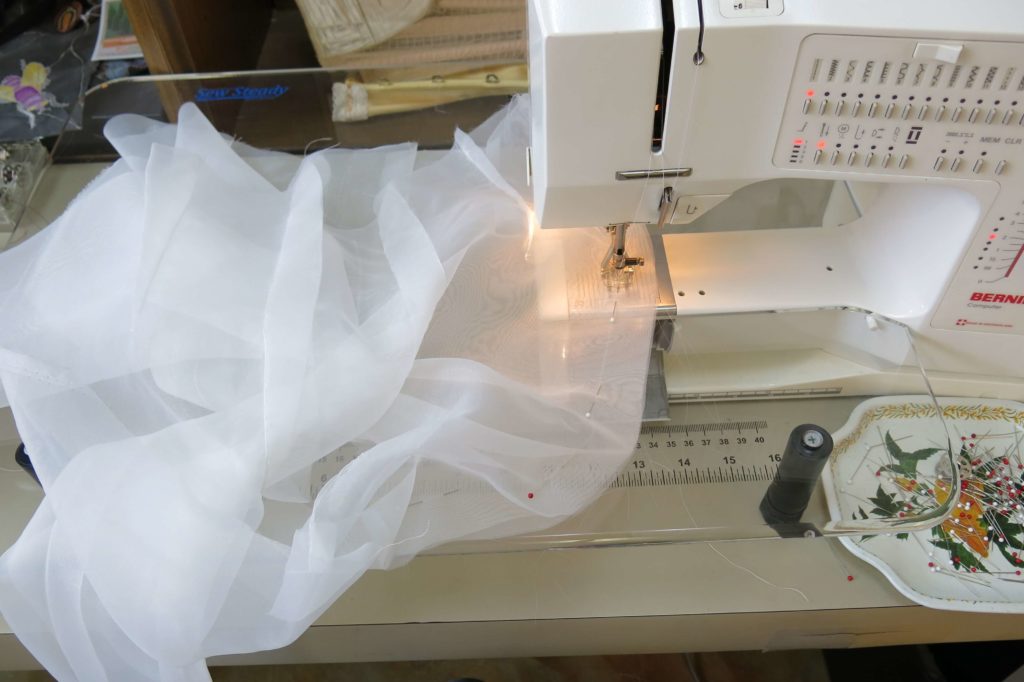
As I mentioned before, these skirt pieces are big! Pinning and sewing can get unruly…
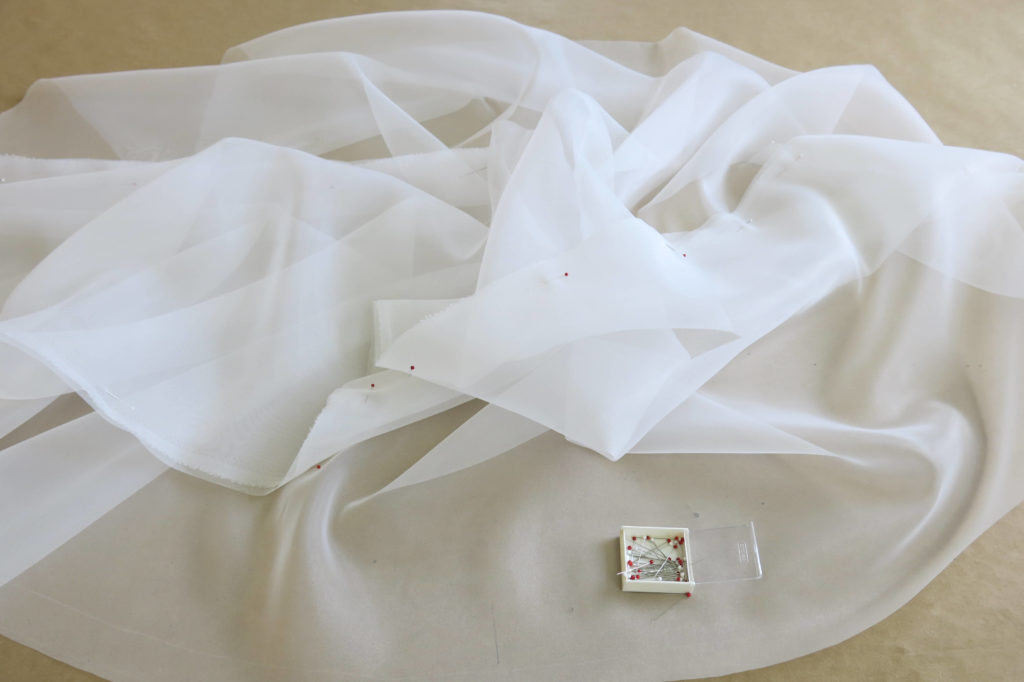
…but I was quickly able to orient all the pieces and get all the seams pinned and ready for the sewing machine.
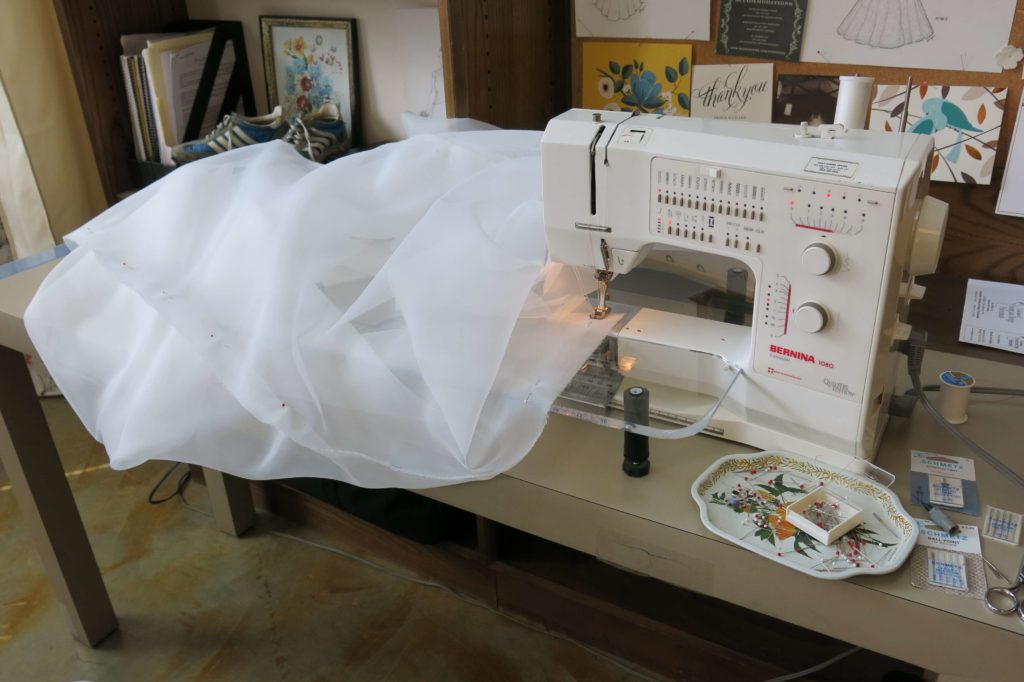
Another favorite “table extender” in my studio is the one on my sewing machine. It is perfect for keeping my large projects supported while stitching. I share more about my sewing machine table and other favorite sewing room upgrades in this article I wrote for Seamwork Magazine.
Once the skirt was all stitched and pressed, I pinned it to the dress form while I worked on the top.
Constructing Cameron’s Top
As you may remember from the pattern, Cameron’s dress will have long sleeves that are cut-in-one with the bodice using a “gusset” rather than an armhole seam. If you thought the patternmaking process seemed tricky, the construction might be even trickier!
This series of photos isn’t meant to be a tutorial (I just took shots I thought looked interesting while I was making the dress for Cameron), but I hope it sheds a little light on how these pieces go together.
First, you’ll notice that I added a little triangle of fusible interfacing right where the bodice becomes the sleeve. I also did some teeny tiny rows of stay stitching very close to the stitch lines. These extra steps are to strengthen the area as much as possible, since it must be clipped all the way up to the seam. Without this close clip, Cameron would not be able to move her arms while wearing the dress!
The clipped area is then opened up and the pointy little side piece (underarm+gusset) is pinned in place…
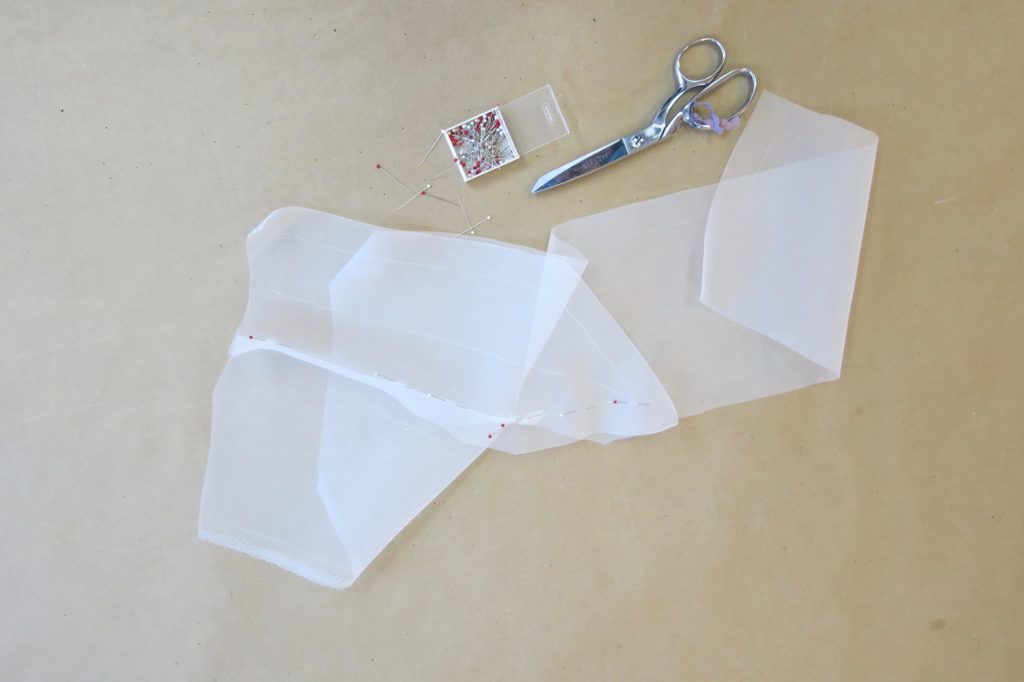
…and stitched very carefully!
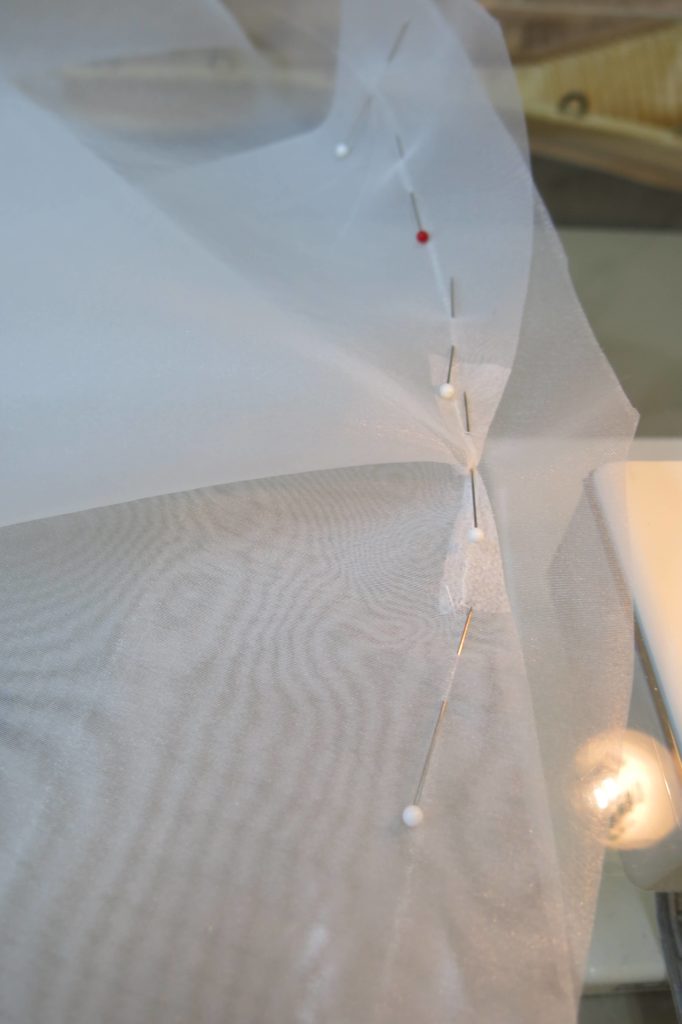
With the front and side joined, the back is added in the same way to the same side piece.
Pressing as I go, the underarm is joined and the darts are stitched. The last seam of this puzzle is the one along the top of the arm.

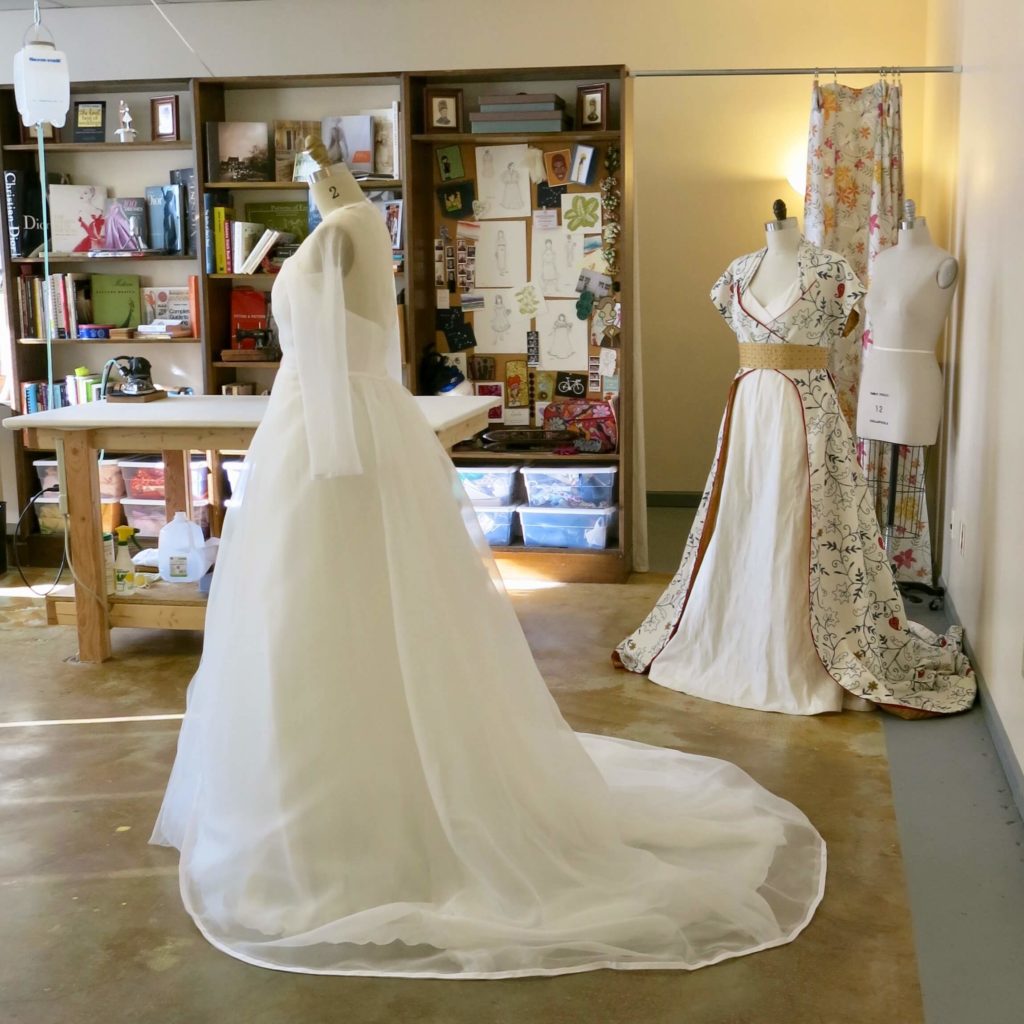
After one half was stitched up, I pinned it to the underdress on the dress form with the mockup skirt (which is practically invisible!) and the original rough drape in muslin.

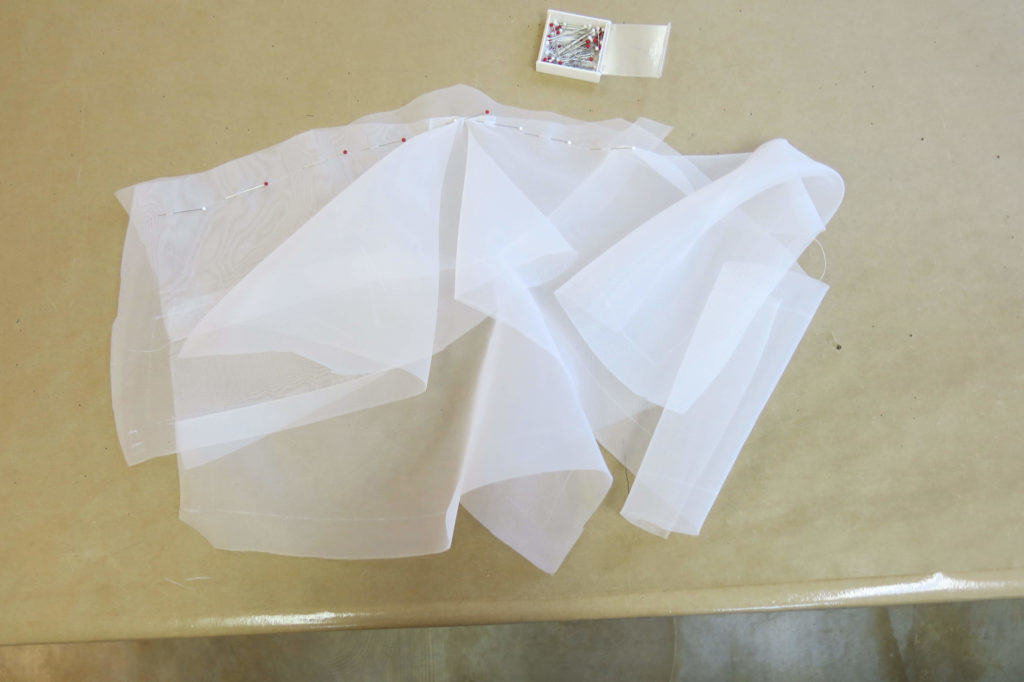
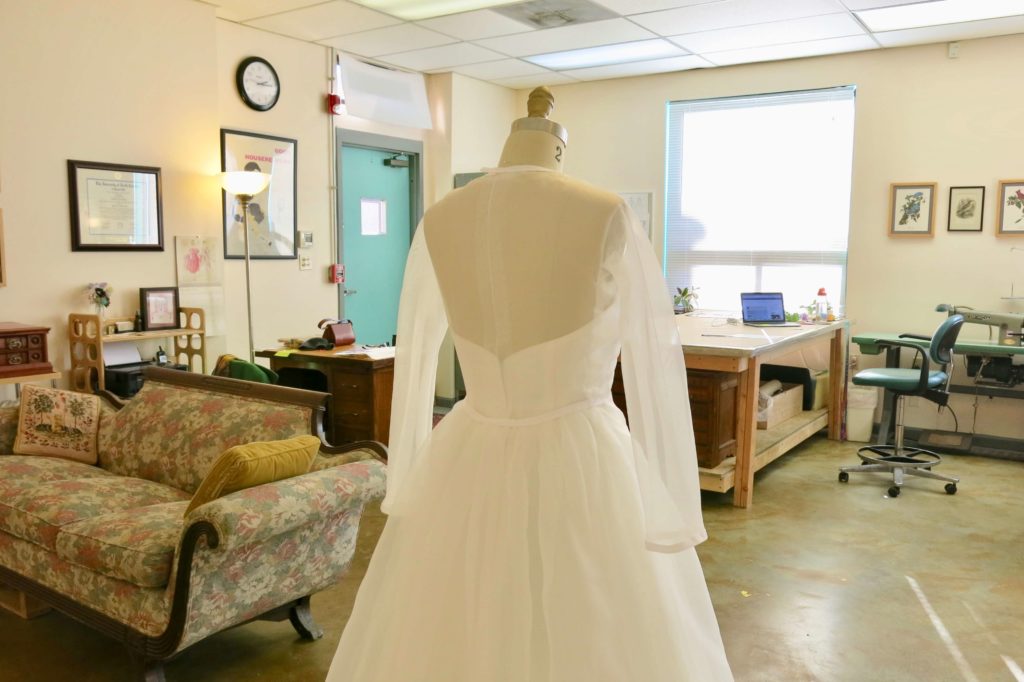
On her wedding day, Cameron’s overdress would have a single piece of fabric as the back bodice and sleeves. For the mockup, I added a seam down the center of the back to give us more places to make adjustments in our mockup fitting.
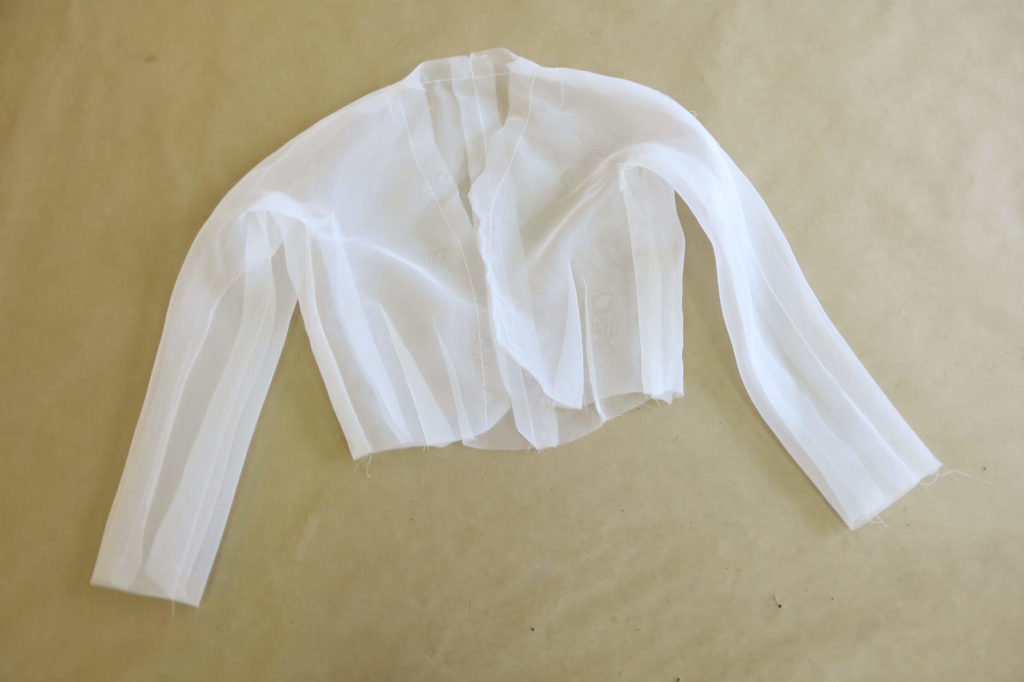
A ghost shirt emerges! All the top pieces were finally joined to each other and the bodice was ready to be joined to the skirt for edge finishing and closures.
Mockup Fitting-Ready
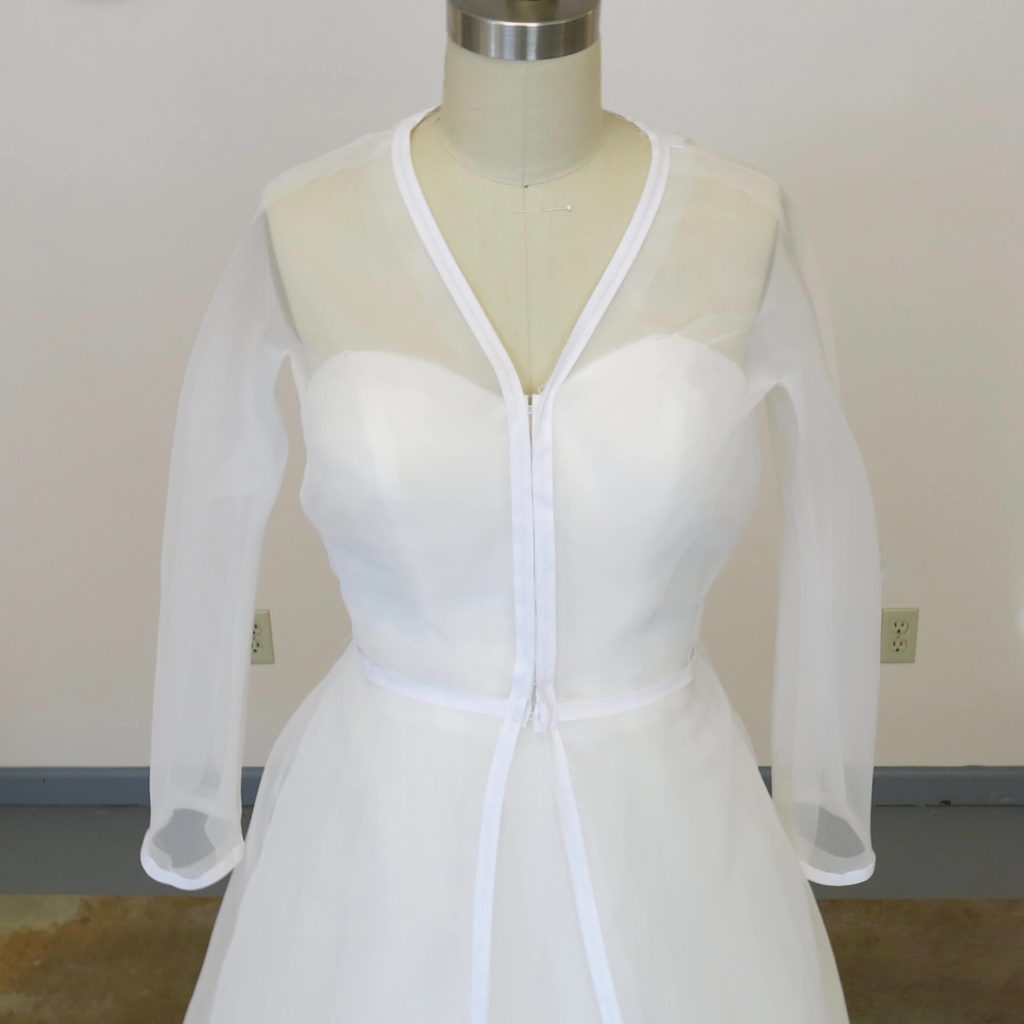
Here’s the mockup dress ready for the mockup fitting!
Isn’t it stunning even as a test dress with plain fabric?
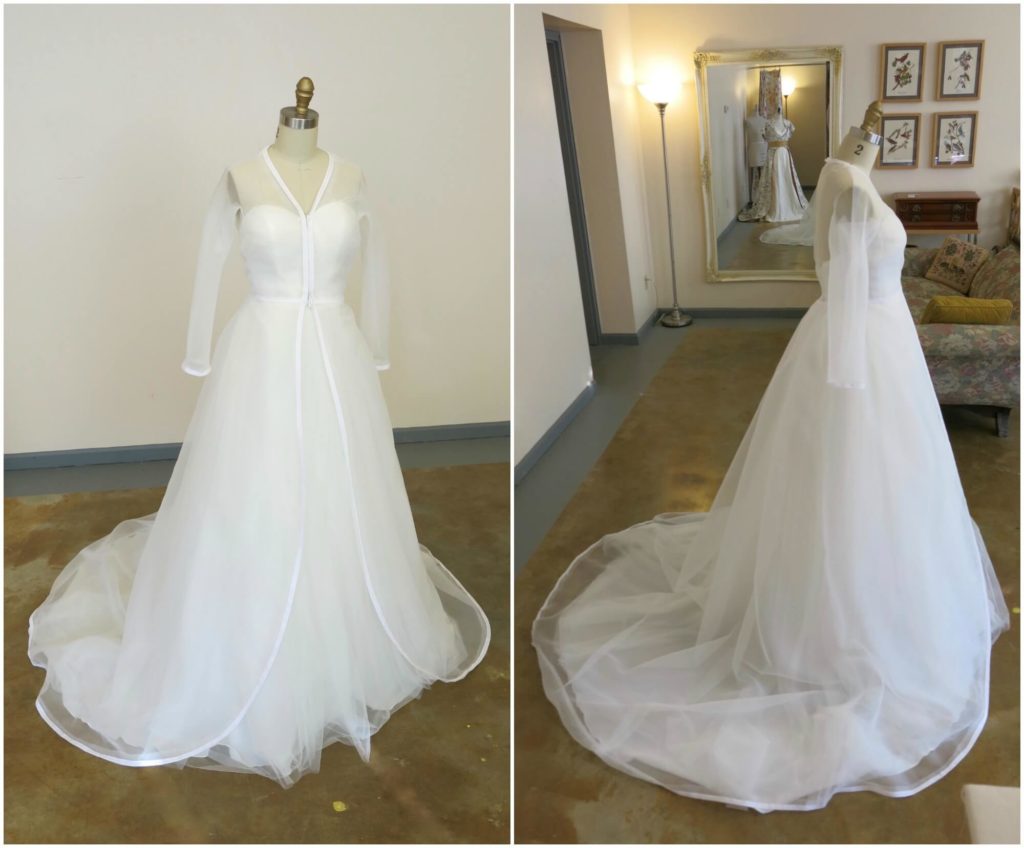
I hand basted hook and eye tape in place as the front closure and cotton bias tape as the edge finish.
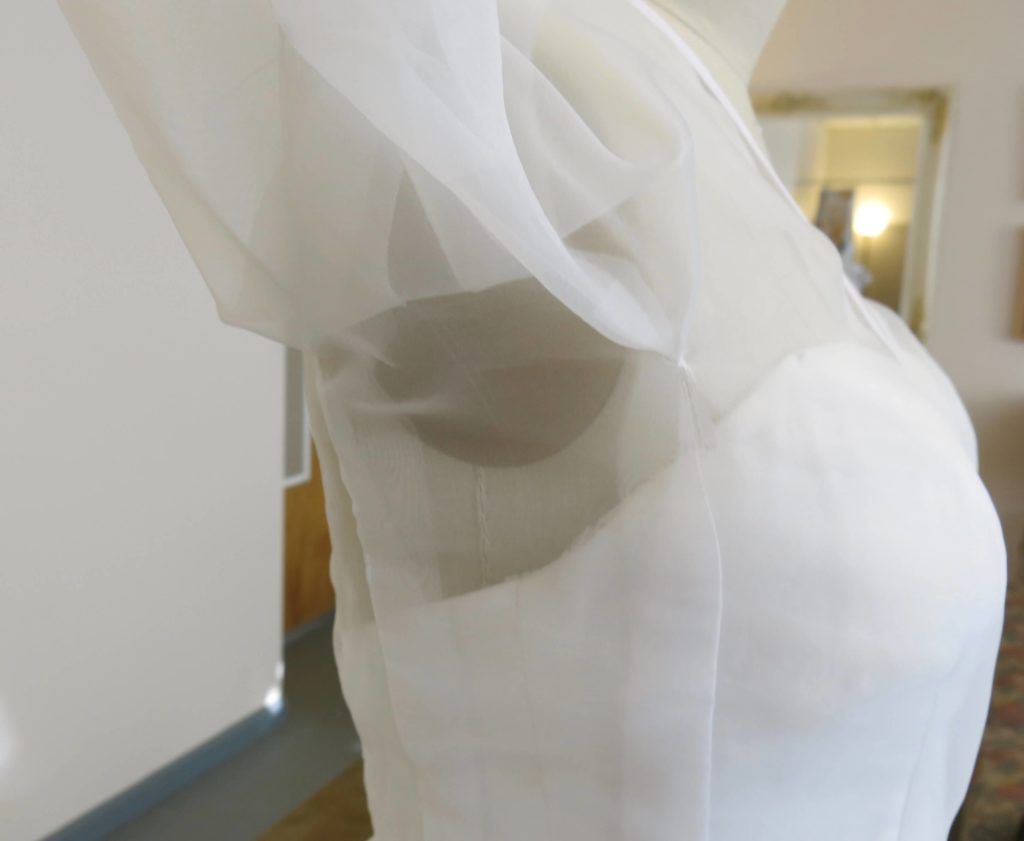
And here’s a pic showing off the arm movement created by the cut-in-one gusset sleeve pattern!
I couldn’t wait to see how this first draft worked on Cameron! She’d be in the studio soon for her mockup fitting where we’d cut, pin, and draw all over this beauty…
Though working with polyester is never something I enjoy, it was super fun making Cameron’s sketch and pattern a reality in 3D. I love the mockup process!
NEXT POST: Cameron’s mockup fitting!


4 Responses
This looks amazing already, and I love seeing the sleeve construction. But did you really say you hand-basted all that cotton bias tape????
Just a quick temporary baste on this temporary garment! Since I’ve got a huge cutting/sewing table, I often find it just as quick (and certainly more accurate and more adjustable) to baste by hand then by machine. Maneuvering all those yards of fabric onto a small table then under a tiny presser foot is less enjoyable to me (and more destructive to the fabric) than just spreading it all out on my large table and whipping it on with huge diagonal hand basting stitches. (That said, I almost always prefer hand sewing to machine sewing!) Thanks for following along!
I recently attended a 70 years of Dior exhibition and was interested to see how many of the earlier pieces used this technique. I even came across some vintage patterns that used this technique, so I’ve bought them to study :)
So jealous! I’d love to see a Dior exhibit. I also love cut in one sleeves and am happy to hear you’ve taken an interest in them too.