

The very first fitting is always a fun part of the custom process. The dress the bride tries on in a first fitting is not the real dress- it is a mockup version. This means that you can play around with changes in a completely no-risk way! The custom design was created from scratch and the custom pattern was created from scratch so I love that the mockup process eliminates any pressure for prior perfection. The goal of the mockup fitting is to experiment with improvements and to play!
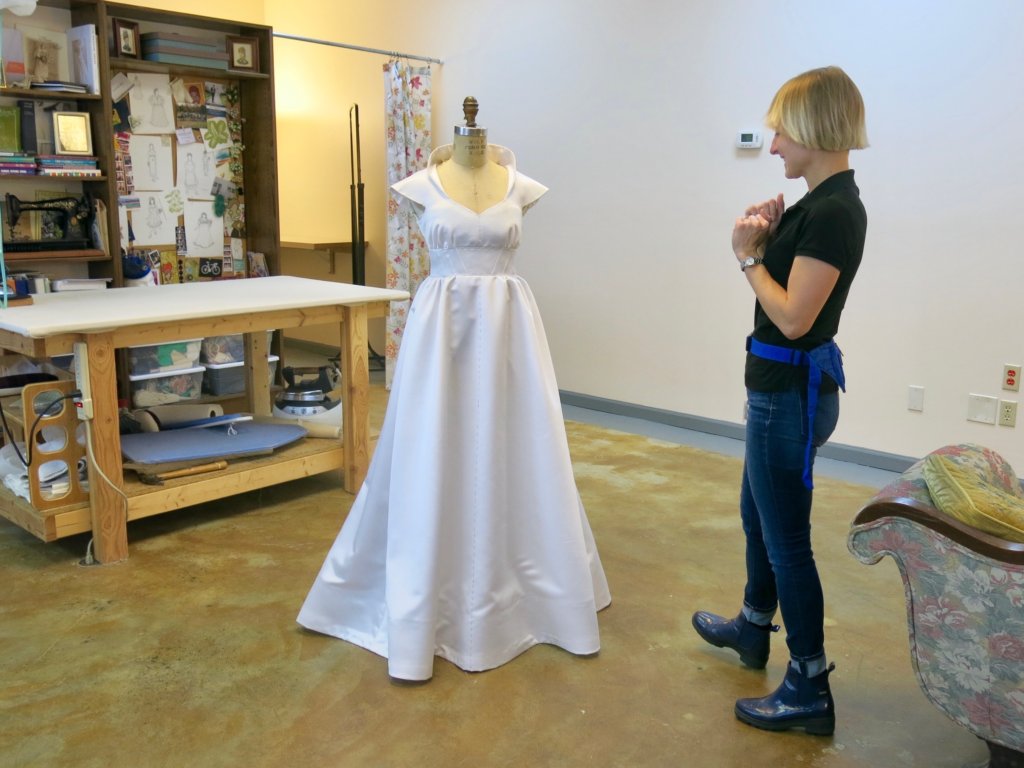
When Tiffany arrived at the studio, she beamed with excitement seeing the mockup dress on the form. She couldn’t wait to try it on!
And when she saw herself in the mirror for the first time, her smile said it all!
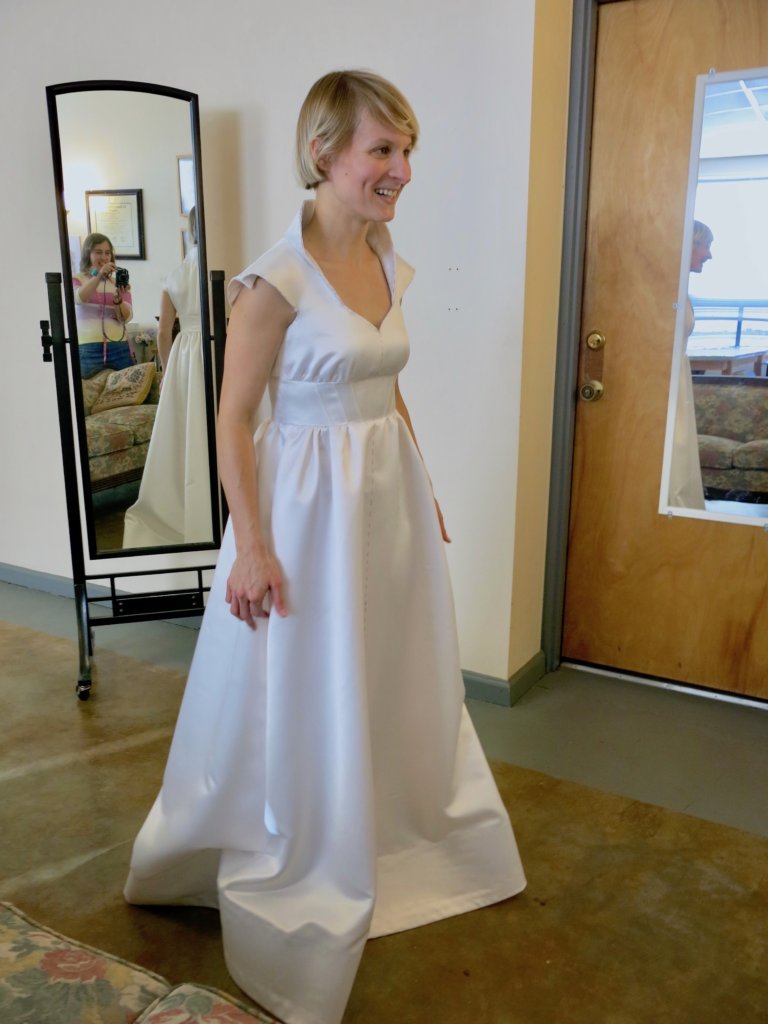
Isn’t she gorgeous!?
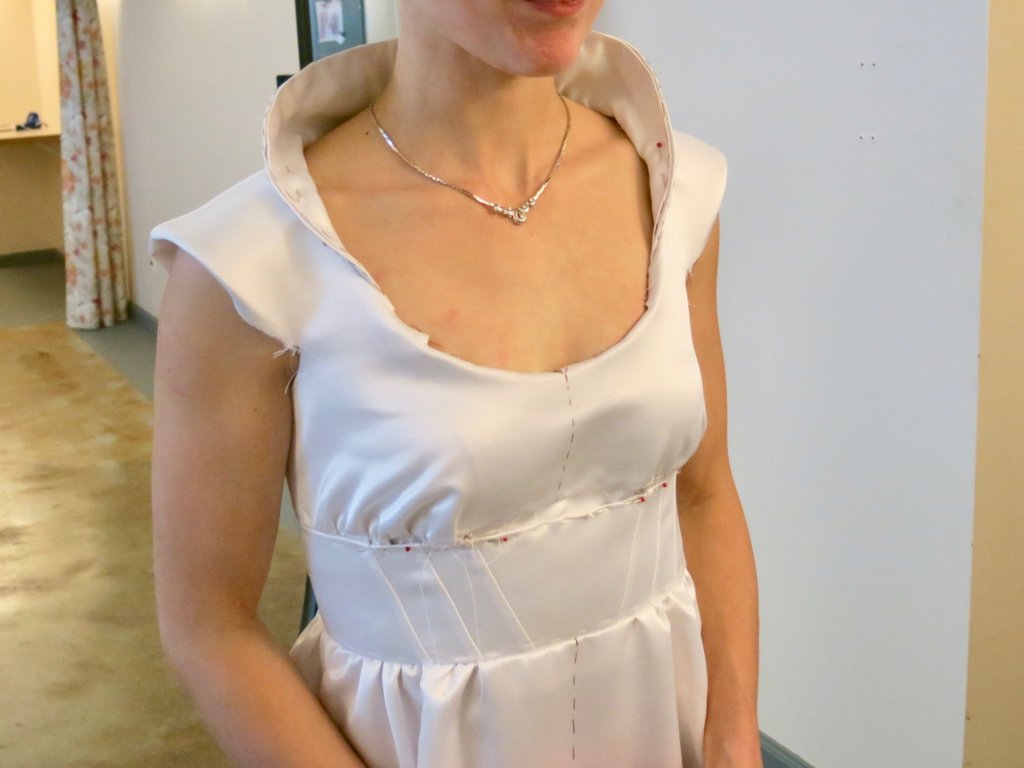
It was clear to me that the length of the skirt was a tad long and that the waist was a little too roomy, so I was excited and ready to play with the fit. Tiffany had ideas for changes, so she was excited and ready to play with design.
Playing with Changes
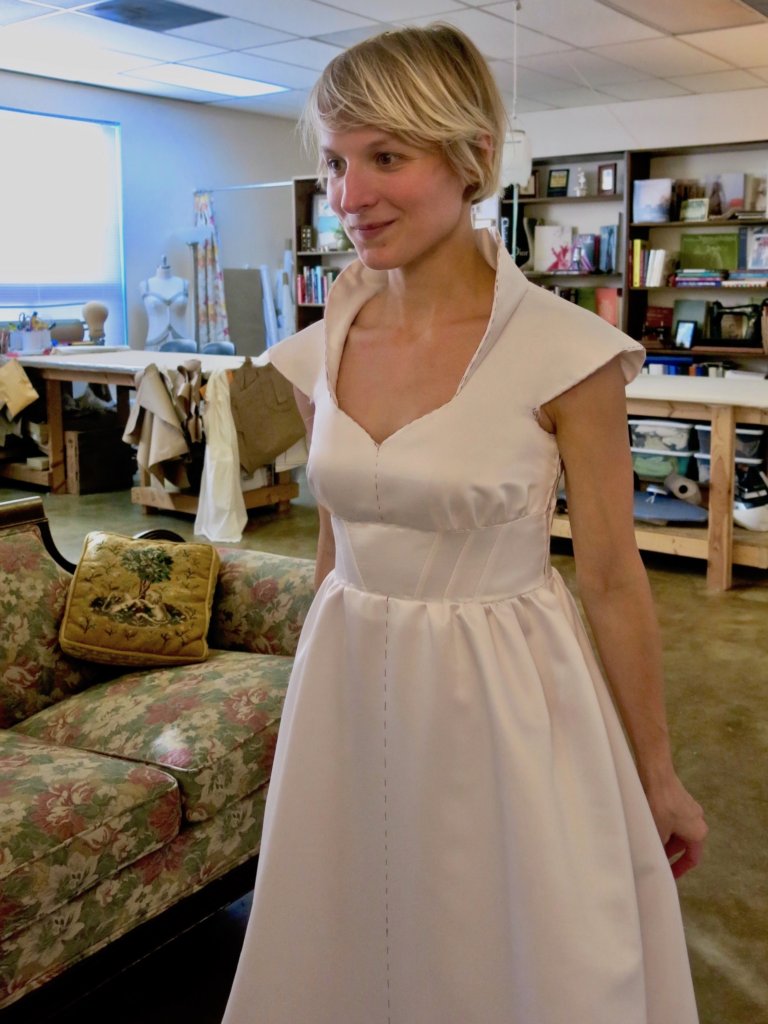
We started our fitting by playing around with the design of the collar. A slight adjustment offered a more open and rounded alternative to the stand-up style. You can see before and after on each side…
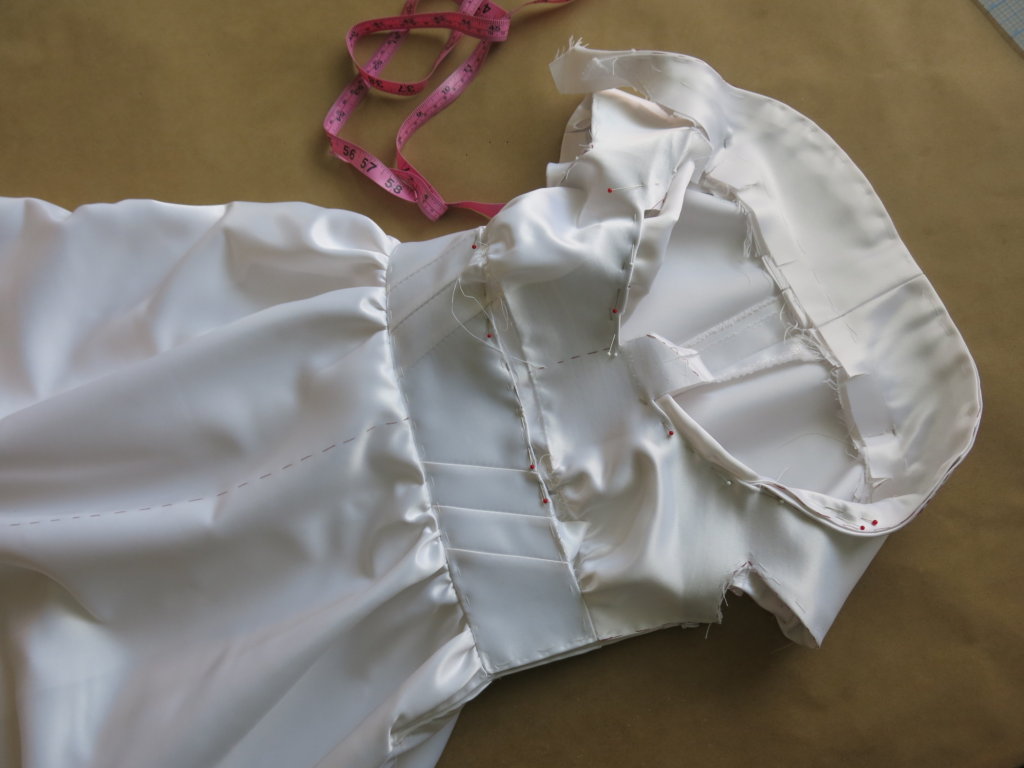
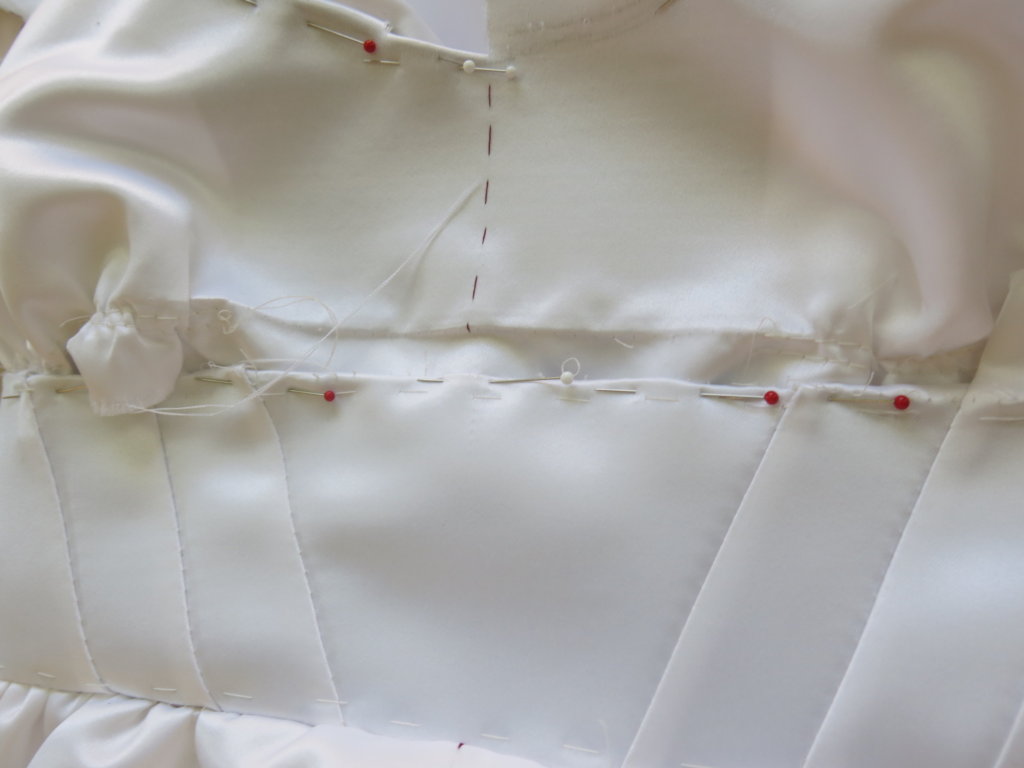
Next, we tried her ideas for a proportion change- adding a little more length to the bodice. Tiffany also wanted to try a wider midriff band that ended a little lower on the waist. Instead of opening the waist, which would release all the skirt gathers, I made a note to test this change in the next mockup.

The next change she wanted to see was a wider more-rounded neckline. This meant pulling off the collar. Mockups are designed specifically for making changes, so the release was quick and easy!
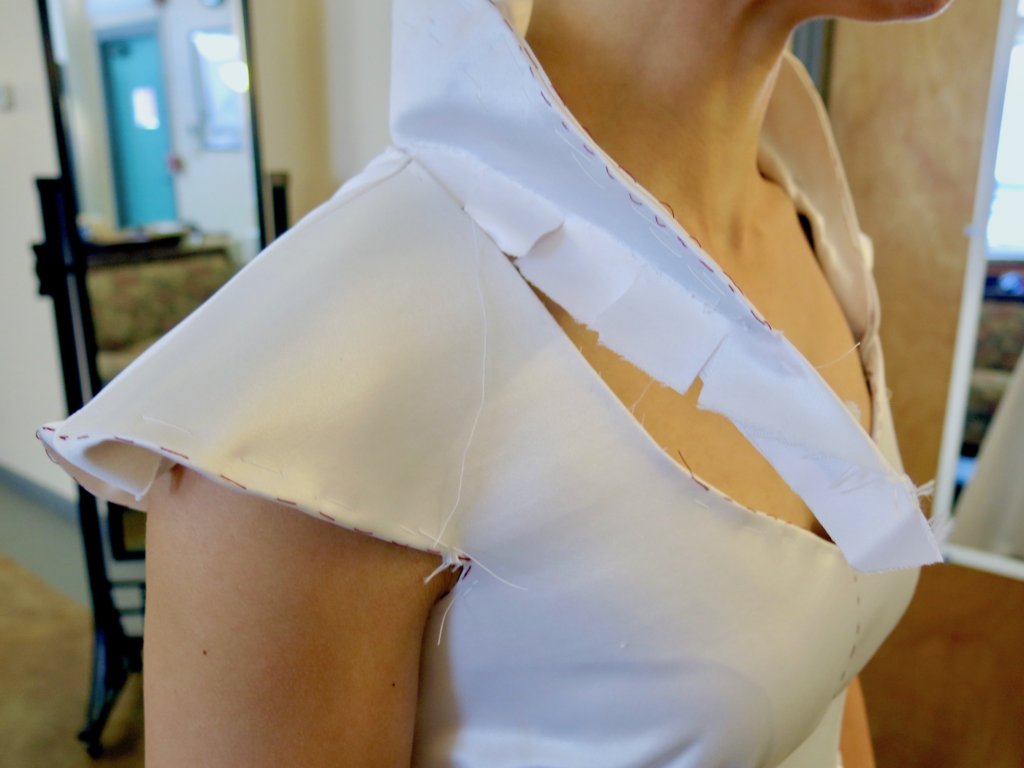
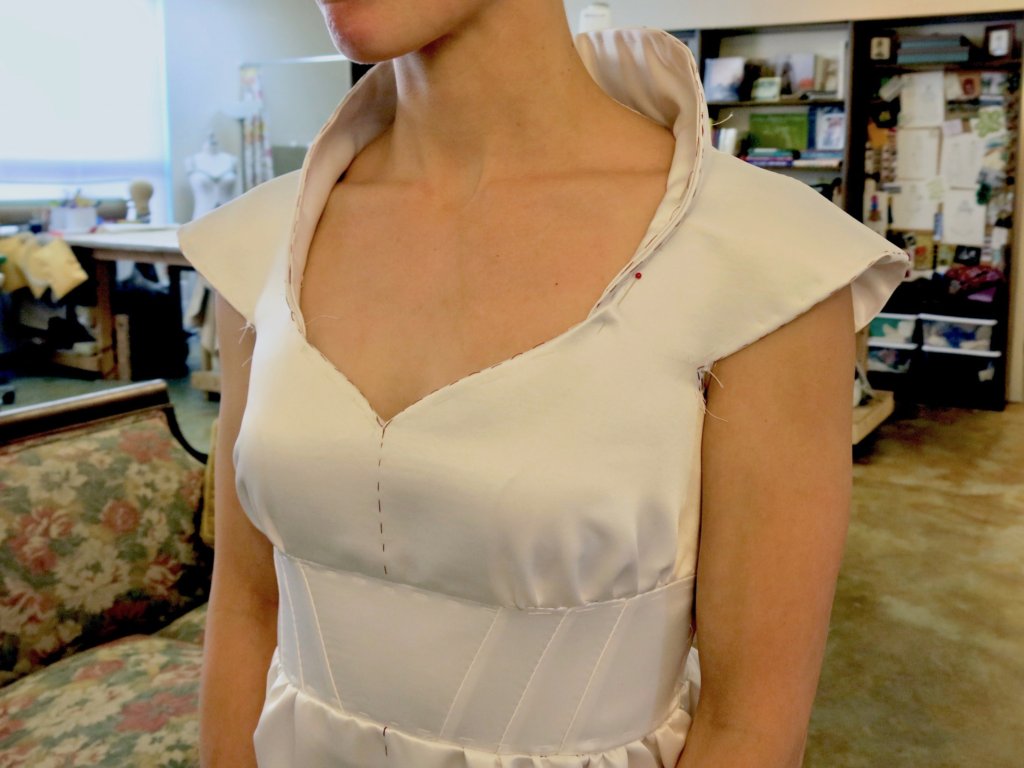
I cut into the front of the mockup dress to try out the new neckline style that Tiffany was imagining.
She wasn’t so sure about it and next wanted to see something that came to a slight point in the center, but not quite as ‘sweetheart’ as the original. Since I had already cut into the neckline fabric, I just pinned in some extra fabric bits to give us a crude view. In mockup fittings, we both often have to use our imaginations!
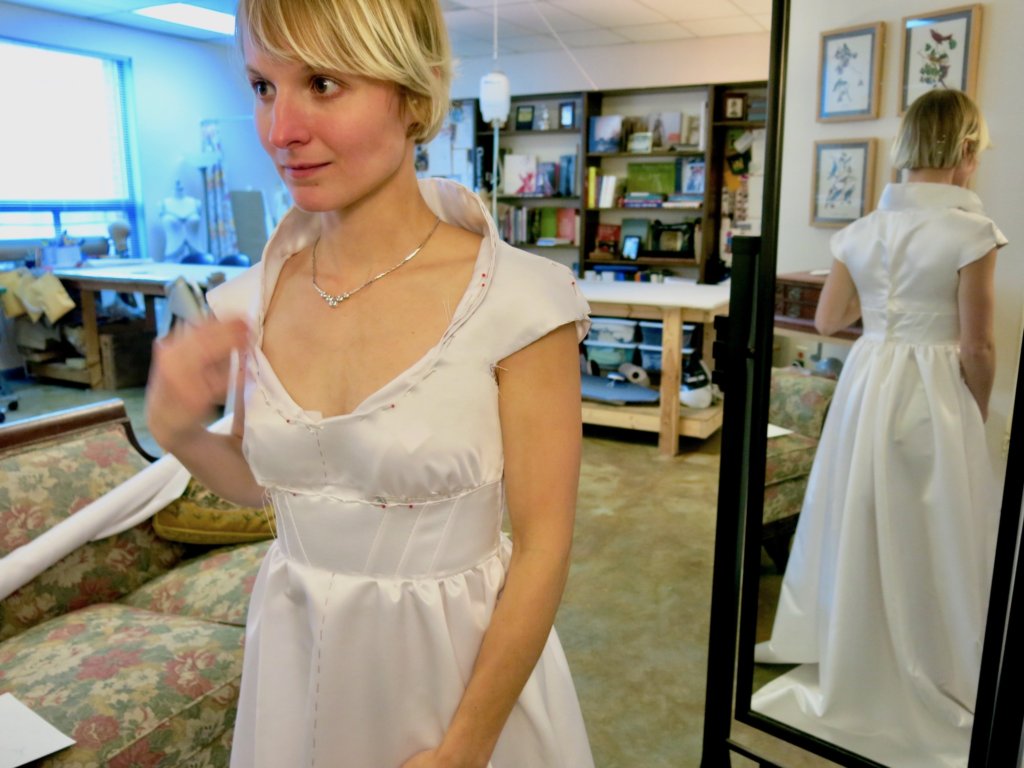
There was a little more fiddling to the sleeve shape, and a little taking in at the center back, but eventually we had enough information to move on to Round #2 and had a lot of fun in the process!
Making Corrections
Once Tiffany left the studio, it was time to make the corrections. Correcting the pattern after the fitting is actually one of my very favorite parts of the custom process. I’m never disappointed when something doesn’t turn out perfectly on the first try (which has never happened before!) because I truly love solving the puzzle!
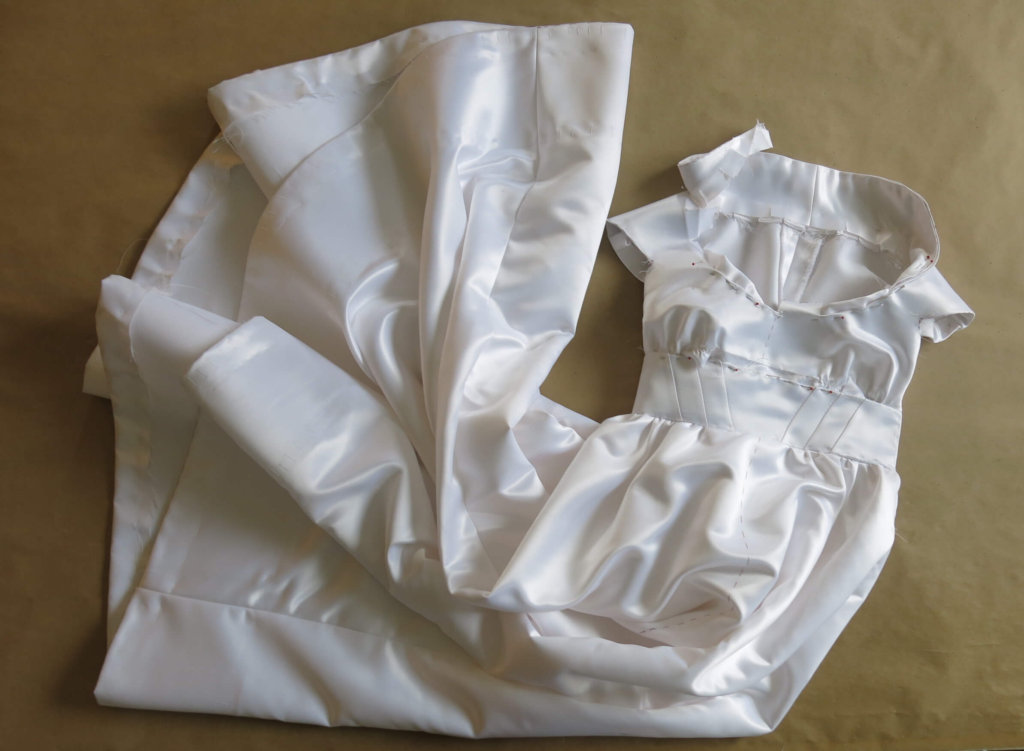
First, I looked over the pinned-up, marked-up, and ripped-up polyester mockup dress to decide where I’d start playing with pattern corrections.
I decided to start with adding the extra length to the bodice. The pins and the original lines let me know both where I was and where I wanted to be.
I took this information and added length to the original pattern by taping on some more paper.
This change carried over to the back, so I did the same correction there. I also made a correction for the fit of the center back (not pictured.)

Next, I remembered my note to also lengthen the midriff band. With some paper and tape, I achieved the goal and added some new notches with my new pattern notcher.
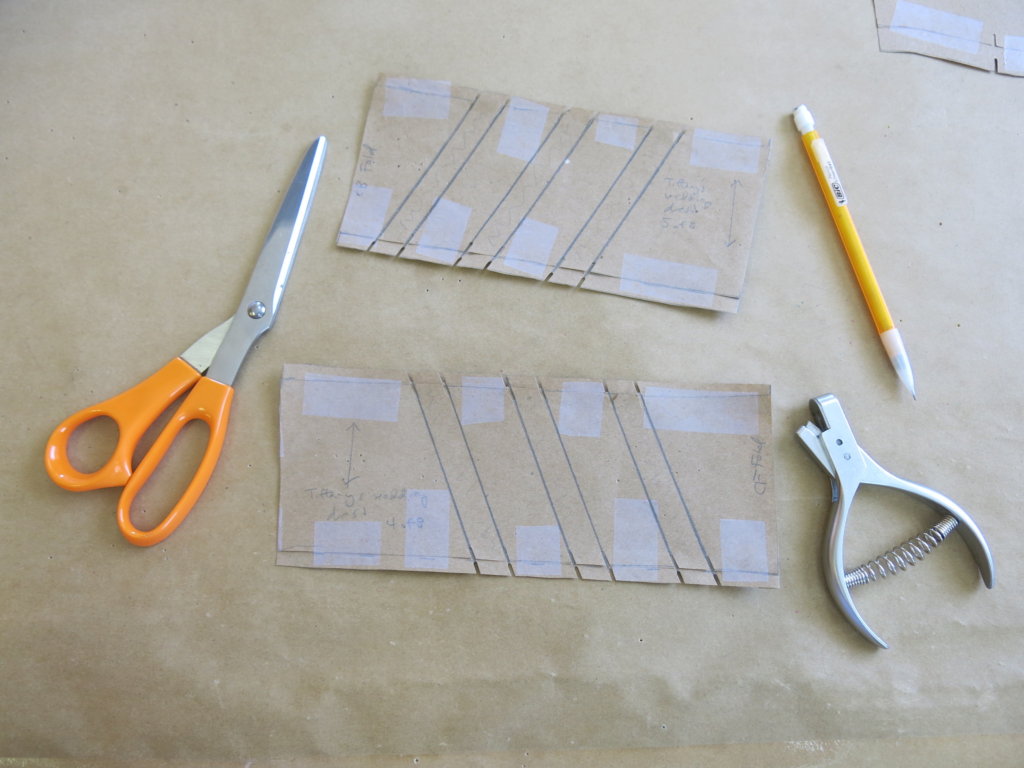
Next, I decided to make the changes to the sleeve. When sketching, Tiffany asked for them to be exaggerated and stand away from the body. But in the fitting she was able to see that she would rather have them curve more closely to the body. My pins tell me all the info I need to make the correction!
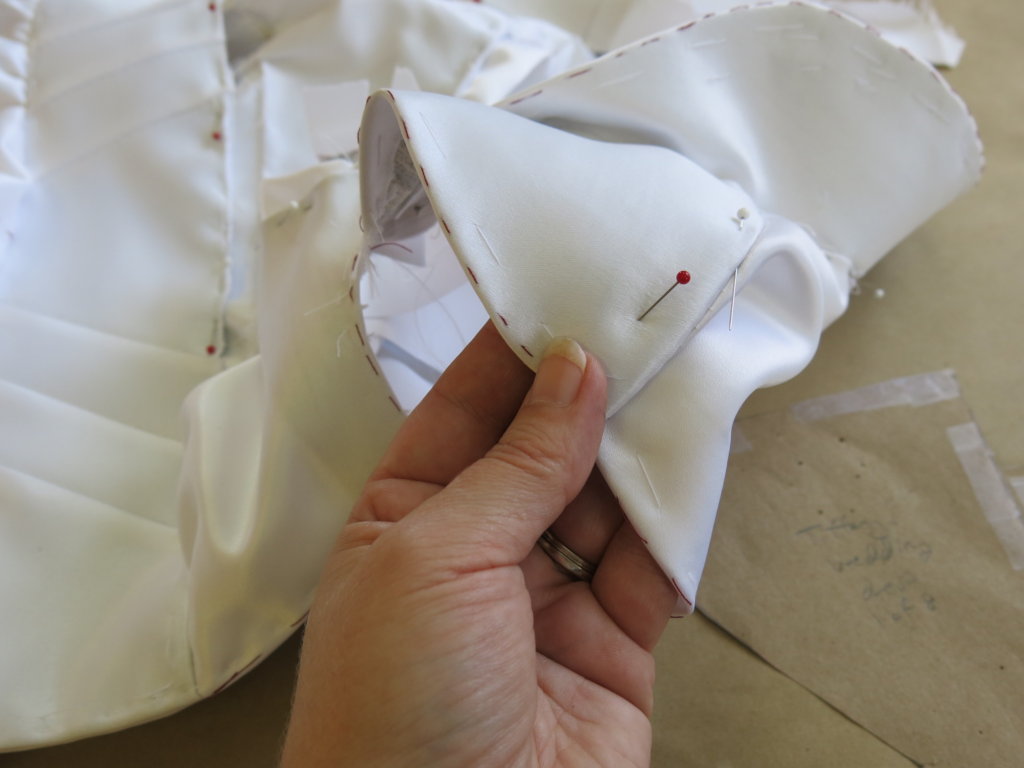
First, I observed and measured where the alteration was vs. where it was no longer needed. I found out that all of the changes happened in the final 2.5″ of the sleeve.
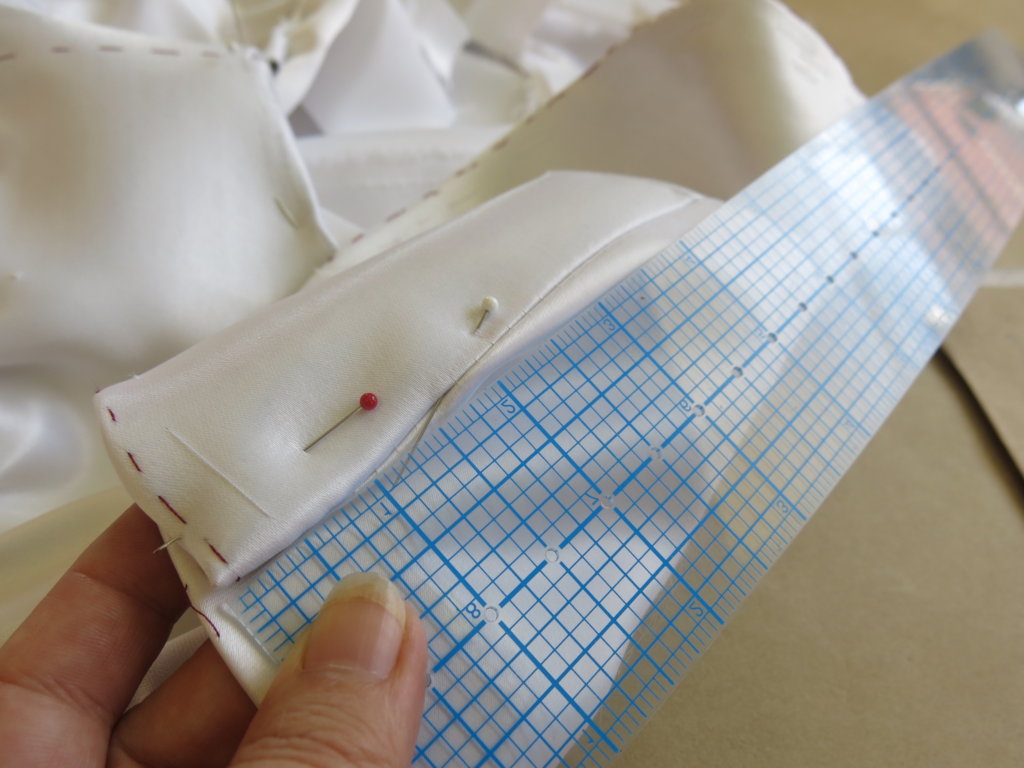
So on the front and back of my pattern, I measured up 2.5″ and made a mark.
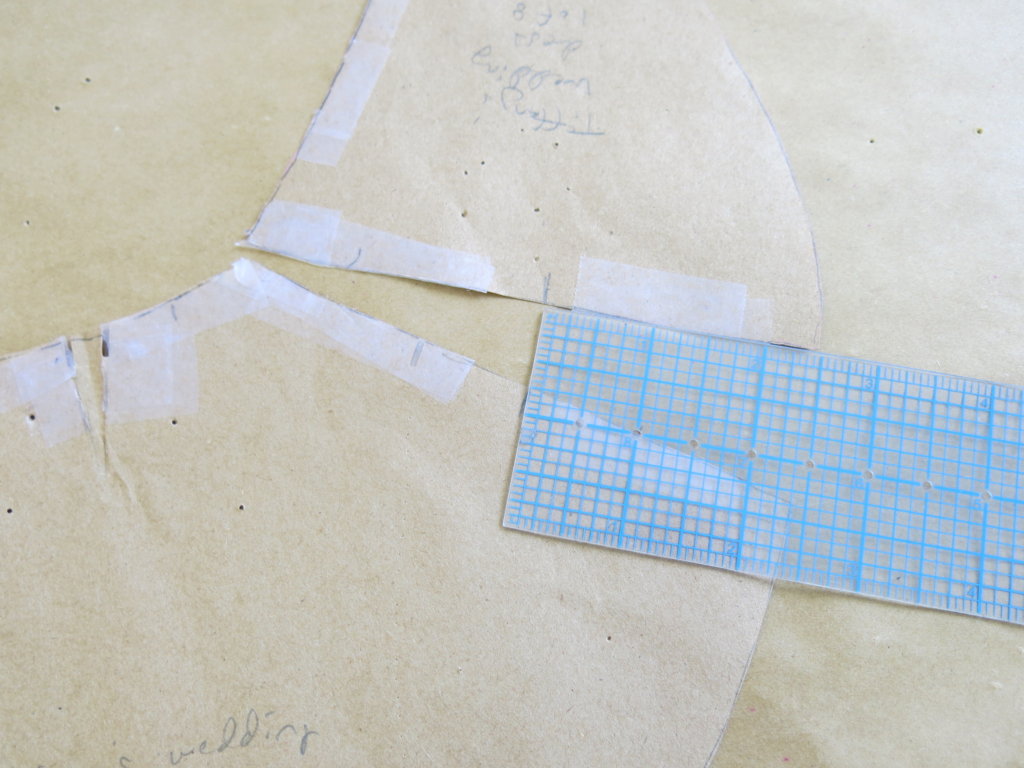
Then I measured how much material the pinned fold removed from the original sleeve.

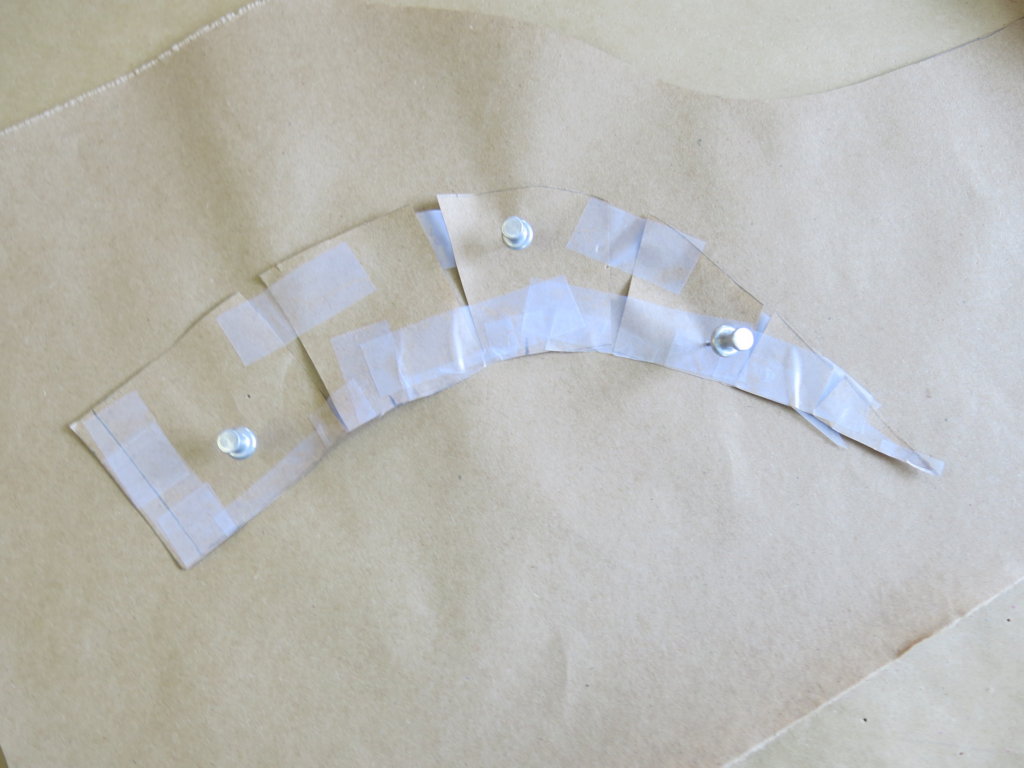
This information gave me my new end point along each sleeve edge. I then used my french curve to connect the dots beautifully and gracefully (before removing the excess.) Kinda fun, right?

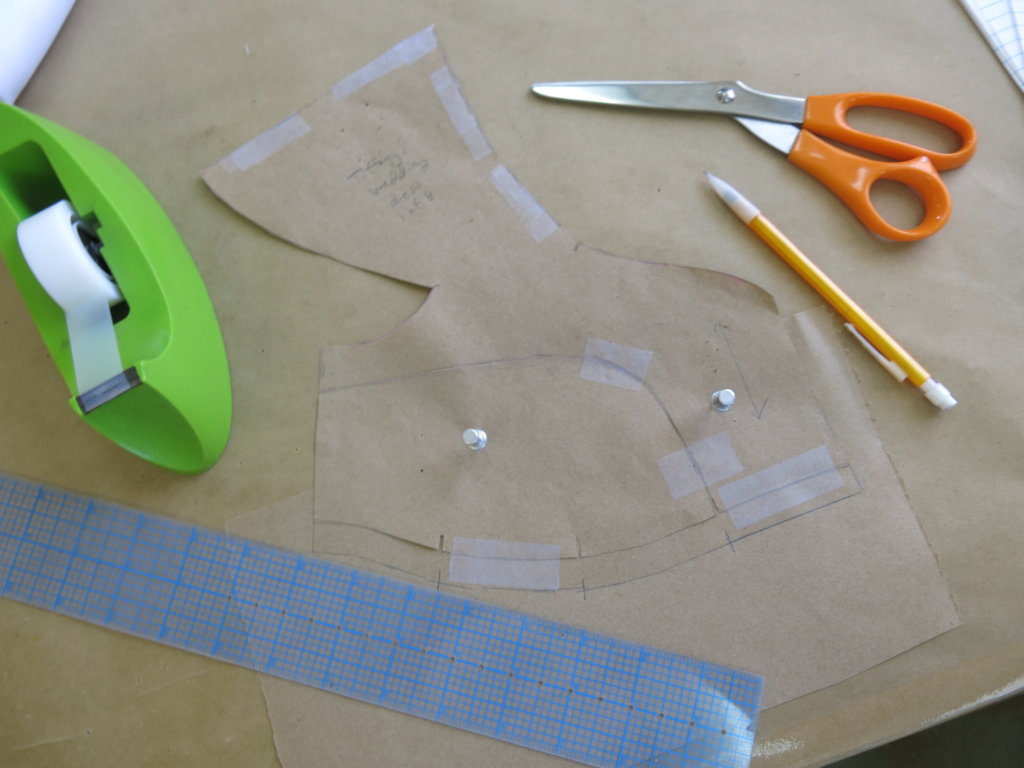
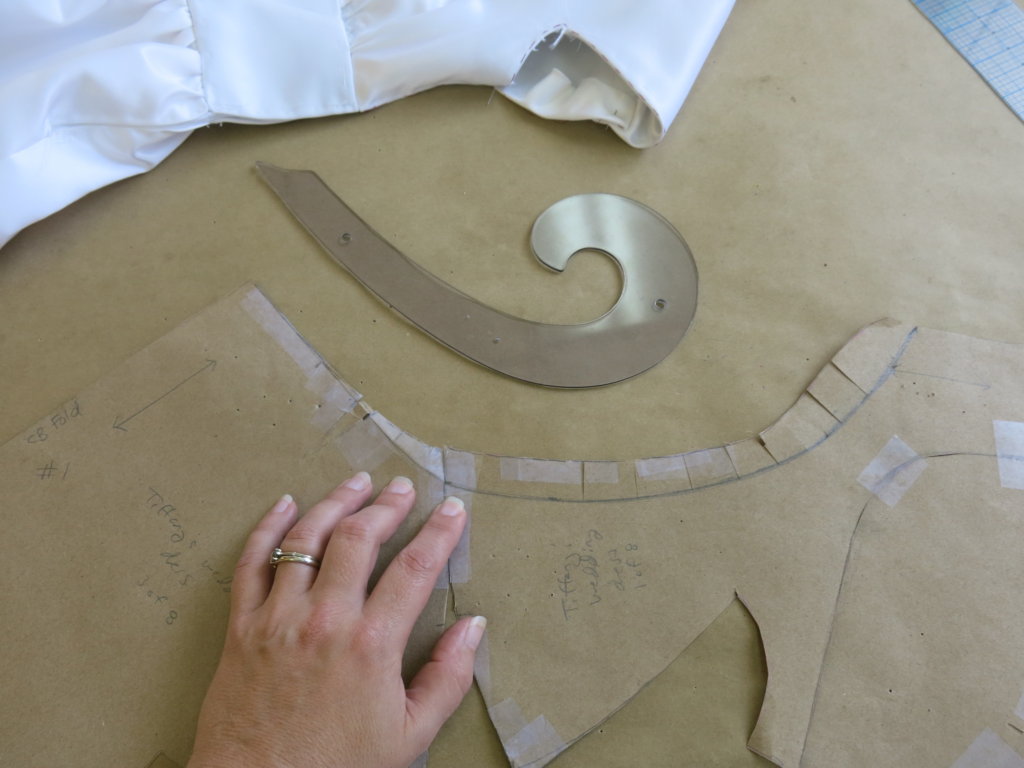
Next up, the neckline! For this, I got out my pencil and traced the edge of the fabric where I had folded it back to create the new look.
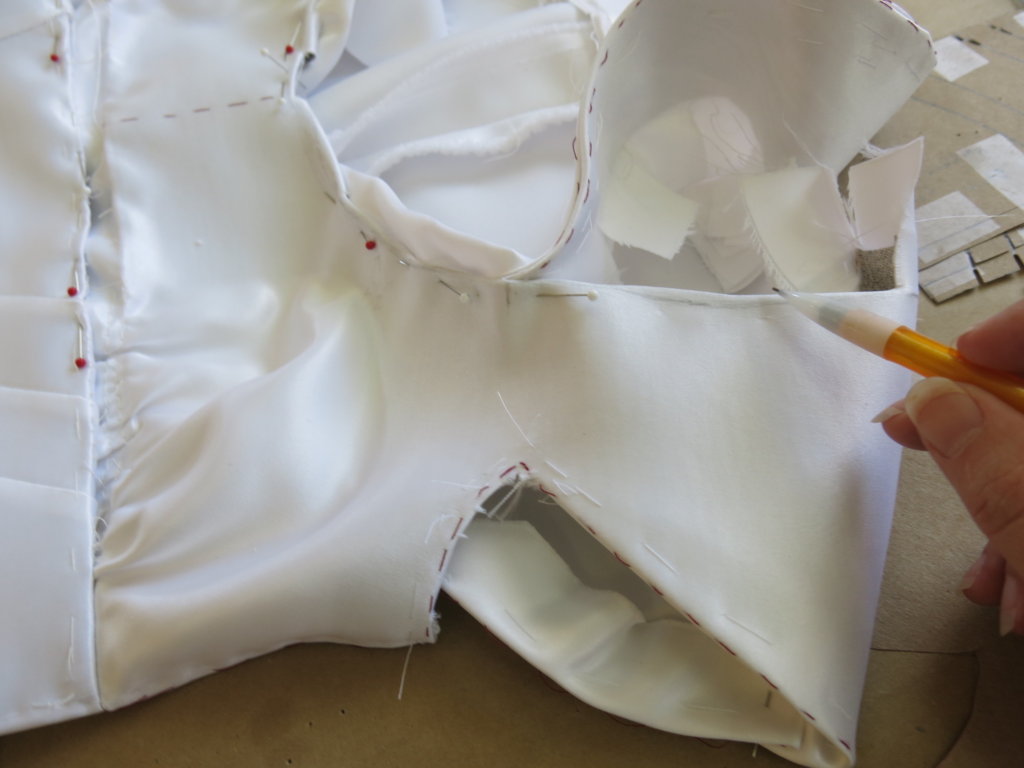
This allowed me to compare it to the original and make a new-and-improved neckline curve on the paper!
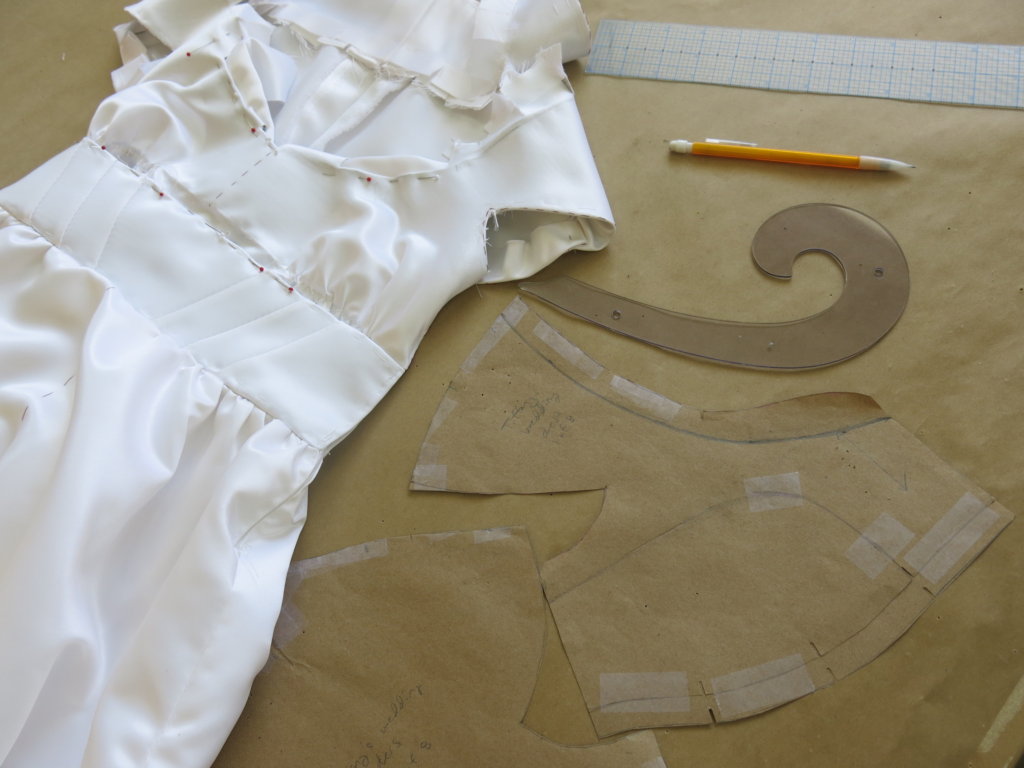
The new curve of the neckline seemed to want to carry over to the back, so I made some changes there too. I then clipped little slashes between the old and new lines so that I could fold and tape the excess to the back. There’s no reason why I couldn’t just cut it off and throw it away, but I really love a messy pattern. I love being able to see and feel the story of the journey its been though (plus it makes for a nice thick edge)!
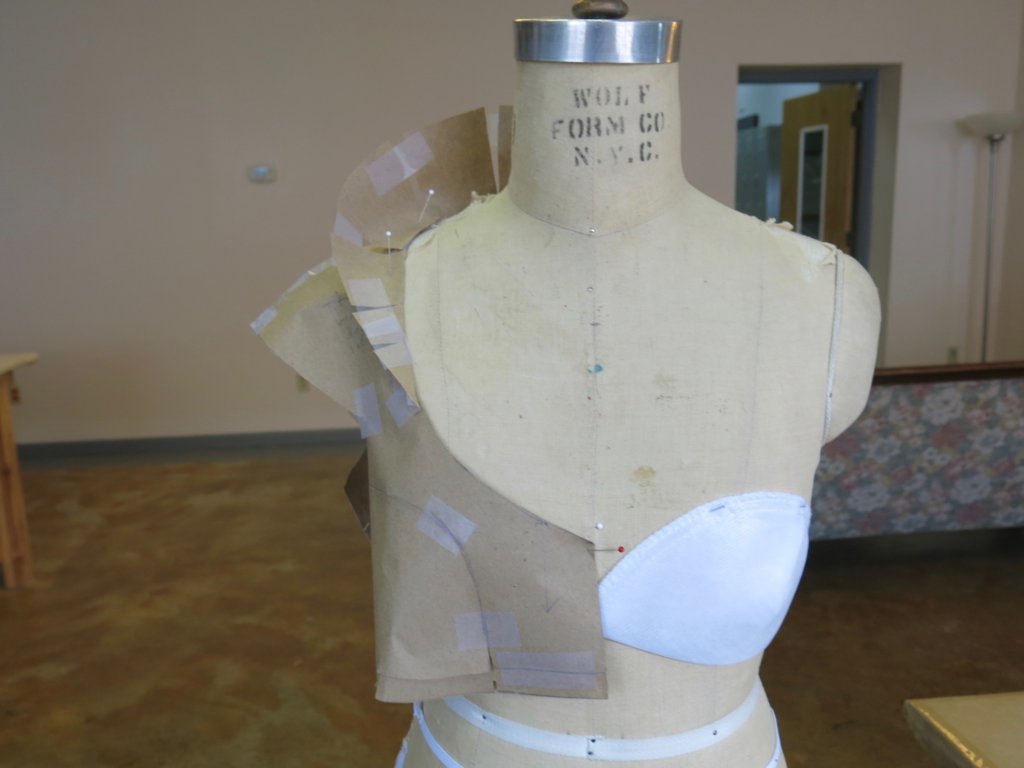
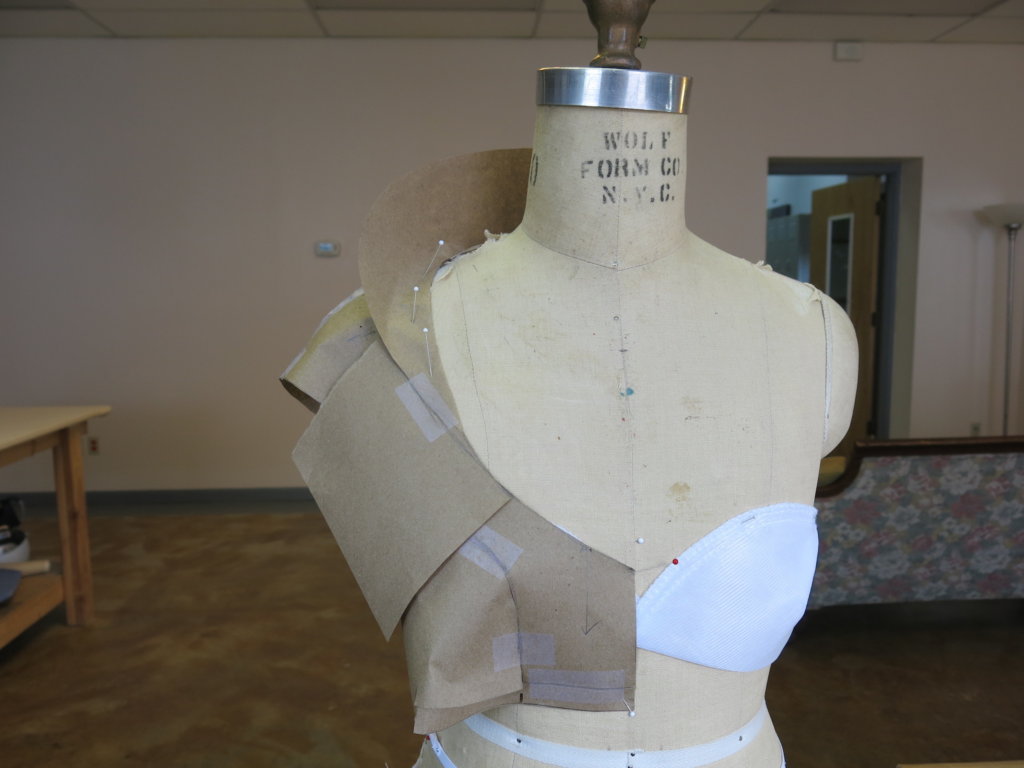
Since my neckline correction involved a little finesse, I decided to tape the pieces together and try it on the form. Looking good! (And since the fitting corrections showed me that the dress form was padded larger than my tiny bride, I removed almost all of the original padding I added.)
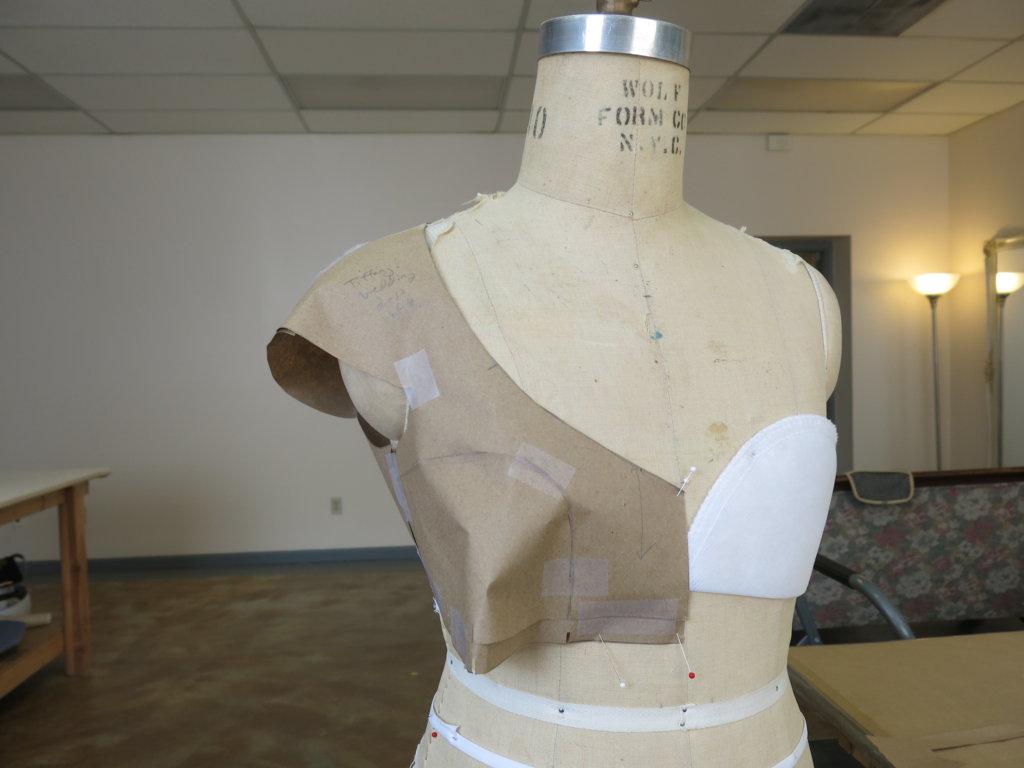
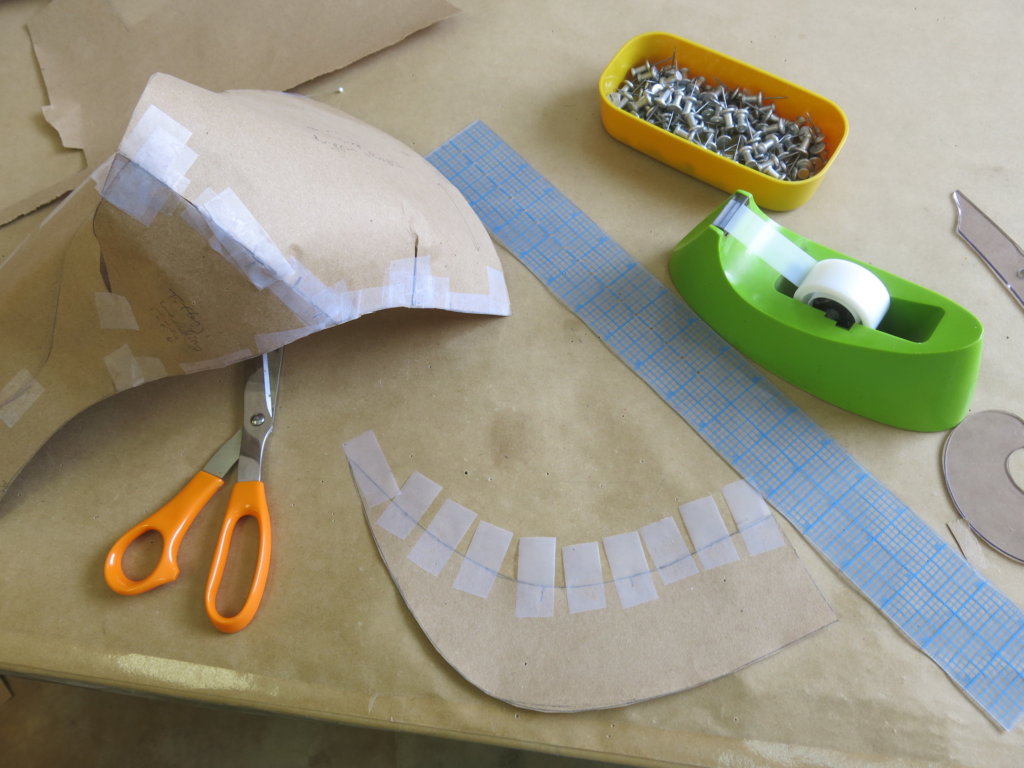
To test the collar changes, I taped a version of my original collar pattern to the paper bodice on the dress form. Then I played around with slashing and taping- until it created the shape I thought we were looking for.
Once satisfied, I flattened my taped-up mess of a collar pattern…
… and traced out something fresh and new to try!

I taped this version onto the paper neckline…
…and was pretty happy with how it all worked out!
With a little finesse, all my patterns were looking good and ready for a second mockup!
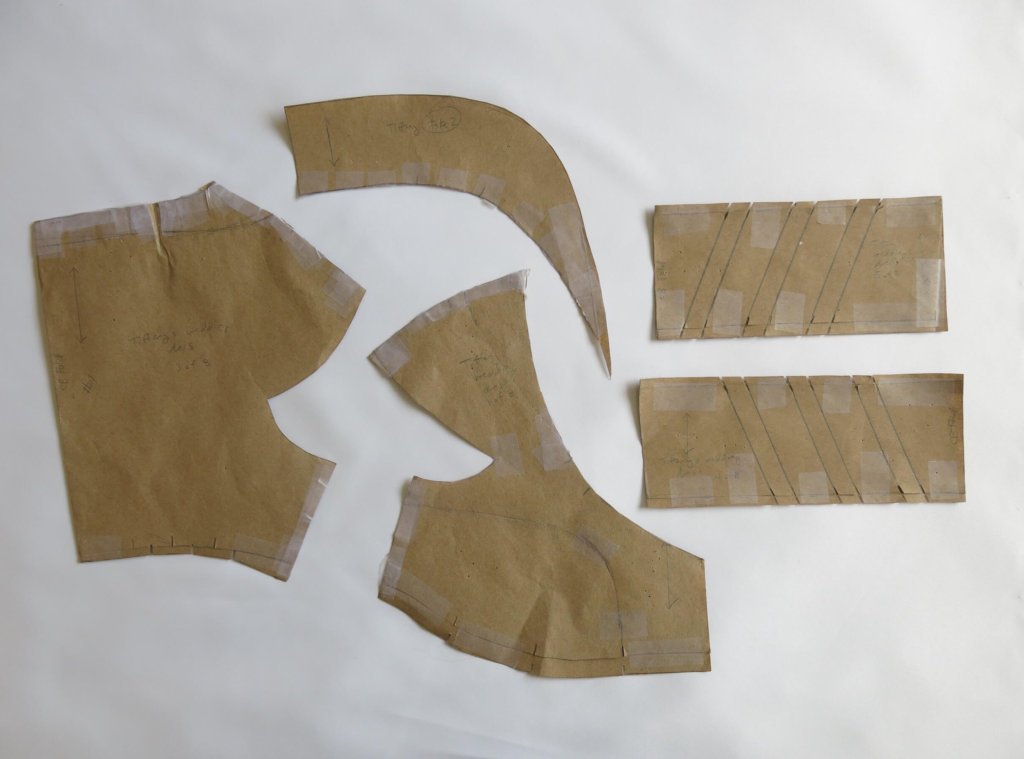
Though I’d be able to reuse the skirt pieces from the original, there were enough changes made that I’d need to recut and rebuild everything else into a second mockup dress to test next. And you know me, I was looking forward to it!
Do you love making and fitting mockups too?
NEXT POST: With almost a bit of déjà vu , I’ll make and fit mockup #2!


9 Responses
Thanks for this great post. I love it.
I love how the bodice went from Evil but elegant queen to Disney Princess. Both versions are amazing and i cannot wait for the final results.
The bride was afraid someone would think that! She kept saying that the collar shapes were too “princess-y”. This was only our first fitting, so more changes are in our future!
I thoroughly enjoy seeing the process and love Tiffany’s ideas.
Thanks for following along!
Oh, this is the last post!? I’ve been reading this from the beginning since I found out about your blog from the love to sew podcast. It’s been both entertaining and a good introduction to the process of couture work. Thank you for writing! I hope I will find time to take the skirt skills course.
Thanks for following along! I’d love to work with you someday.
I’m not sure what you mean by “Oh, this is the last post!?”. I’ve been blogging for over 10 years and don’t plan to stop for another 10! Maybe you were surprised that it takes me so long to write/pubish each post? I do what I can when I can to offer all this free content. To me, slow and steady wins the race!
I’ve been sewing for over 50 years making all kinds of garments, including 3 wedding gowns, and I’m STILL learning something new! Thank you so much.
I’ve sewn under linings many times and while reading this post, was thinking, “shoot, I could use my newest machine (which will make 10 to 20 mm basting stitches) to stitch underlining to fashion fabric”, then realized it would require absolutely PERFECT tension to do it properly without any buckling or bubbles. It would take MORE time on the machine making practice stitches to achieve that tension goal than to do it by hand. And still I could end up with buckling or bubbles, depending on presser foot pressure and how I fed it through the machine. Thanks for the useful ‘head-slap’. I’ll reserve that long basting stitch for when making quilts, and I’ll be following your blog eagerly.
Thanks for following along Suzanne! While I have many many posts about underlining, this isn’t one of them. Nevertheless, I agree that underlining by hand can be more successful (and likely quicker) than by machine. The goal of underlining is to get the two layers of fabrics acting exactly as one. I think it makes more sense to achieve this goal by having the pieces laying together flat and fully-supported on a table while moving your hand and needle to create the stitches. (They don’t call it “flat lining” for nothing!) When machine-sewing, the tool is what stays still- so the layers of fabric have to be in constant motion during the act of stitching. Shifting seems inevitable…