

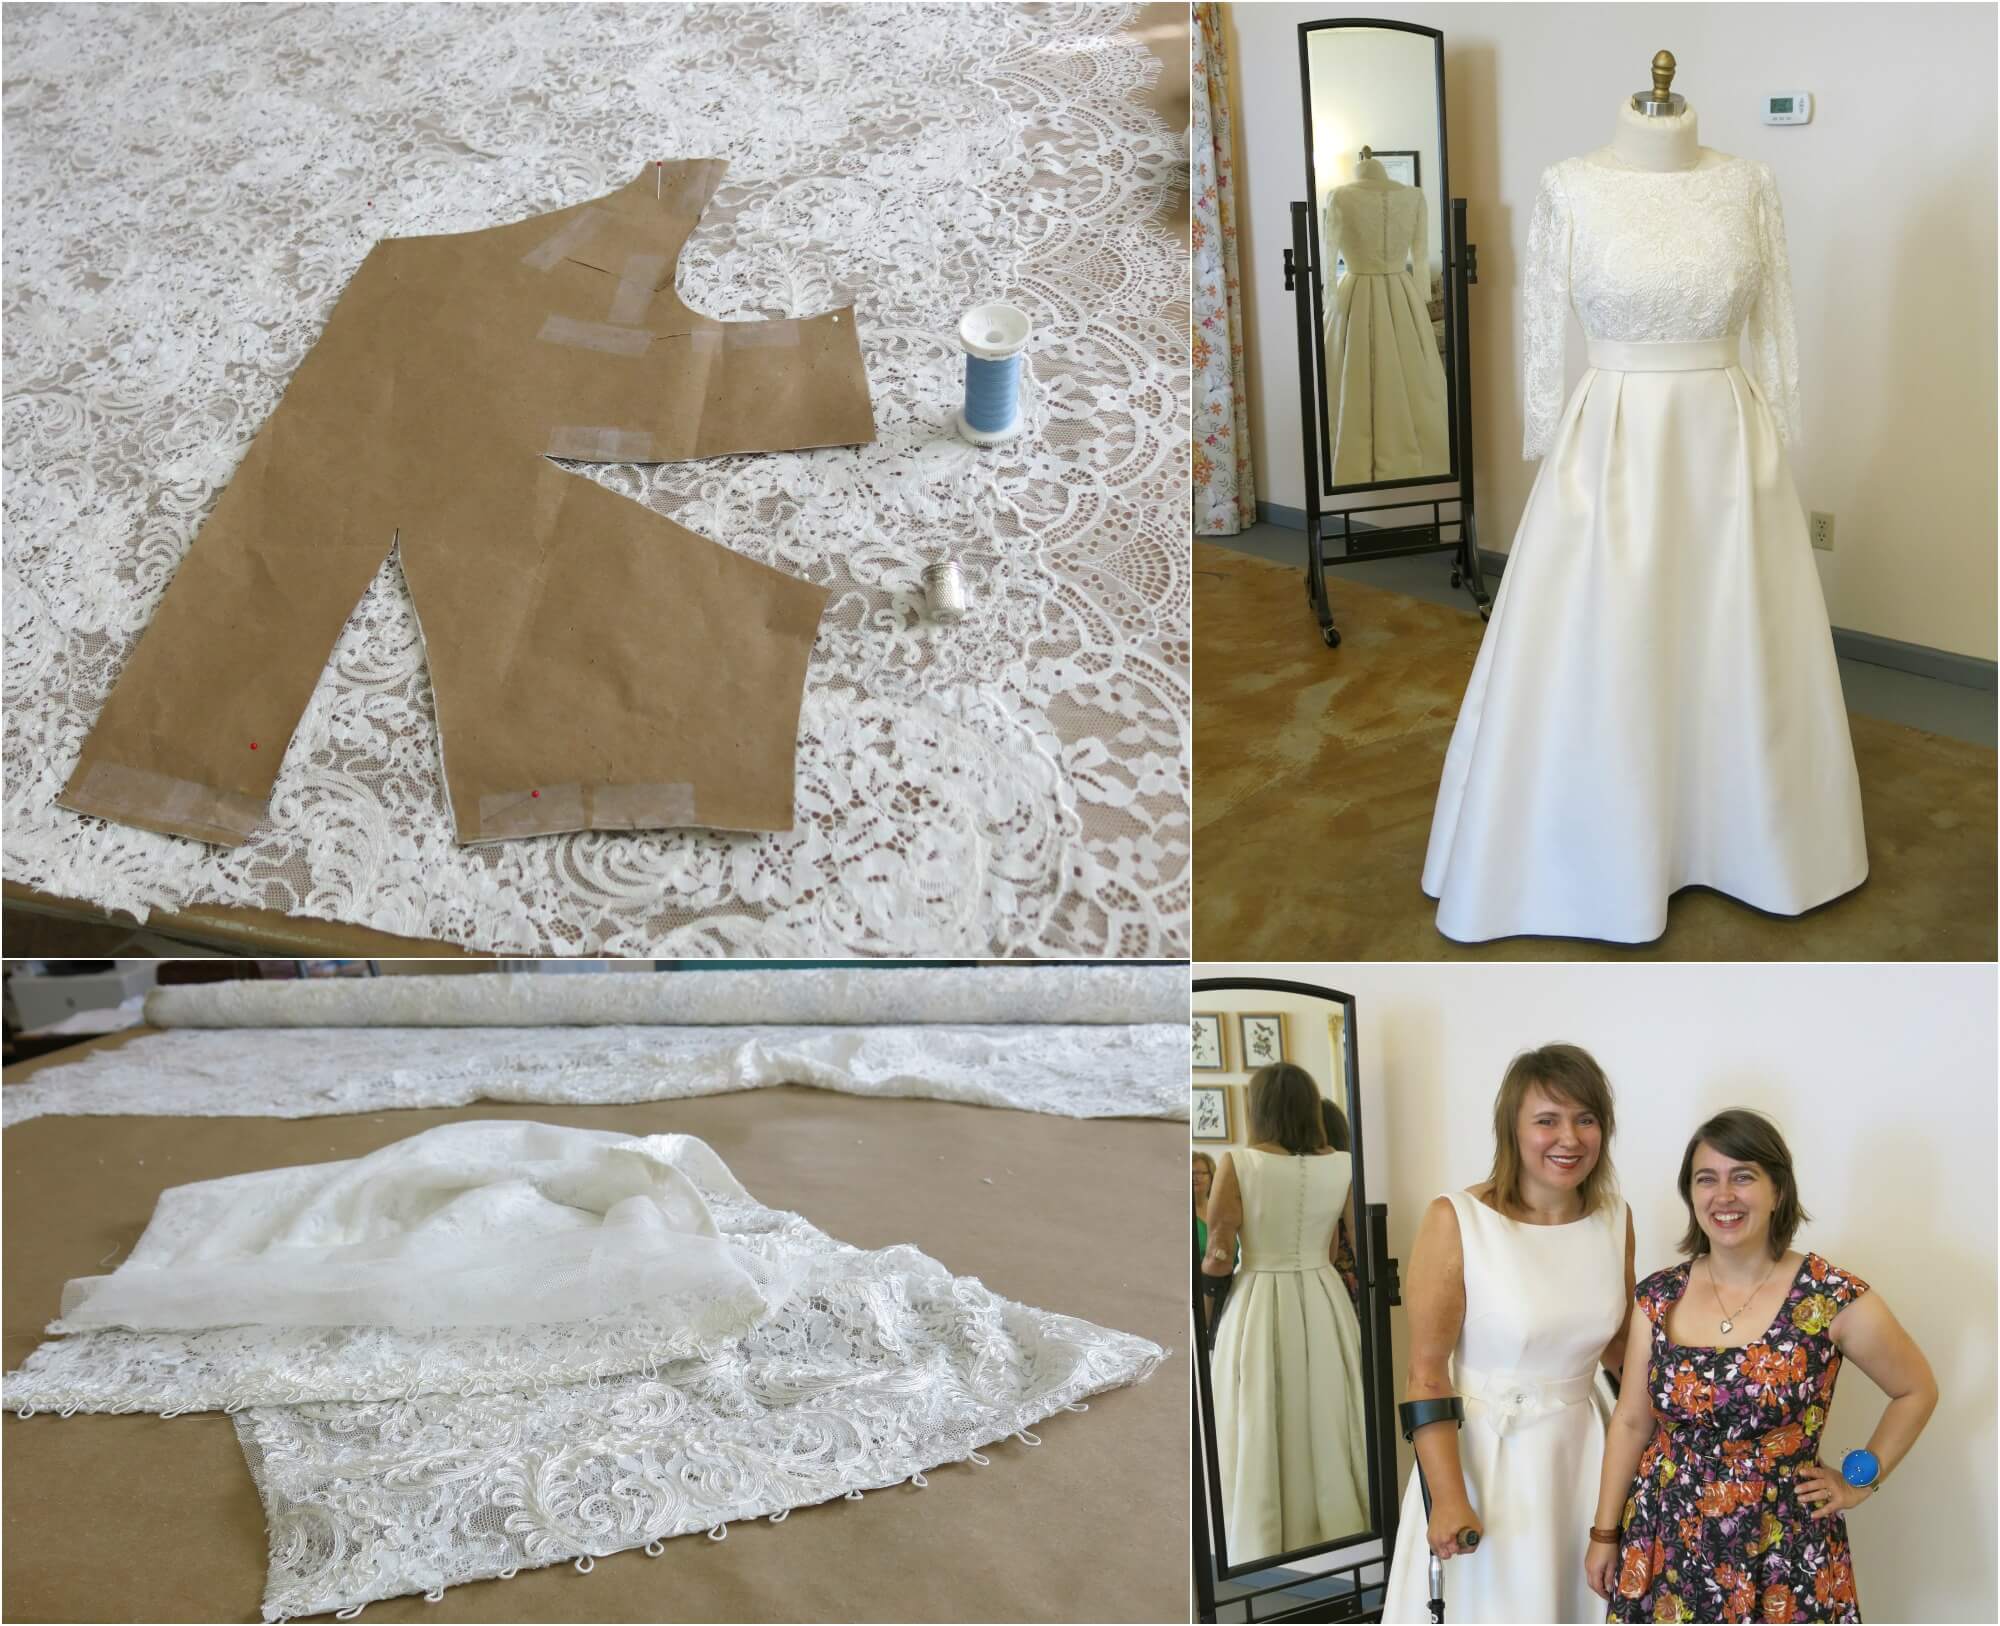
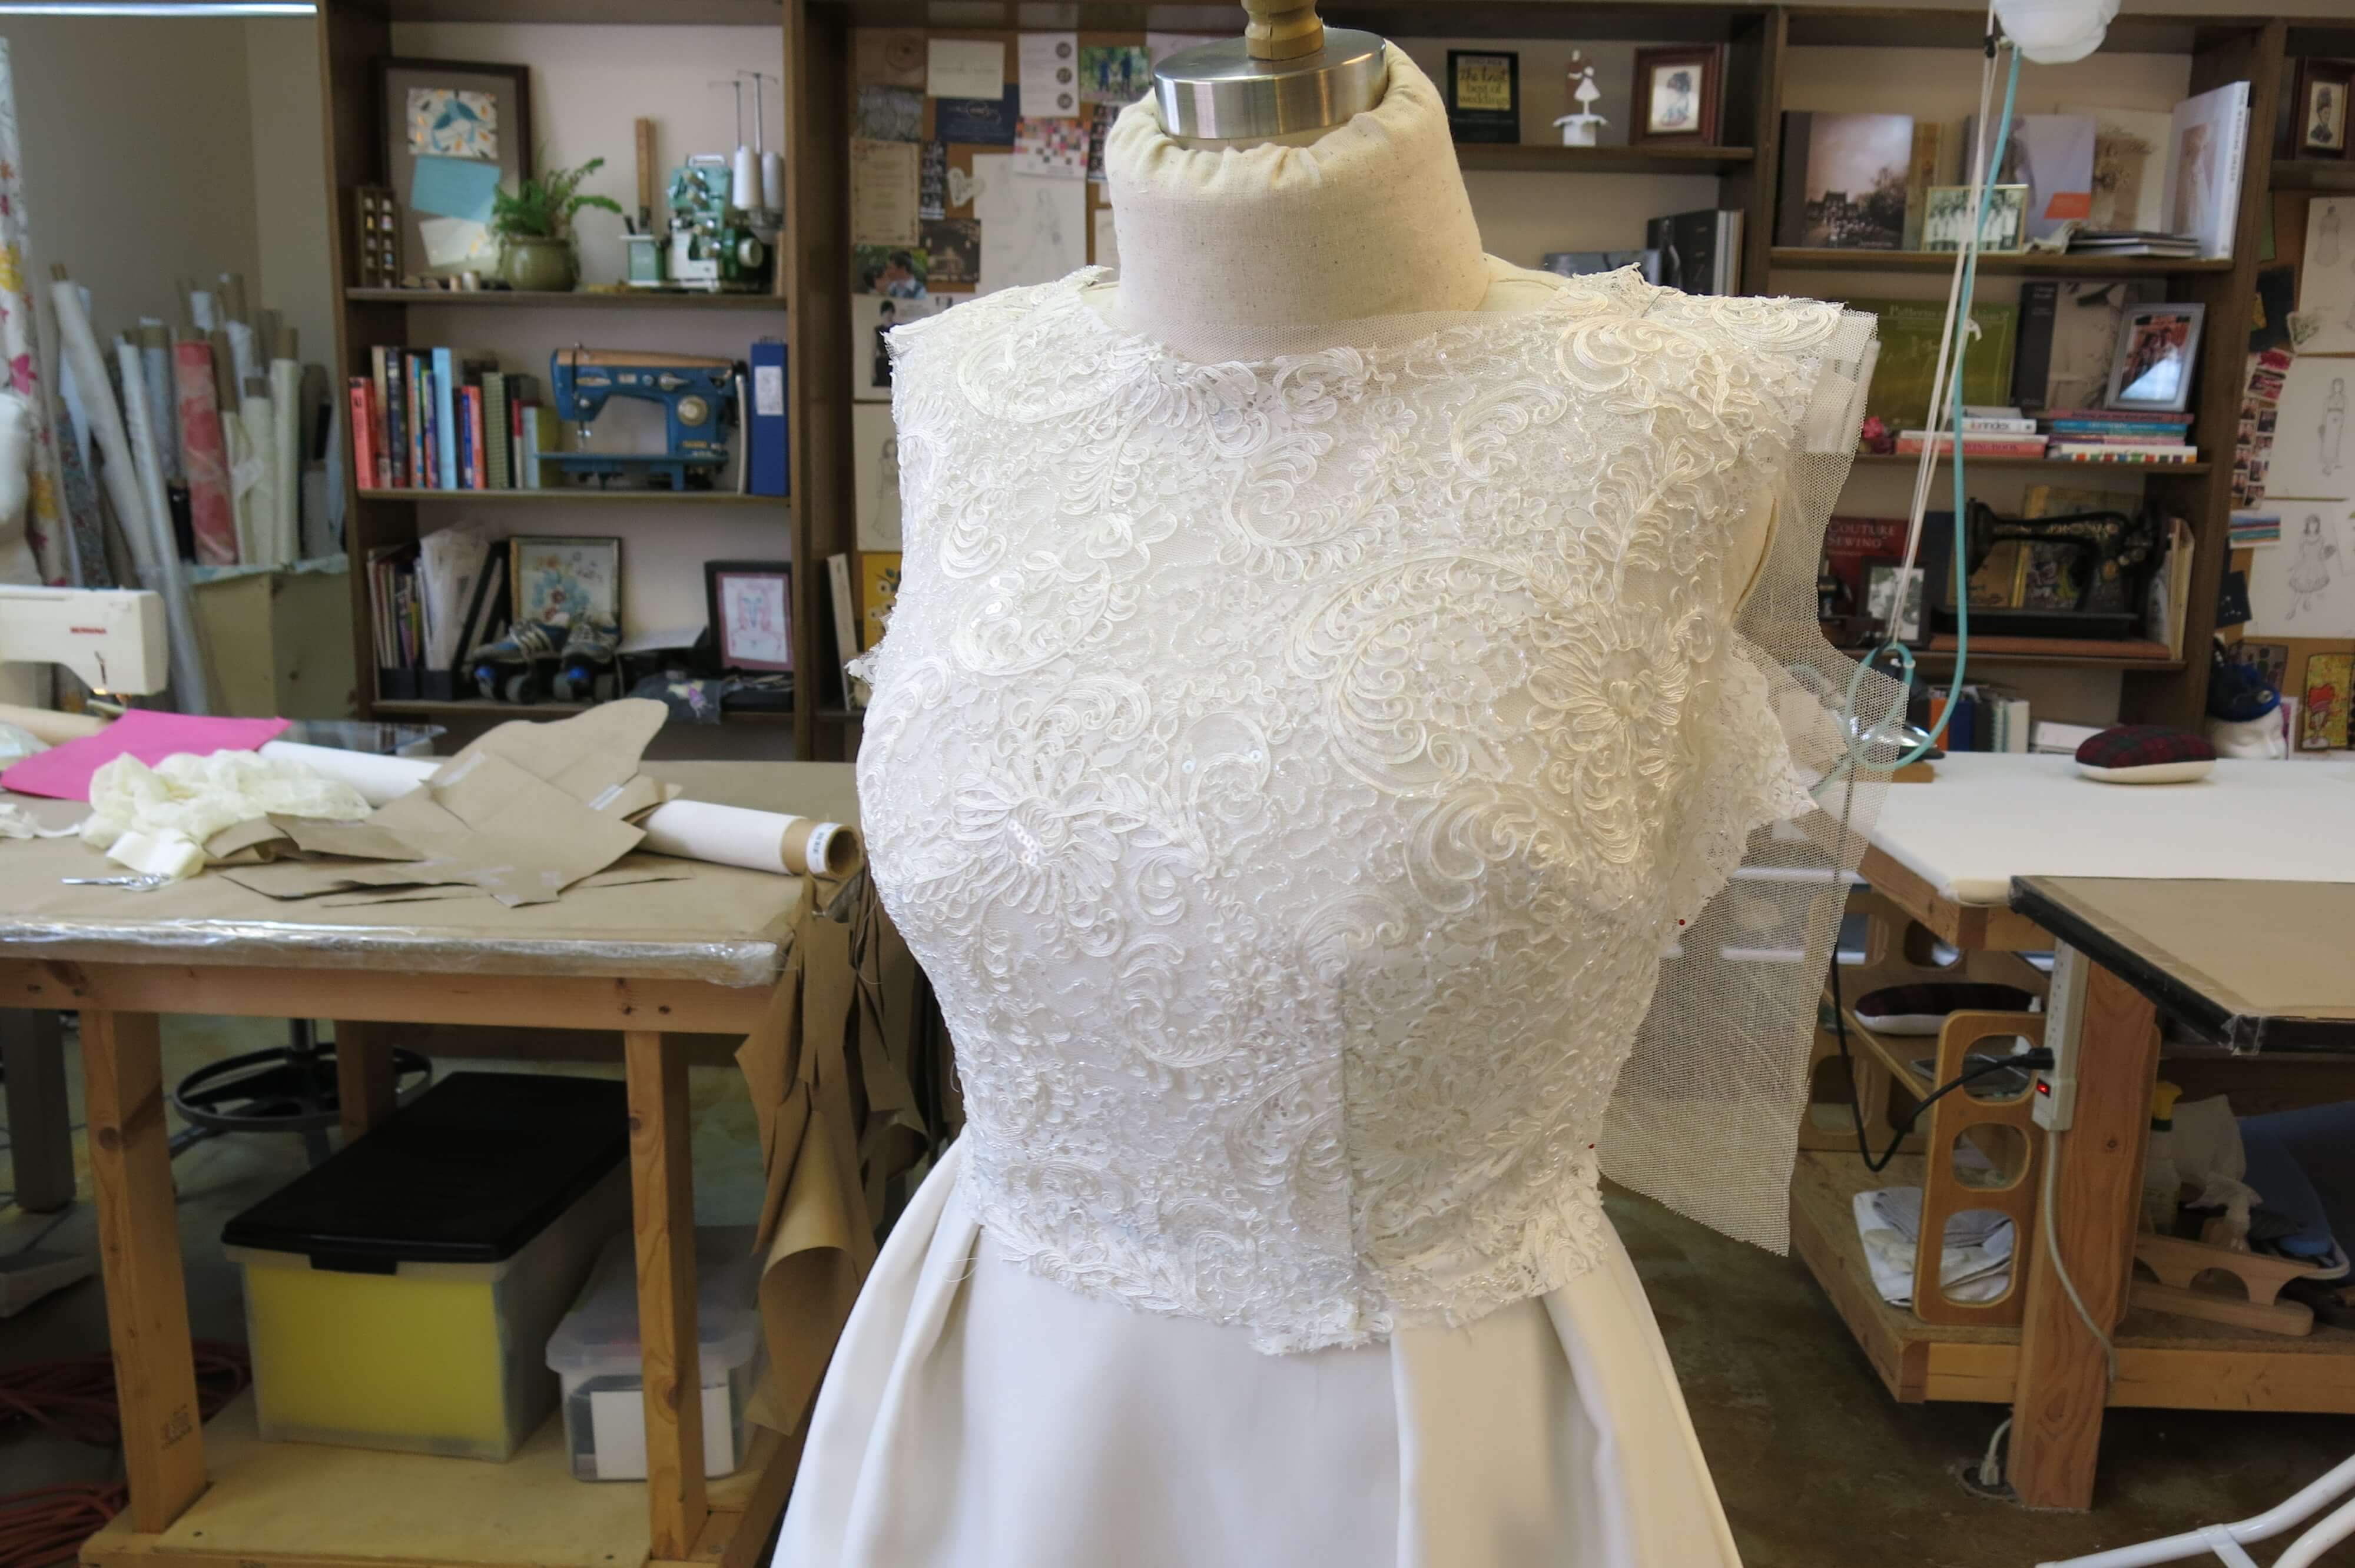
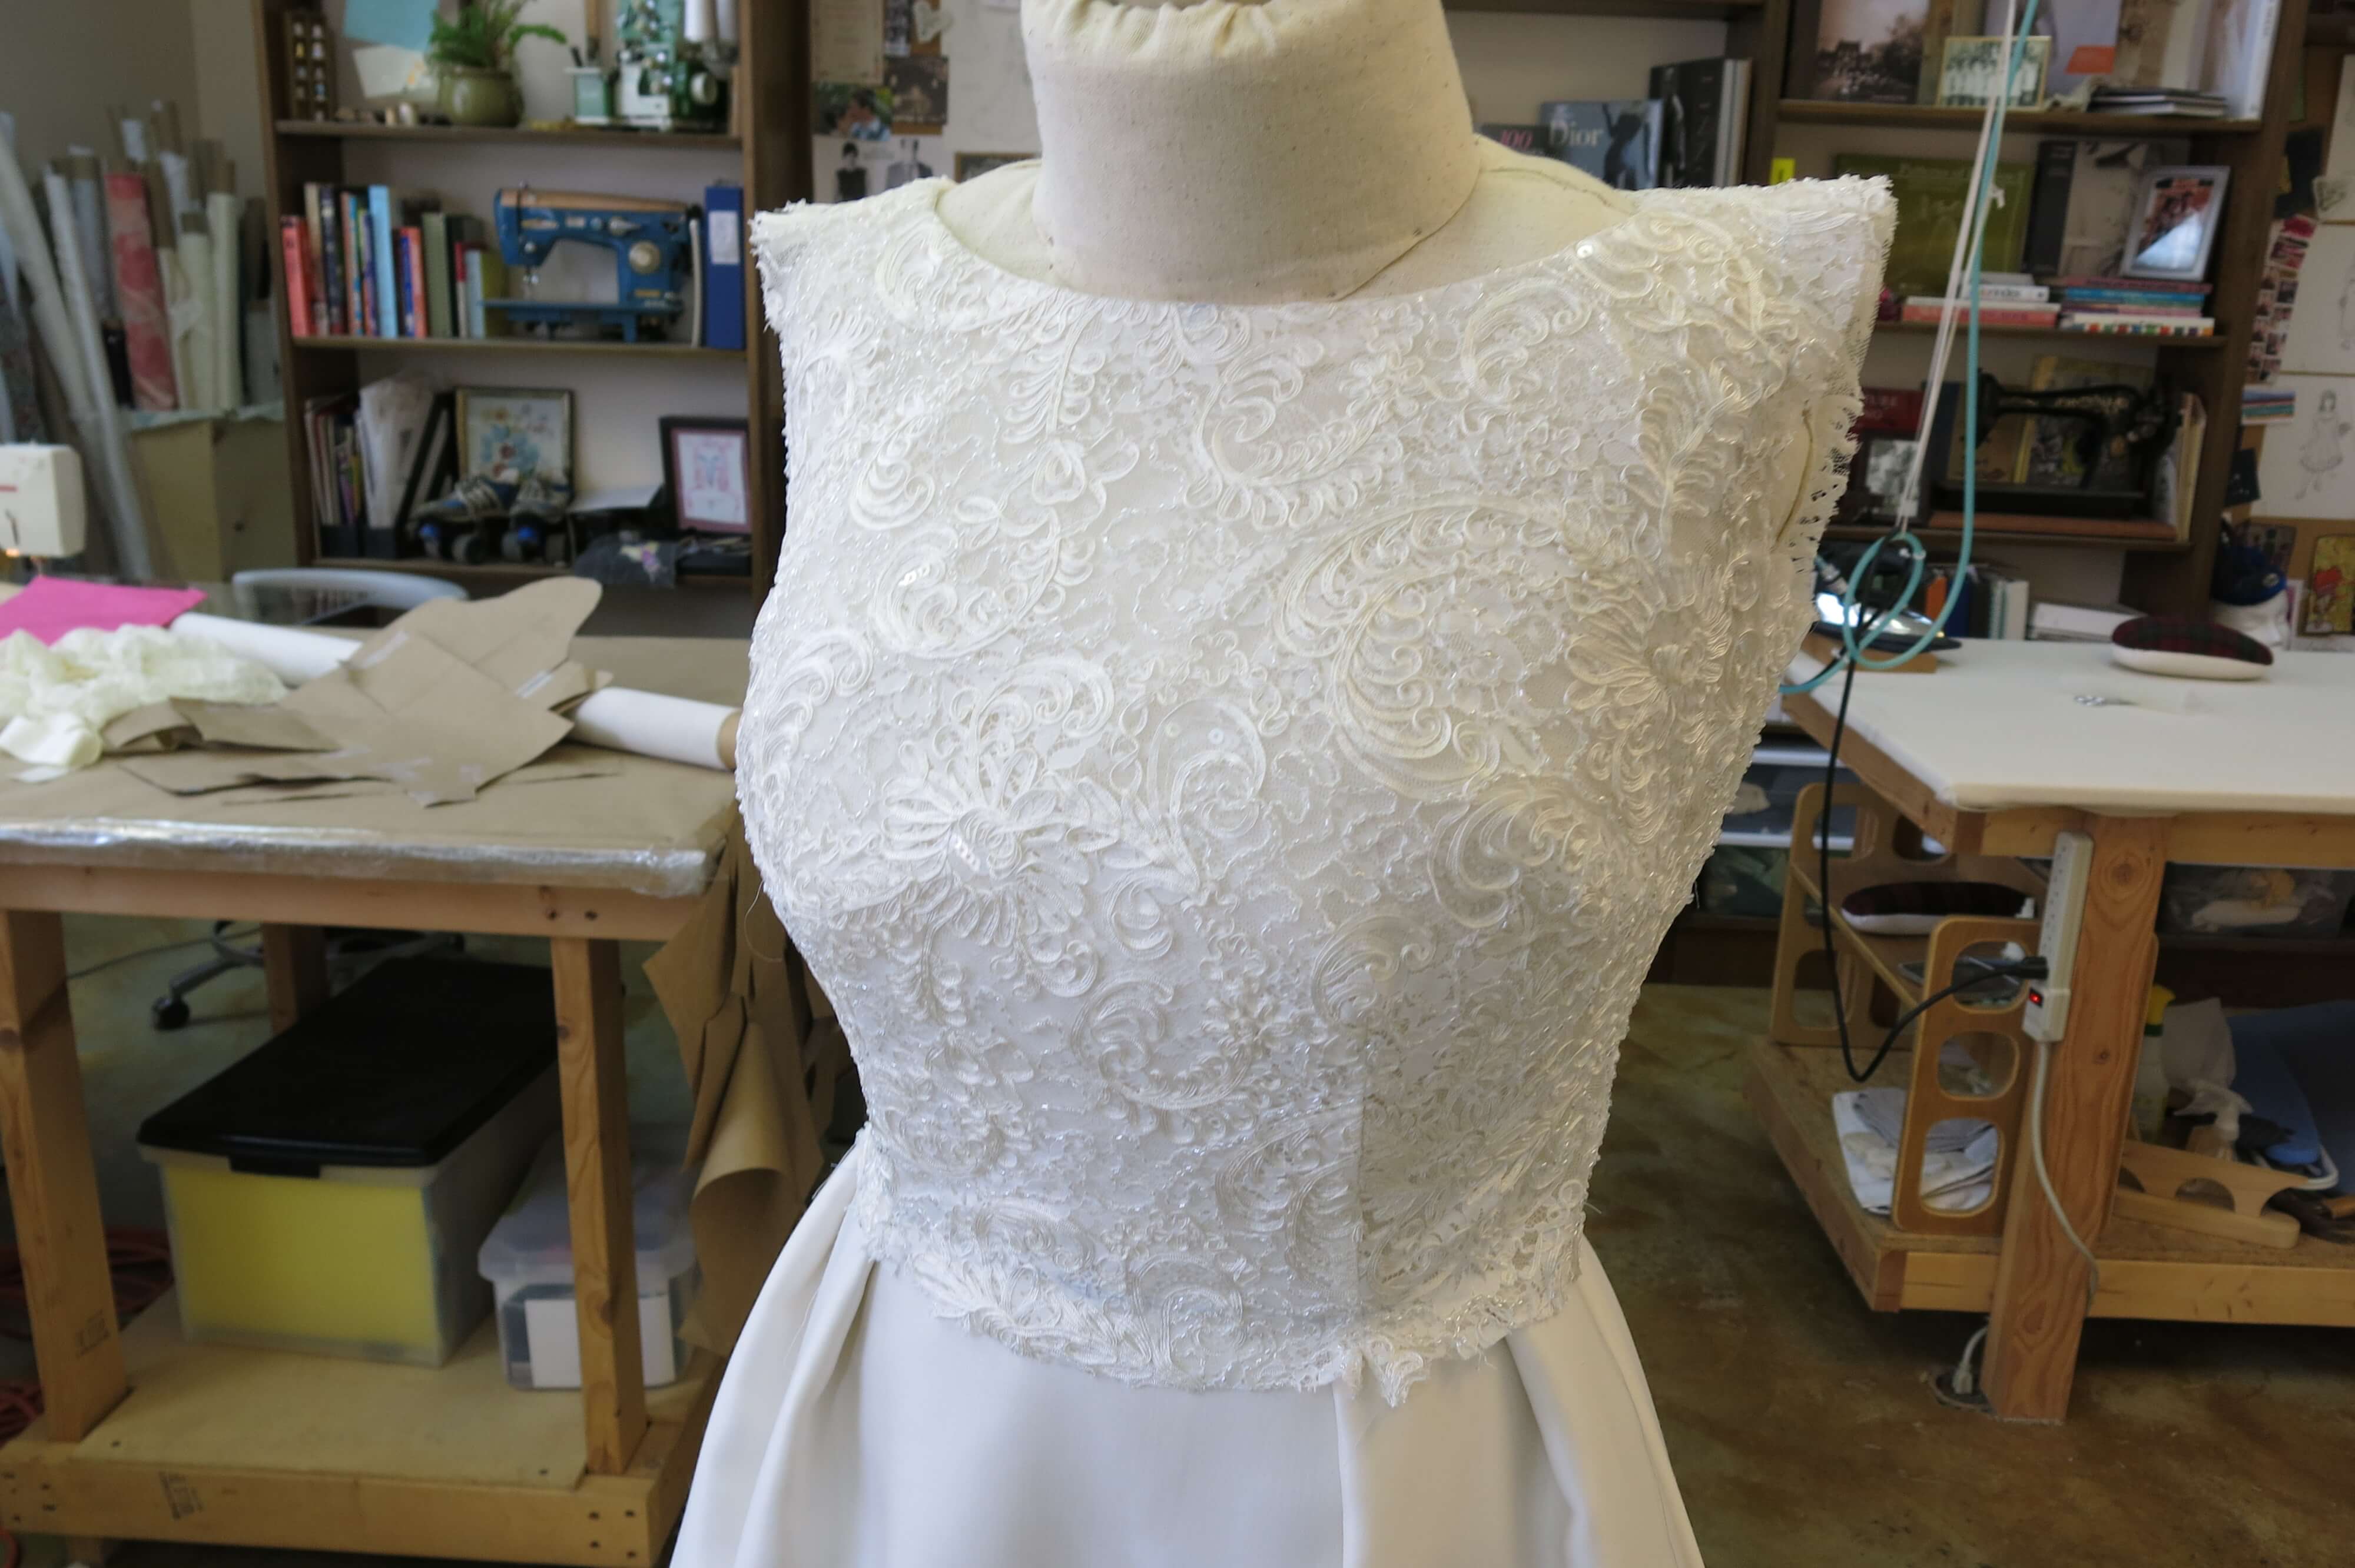
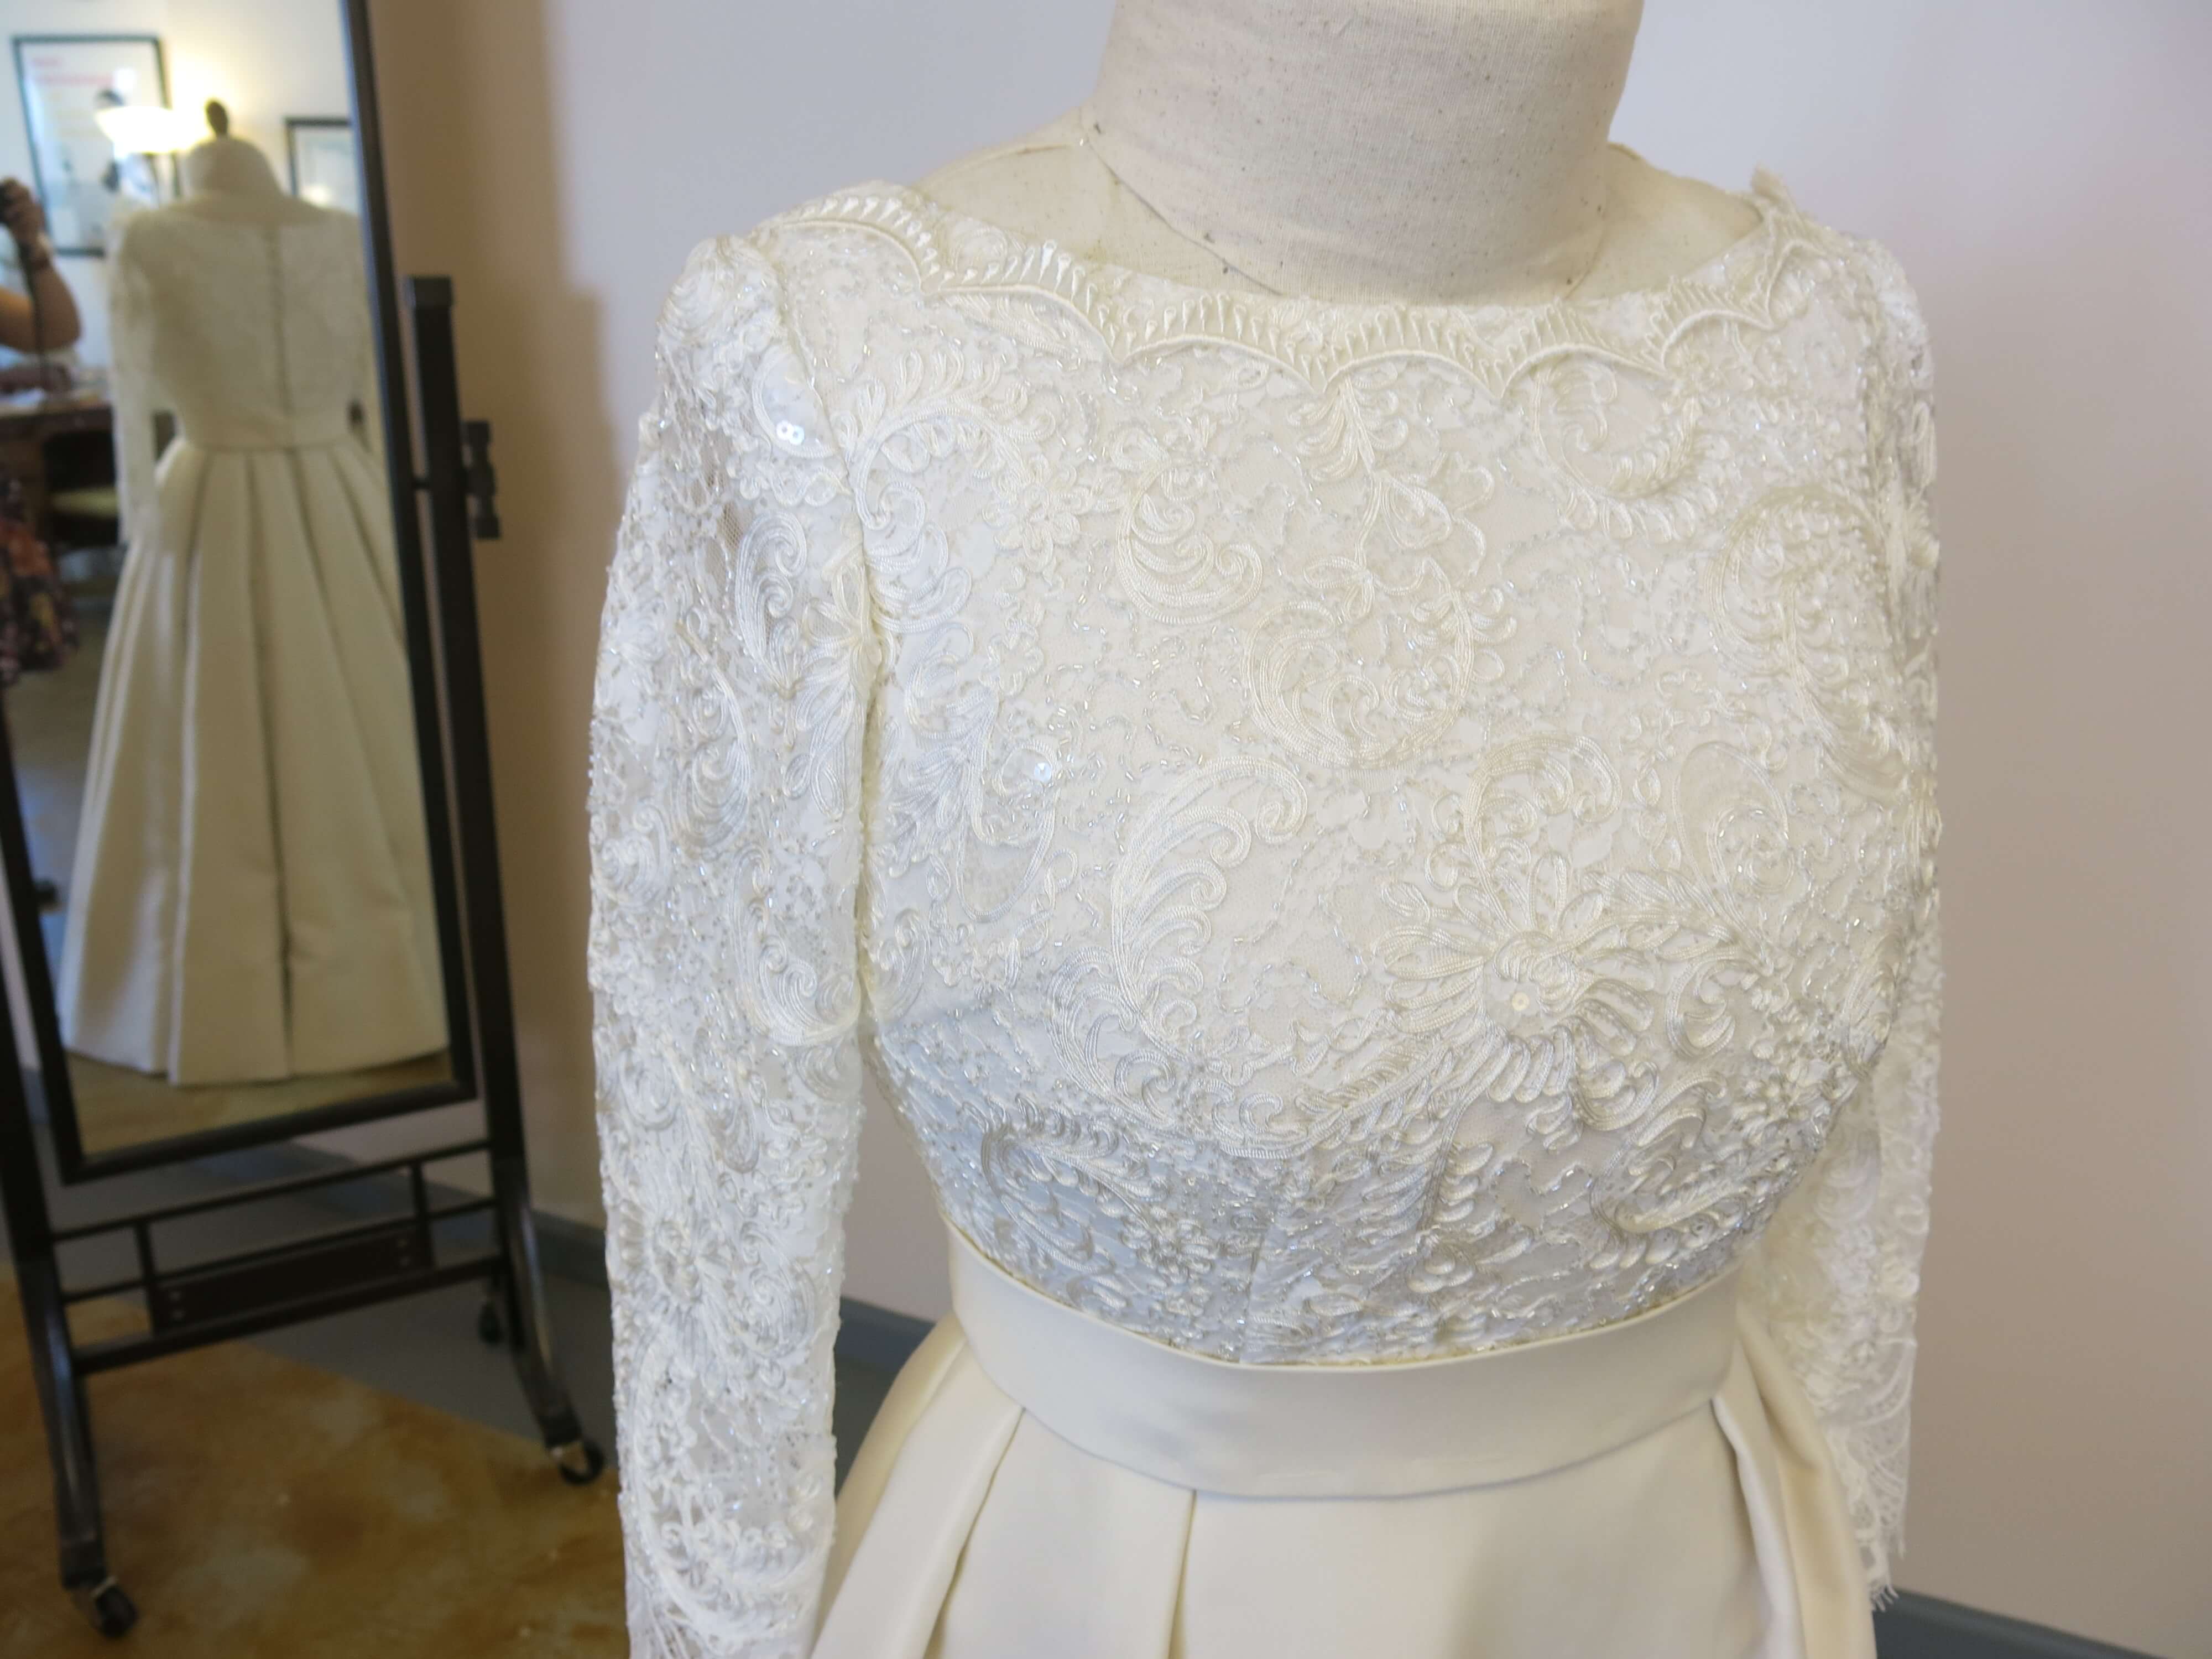
Once her sleeveless wedding dress was fitting-ready, it was time to create the long-sleeved lace top that Deborah would wear over it during her wedding ceremony. The lace she chose is gorgeous ya’ll!
Since we spent so much time fitting and perfecting the top of the sleeveless dress via mockups, I was fairly confident that its corrected custom drafted pattern would be an excellent starting point for the removable lace top. I’d go ahead and line and mostly compete it, even though we had yet to try it on. My plan was to leave the shoulders basted (like I did with the dress) and the sleeves basted. Since we made changes to the armhole and shoulder since trying on the mockup sleeves, I also made sure that I had enough fabric to recut new sleeves after the fitting, if necessary.
Crafting the Lace Top
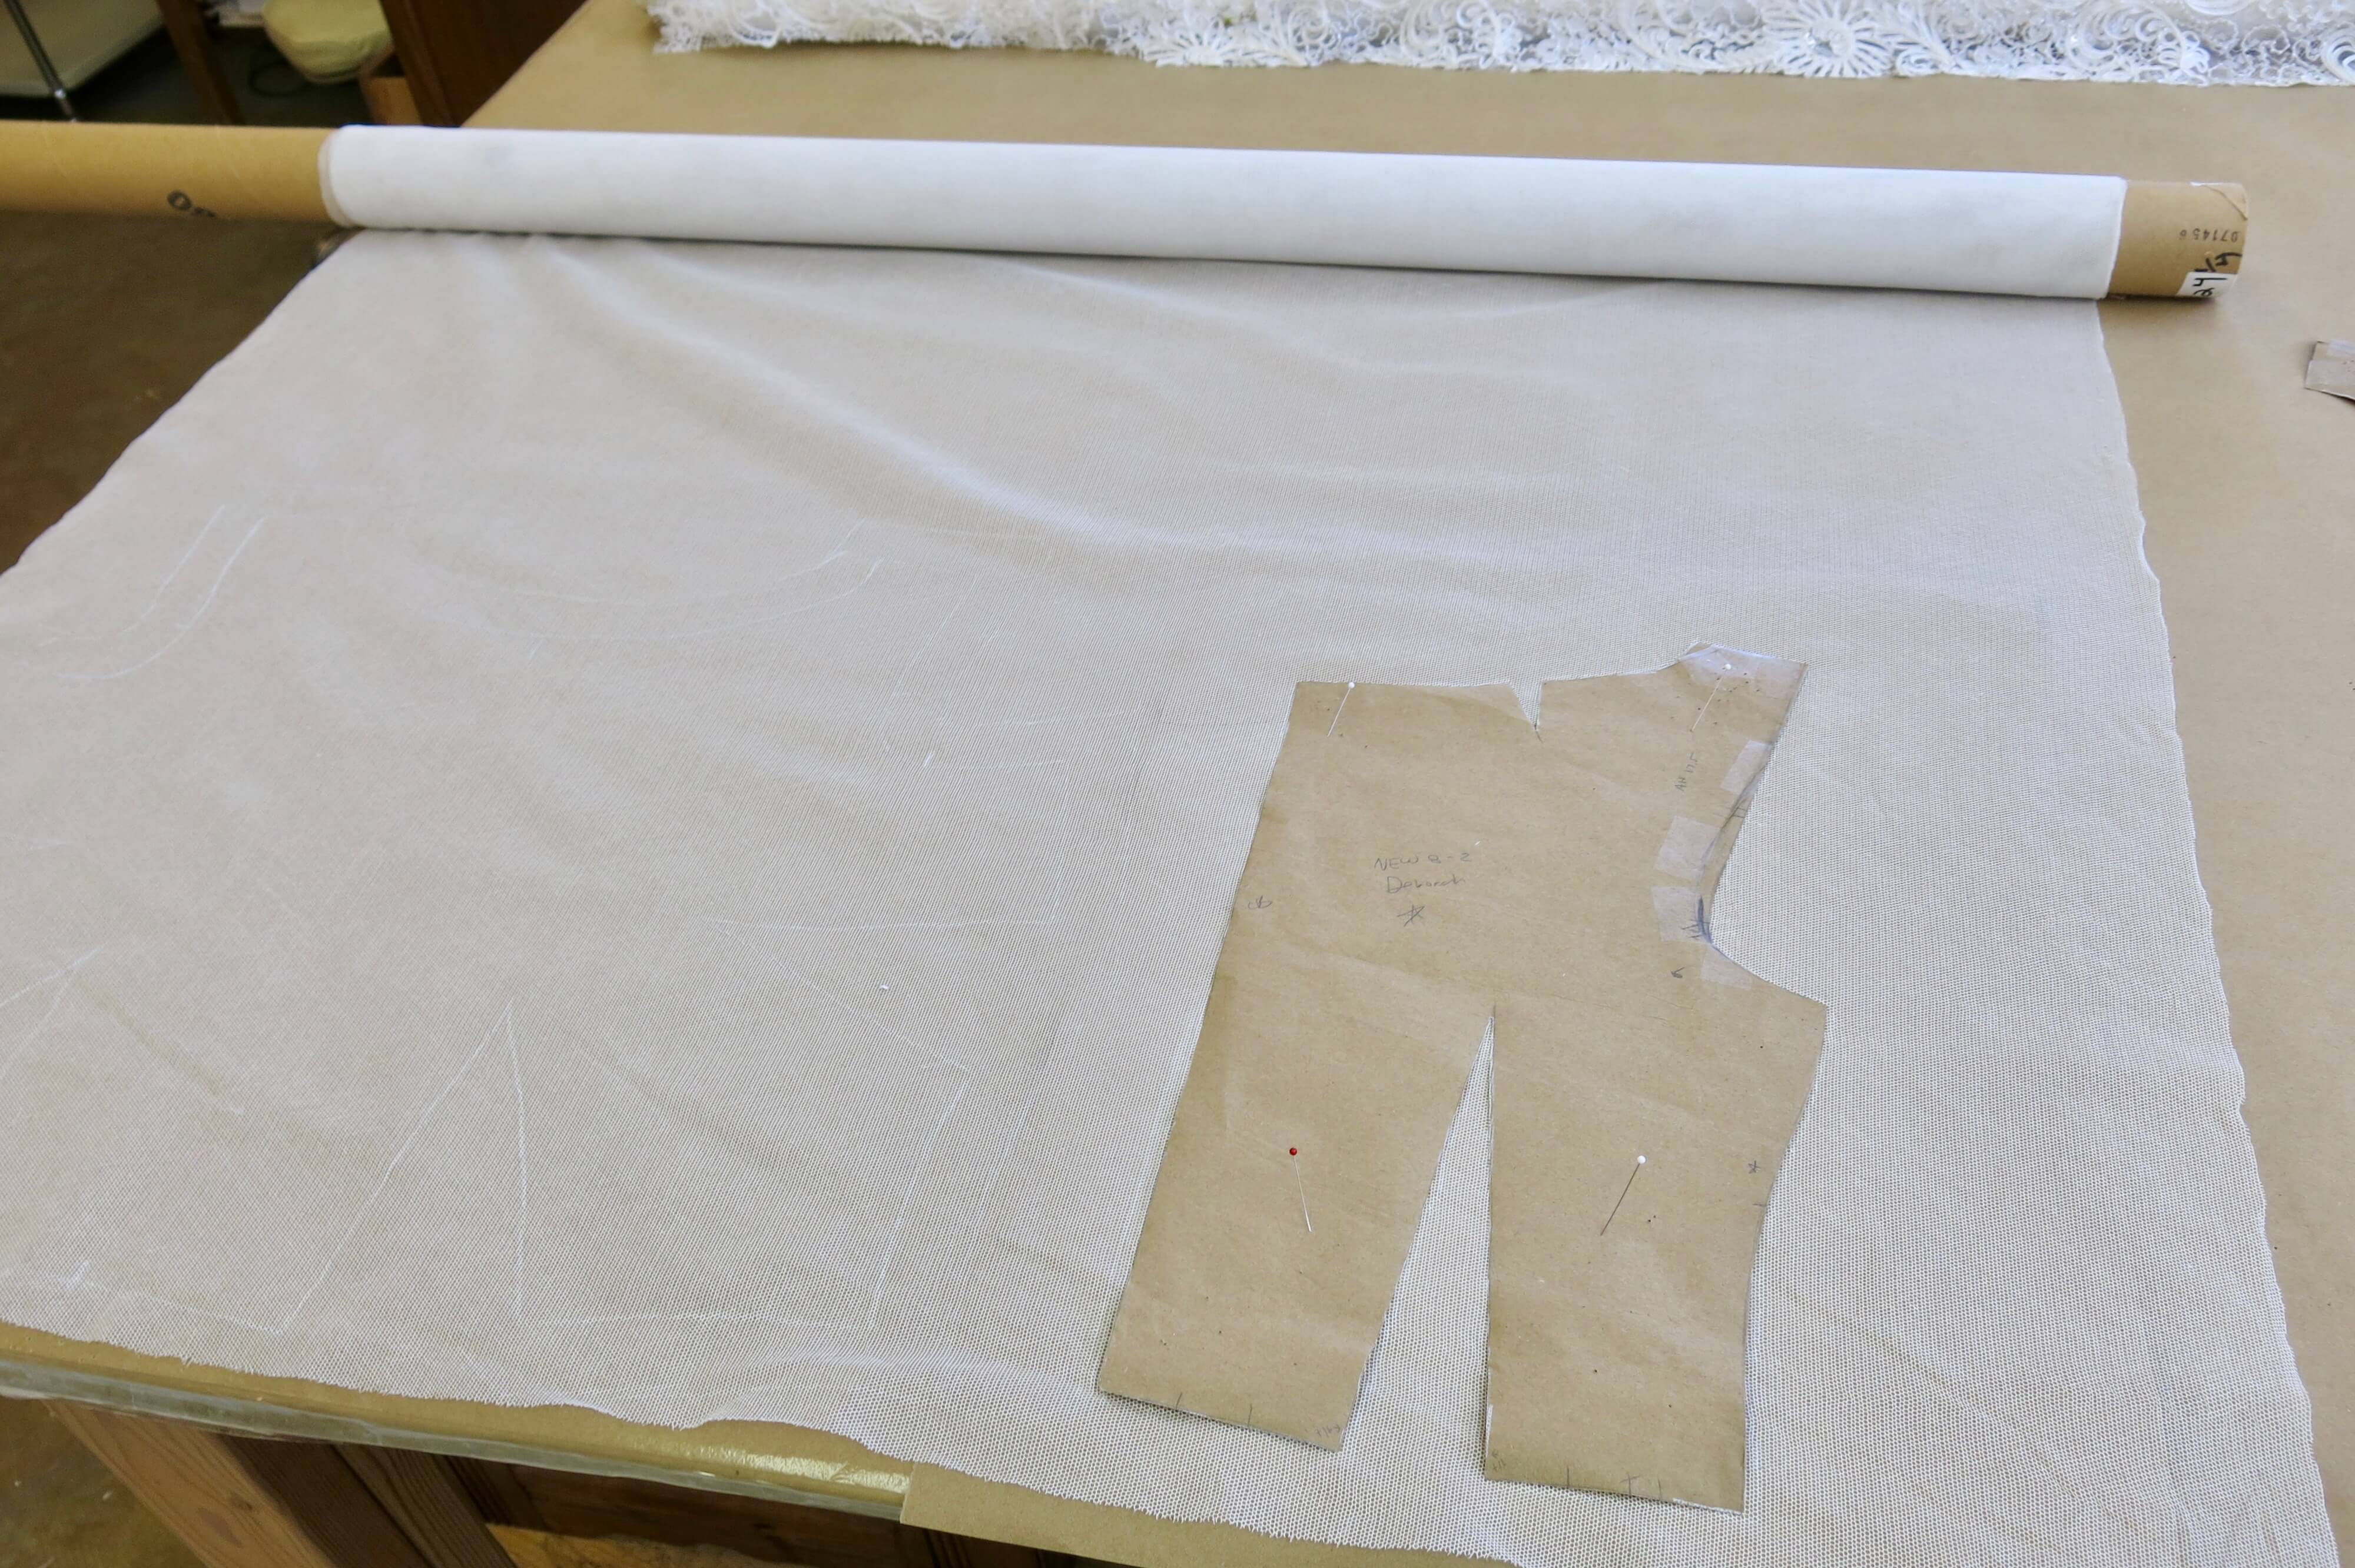
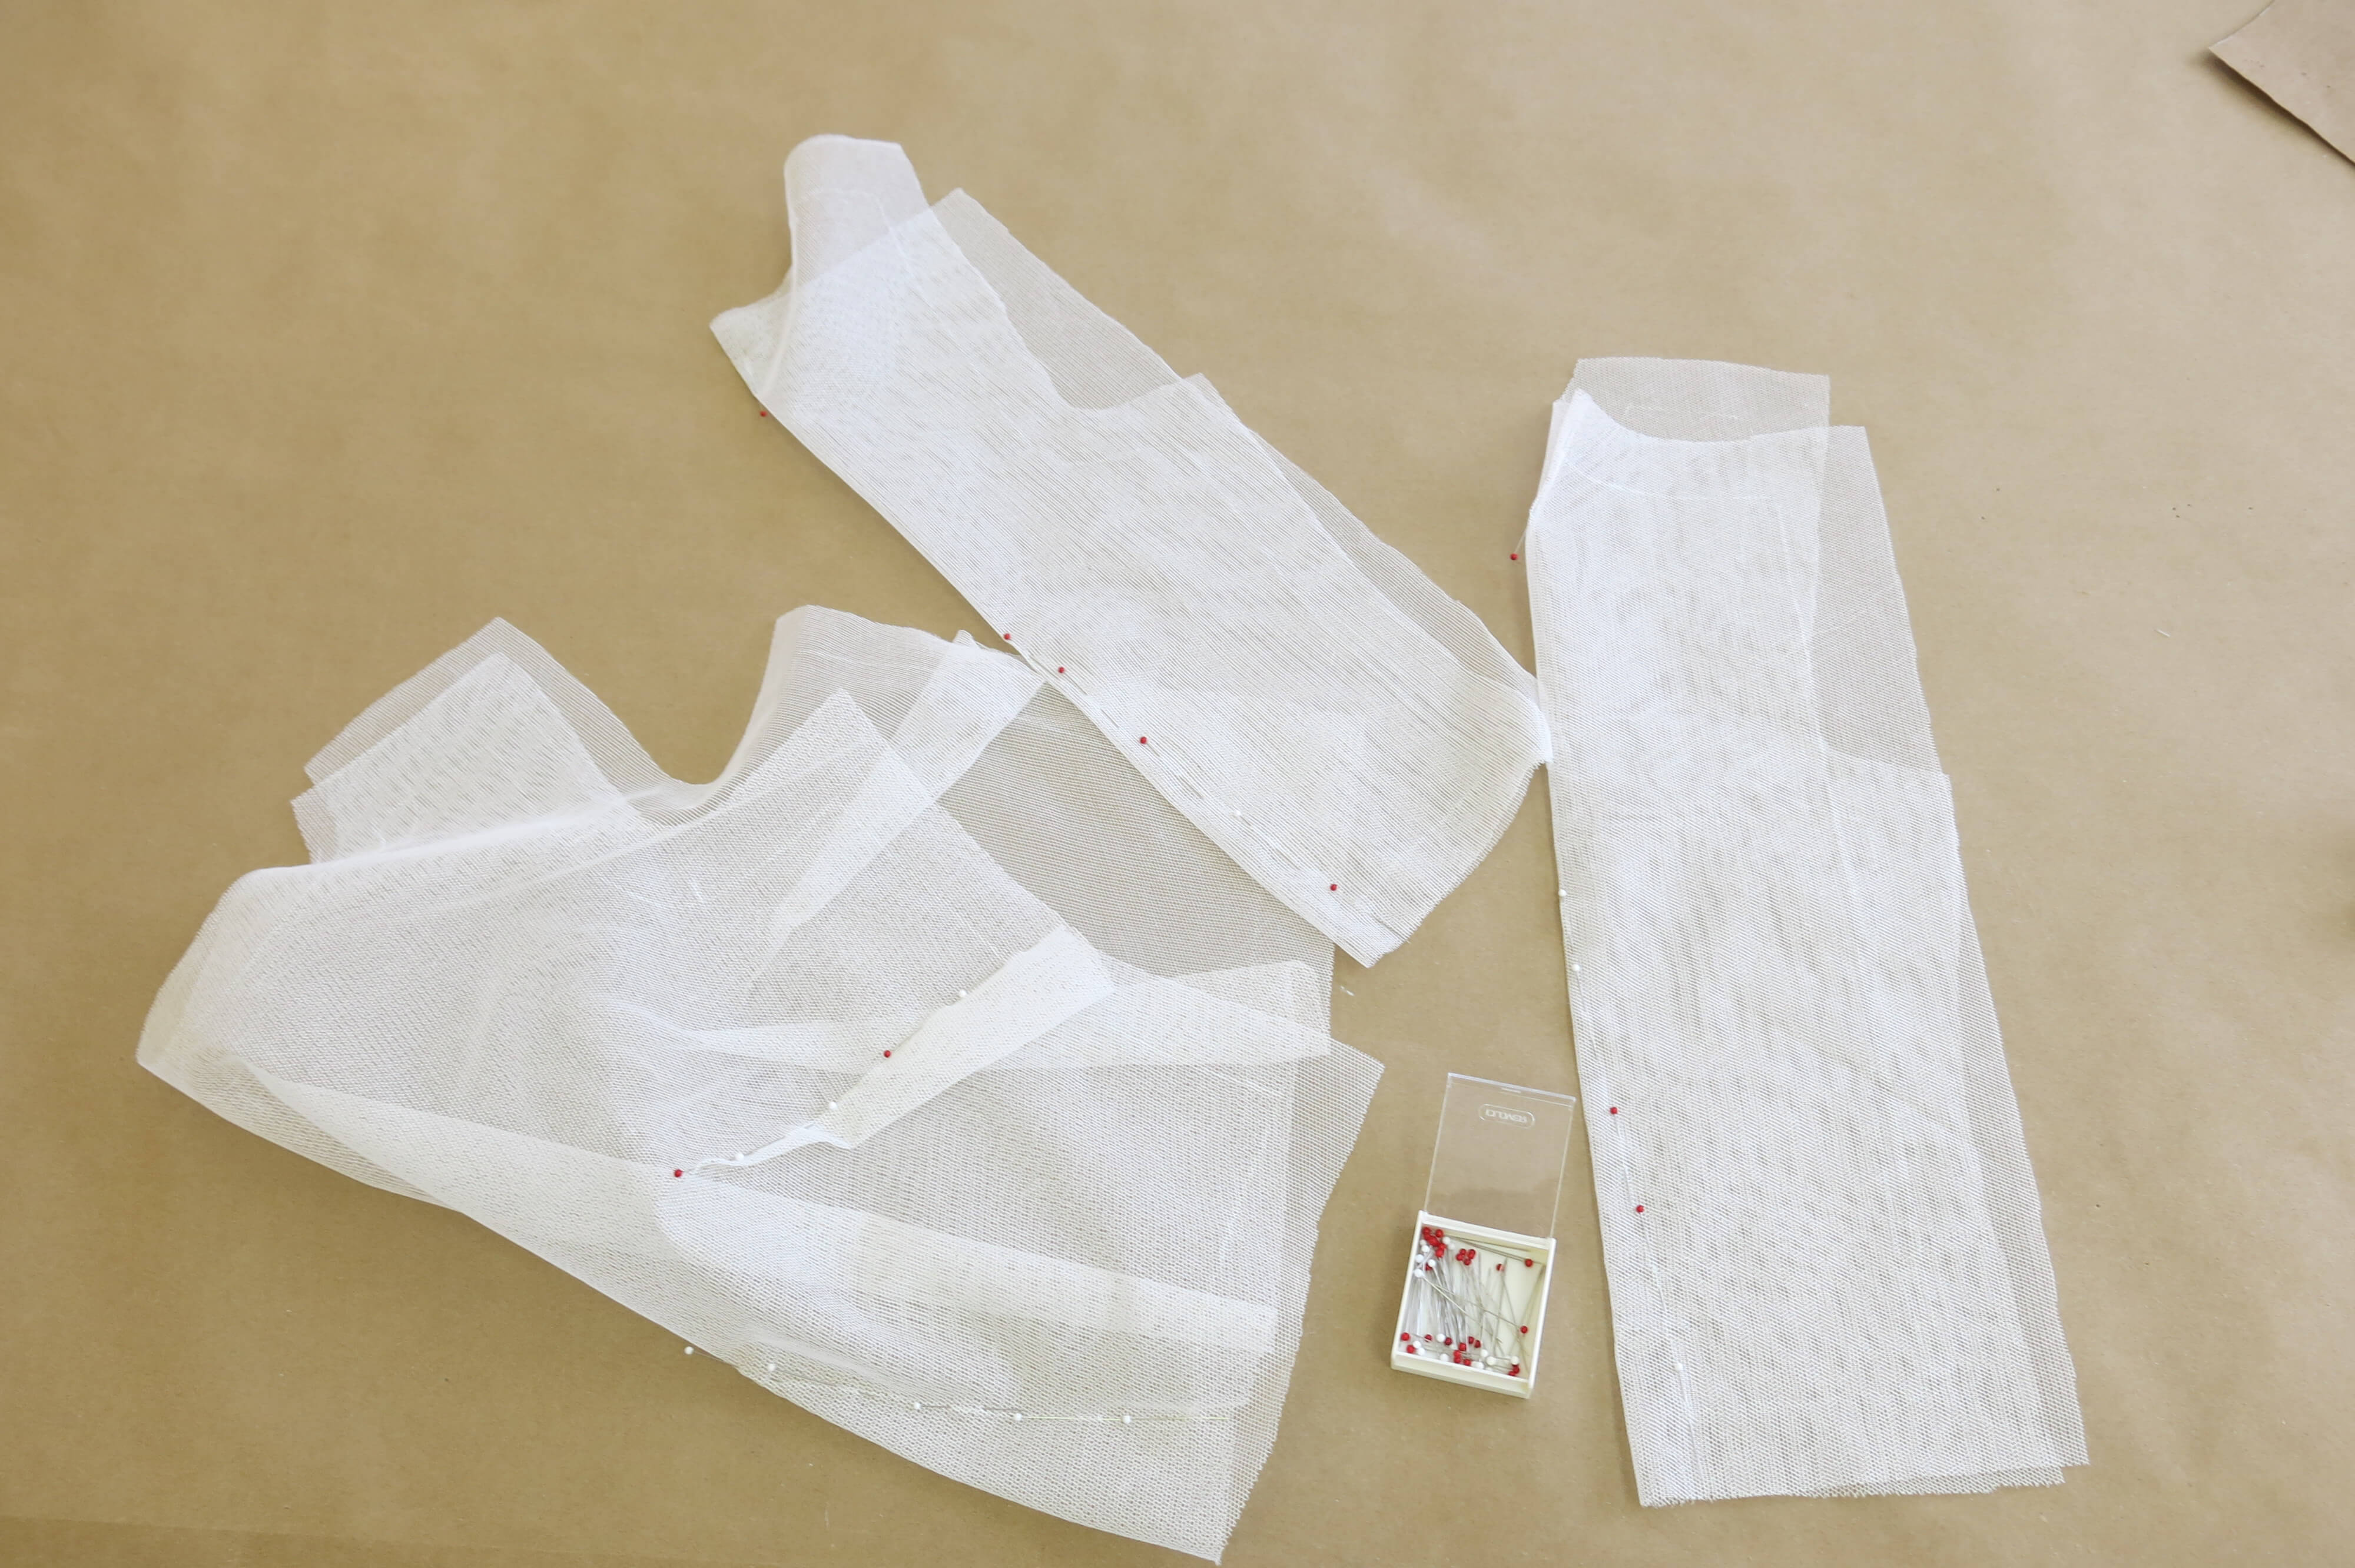
I started by using my self-drafted patterns to mark and cut cotton net as the ‘lining’ for the lace top. The sheerness meant that it would not be seen when she was wearing it, but it would hide all the inner construction. This top would be a separate garment removed for the reception, so it needed to look beautiful inside and out.
I used white pencils to mark the white fabric, which you can see only if you look very closely. The entire front piece is already traced on the left next to the back pattern piece you see here on the right. If I can barely see it for construction purposes, it will never been seen in the garment itself!
Once cut out, I pinned all the darts before heading to the machine for stitching…
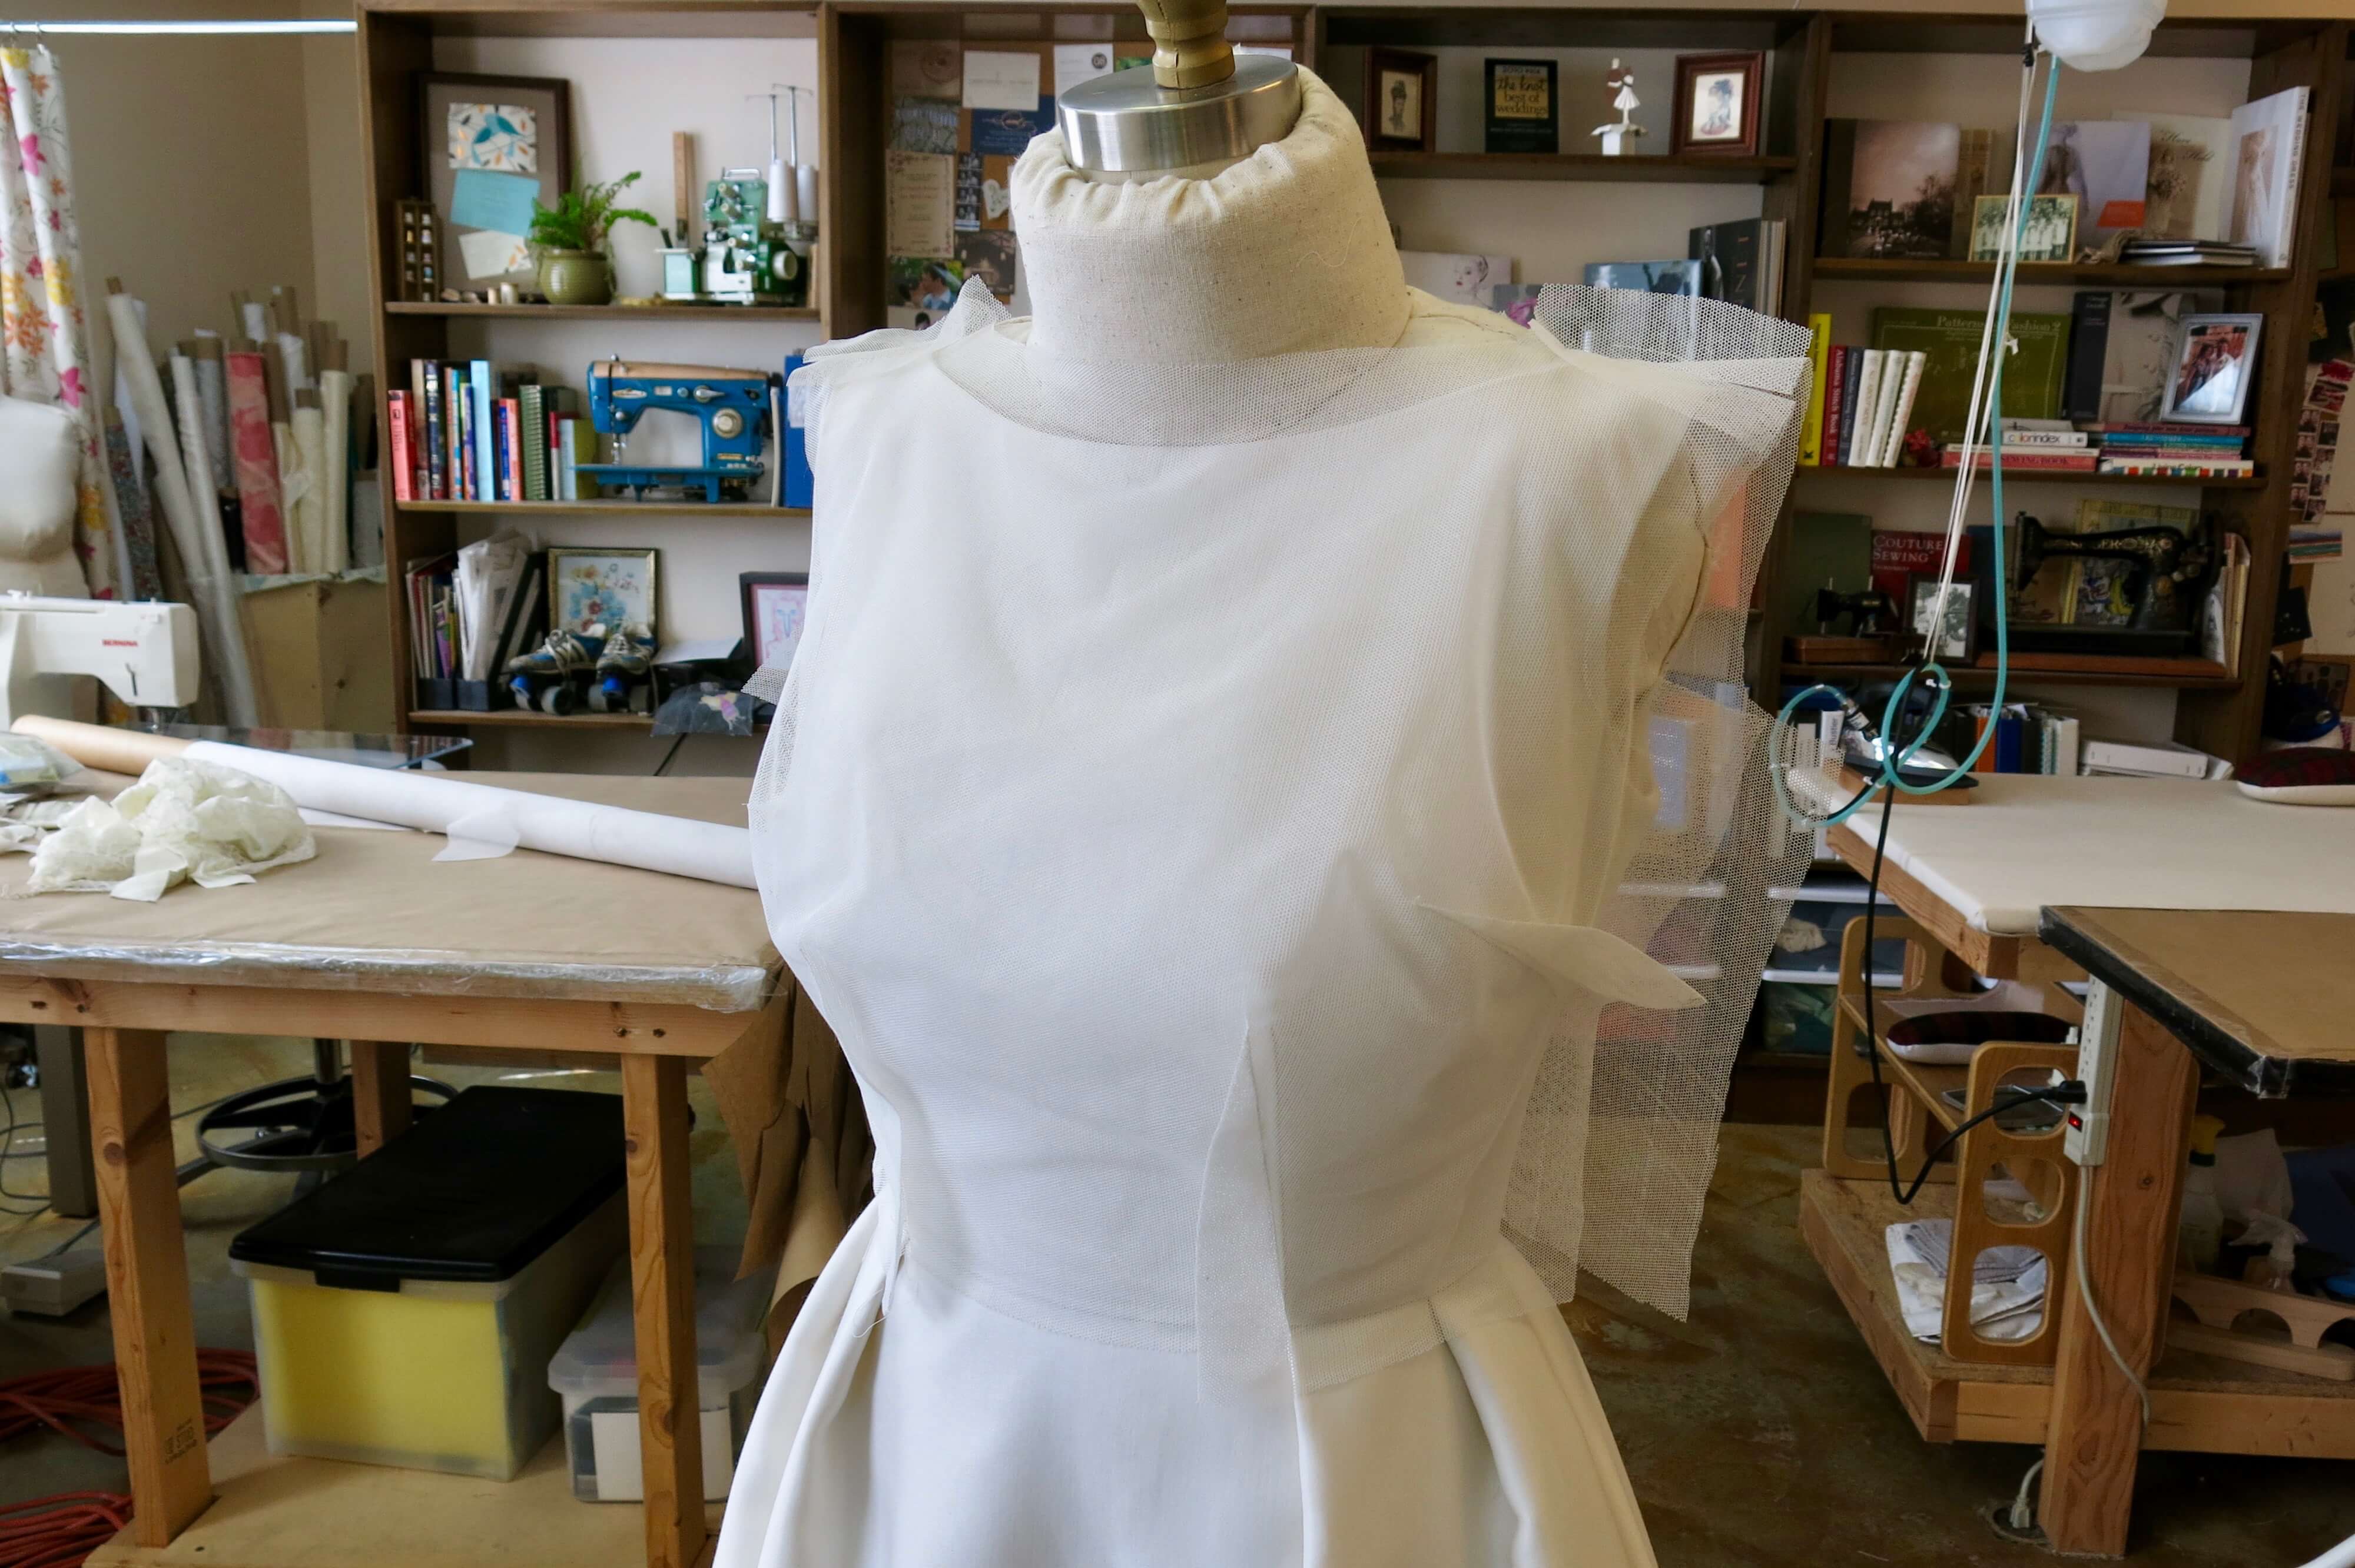
…and then double checked the fit by trying it on inside-out over the dress on her custom dress form. Looks good!
Next it was time to get the lace to the same place!
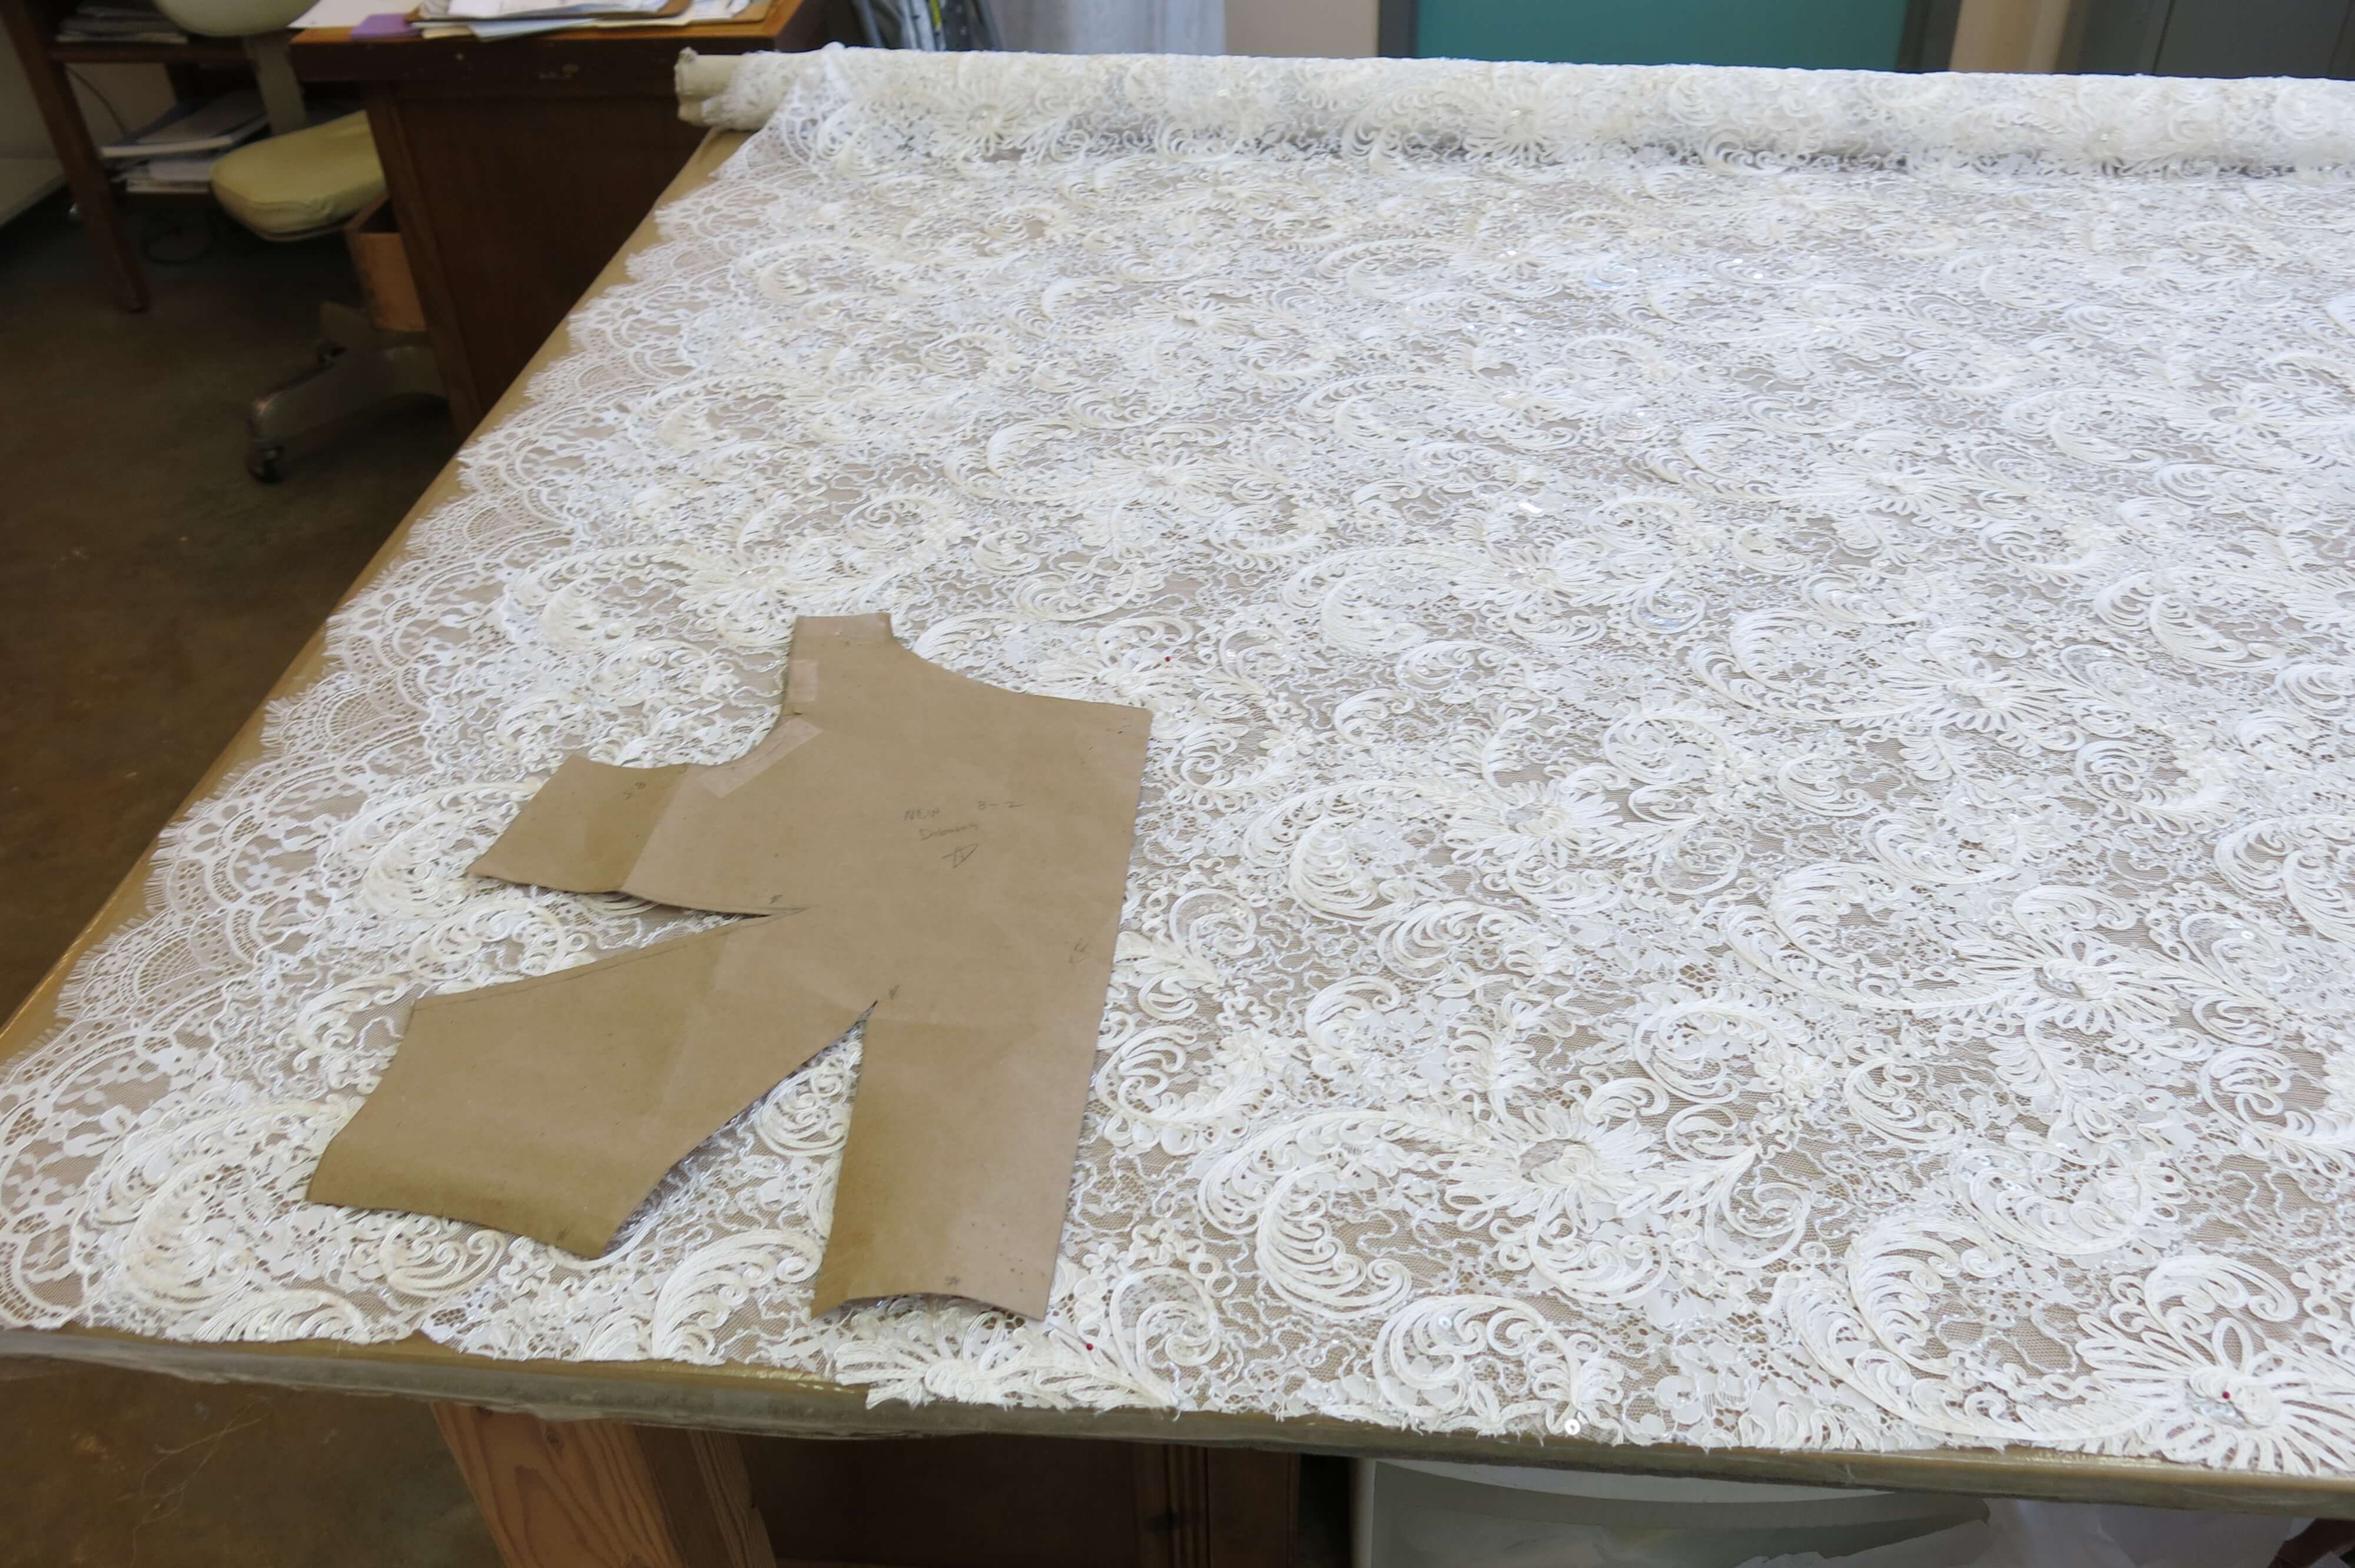
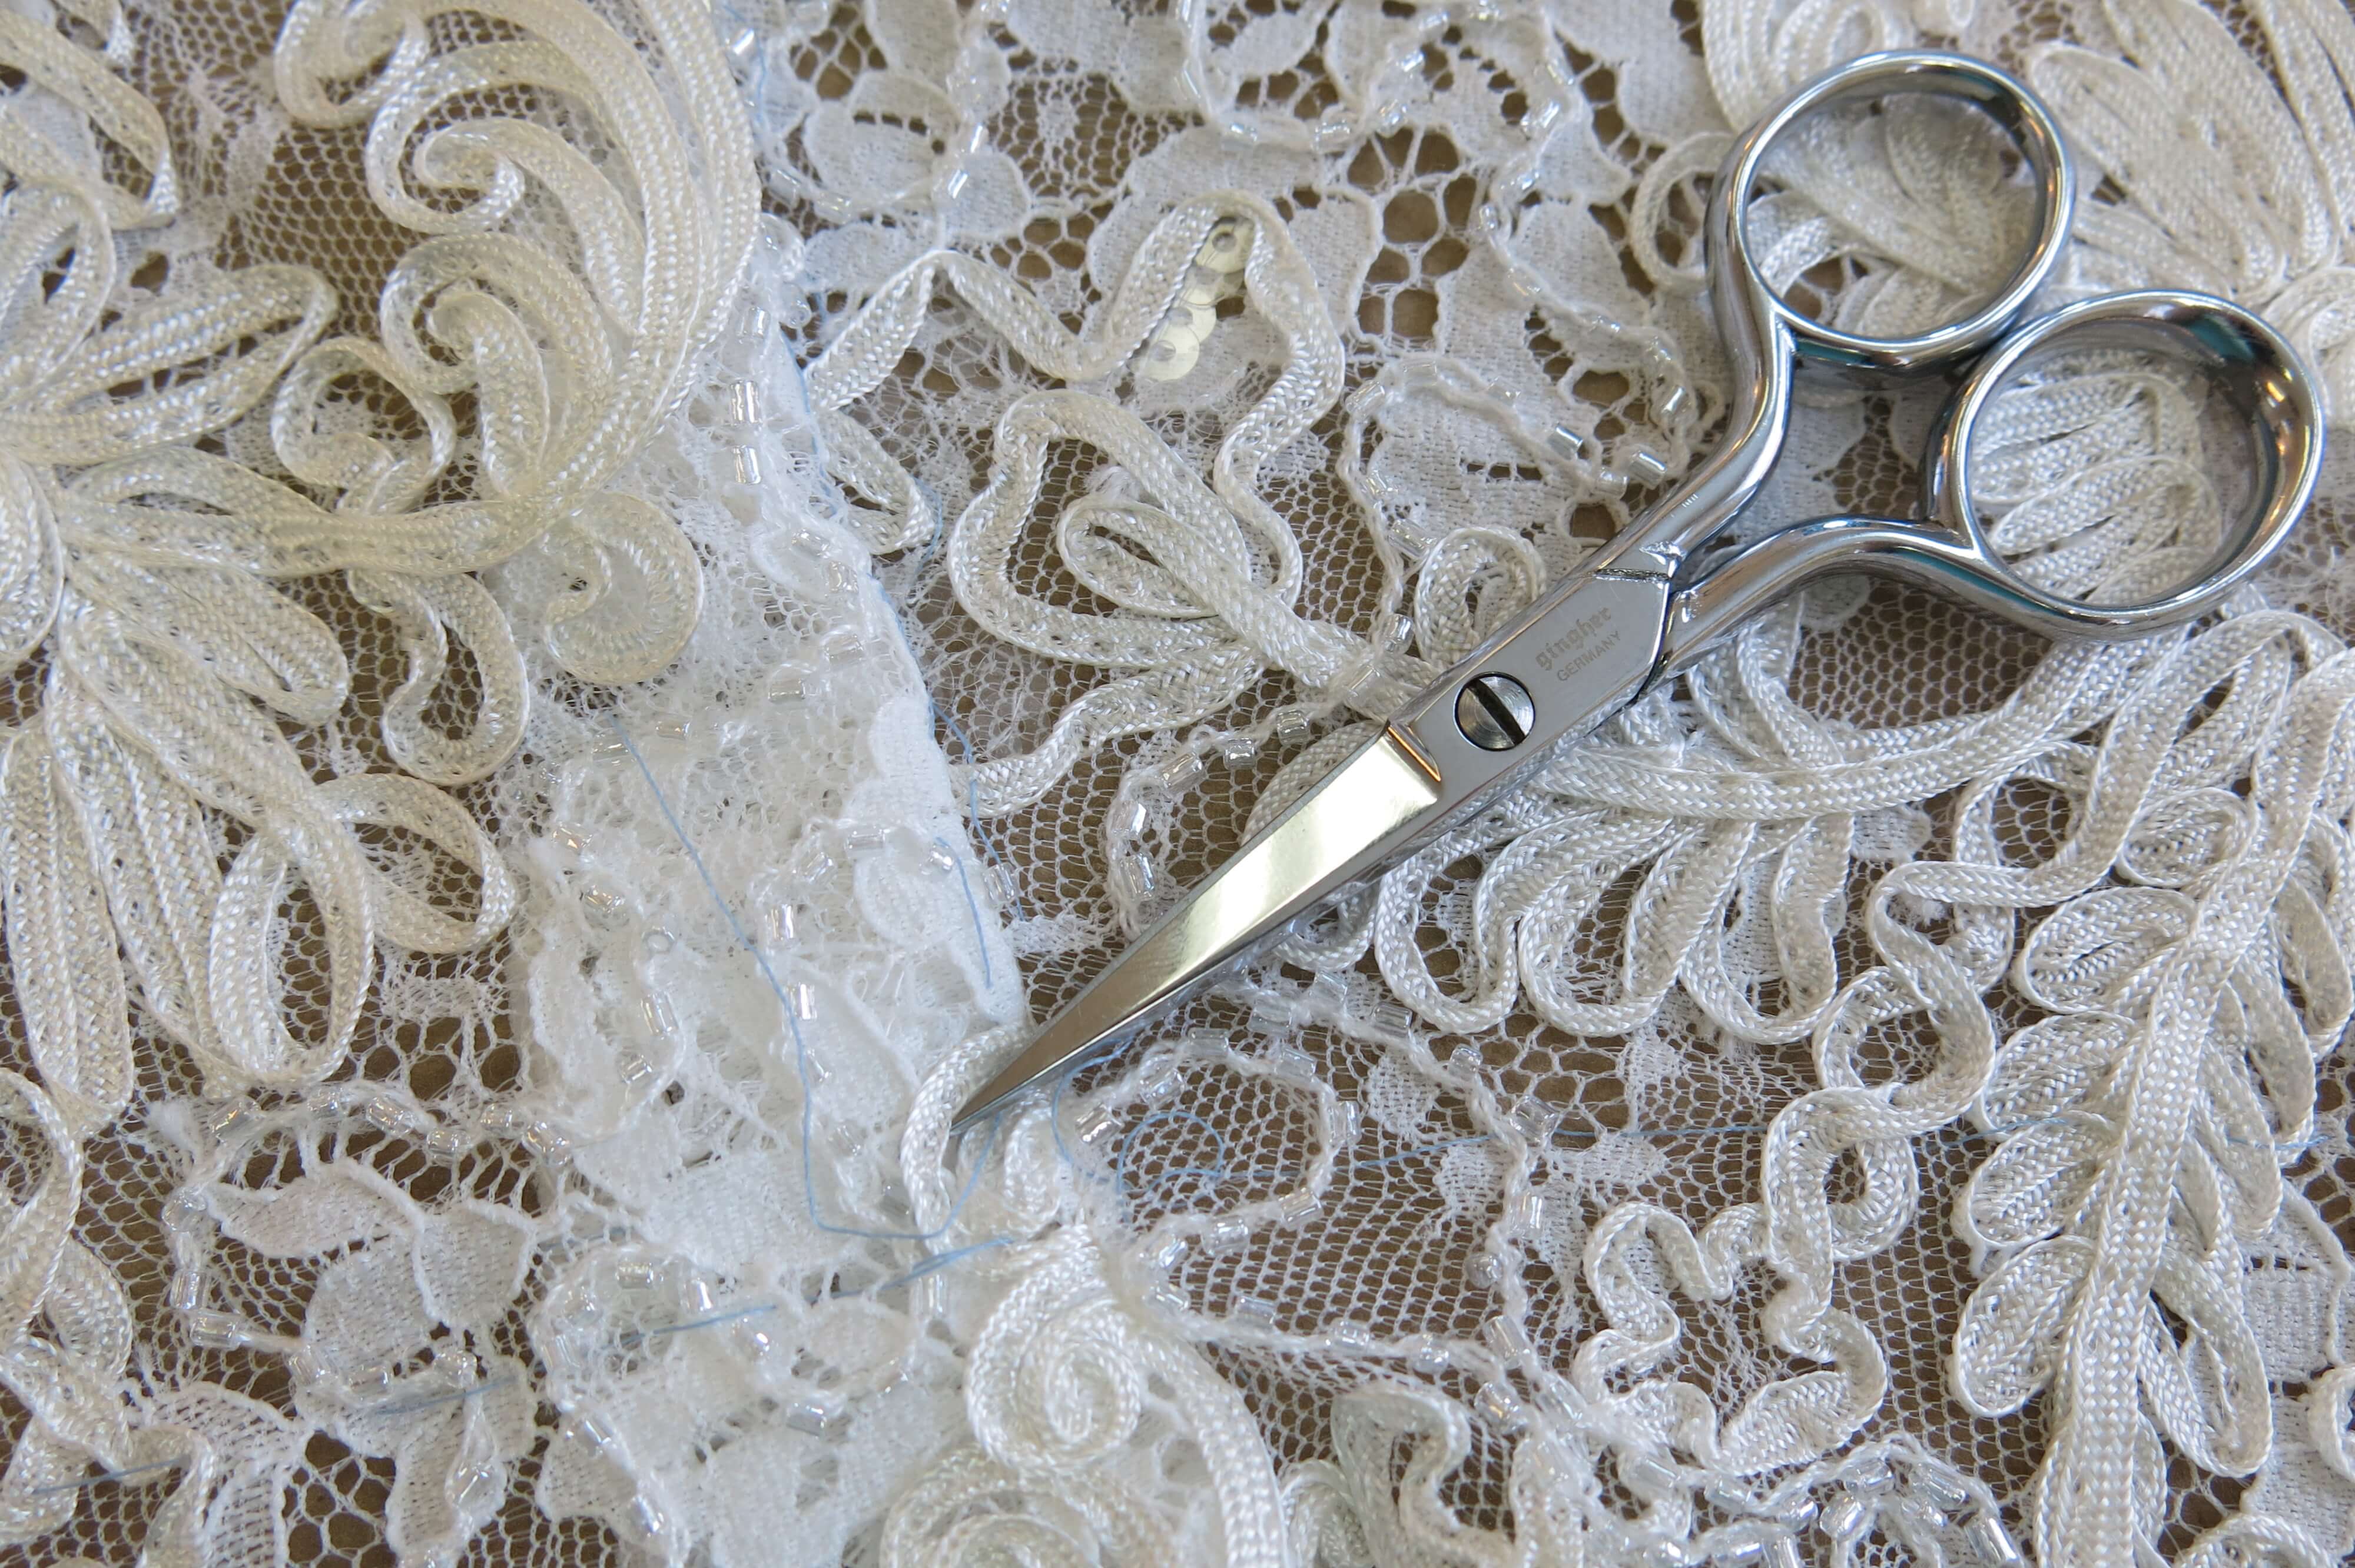
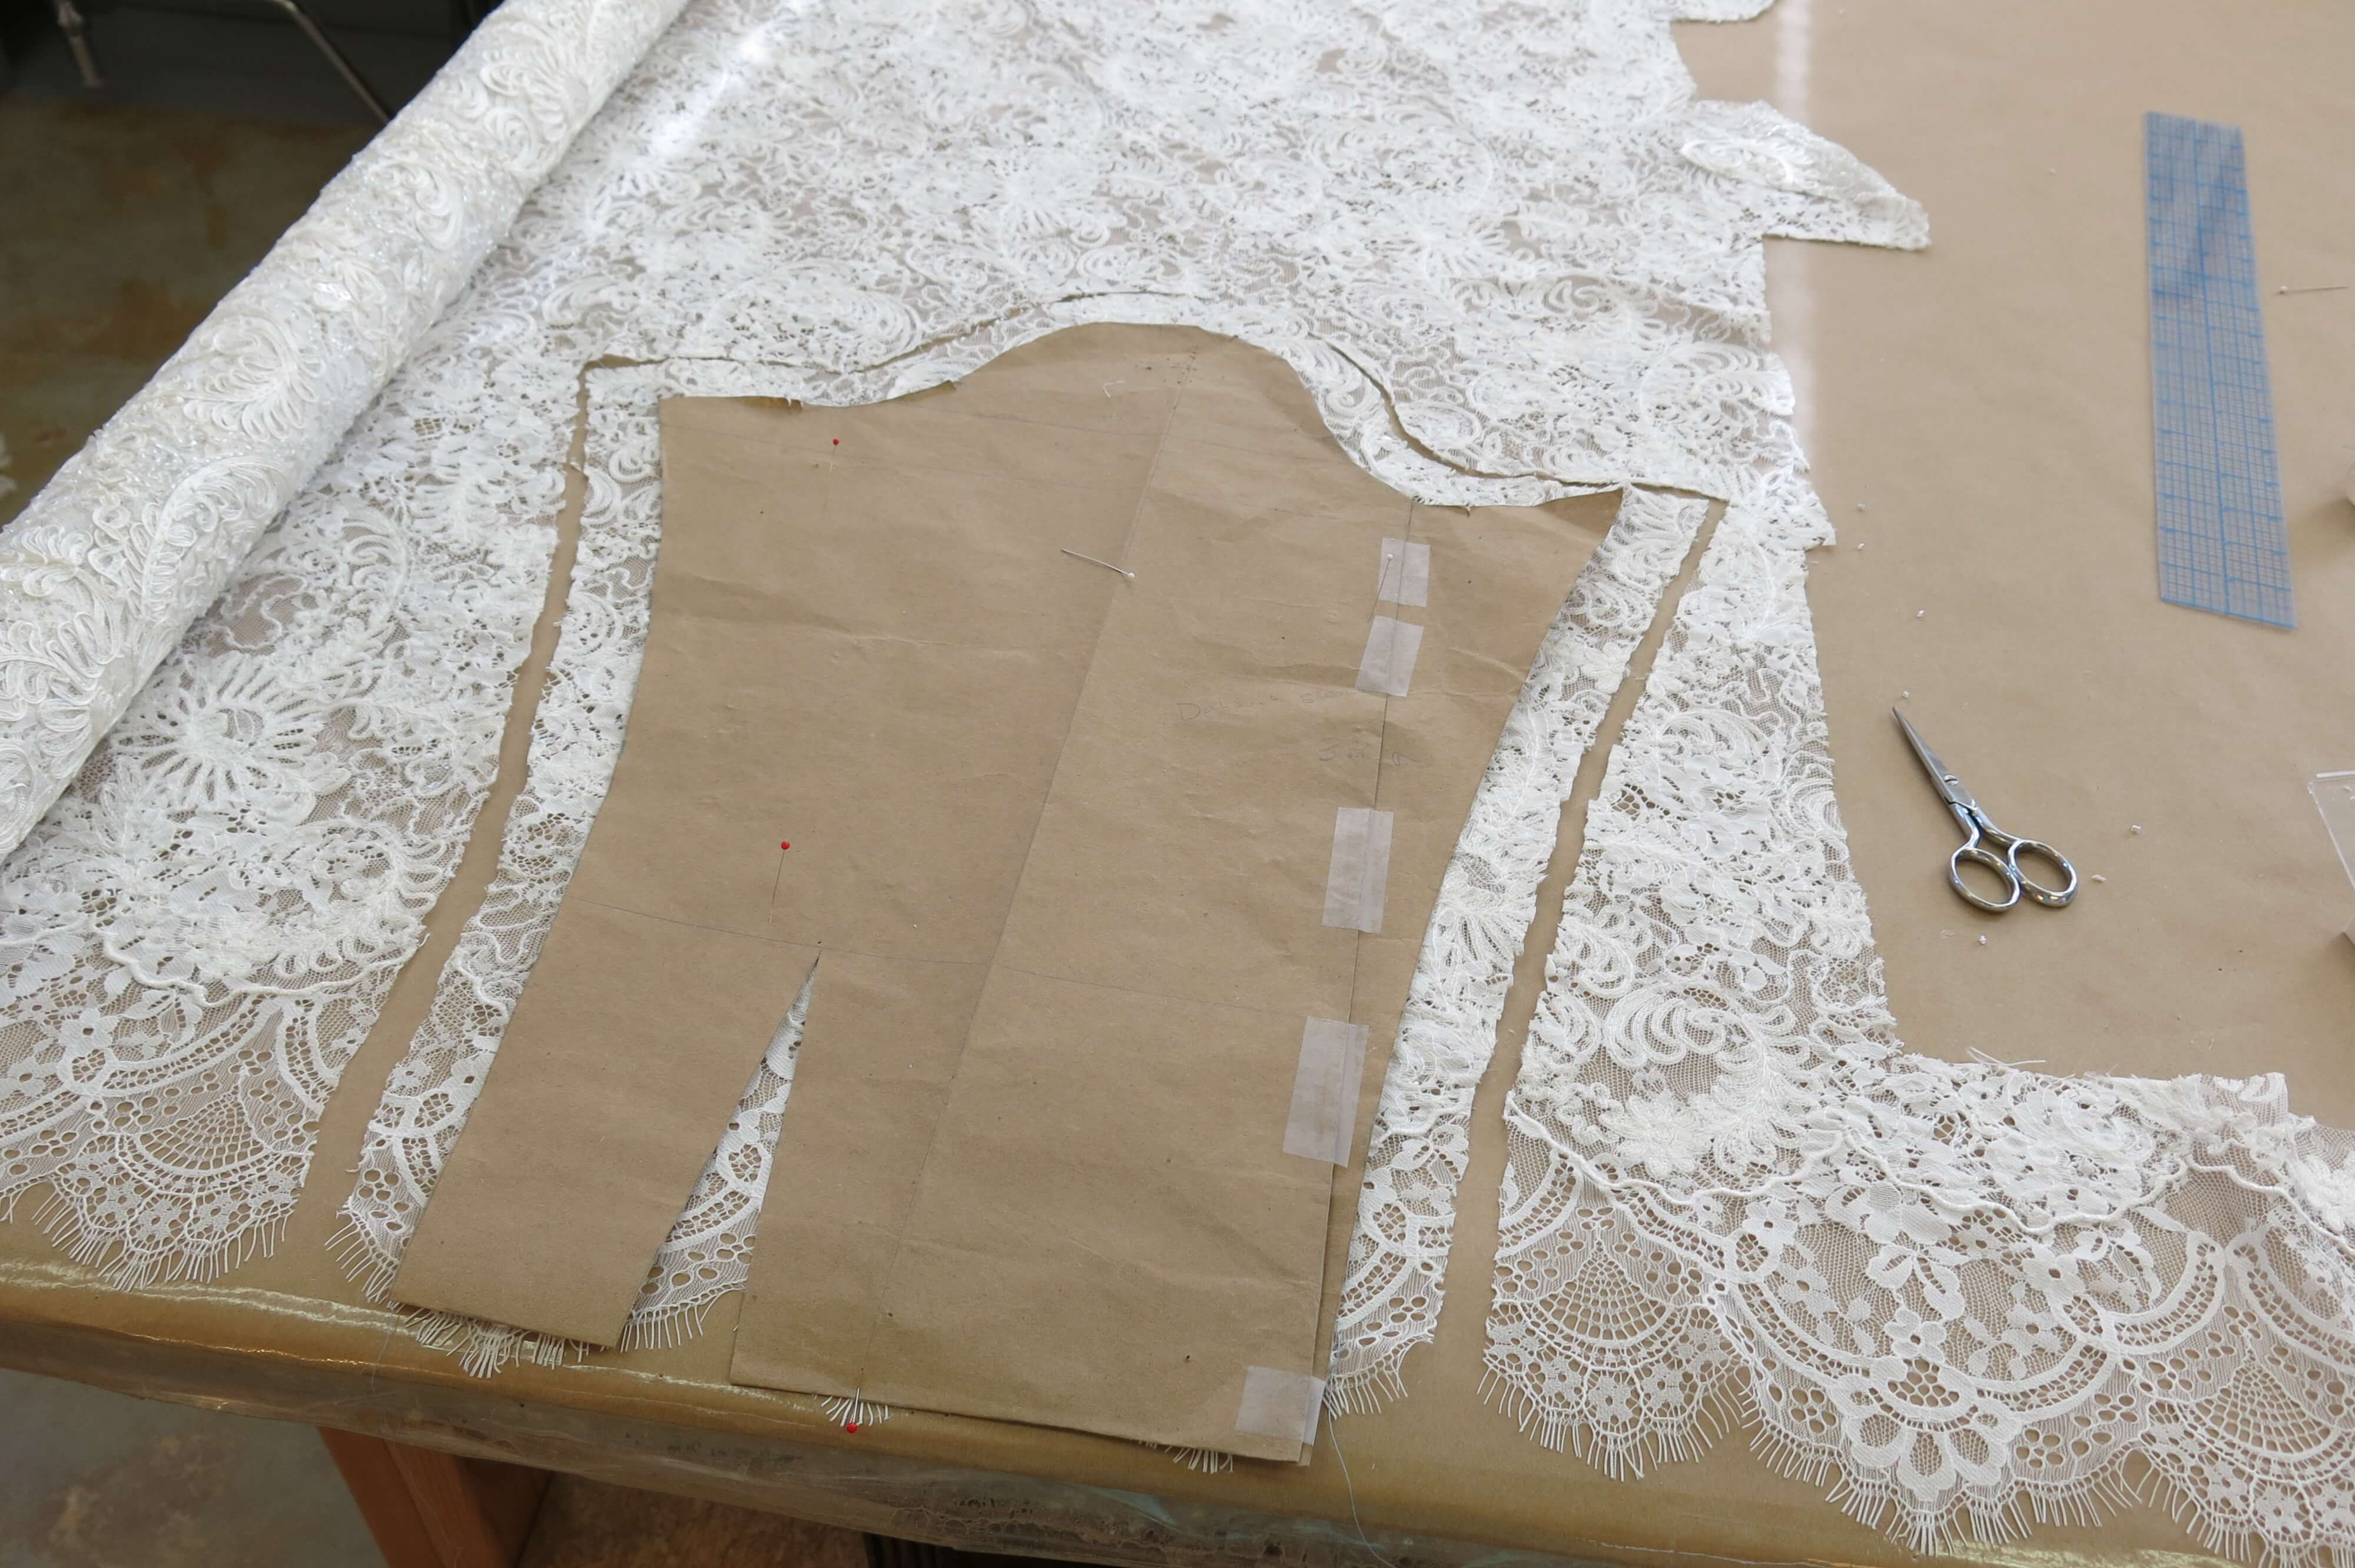
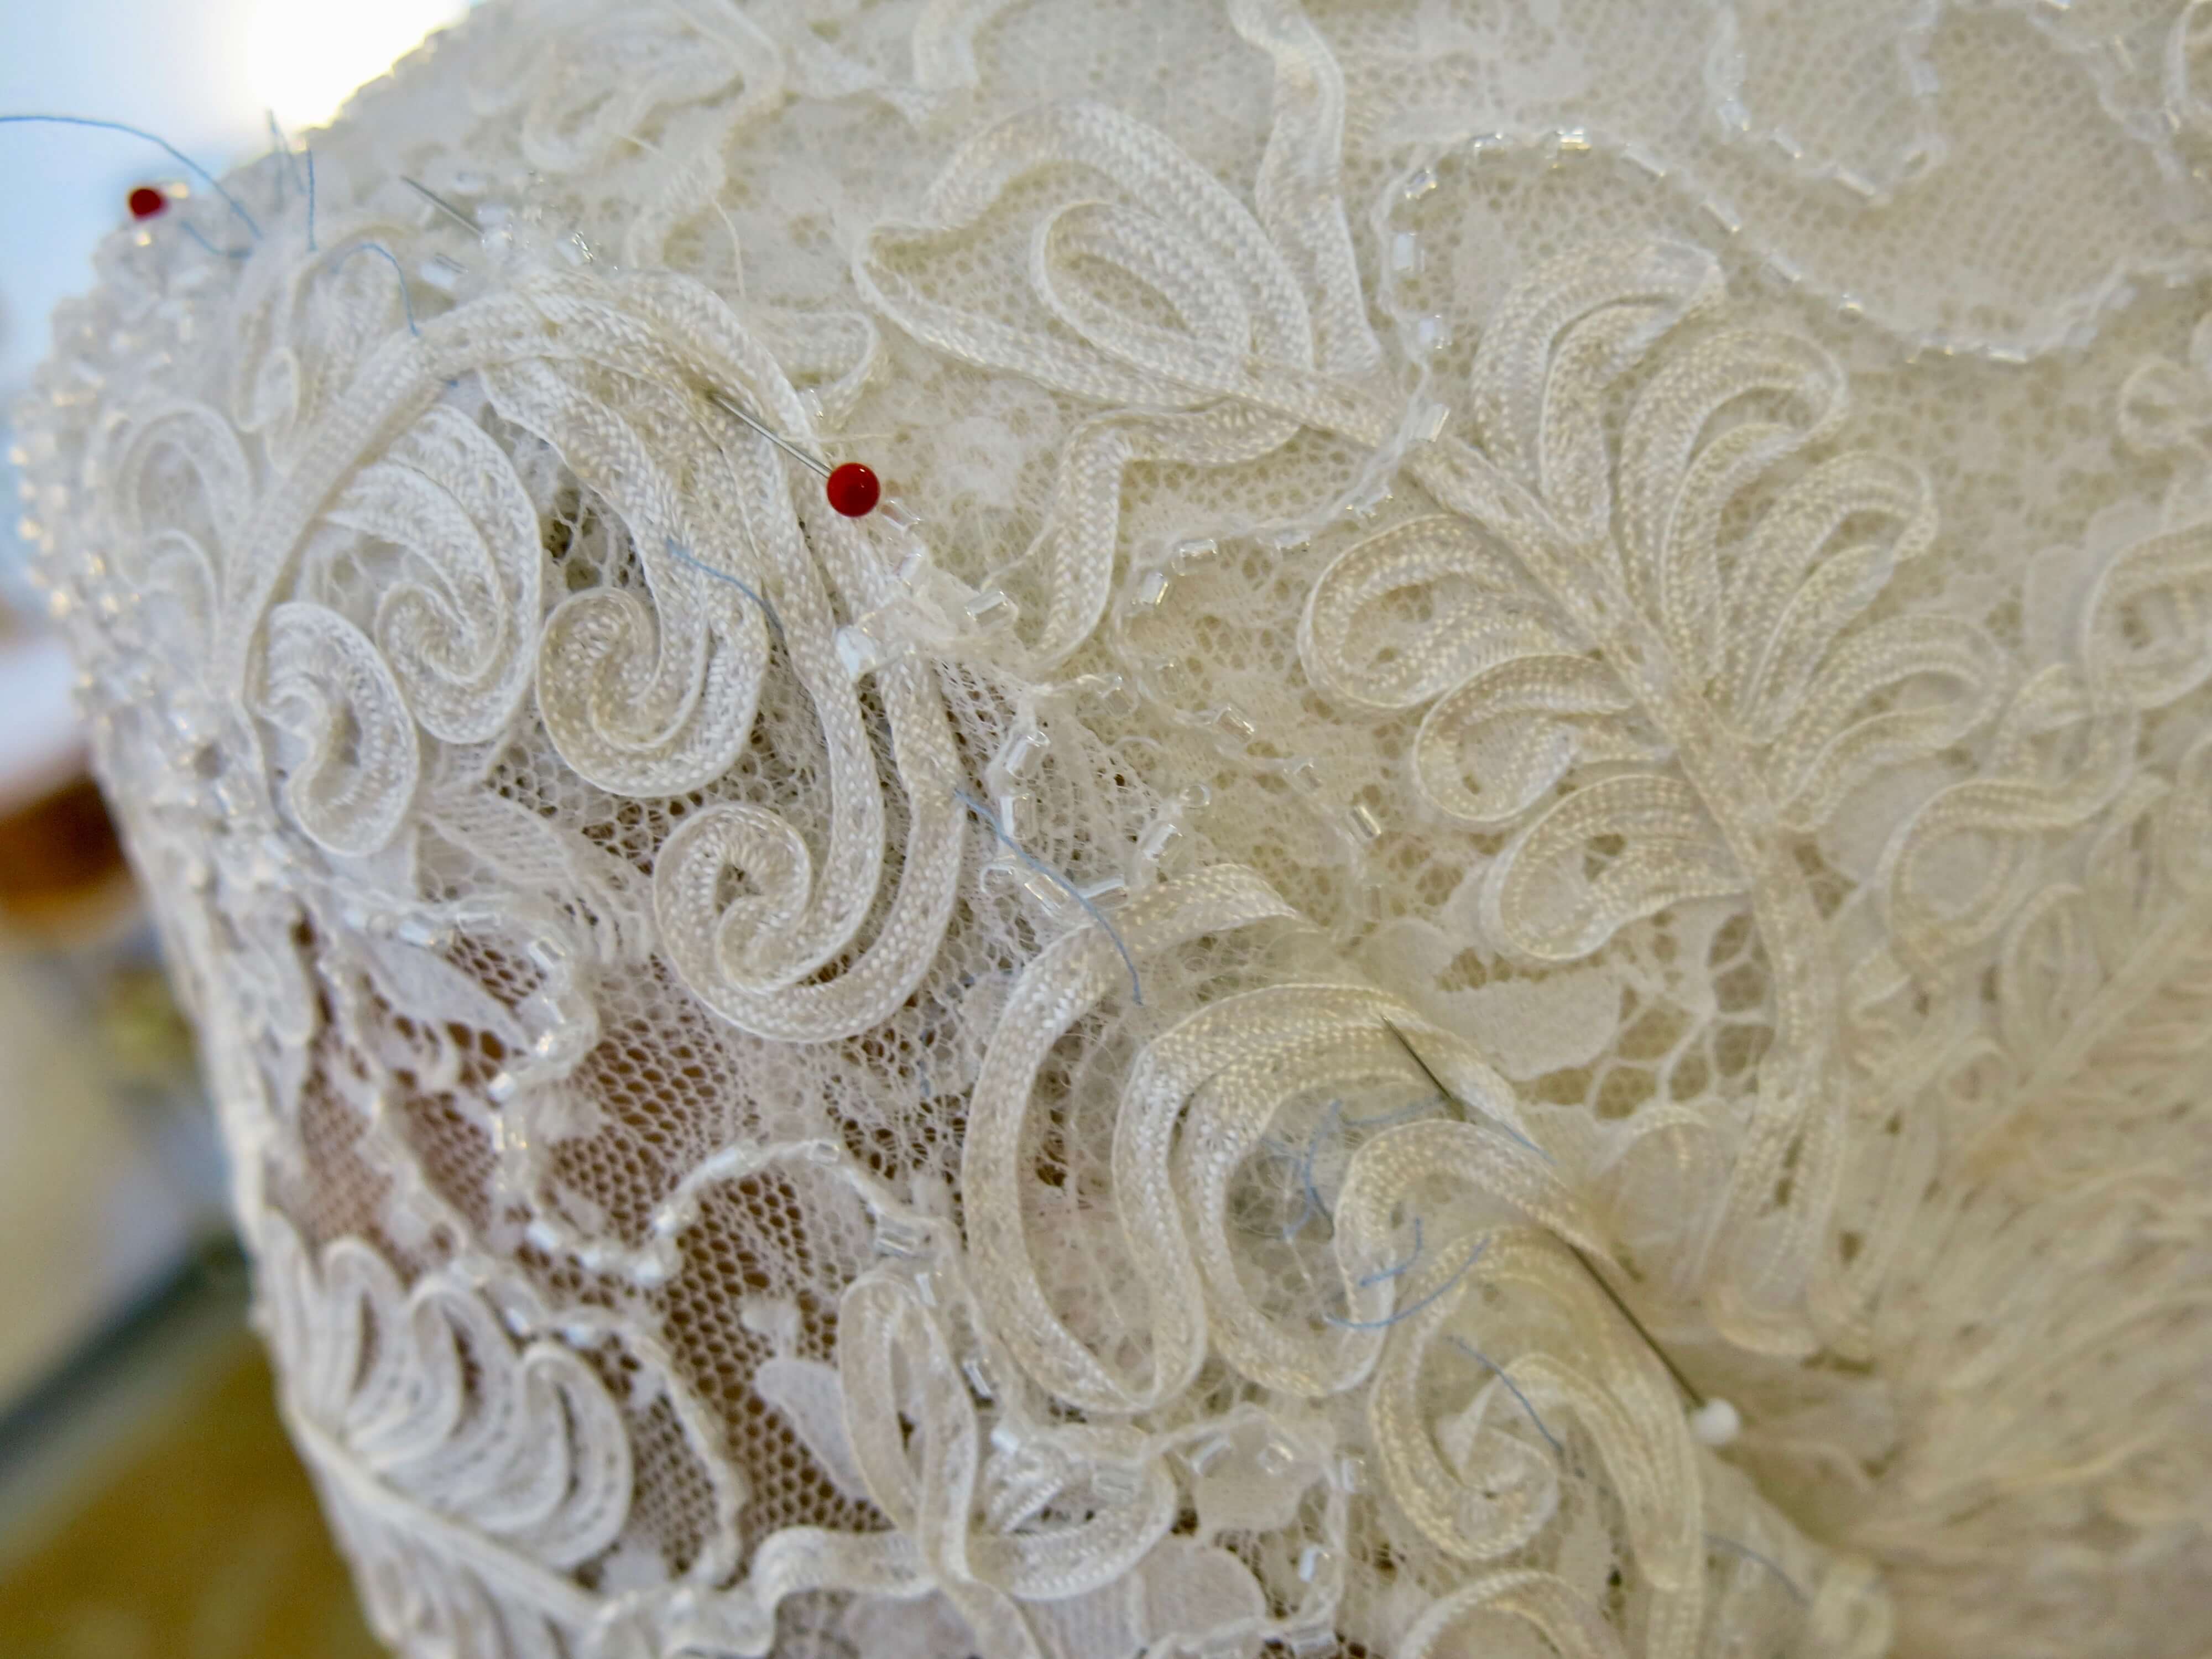
Since the gorgeous lace pattern is so bold, I would not be able to do the same trick of marking white on white. So, with my pattern pinned through the lace to my pinnable-top table, I used a curved needle to trace around its edges with lines of thread.
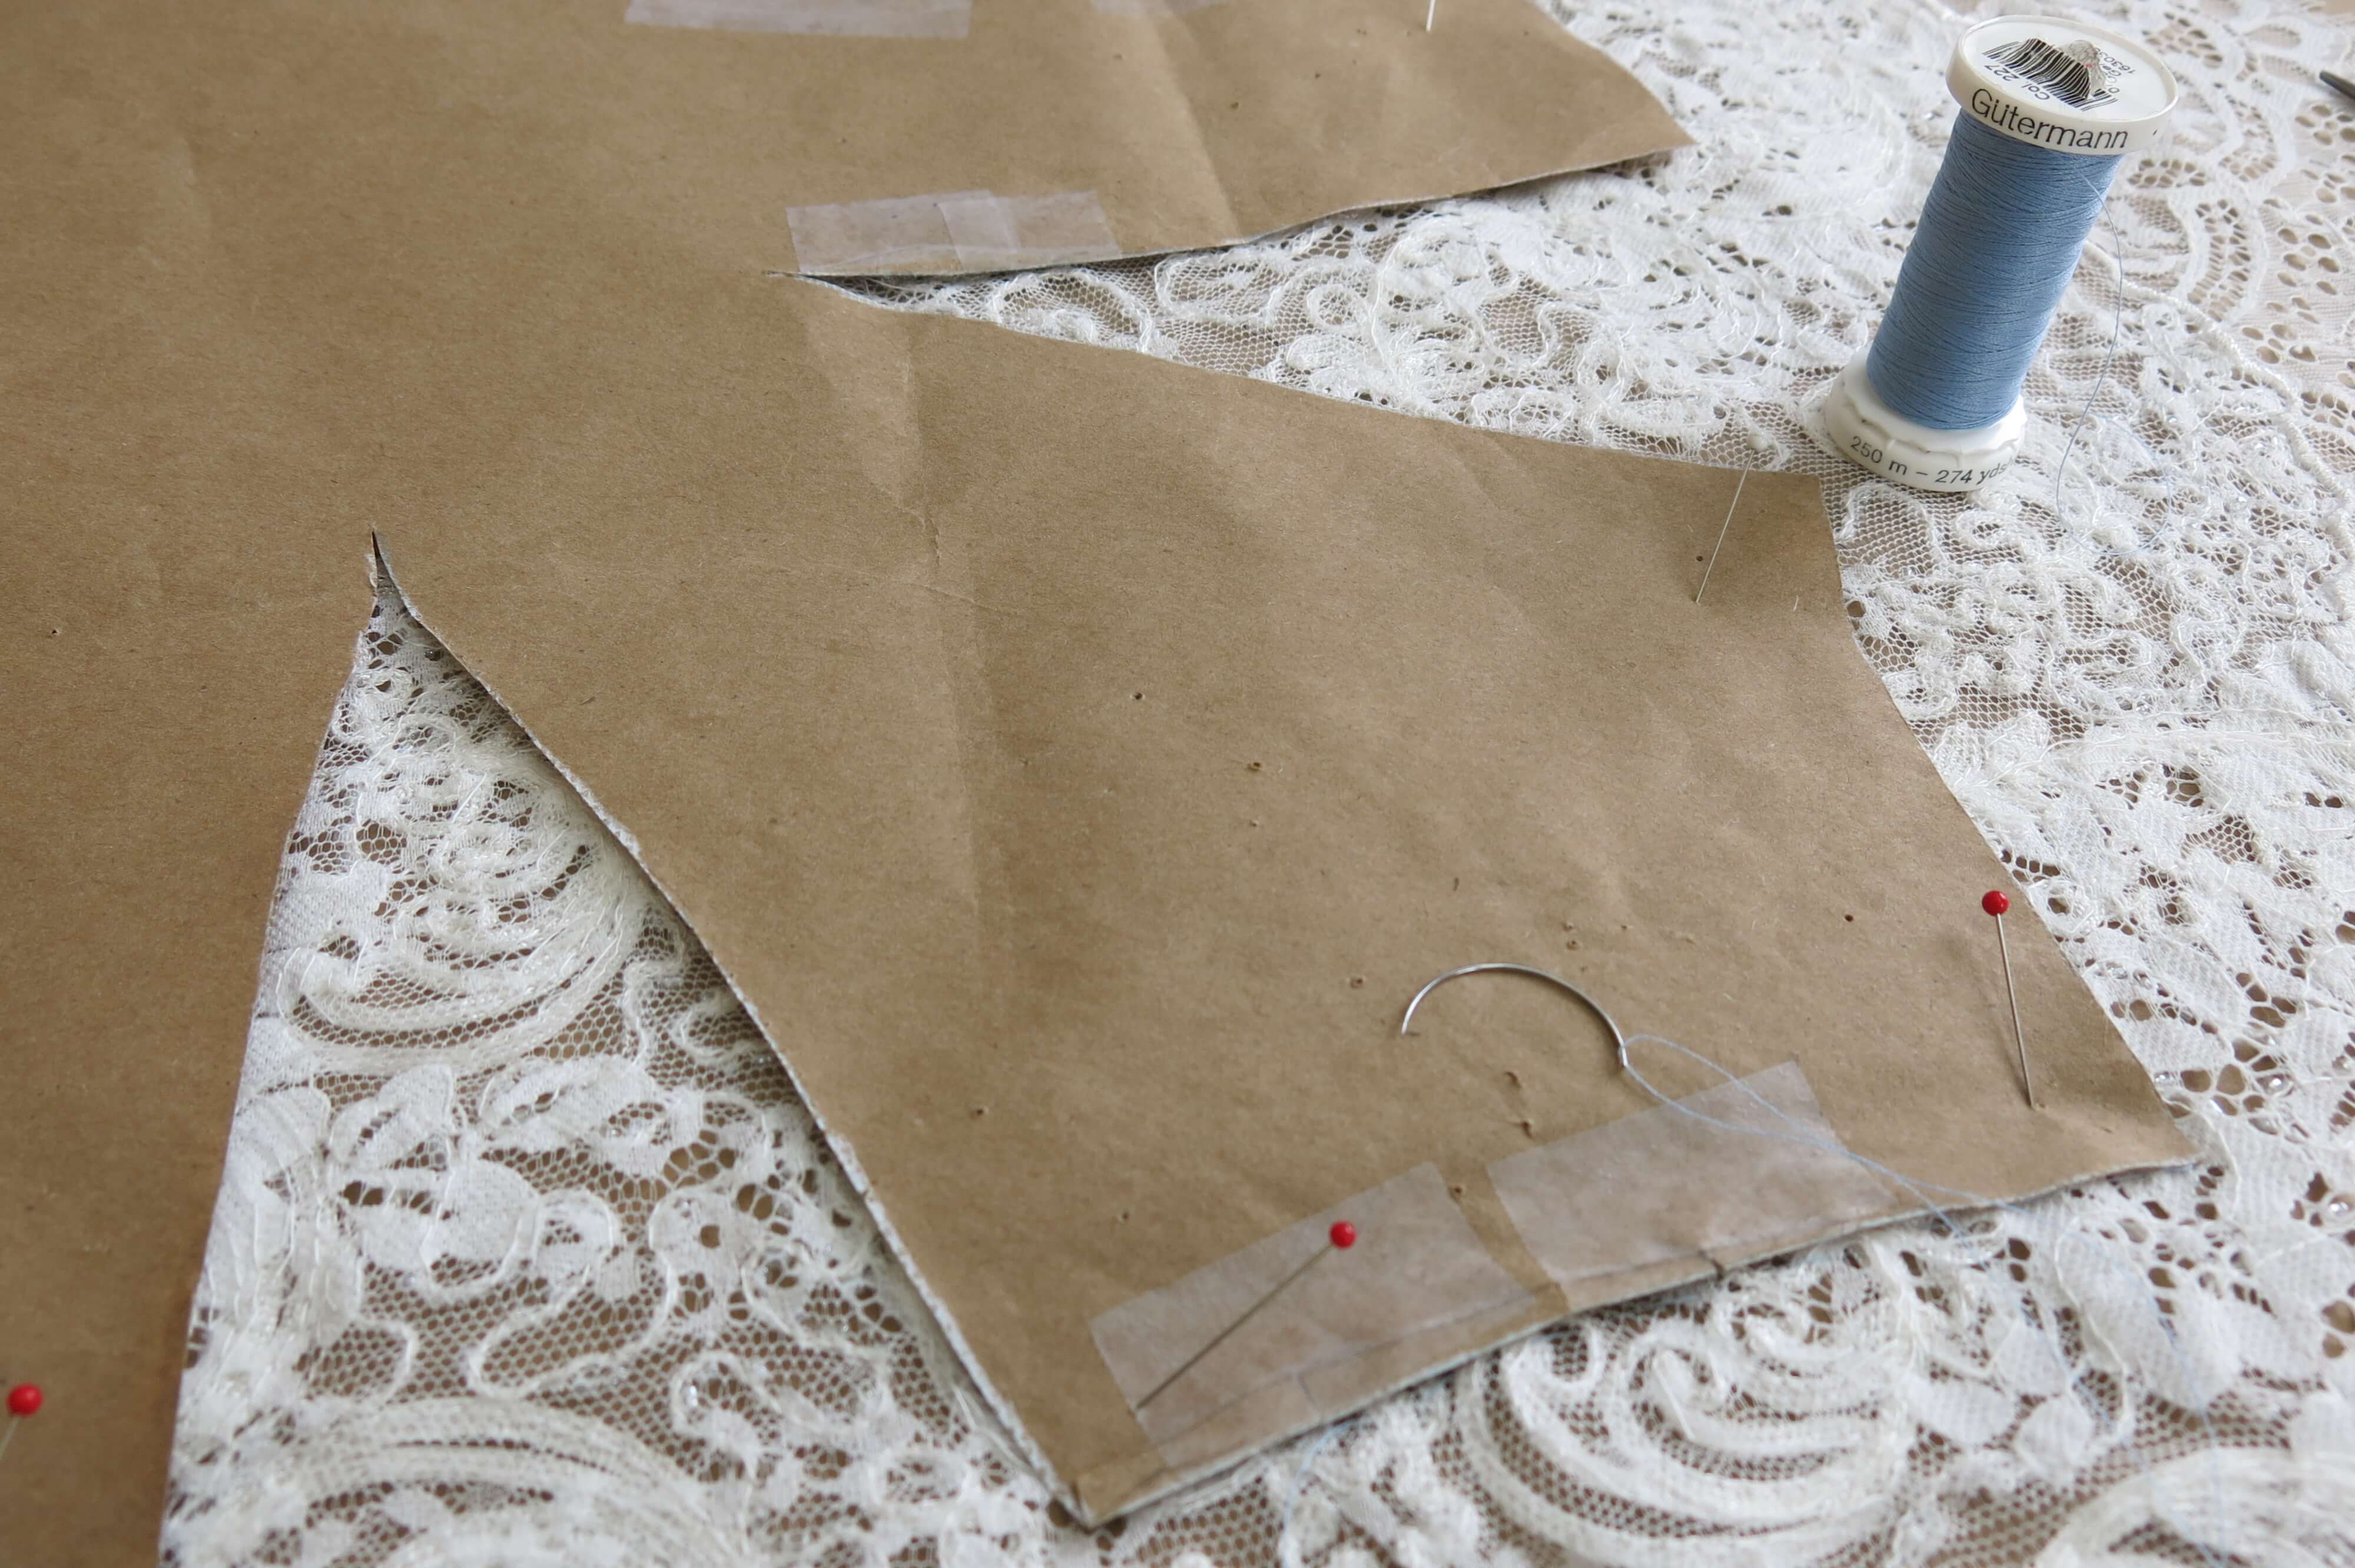
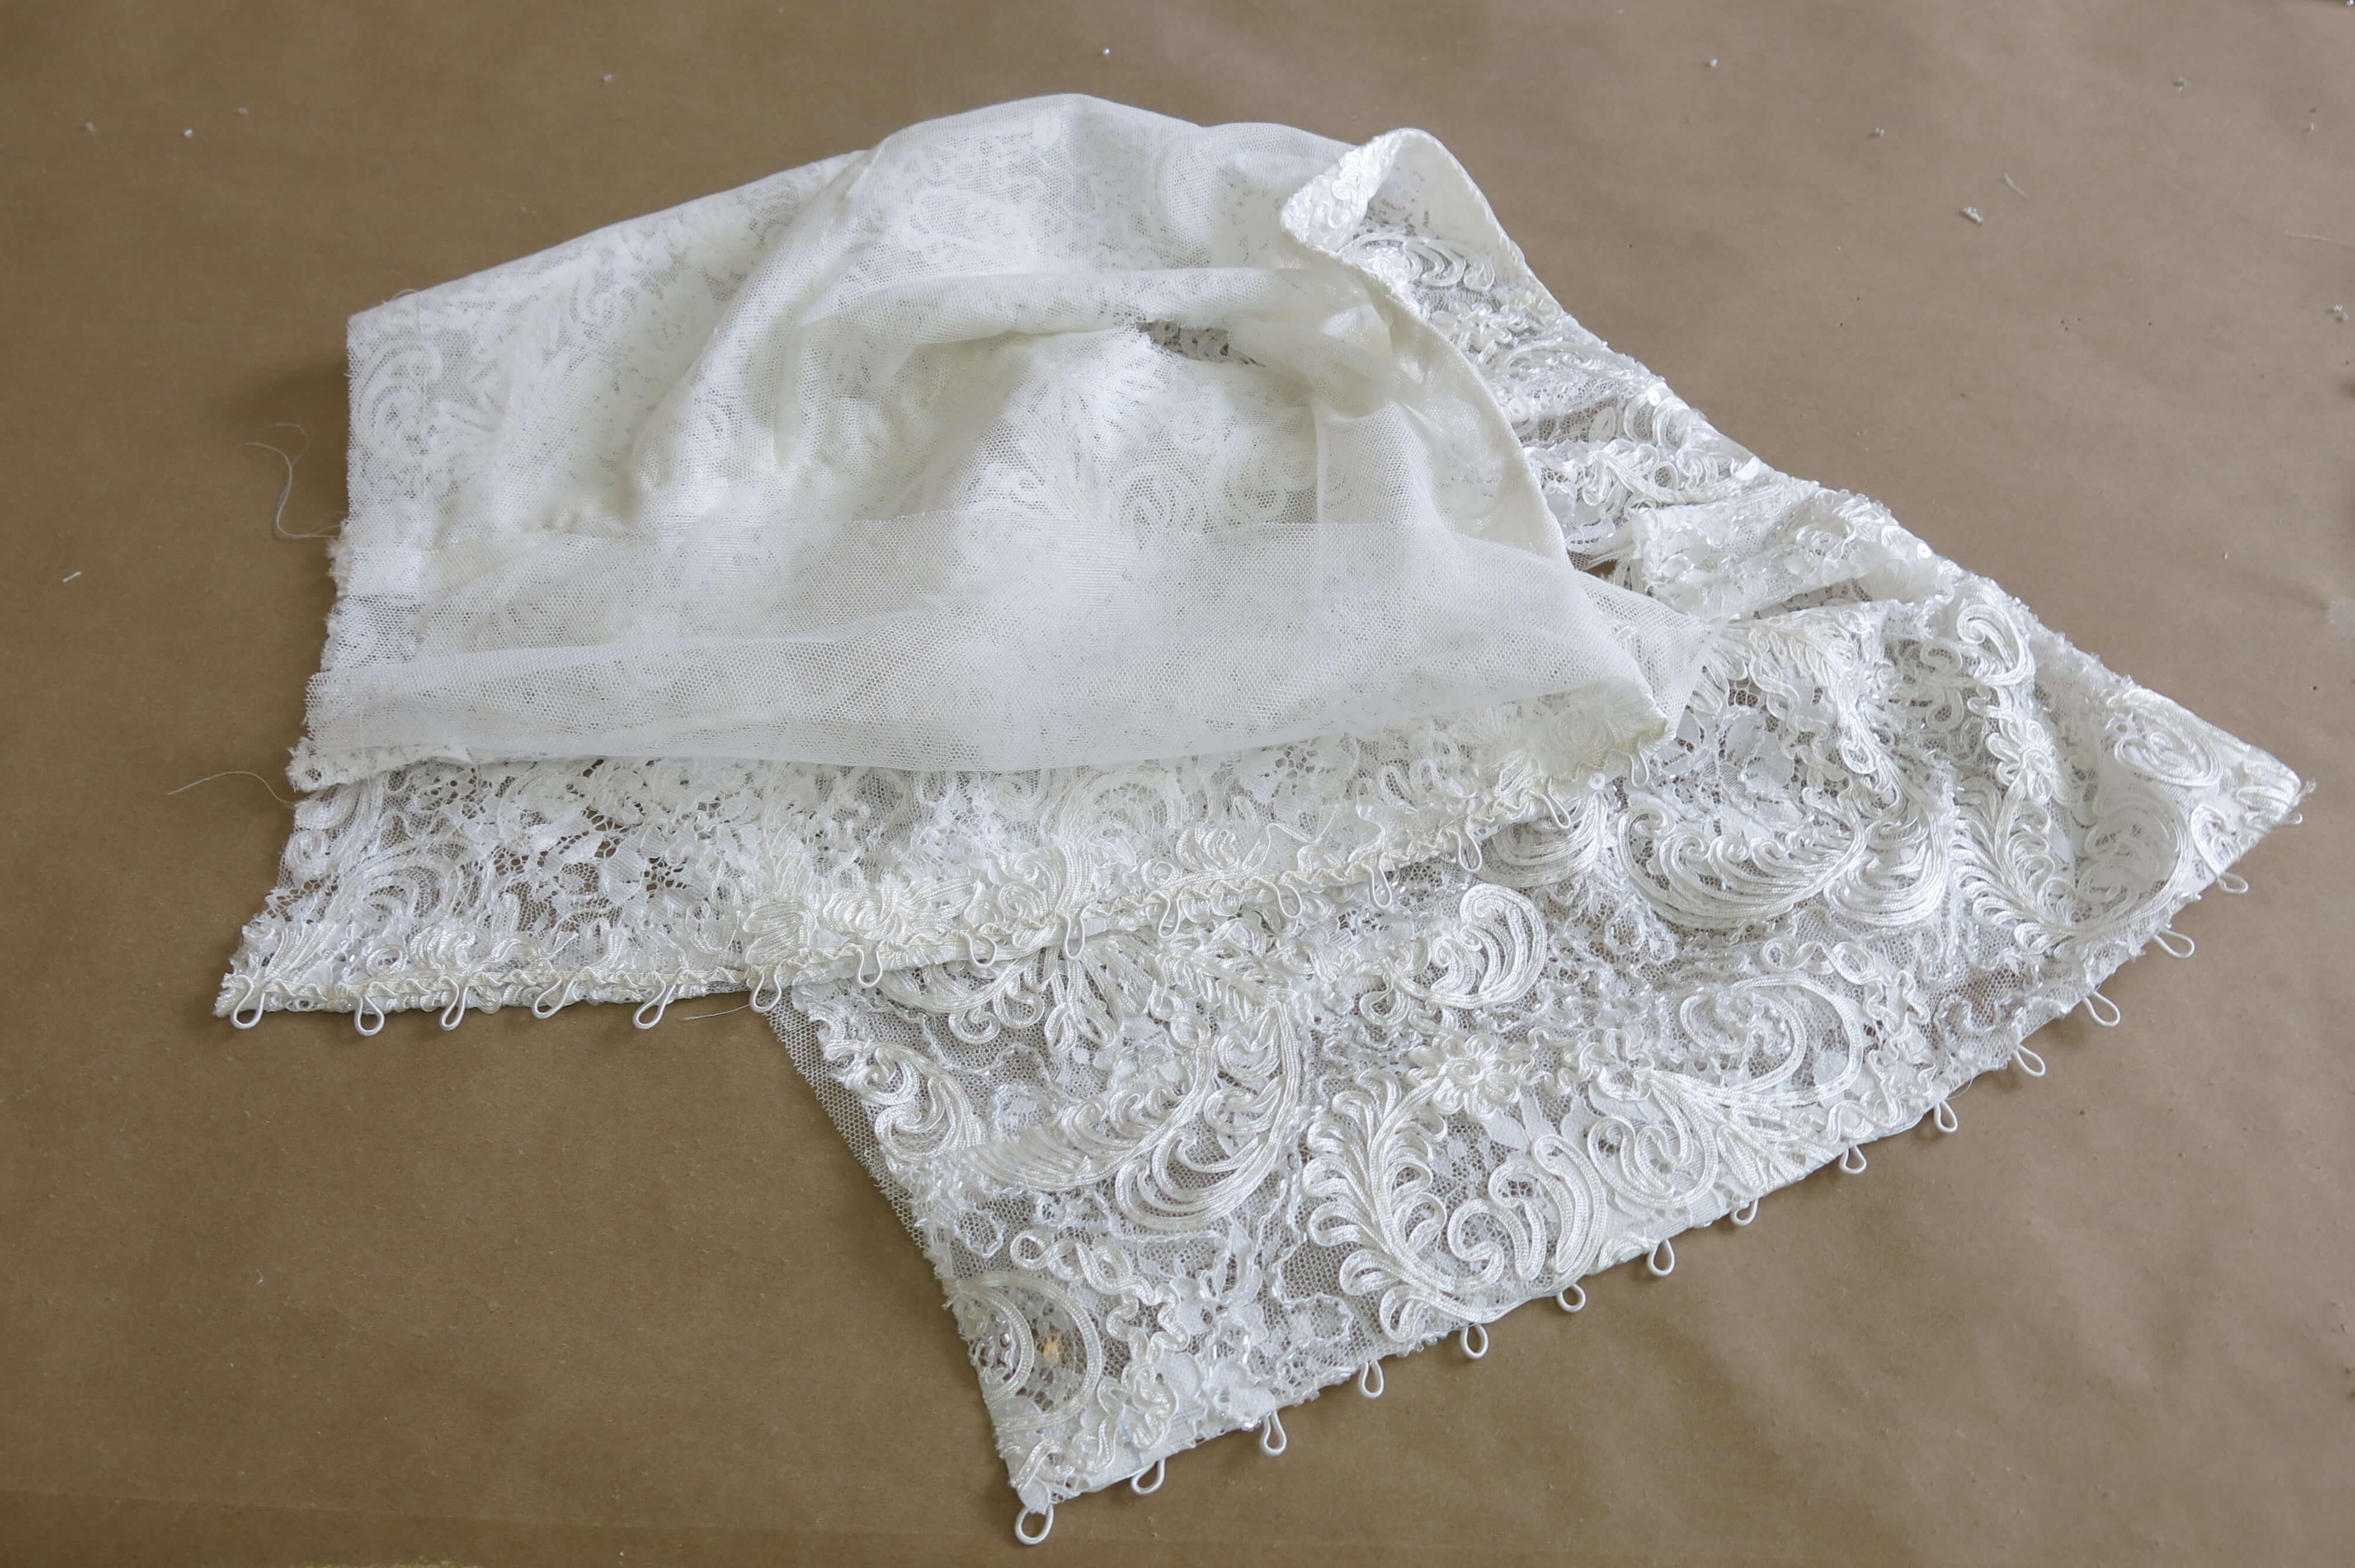
Once all the stitching lines were marked with thread, I cut around them leaving approximately 1″ of seam allowance. (With my shoes off apparently…)
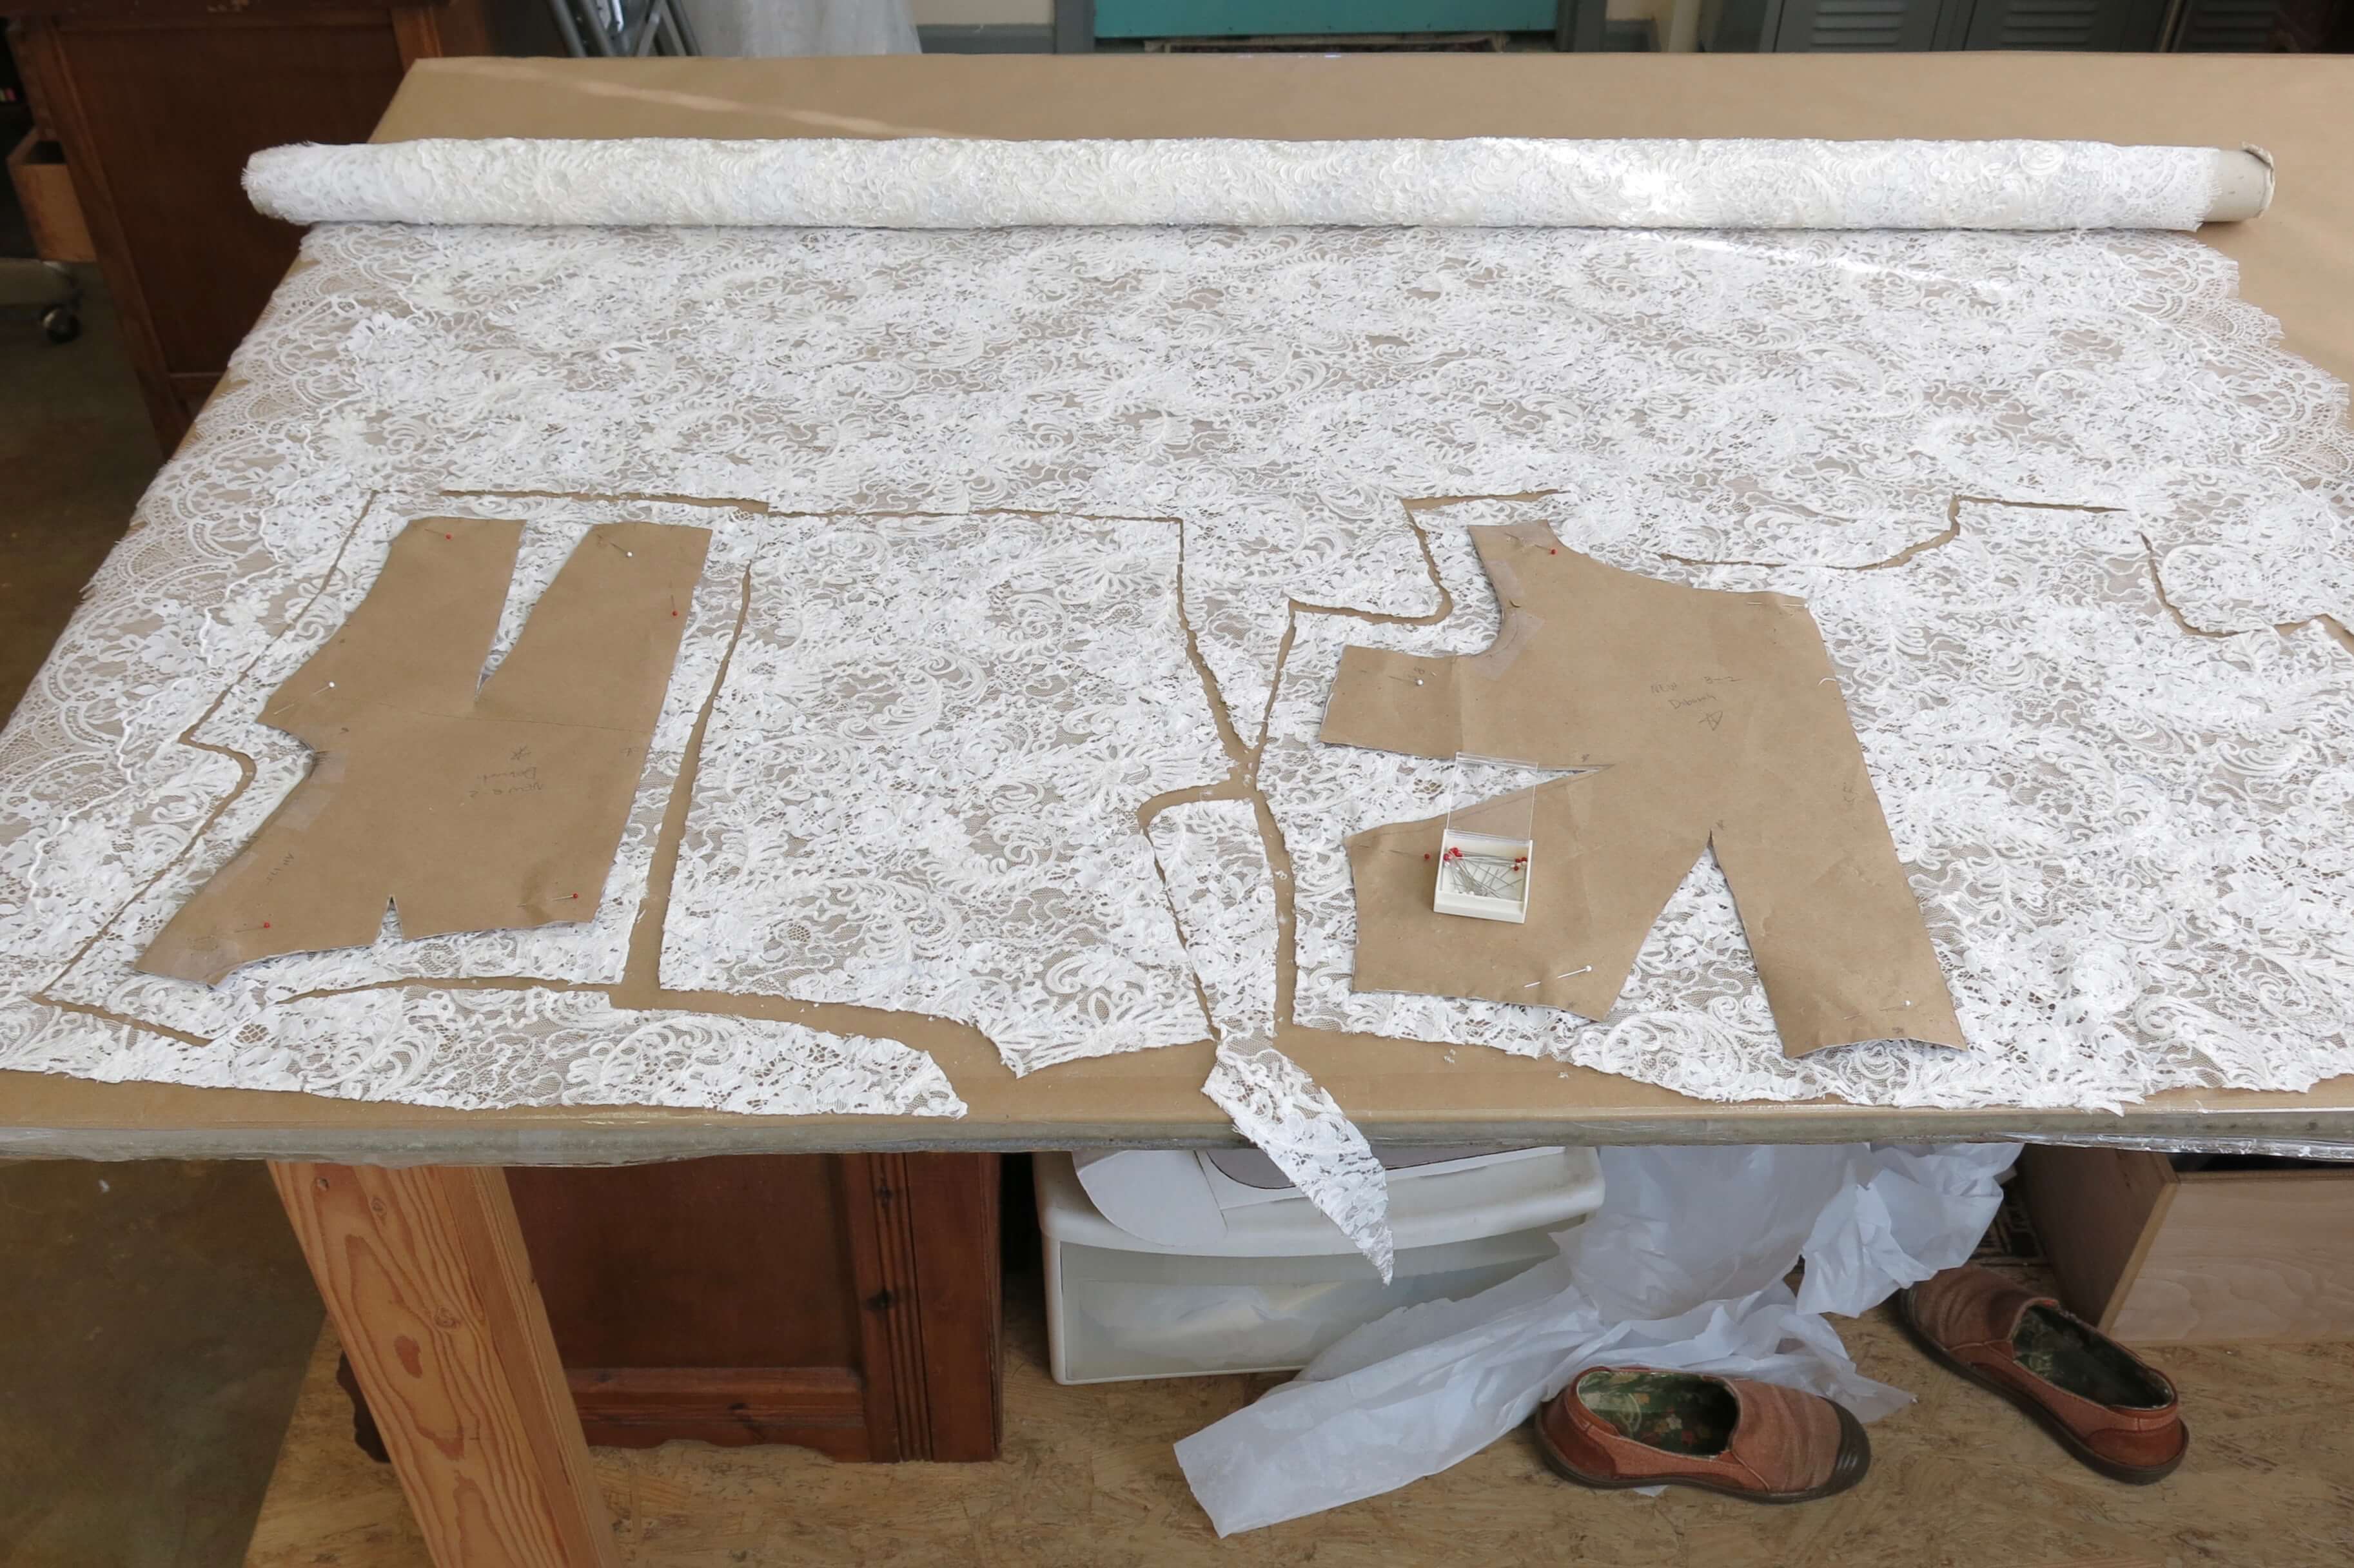
That lace, ya’ll!
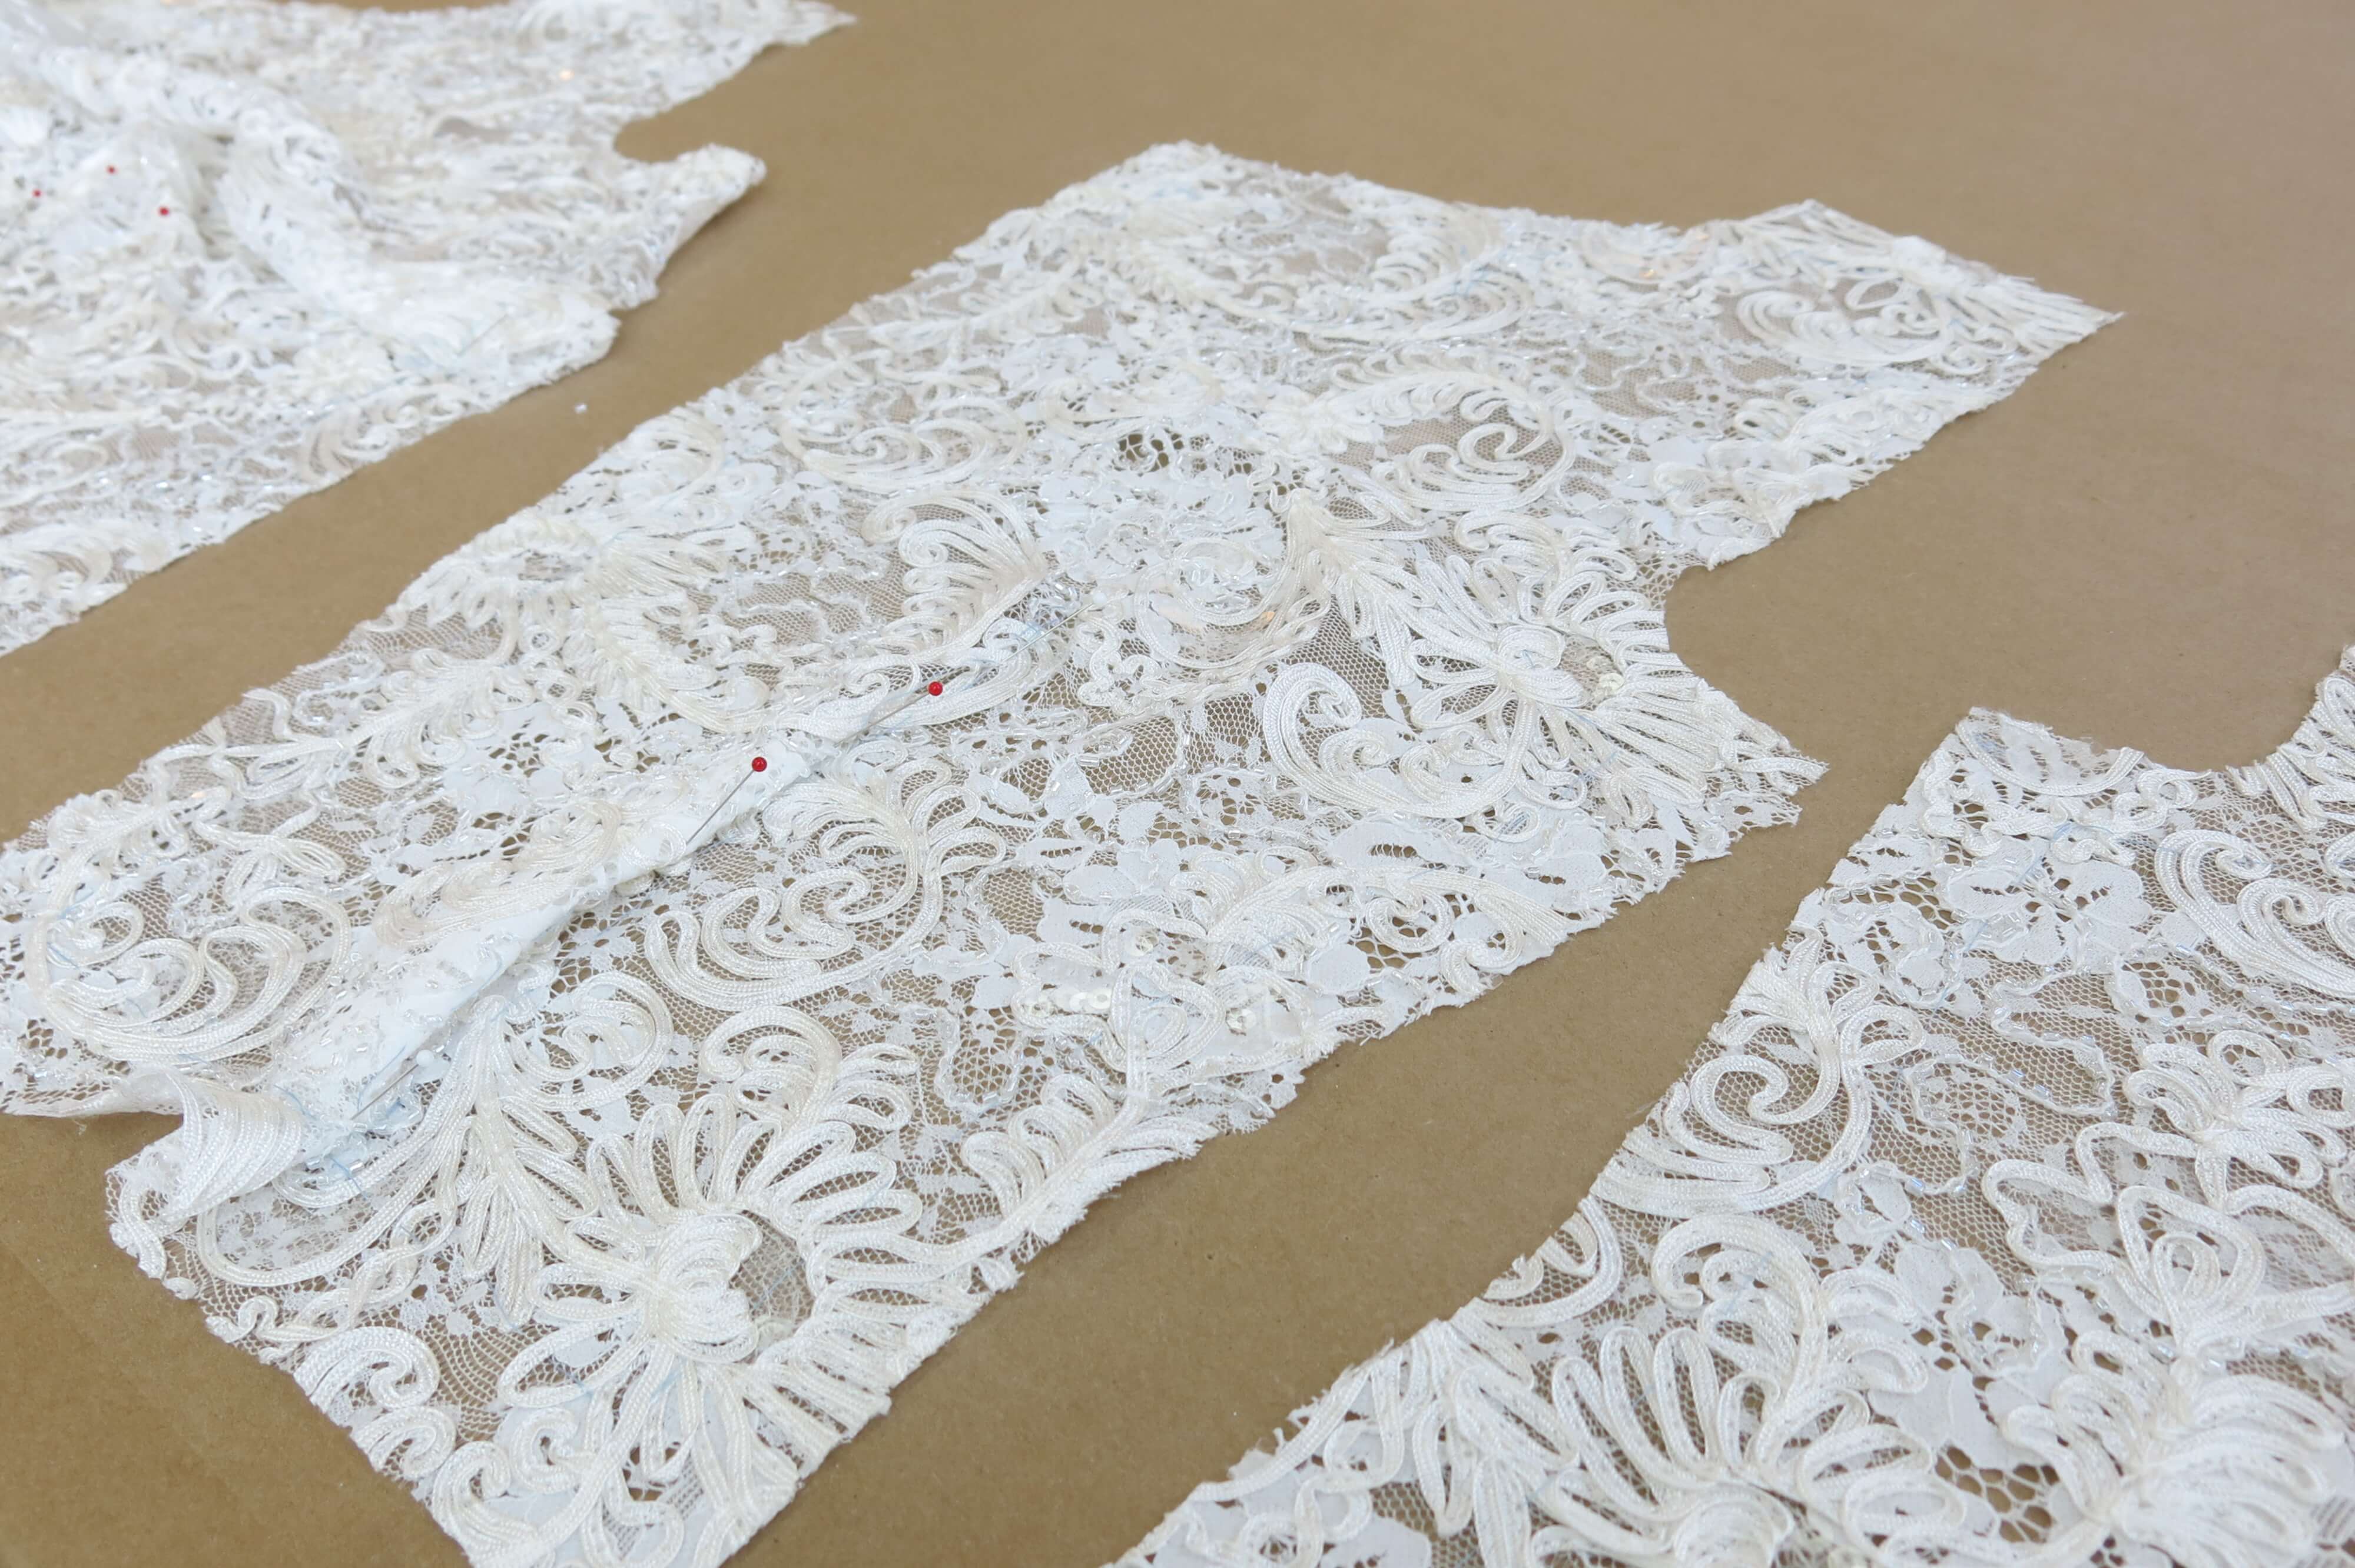
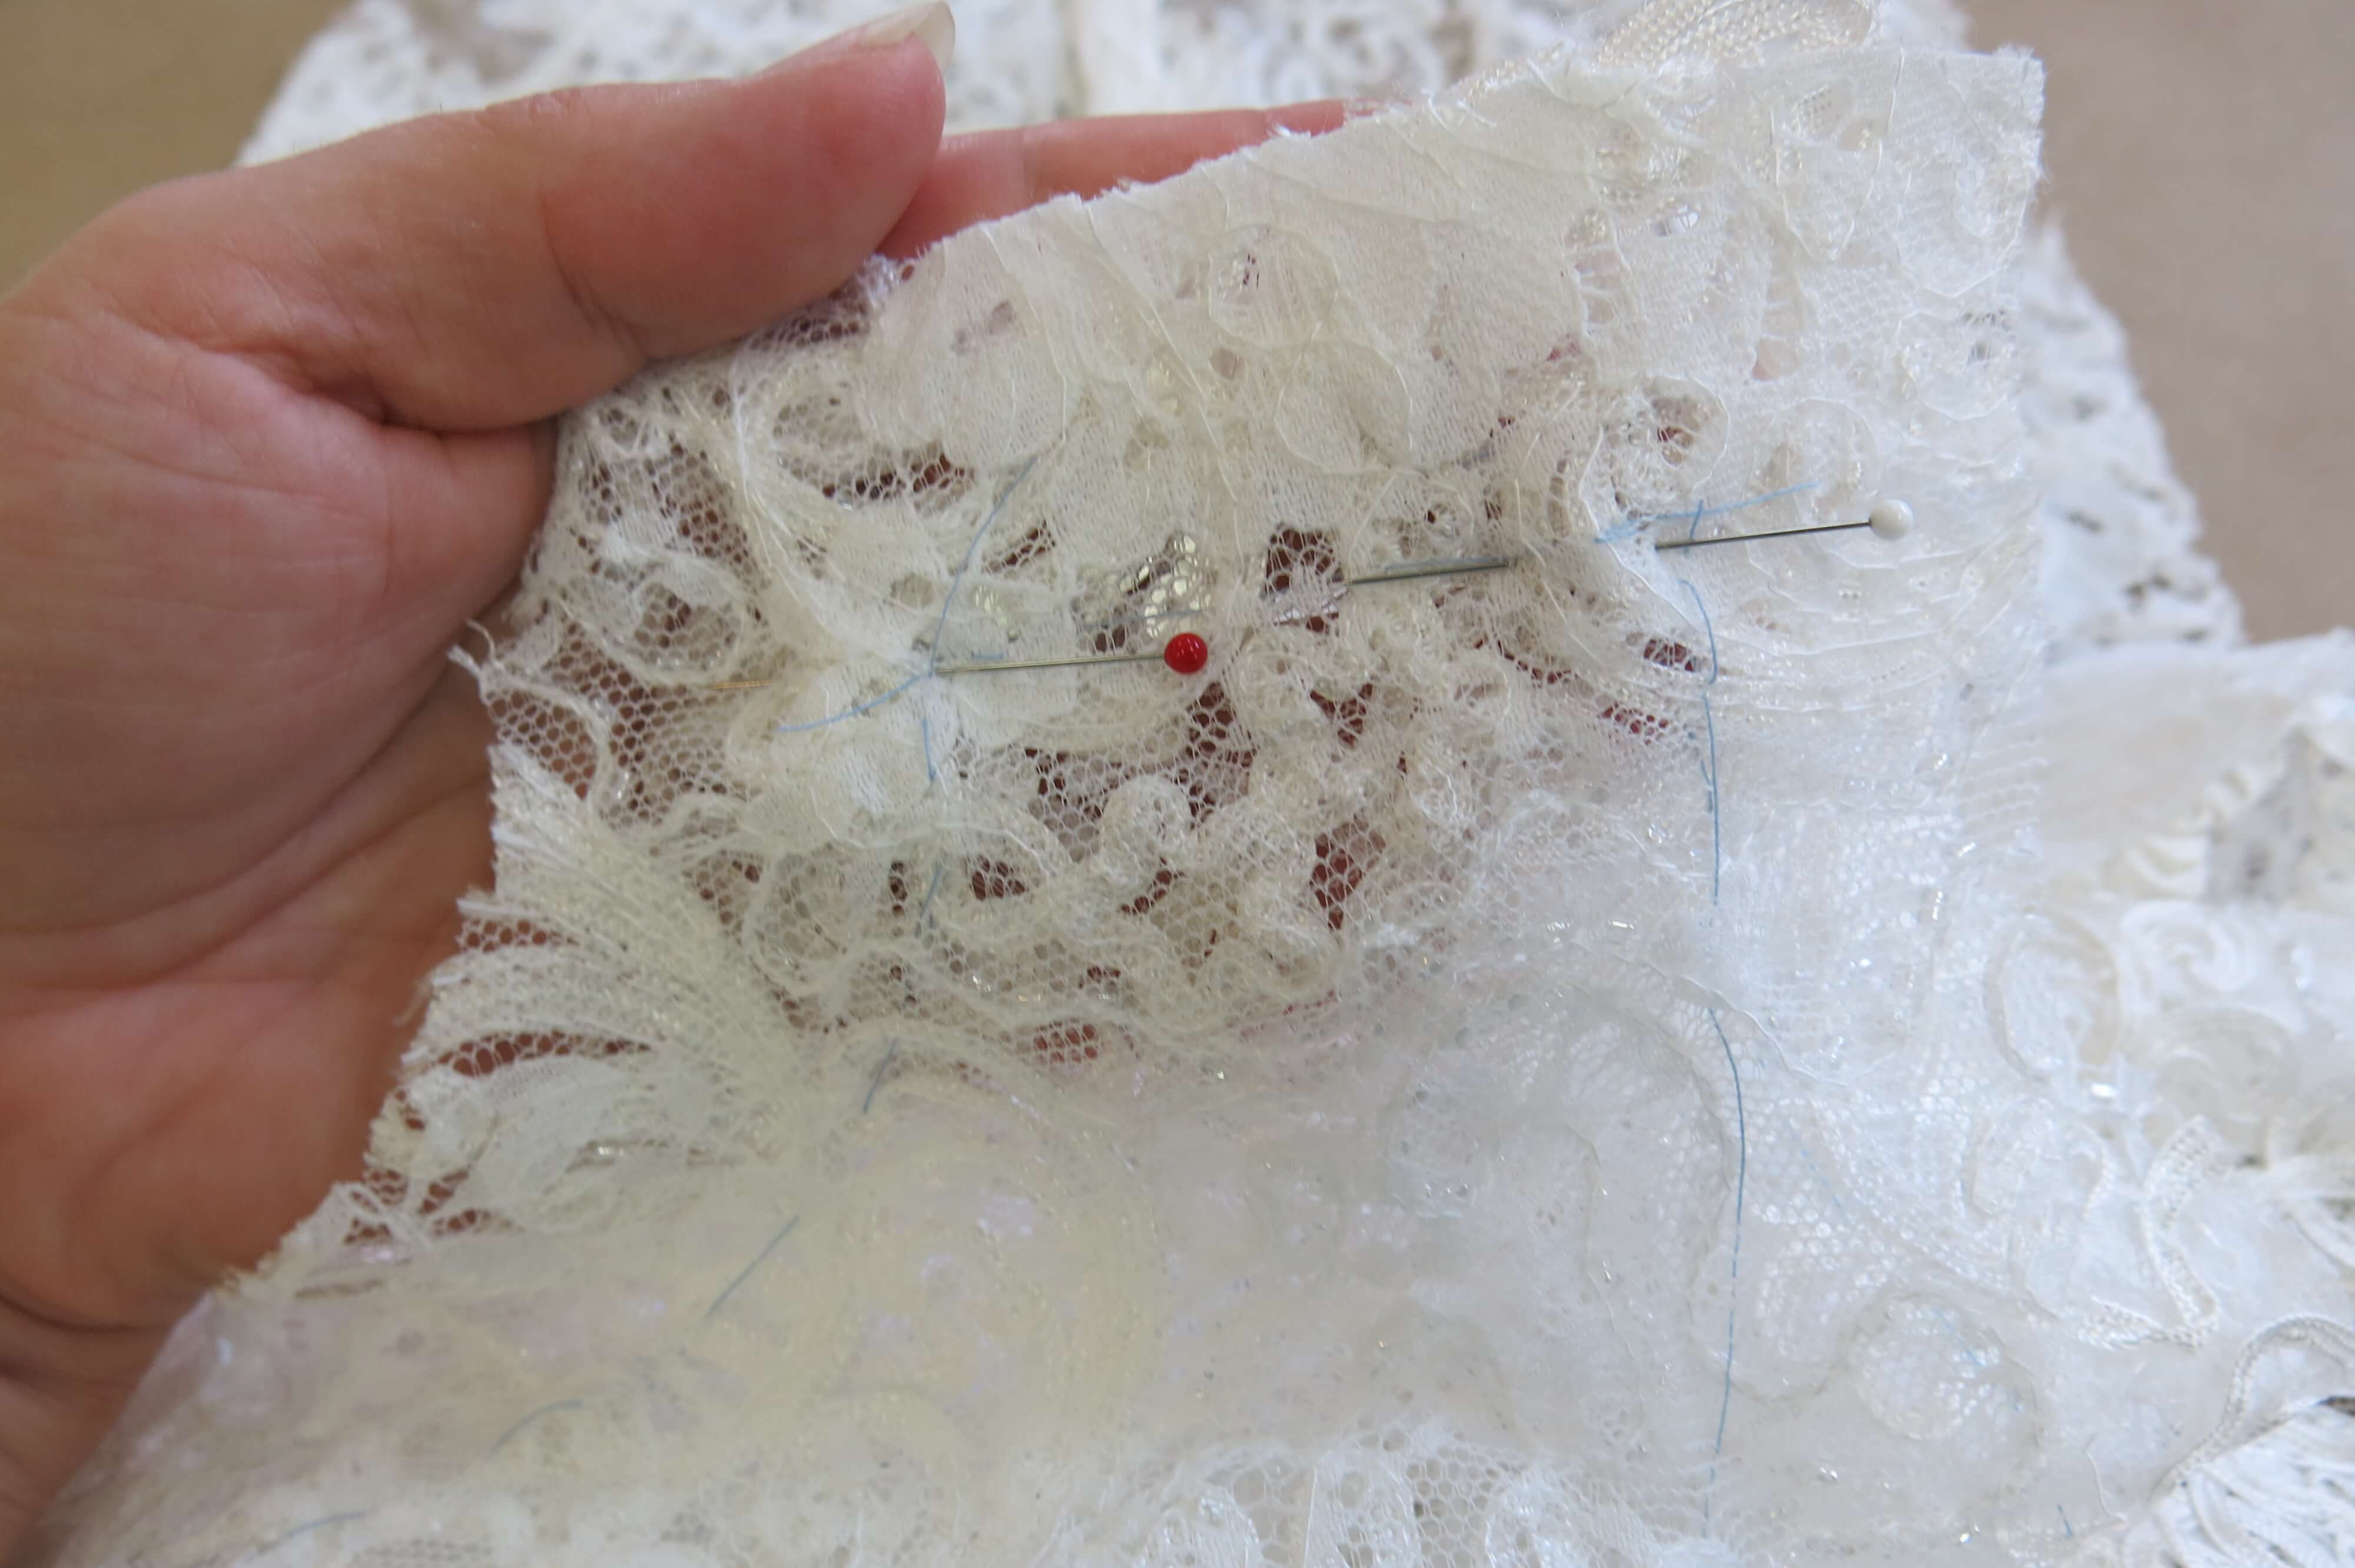
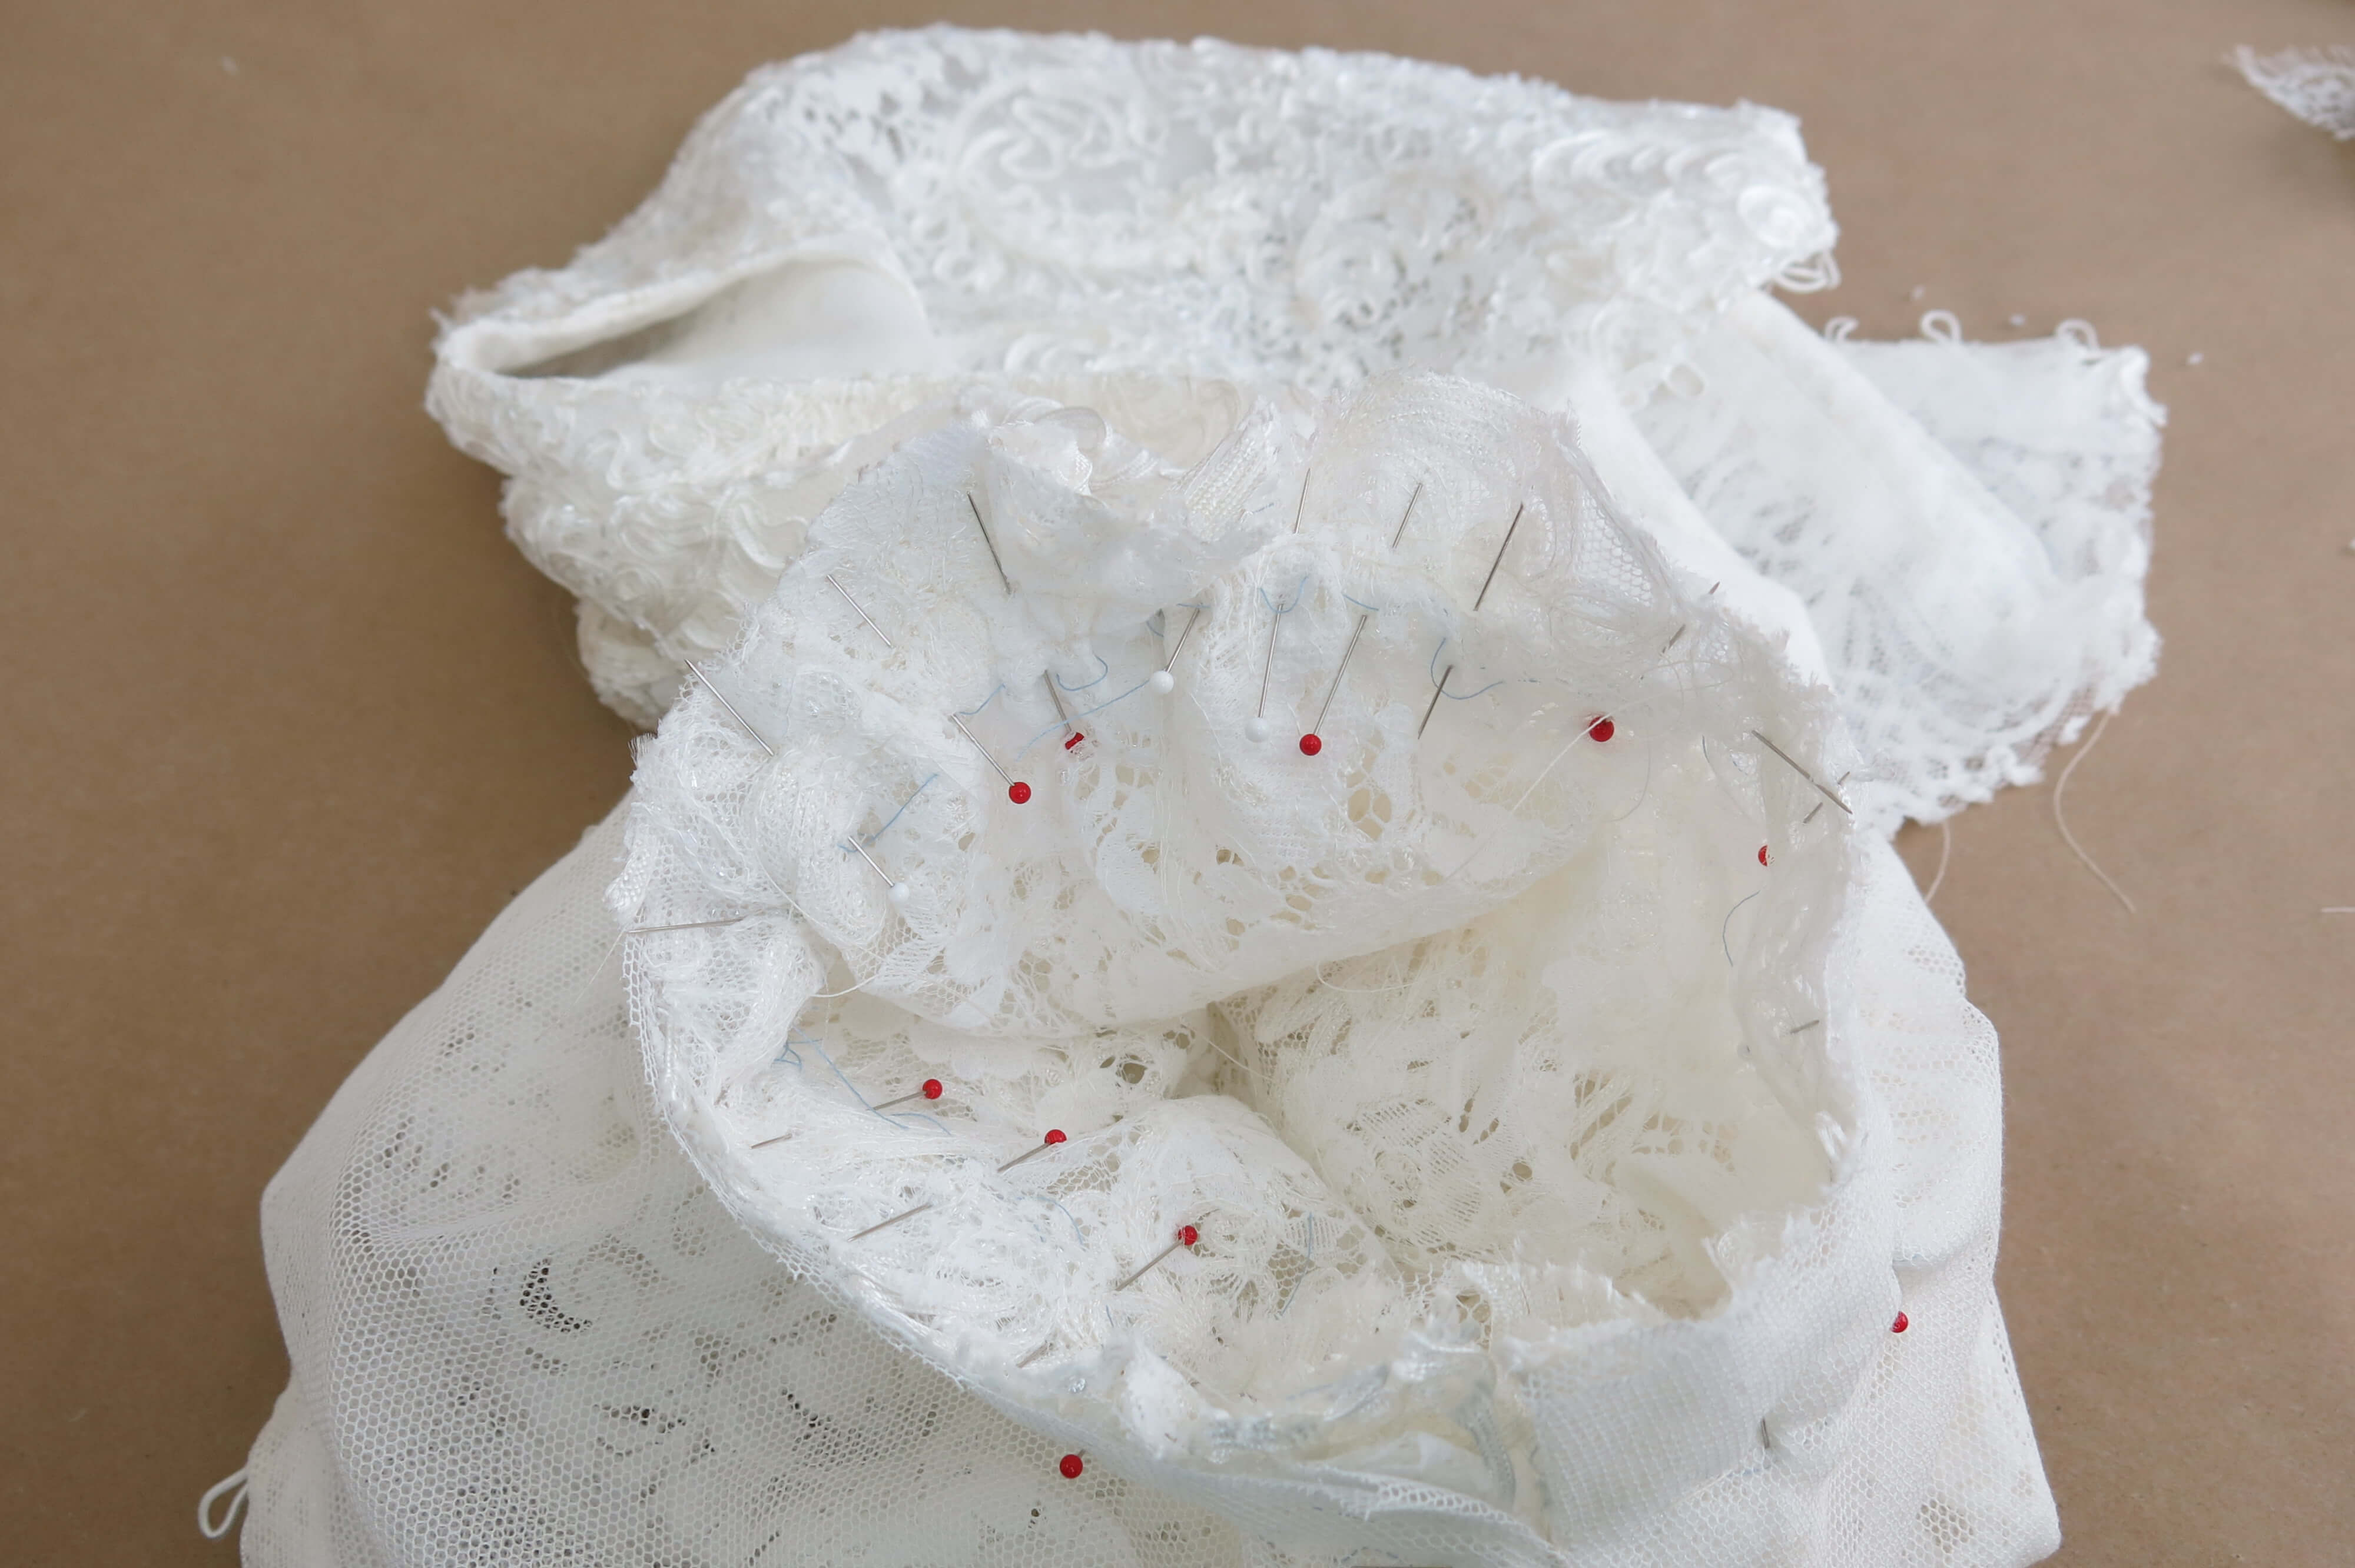
I basted the darts and tried it on the dress form. Sometimes it is best to cut apart bits of bridal lace and piece them together for invisible darts. Though I had to use my imagination a little at this point since I had not yet removed the dart bulk, I decided that this particular lace’s pattern made the darts invisible enough to move forward with stitching them in place as basted.
The thread marked lines were matched up, the darts and (most) seams were sewn,…
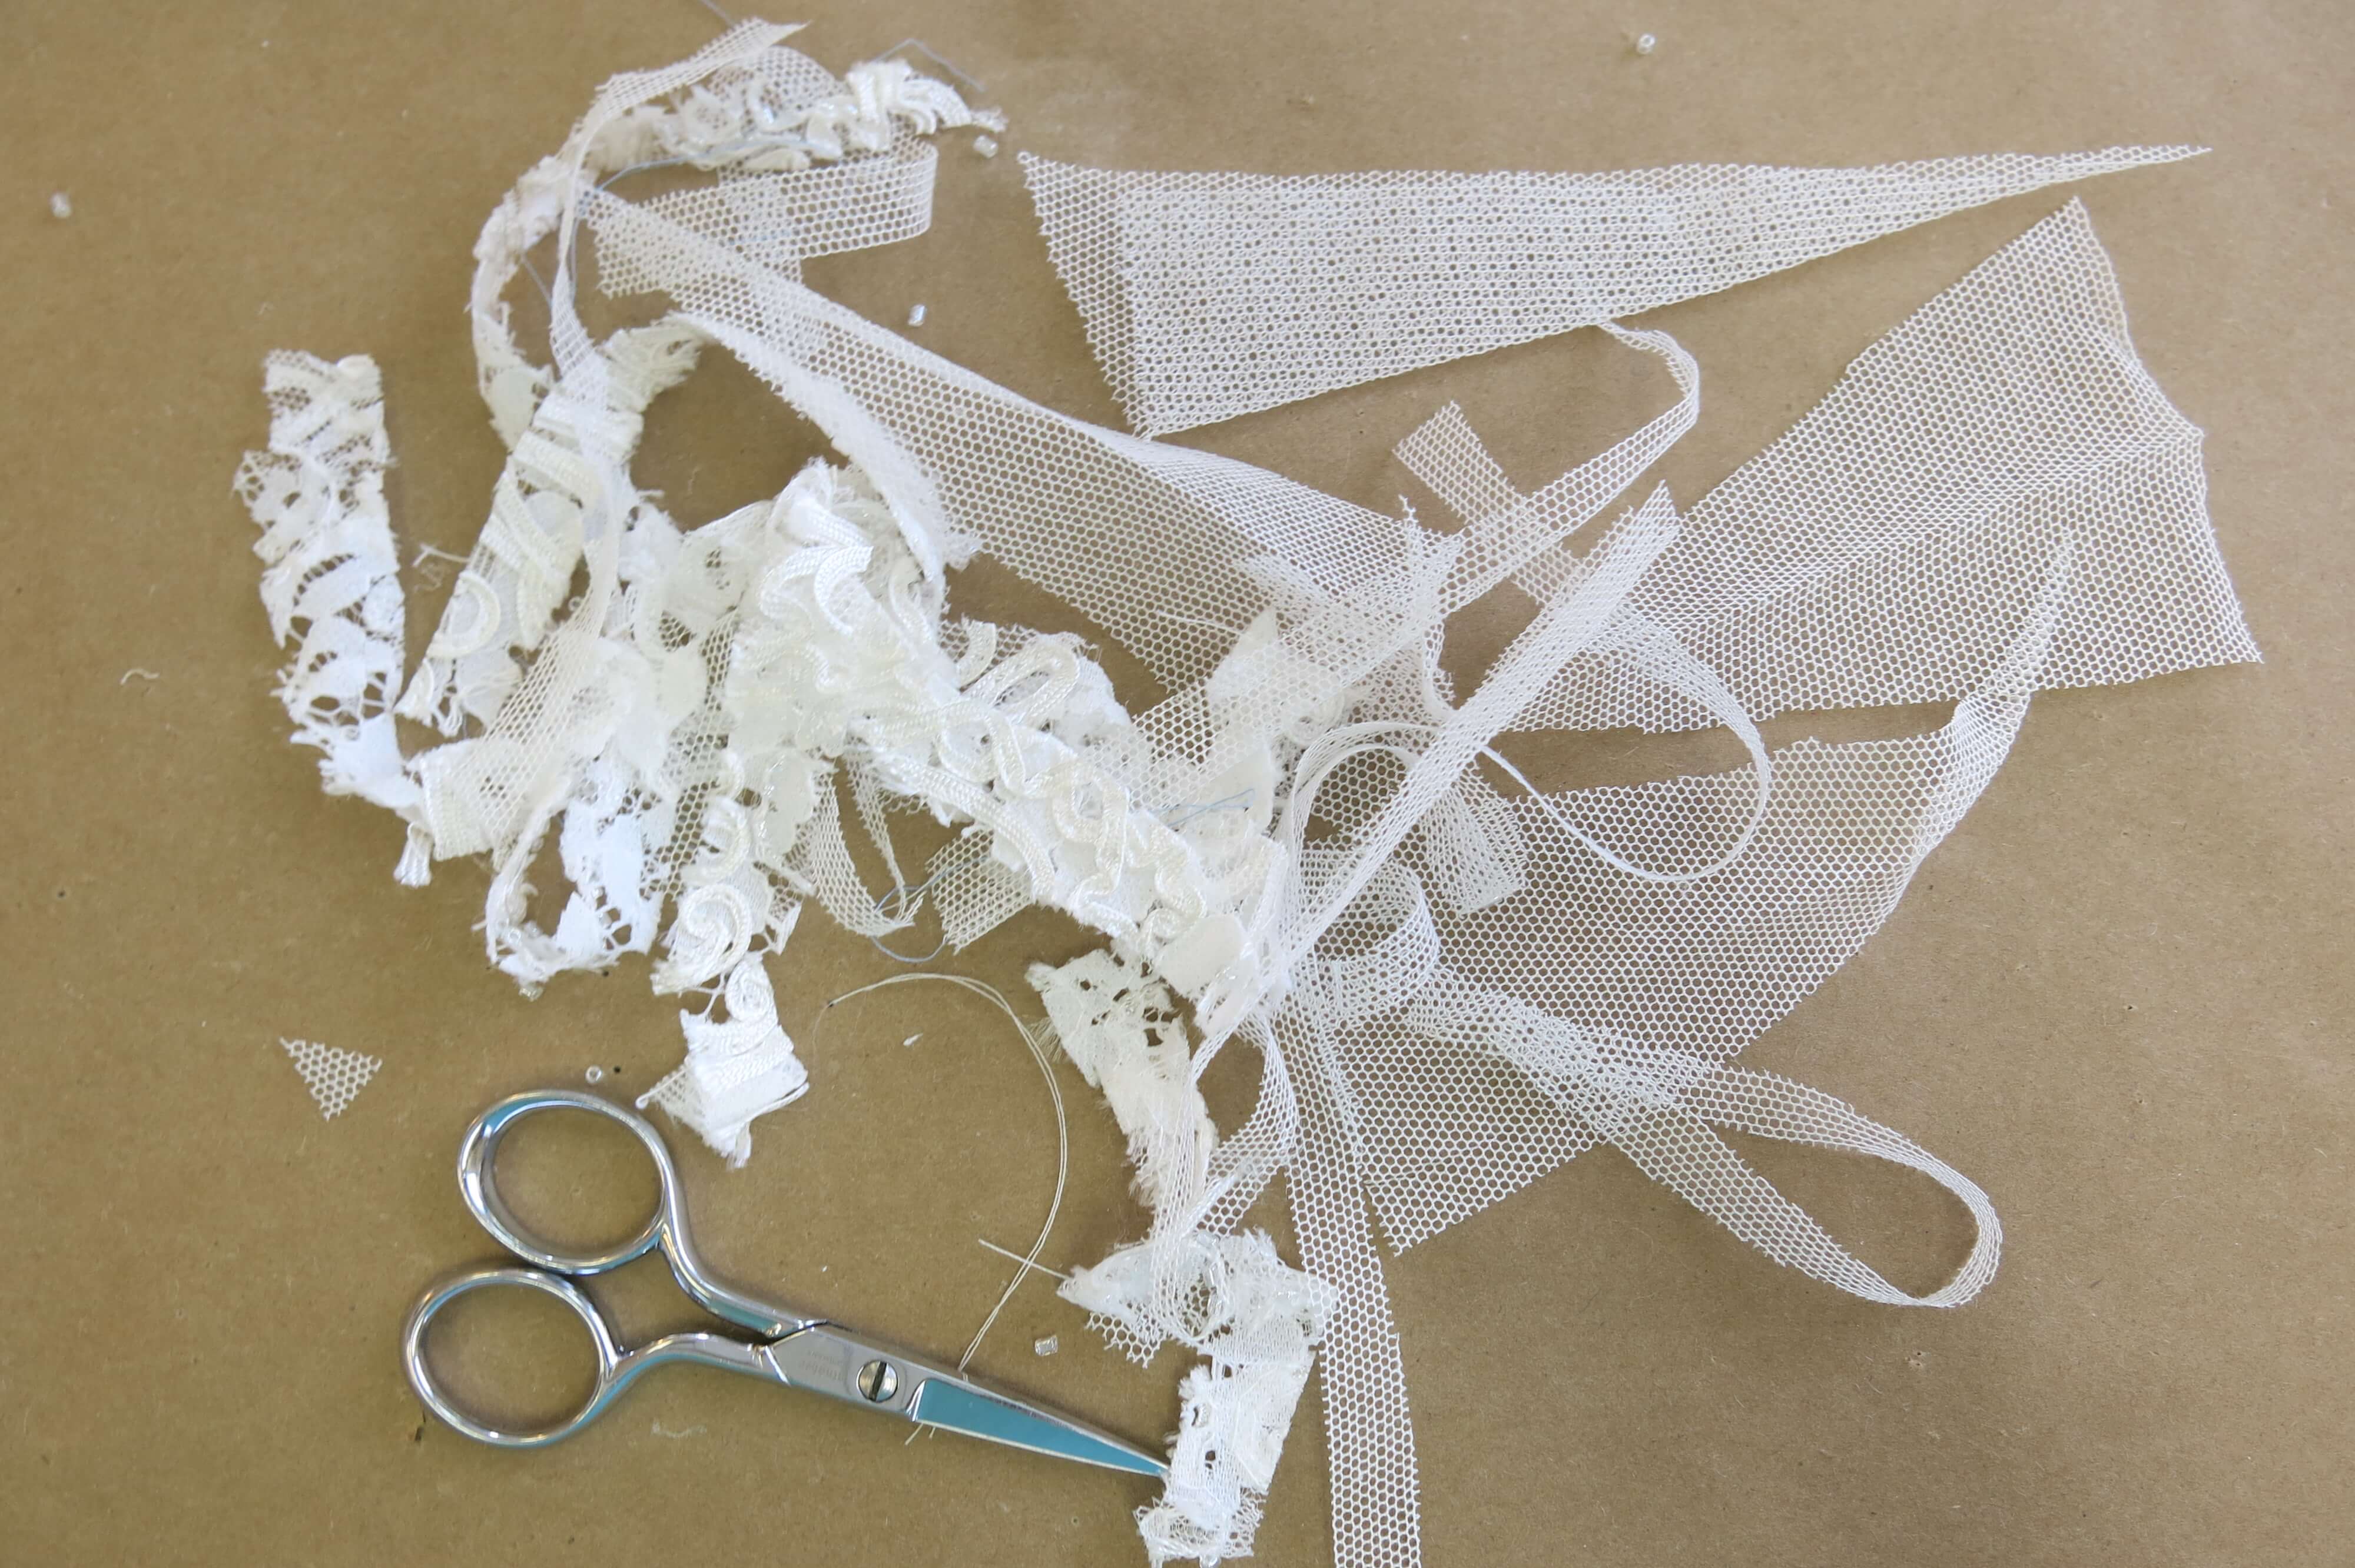
…and I trimmed out a lot of bulk from the inside!
I’d leave the shoulder seams basted for possible changes in our fitting. The temporary thread marked lines helped me match them up!
Next, with right sides together, I pinned and stitched the neckline of the lining to the neckline of the lace…

Before trimming out the excess and neatly folding it over to the inside. That lace, ya’ll!
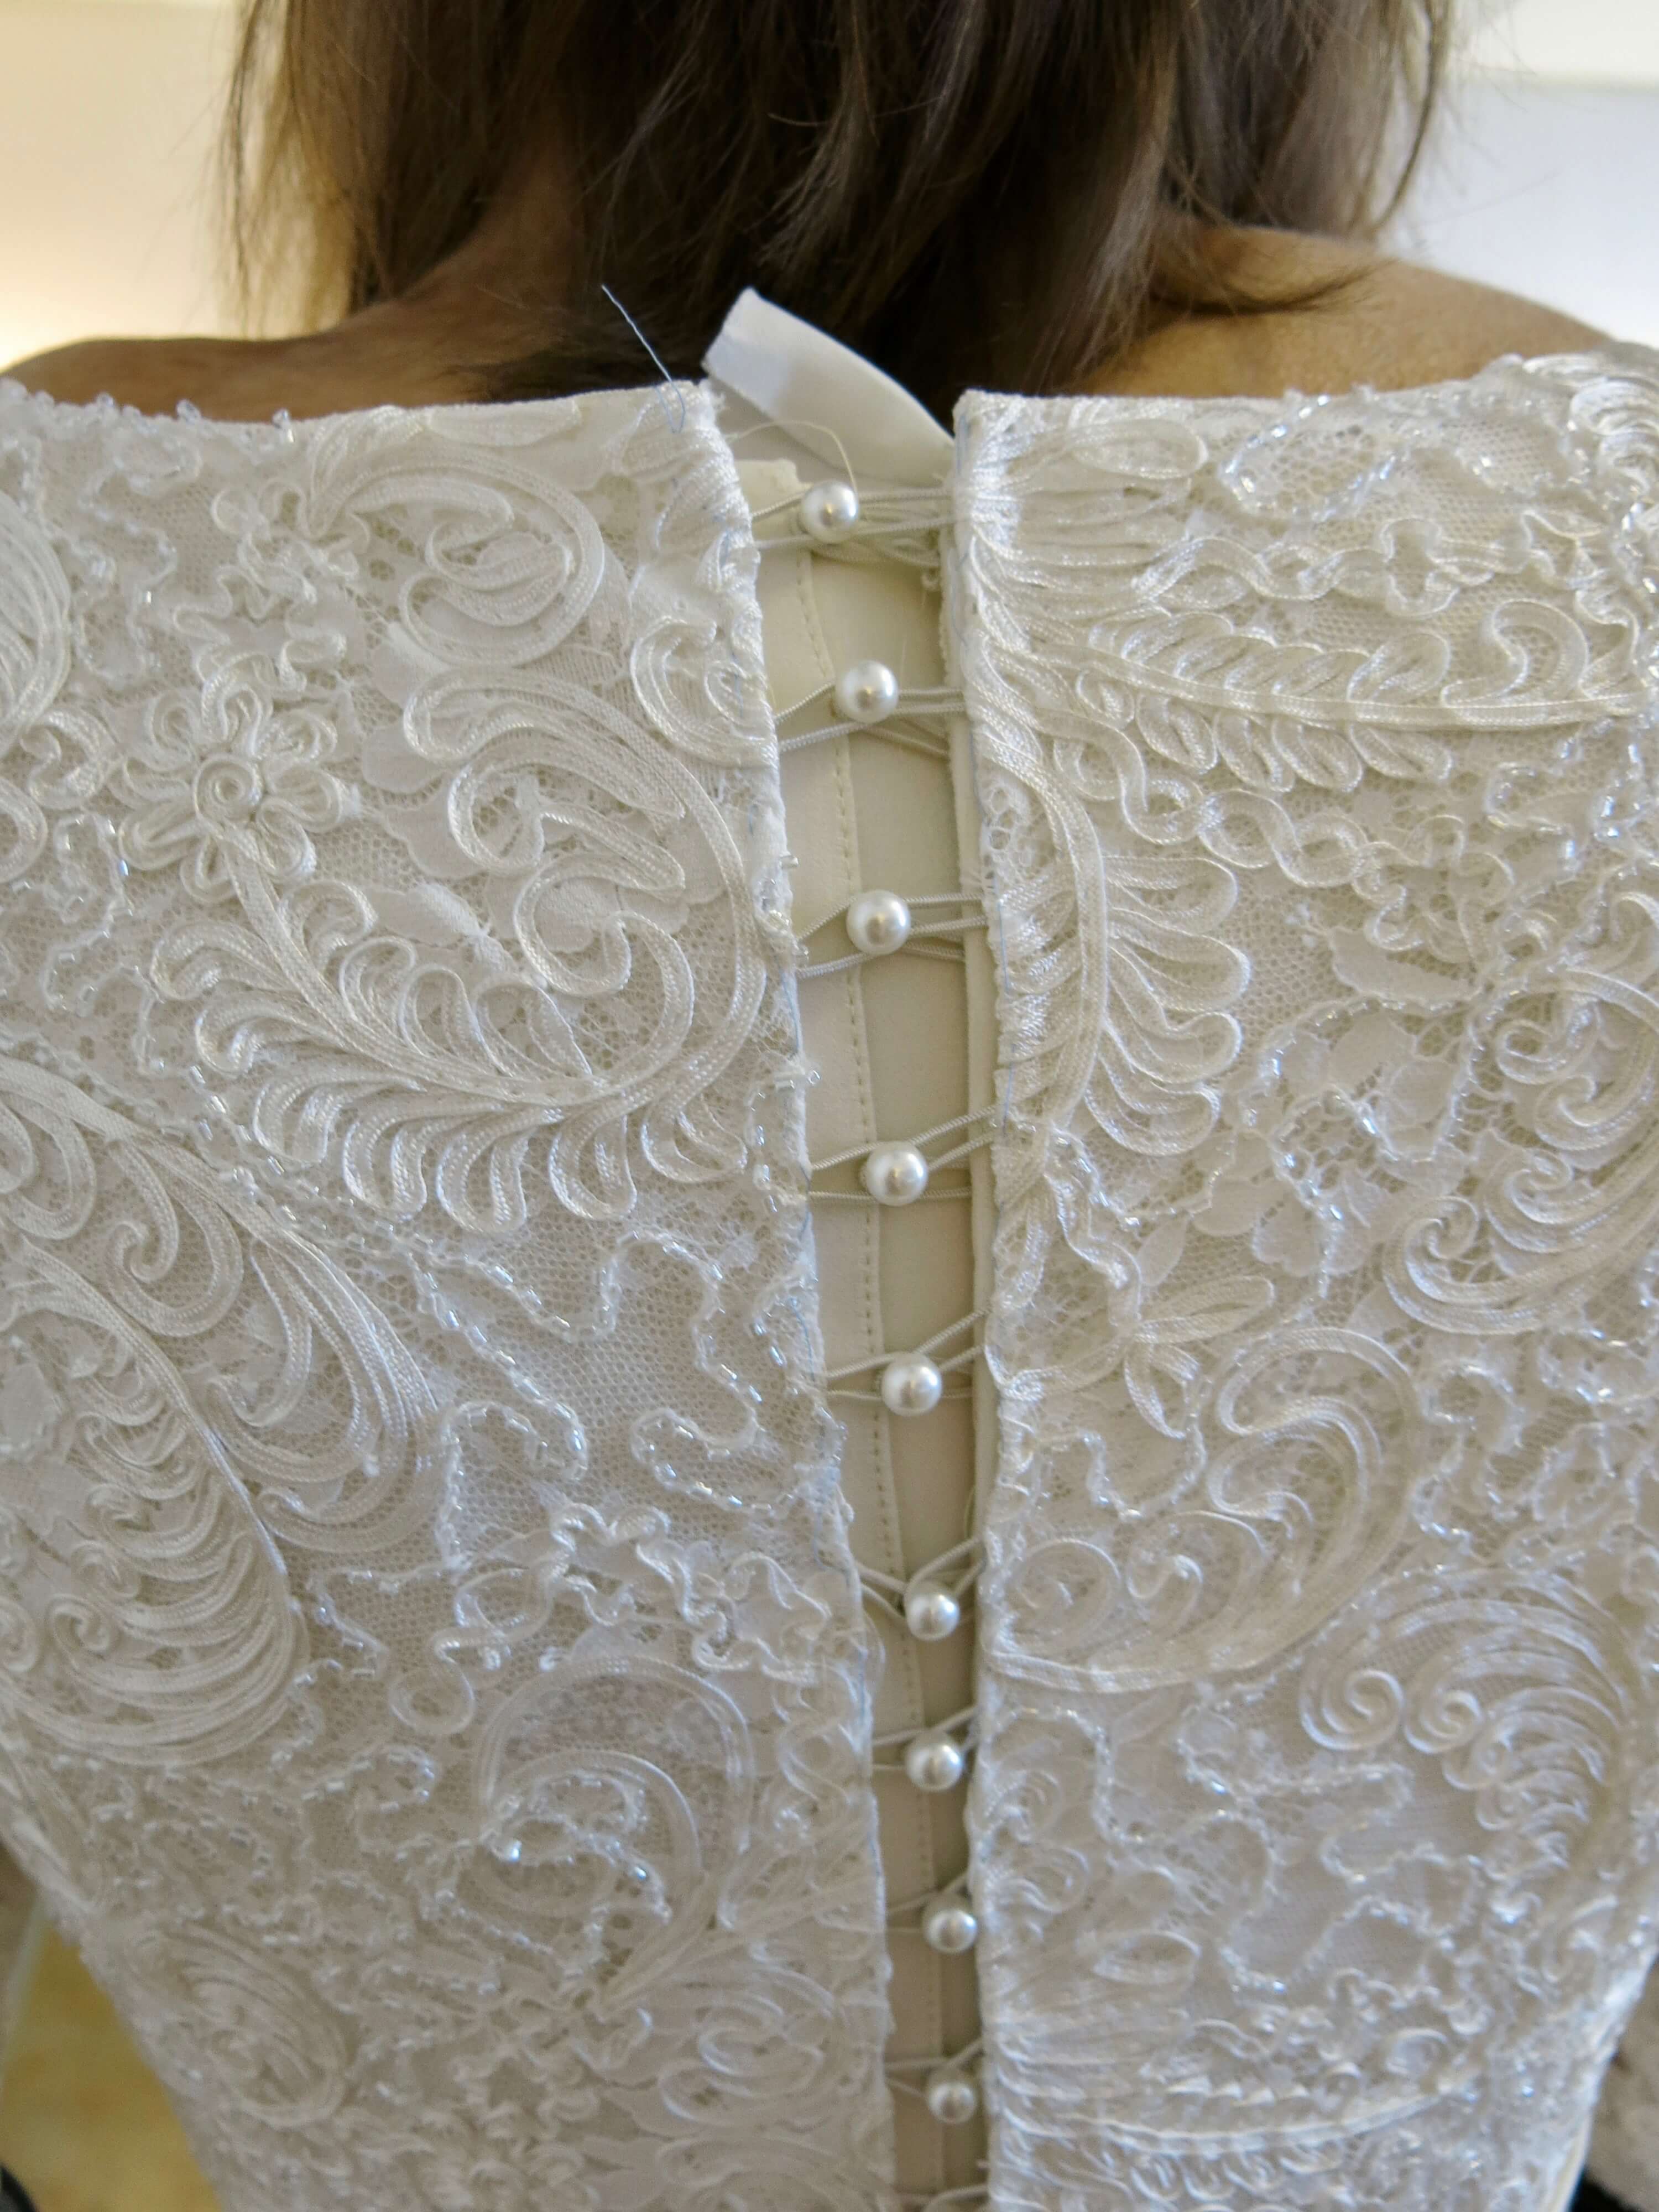
After basting most of the lining securely in place, I next basted elastic bridal button loops to each side of the lace top. The dress would already have buttons down the back, so instead of having buttons on top of buttons, the lace top would be worn looped over the existing buttons from both sides.
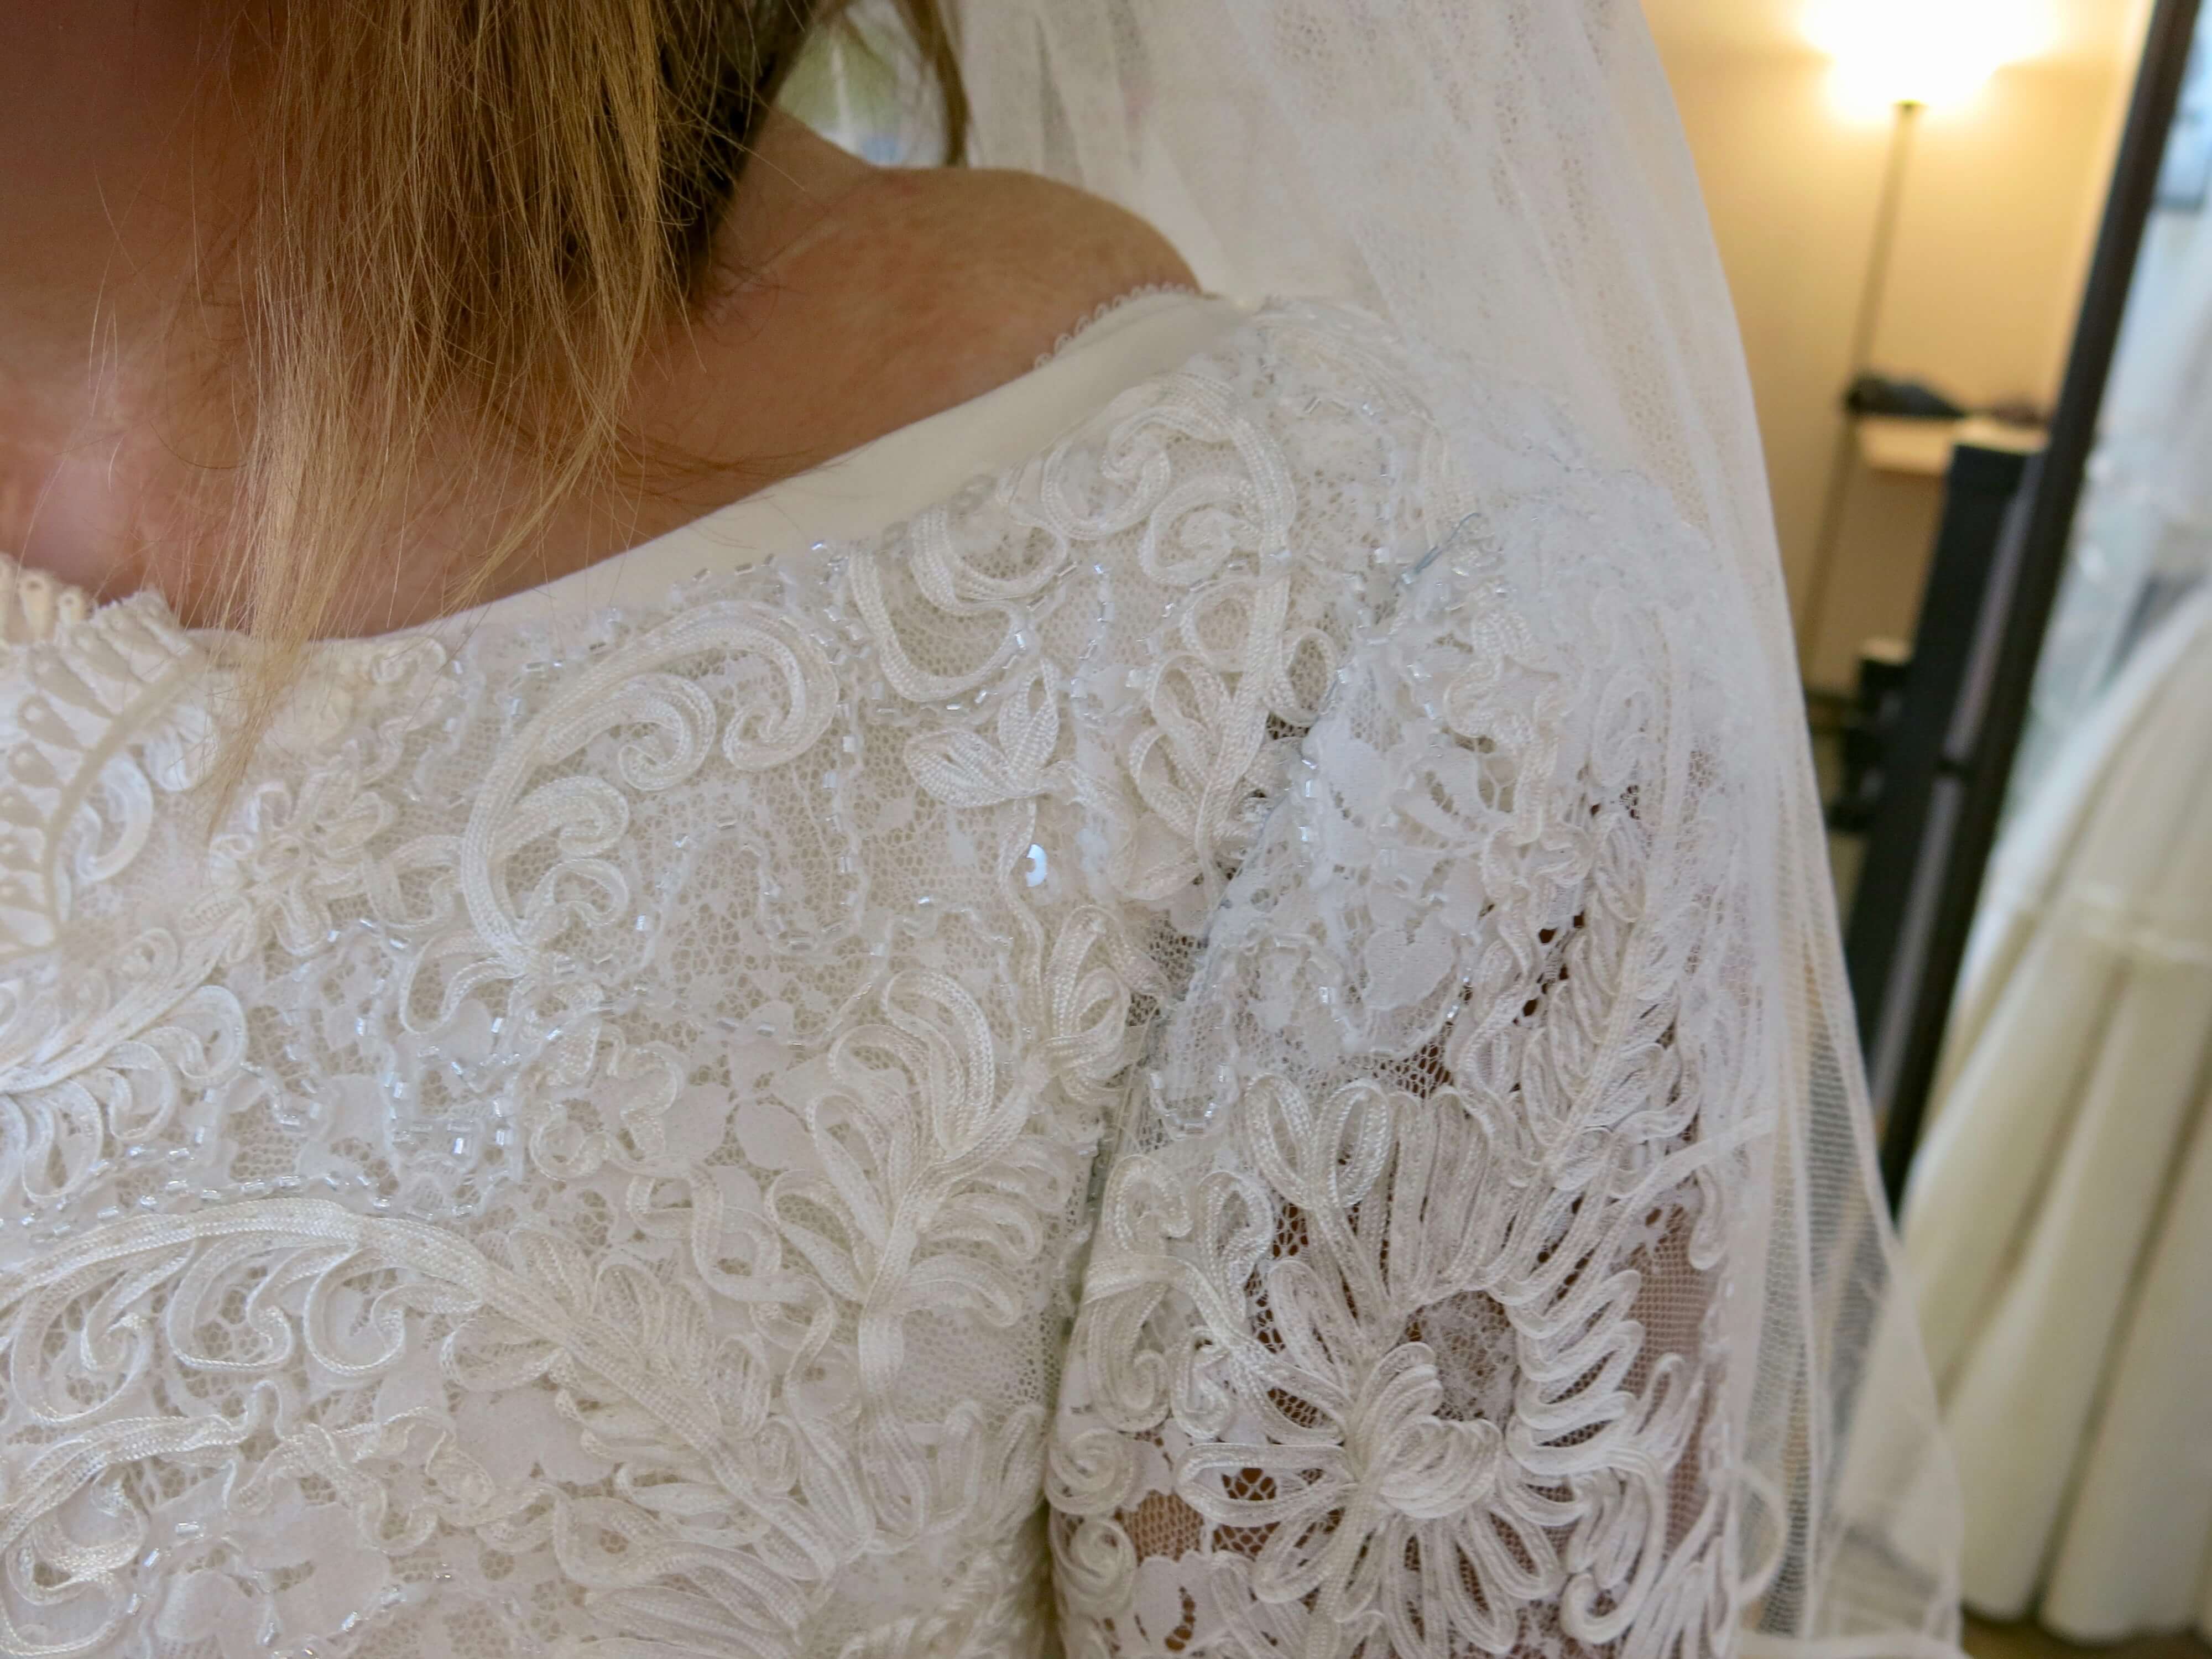
Next, I cut out the first sleeve by carefully placing its hem to feature the beautiful border of the lace. The sleeves would only be made from the single layer, without the lining. My self-drafted sleeve pattern also included gussets, which would allow Deborah to easily move her arms without taking the whole top with it. (I often hear my theatrical patternmaking professor’s voice in my head: “It isn’t a sleeve without a gusset!”)
I then stitched up the sleeve and hand basted it into the armhole…
…before trying it on. Yeeeeeesssssss!
I followed the same steps for the other sleeve and the lace top was nearly fitting-ready!
Belt Double-Take
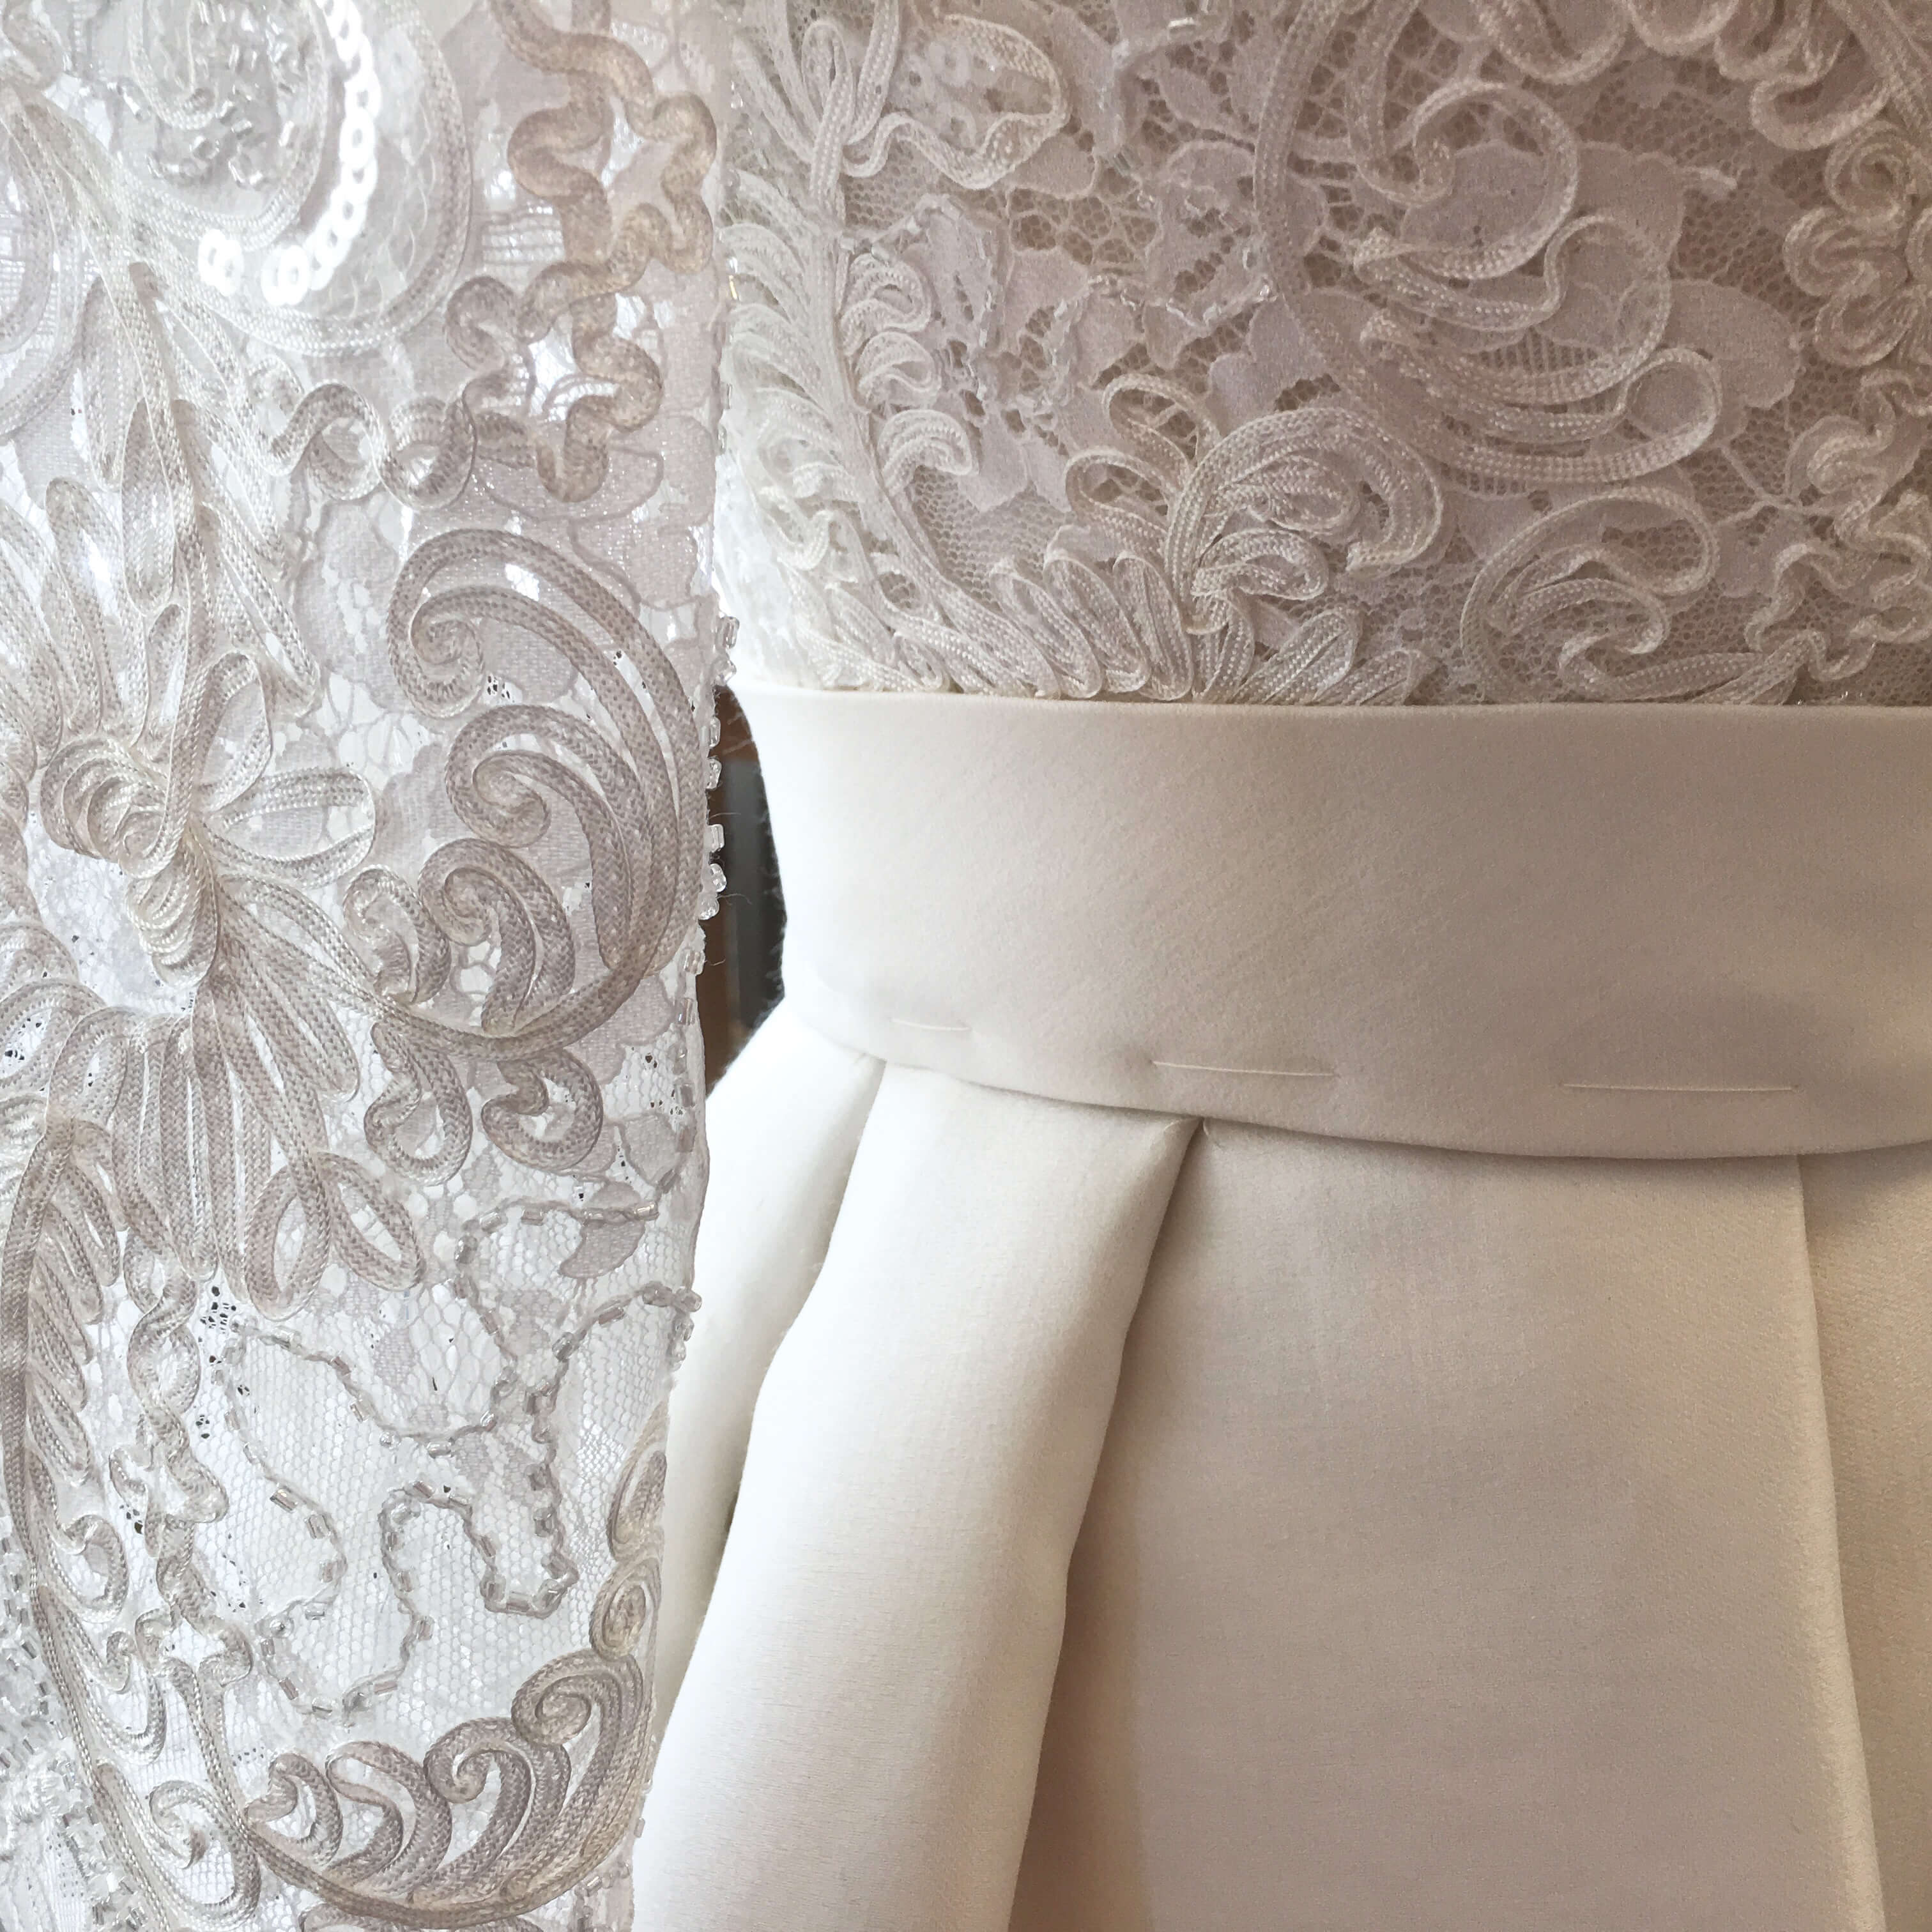
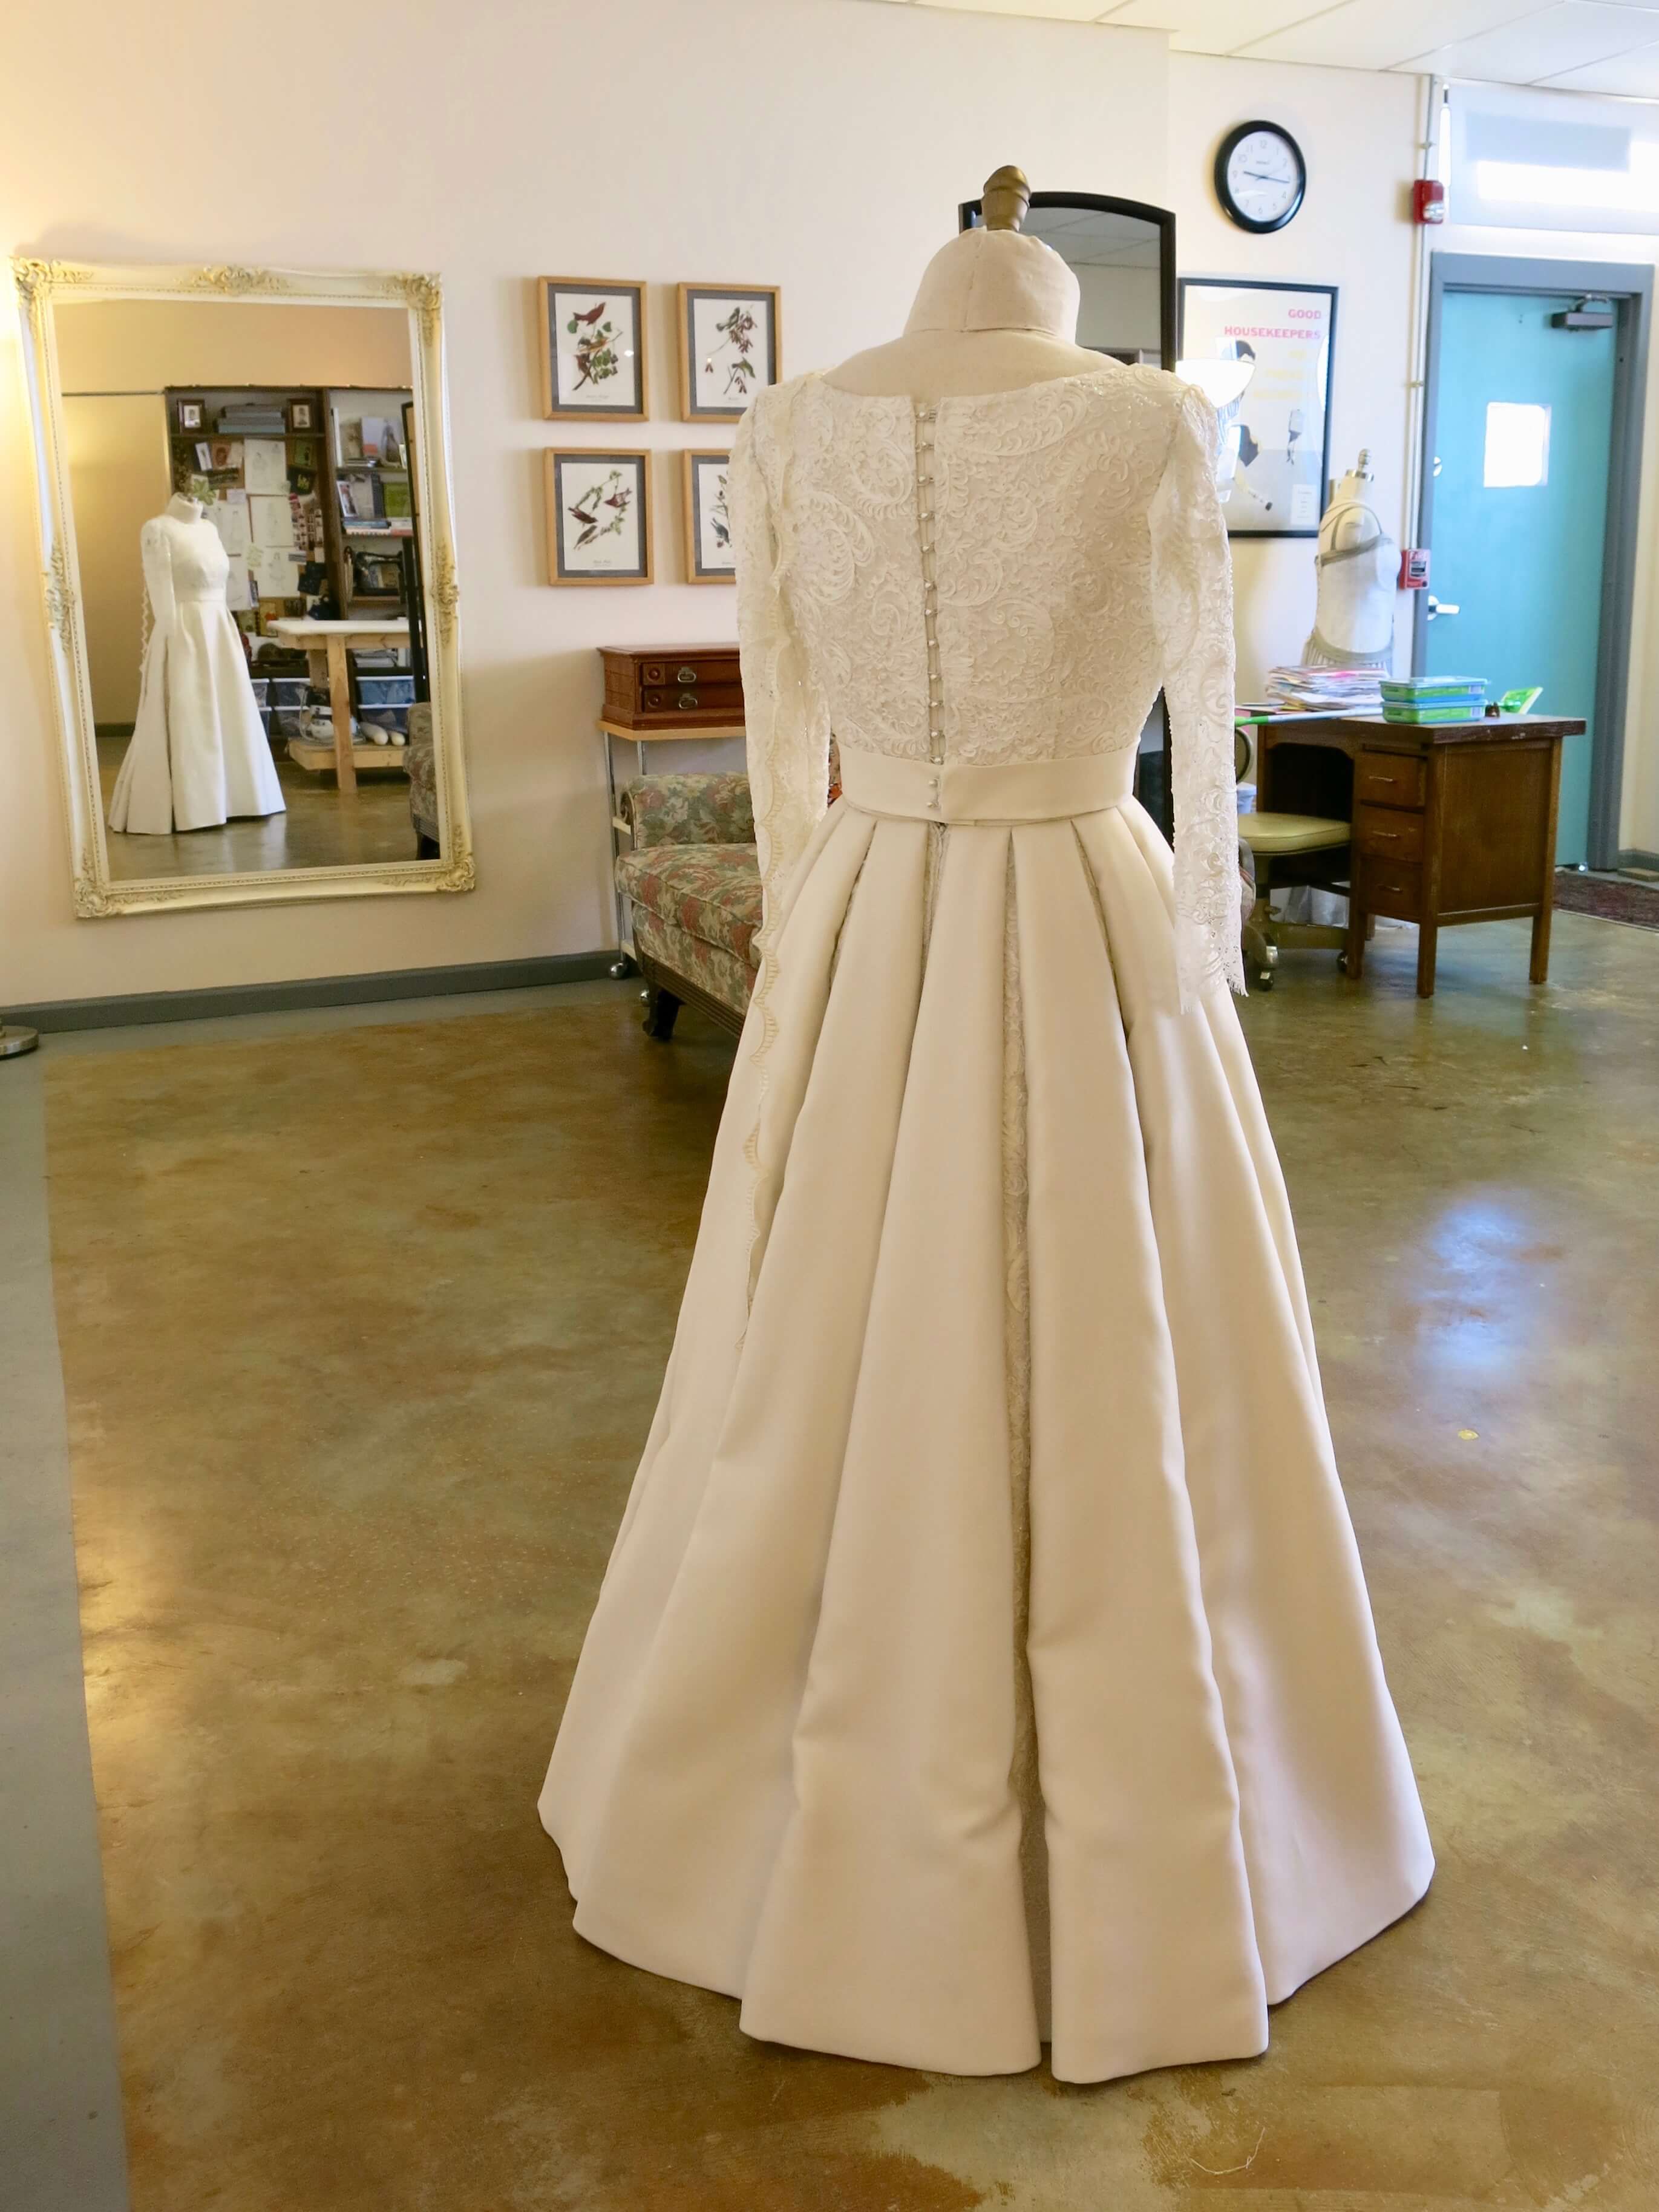
Both the dress and the lace top design included a wide belt! But instead of making one belt do double-duty, I’d make two! One would finish off the bottom of the lace top. The other would be separate, worn with the sleeveless reception look, with a big fun floral decoration.
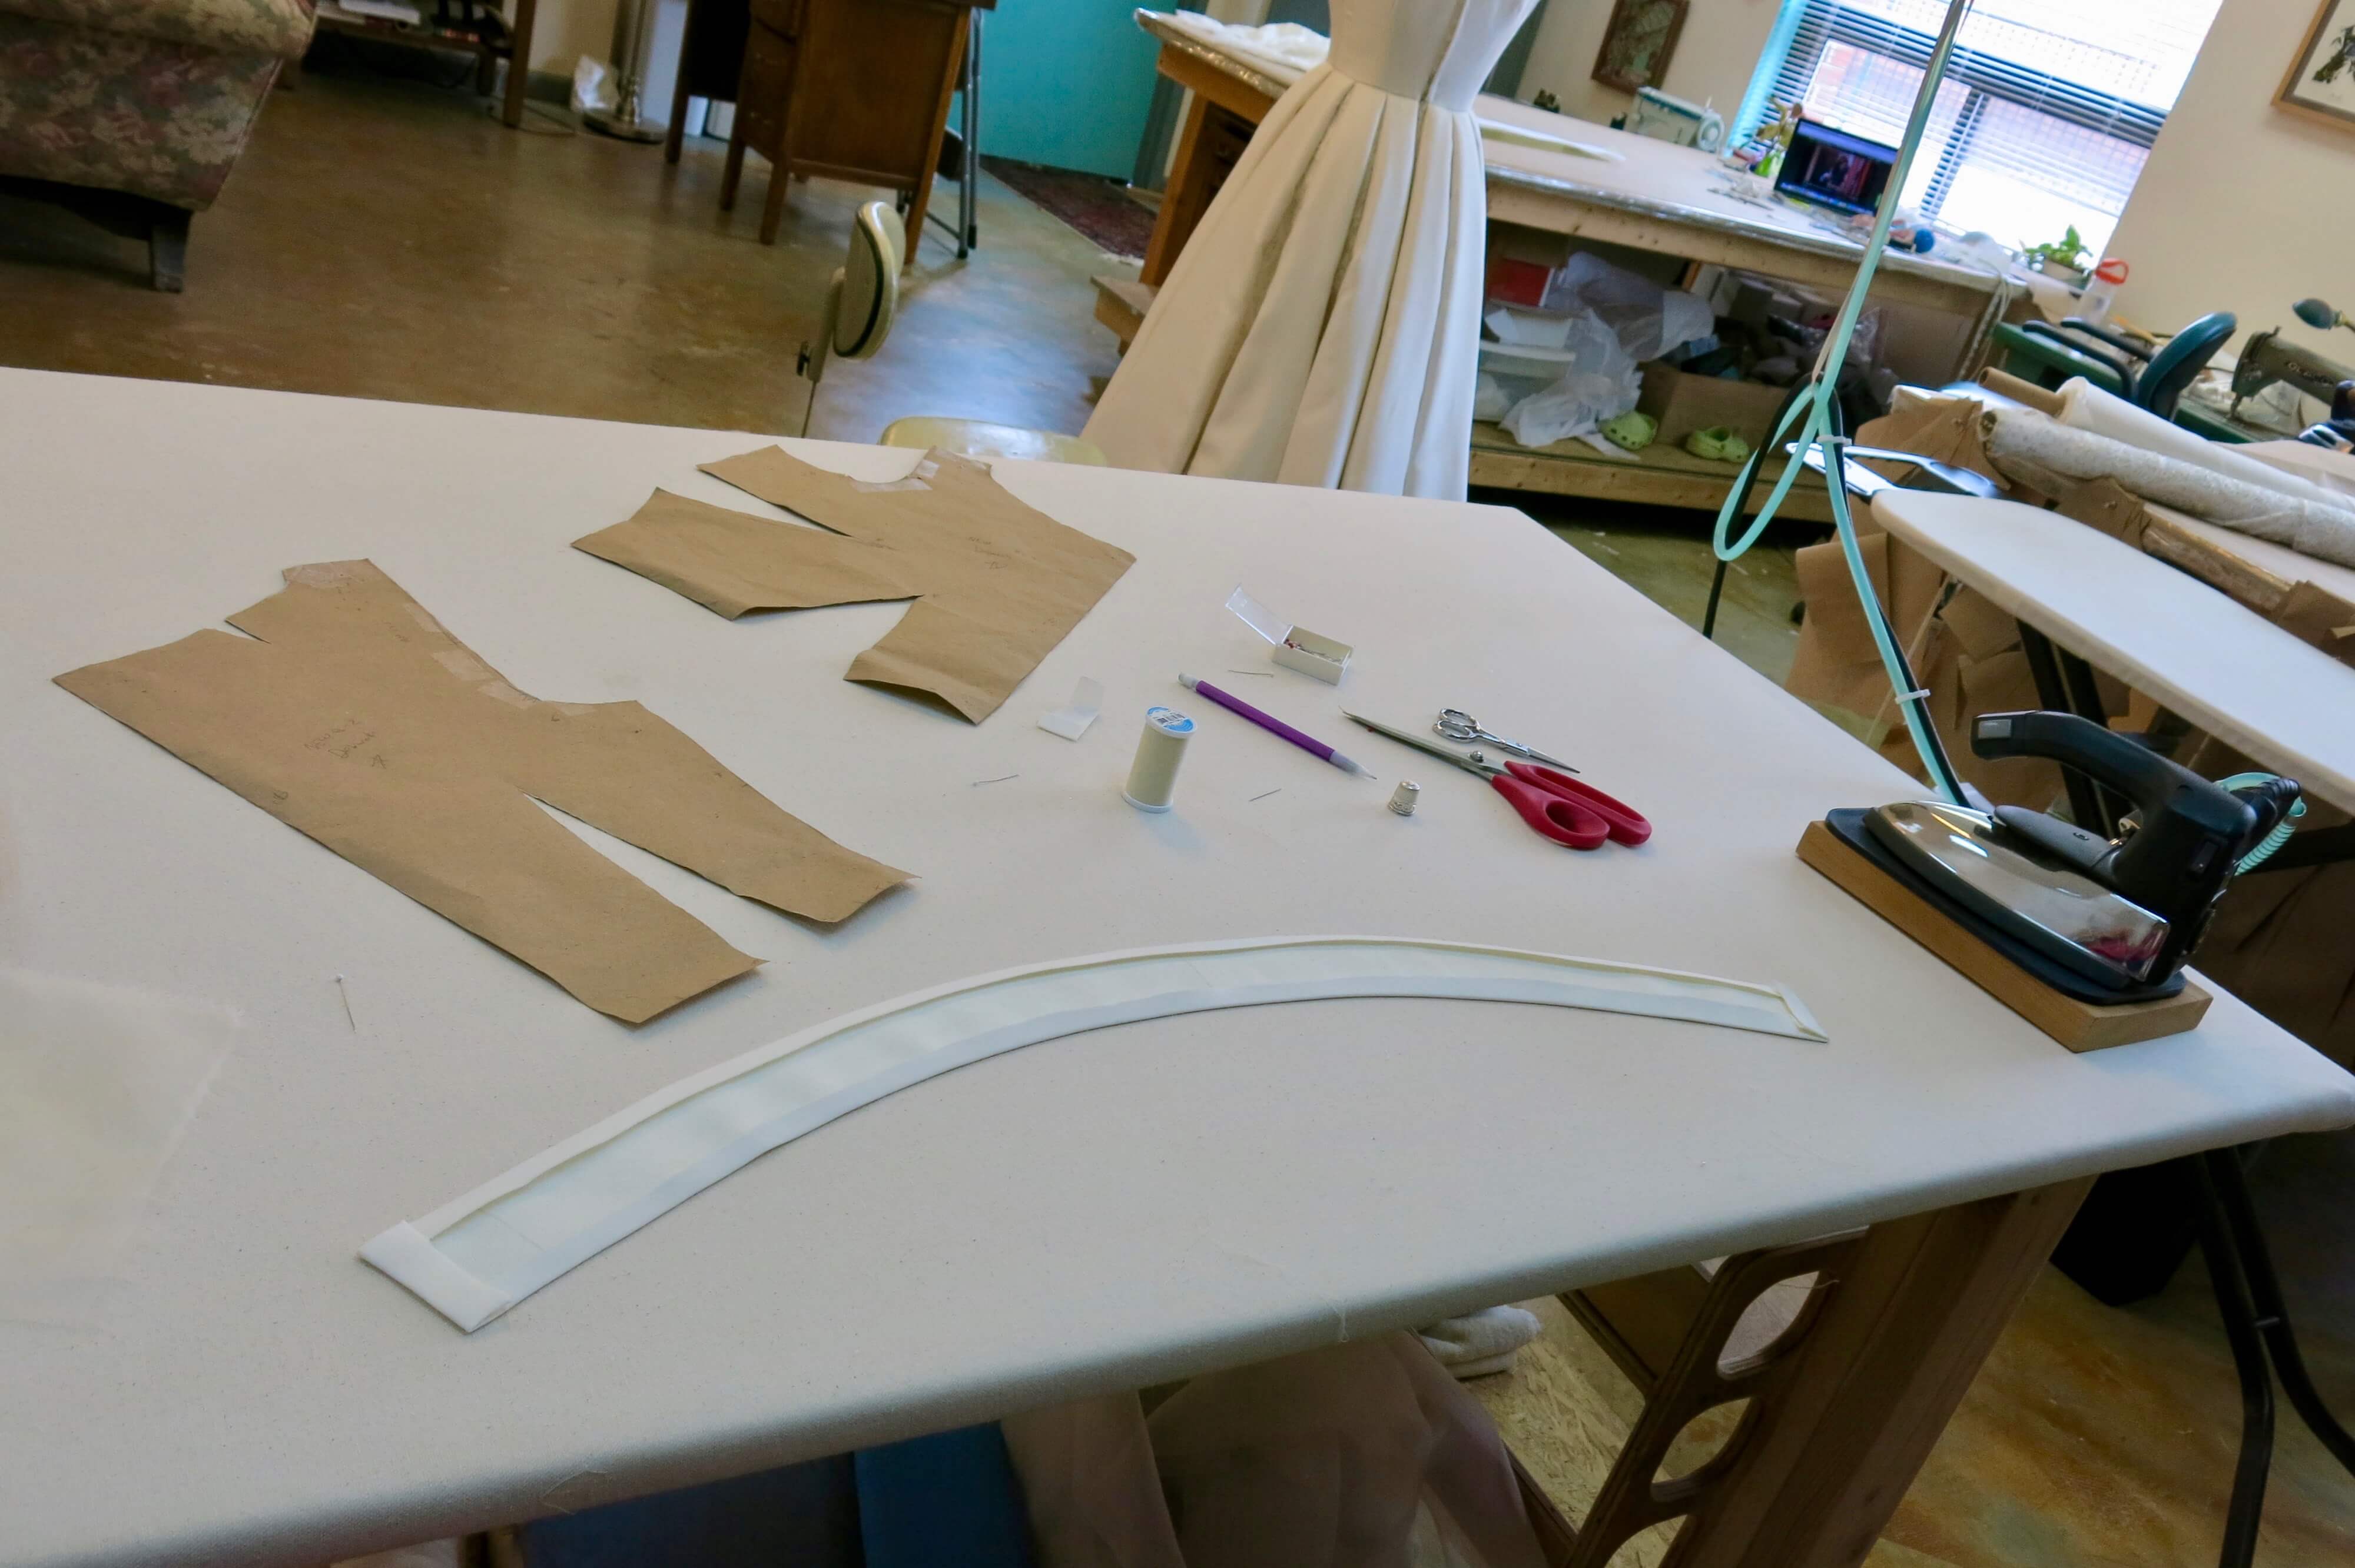
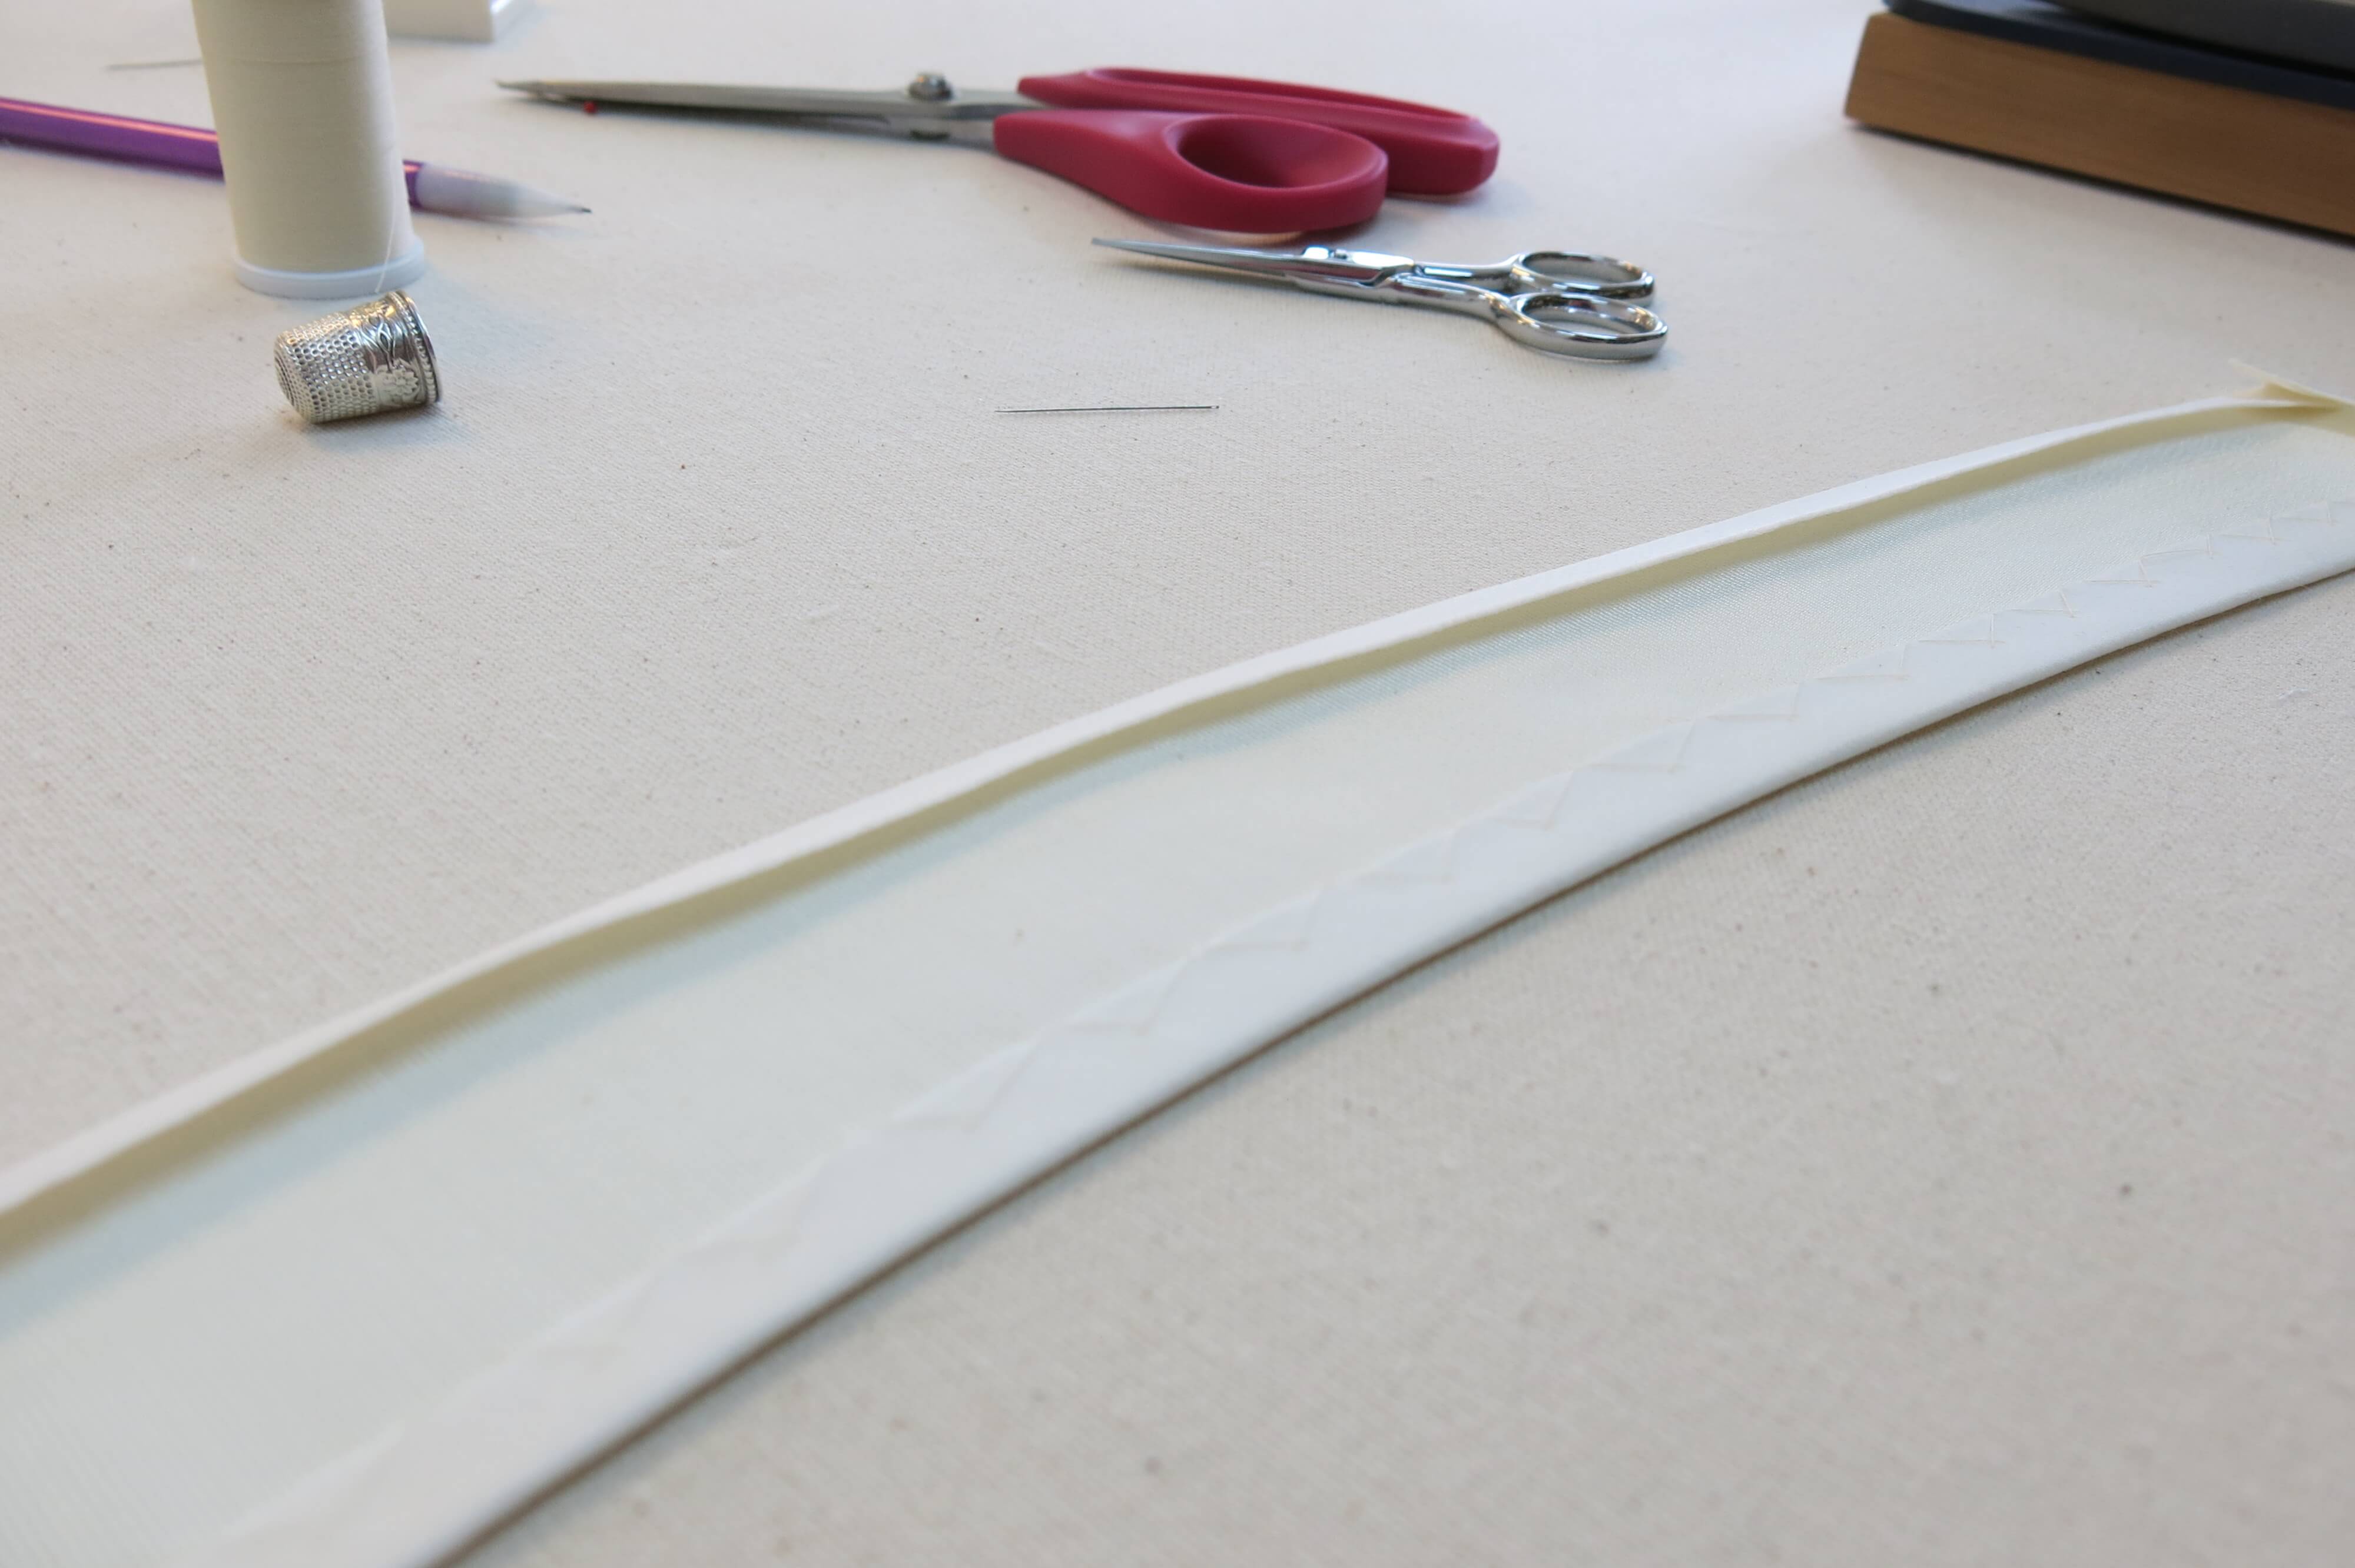
I’d interface each belt with unbound grosgrain ribbon. The cool thing about this sawtoothed-edged grosgrain, is that it can be custom shaped with your iron. To achieve the custom shape needed for Deborah’s belts, I closed the waist darts of her custom pattern pieces and pinned them to my custom ironing table before manipulating the ribbon to match the waistline shape with my iron.
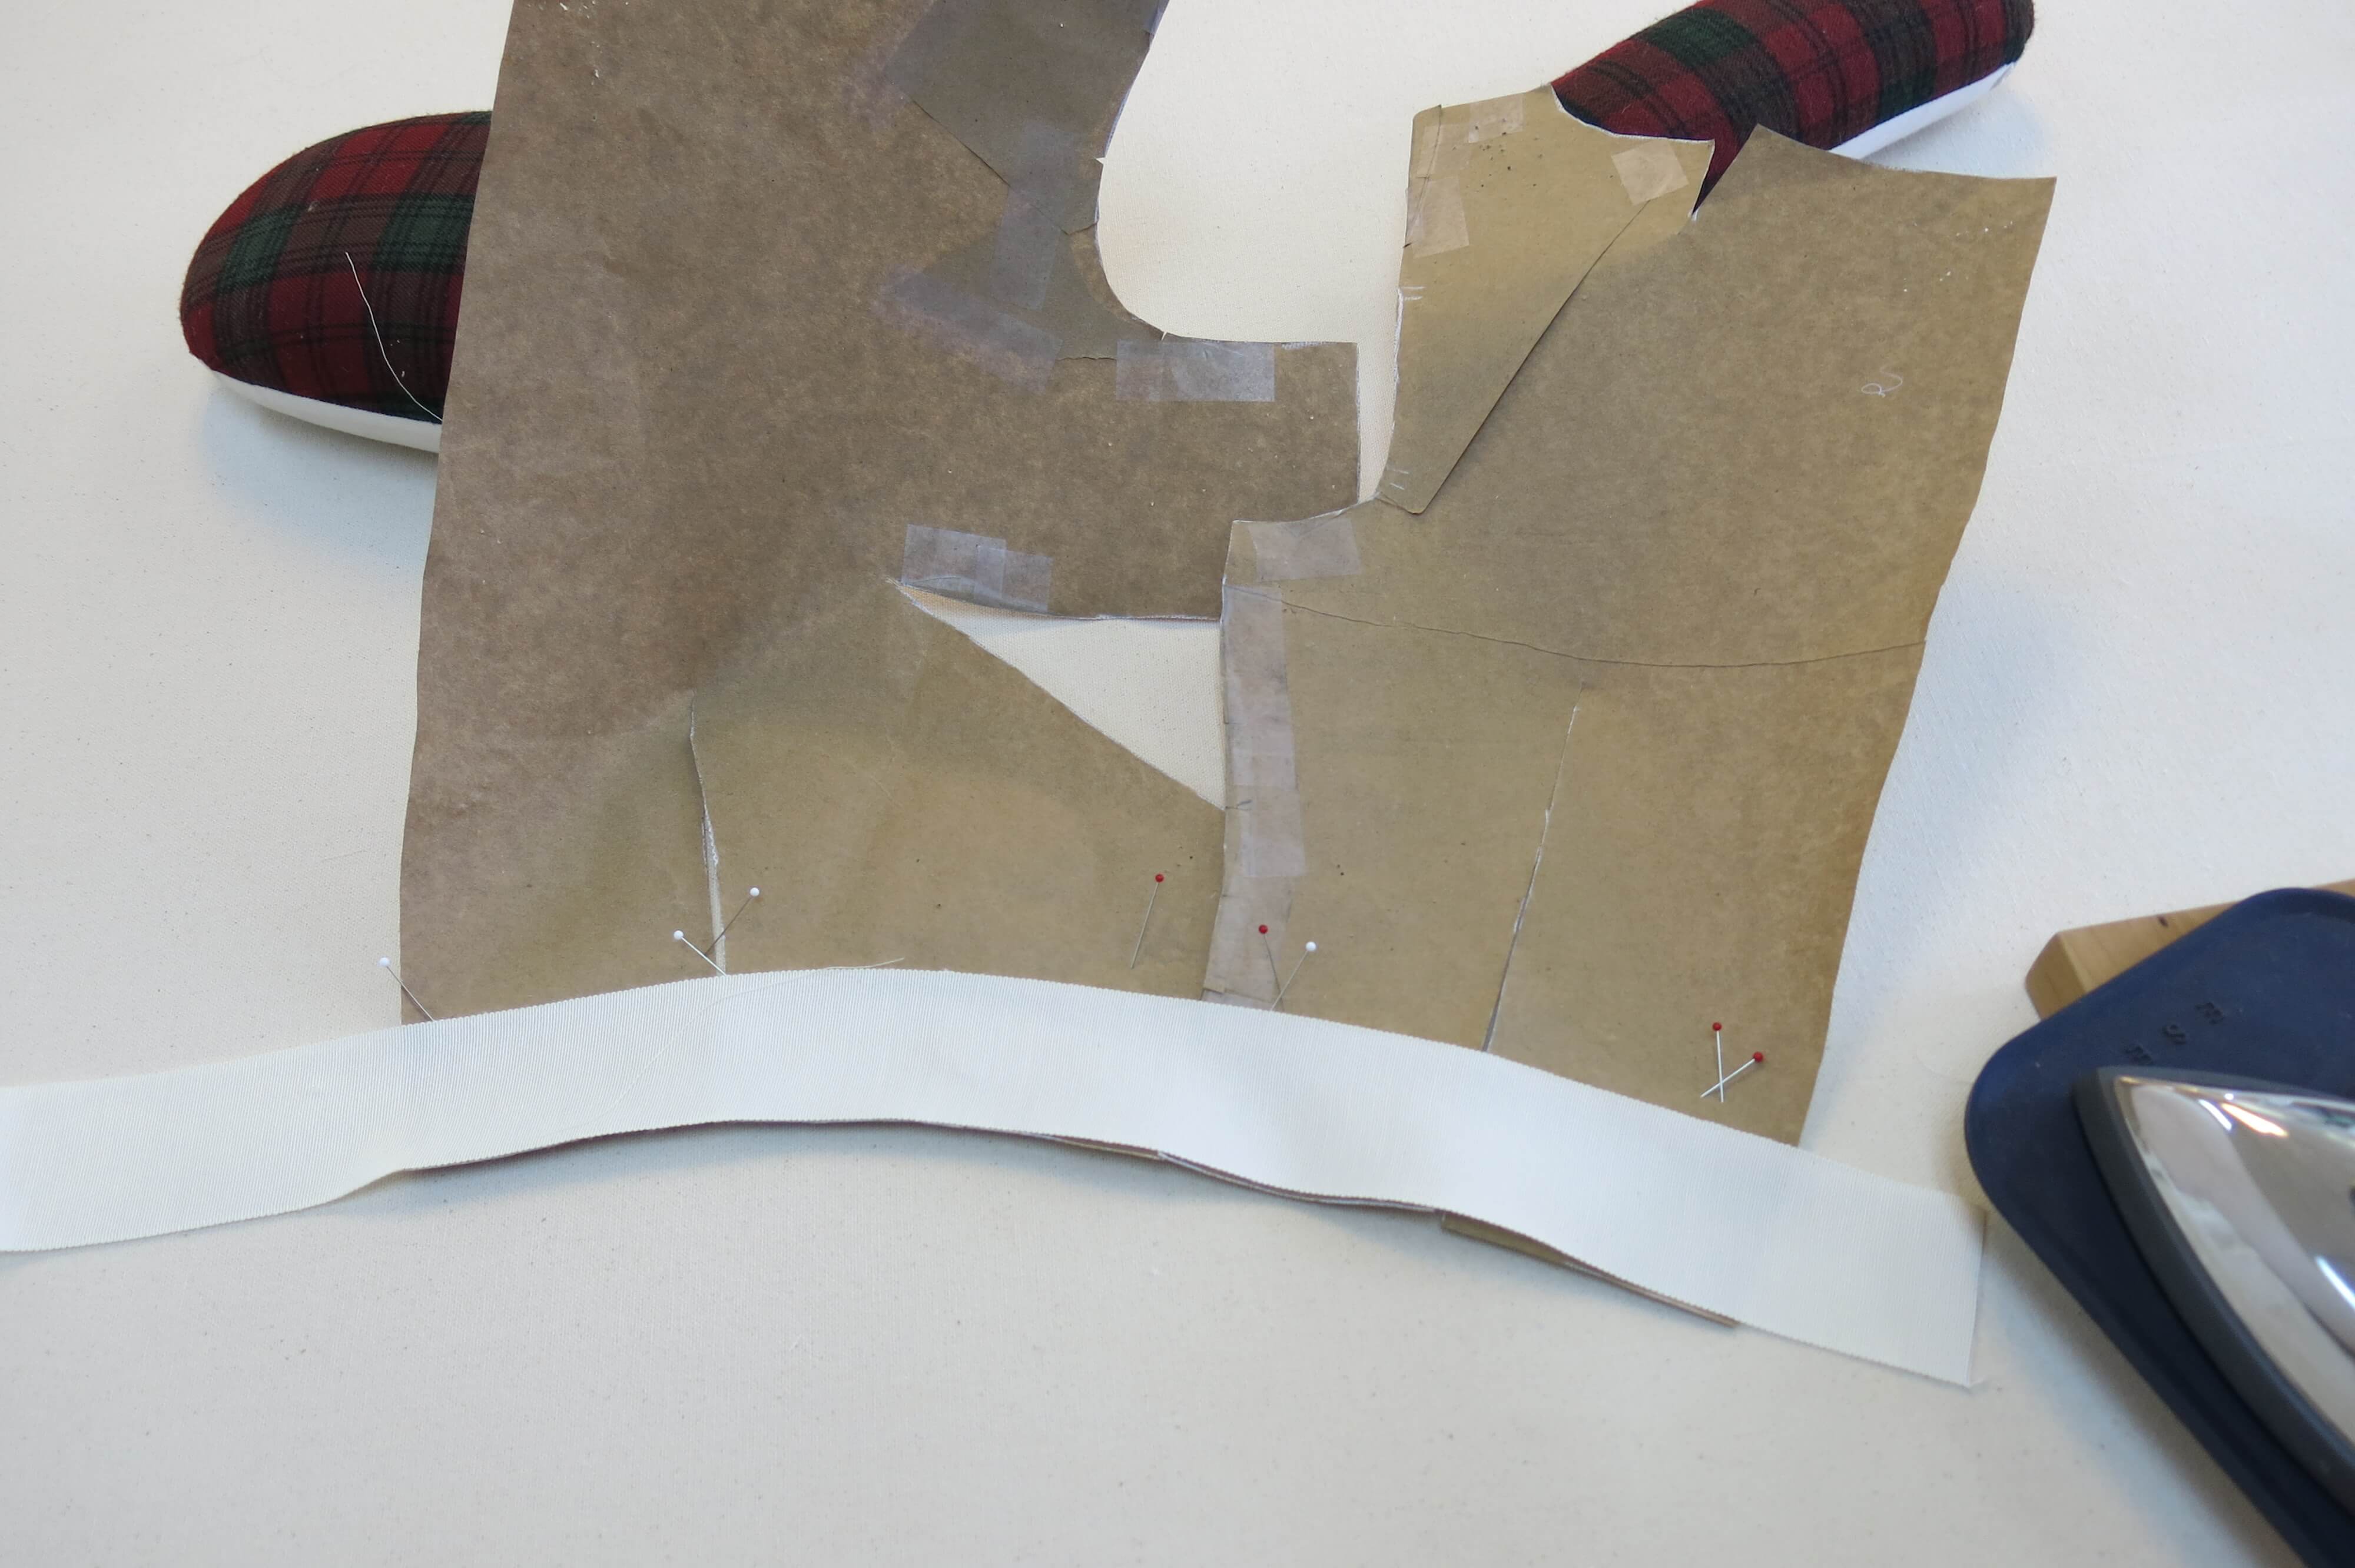
Since my pattern pieces only represent half of the body, I had to flip them over and repeat for the other half of the ribbon (and repeat the whole process for the second belt.)
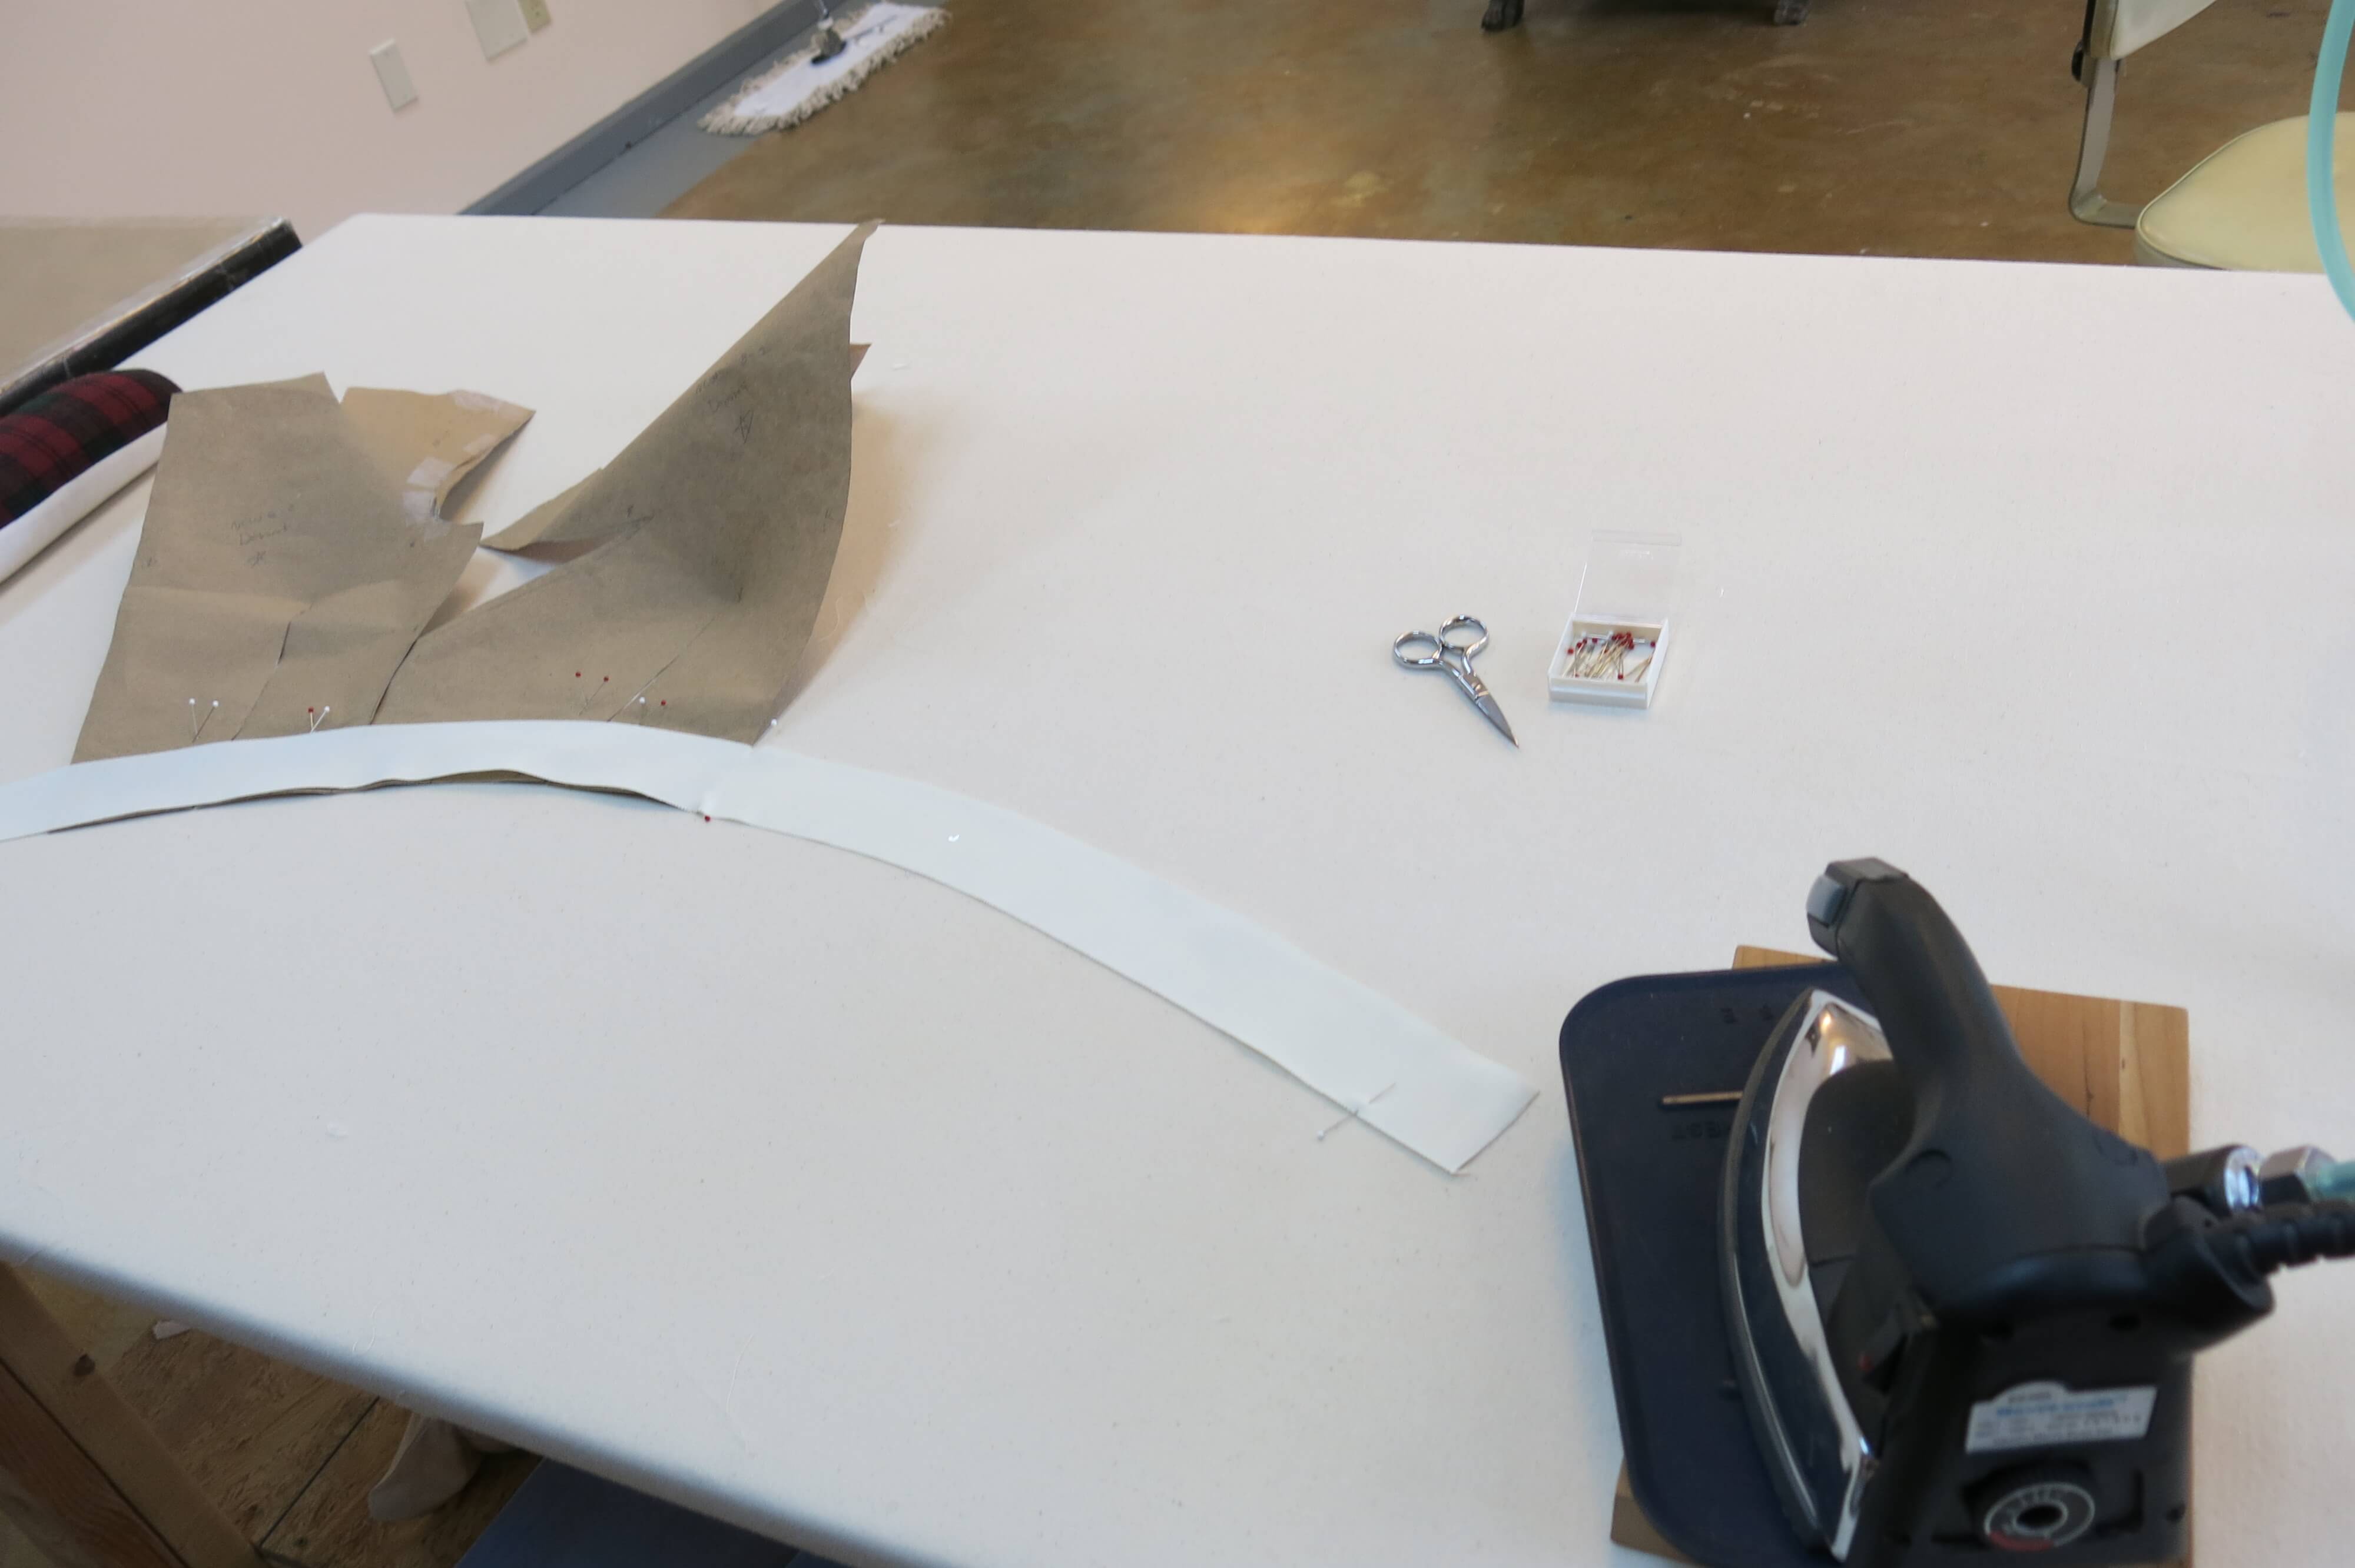
I then covered each ribbon with the silk/wool fabric of the dress, which I cut on the bias so it also could take the curve…
…before hand stitching it in place.
The removable reception dress belt got lined on the inside…
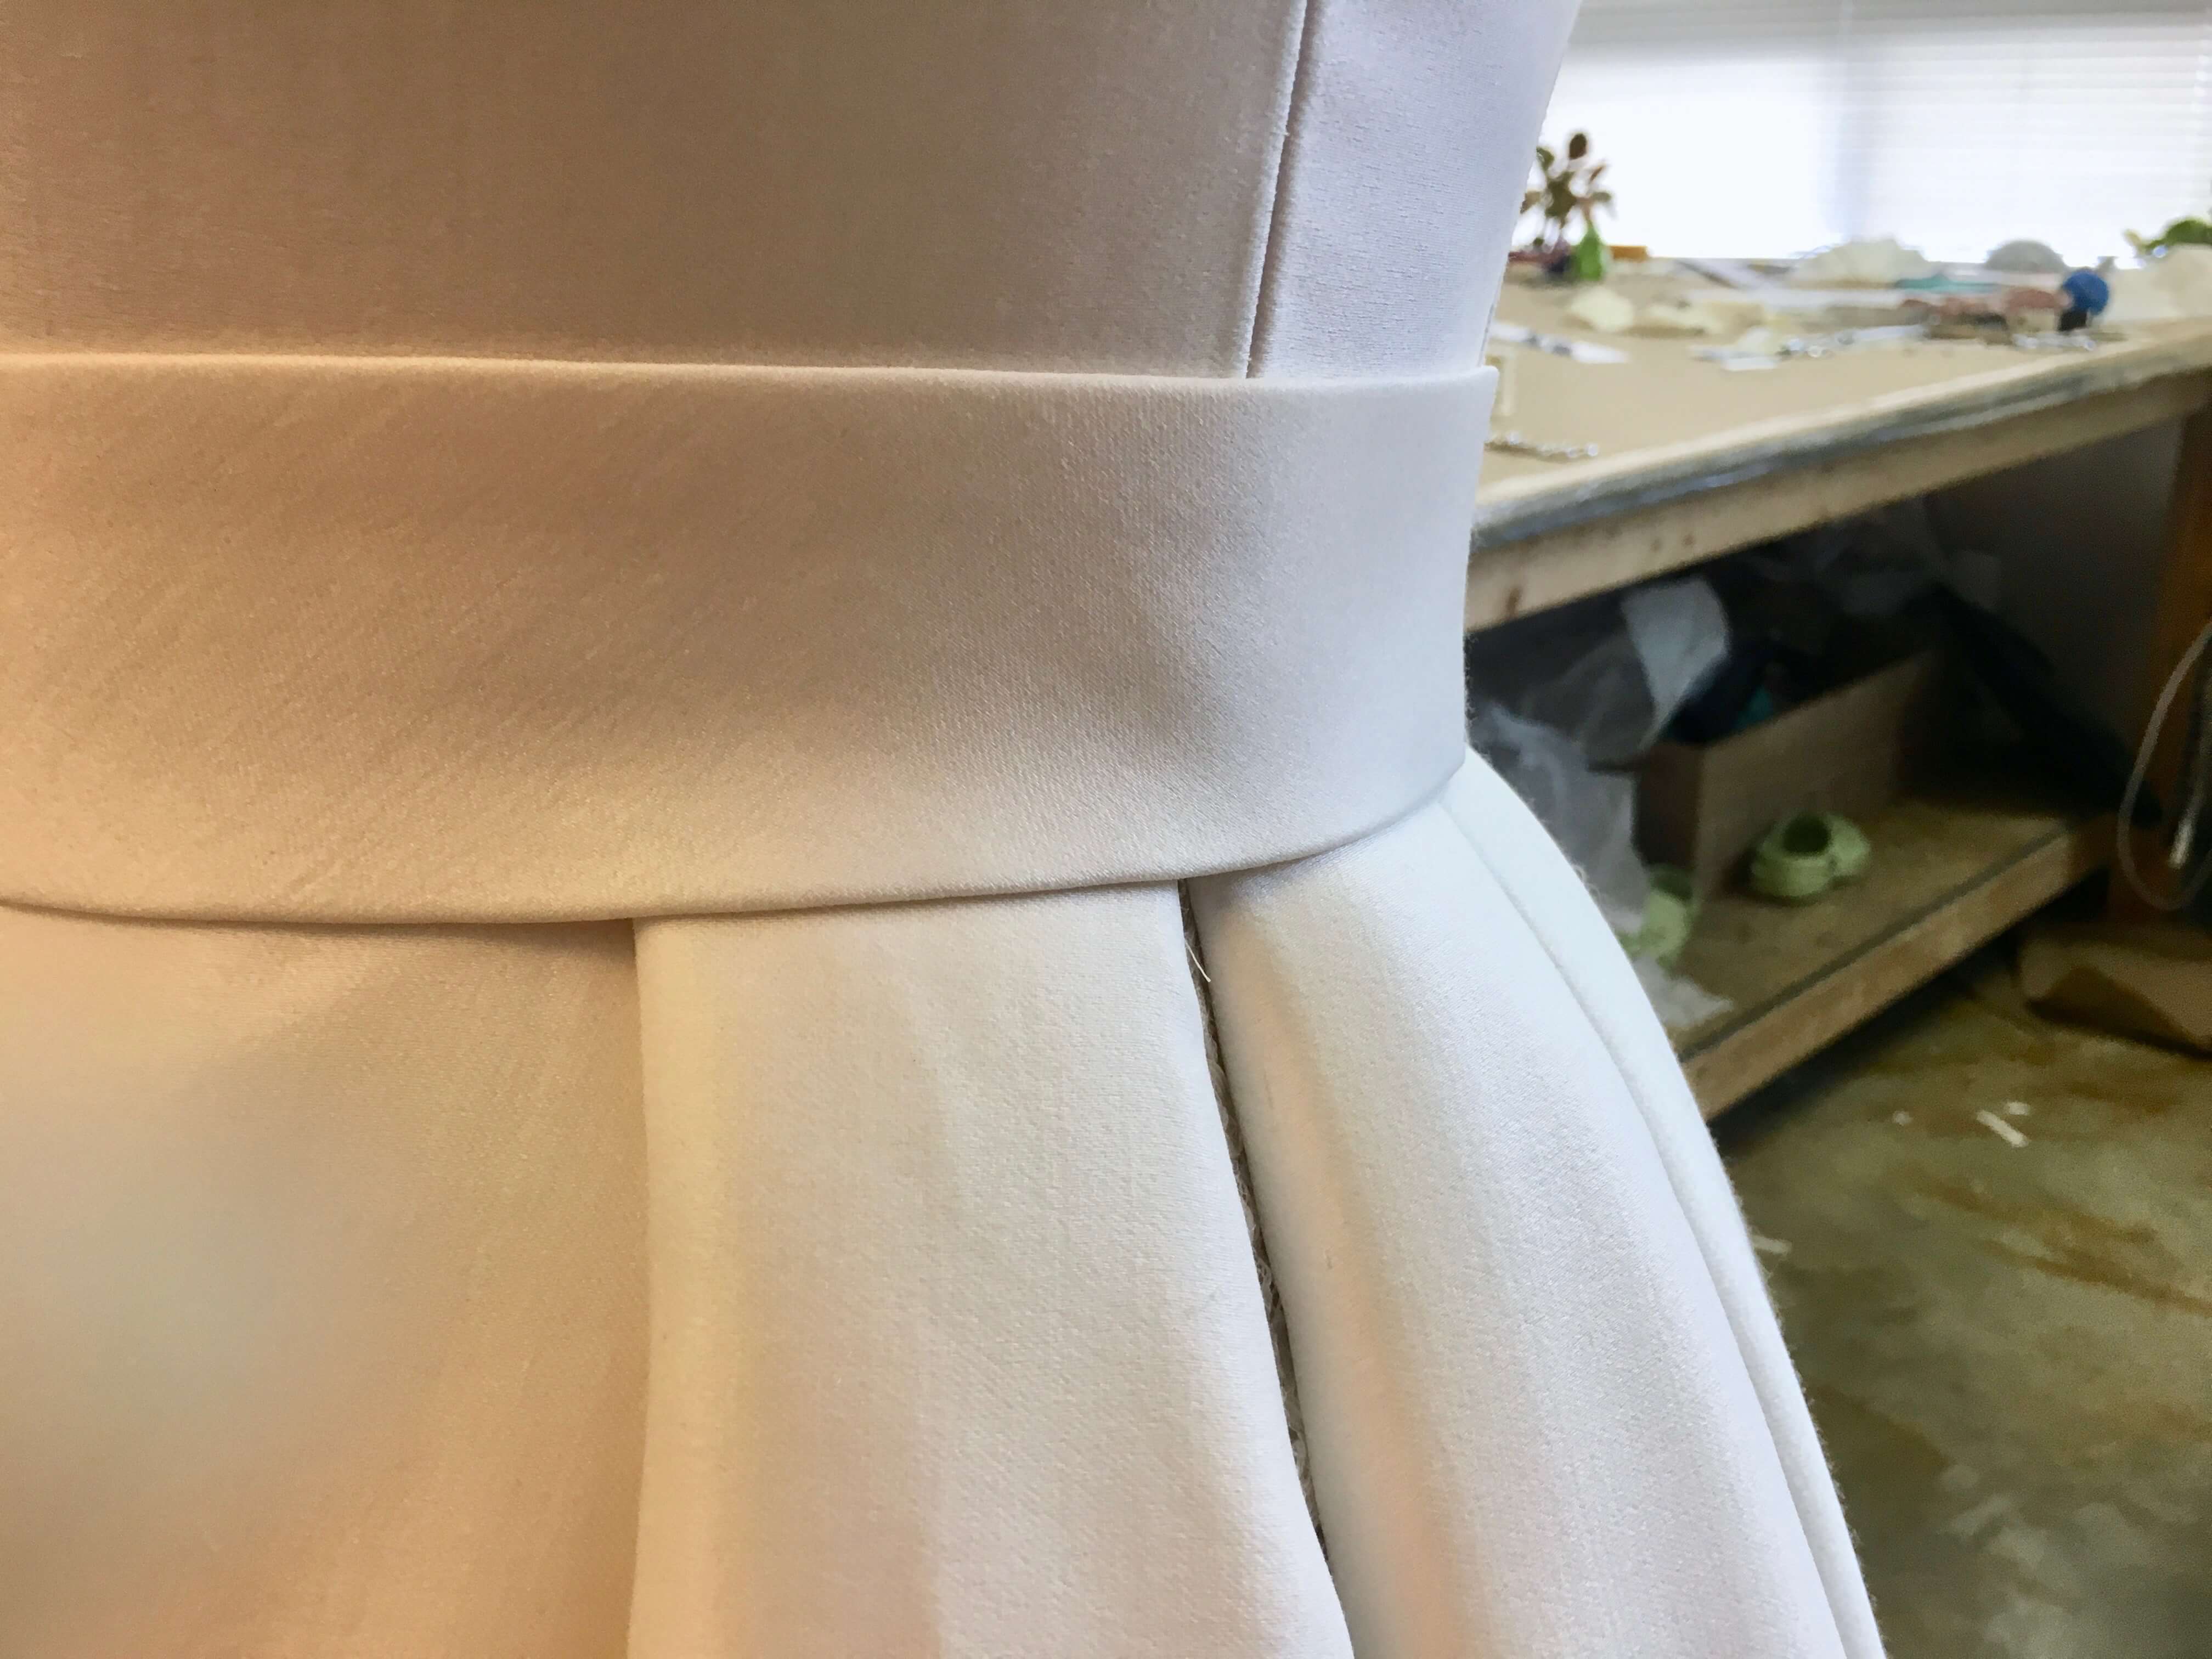
…and the ceremony belt was basted to the lace top to finish off its bottom edge. I’d add hooks to the inside and invisible thread loops to the waist of the dress to hold it in place throughout the wedding.
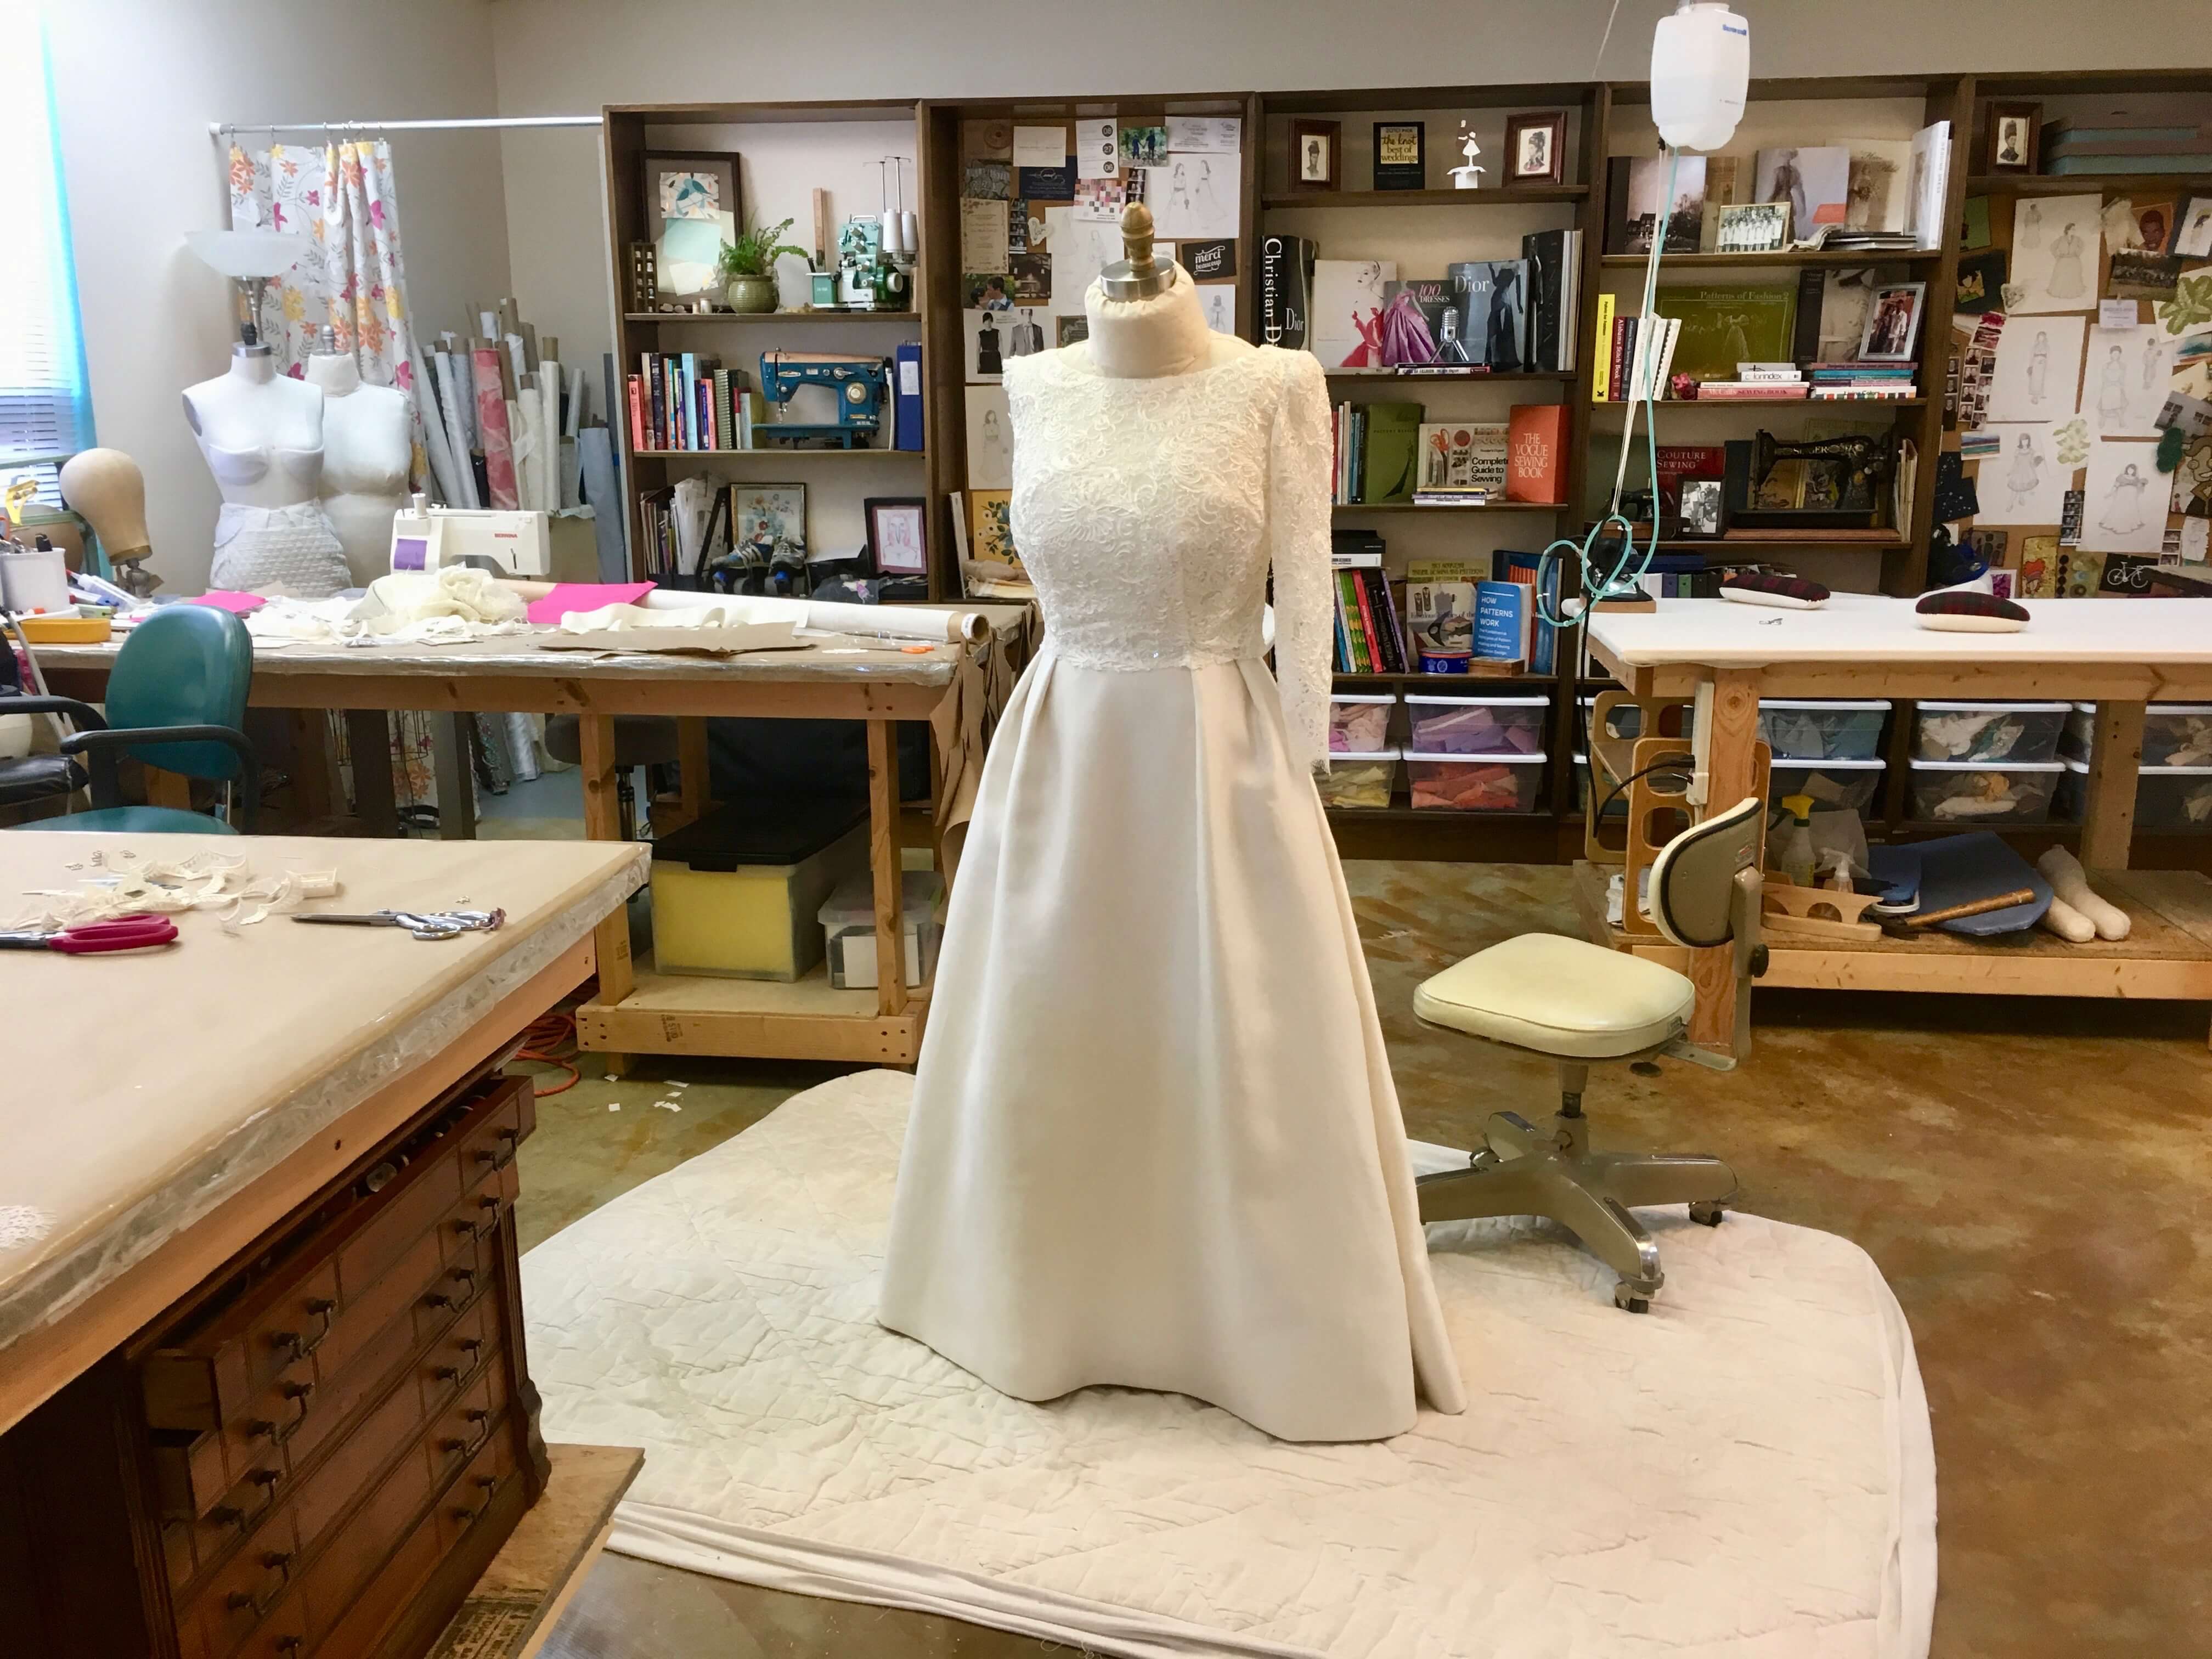
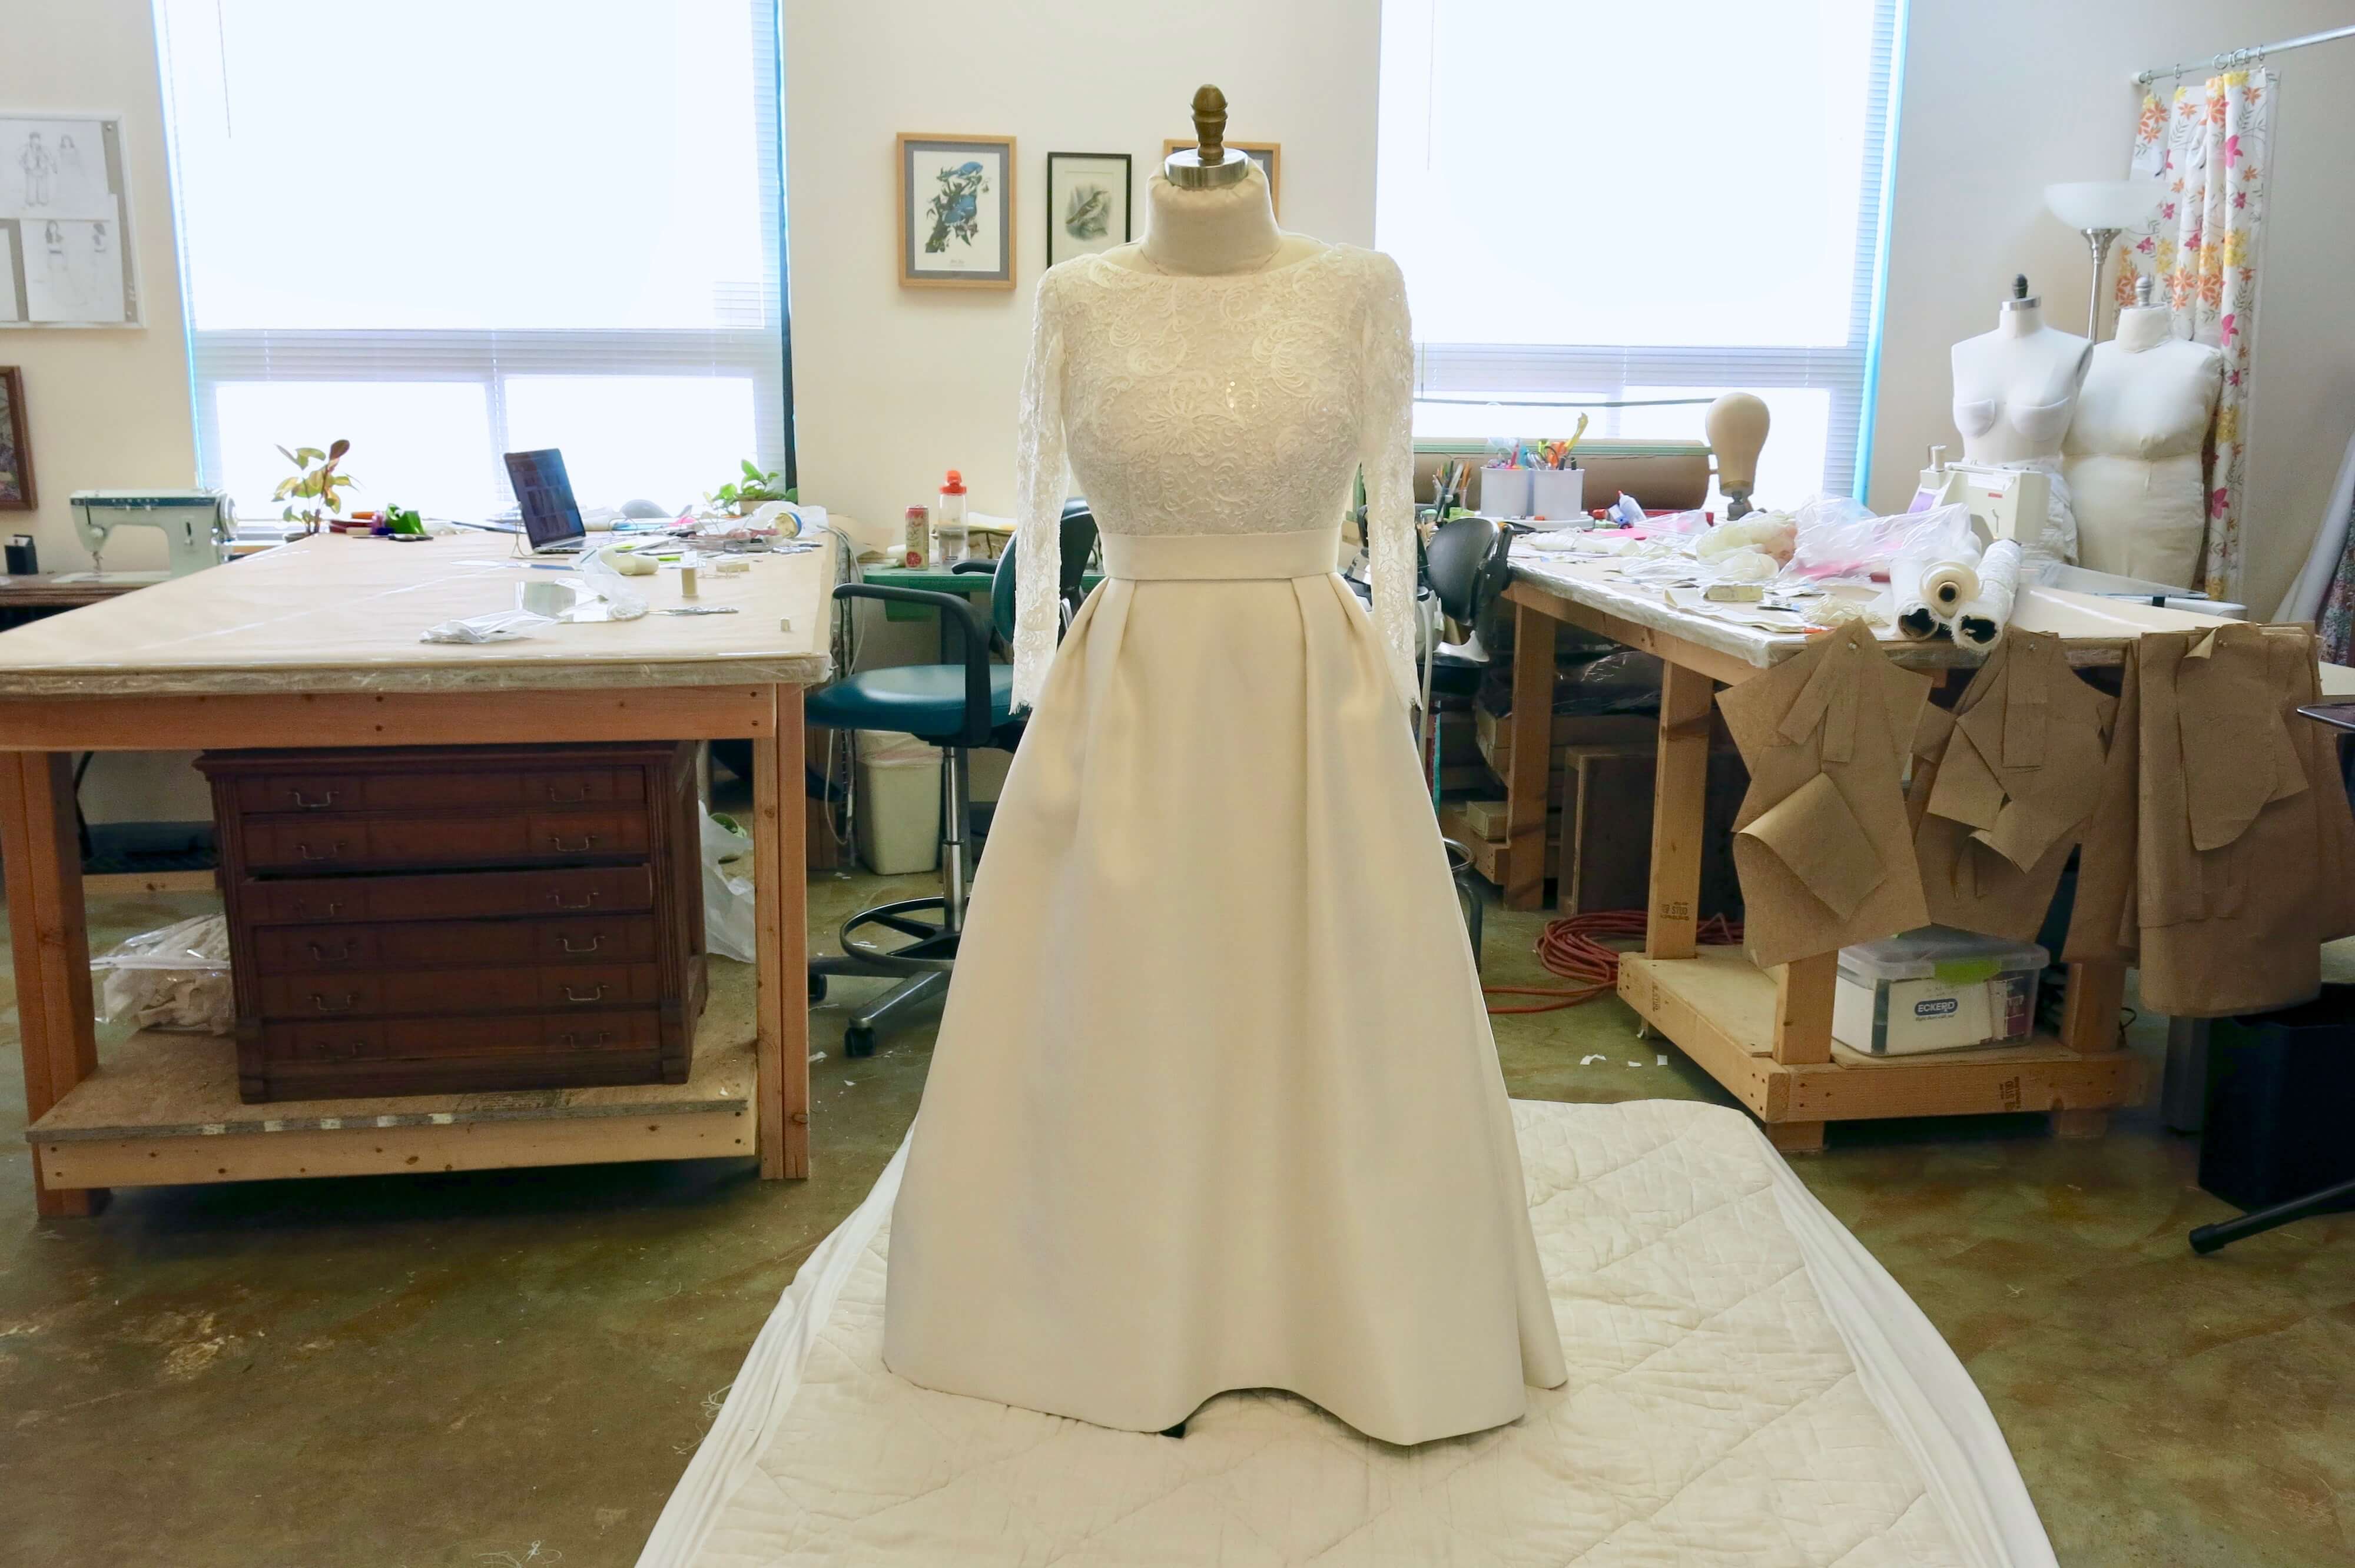
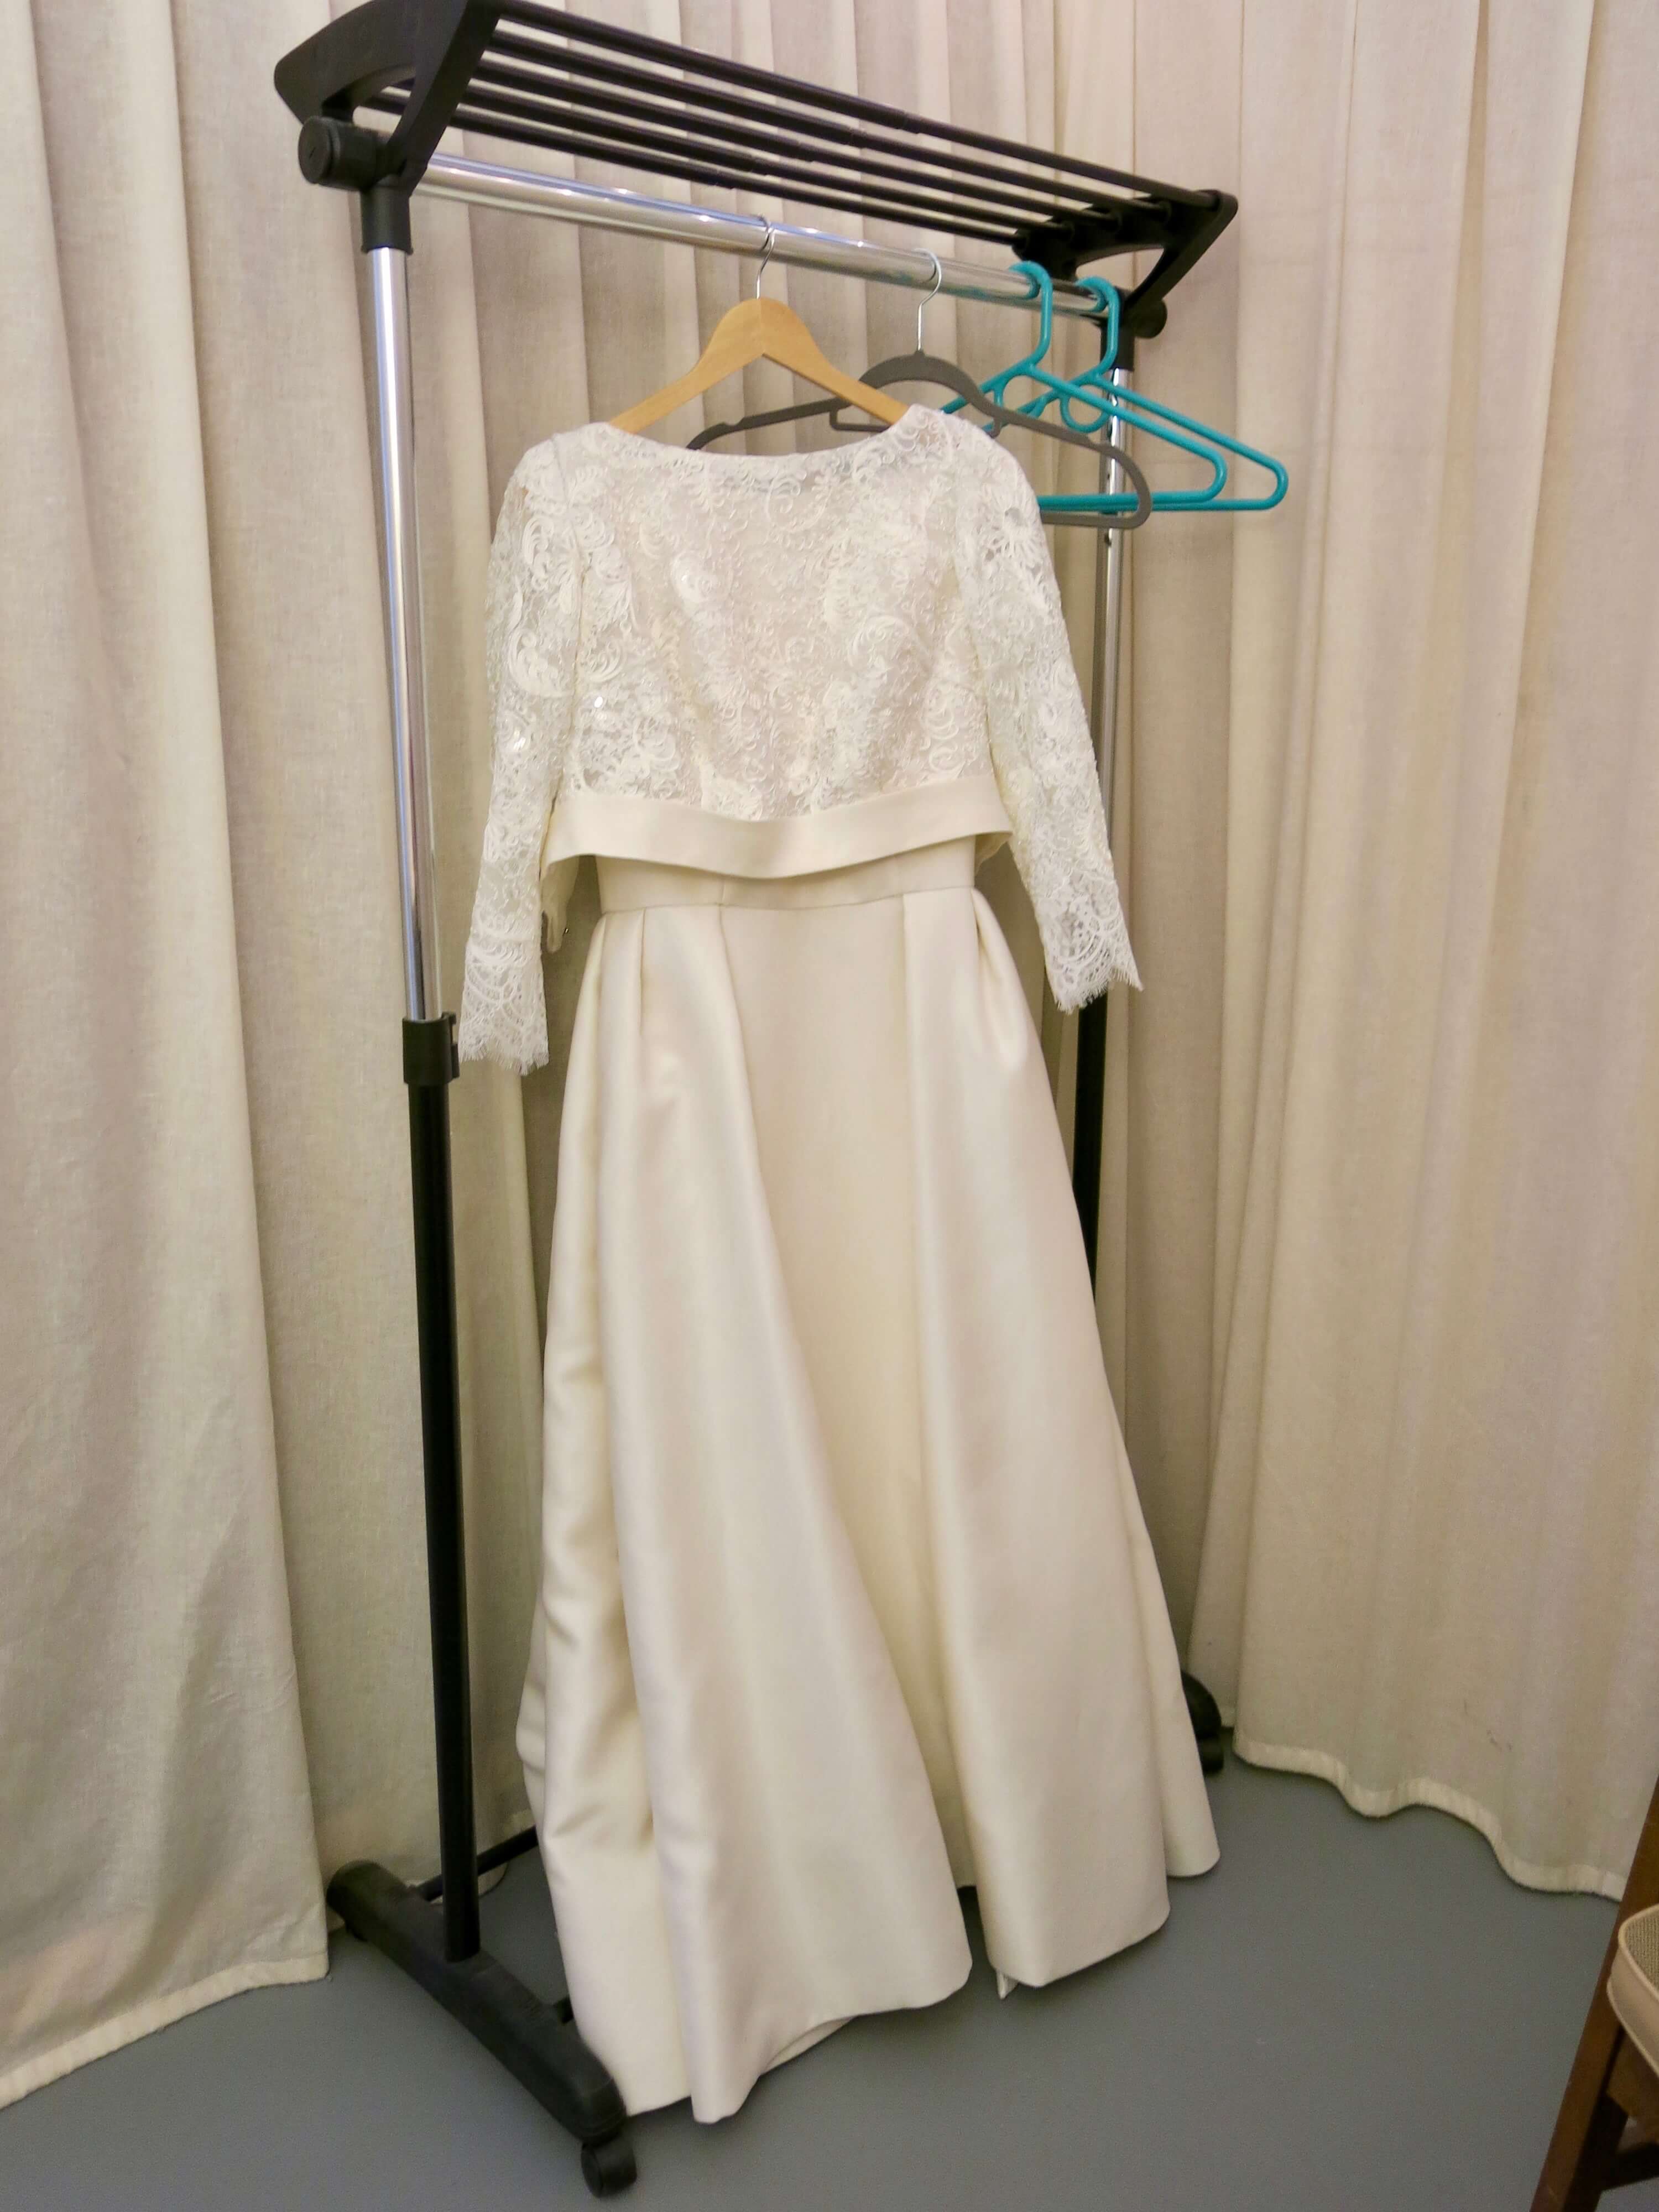
Ta-da! Deborah’s wedding dress was finally fitting-ready!
I basted temporary buttons down the back for our basted fitting. I ordered fancier ones for the dress, but they had not yet arrived…
In the fitting, we’d also be making a decision about whether or not to add this gorgeous scalloped trim from Mulberry Silks to the neckline and maybe the sleeves…
What do you think?!
The Final Basted Fitting
Deborah (and her mom and dad) made it back to my studio for our final basted fitting. We’d done so much prep, that there were only a few select places available for changes and input. And even though we’d been working together for many months, designing and working through mockups, this would be the first time Deborah would try on her actual wedding dress!
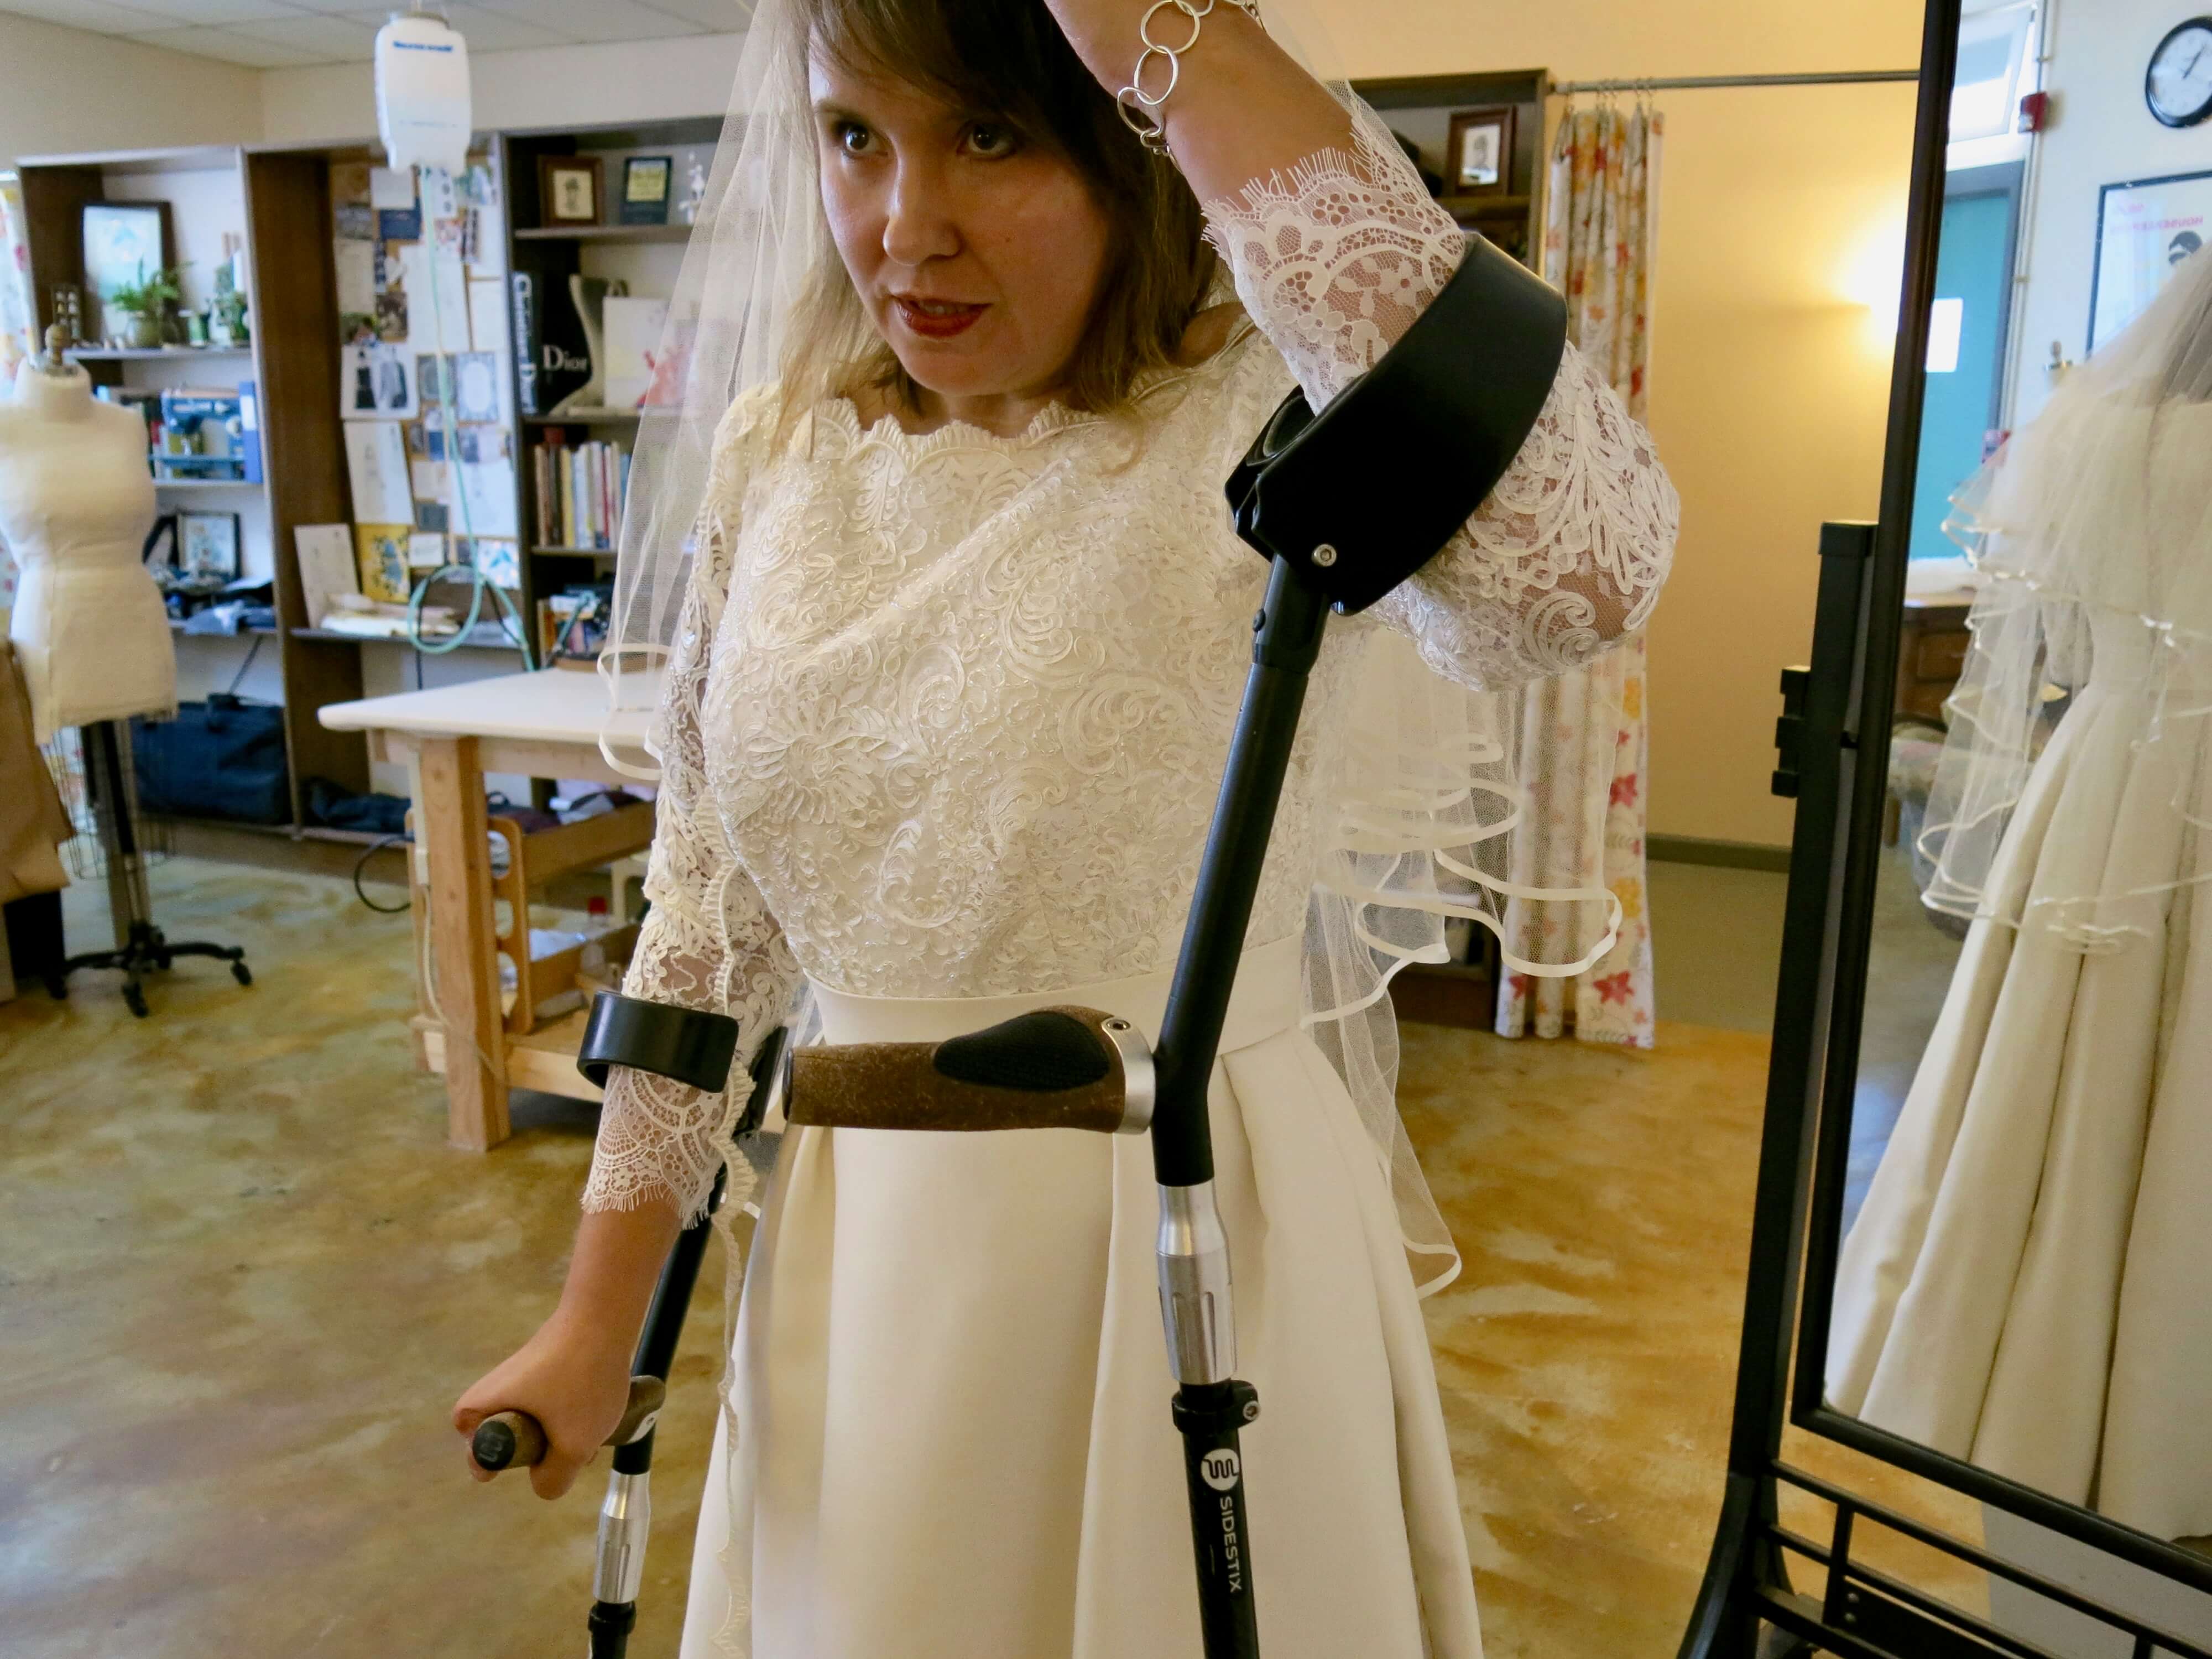
During the fitting, I discovered a little wonkiness to the sleeve. It was kinda tight and pulled off the shoulder a bit… But this was to be expected since we had not yet tried a sleeve with this fabric/armhole/shoulder combo before!
I quickly pulled out the basting stitches, and moved the sleeve to a better position.
The back was also a little tight at the top creating a gap between the buttons. No worries! This is what basted fittings are all about! I was able to figure out exactly how much to let my basting out to make it a perfect fit on her wedding day.
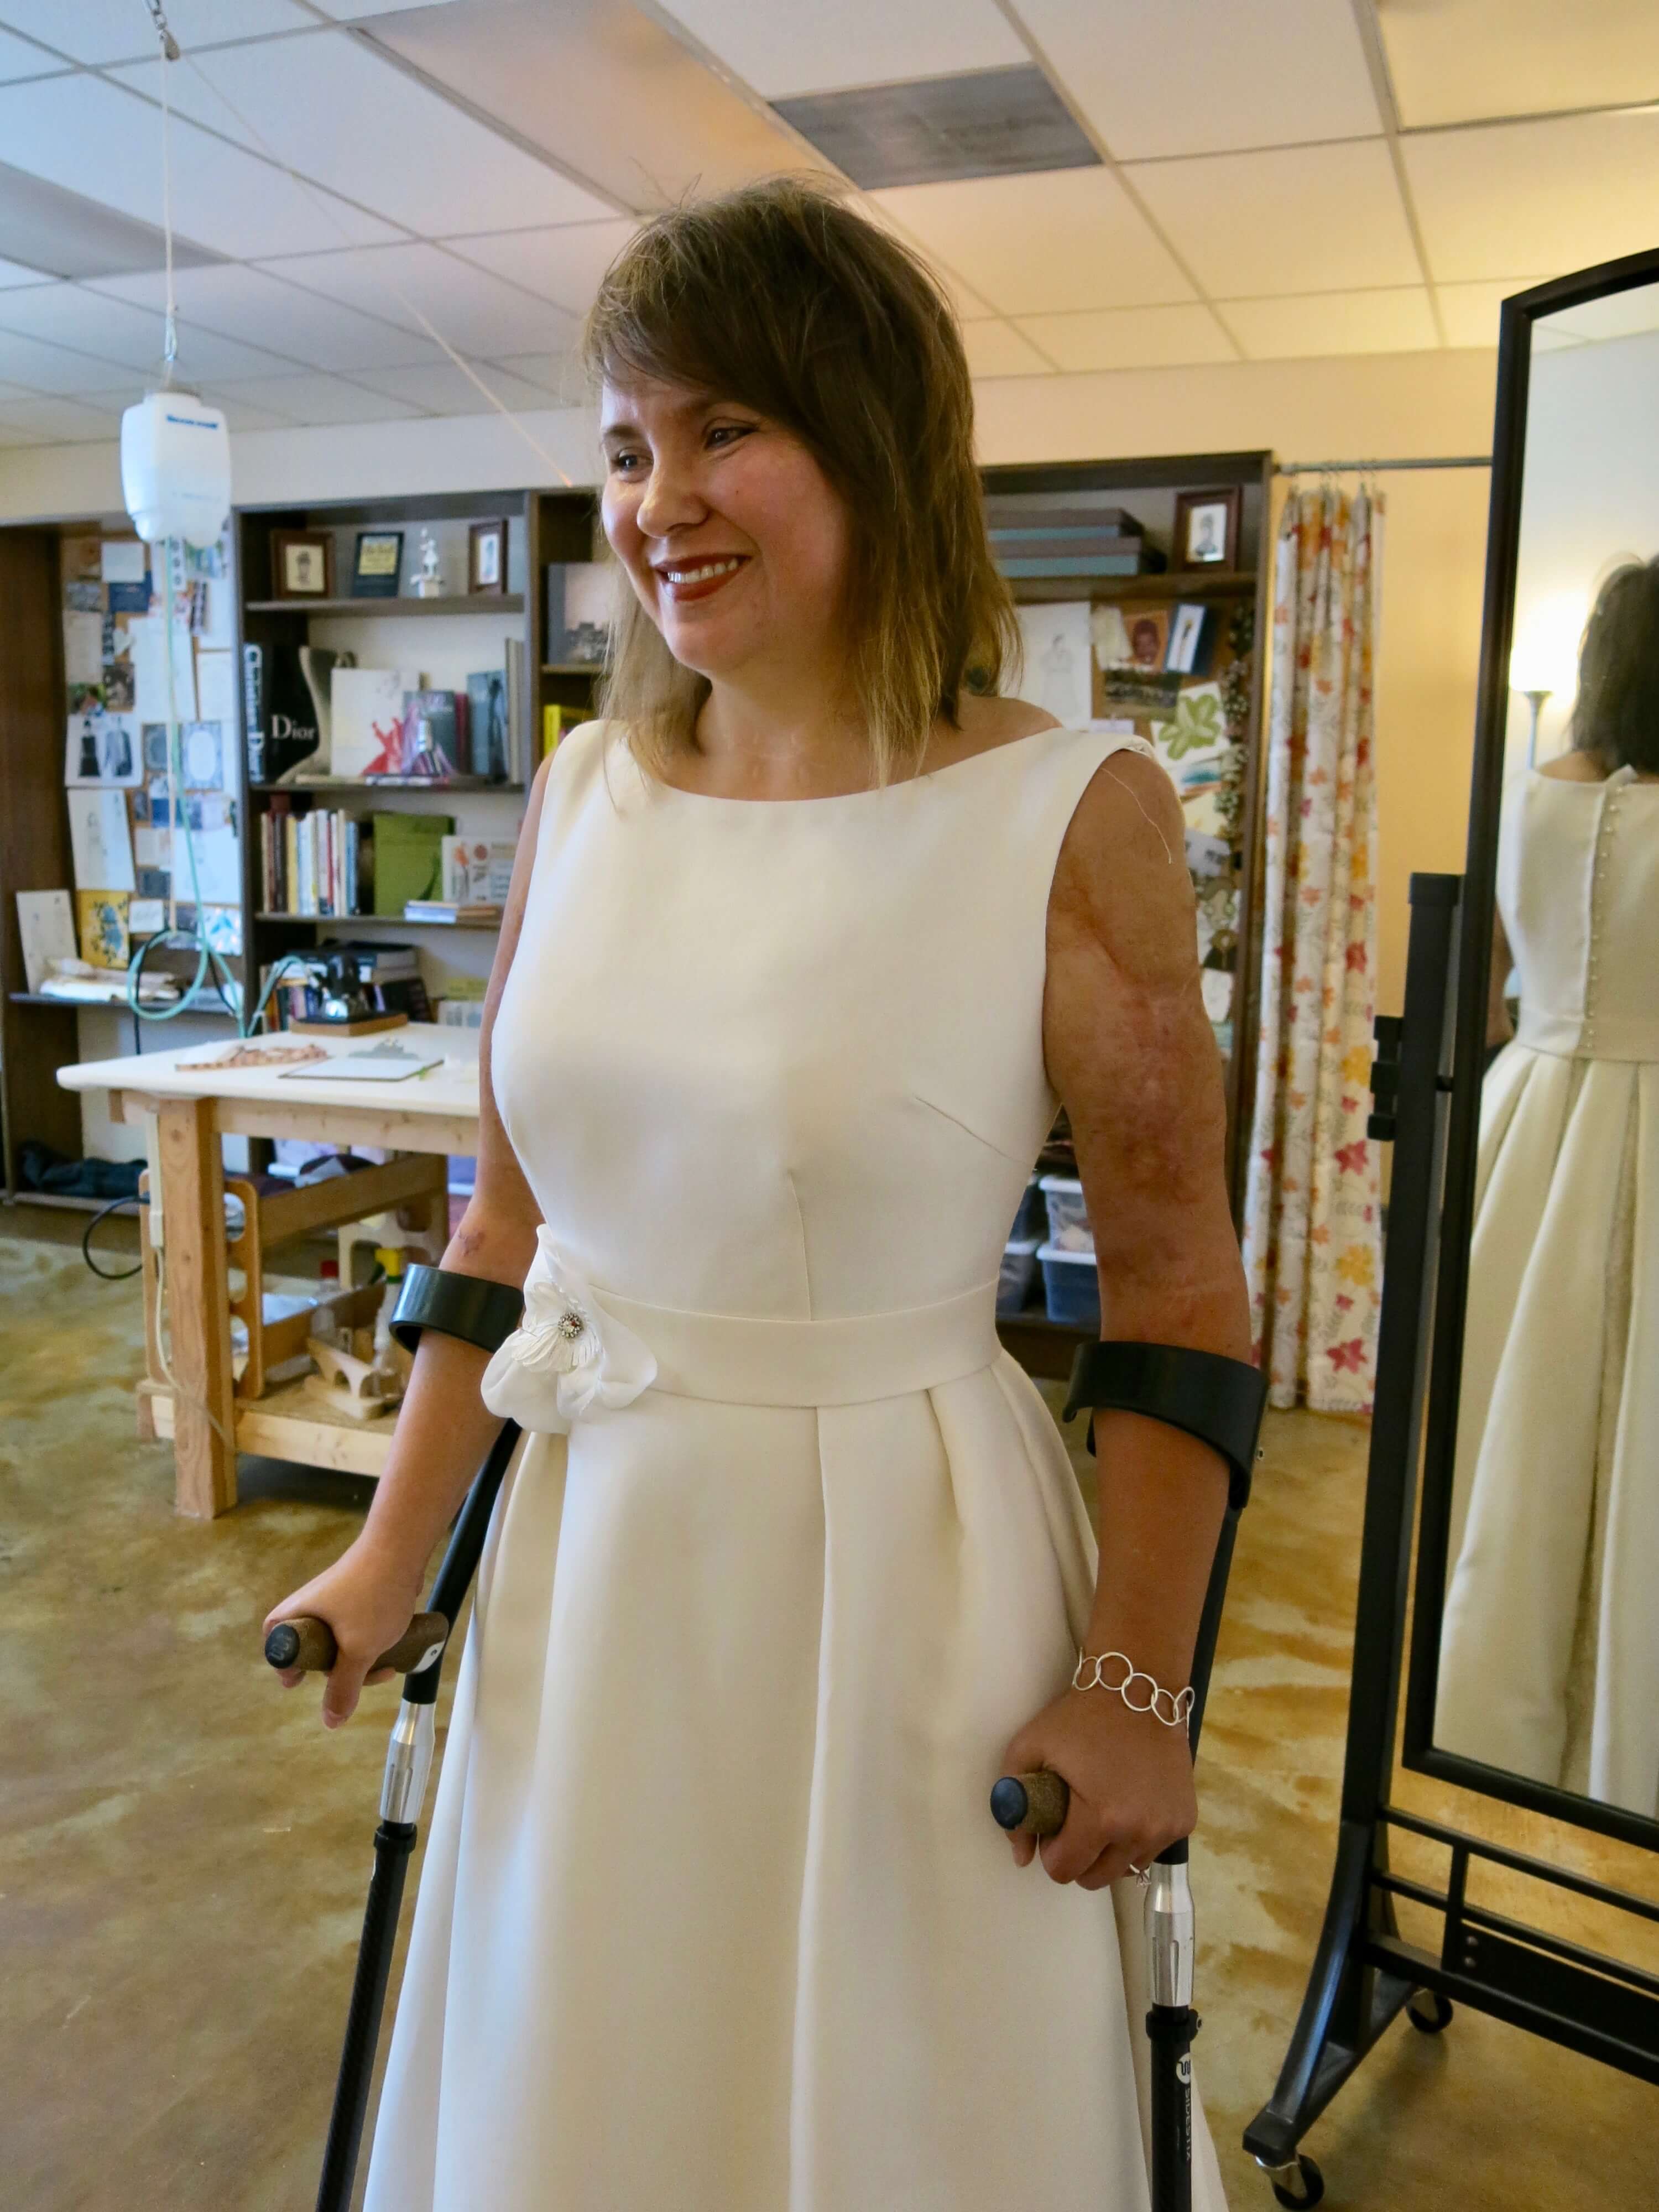
The reception dress, however, needed no further tweaks! Doesn’t she look gorgeous?!
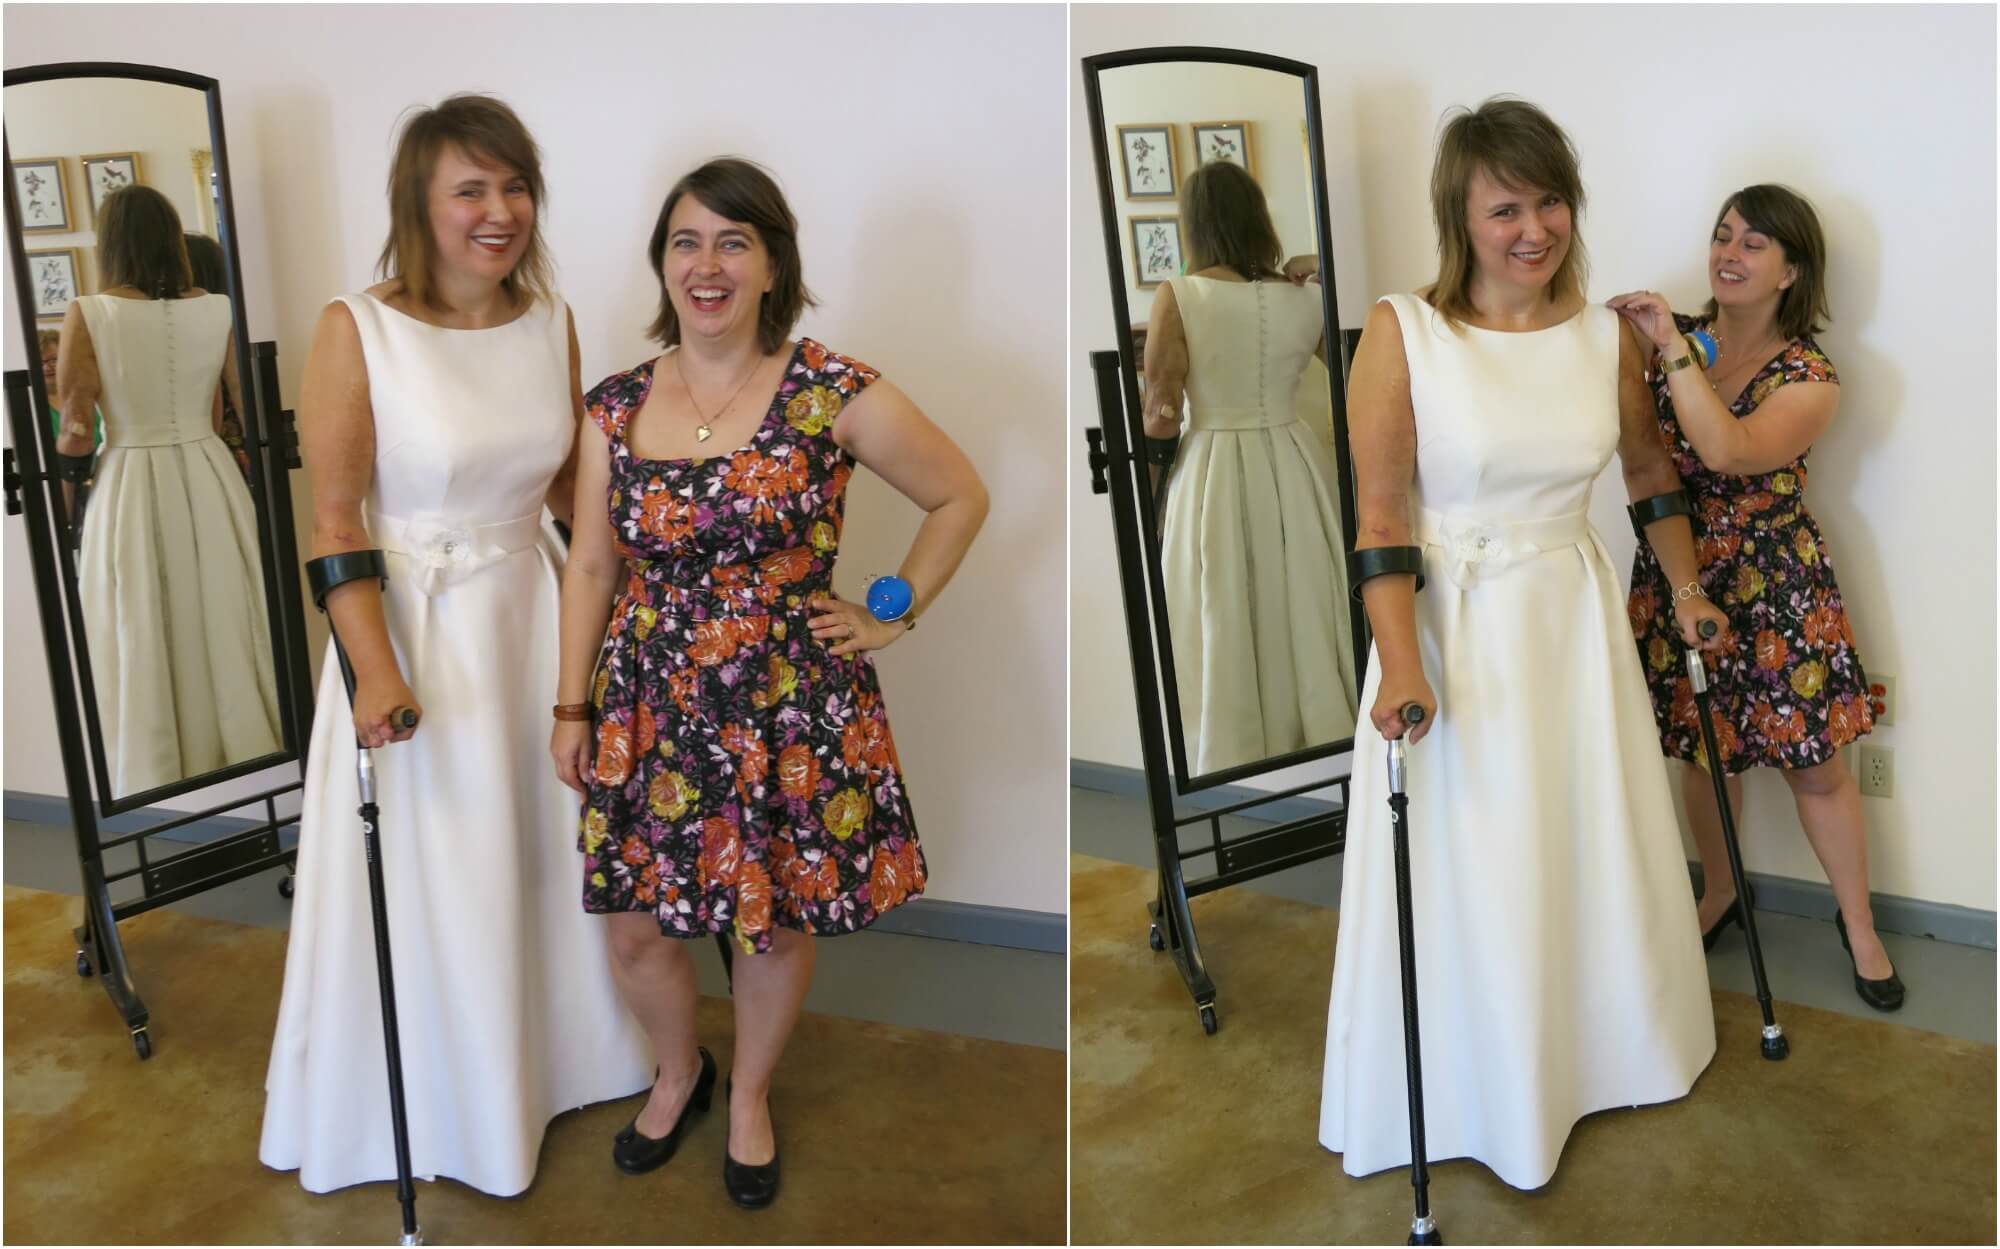
And since her mom and dad were at the fitting, we had a photographer for a couple of shots of us together! Mostly we laughed our way through the fittings… and in the pic on the right I was ridiculously pretending to be making fitting adjustments…. Can you tell we have a great time together?
Sigh…
And just like that- it was finally time to FINISH the dress. Though there was still a lot of work to do, there would be no more fittings, no more patterning, and for the most part no more decisions. After so much hard work it was thrilling to be so close to the finish line…
NEXT POST: All the finishing work! Stay tuned…


16 Responses
Brooks Ann! This dress is turning out so beautiful!
Thanks! I agree!
This dress is so gorgeous! Oh my gosh, I can’t believe how lovely it is!
:)
Deborah looks stunning in the dress! Such a beautiful dress and you are so generous in sharing the process with us.
It’s my pleasure.
Beautiful work and beautiful descriptions.
Thanks!
I just love the fall of the skirt. So elegant. Well the whole dress is beautifull
Thanks!
Thank you for making me cry to see Deborah looking so beautiful in her dress (and I don’t know any of you folks personally)!!!
Wow! Thanks so much for your note. Now I’m starting to cry… !
Waiting for the next post with bated breath… I love following your design and construction process. It’s incredible. Deborah looks so beautiful in the dress.
Thanks for following along!
Catching up with the Love To Sew podcast to find out you literally live down the road from me! I’m at the Orange Grove end! Teach at the high school, but have sewn for myself since about 6th grade. But struggling these days with fit on my middle age body. Enjoyed listening to the podcast and hearing about your sewing journey!
Yay! Wonderful to connect Robin! Get in touch and we’ll get together and talk sewing sometime!
PS. (Shameless plug) You might love my interactive eCourses. They are all about getting a custom fit! And locals enjoy weekly Office Hours with me in my studio… http://www.SkirtSkills.com