

 After our design consultation, the custom sketches were approved and Deborah returned to the studio for lots of measurements. I took a set of 40+ measurements and several body photos which I used to create a custom Size-Deborah dress form.
Creating a Custom Dress Form
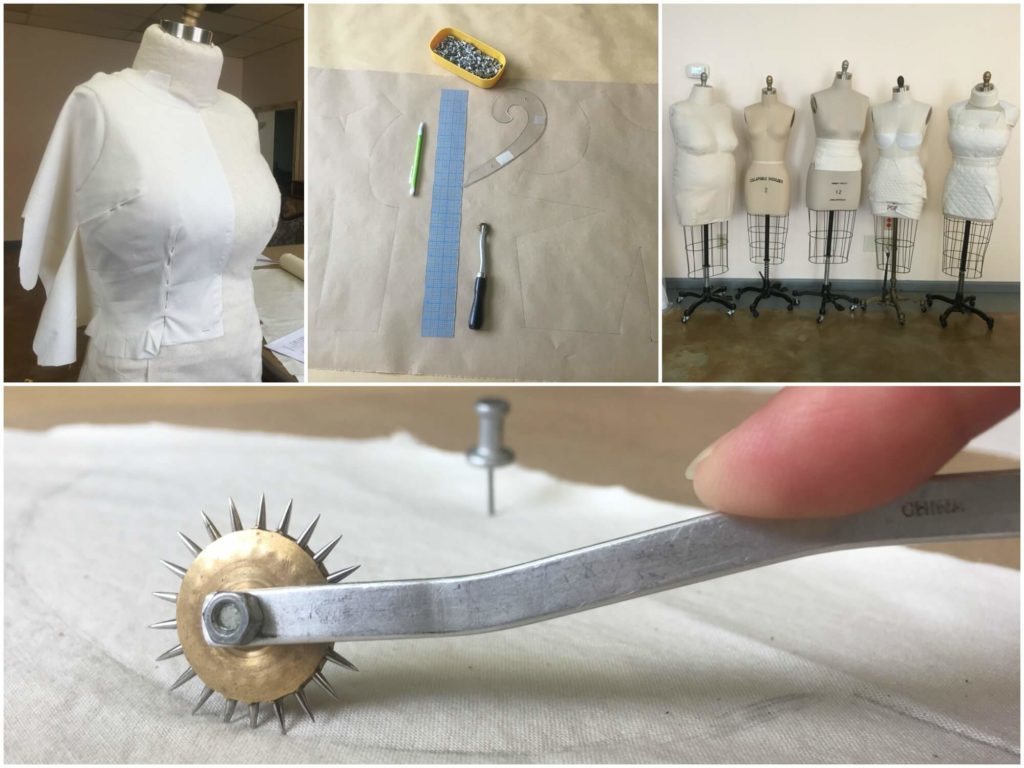
Dress forms (also known as Dressmaker’s Mannequins) are manufactured in standardized sizes, but they can be customized to match an individual. A dress form is the foundation of the patternmaking technique of draping (in the same way that a block or sloper is the foundation of flat patternmaking). Since having a 3D version of my bride is valuable throughout the custom process, creating a custom dress form that matches her unique body is one of my very first steps.
The key to creating a custom dress form is to start with a professional form that is smaller than the person everywhere. You can add padding to your heart’s content, but you can’t take away what’s there. You’ll do much better starting with a form that is 5 sizes too small than one that matches any of your circumferences. I can turn a Size 2 into a Size 22 but I can rarely turn a Size 10 into a custom Size 10…
As my students learn in detail in my eCourses, circumference measurements aren’t terribly helpful for getting a custom fit and can be quite misleading. Wrapping a tape measure around your Bust/Waist/Hips without a lot of other references only tell you numbers. It doesn’t tell you the shape of each oval, or how much of it is in the front vs. the back, or how the ovals relate to each other…
To offer a few examples….
My husband Charles is a 6’1″ slim man and I am a 4’11” curvy woman. Charles and I share the same Bust/Waist/Hip circumferences though we would never be considered similar physically and certainly wouldn’t fit beautifully into each other’s clothes!
If your bust circumference measurement matches the dress form perfectly but the fullest part of your bust is 2″ lower than where it is placed on the form, you won’t be able to lower it to match your bust placement. But if your form’s bust measurement is much smaller than yours, you can ignore the placement and pad out lower down to match where you need the shaping.
If your back is small and you carry most of the circumference in the front, you’ll need a form that is small enough across the back before adding to the front.
If the smallest part of the form’s waist is higher or lower than yours, you’ll need the higher or lower area of the form to be small enough, disregarding where the dress form’s waist is and what it measures.
Padding out allows you to completely change the shape of a standard form and still use the features of the collapsible shoulders and sturdy base. Lots of layers will offer lots of chances for revision.
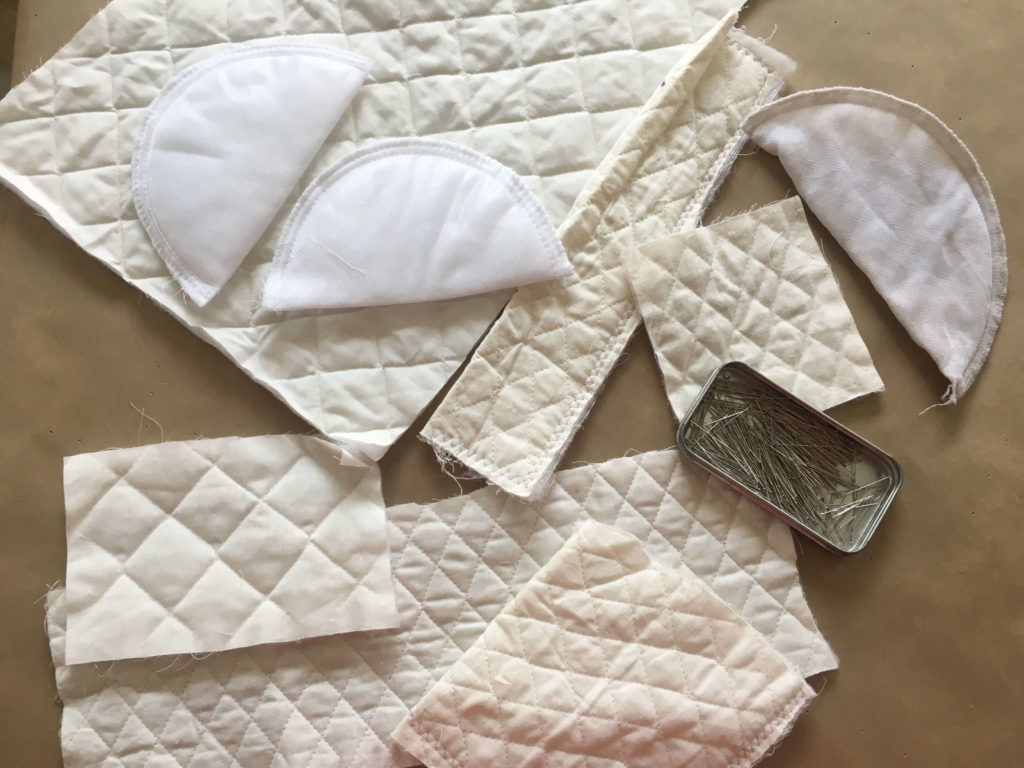
To pad out a form, I mostly use bits of quilted muslin and thrift store shoulder pads. Sometimes I’ll add stuffing or even pillows! I’ll also often pin a neutral fabric layer over the padding to give it a more streamlined look.
In this photo, there are two Size 2 forms, two Size 8 forms, and two Size 12 forms all with various custom padding (and one wearing Loula’s wedding dress!) Try to guess which is which before checking your answer in the caption!
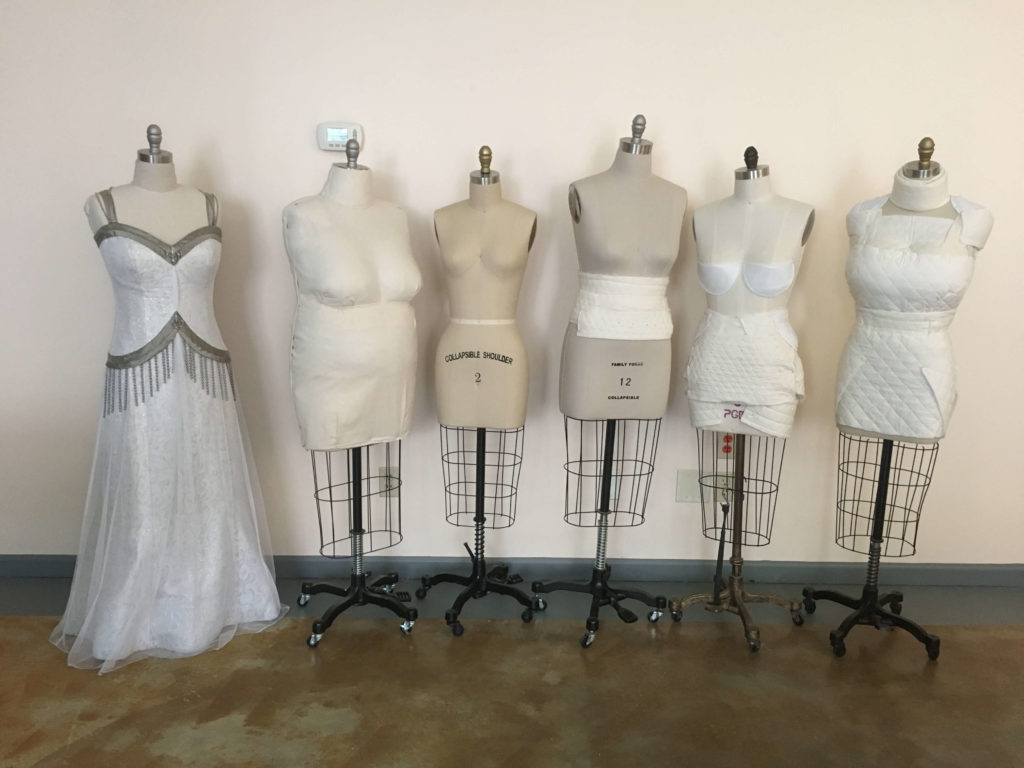
I start at the neck before adding a custom shoulder slope and working my way down the body pinning layers on top of layers sculpting the custom shape. Though Deborah does not wear a Size 2 in clothing, her waist was so tiny that my smallest form was our best starting point.
Draping and Drafting the Bodice
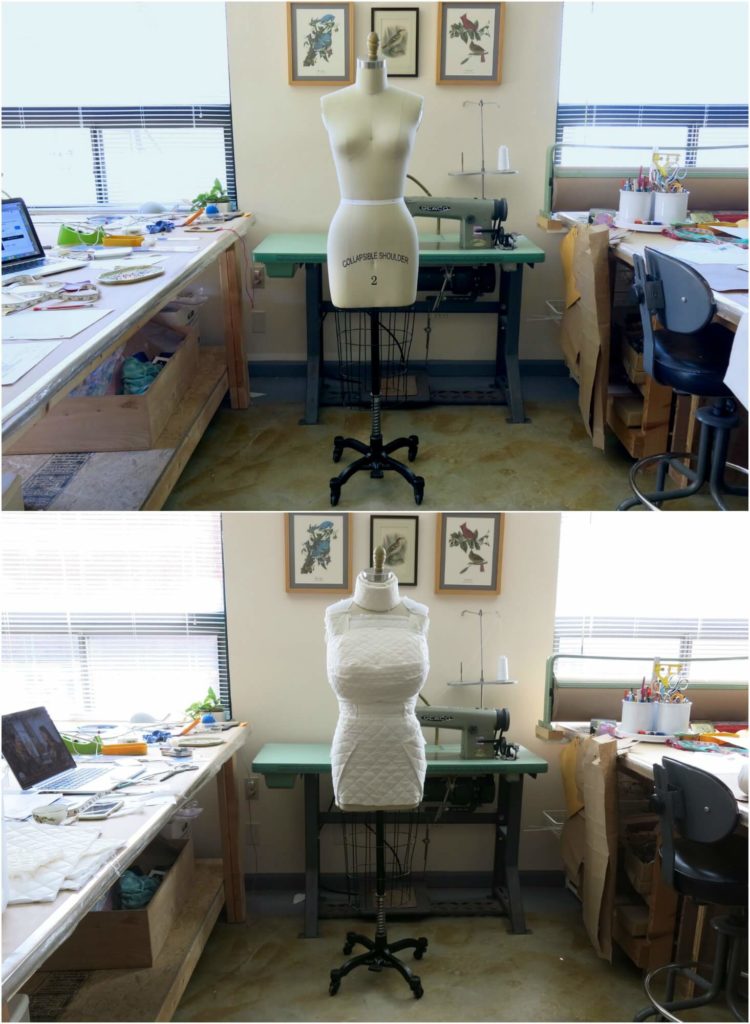
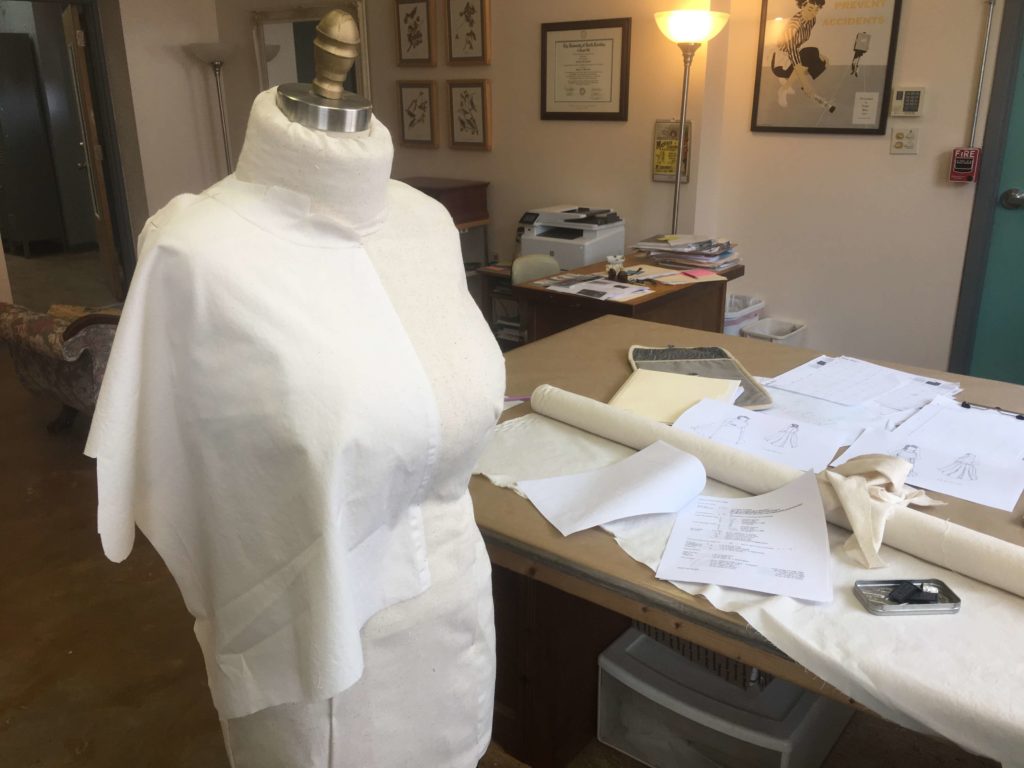
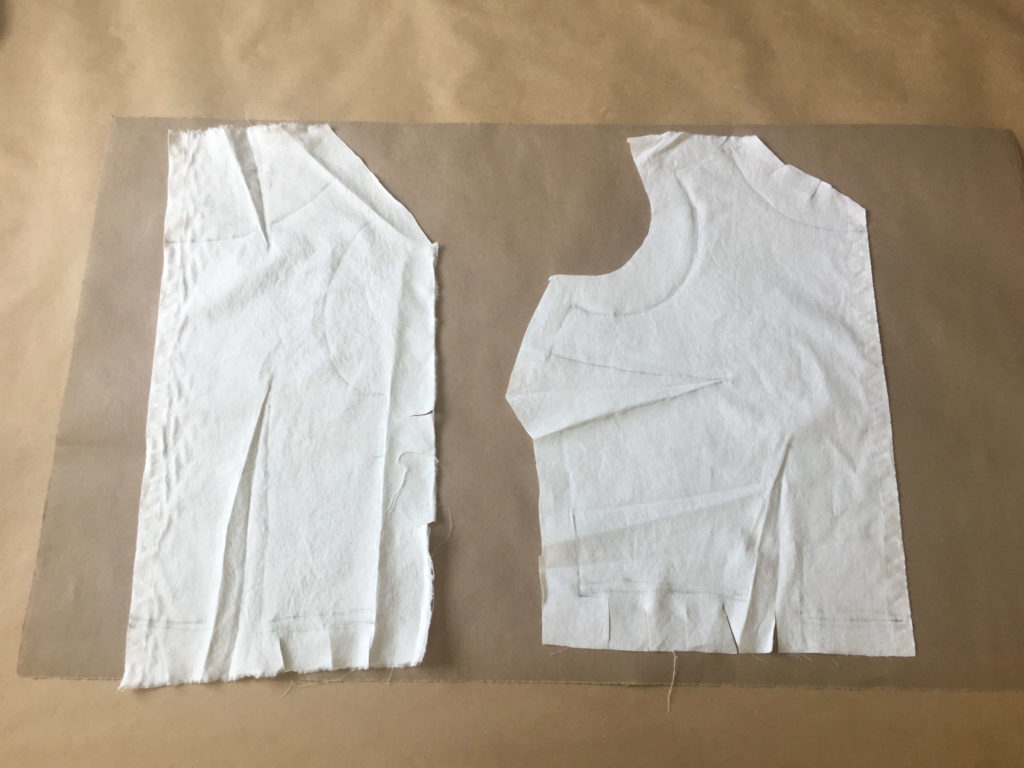
Once I was happy with the shape of Deborah’s custom dress form, I covered the padding with a neutral fabric layer and was ready to start draping the custom pattern.
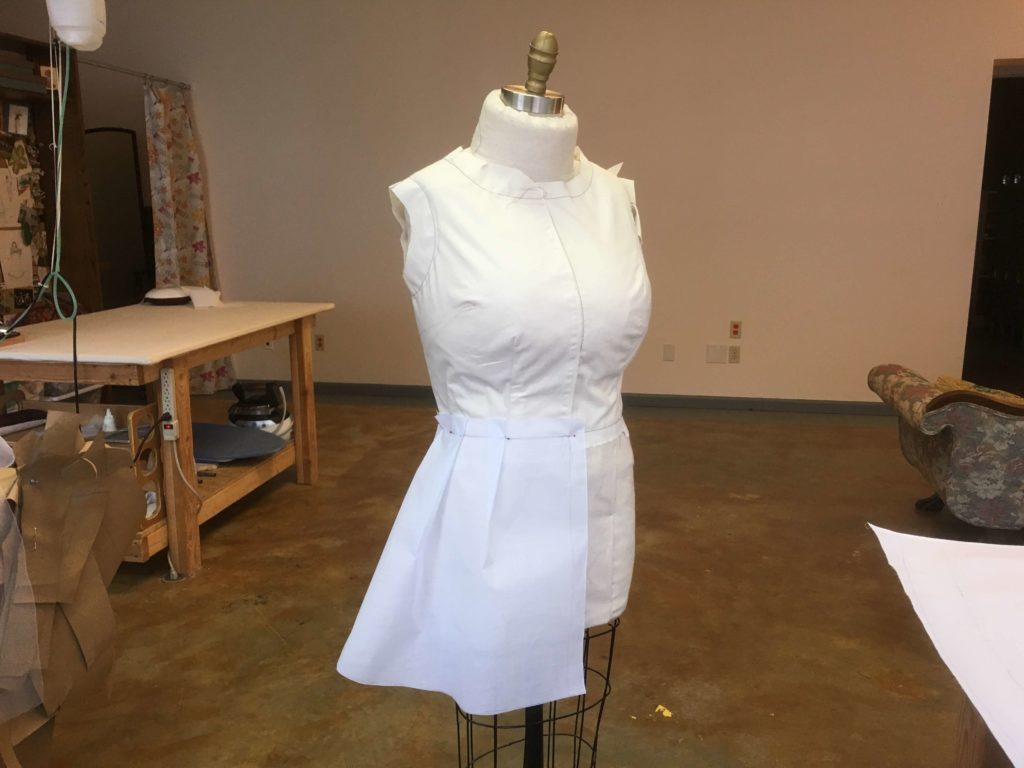
The draping process started with a bit of plain muslin. I draped it across one half of the body to begin to match the design and contours I was looking for.
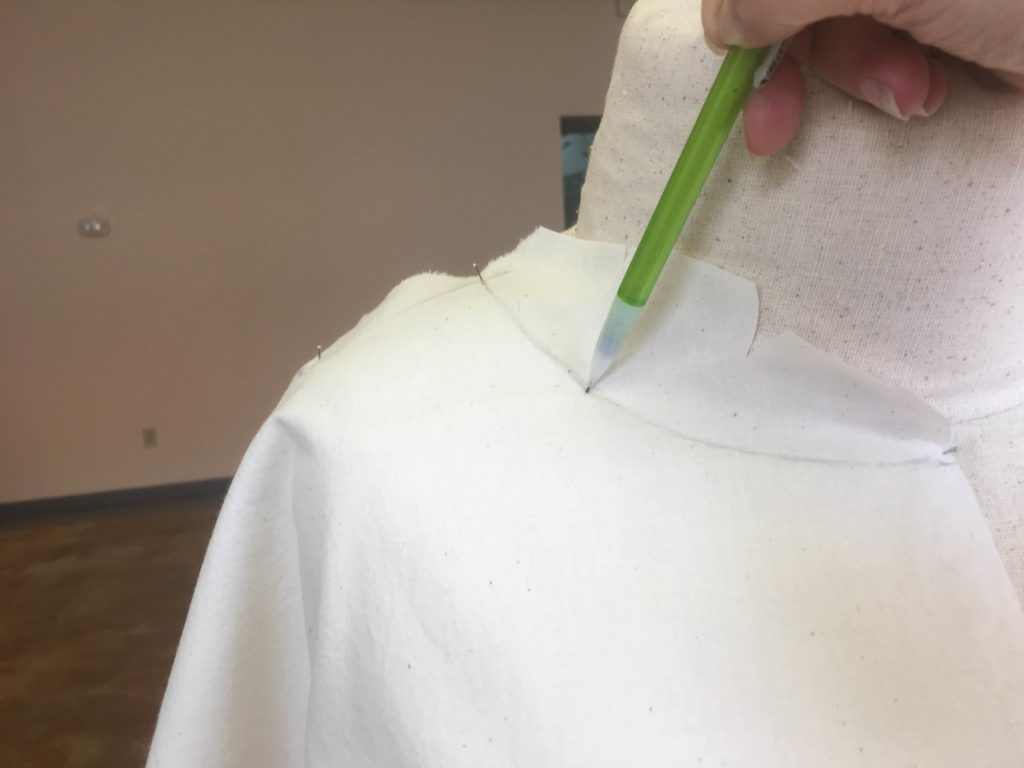
With the muslin, I can play around with design lines. Here you can see me pencilling in an idea for Deborah’s neckline curve.
I smoothed the fabric across the custom form and created custom darts to give the flat fabric a custom shape. I also drew in an armhole curve and side seam.
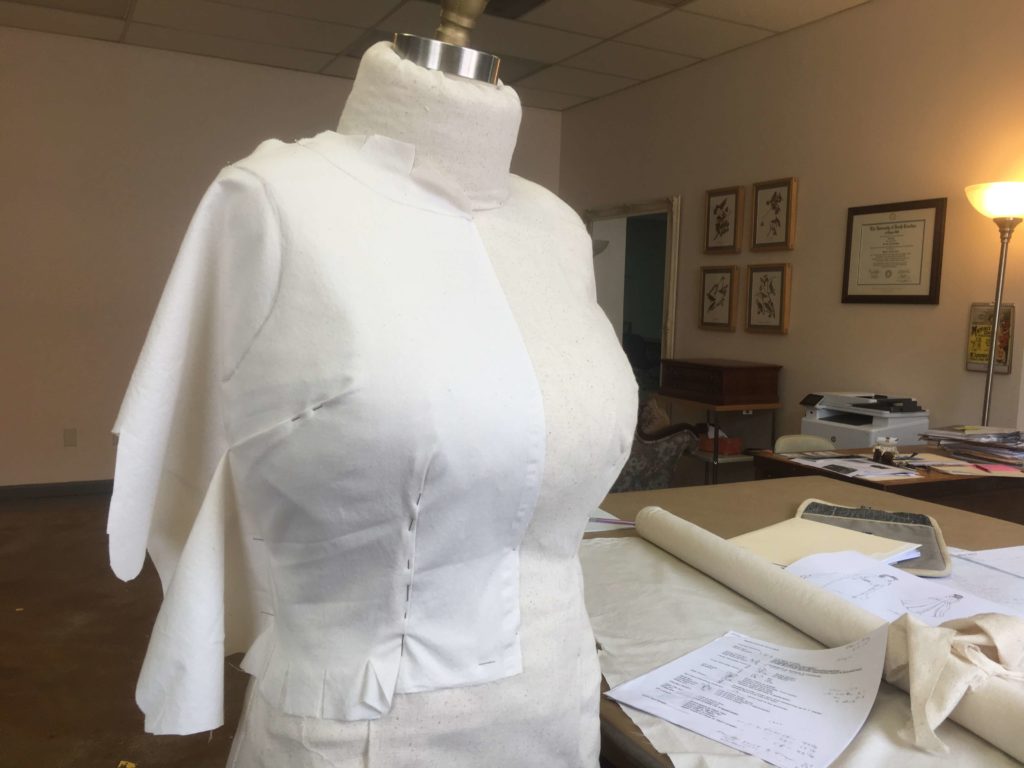
After trimming away the excess, I followed a similar process for the back. This is just the first draft, so perfection is never expected. I just want to get close enough to make easy adjustments in our first fitting.
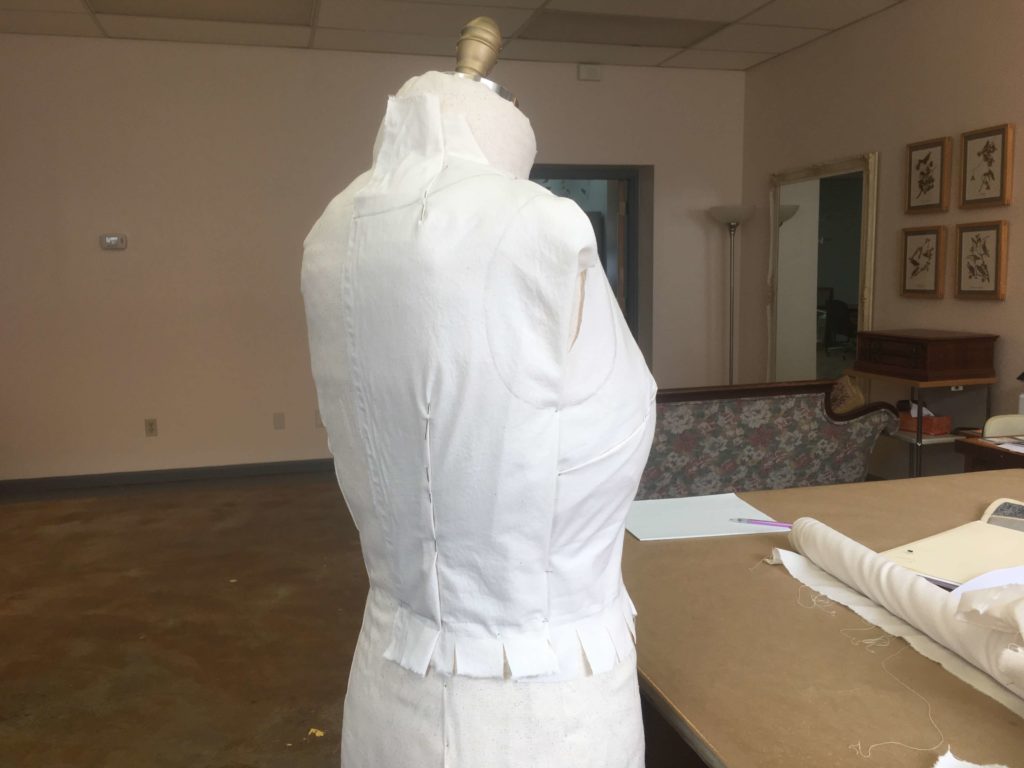
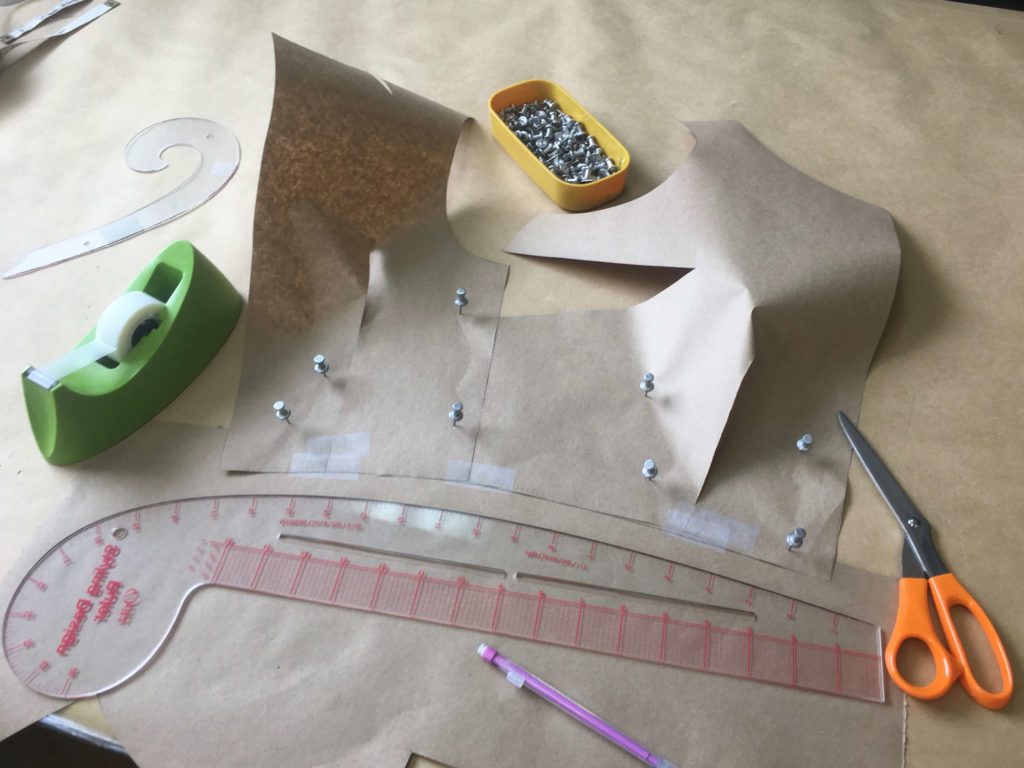
Once I was happy with the front and back in 3D, I made sure my darts and edges were outlined in pencil before unpinning and laying the pieces flat.
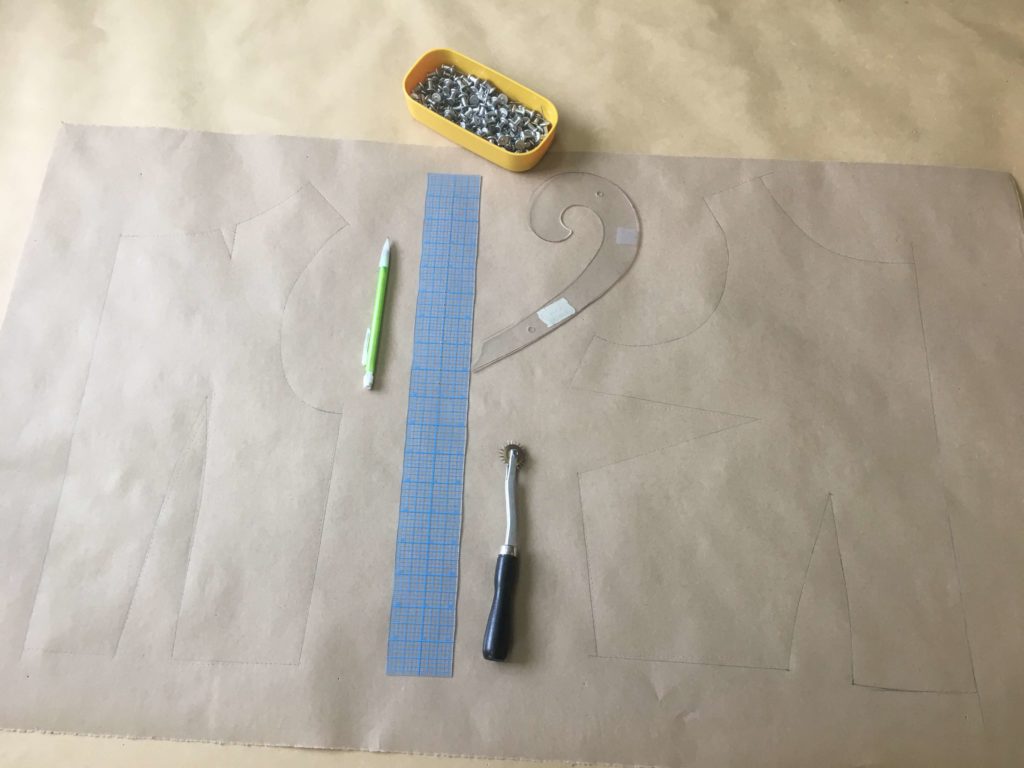
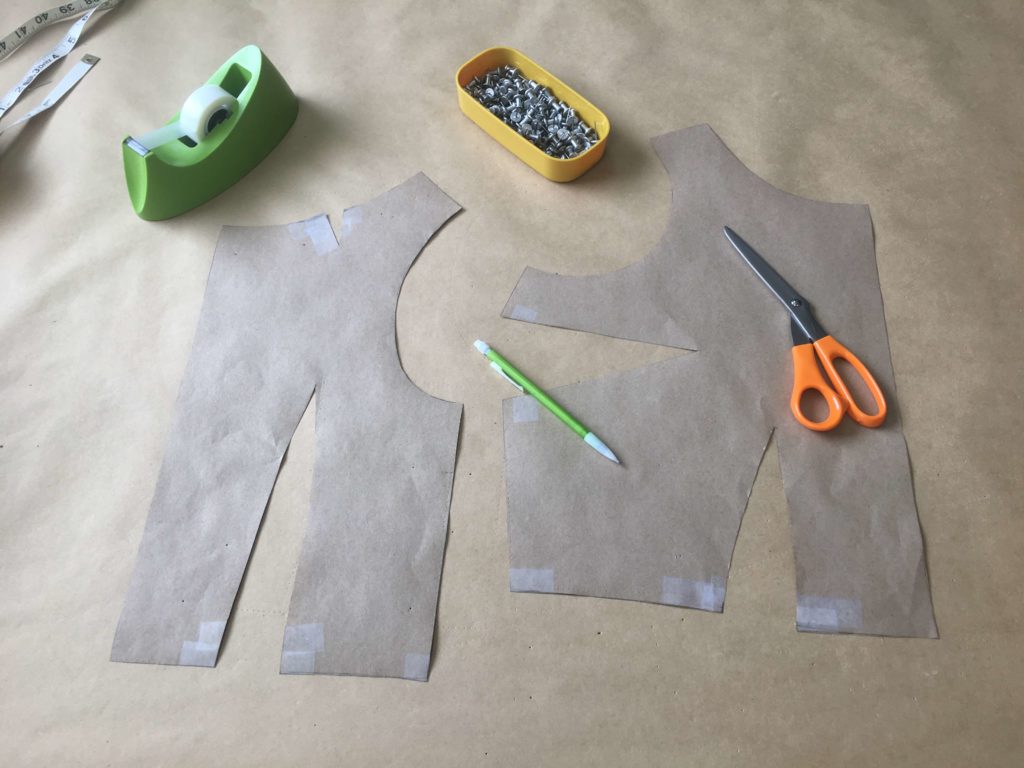
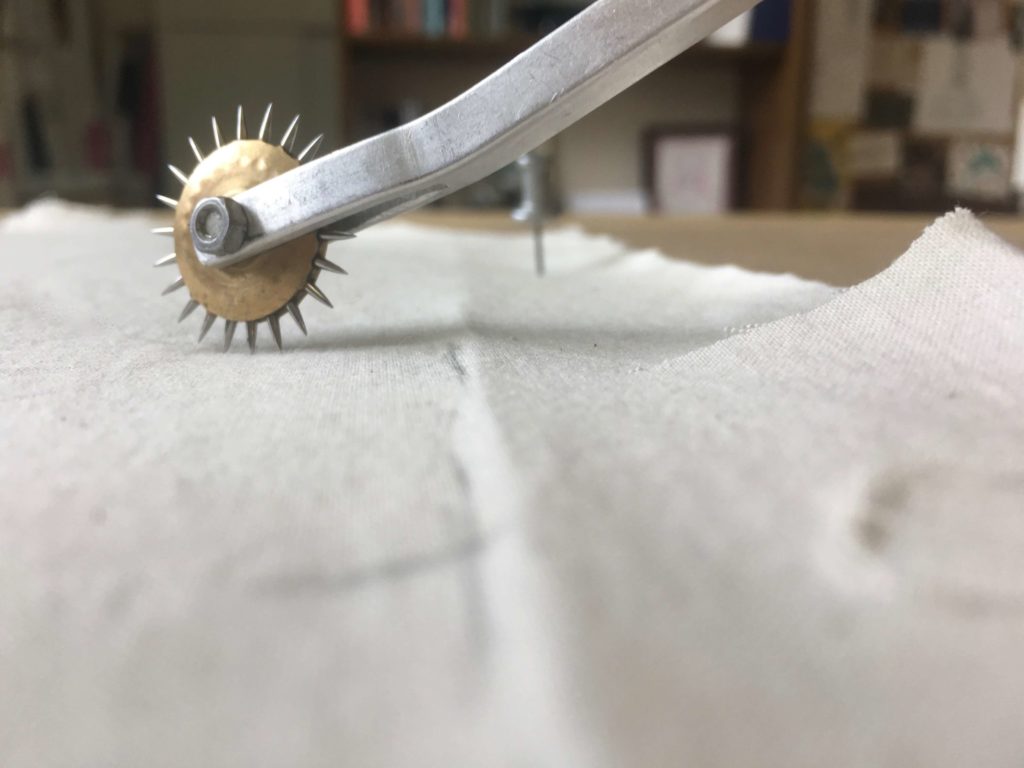
With a sheet of plain paper underneath, I secured my flat muslin pieces to my pinnable top work table and traced my pencil lines with my needlepoint spiky wheel.
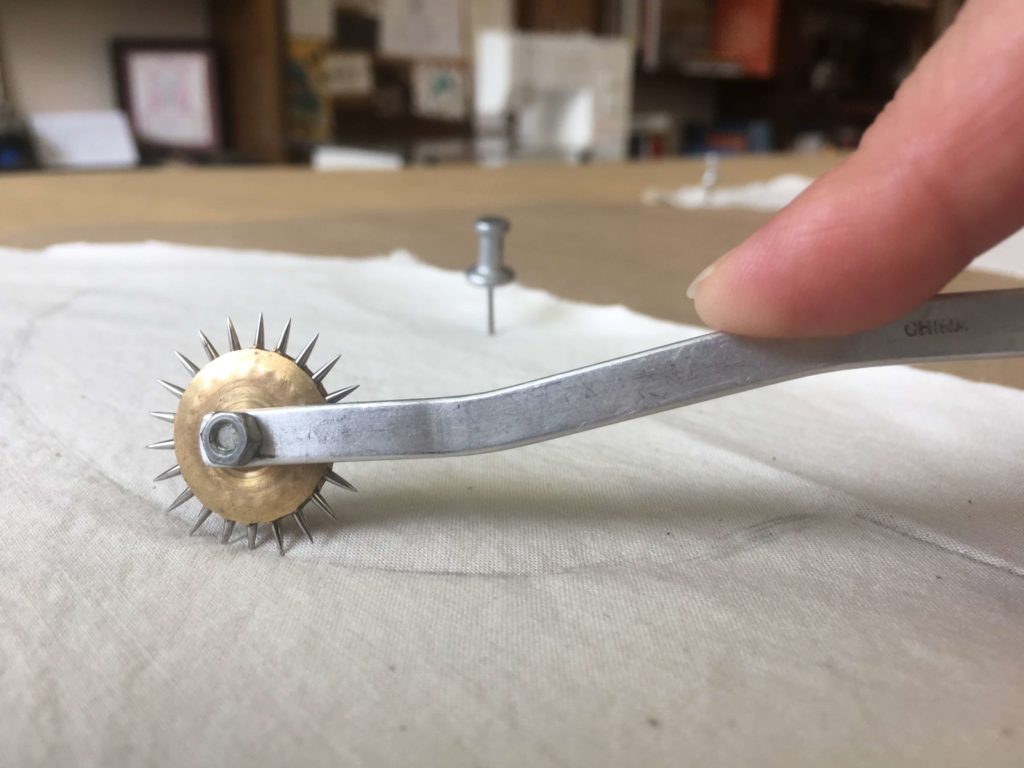
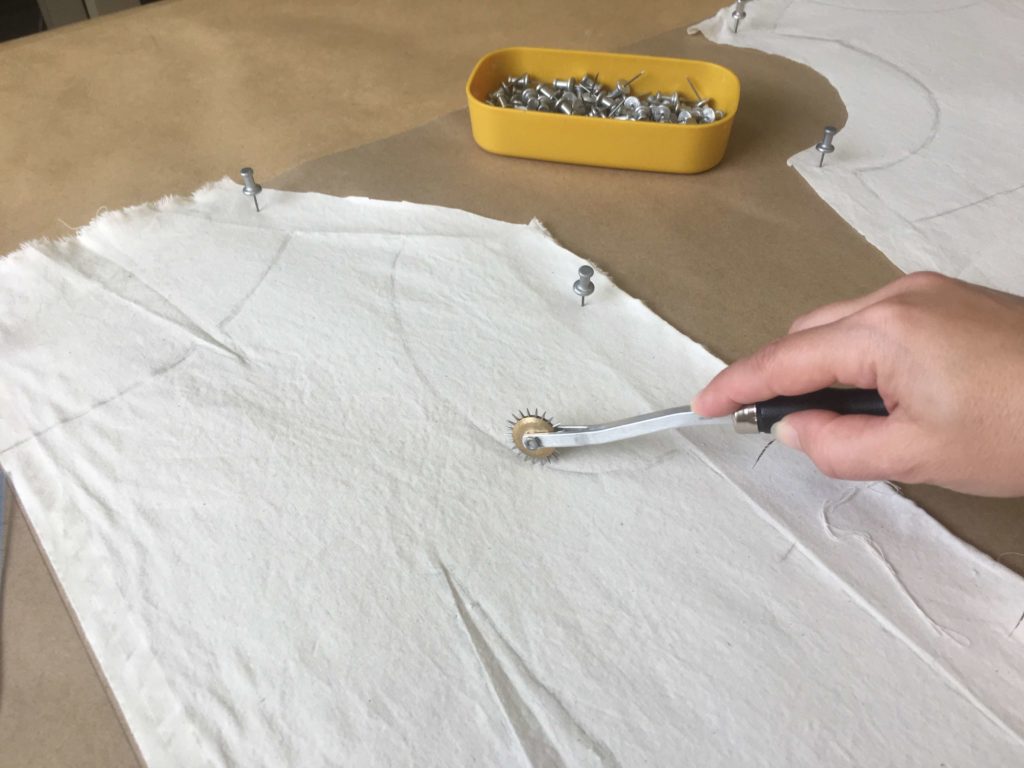
The spiky wheel leaves a dotted line on the paper underneath…
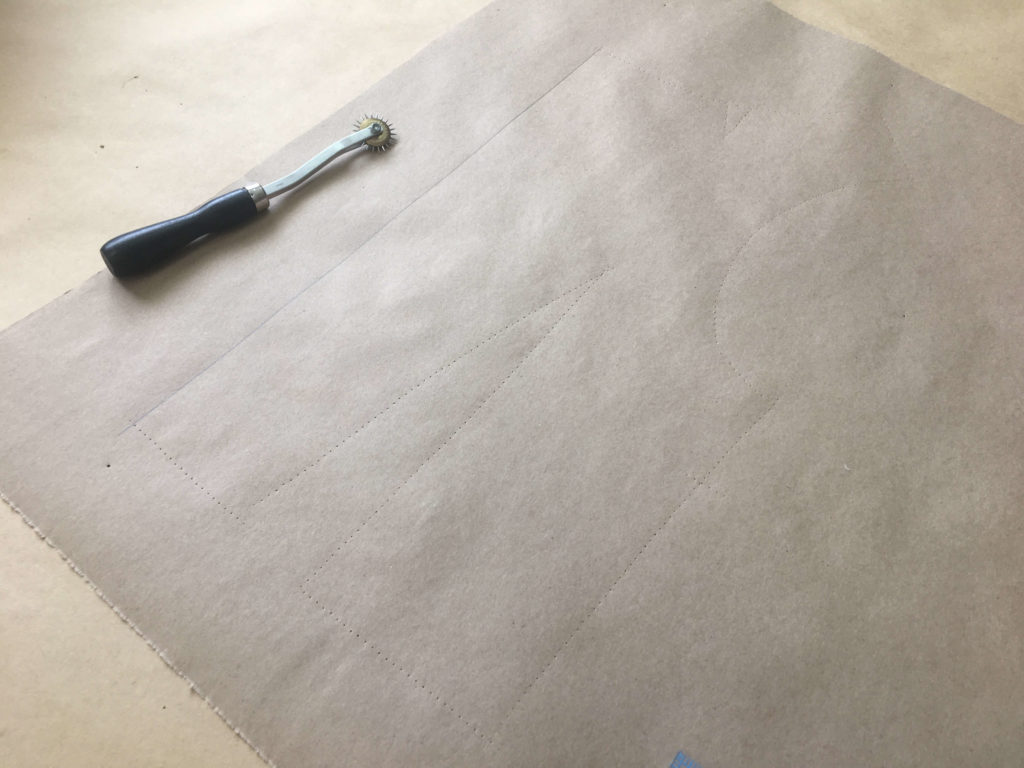
…which I clean up with my rulers and curves to create a rough flat pattern.
After cutting out the pattern, the next step was to ‘blend and true’ the edges so that everything would sew up evenly and smoothly. Here I’ve closed a neckline dart to discover that the dart legs are mismatched and that the neckline isn’t quite smooth yet.
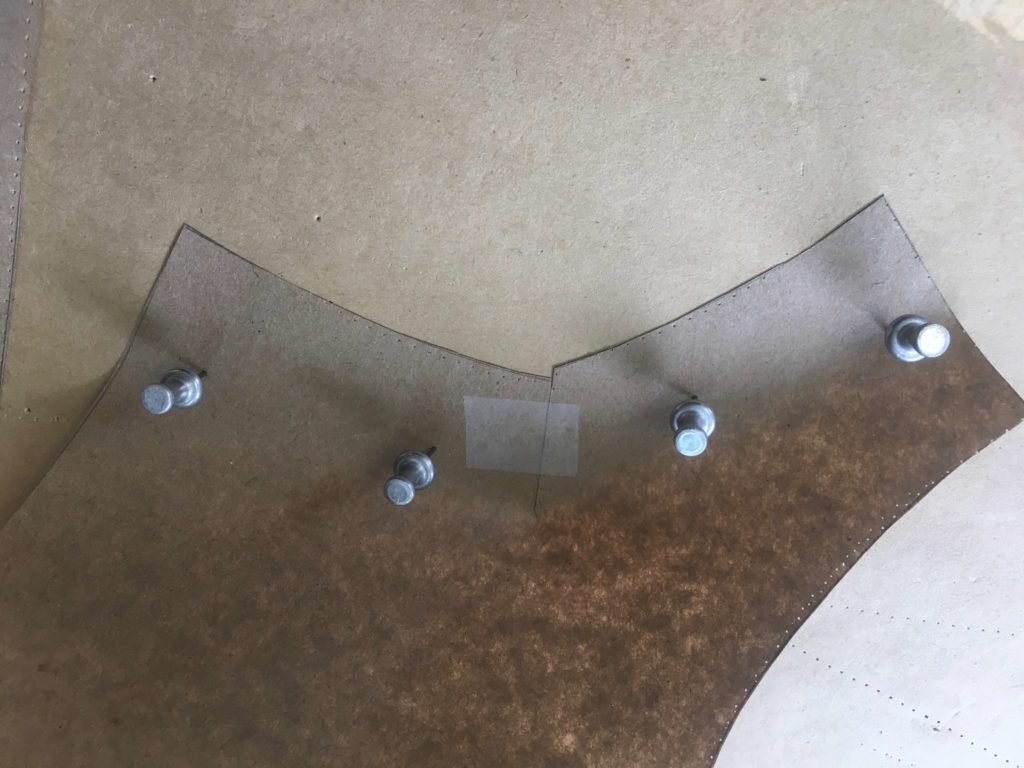
No worries! I taped a little bit of paper to the edge and used my curve to redraw a smooth attractive line while correcting any discrepancies.
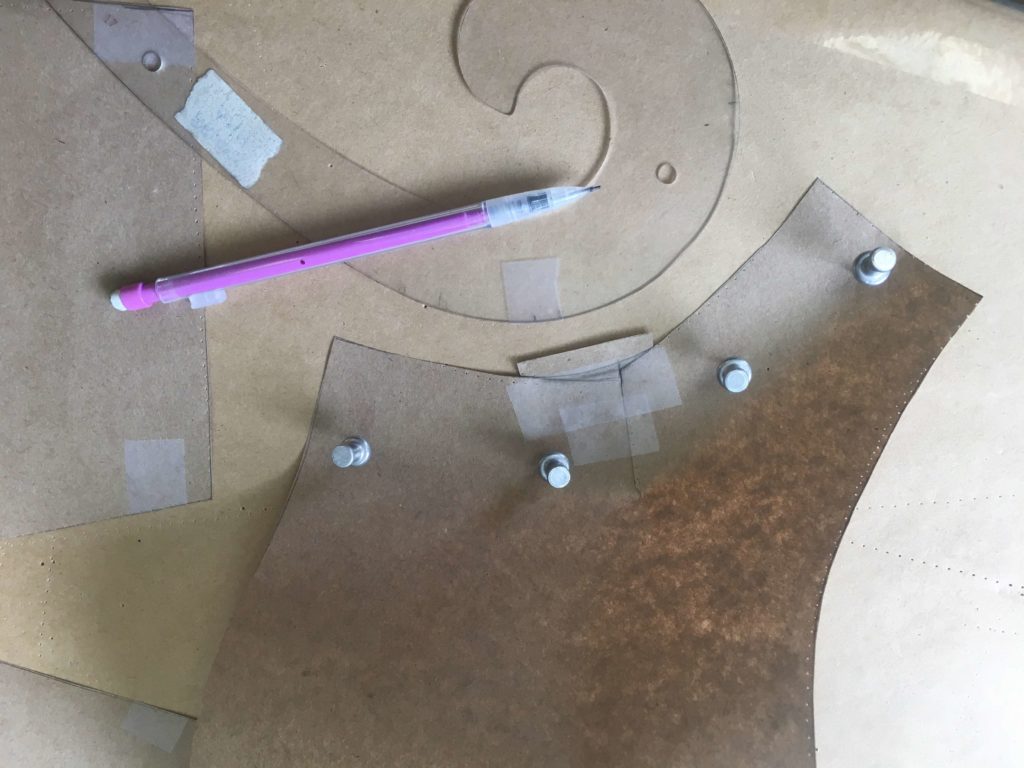
Here I’m truing the darts of the waistline while making it smooth.
Anything I’ve drafted to join to something else gets matched up and revised with little scraps of paper. Some people enjoy really clean patterns, but I adore seeing all those little added scraps. As the pattern constantly improves throughout the custom process, I love being able to see the messy history of its evolution!
Next, I played around with some stiff organdy to drape the front of the skirt…
…before I spiky wheeled my way to a custom pattern piece of its own (which I forgot to photograph) extending the rough sample to floor-length.
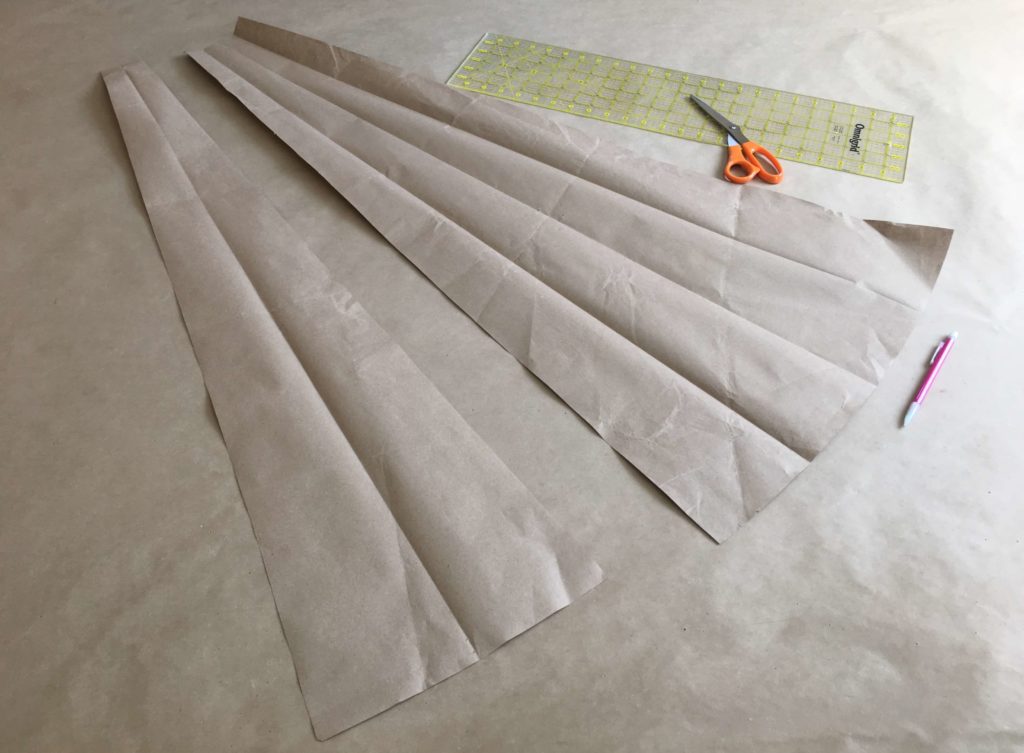
The back of the skirt design is a bunch of pleats in contrasting fabric so, instead of draping, I had to use math. Many of you know that I am not a ‘math person’ preferring a loosey-goosey approach, but I was still able to work everything out (at least well enough for a first draft) with a few numbers and some fancy folding.
I’ve always loved the Jane Smiley quote “A first draft is always perfect because all it has to do is exist”. I had zero expectations that this pattern was perfect, but I was confident that this would be a great starting point. This was only the very beginning of something beautiful!
NEXT BRIDAL POST: I’ll use this pattern draft to create an inexpensive mockup dress that Deborah can try on for our first round of improvements!
NEXT POST: I’m going to be interviewed on the Love To Sew Podcast! I’ll share my experience and links to how you can listen!


16 Responses
This series of photos and explanations have really clarified for me the whole process of using a dressform for draping and then converting the draped pieces to a flat pattern. Thank you so much!
My pleasure!
brooks ann, thank you for your blog post.Really thank you! Awesome.
I discovered you through the love to sew podcast, and I can’t tell you how excited I was to find someone who just wings it, much like I do! I’m a little bits pattern tweaker as well. I love to see my pattern when its all done with 17 layers of paper at the dart or arm hole and 19 different pencil lines on it. I can’t wait to dive into your blog more throughly soon! Thanks
Love it!
Great post about how you pad your dress forms. Any suggestions for brand? What about the flat hip forms? Thanks!!
I’m not loyal to any brand (my forms are from Overstock, Amazon, or Ebay). I look for a professional dressmaking form with a sturdy base, pinnable surface, and collapsible shoulders (and smaller than the person everywhere). I’m not sure I know what a “flat hip form” is, but if you mean one without a lot of shaping below the waist, that would work fine. You’ll want to add padding to match your shape anyway so a flat base could be as (or more) helpful as a starting point than one that already has some shaping.
Loved loved LOVED your podcast interview! Your philosophy on sewing (and life in general?) really resonated with me. Just bought a sewing machine on the weekend but had no pattern to work from (or ability to interpret one)… just a burning desire to make something. The idea of starting small had no appeal so I just freestyled it, making a little dress for my daughter based on an existing dress and multiple fittings. So many mistakes! Just kept fixing it and the fixes improved the dress! It was too short so I added contrasting fabric to extend length. Lost patience with online videos re binding necklines and found zipper feet etc too intimidating so I spent hours hand stitching these. Loved the process! Brought back long forgotten memories of my grandma teaching me hand sewing when I was a little girl maybe 30 years ago. But sort of felt like I wasn’t doing it ‘properly’. Hearing you speak about your process completely changed my perspective! Thanks so much for sharing your story!
HOORAY! Yes! If you reached your goal, then you did everything ‘properly’. So many people fear that sewing has a bunch of mysterious rules, when it can really just be a puzzle that you get to solve in your own way. My favorite parts of sewing are experimenting and improvising my way through each new puzzle. Since I sew from my own patterns/ideas, I never have a set of instructions to hold me back or cause me to question my path. I just get started and figure things out slowly one step at a time until I reach my goal. Sounds like you are a natural at this too! Thanks so much for following and commenting!
Oh and I wrote a tutorial on binding for Seamwork magazine if you want to check that out: https://www.seamwork.com/issues/2017/10/learning-curves
Great tutorial thank you! Must admit that my stitches were certainly not invisible! Next time I will try slip stitching to the machine stitches…
They don’t need to be invisible! I adore seeing the ‘mark of the maker’. It shows the love…
In that case the garment was bursting at the seams with love.
:)
Thanks so much for your terrific posts on padding and using a dressform!! What type and weight fabric do you recommend for a fabric cover? Also, how did you construct the cover for the neck that was padded up? Was it sewn into the cover like a close-fitting turtleneck? Love, love, your blog!! Beth
Thanks for following along! I use a fabric called osnaburg when/if I cover the padding of a custom form. No real reason for this particular fabric other than I had a lot of it laying around years ago and liked the results. And all I do is drape and pin the fabric over the padding. No real system to it and no sewing. I want to be able to go back in and make changes easily so I like being able to unpin/repin the fabric back in place as needed.