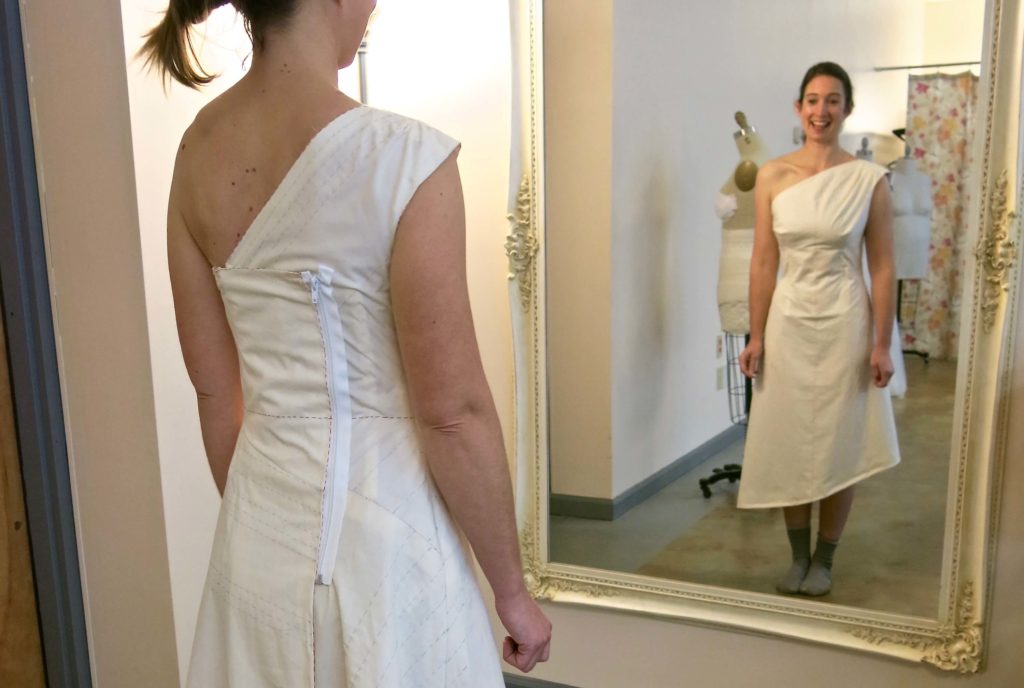
After the mockup version of her custom wedding dress was ready, Sally visited my studio for her mockup fittings. This is arguably the most important part of the custom process.
The mockup is your laboratory. It’s where all the experiments and discoveries happen. With no risk of ruining anything precious, you get to work out all the details of the design and fit of the garment before you start making it. It’s like having an open book test, right before the real test! You get to research and work out the answers, practice all the steps, and you can even refer back to it once the real test starts!
Many people are amazed that I spend the time to make a fake dress before the real dress, but I’m amazed that anyone would think to skip this step!
Sally’s first fitting!
Since Sally lives several hours away from me and there almost always needs to be more than one mockup fitting, we blocked out a weekend so that she could get two fittings in one trip to town. We had our first fitting early on a Saturday…
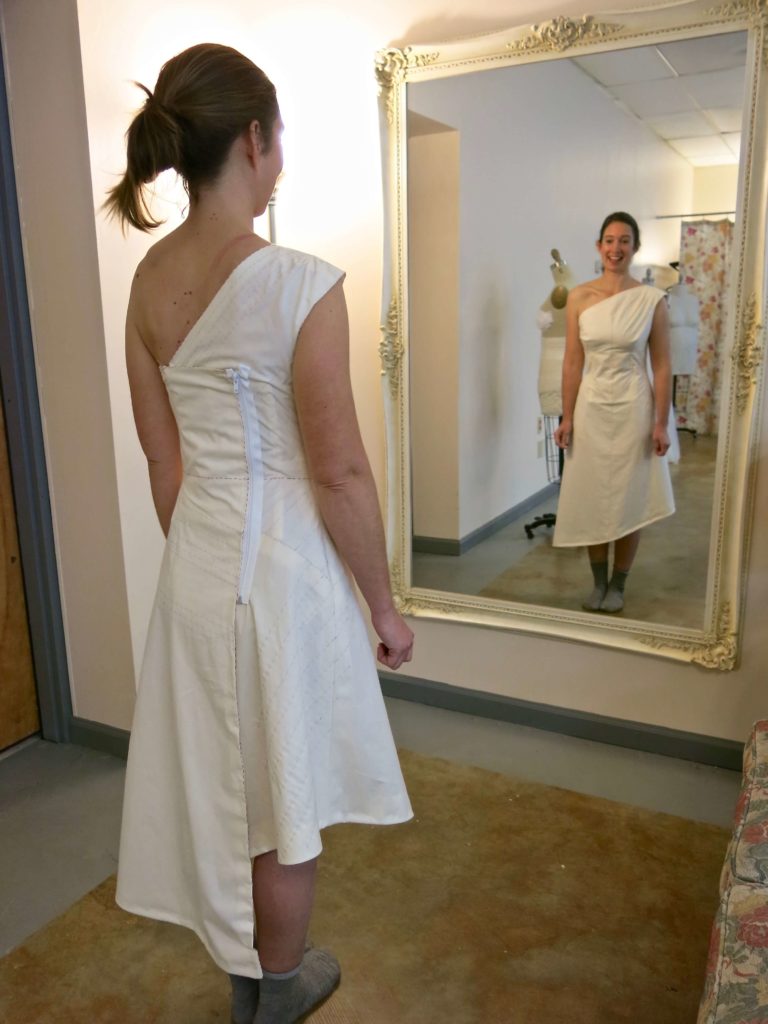
…and you can tell by her smile that, even before any corrections, Sally was happy!
I like to make sure to take photos of the mockup before I start making any changes. This gives me a reference for what the pattern looks like on her body, as it is on the paper. Looking at the photos later might also help me make discoveries that I missed during the excitement of the fitting.
Then the mockup is ready to rumble! I start ripping it up, pinning, testing theories, and making adjustments to refine the design and fit!
I started by extending the top edge to form a more graceful line under her armpit. This also heightened the back which looked really nice. The small section that had the boning and the hidden zipper wasn’t able to be released, but we were able to use our imagination to envision a new top edge.
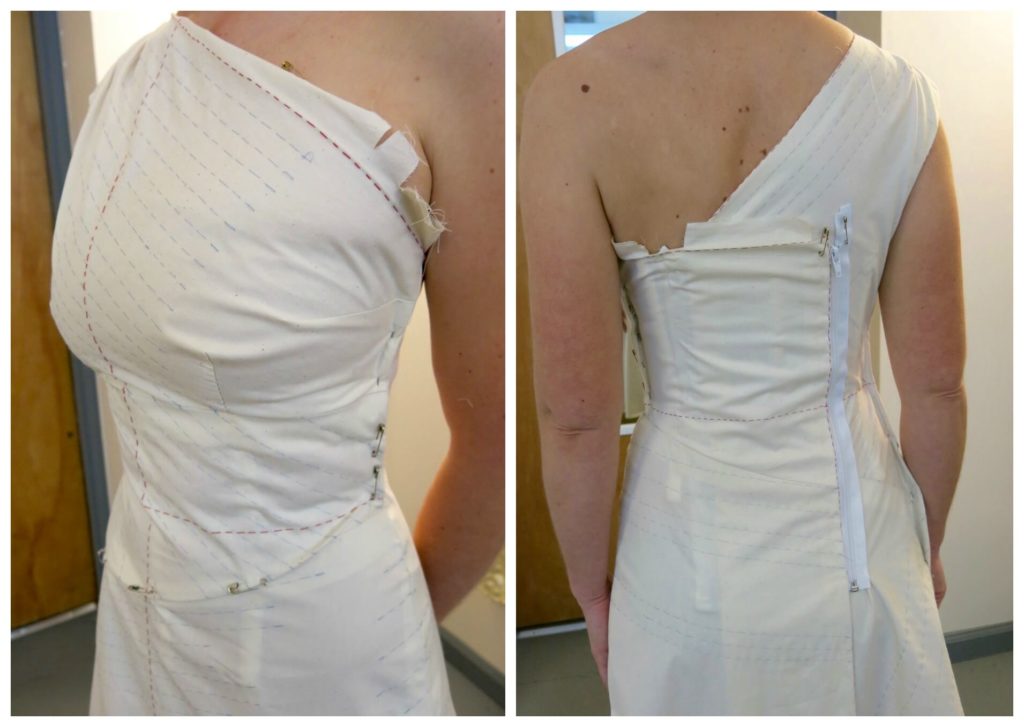
I also pinned some fabric out of the sides to better fit Sally’s body and I adjusted the slant of the asymmetrical seam detail for a more pleasing design line.
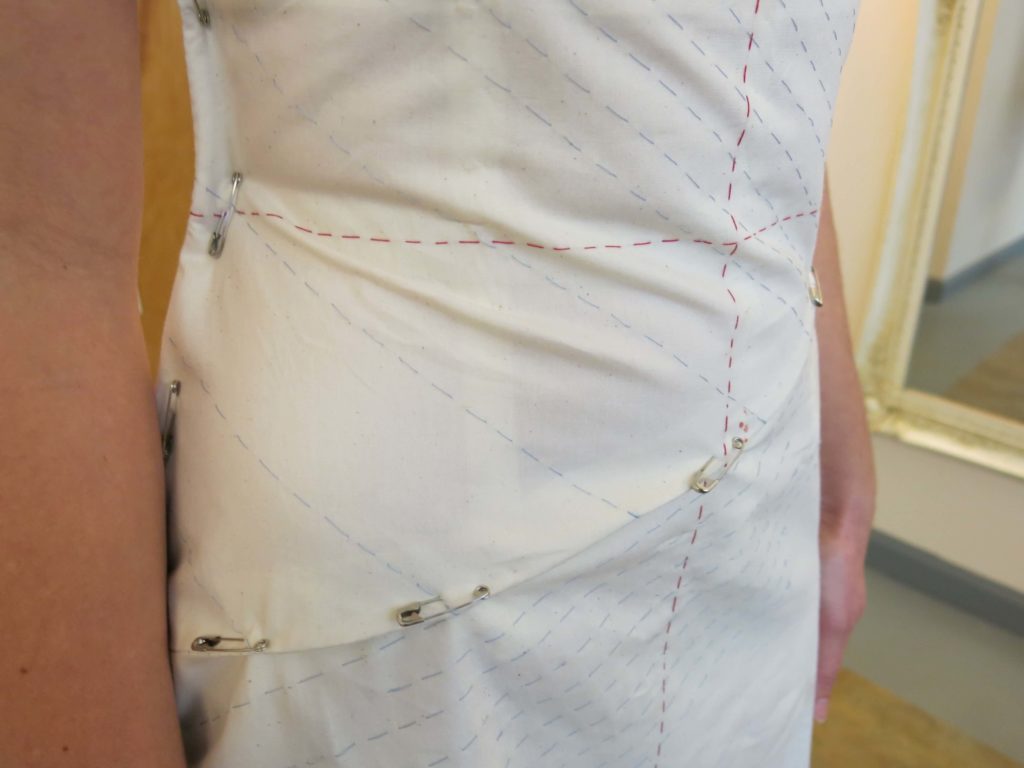
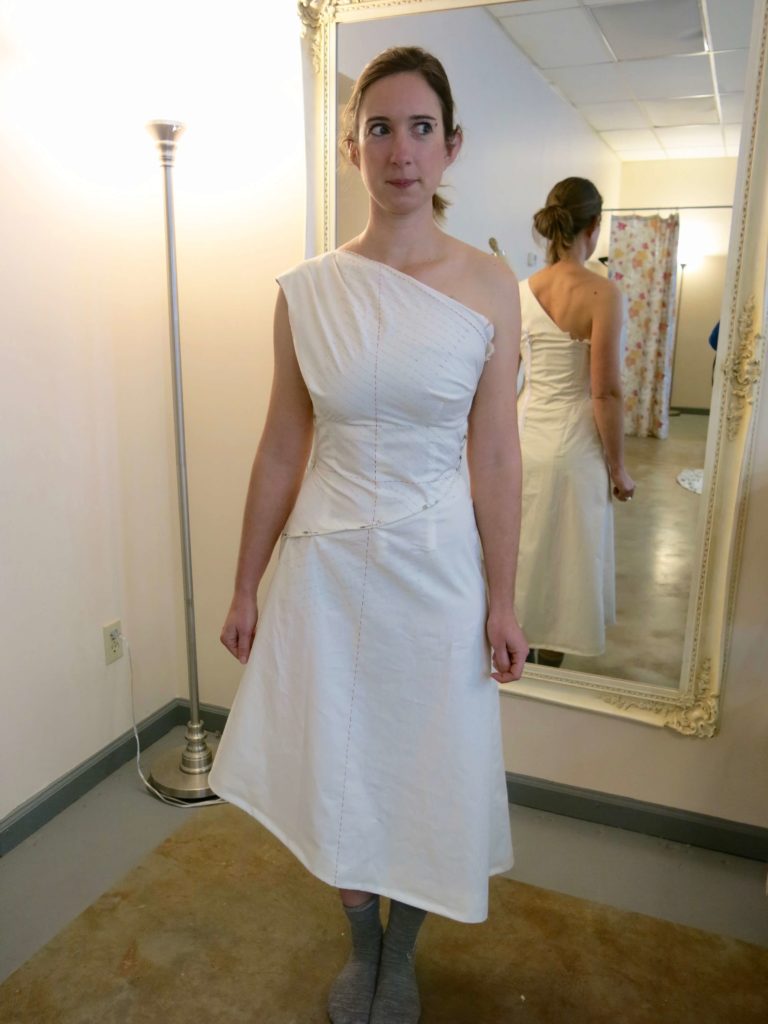
Isn’t she adorable?! And the dress was improving bit by bit!
After the first fitting
Once I had enough information from Sally’s body, I sent her on her way and worked on making corrections. While the mockup was on the table, I could use the information from the fitting to make corrections to the pattern.
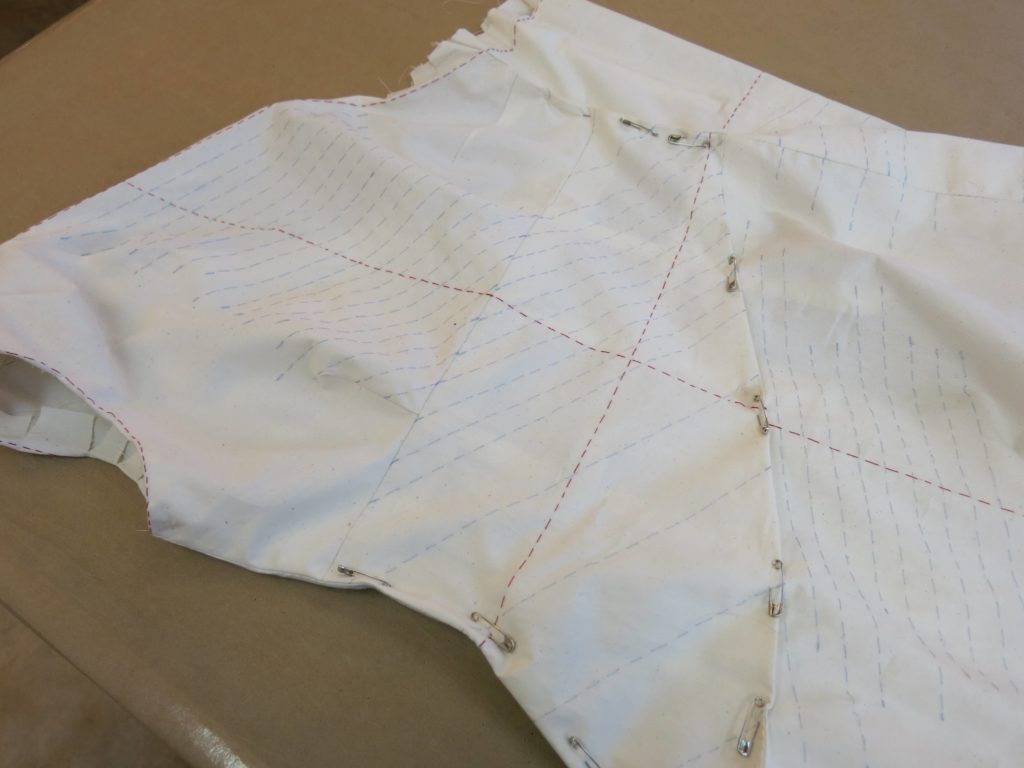
And while working through the corrections and referencing the photos I took of Sally, I decided to make even more changes. As every piece is asymmetrical, it was a real puzzle!
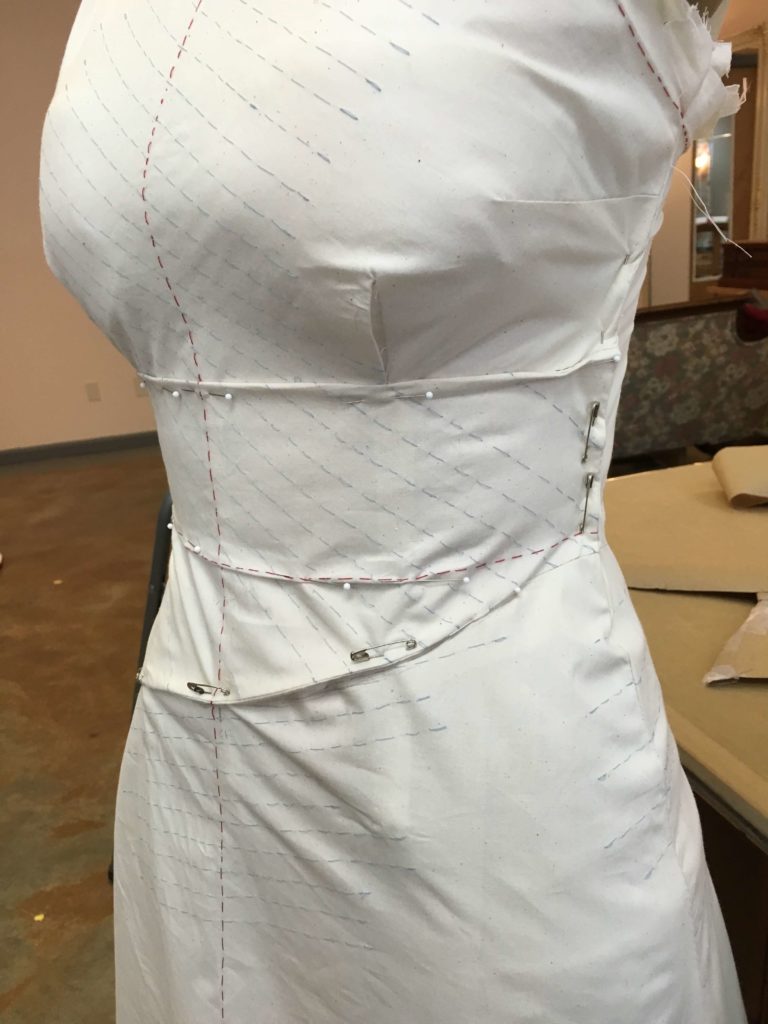
Once my corrections were good to go, I used the corrected pattern to make another mockup dress!
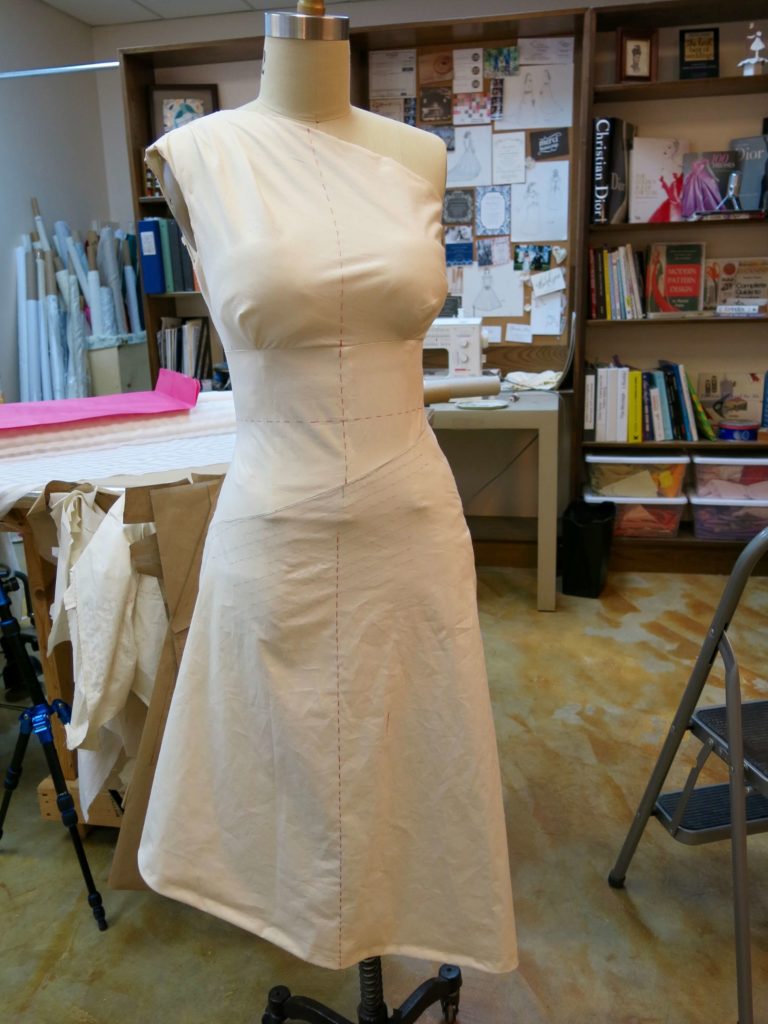
I reused some of the muslin pieces and recut others. I was excited to try the new version on Sally!
Sally’s second fitting
Sally came back the next afternoon for her second fitting! I forgot to follow my own advice and take photos before making corrections. I get so excited having the bride in the studio that I often see corrections and my hands just go for them!
But as you can see in these photos, the pinned version was looking better and better and the raised neckline looked great!
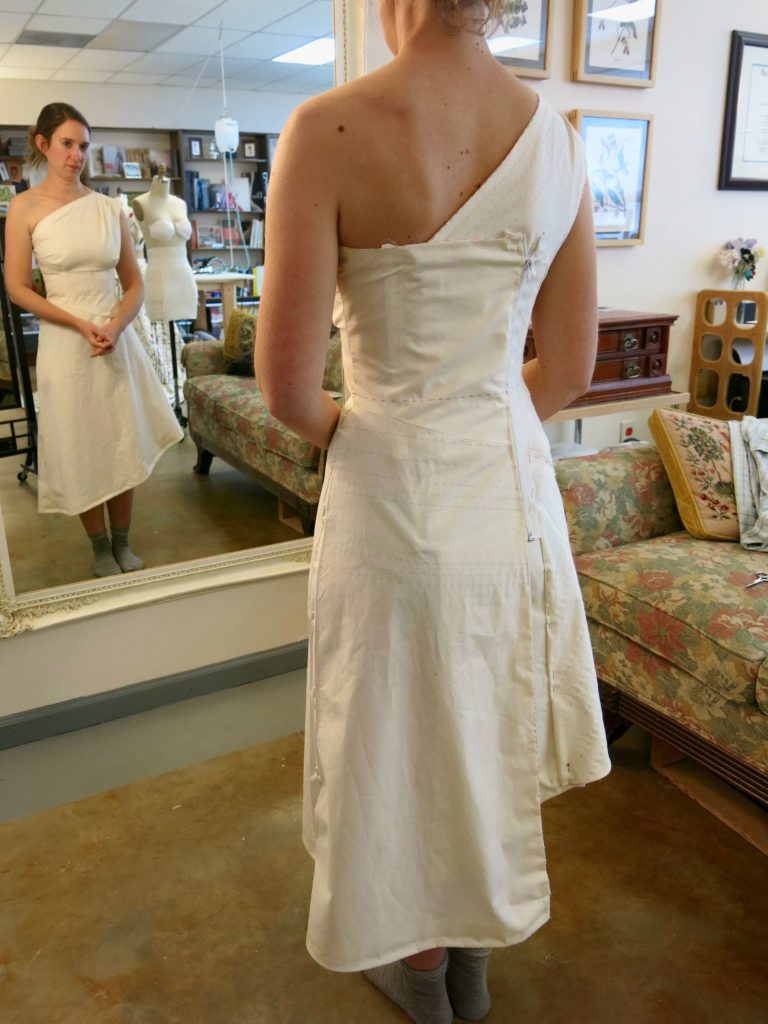
The side seams and the slant still needed a little adjusting, but was improving with every tweak.
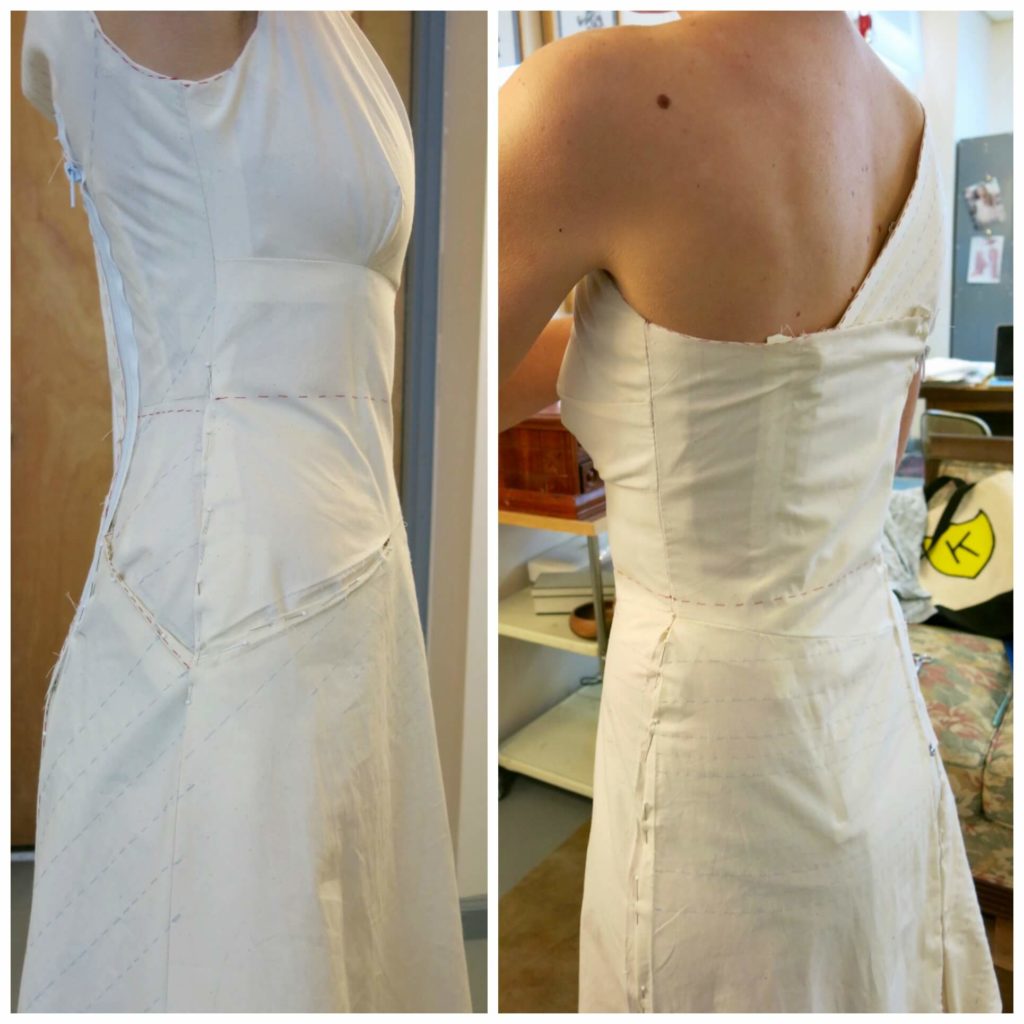
The back of the skirt below the zipper (which instead will be a row of bridal buttons!) had a funny flare to it, so I pinned it out for a sleeker look…
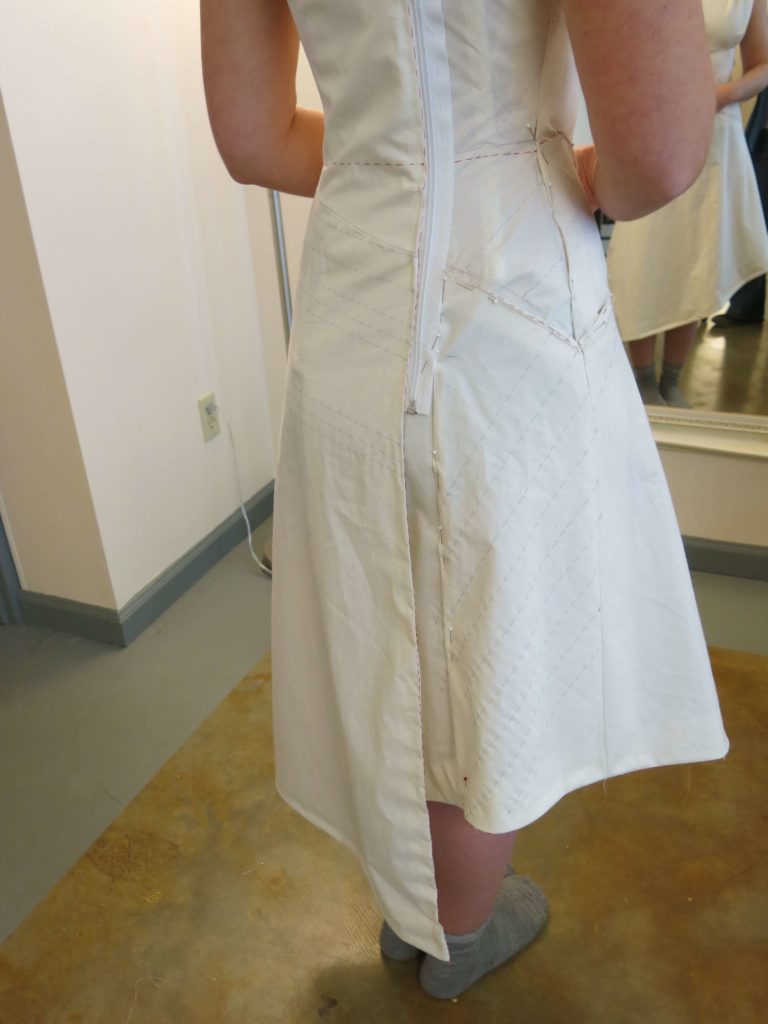
…and did some hidden shaping under the back wrap.
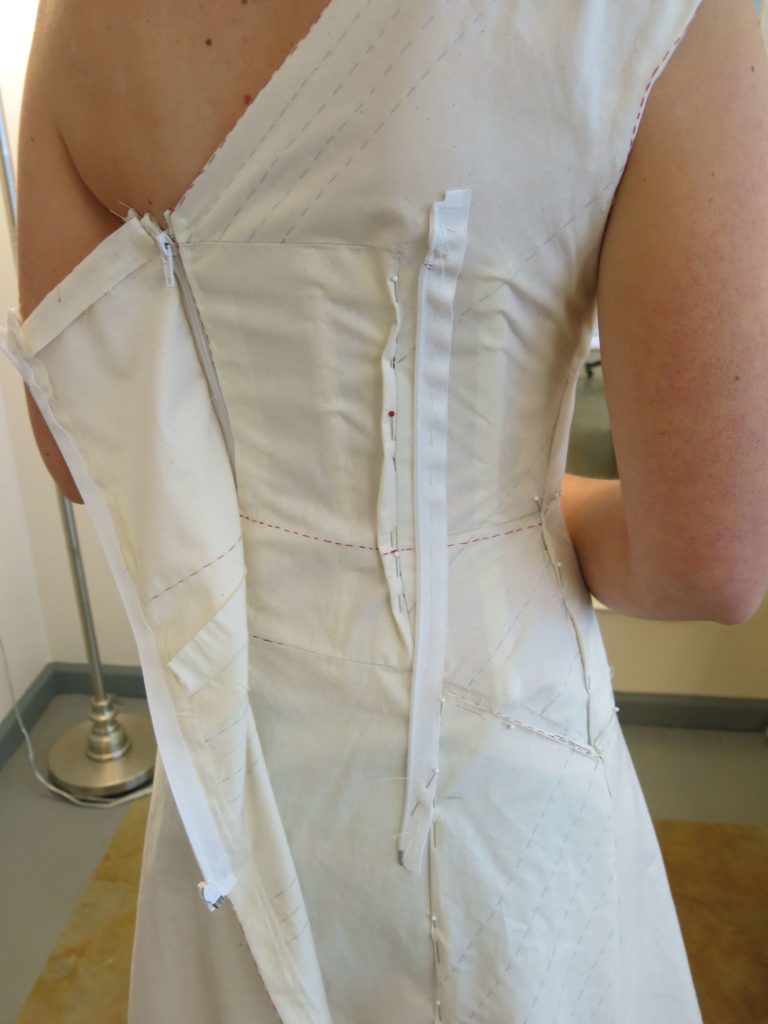
The center piece was the trickiest, but I eventually pinned out the fullness created by a diagonal wrinkle. I’d fold it completely out of the paper pattern for a smooth fit when I cut the real fabric.
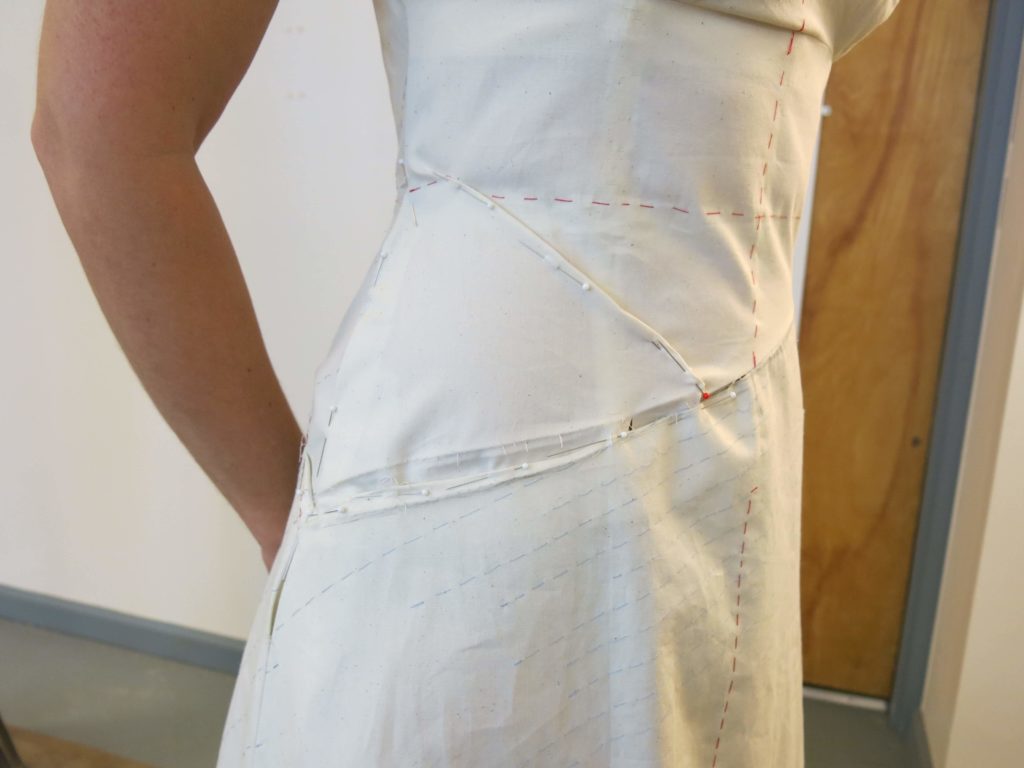
Though I’d miss having her around, I finally had enough info to send Sally home to Virginia!
After the second fitting
After the second fitting, I had some work to do!
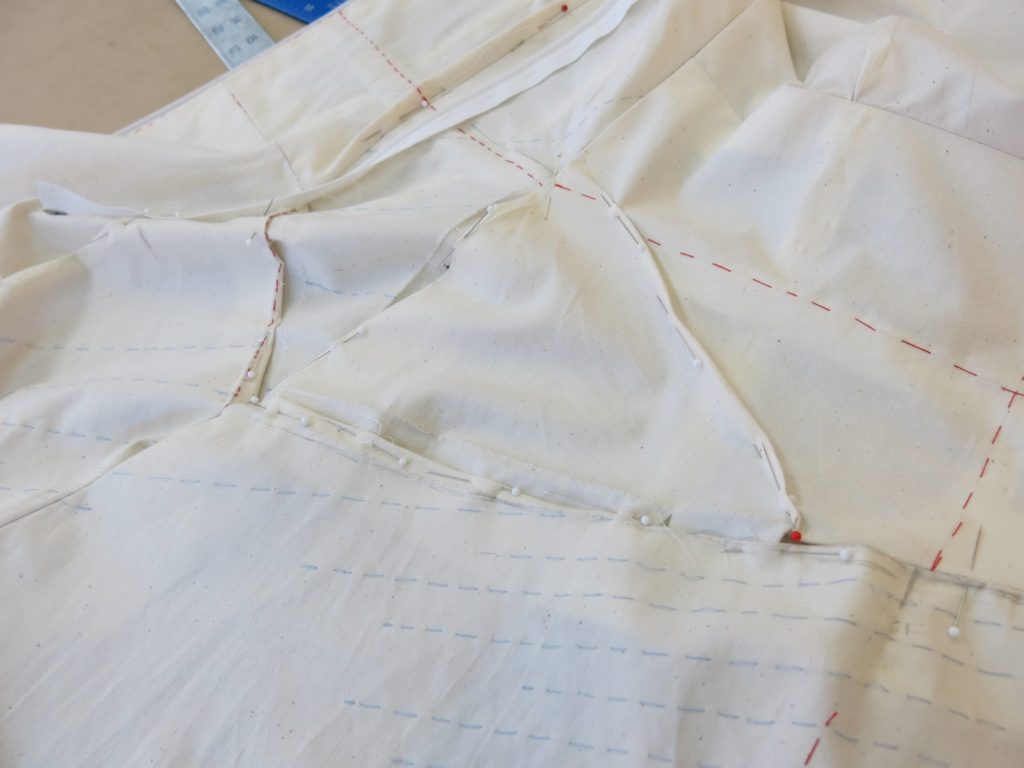
But in the end, the patterns looked super cool!
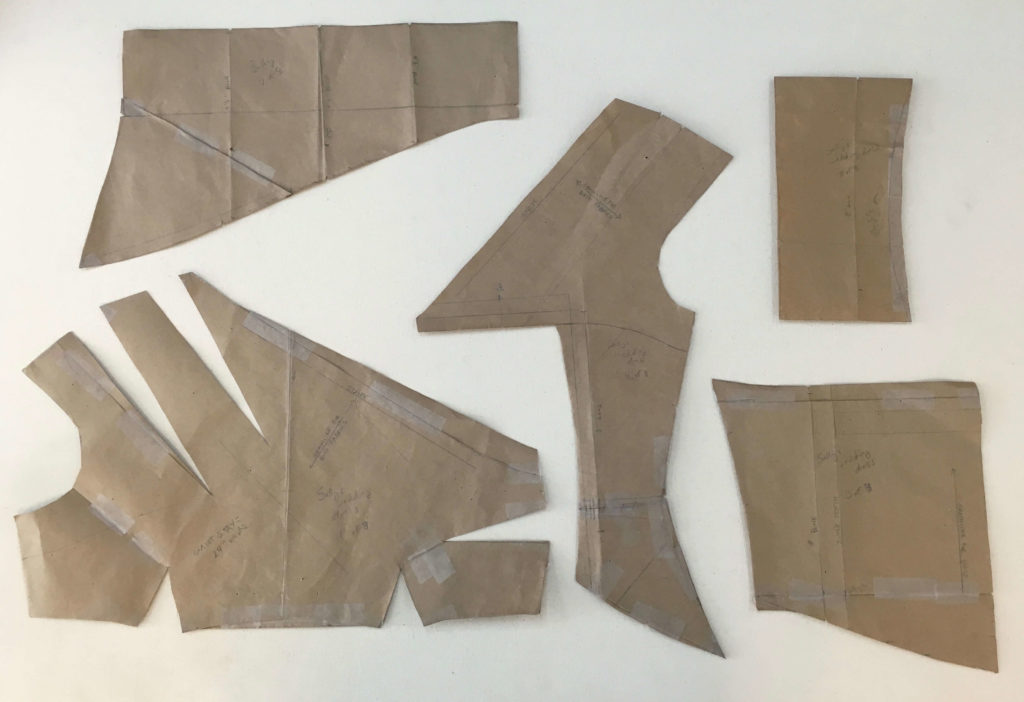
I love seeing all the kooky shapes that make up an asymmetrical dress! And I love seeing all the history that’s in all those correction lines and folds and tape. To me, this part is almost as beautiful as the dress itself!
Thinking about the top of Sally’s dress, can you tell which pattern piece goes where?
NEXT POST: I use these corrected patterns to start cutting the real dress fabric and underlining the layers!


3 Responses
I was inordinately excited to see the next post in this series… just love watching you work! You have given me a love of pattern pieces, too! Last night I was standing in the kitchen drinking a glass of water at the island (which has become my sewing table) absentmindedly stroking my pants block! My husband walked in and just chuckled. :)
Ha! That made me chuckle too!It’s been great working with you Marnie. Happy to share the love!
Hi Brooksann. I love your posta and brides. It is so glad you let us see what’s in a bridal custom dress. Of I would marry again (of course only my husband) thanks to yor blog I would definetively go for a One-of-a-kind dress ????