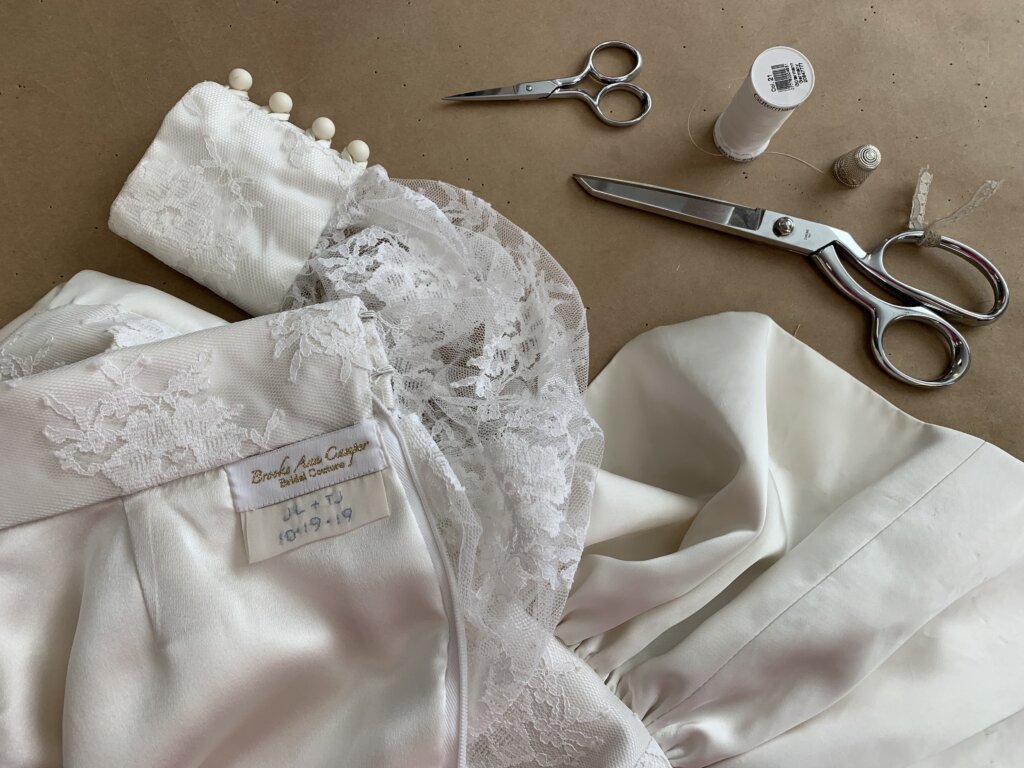
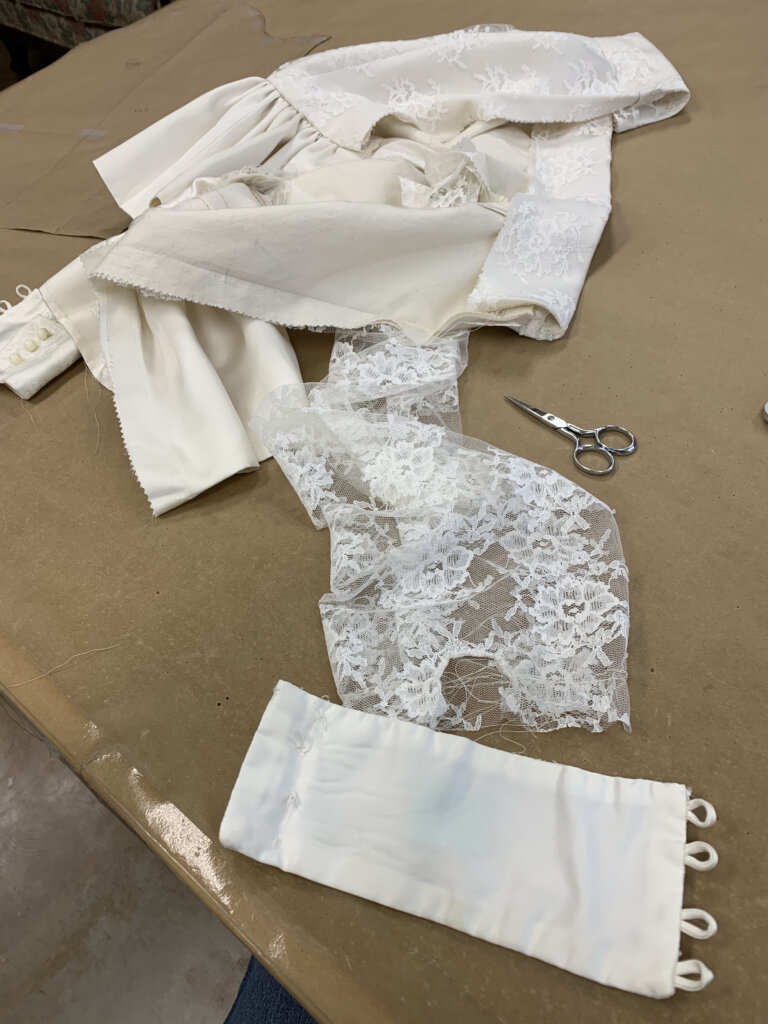
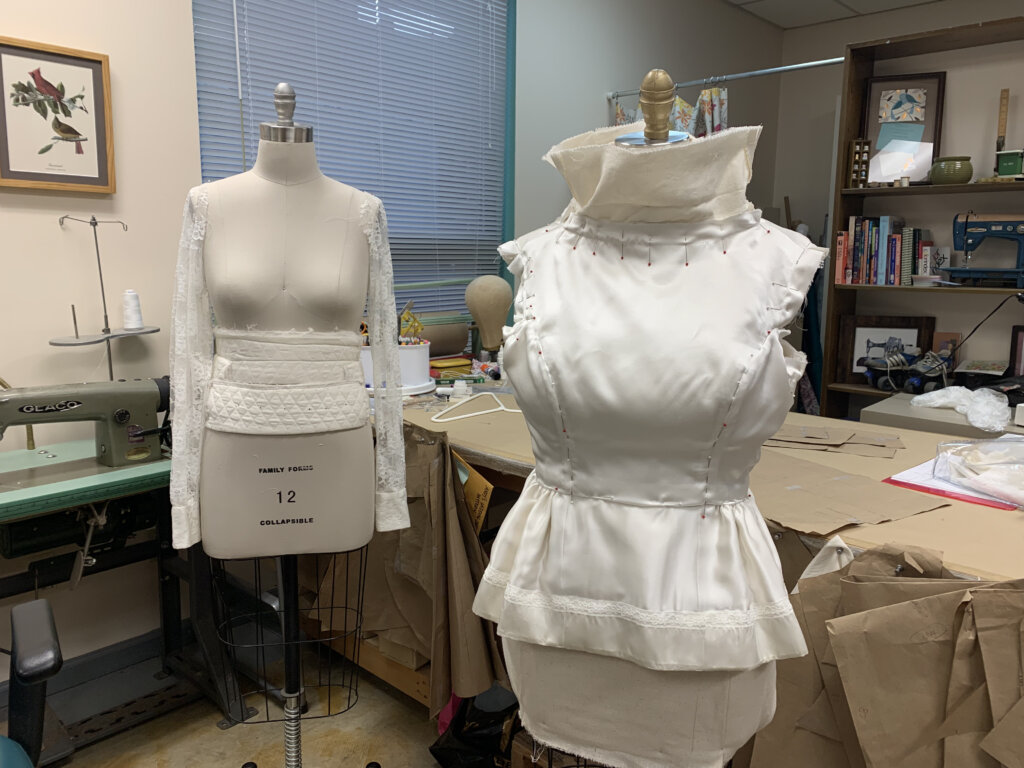
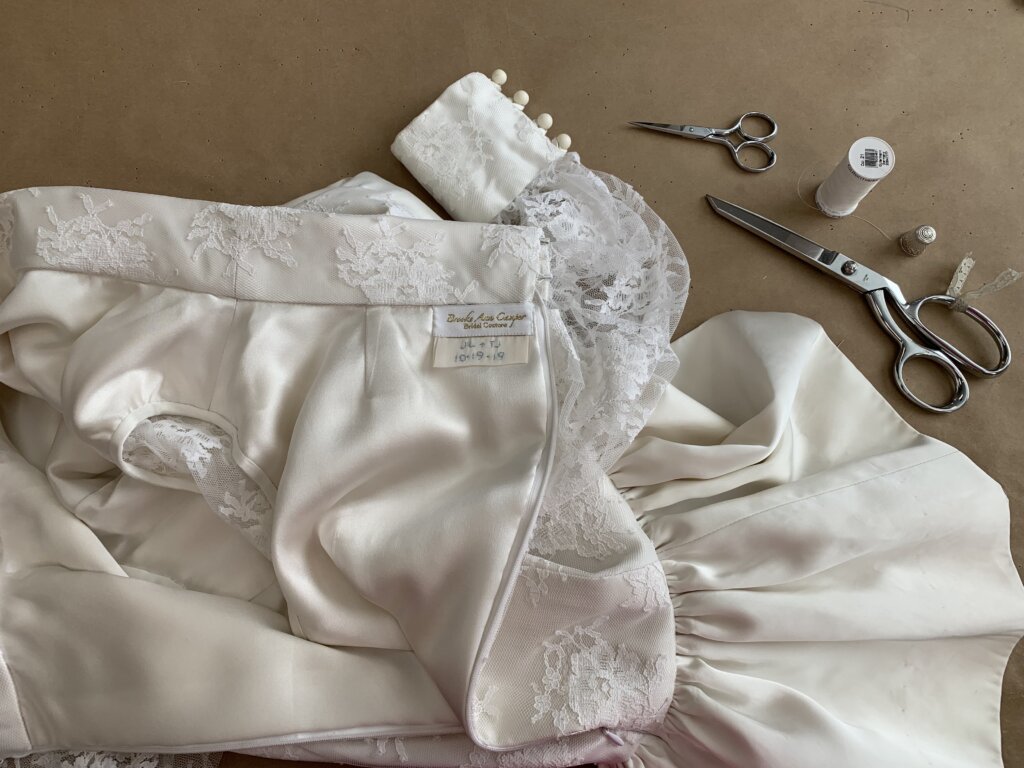
This post starts just after the basted final fitting– and ends with a finished couture top. I hope you enjoy my epic photo-filled behind-the-seams play-by-play!
Basting Becomes Permanent
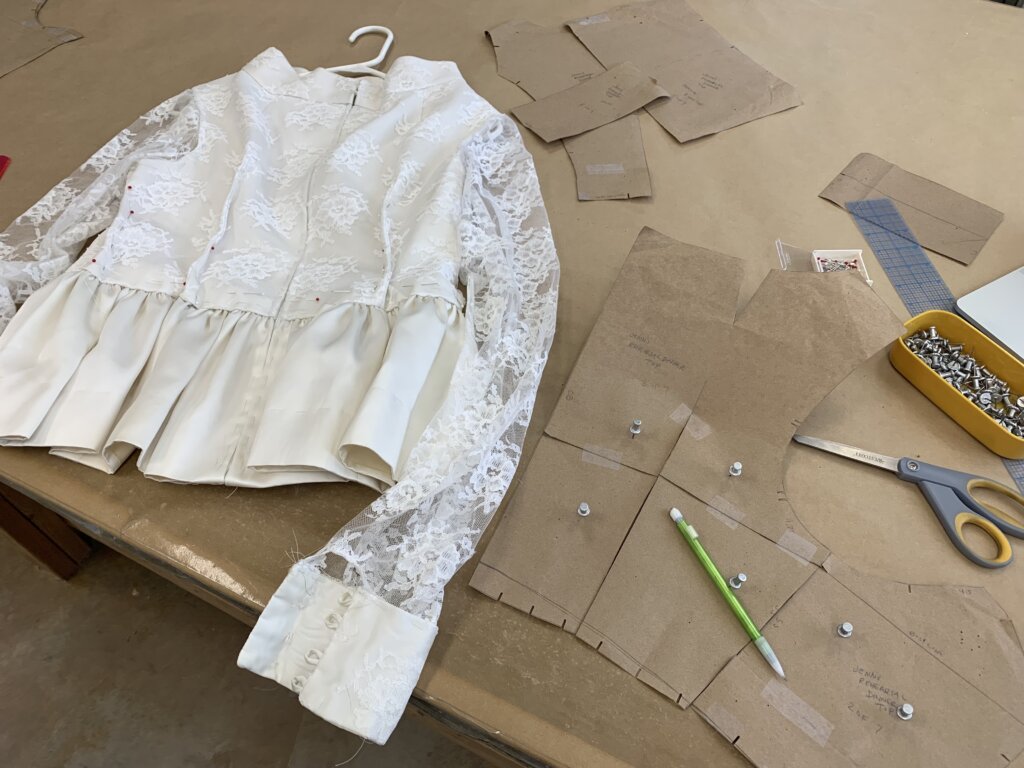
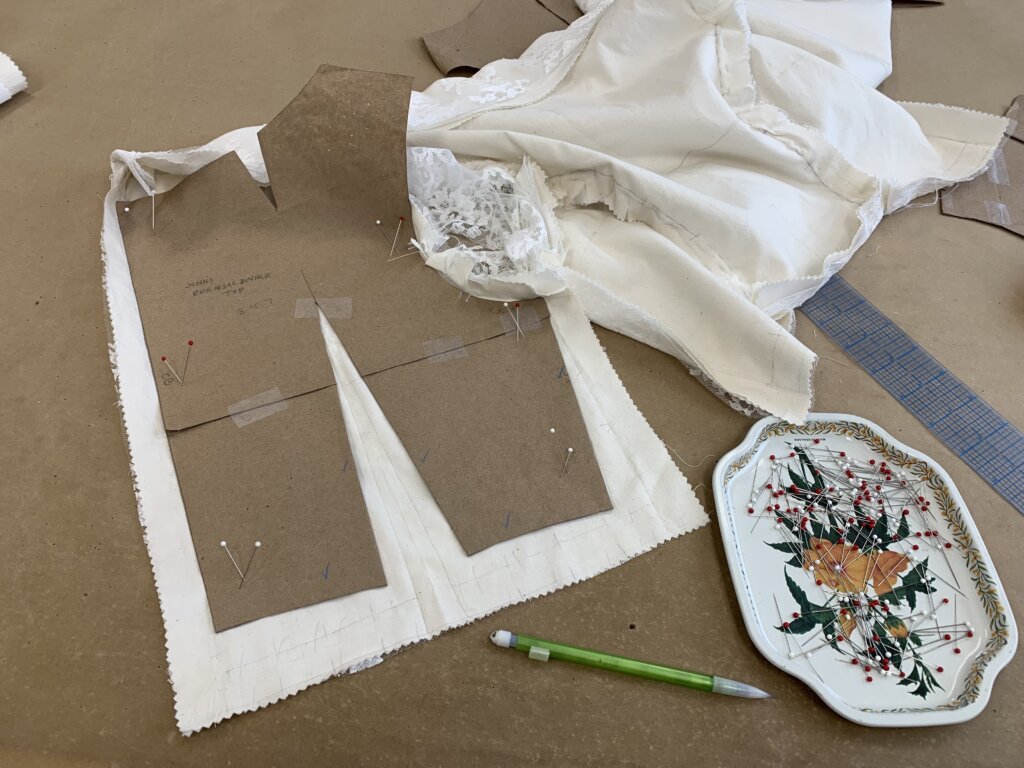
After returning to North Carolina from Brooklyn, I unpacked the basted top. By referencing the pins I placed in the fabric during the fitting, I recreated the changes on my paper pattern. Transferring post-fitting improvements back to the paper is one of my favorite tasks! I love figuring out the puzzle of how everything is going to ultimately fit together.
When I no longer needed the pins from the fitting, I pulled out all the basting stitches in the areas I was changing. One of the many benefits of basting is quick and easy scar-free stitch removal (which can be really fun!)
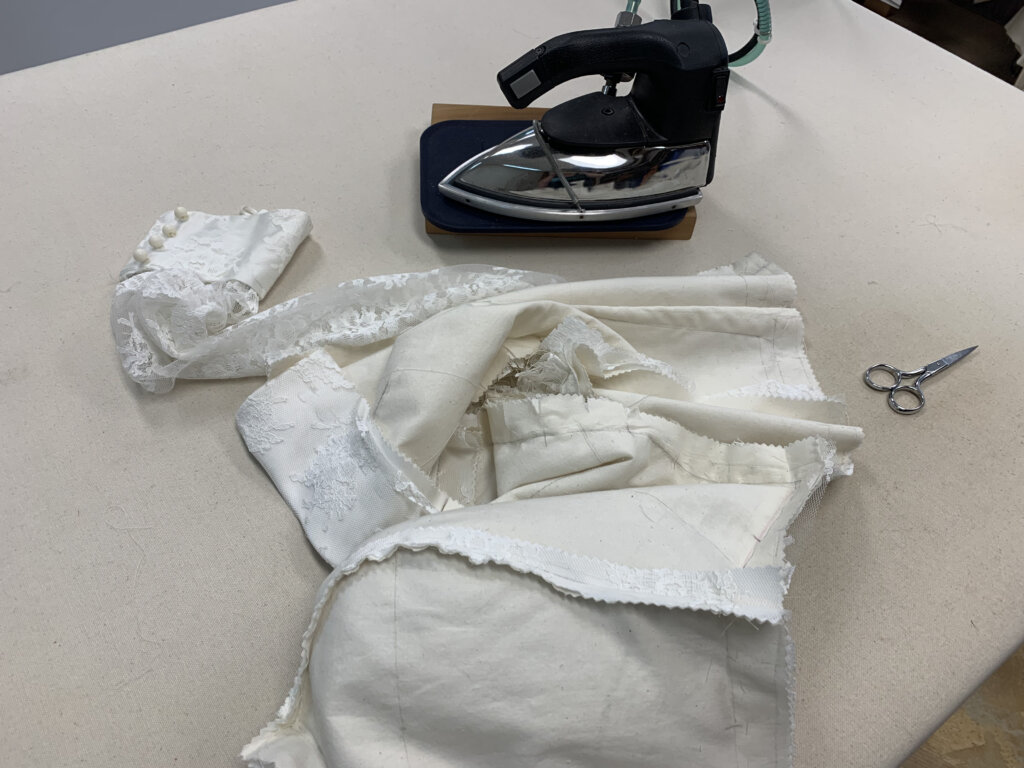
Next, I pressed the to-be-updated areas flat again, …
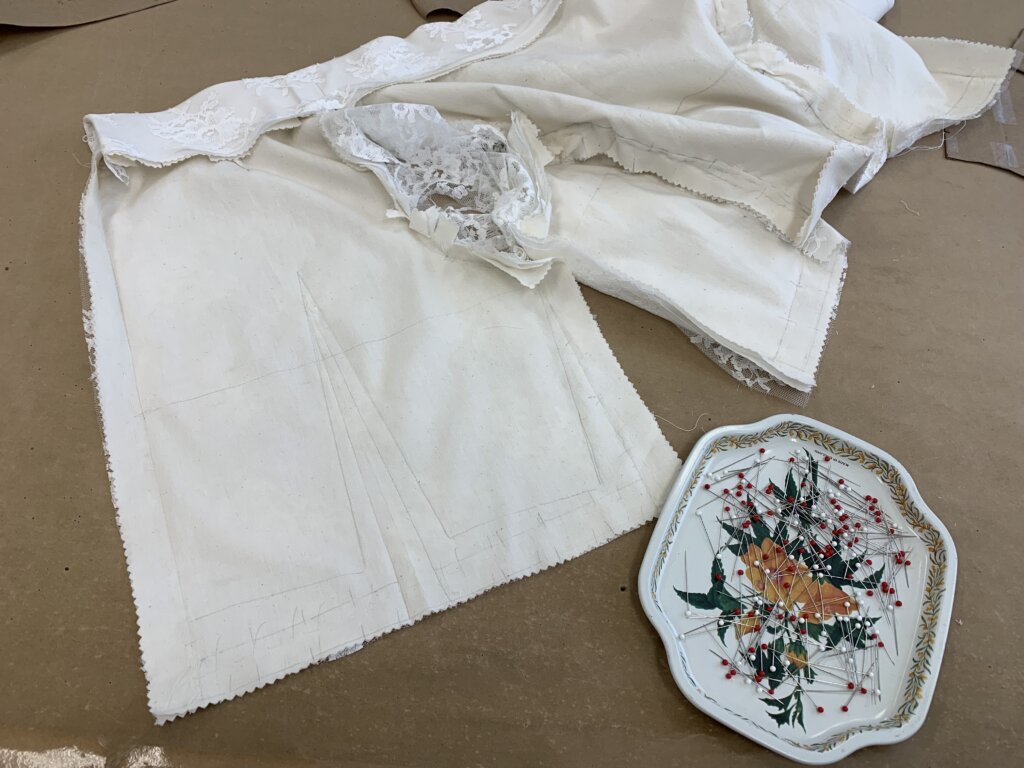
…used the corrected pattern to draw in the edits,…
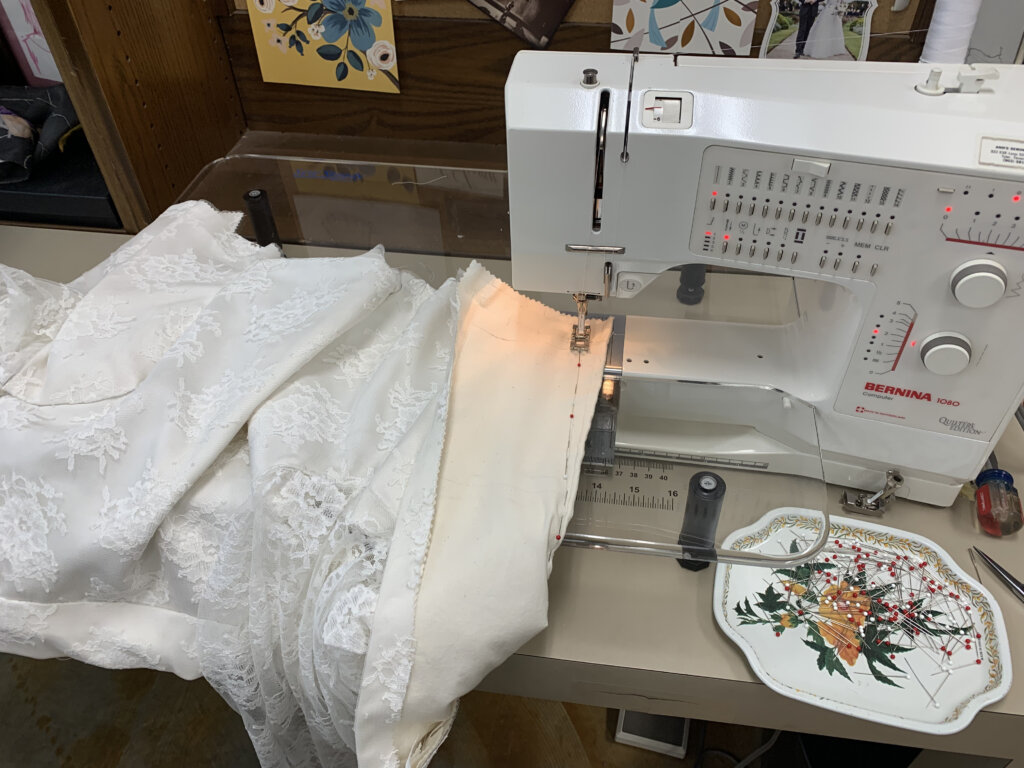
… then stitched on my lines with permanent stitches!
And in the areas that didn’t change in the fitting, I was able to stitch over the basting with permanent stitches and give it a good press. After all my prep, all of my questions had been answered and I was confident there were no more changes to be made. I rarely ever need unpick permanent stitches, because the basting sets me up for success!
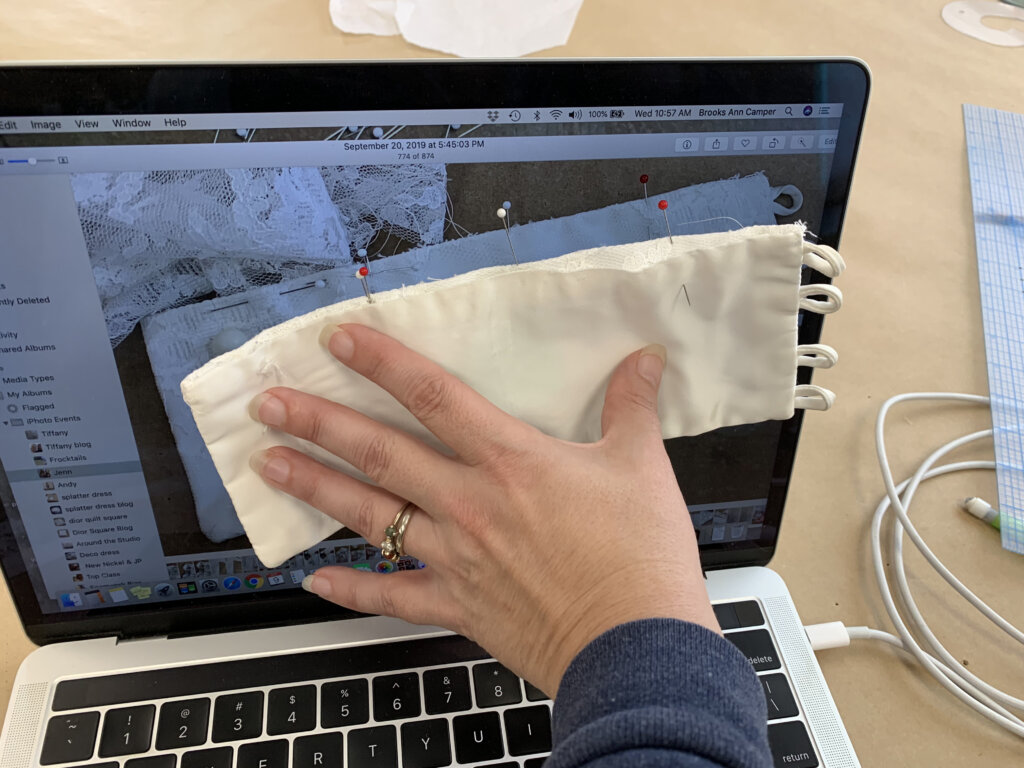
It was also nice to have gained some photos! I used a sleeve assembly photo from the first round to (quite literally) set myself up the same way in the finals.
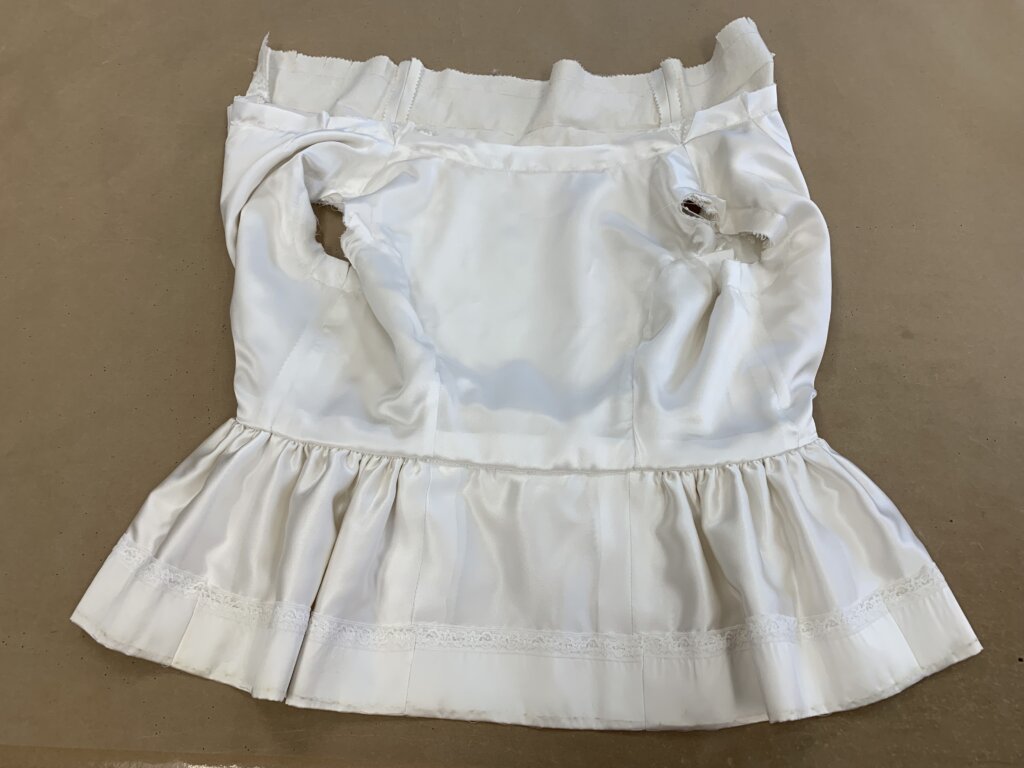
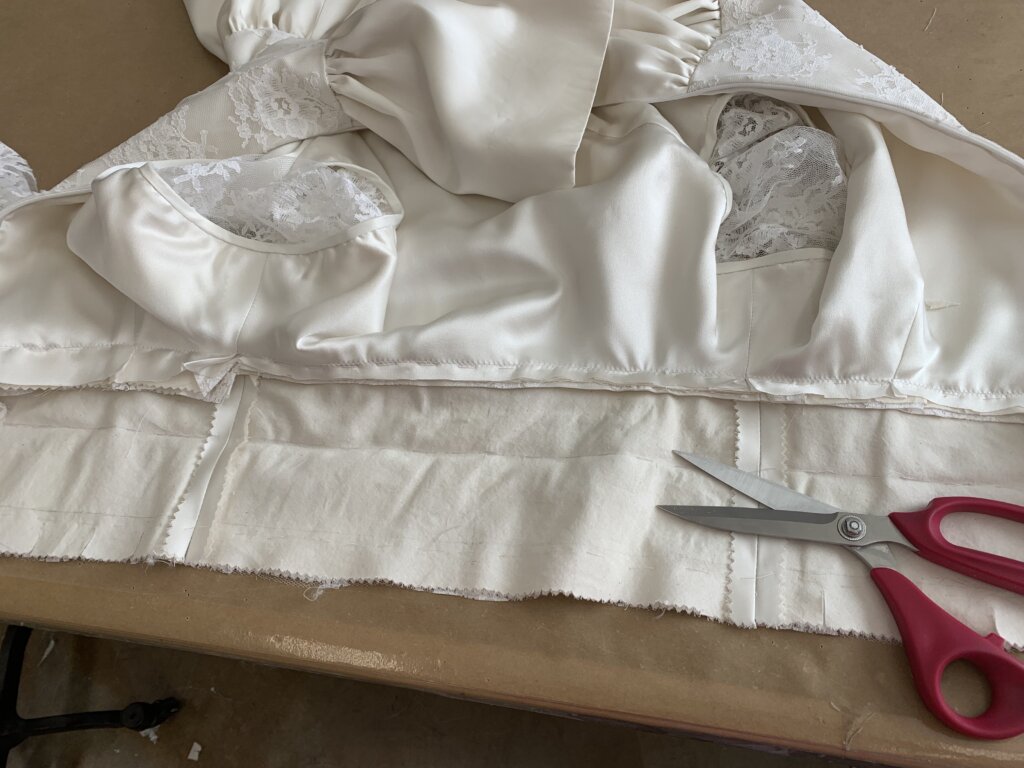
Lining and Assembling the Peplum
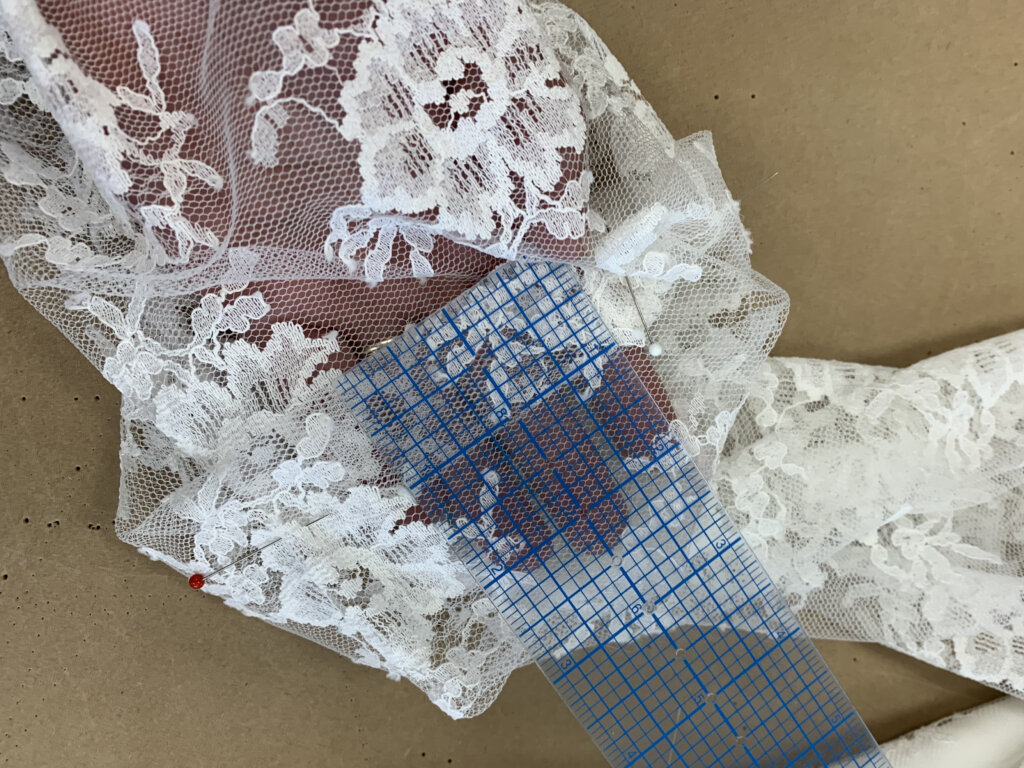
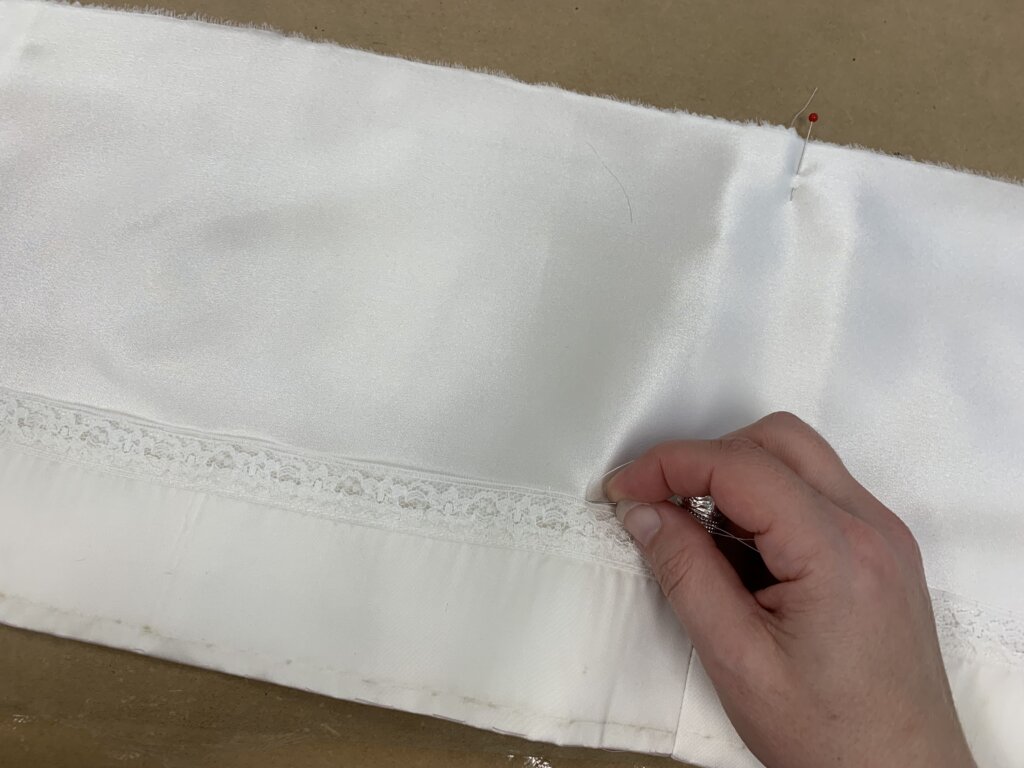
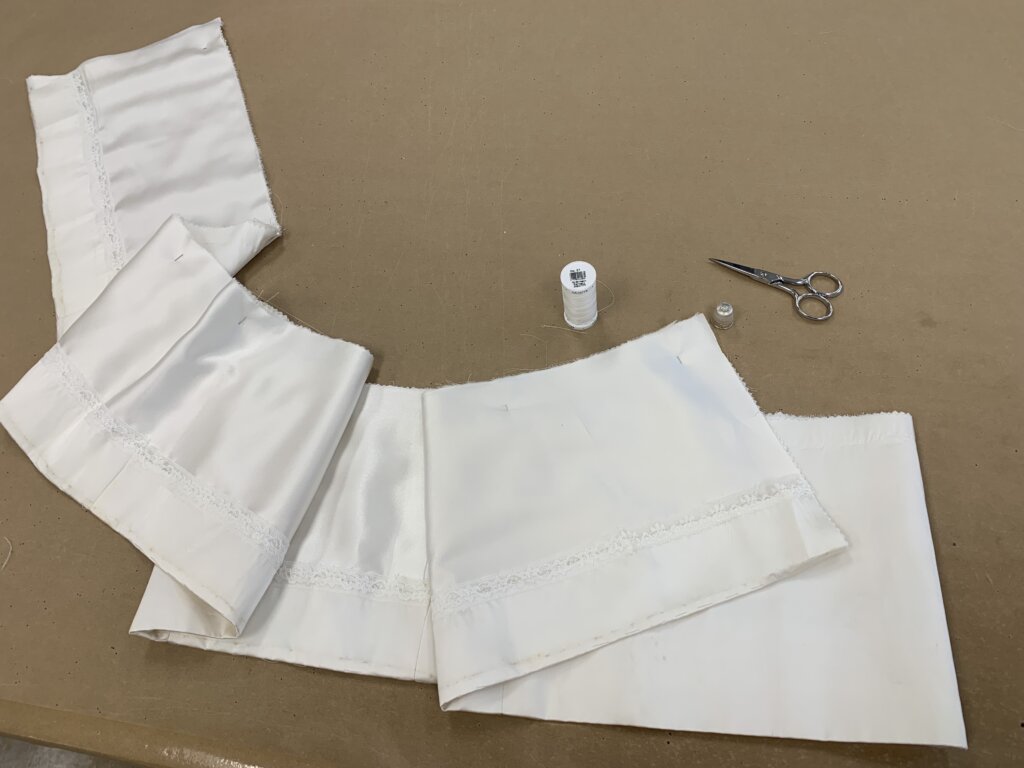
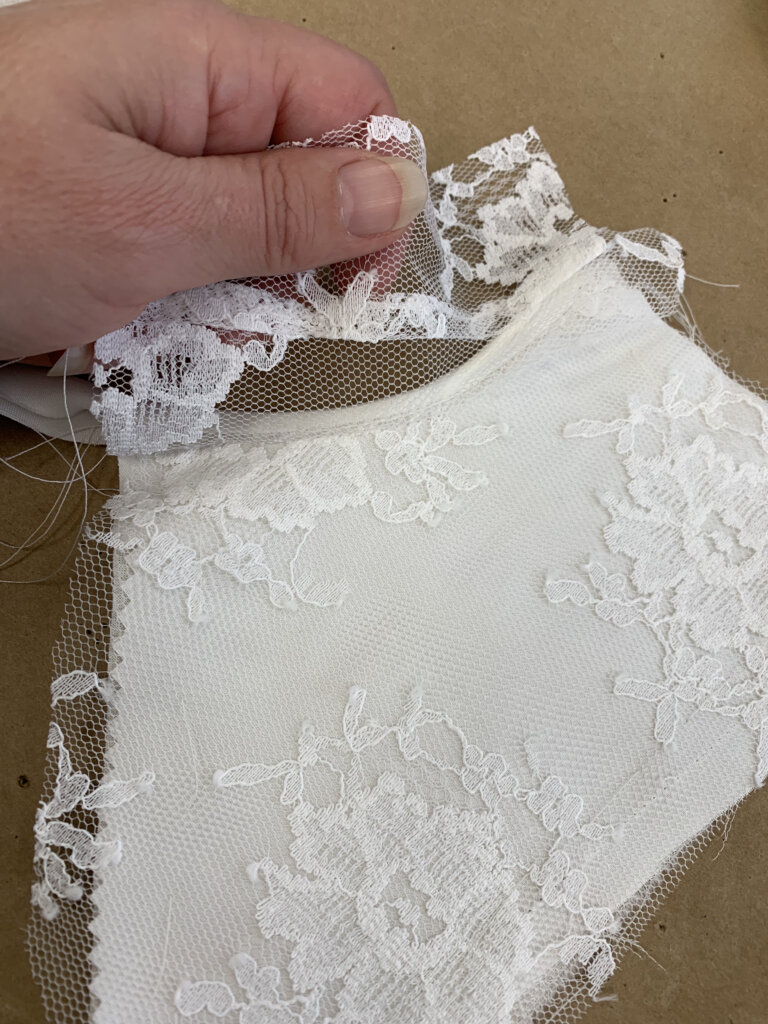
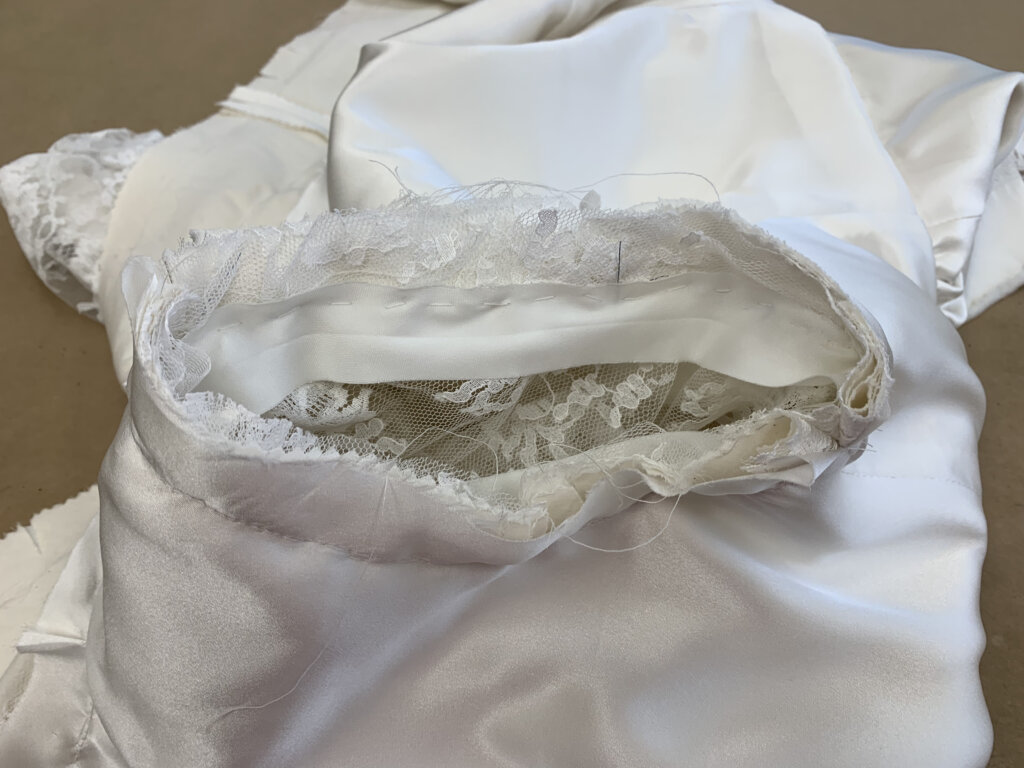
Next I was ready to add the lining, starting with the peplum. I cut a long strip of my silk lining fabric and slipped it on the backside of the peplum, behind the hem. I was able to reuse the original hem from Jenn’s mom’s wedding dress (shortened just a tad to keep the 50 year old stains tucked inside). The hem lace was added to the edge by Jenn’s grandmother in 1970; I simply hand stitched it in place.
I only allowed my hand stitches to reach through the lining and underlining layers. This means, from the front, the stitching is invisible!
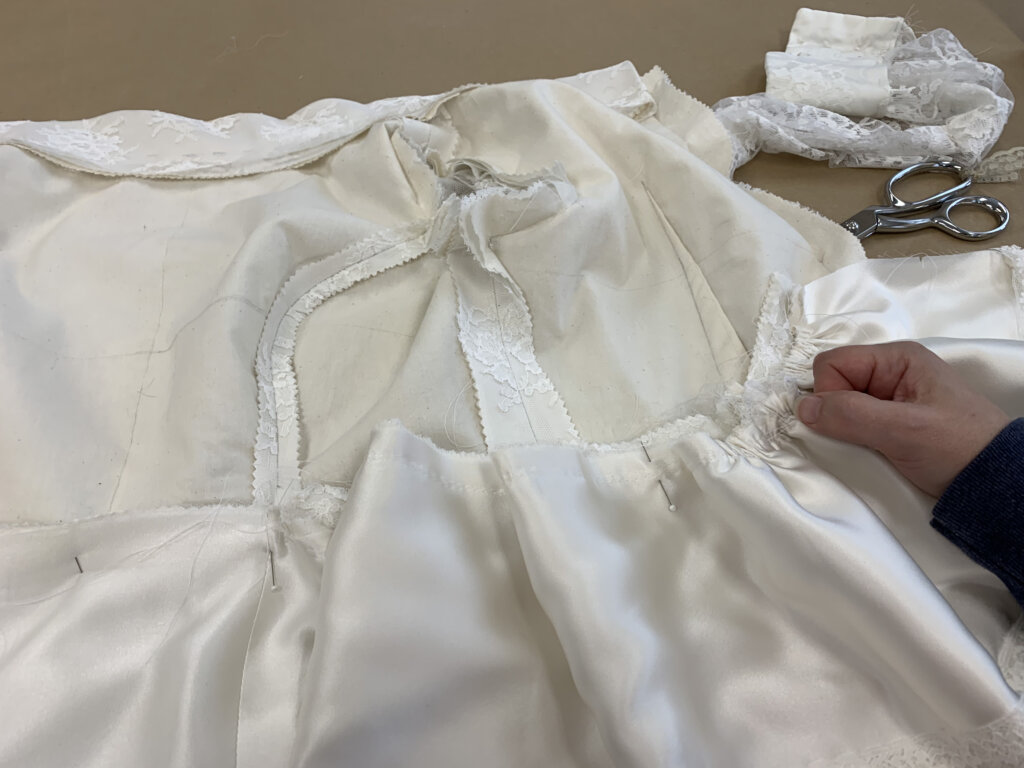
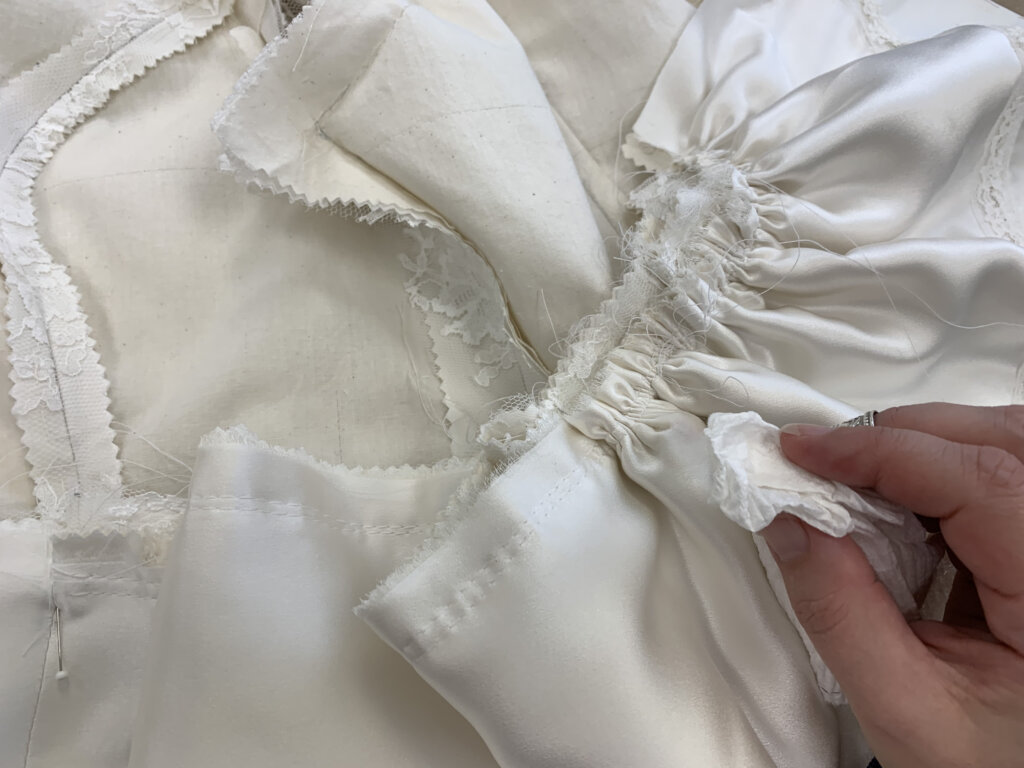
Once lined, I added new gathering stitches to the top edge before I began to gather and pin it in place along the bodice waist.
Bonus Tip: How to get your own blood out of fabric!
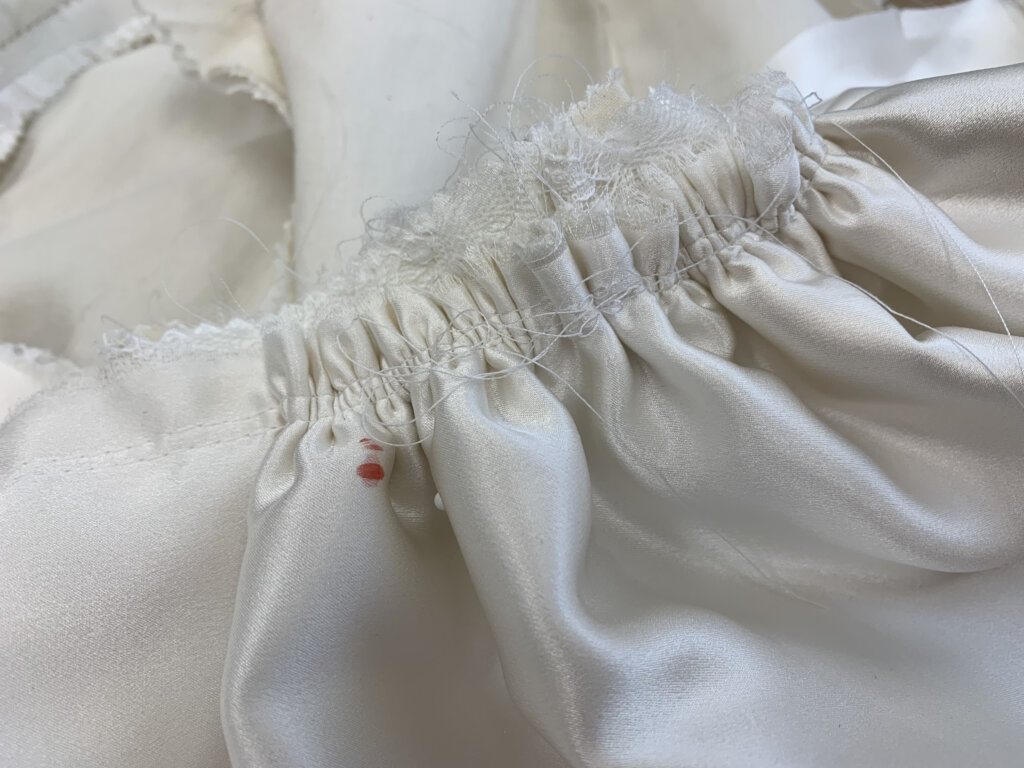
As I was pulling and pinning, I pricked my finger leaving a bright red blood stain inside Jenn’s top. No worries! Removing your own blood from fabric is an easy trick!
Did you know thatyour saliva will get your blood out of fabric? Next time you accidentally prick yourself, give this a try:Spit on a paper towel and dab it onto the fabric (or just put the fabric in your mouth).Wetting it with your own spit, makes it all but disappear!(I’m told this only works with your own blood and your own spit- though I have not tested other scenarios).
This trick is especially useful for wedding dressmakers like me who often work in white. Don’t tell my brides (I guess?), but it is pretty inevitable that their dress has had my blood and spit in it somewhere!
If you sew, chances are you will prick yourself at some point. I hope my unlucky prick offers you a helpful trick!
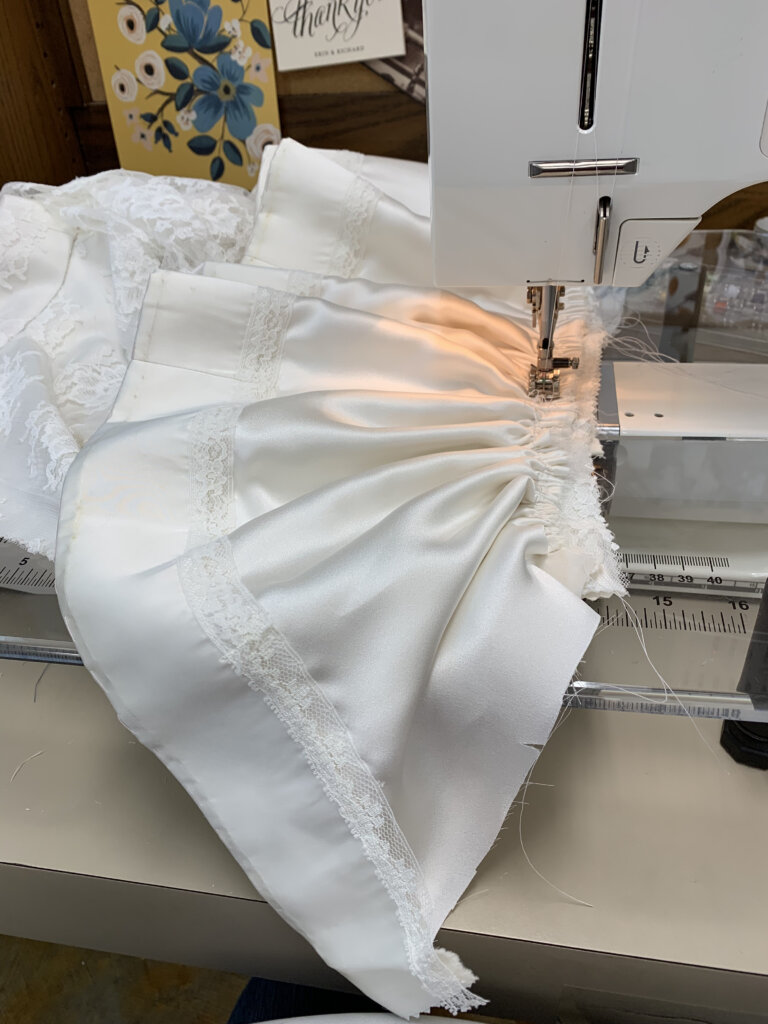
Back on track, I hand basted the waist seam in place and then stitched it up with permanent machine stitches.
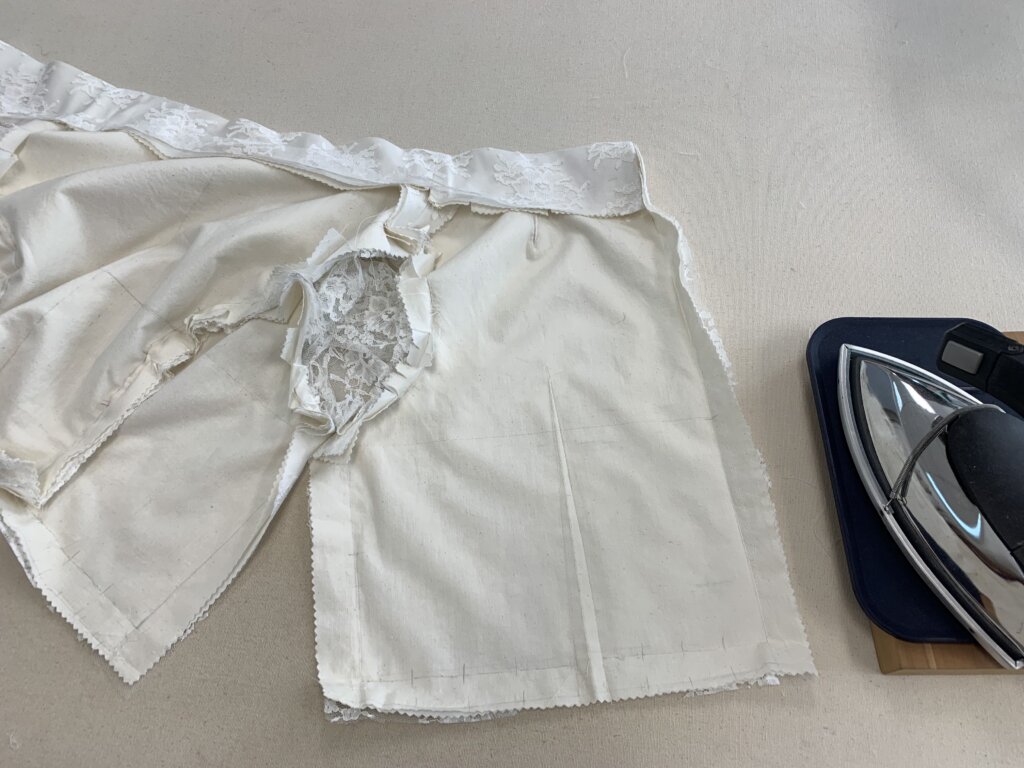
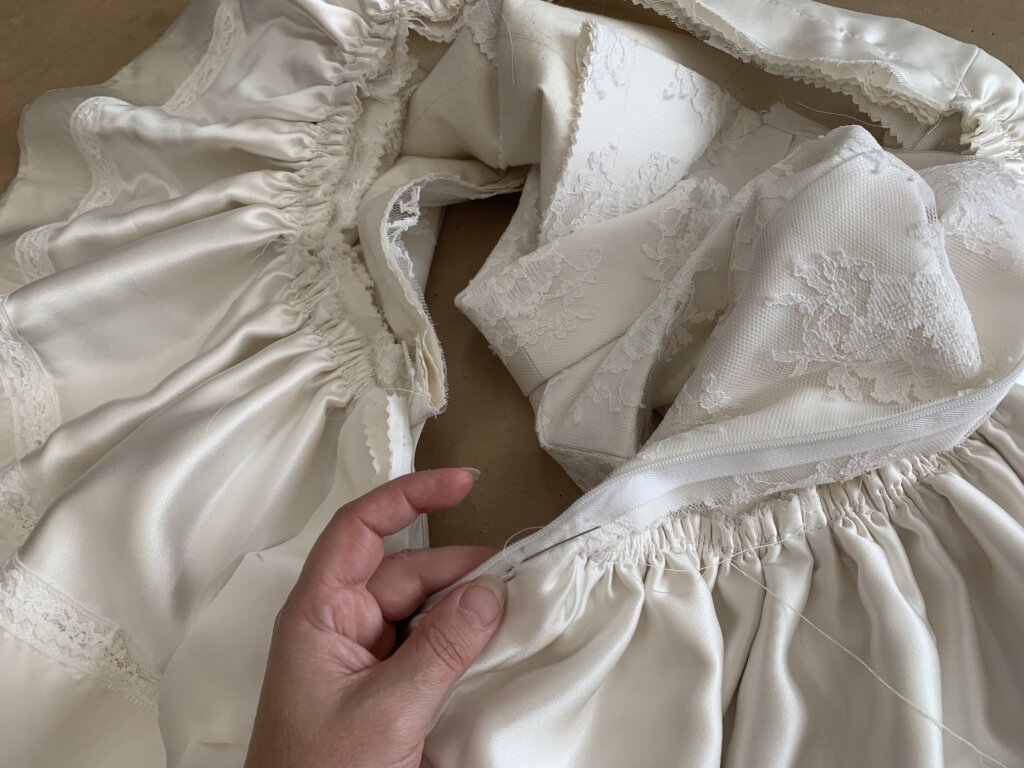
To close up the lining of the peplum, I hand stitched the loose edges along the zipper, …
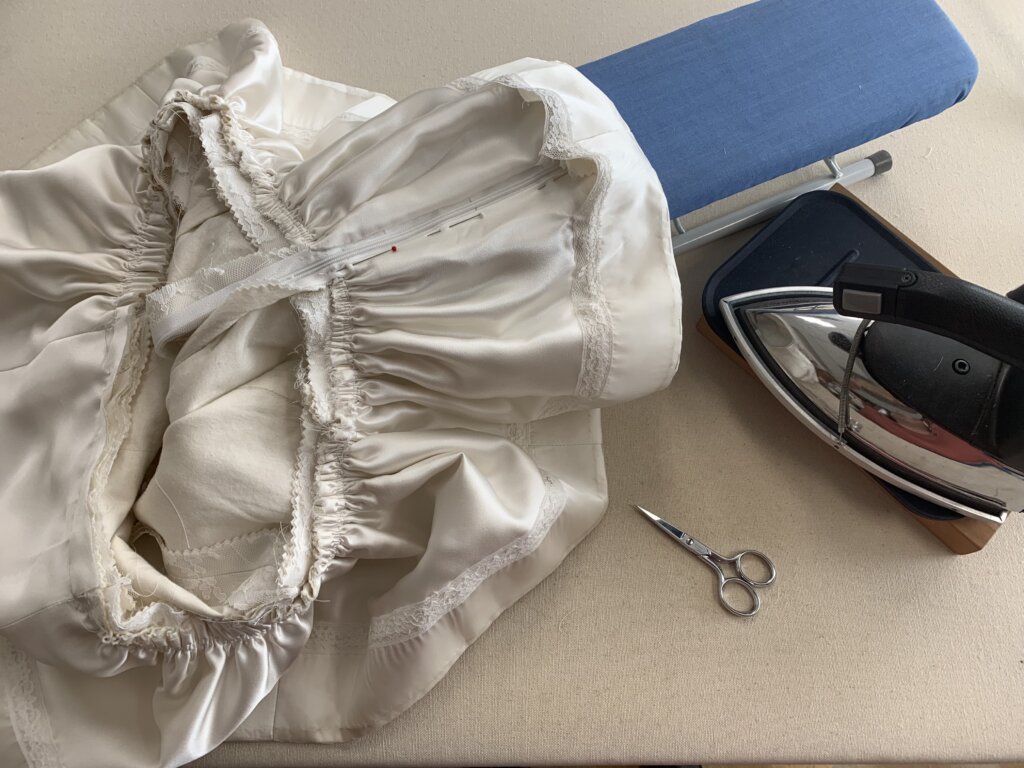
…and gave it a careful press with the iron, before finishing the final bit of hem.
Lining the Bodice
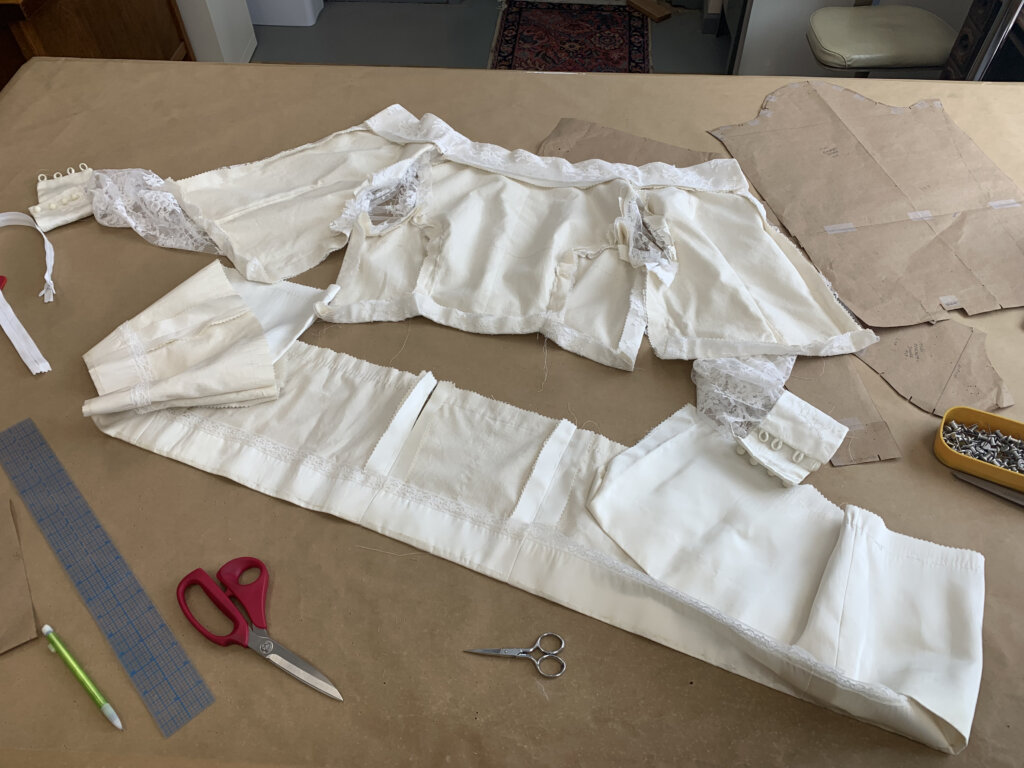
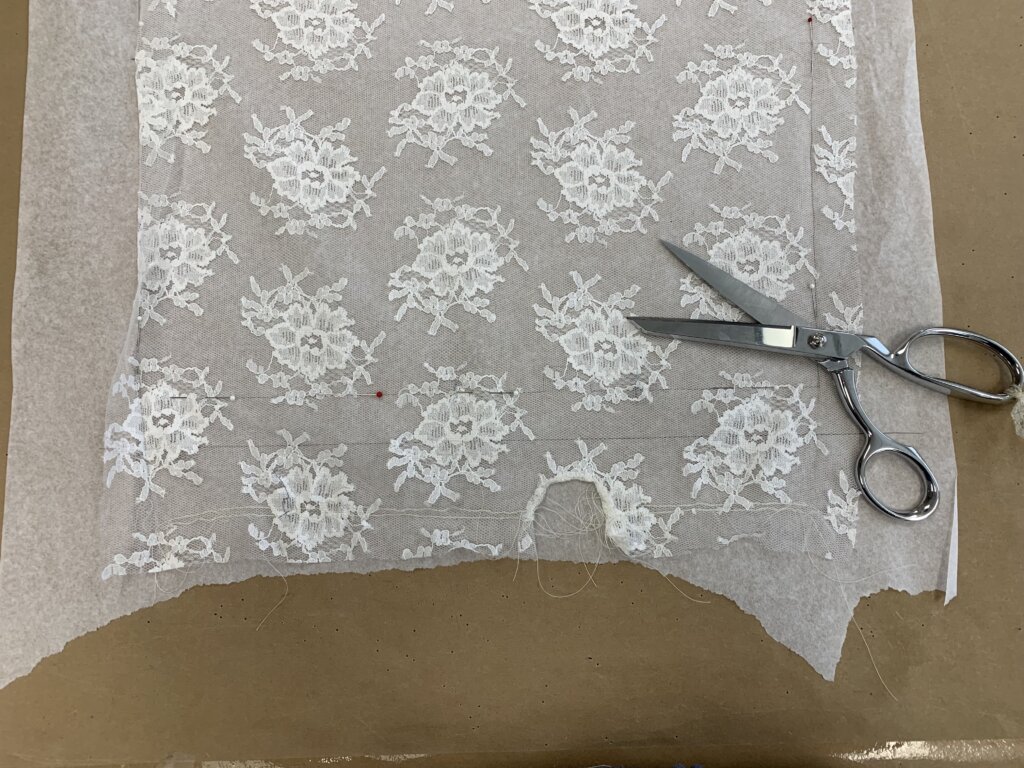
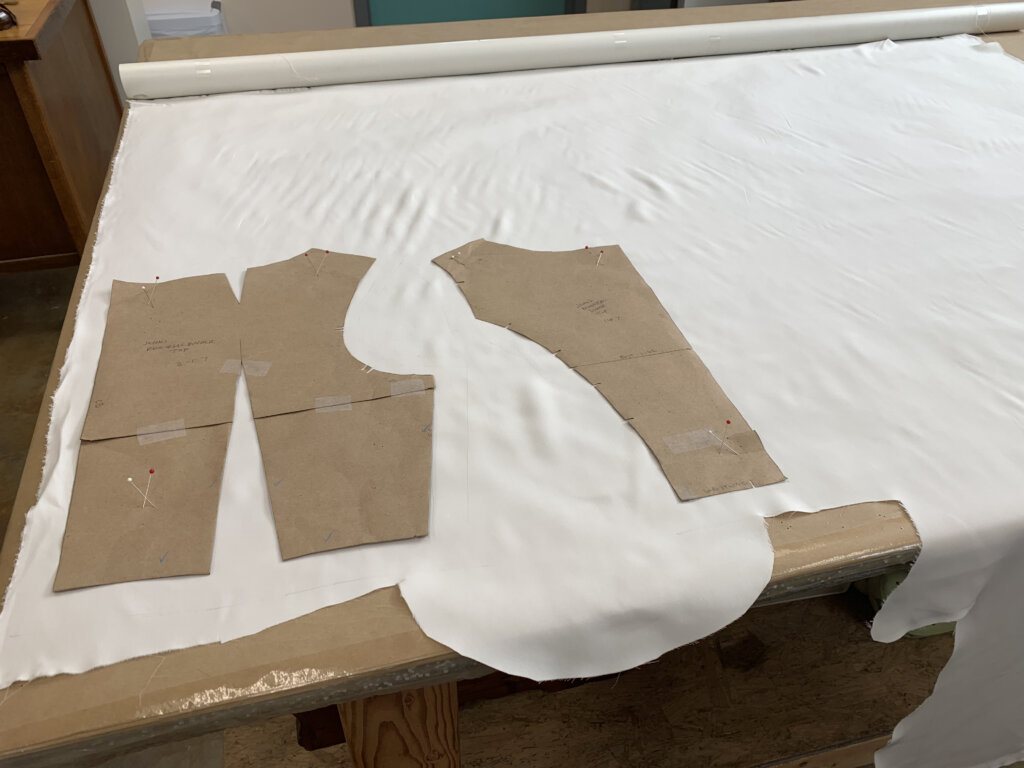
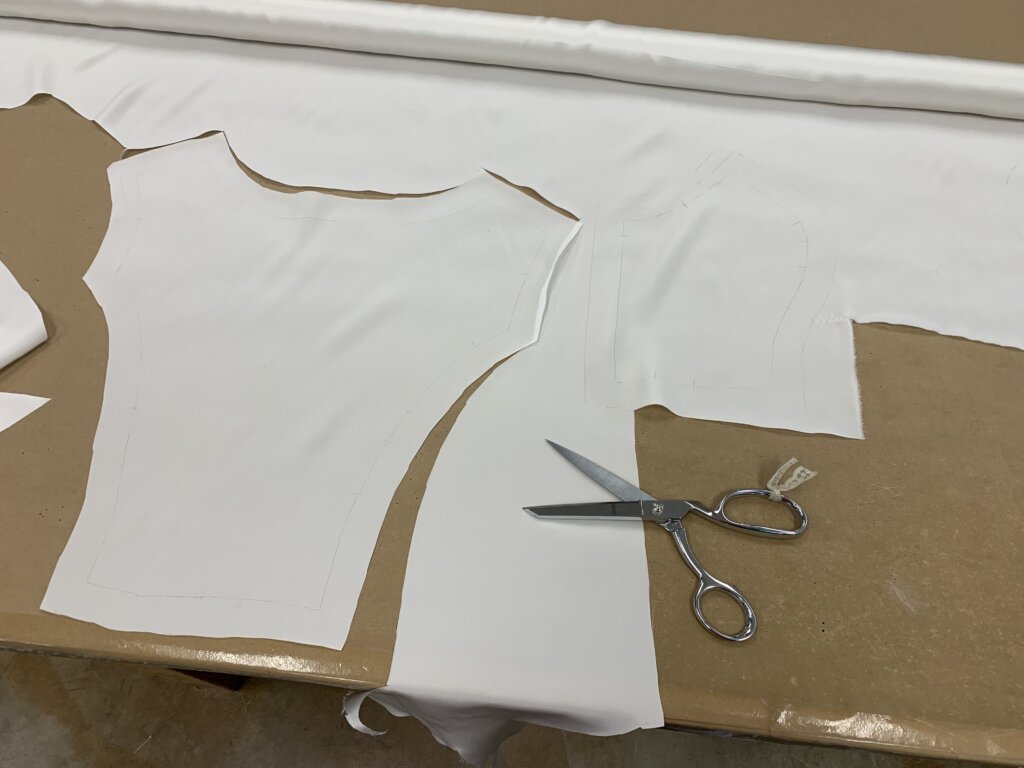
Next, I used my corrected pattern pieces to mark the silk lining…
…and cut it out,…
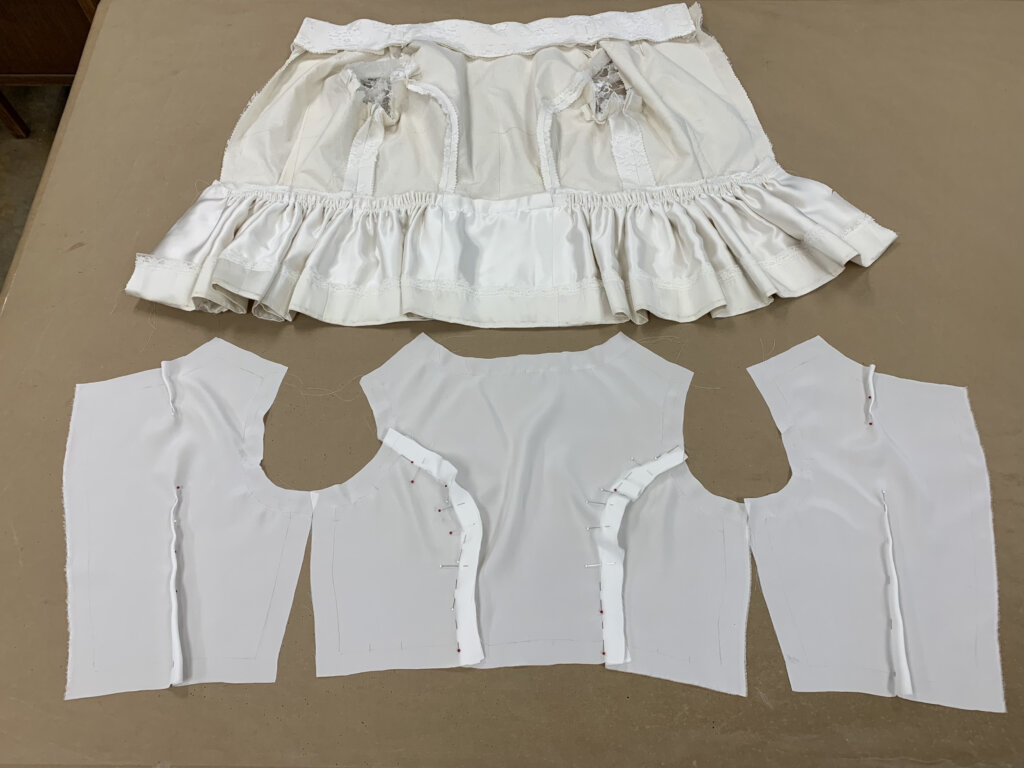
…before pinning the lining’s seams and darts together line-to-line.
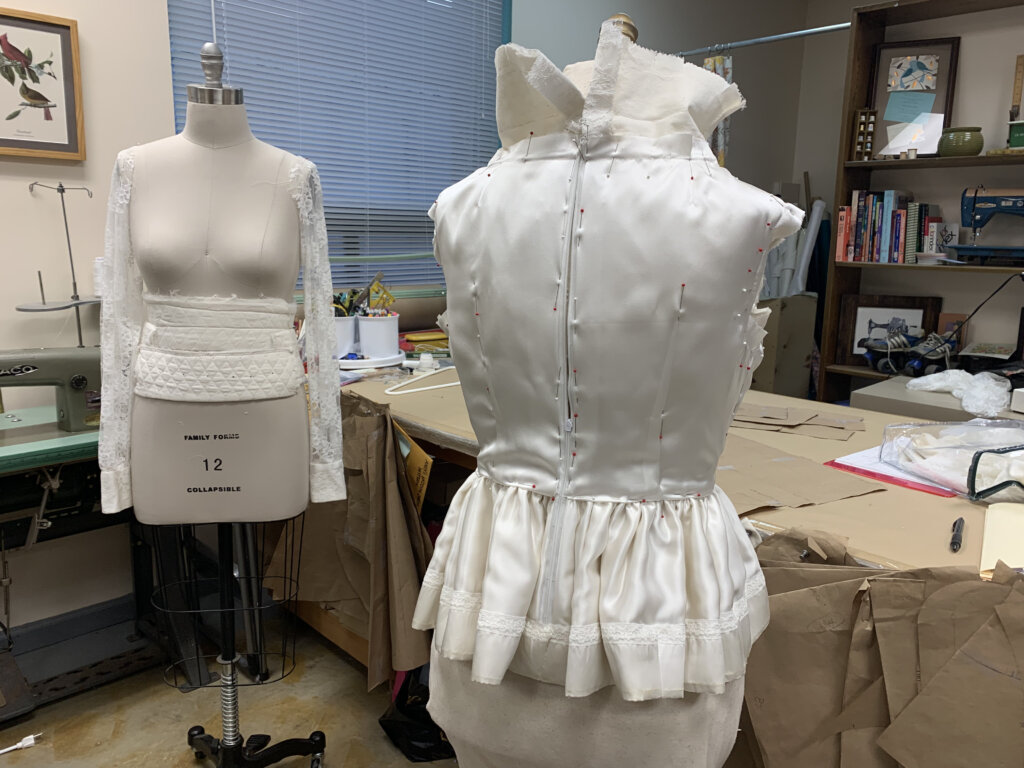
Once, the bodice lining was stitched and pressed, I employed a dress form. With the form wearing the top inside out, I was able to drape and pin the lining pieces properly in place.
Then I removed the top from the dress form and replaced the pins with hand stitches!
The inside was starting to look sharp!
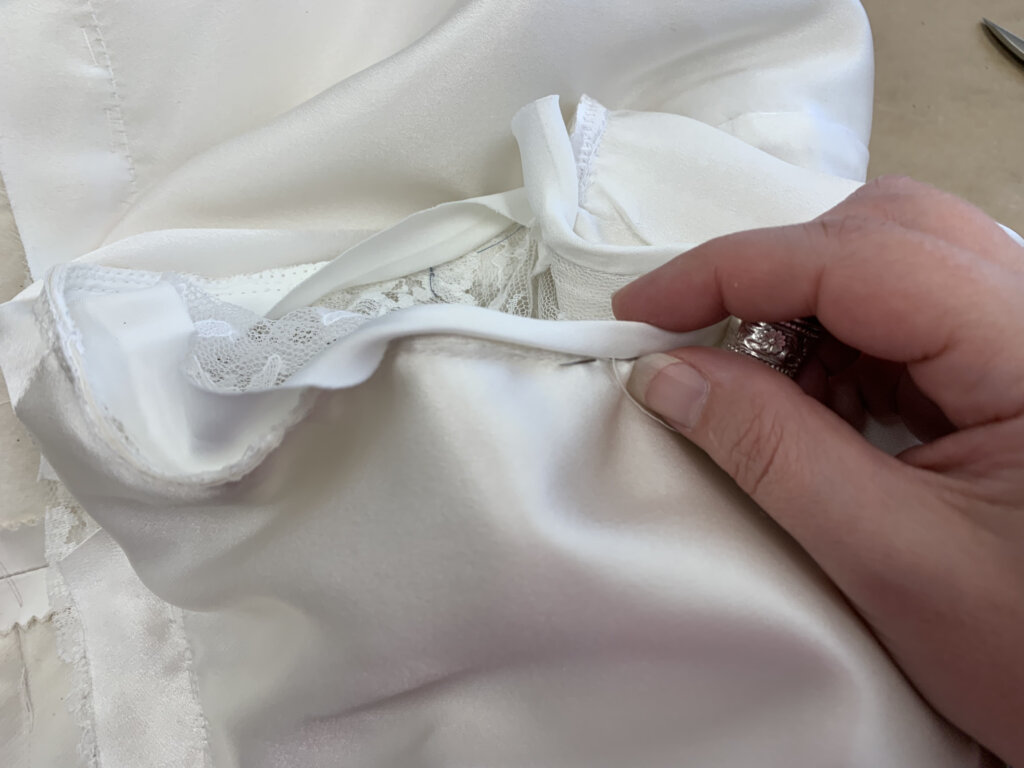
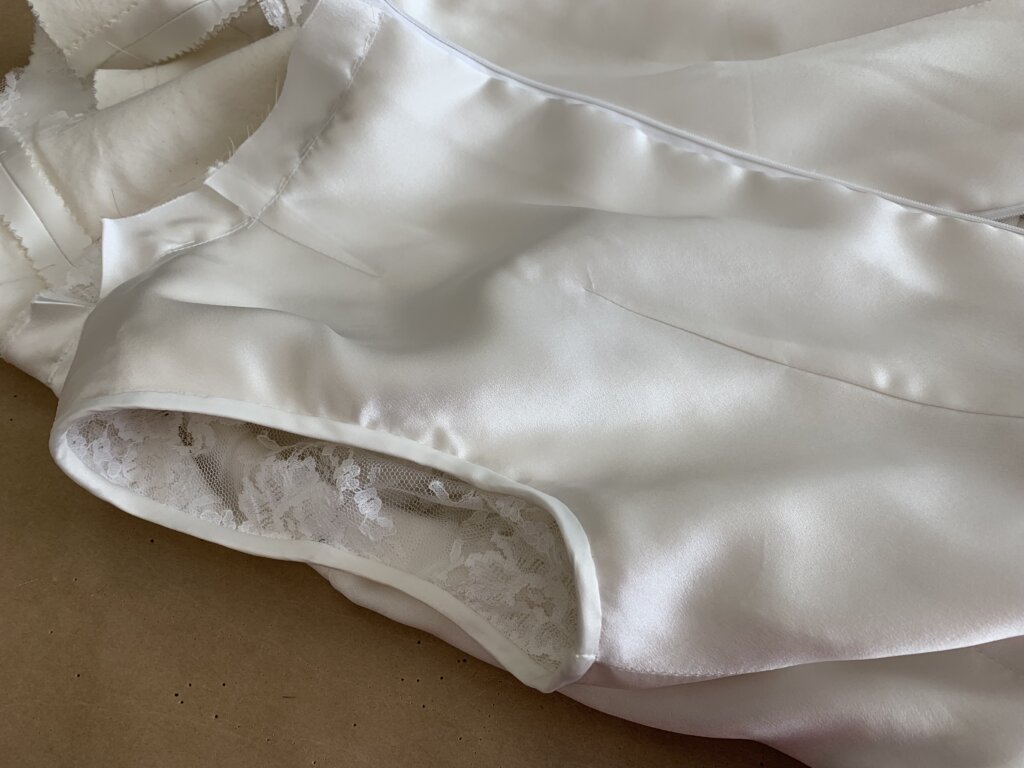
Adding and Finishing the Sleeves
To figure out how I was going to add the sleeves and finish the armholes, I started with making a sample. Since I only sew custom, there’s never an instruction booklet. I work out my plan by testing my ideas with my materials in small samples throughout the custom process. It’s super helpful and great practice!
My plan began with basting the sleeve head in the hole with a strip of bias.
Then I added lines of machine stitching (my seam + a zigzag just into the allowance) before trimming all of the layers close to my stitches.
Then I wrapped the bias around the trimmed edge before hand stitching it in place.
Beautiful, don’t you think?
Finish Line!
As things really started to wrap up, I trimmed and graded the neckline seam before folding over and finishing the collar.
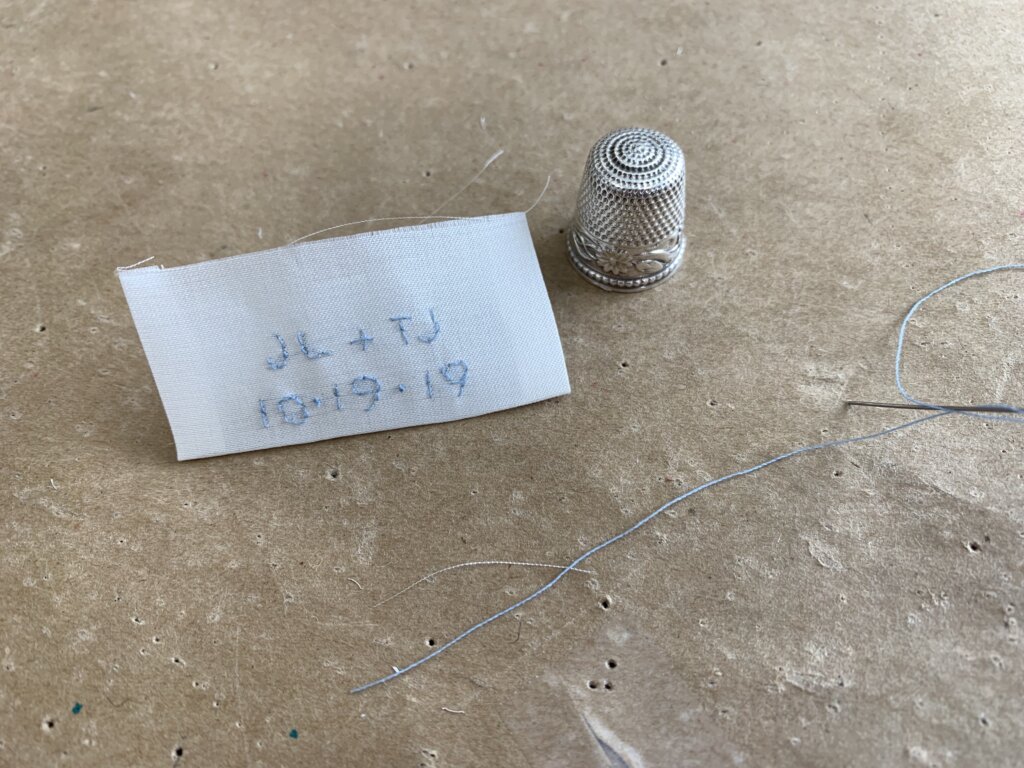
I made a little something special to add inside…
…before finishing everything up!
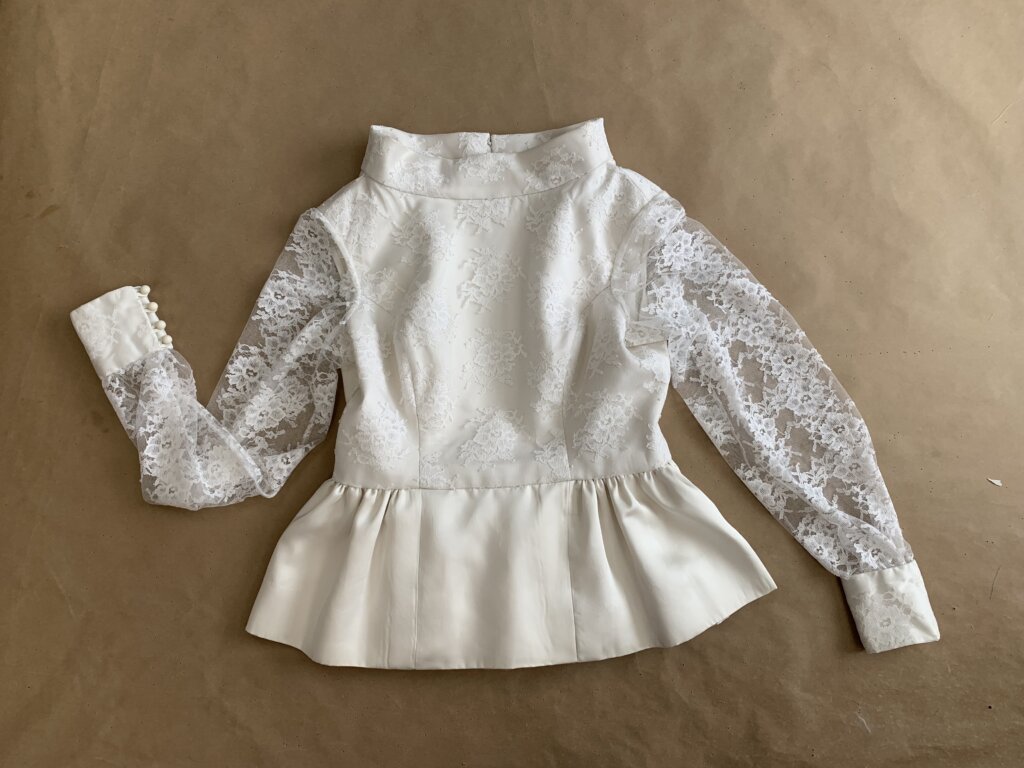
YAY! After months of hard (and fun) work, Jenn’s couture wedding rehearsal top was officially complete.
High five! Thanks so much for following along this couture journey!
But wait... there's more...
Though Jenn’s engagement shoot veil and rehearsal day top were now both complete, I’ve still got one more custom item to share about before the final Rehearsal Day/Wedding Day post.
I’m a former professional costumer and couture dressmaker for one-of-a-kind bridalwear located in rural North Carolina, who teaches custom garment sewing to sew-curious solo-sewists online.
My blog mostly follows along with the couture process of how each heirloom-quality custom wedding dress was made from idea to wedding day, as well as personal sewing projects and other couture curiosities.
Welcome to my (temporary) Sewing Studio! Come on in! I love seeing other people’s workspaces and tools, so I thought I’d show you mine. I cleaned up after a big...
Duplicating the Vintage Dress’s Pattern (without taking it apart)
In my previous post, I introduced Jenn and the custom bridal wear project(s) for her wedding weekend. Check out the full story for all the deets, but to catch you...
I Made Myself the Coolest Dress pt. 1 – Pattern Design & Mockup
Though my personal wardrobe is mostly “the dressmaker has no clothes”, when I do make something for myself, it’s usually an epic project. I’m so excited to finally share this...
I’ve been blogging for TEN YEARS now, ya’ll! In “My 10 Year Blogiversary pt. 1”, I share links to each bridal blog series that I’ve created over the past decade....
It’s finally time to share about Deborah’s wedding day! HOORAY! Deborah and Blake were married in November 2017 at a church in Greensboro, NC with the reception at a nearby...
New Bridal Blog Series: My (kinda famous) friend Jenn!
Brooks Ann, Jenn, & Charles January 2017 Going Way Back… To begin my next bridal blog series, let’s head into the Way-Back Machine. And we’ll head farther back than this...
The bridal blog series is back! In each bridal blog series, you meet a new bride and I slowly post-by-post recount the process and share the behind-the-seams story of creating...
The bridal blog series is back! In each bridal blog series, you meet a new bride and I slowly post-by-post recount the process and share the behind-the-seams story of creating...
The bridal blog series is back! In each bridal blog series, I recount the process and share the behind-the-seams story of creating a one-of-a-kind custom couture wedding dress from start...
Sally is someone special. Back in December, I got an email from a dear friend named Sally that I had lost touch with. The subject line: “dear lord i’m getting...
As it starts to get cold, it sure is nice to think about summer! Gin and tonics… BLTs… beach trips… seersucker… Earlier this year, I worked with a bride who...
Welcome to Part 2 of the story behind making Andy’s 2019 wedding dress, where I’ll recount the testing phase of the custom process. If you’ve been following my blog for...
They say documenting the process triples the production time. (And I work more slowly than most.) My Nimbus was cold.She needed a new coat, sooner than later.
Welcome to Part Two! I’m back to share the nerdy behind-the-seams details of creating my Vanishing Tie Top for the Precious Fabric Challenge. But this photo-filled blog post doesn’t feature...
Do you have a fabric that you’ve been SAVING instead of SEWING? Yeah. Me too. So when Whitney Luckenbill of TomKat Stitchery asked me to be a part of her...
Welcome to my (temporary) Sewing Studio! Come on in! I love seeing other people’s workspaces and tools, so I thought I’d show you mine. I cleaned up after a big...
Welcome back! It’s the series finale! In this third and final post of My Warmup Jacket series, I share the behind-the-seams details of my jacket’s construction and finishing stories!
In this second post of My Warmup Jacket series, I share the behind-the-seams details of my jacket’s patternmaking and mockup stories! And after putting this patterning post together (which was...