If you’ve been following me for any amount of time you’ll probably know that I love basting. I find it totally wild that those who sew for themselves rarely employ this valuable technique.
Basting is sewing with temporary stitches.Since temporary stitches are soft and quickly removable, there’s no risk and no pressure for perfection. Basting allows you to stay in the moment, work one step at a time, make improvements, and learn the answers to all of your questions- all before making a permanent stitch. Basting offers an open book test- right before the real test.
One of my very favorite things about sewing is that it is full of reversible adjustable processes (which I talk aboutin my “Pep Talk” on the Love To Sew podcast.) The way I sew can be considered slow, but it allows me to improve upon my work and answer almost all of my questions- which eliminates the need to laboriously unpick permanent stitches (which is no fun, could potentially leave scars- and talk about slow). When you baste, you can relax and enjoy the process. There’s no expectation for perfection- while offering opportunities to make easy tweaks that could make all the difference.Why would you want to skip that?
A student from my Intro to Custom Sewing online course Skirt Skills (enrollment opens soon!) even mentioned learning the joys of basting in her testimonial: “The sewing process you teach takes time, and I came to love the act of undoing – as you taught, undoing something that was only ever intended to be temporary, or a draft, is not the laborious and demotivating task of undoing what was meant to be permanent. It’s been very free-ing!” – Alice
I hope this post inspires you to enjoy the process and benefits of basting!
Basting Jenn's top together
Every fabric fits and feels a little different, so even through we had already worked though our basted mockup fittings and the pieces of the mockup were basted to the inside of each layer of satin cut from her mother’s wedding dress, it would be important to have a basted fitting in the real fabric before stitching everything up permanently. I still had lots of questions and I wanted to get the best fit and finish possible in the limited time Jenn and I had to work together.
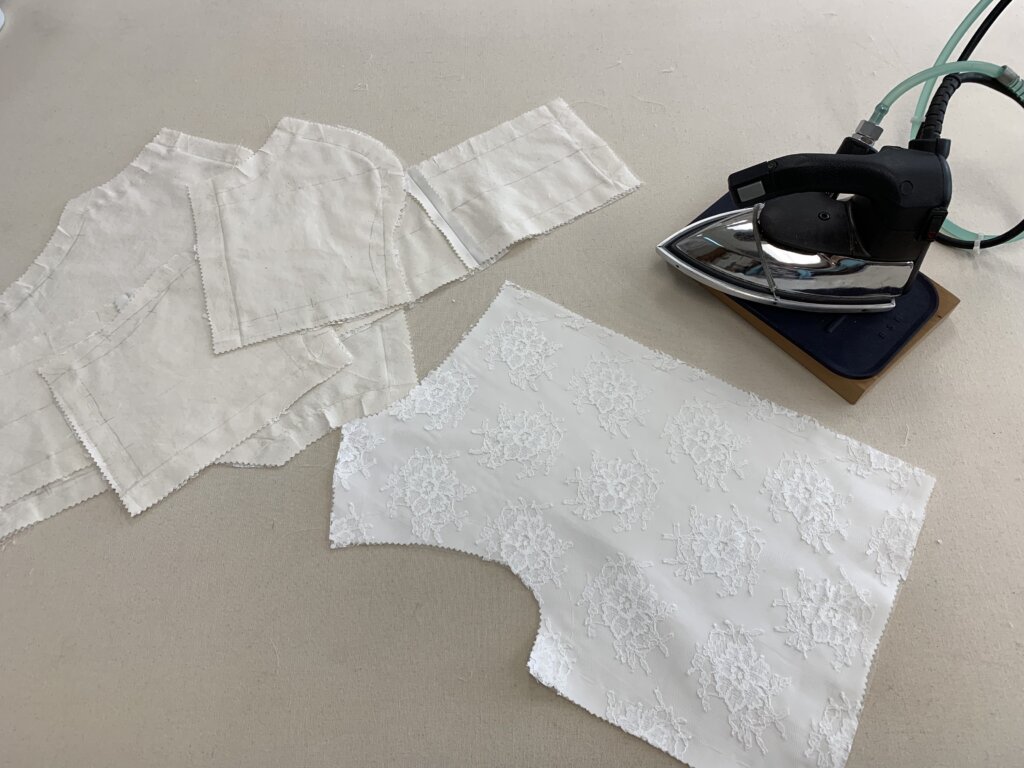
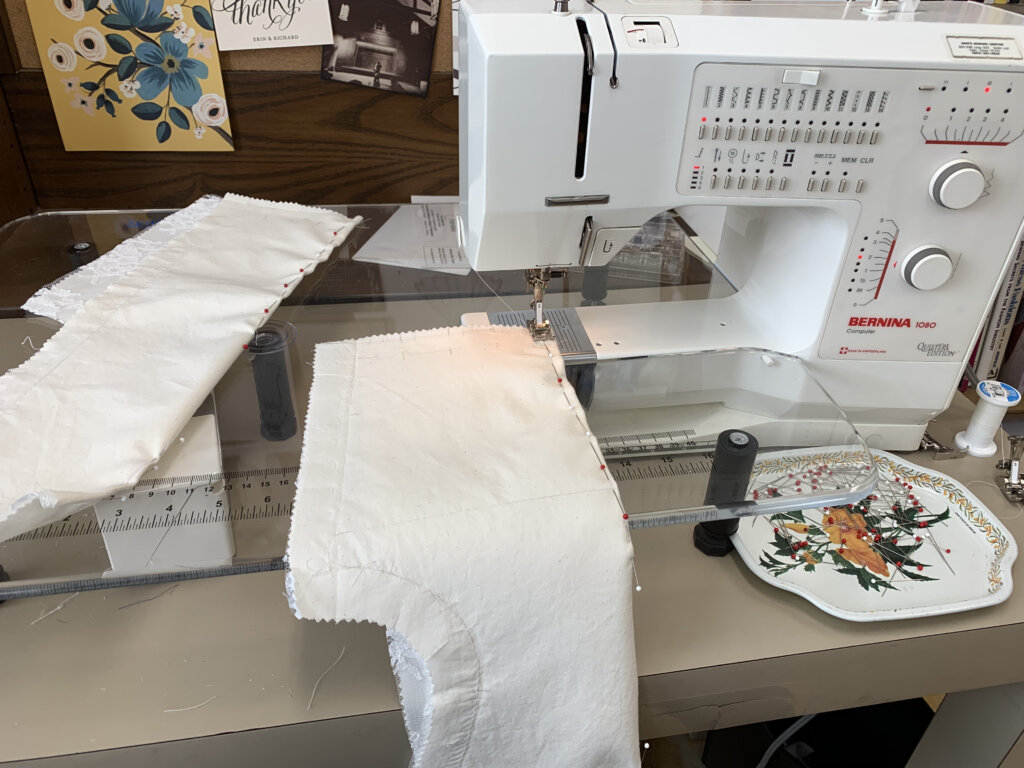
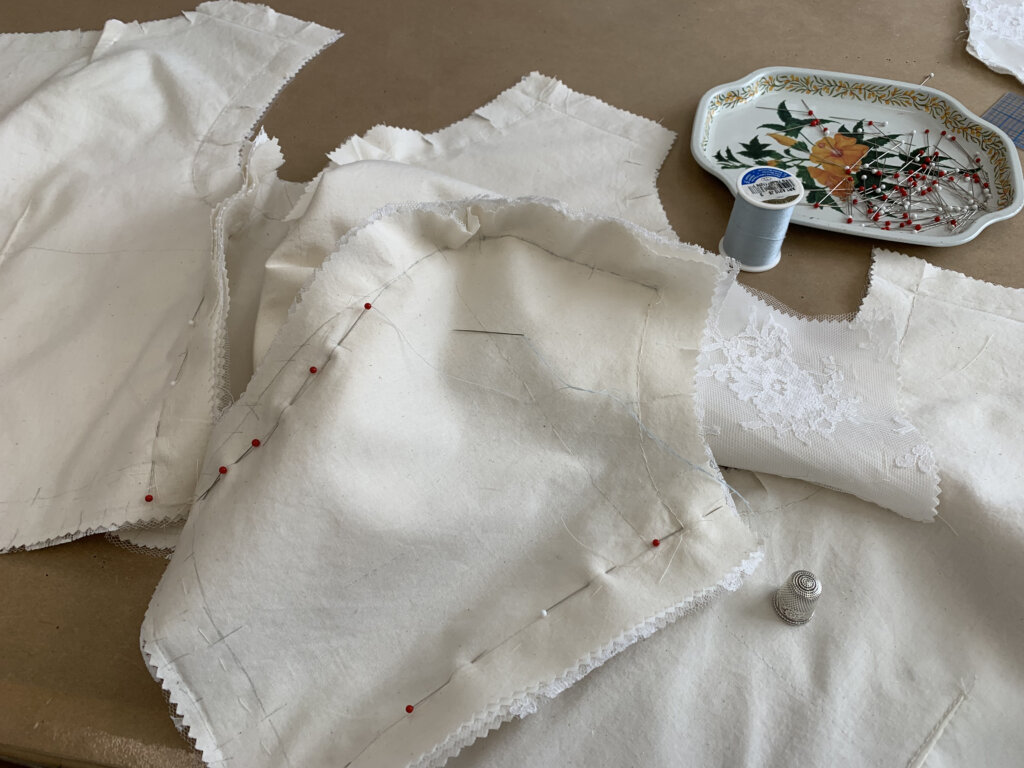
To prepare for our upcoming basted fitting (and the last time I’d see Jenn before the wedding), I started the construction of Jenn’s top with some machine basting. Using the thinnest needle and the longest stitch length, I used the stitch lines already marked on my mockup underlining to quickly baste together all of the darts by machine.
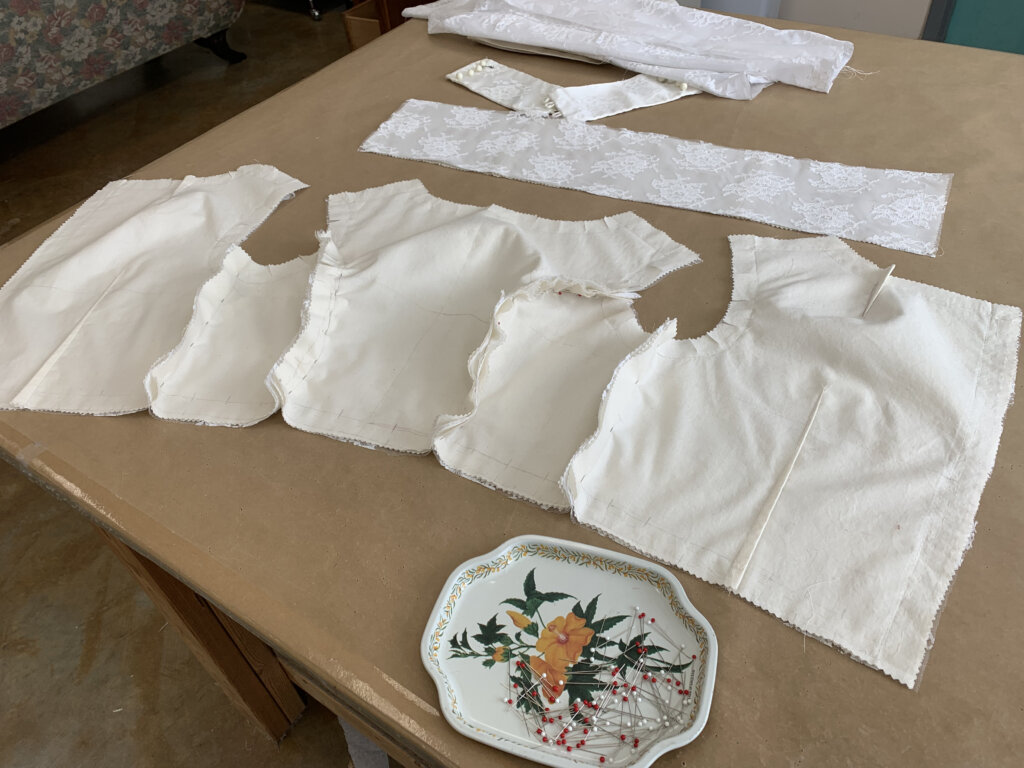
For the seams (and pretty much everything else), I decided to baste by hand. I wanted quick adjustability without any scarring. Since we rearranged the steps of my patternmaking and fitting process, I anticipated that we’d want to make slight changes pretty much everywhere in order to get the best fit for Jenn.
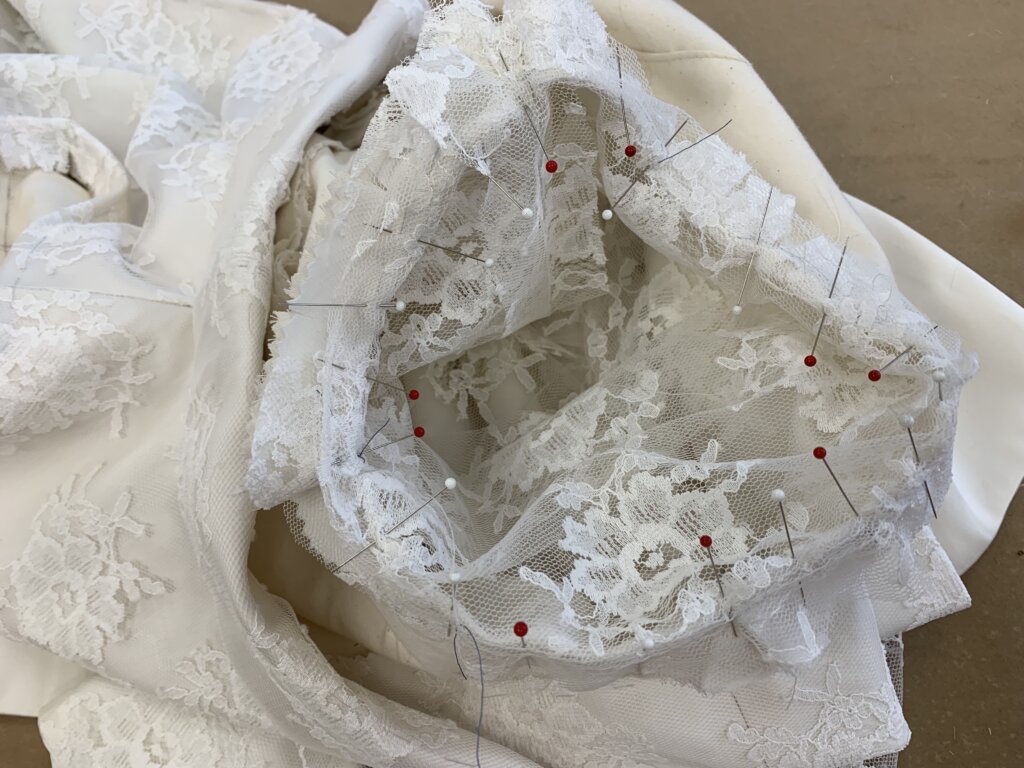
While keeping everything as flat as possible for as long as possible, I prepped for basting by pinning- which is a also form of basting. When you pin line-to-line along the line, you use each pin as if it were a temporary stitch.
Outfitted with my thimble and threaded needle, I removed each pin while adding a quick hand basting stitch to join the revised princess seam lines from the mockup. It’s really fun becausehand basting is a “running stitch”, which is the simplest, easiest, and quickest hand stitch.
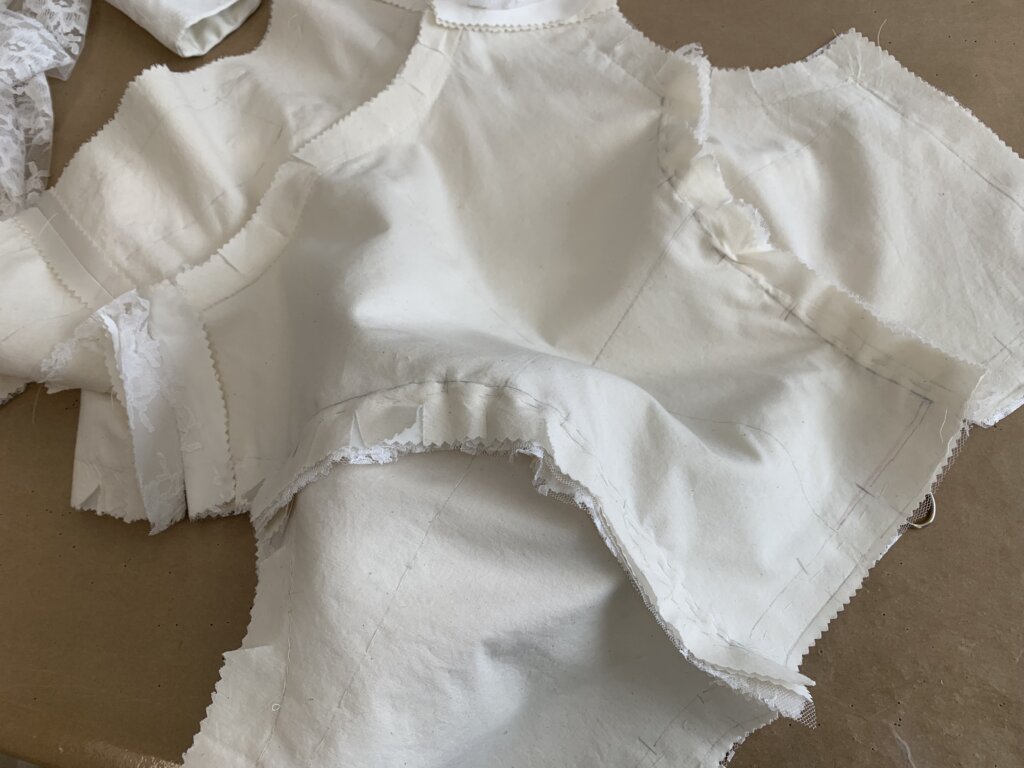
Since the large seam allowances on the curved seam offered bulk that I didn’t want to trim yet (we might still need it!), I also did a quick hand basted running stitch as a “top stitch”. This allowed me to softly and temporarily control the seams to be a little flatter- without pressing or trimming.
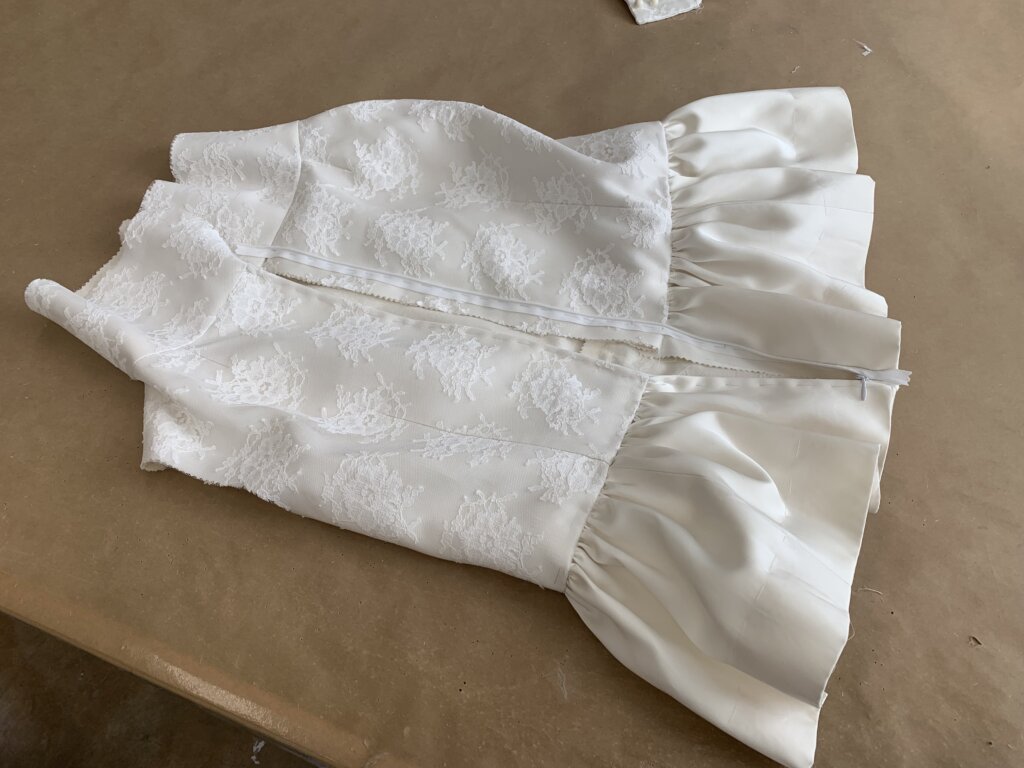
Here’s what it looked like from the inside with both curved princess seams hand basted and their allowances controlled (with more basting).
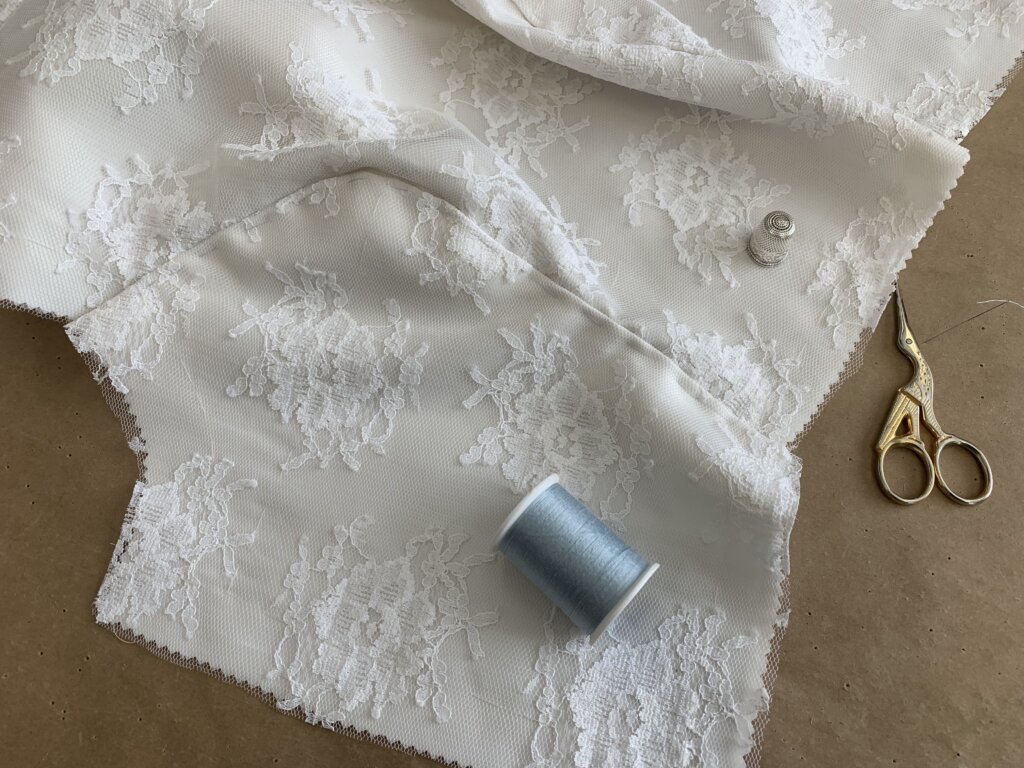
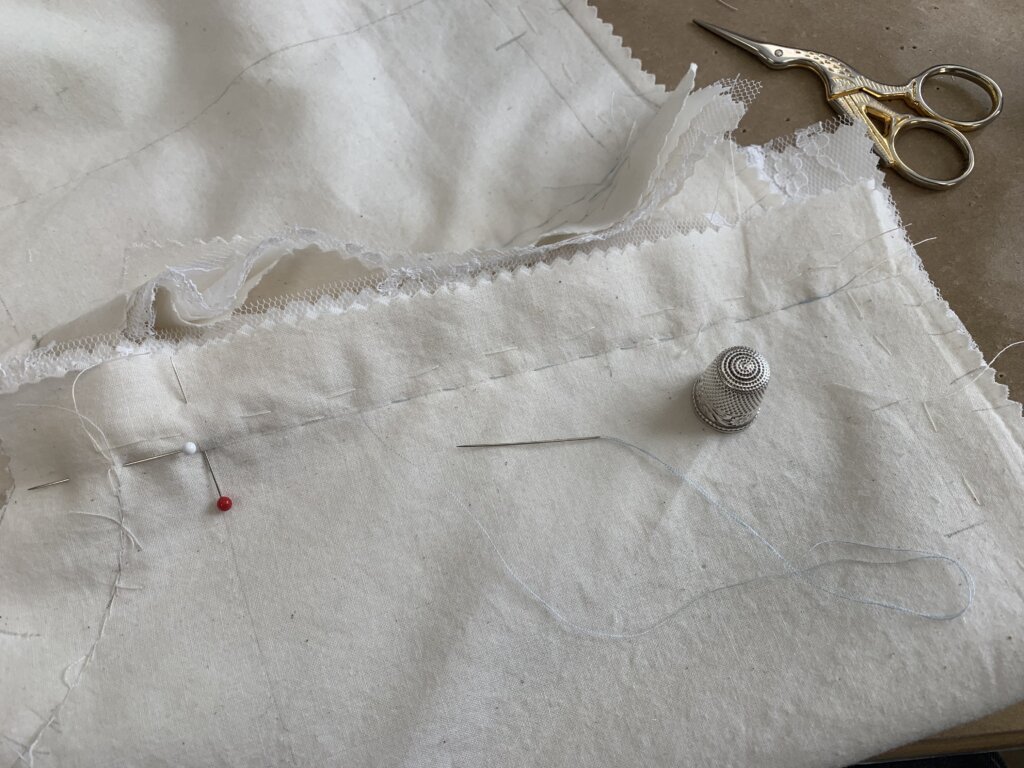
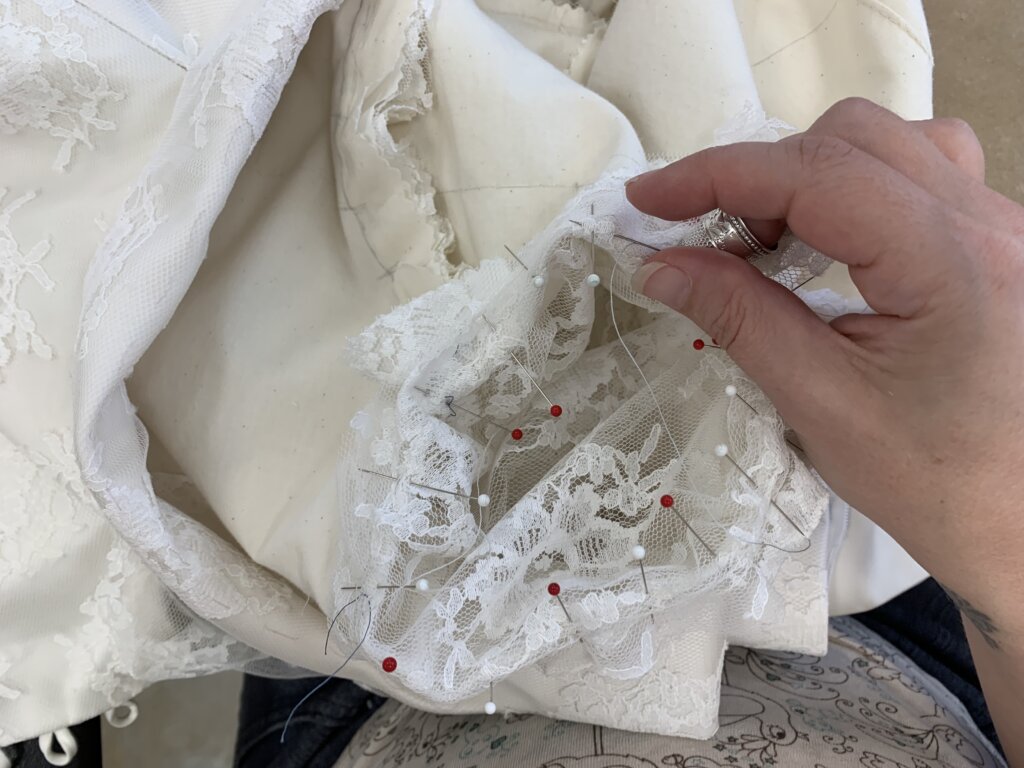
The side seams were straight, so the stitching was a little more straight-forward. The white hand stitches in the allowance are from the underlining (probably sewn by Charles or Rebecca). With the light blue line of running stitches, I’m in the process of basting Jenn’s side seams together.
I also basted up the hem of the peplum with a quick soft running stitch.
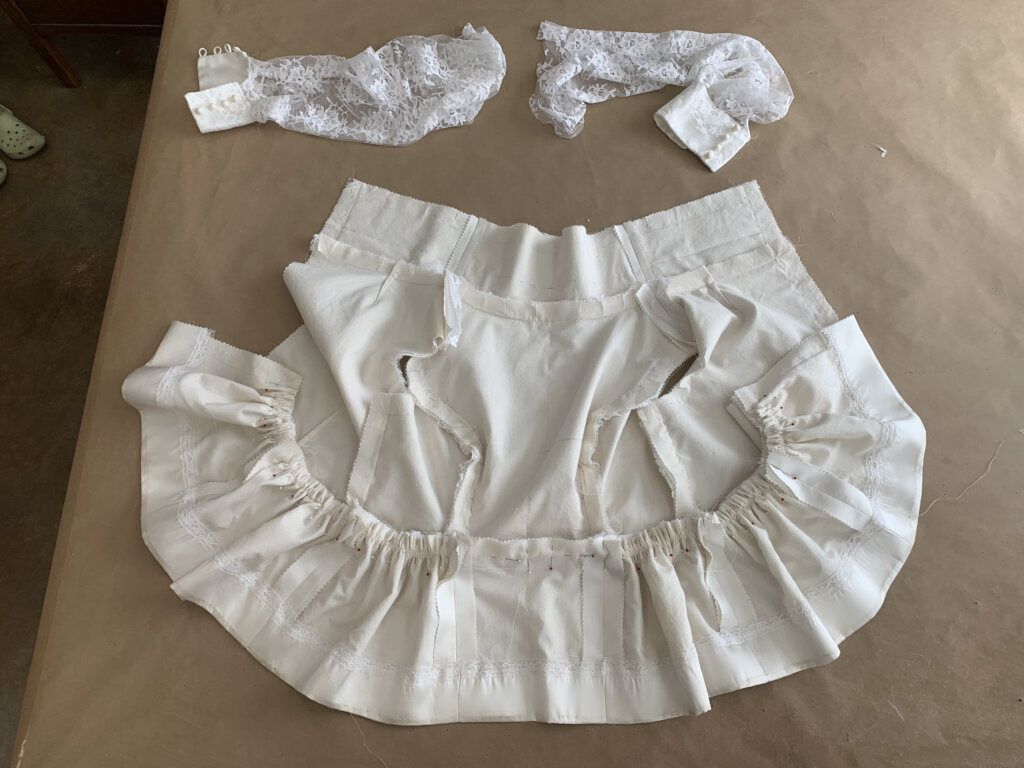
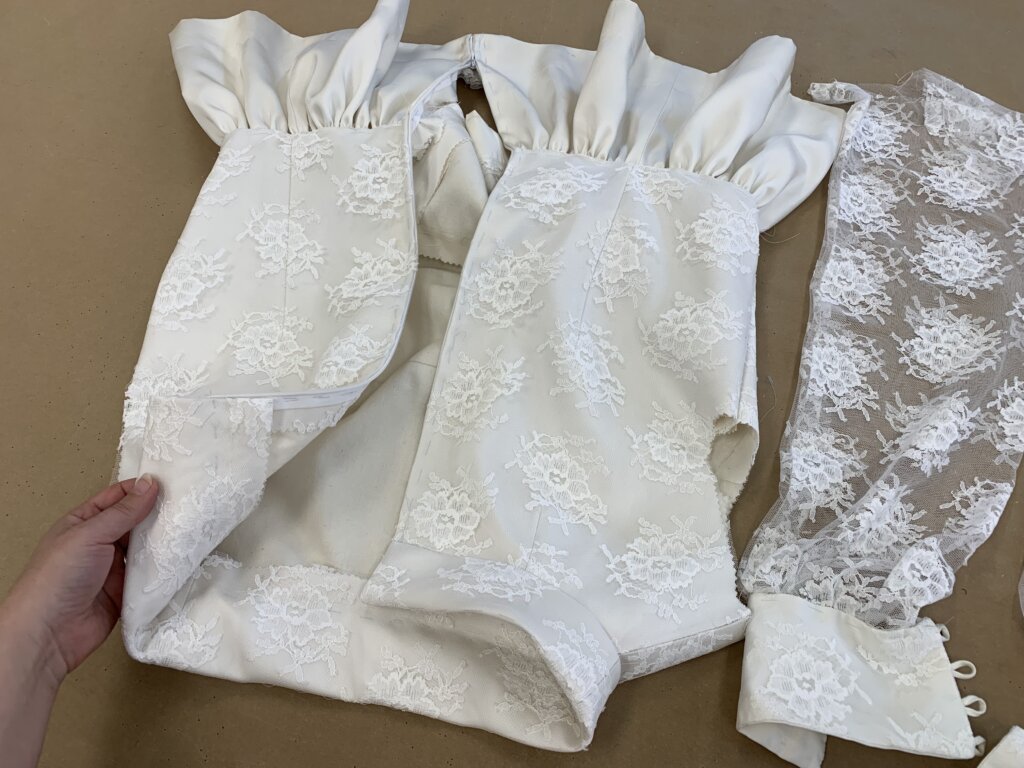
Once the shoulder seams were basted together, I basted one edge of the collar to the top. Next I’d attach the peplum!
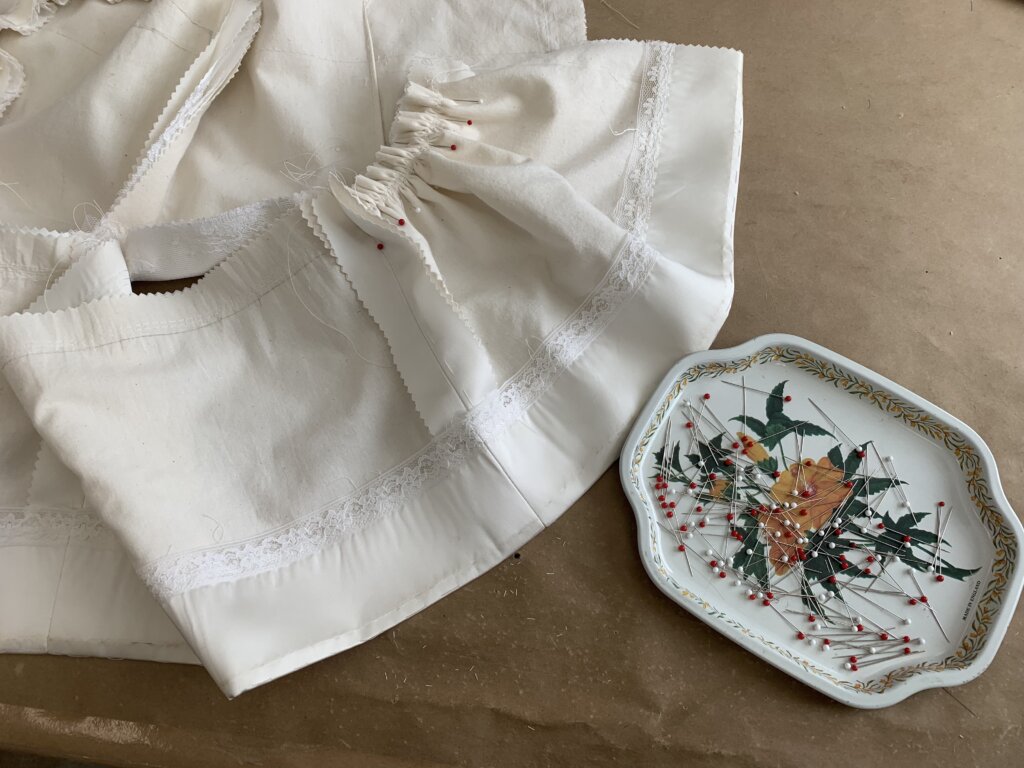
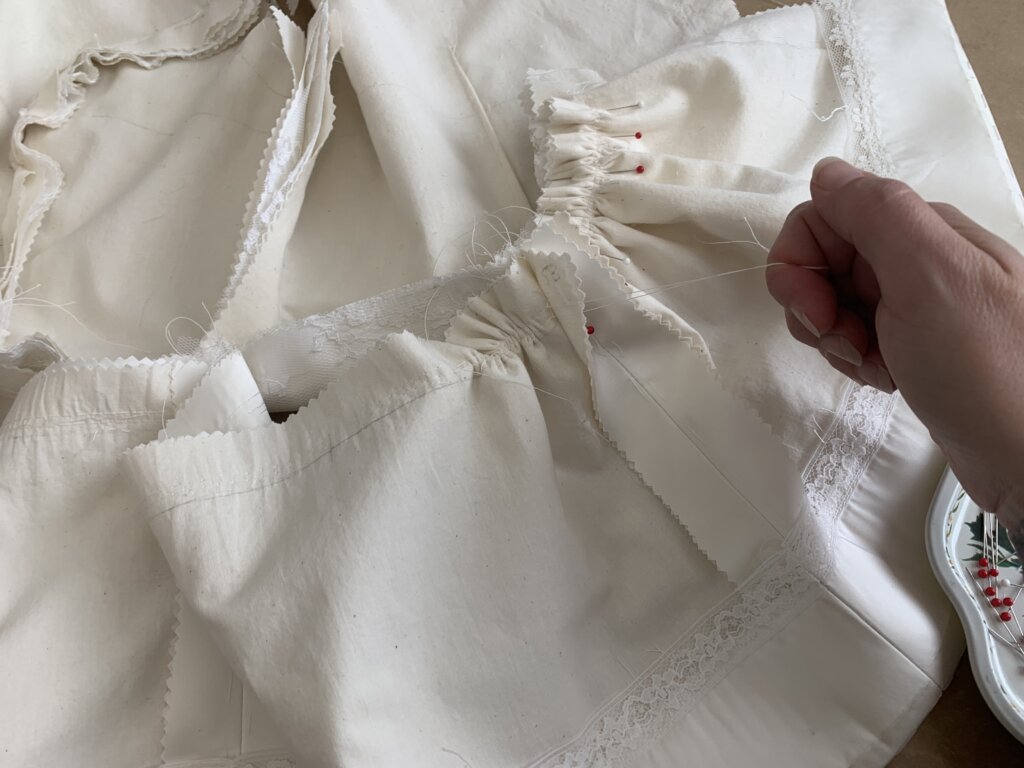
Back when I prepared the peplum, I added a double line of machine basting in the allowances above the waistline. Next, I pulled the thread tails of those basting stitches to gather the top of the peplum and began to pin it in place along the bottom of the top.
My machine basting stitches were loose enough to create a really nice gather when pulled tight.
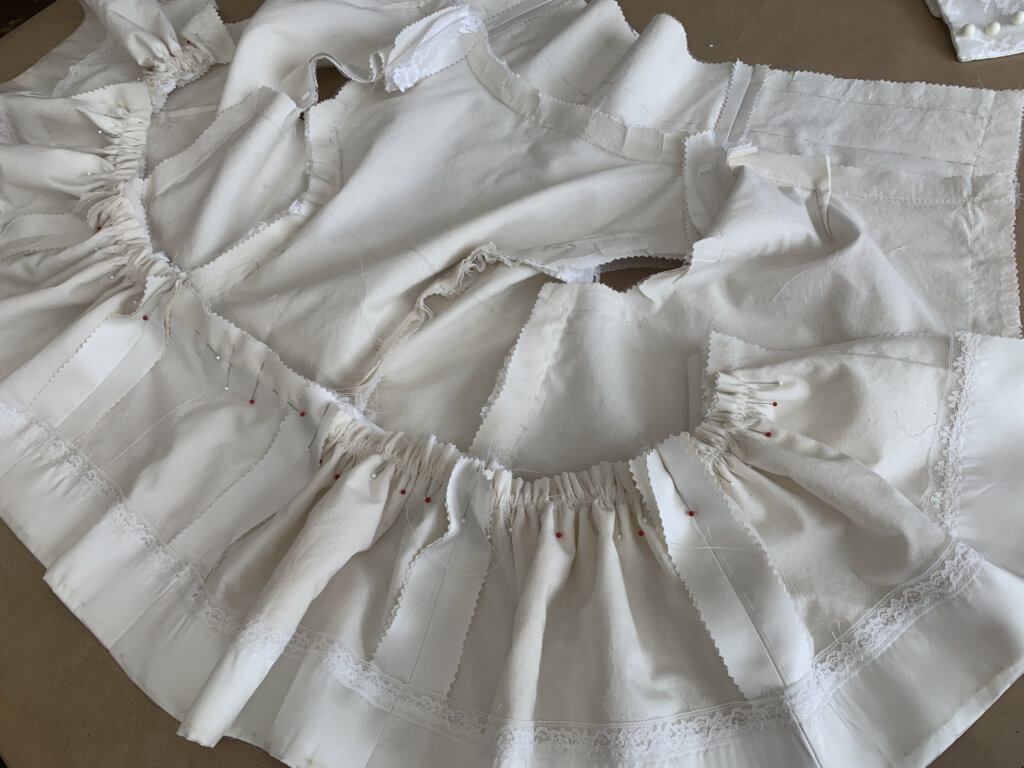
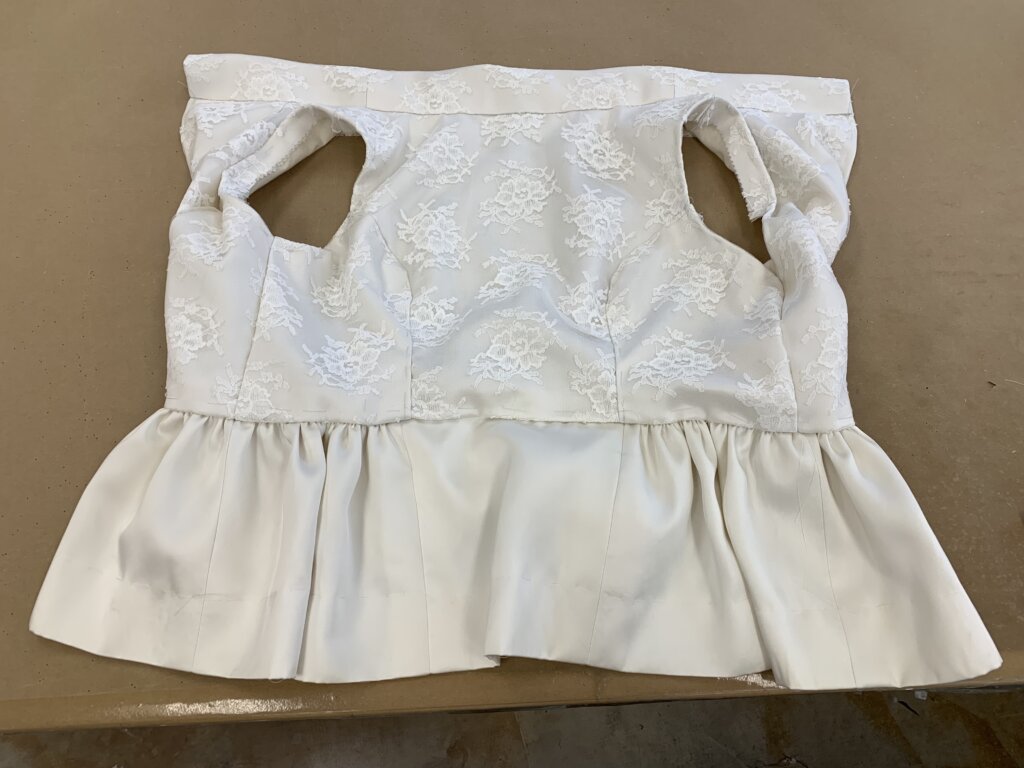
All gathered up!
Next (you guessed it), I’d replace the pins with basting! A line of basting stitches would follow along my marked stitch lines connecting the peplum to the top. Then another line of basting was used as a “temporary top stitch” to control all the excess currently in the allowances.
After I could no longer keep the garment flat and open, I hand basted an invisible zipper down the back for the closure.
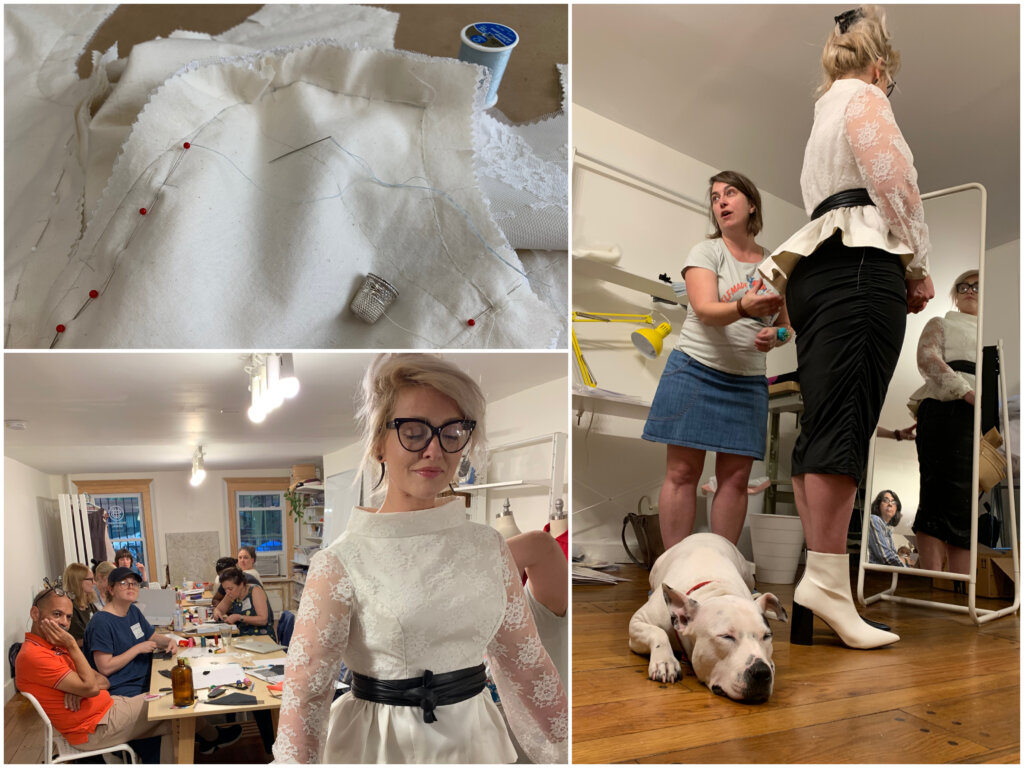
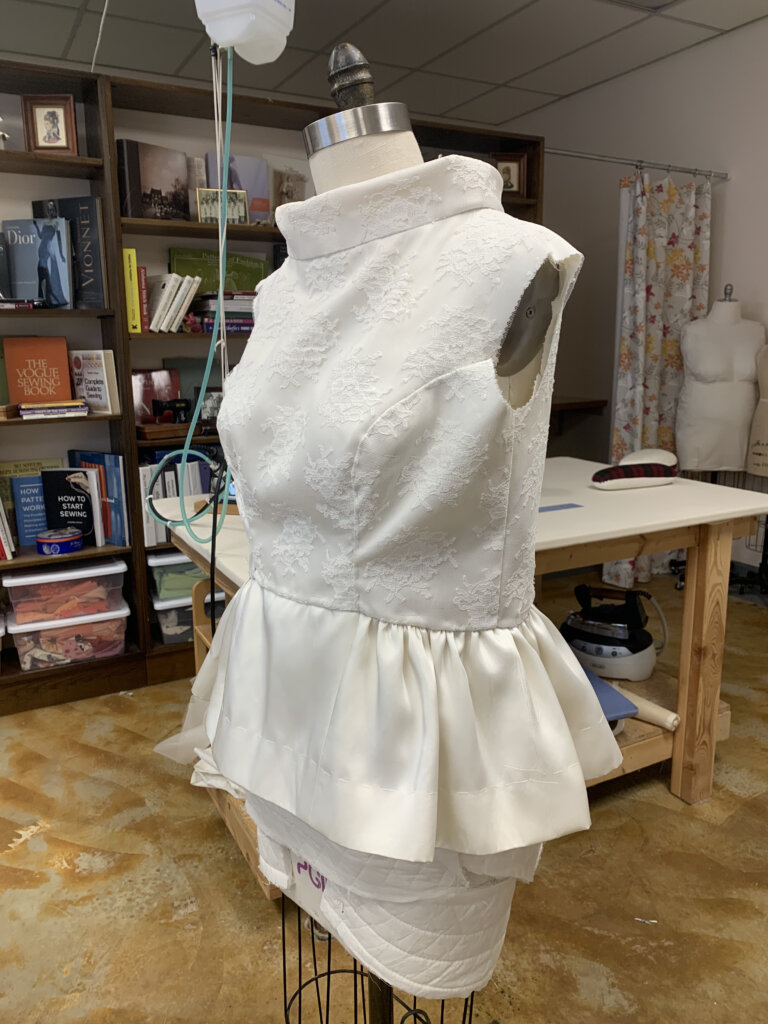
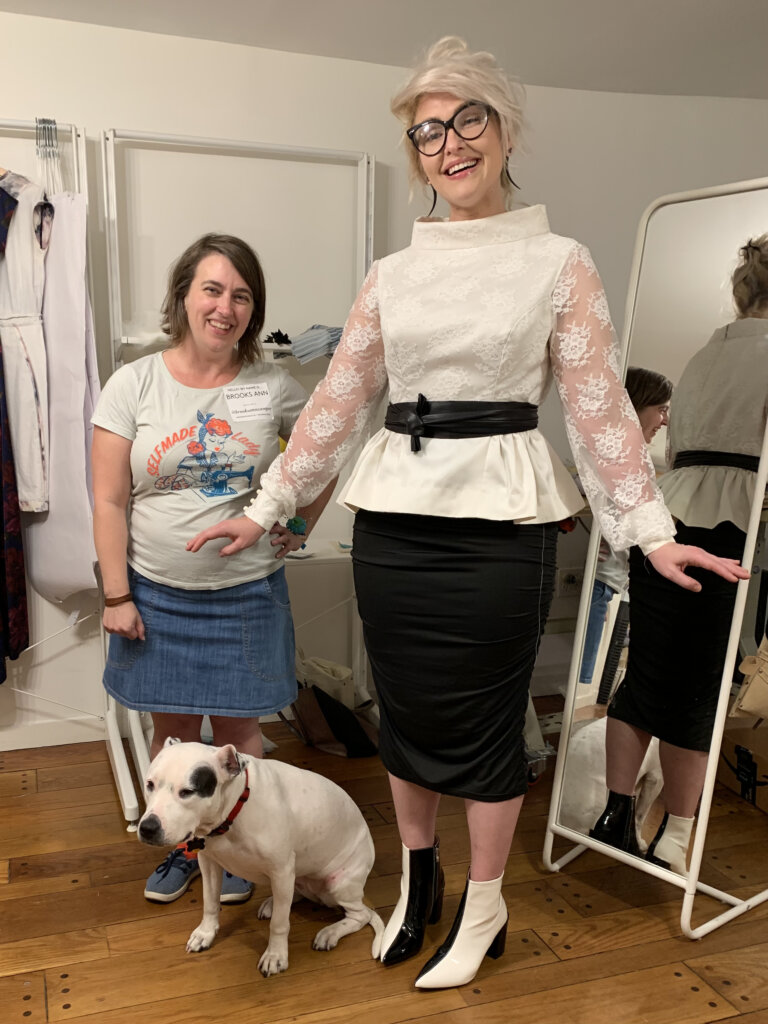
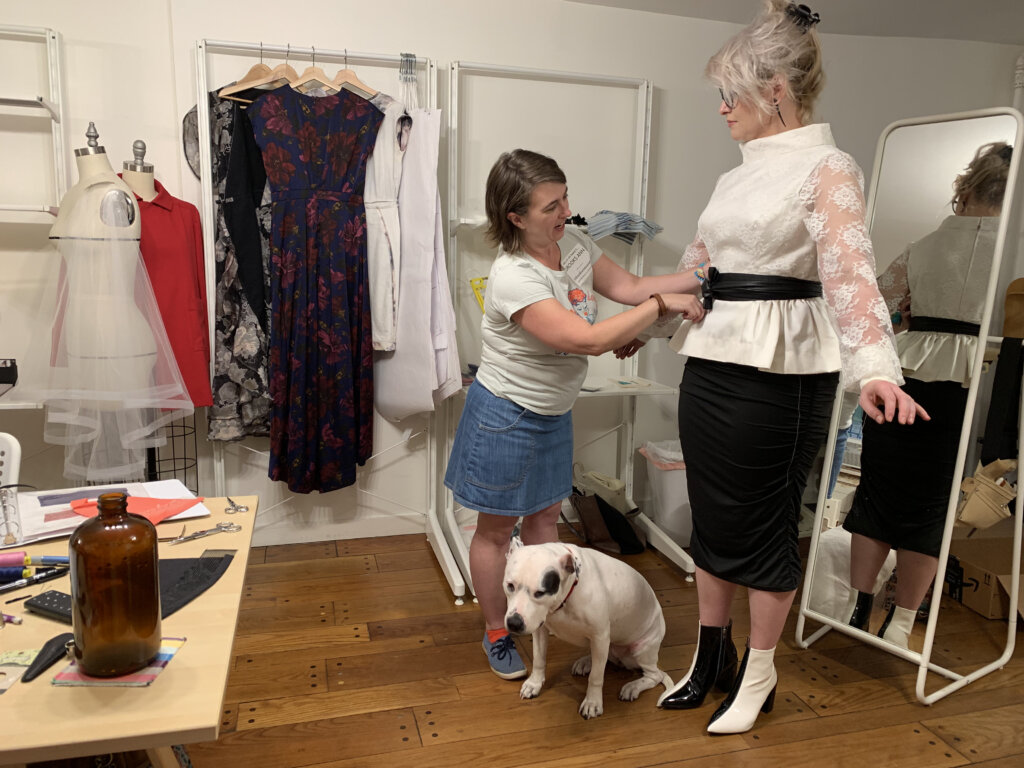
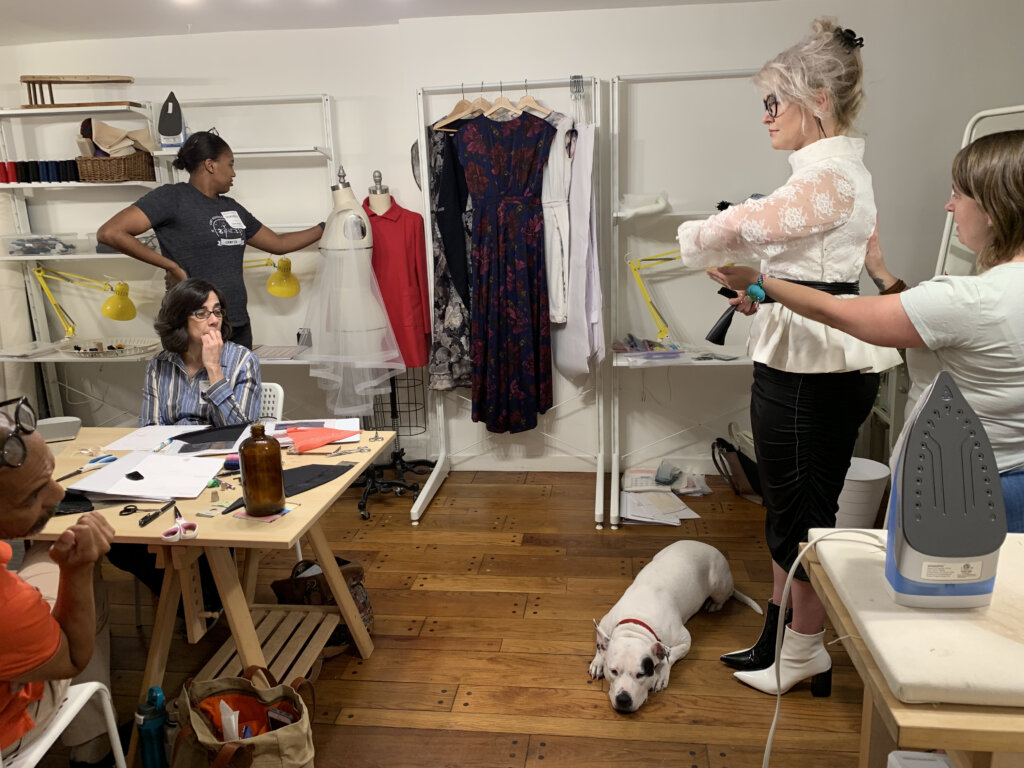
Bonus: My hand sewing class was scheduled so that I could also meet Jenn for a fitting- which would take place at Workroom Social after a day of class. Double Bonus:Jennifer Wiese, the founder of Workroom Social, was a wonderful and willing photographer! (Her dog Rosie is real cute too.) Triple Bonus: Jenn looked great in the basted top- even before beginning our basted fitting!
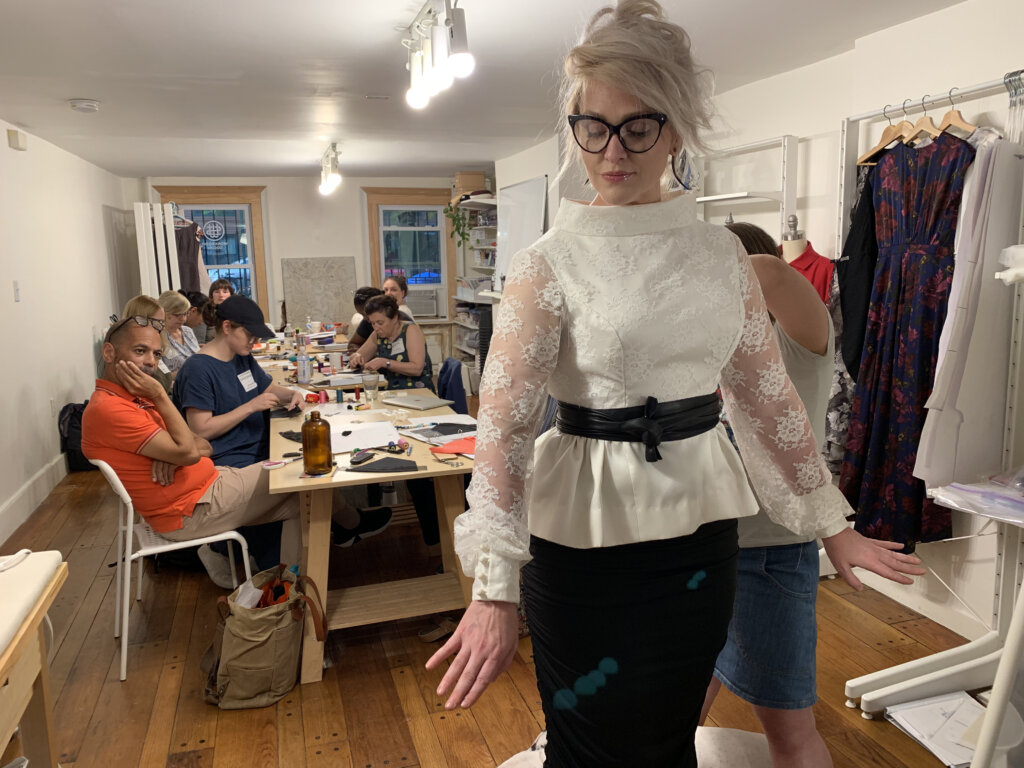
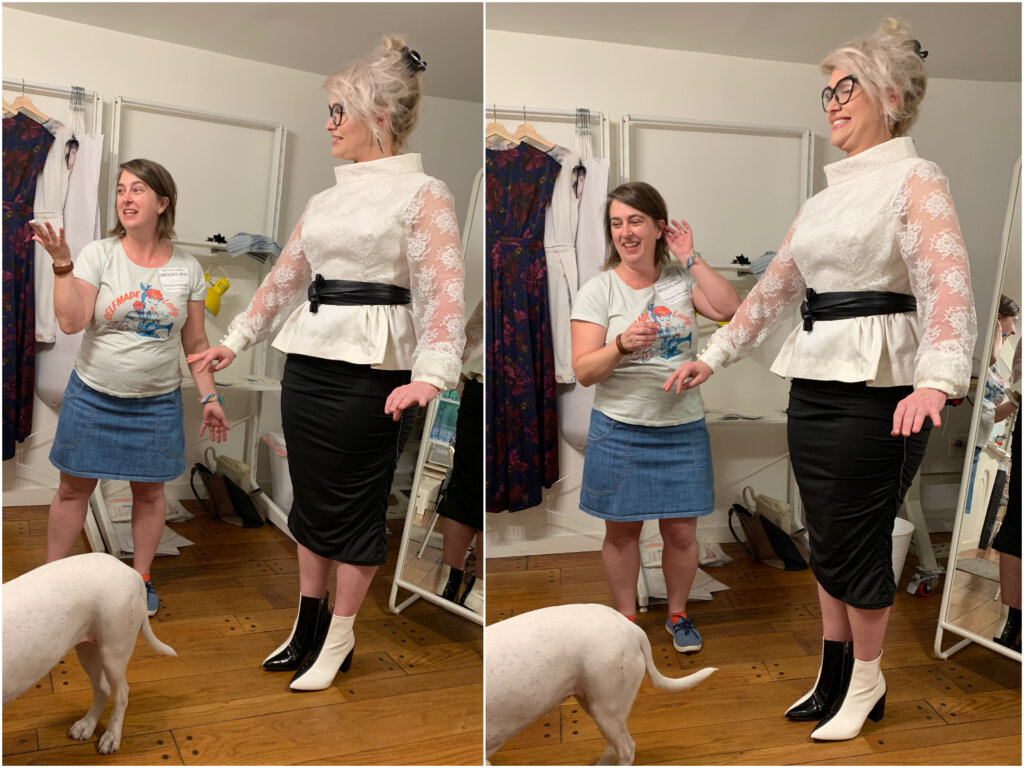
The fitting seemed to be informative for the students…
…even though we gabbed and giggled through most of it. It was so great to see my friend Jenn again!
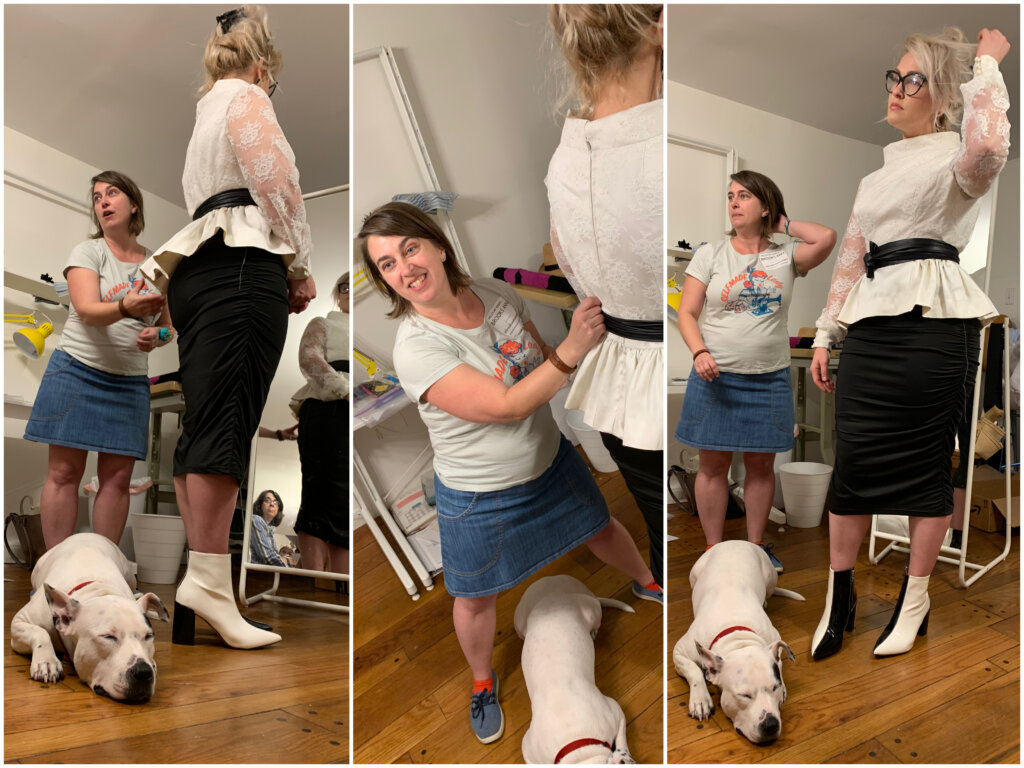
Sometimes fitting even requires straddling a deaf dog. Thanks for all the fun pics Jennifer!
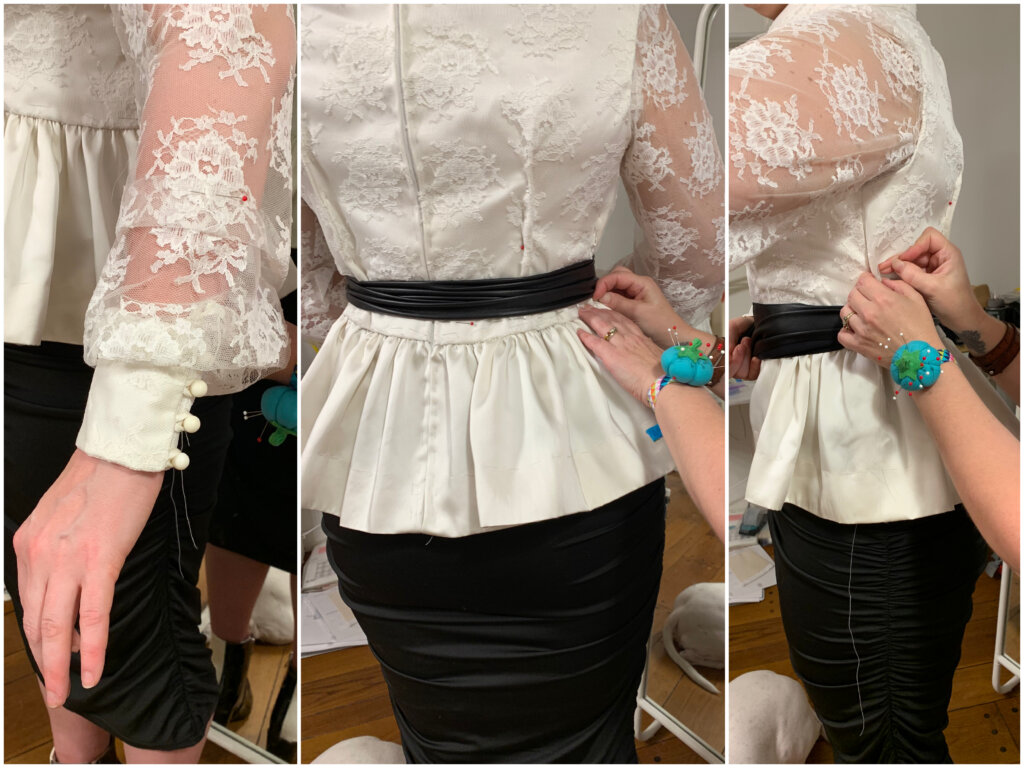
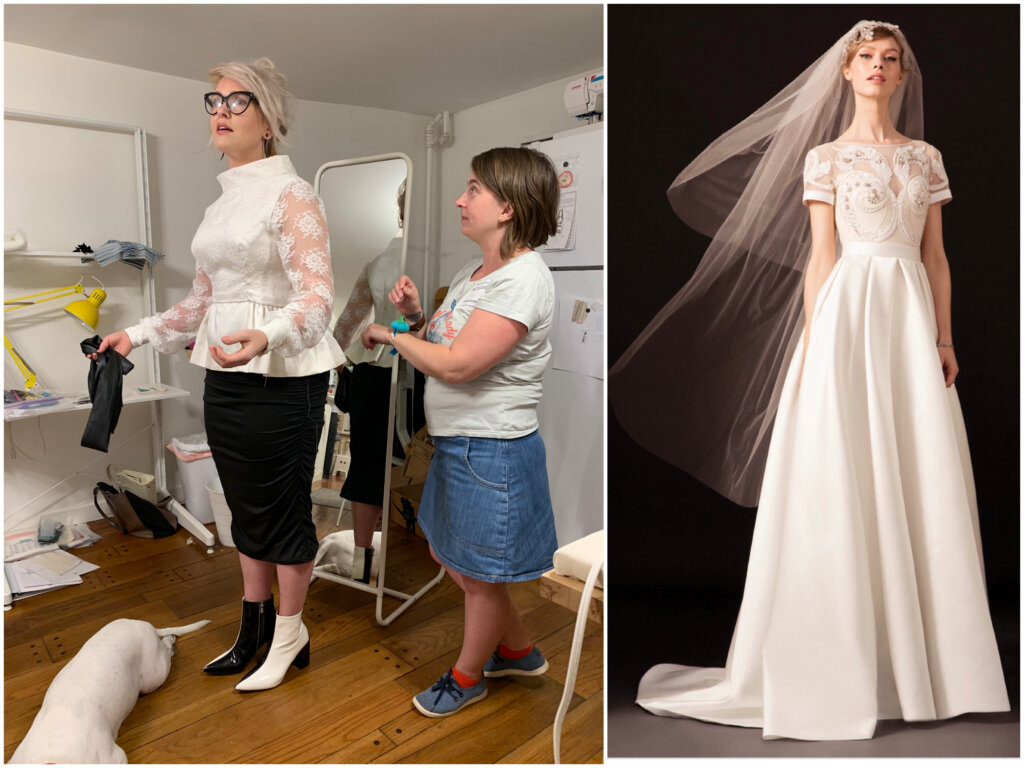
During the fitting, I ended up pinning improvements to the back waist darts, the back waist seam placement, the side seams, and the sleeves of Jenn’s wedding rehearsal top.
Just because something fits, doesn’t mean you can’t make it fit even better!
Side Story...
For this Brooklyn fitting, I had also basted together a custom veil for Jenn to try on. (In the pic below, you’ll see a student looking at it- hanging on a dress form).
But this veil would not be worn on the wedding day, nor with the rehearsal top… Jenn would be wearing it with a Temperley London wedding dress in a photoshoot with People magazine!
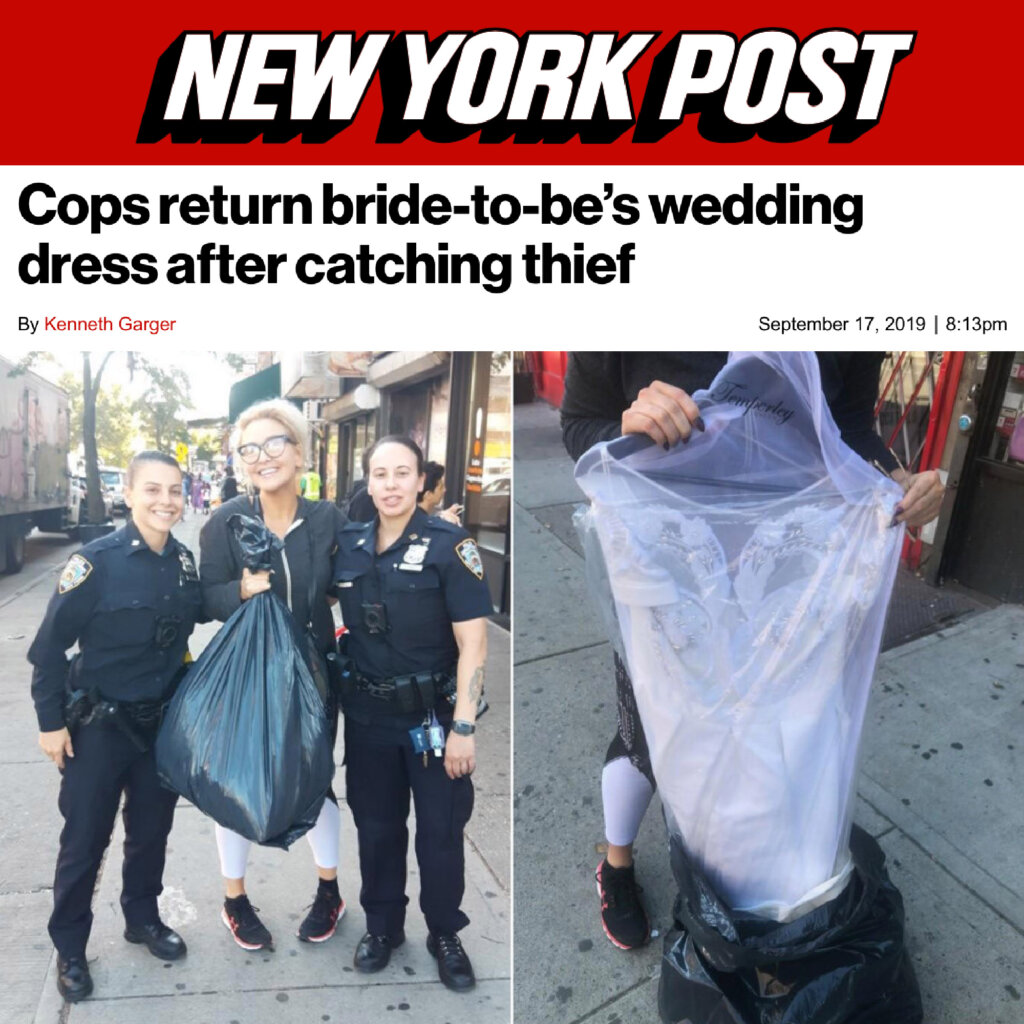
I will share the making, fitting, and photoshoot with Jenn’s veil in my next blog post, but it was around this point during our Brooklyn Basted Fitting when Jenn told us all an incredible tale.
The dress had been shipped to Jenn, but a thief stole the package as it was being delivered. Once he discovered it was a wedding dress, he contacted Jenn with his demands- holding it for ransom!
Some fantastic female cops got involved and Jenn got to be part of an undercover sting!
The dress was recovered safely.
The fitting was to be continued….
NEXT POST: I’ll share my creation process and the fitting of the veil + the gorgeous shots of Jenn in the photoshoot for People Magazine!
I’m a former professional costumer and couture dressmaker for one-of-a-kind bridalwear located in rural North Carolina, who teaches custom garment sewing to sew-curious solo-sewists online.
My blog mostly follows along with the couture process of how each heirloom-quality custom wedding dress was made from idea to wedding day, as well as personal sewing projects and other couture curiosities.
Welcome to my (temporary) Sewing Studio! Come on in! I love seeing other people’s workspaces and tools, so I thought I’d show you mine. I cleaned up after a big...
Duplicating the Vintage Dress’s Pattern (without taking it apart)
In my previous post, I introduced Jenn and the custom bridal wear project(s) for her wedding weekend. Check out the full story for all the deets, but to catch you...
I Made Myself the Coolest Dress pt. 1 – Pattern Design & Mockup
Though my personal wardrobe is mostly “the dressmaker has no clothes”, when I do make something for myself, it’s usually an epic project. I’m so excited to finally share this...
I’ve been blogging for TEN YEARS now, ya’ll! In “My 10 Year Blogiversary pt. 1”, I share links to each bridal blog series that I’ve created over the past decade....
It’s finally time to share about Deborah’s wedding day! HOORAY! Deborah and Blake were married in November 2017 at a church in Greensboro, NC with the reception at a nearby...
New Bridal Blog Series: My (kinda famous) friend Jenn!
Brooks Ann, Jenn, & Charles January 2017 Going Way Back… To begin my next bridal blog series, let’s head into the Way-Back Machine. And we’ll head farther back than this...
The bridal blog series is back! In each bridal blog series, you meet a new bride and I slowly post-by-post recount the process and share the behind-the-seams story of creating...
The bridal blog series is back! In each bridal blog series, you meet a new bride and I slowly post-by-post recount the process and share the behind-the-seams story of creating...
The bridal blog series is back! In each bridal blog series, I recount the process and share the behind-the-seams story of creating a one-of-a-kind custom couture wedding dress from start...
Sally is someone special. Back in December, I got an email from a dear friend named Sally that I had lost touch with. The subject line: “dear lord i’m getting...
As it starts to get cold, it sure is nice to think about summer! Gin and tonics… BLTs… beach trips… seersucker… Earlier this year, I worked with a bride who...
They say documenting the process triples the production time. (And I work more slowly than most.) My Nimbus was cold.She needed a new coat, sooner than later.
Welcome to Part Two! I’m back to share the nerdy behind-the-seams details of creating my Vanishing Tie Top for the Precious Fabric Challenge. But this photo-filled blog post doesn’t feature...
Do you have a fabric that you’ve been SAVING instead of SEWING? Yeah. Me too. So when Whitney Luckenbill of TomKat Stitchery asked me to be a part of her...
Welcome to my (temporary) Sewing Studio! Come on in! I love seeing other people’s workspaces and tools, so I thought I’d show you mine. I cleaned up after a big...
Welcome back! It’s the series finale! In this third and final post of My Warmup Jacket series, I share the behind-the-seams details of my jacket’s construction and finishing stories!
In this second post of My Warmup Jacket series, I share the behind-the-seams details of my jacket’s patternmaking and mockup stories! And after putting this patterning post together (which was...