After the basted fitting, it was all about finishing. Anything temporary would now become permanently secured and all the gorgeous inner sewing guts would be finished off and hidden inside a lining. My To-Do list would get shorter and shorter until each task was checked off. This is such an exciting part of the process… Thanks so much for following along!
Missing Something?
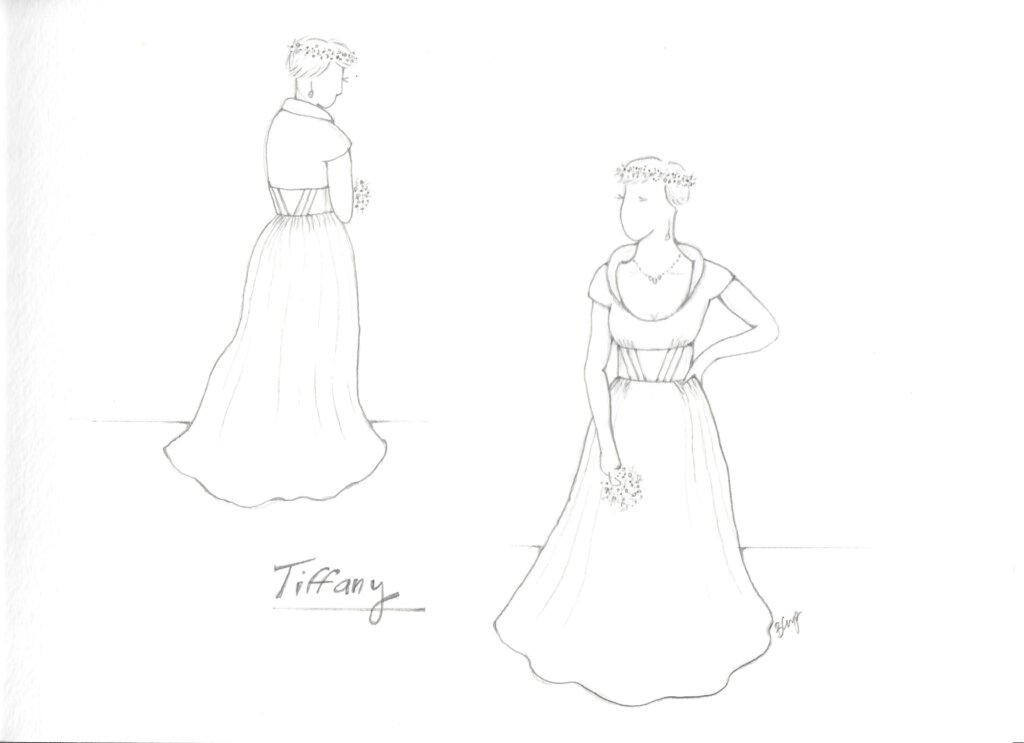
Though I didn’t quite put my finger on it during the basted fitting, I had a nagging thought that there was something missing in Tiffany’s dress. So before moving forward with finishing, I compared my memories and photos from the fitting with the final sketch– looking for anything I may have missed or done a little differently.
And I found it.
On Tiffany, the dress looked almost exactly like the sketch from the waist up. But below the waist, the skirt mostly fell flat. While the flat front of the skirt was part of our design, in the back I drew a bump. I had originally thought the gathers would create this bump, but on Tiffany’s tiny frame, the gathers alone provided almost no additional shaping- leaving the back to fall flat.
Adding a hint of the classic couture bump was the bump this design needed!
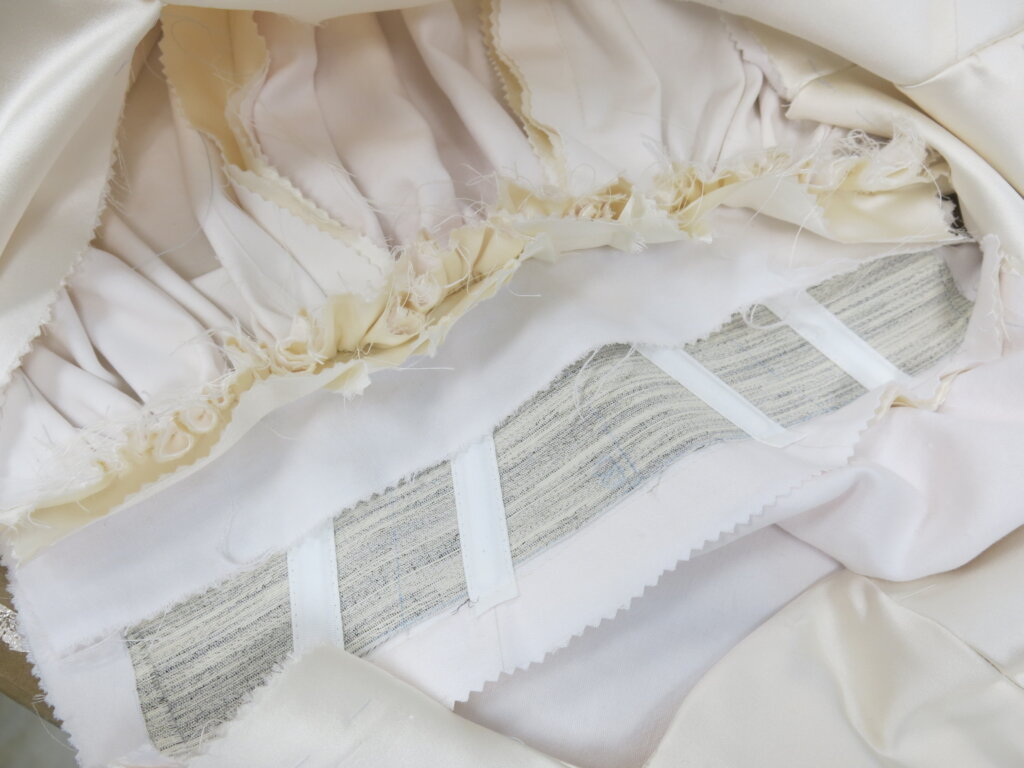
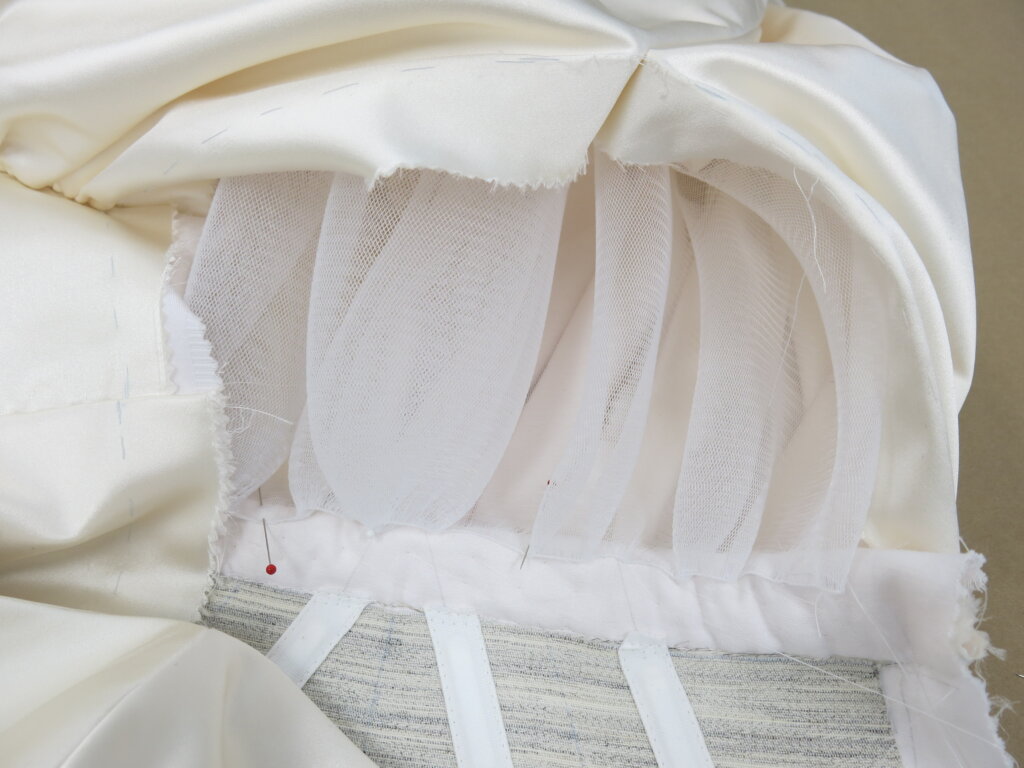
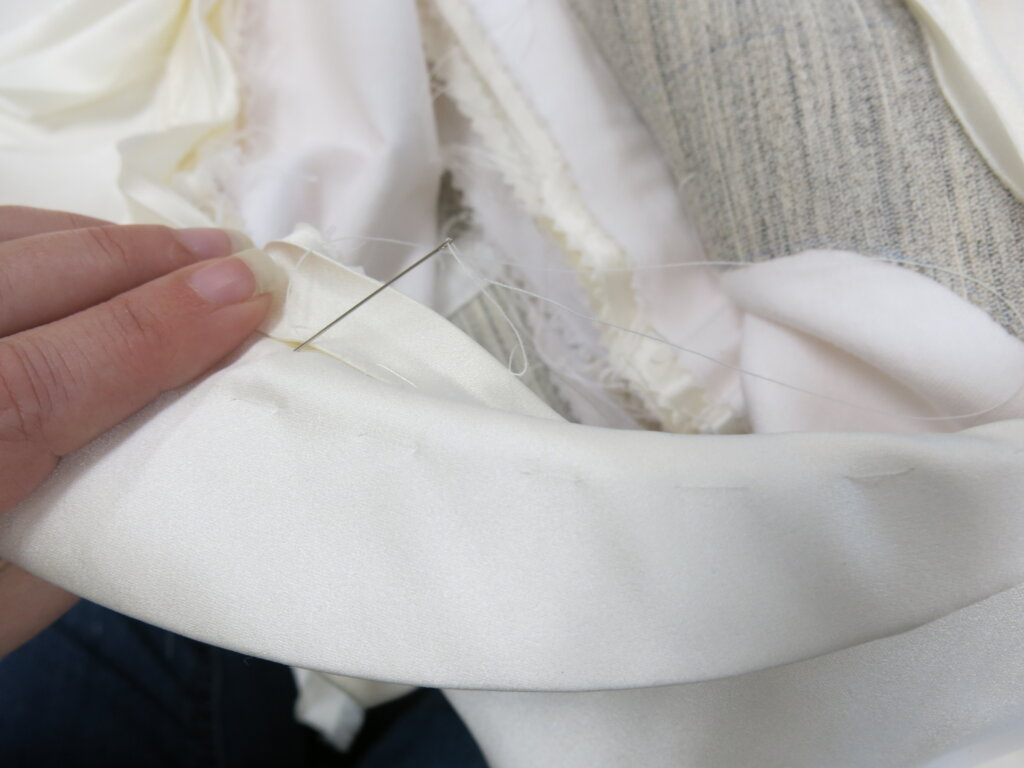
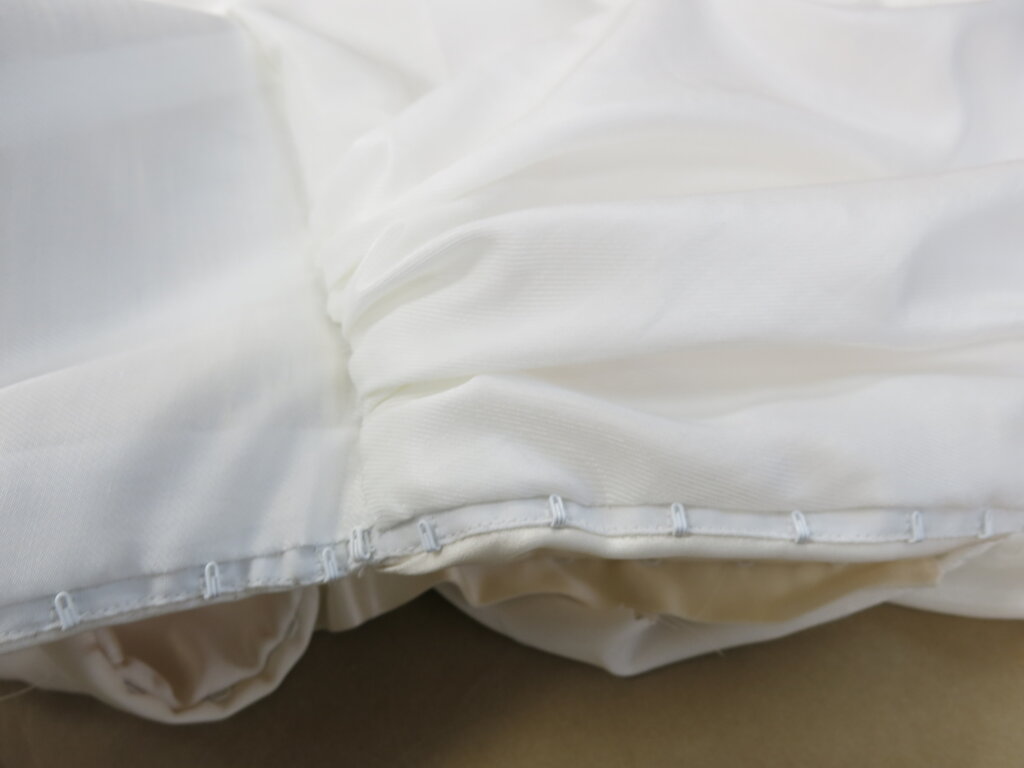
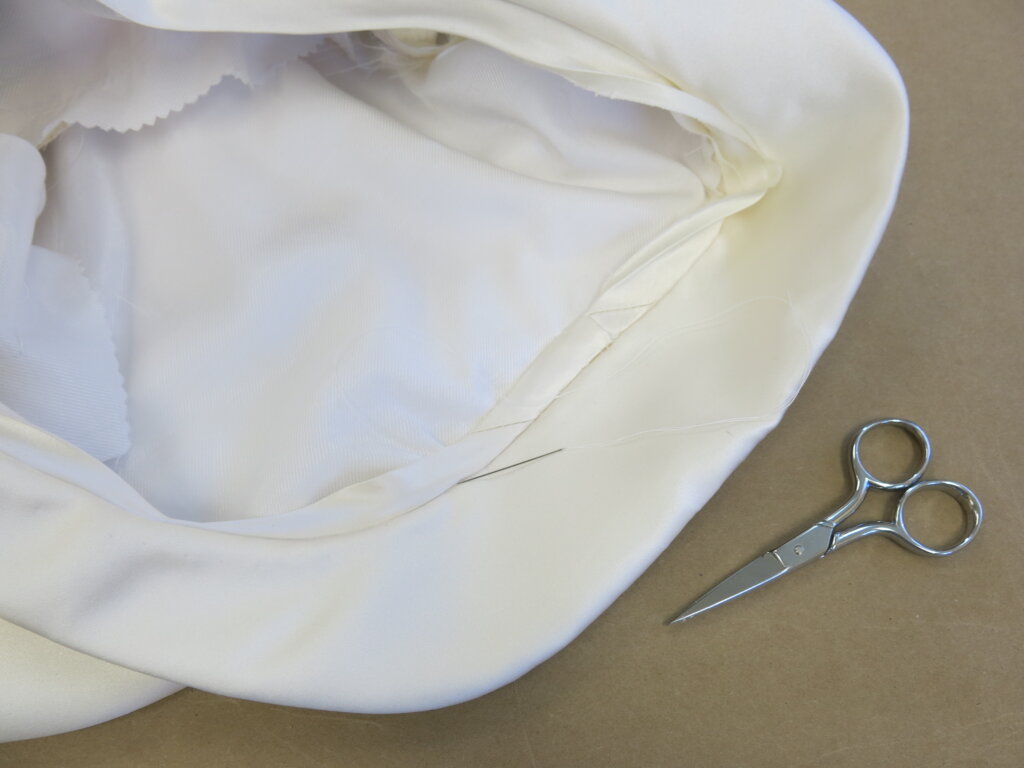
To achieve the bump, I examined the unfinished guts of where the back gathers met the back midriff band.
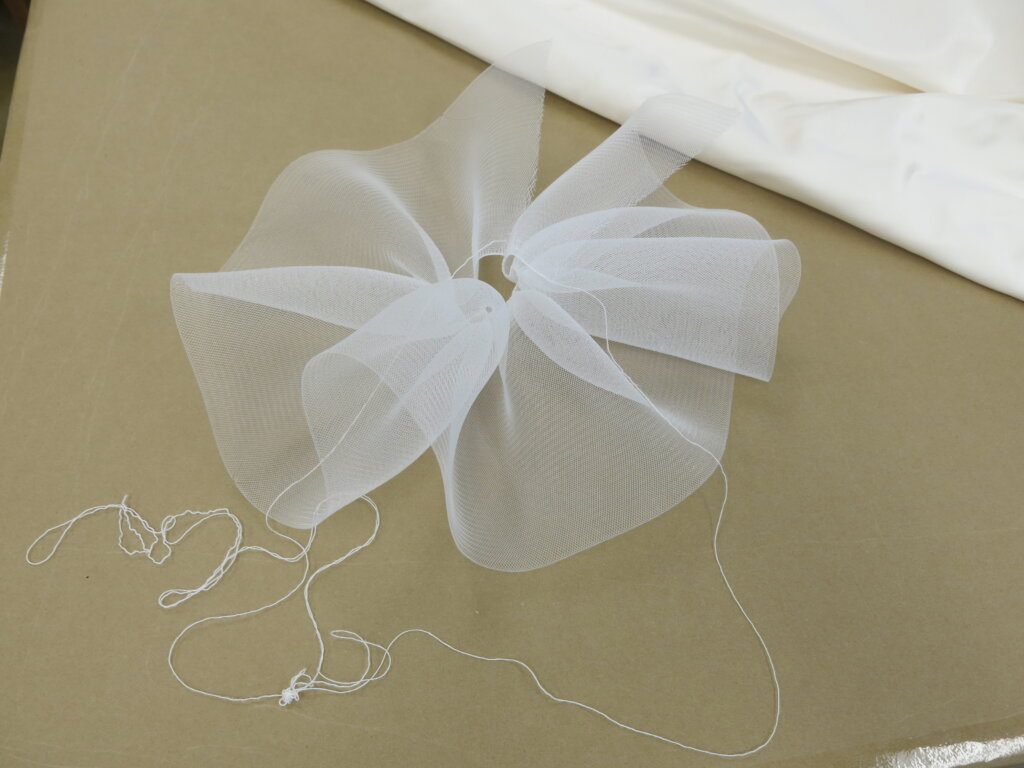
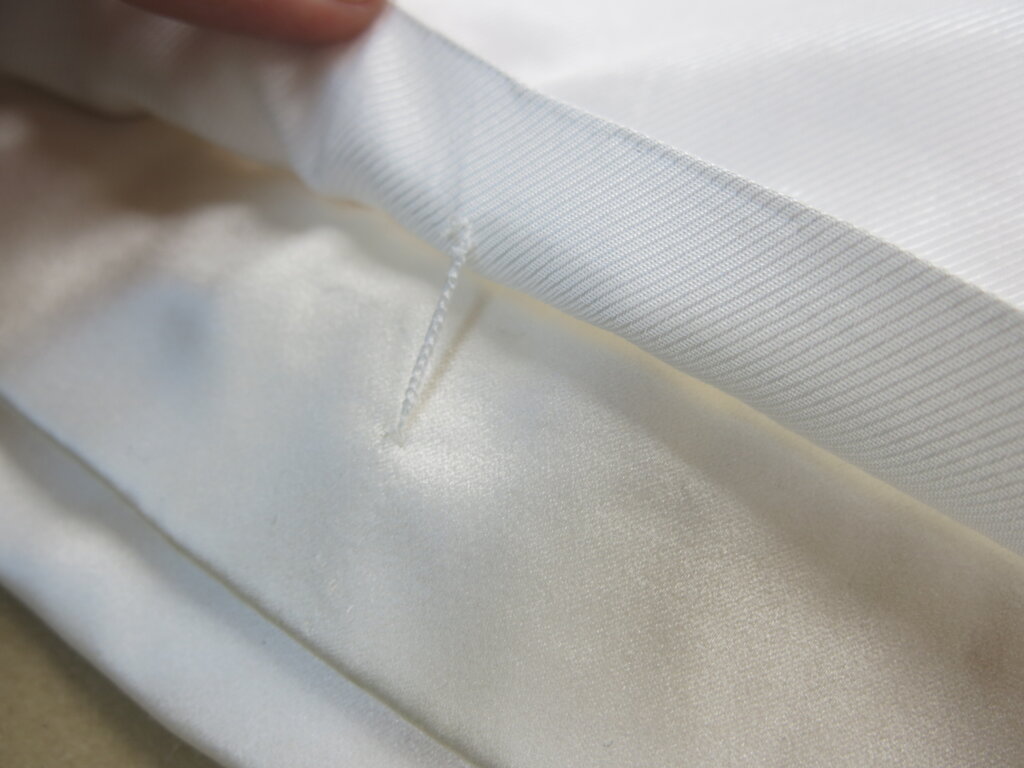
Then I prepped a small piece of wide horsehair (the same stuff I used in the hem) by pulling the little string along the top- allowing it to create soft gathers.
I then used the back waistline’s seam allowances as a place to finish and attach the horsehair addition…
…before trying it on the form to see the results.
Success! This little couture secret hidden inside was exactly the little bump this design was missing!
Finishing the Closures
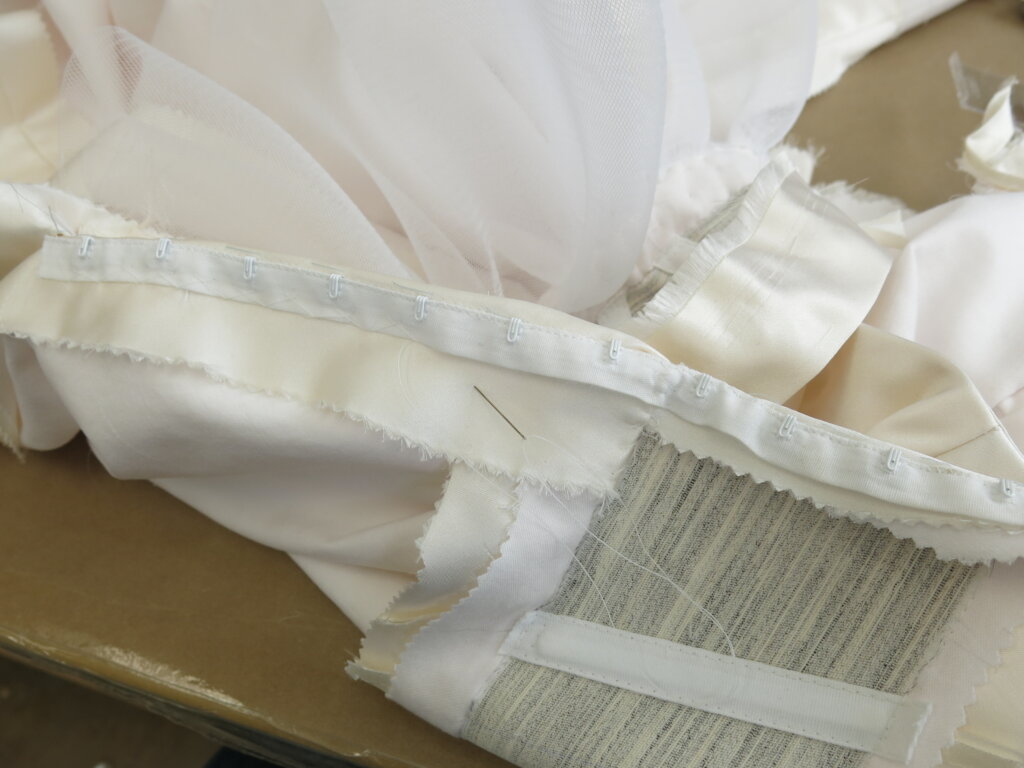
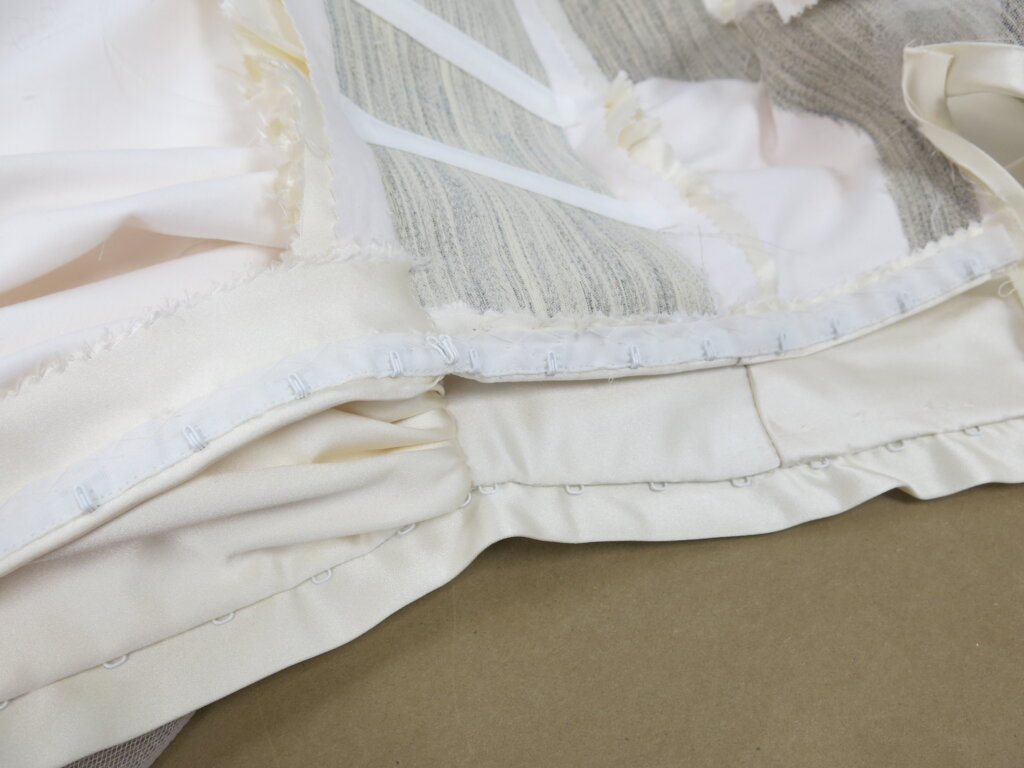
Next up, the closures. During the fitting, this area was corrected for a better fit, but now I could confidently and permanently install the hook & eye tape.
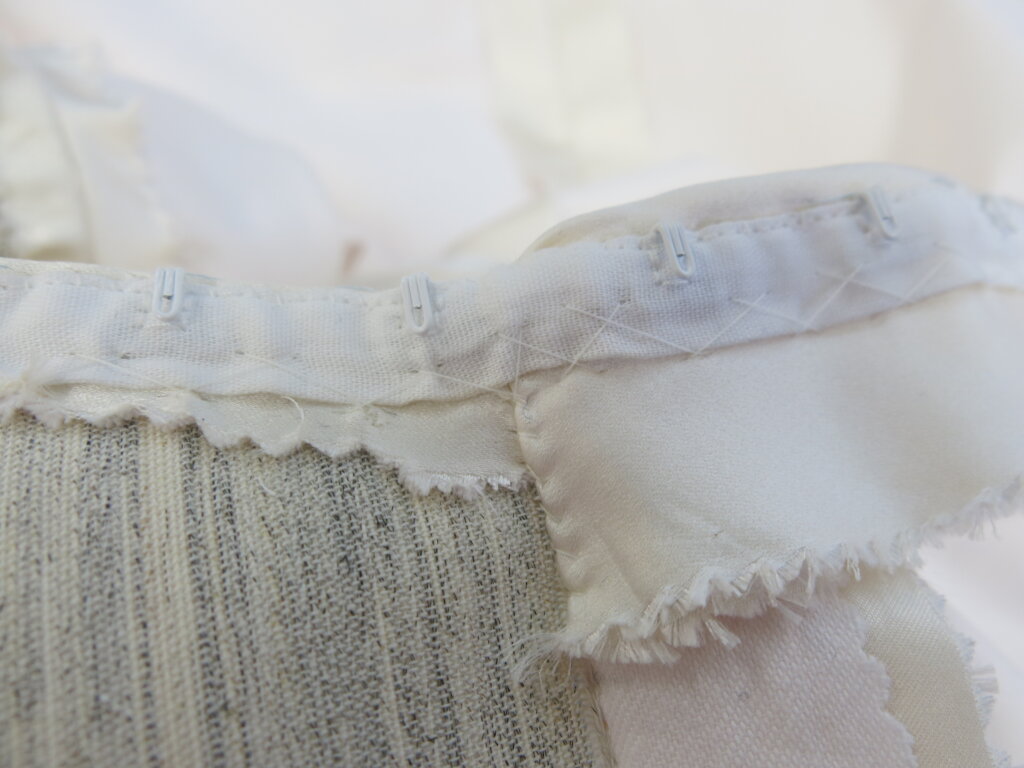
The tape was added by hand- using an invisible slip stitch along the outer edge and a cross stitch along the inner edge.
The eye side was finished the same way, with the addition of a little shield.
Preparing the Bodice for Lining
Next up, I did some finishing work to the bodice. I replaced basting stitches with permanent ones…
…I carefully trimmed and graded all the allowance layers…
…and cross stitched any loose allowances invisibly to the interfacing and underlining layer.
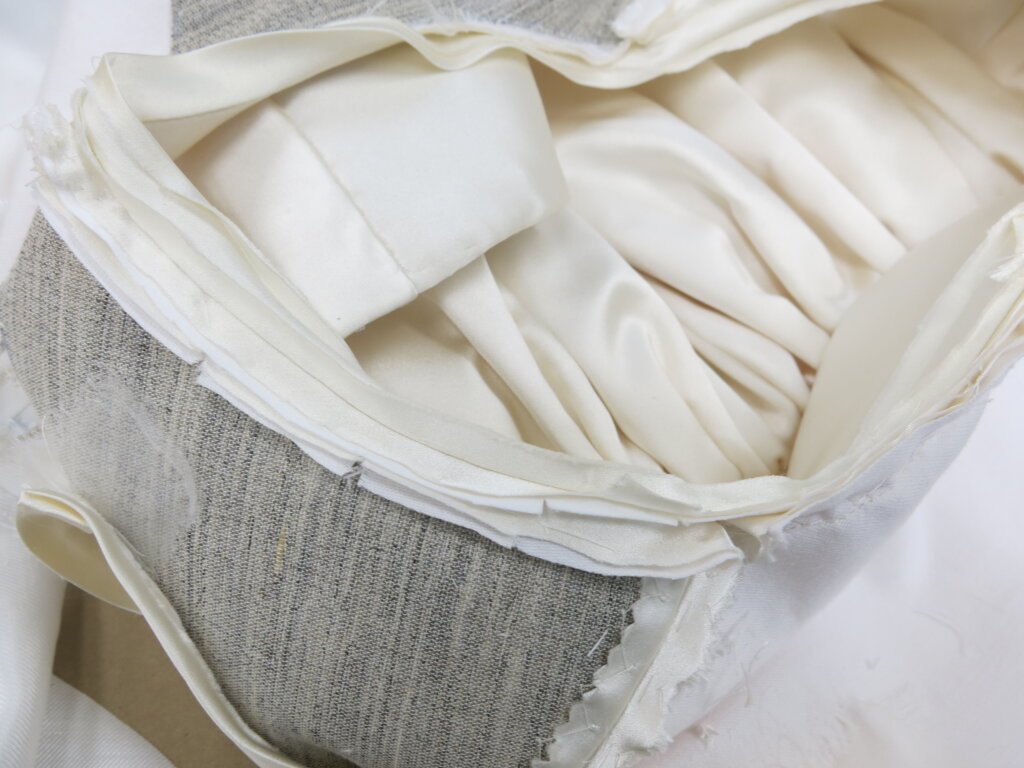
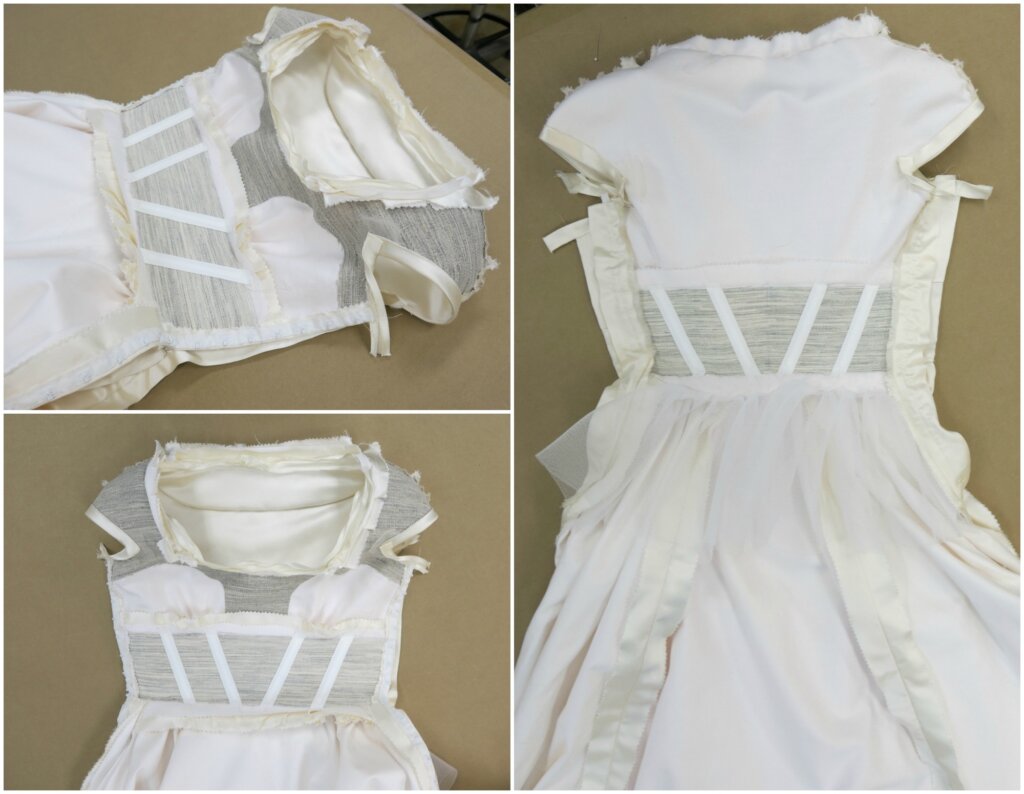
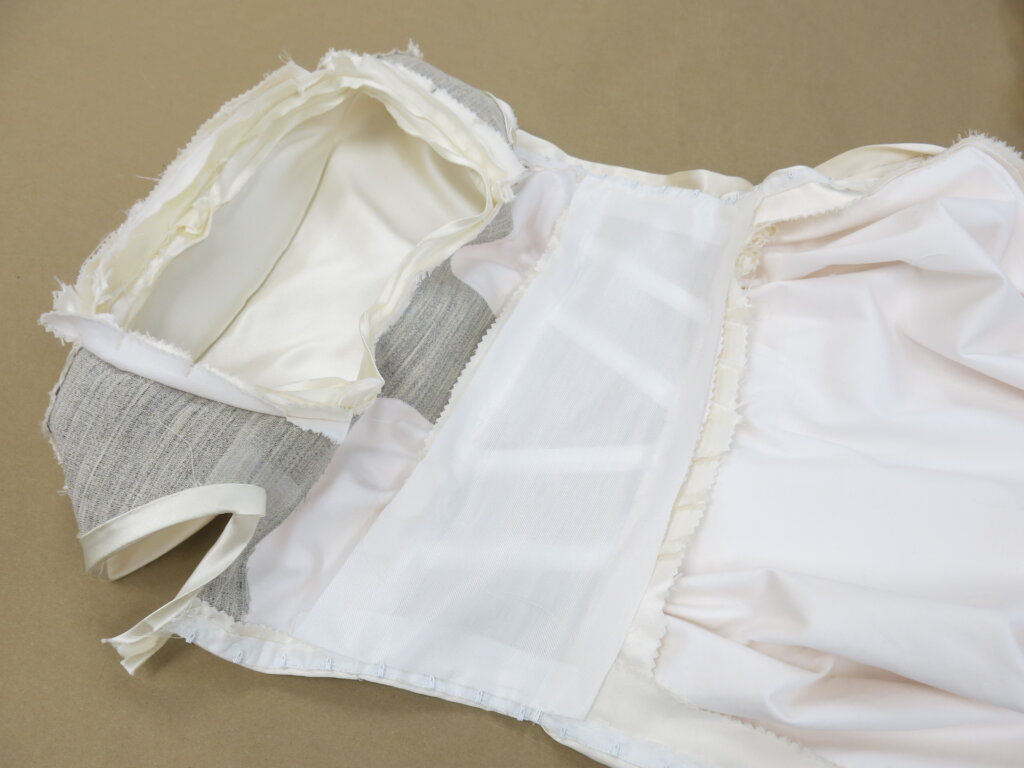
Inspecting theGuts and Drape
And… other than adding the lining, I was pretty sure I had completed all the finishing work! Aren’t the guts so cool!? I love love love looking at sewing guts…
I inspected my work one last time on the table…
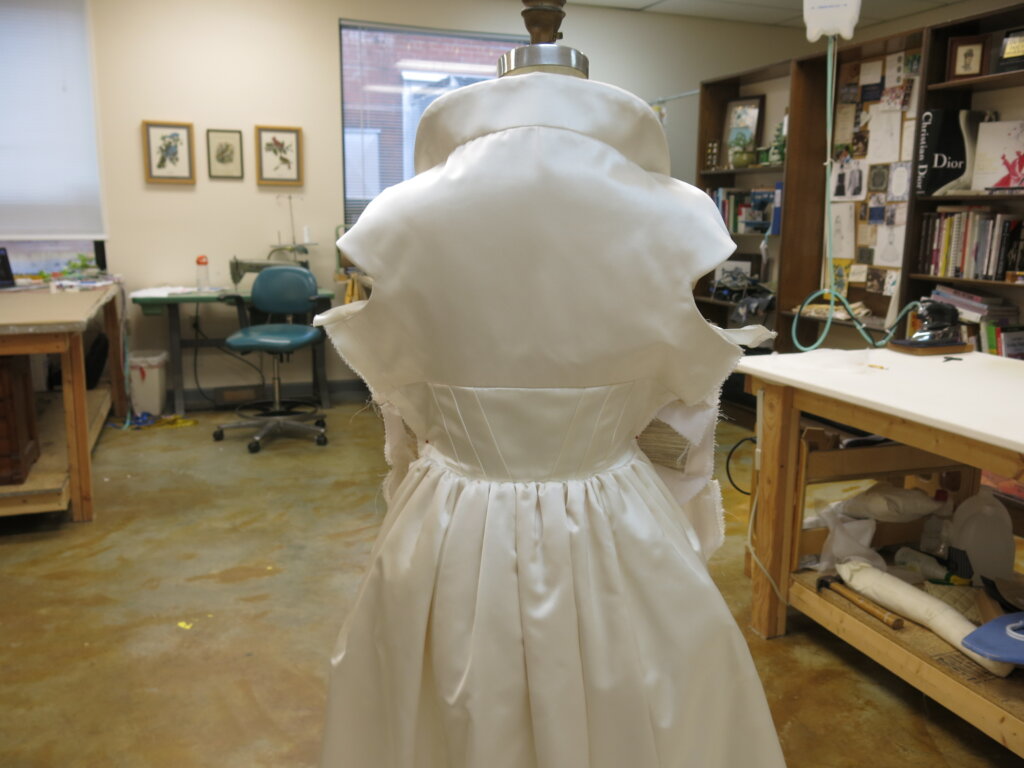
…and on the form. Divine!
With the corrections to the side seams, the dress was now smaller in the waist than the child-sized dress form (so it wouldn’t totally close) but I knew it would fit Tiffany- and that’s what really matters!
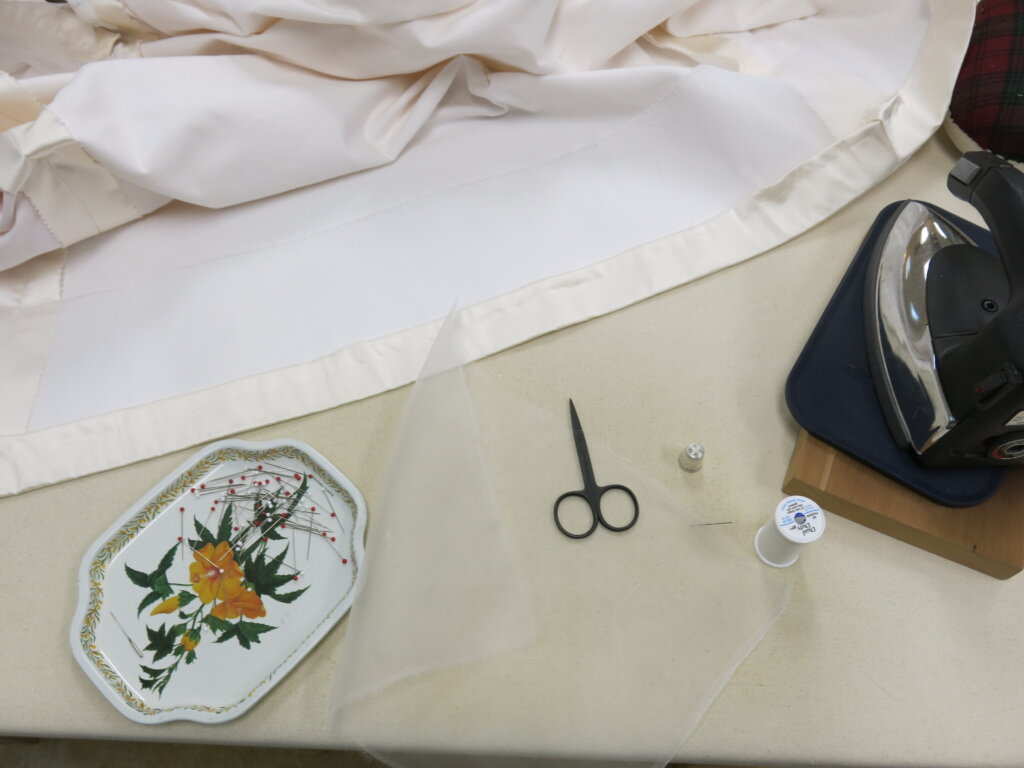
Lining the Skirt
So it was finally time to line! I’ve been having a hard time finding lining fabric I love (Any recommendations for a great cotton/silk blend?) but I came across a lovely rayon twill that seemed perfect for Tiffany’s dress when I was visiting New York City (after teaching at Camp Workroom Social).
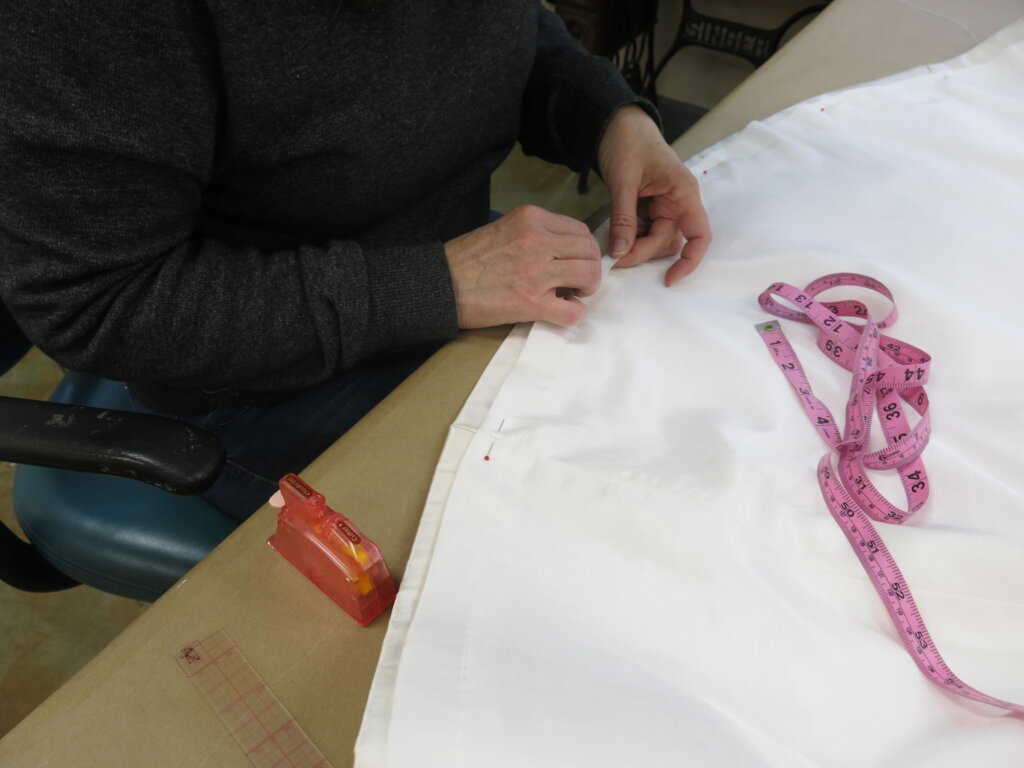
With a light touch and a regular pencil, I marked and cut the skirt lining pieces…
…before pinning and stitching them together.
Next up, the hem!
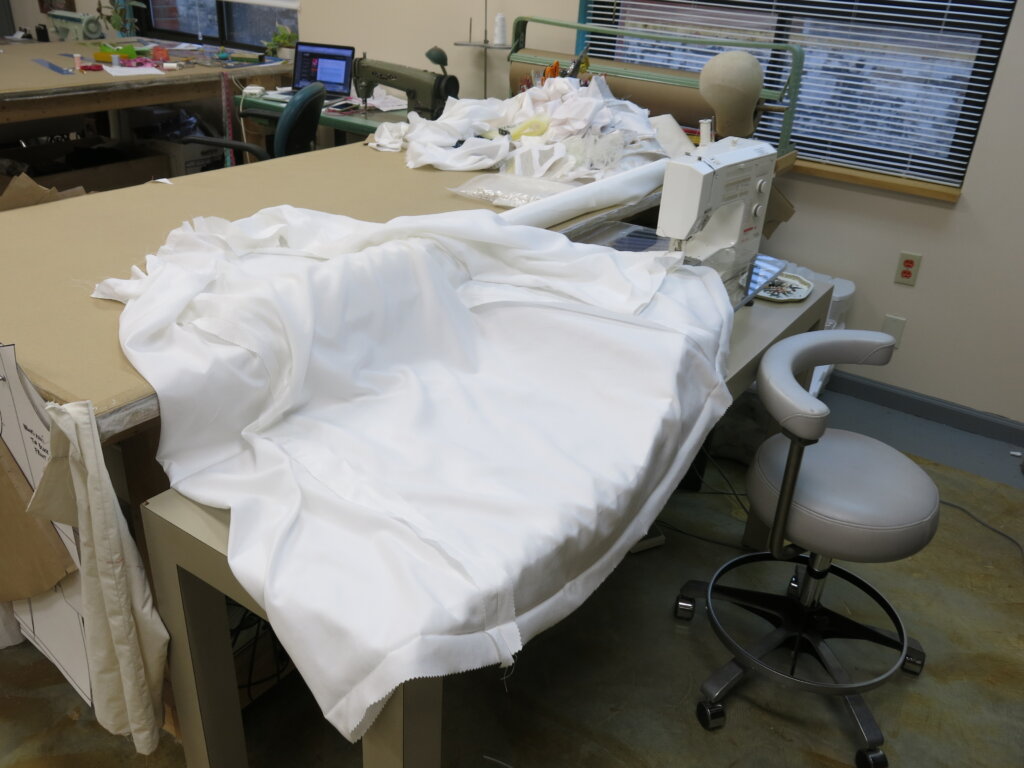
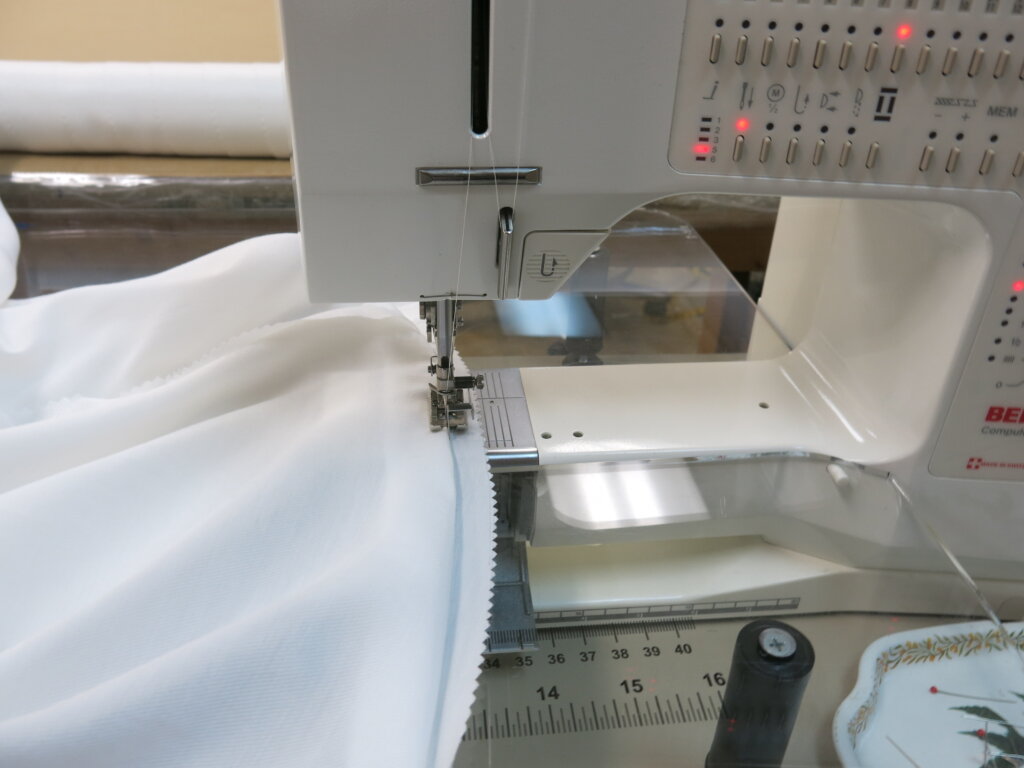
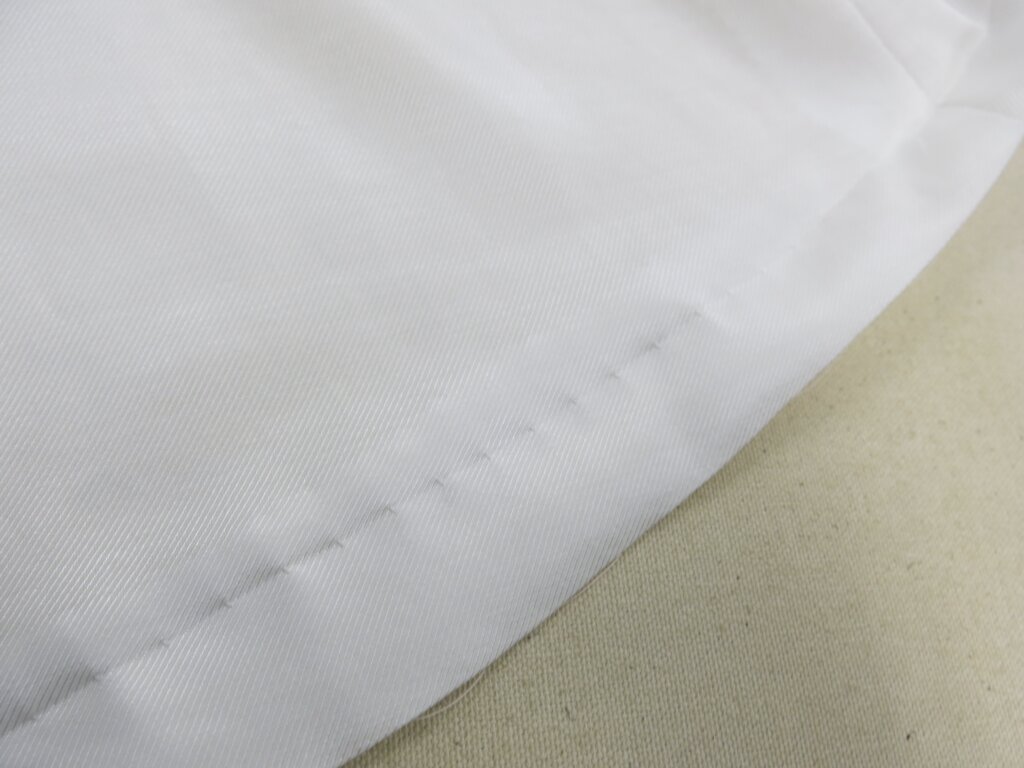
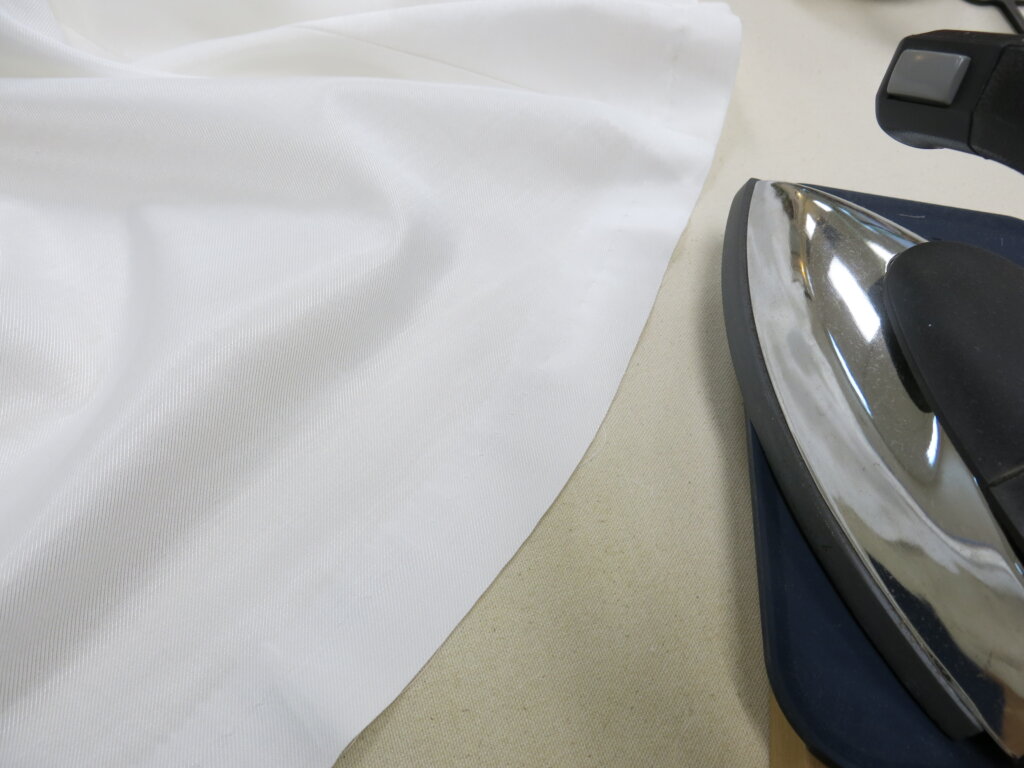
First I gave the hemline a press. Then (with the support of two tables),…
…I added a blind hem stitch by machine.
The blind hem doesn’t always look invisible at first, but…
…don’t judge your work until you’ve pressed it. A quick pass with the iron was all it needed.
Beautiful!
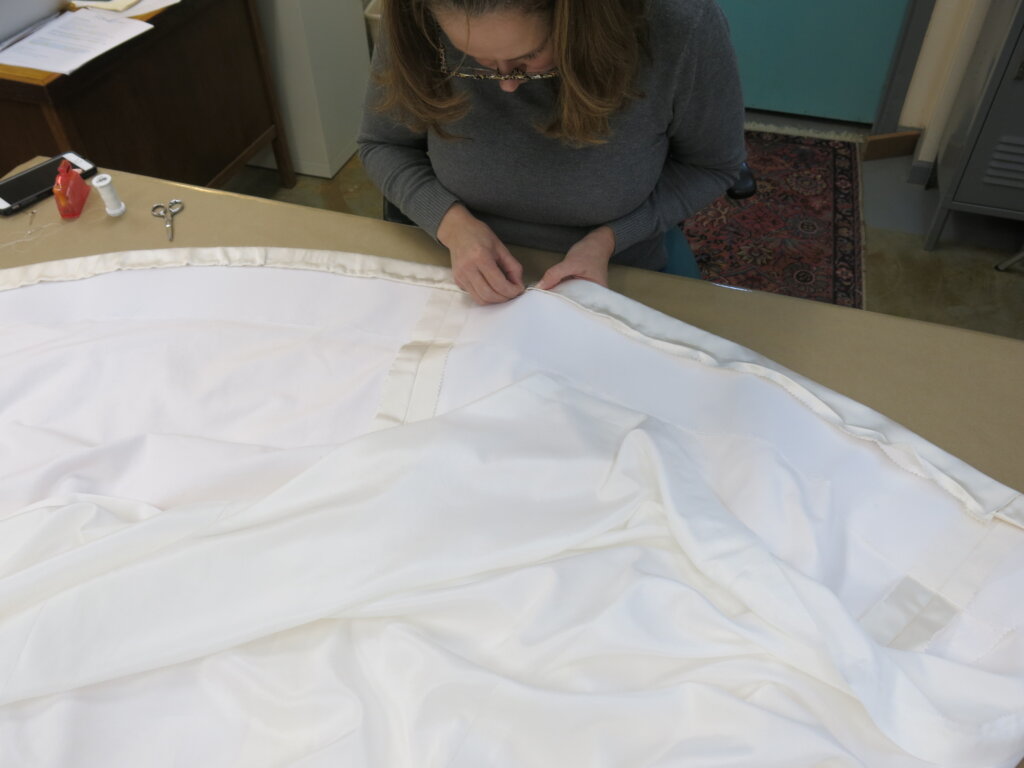
Before adding the skirt lining into the dress, I added a lining piece across each midriff band.
Then I gathered the lining and hand stitched it to the waistline and along the closures. So pretty!
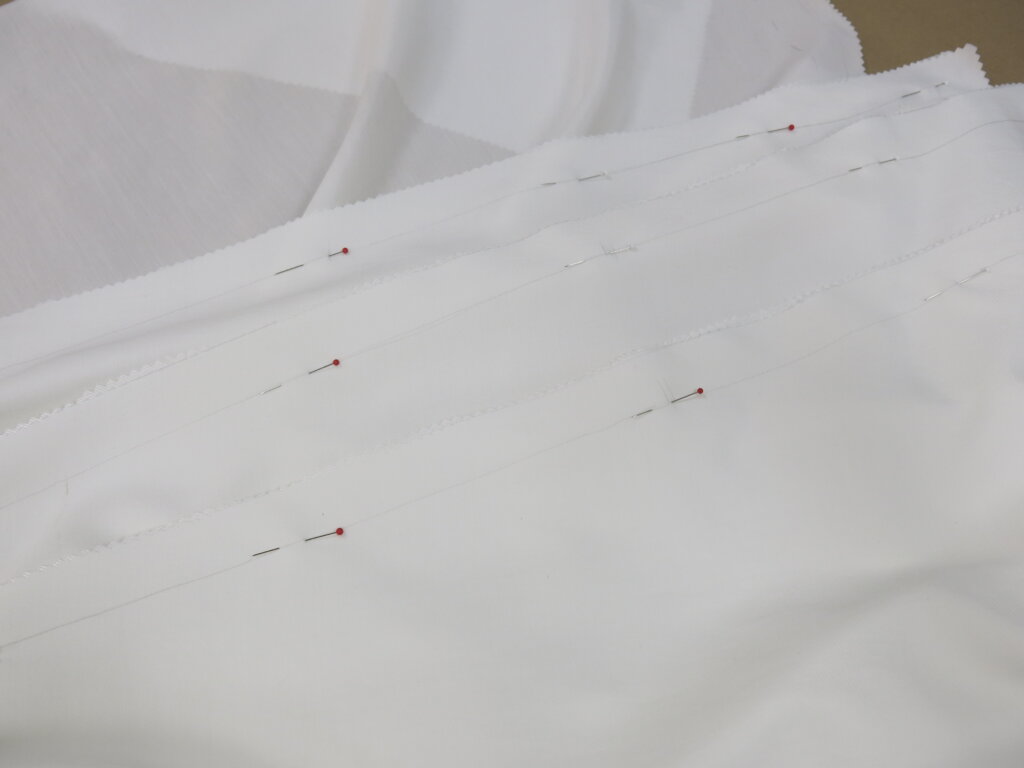
My assistant Rebecca was available for hemming! She helped me replace the basting stitches of the skirt’s hem with permanent hand stitches- catching only the underlining layer for an invisible finish inside and out.
Which also wasn’t complete until the final press!
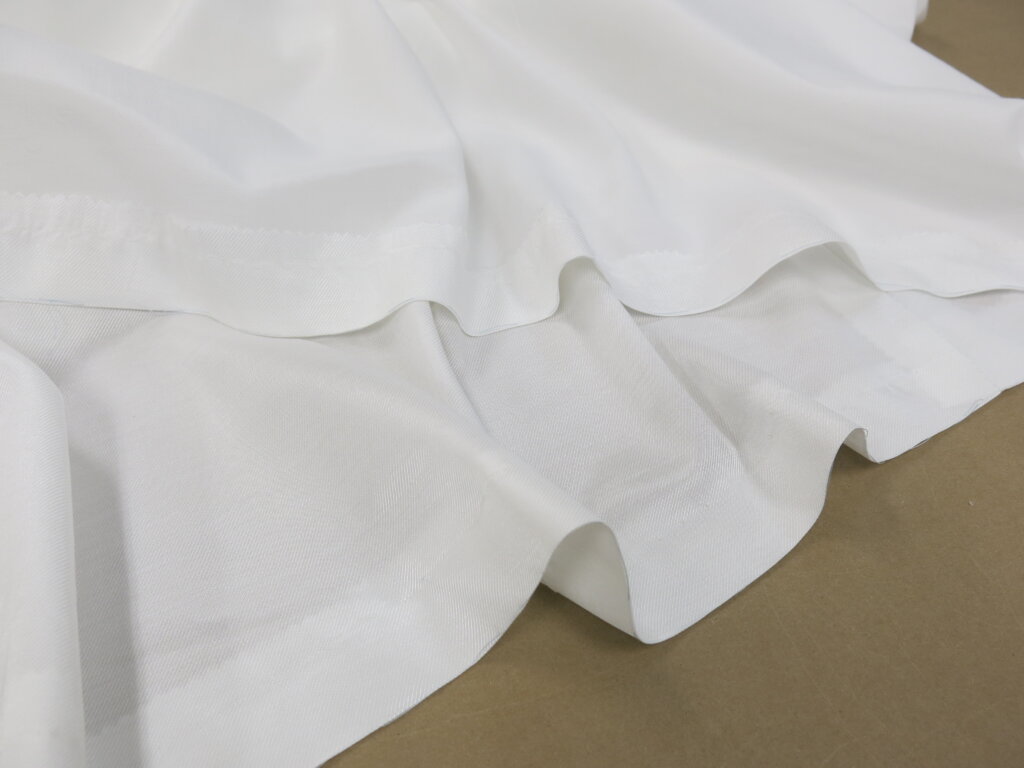
Next she arranged the two hems in place as they would hang…
…and we attached the two layers together with numerous swing tacks (thread chains). Lovely!
Lining and Finishing the Bodice
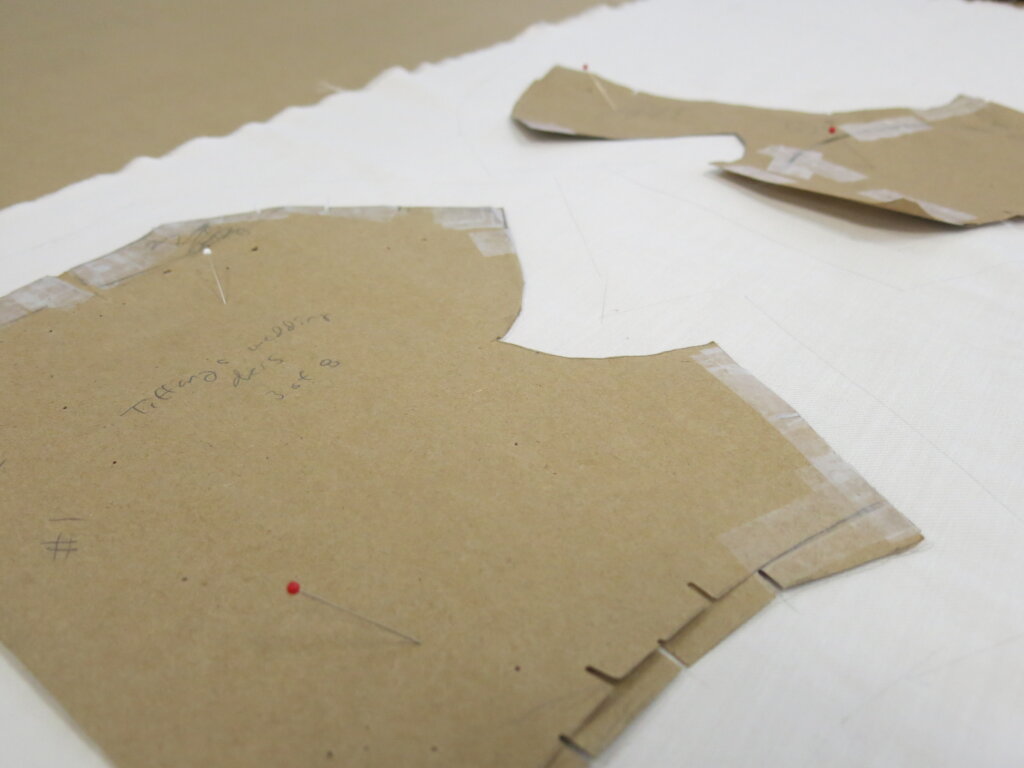
To finish off the top, I used my corrected custom-drafted patterns to mark and cut the lining.
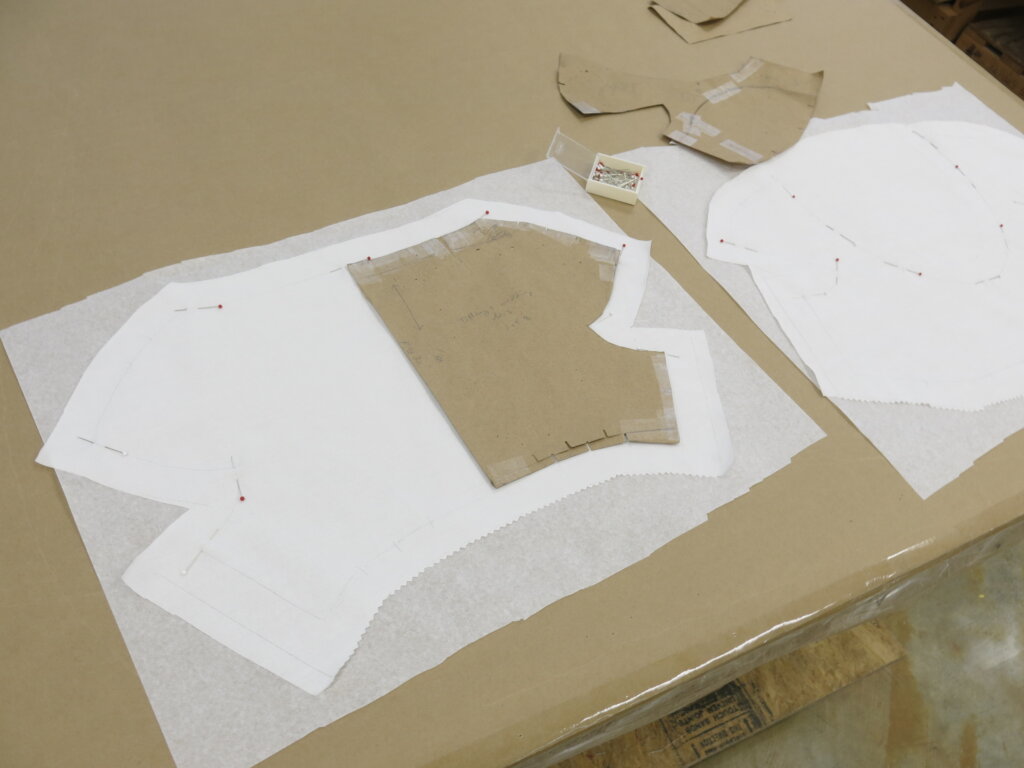
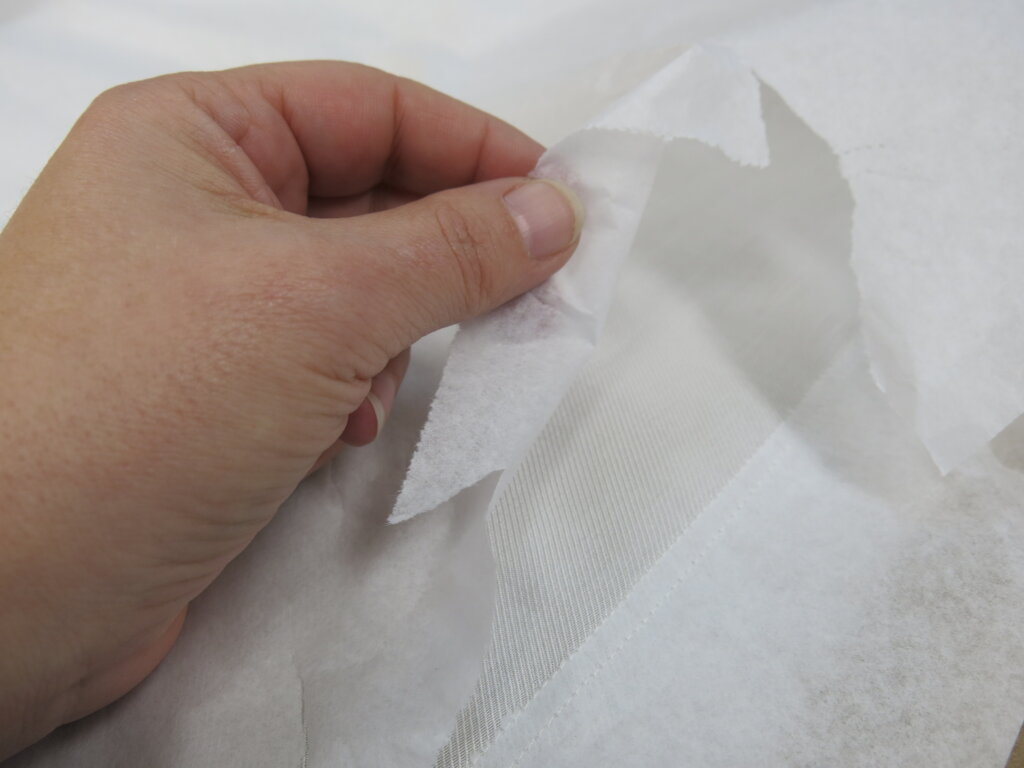
Since these shapes are rather complicated and the fabric rather slippery, I felt like I needed a plan to combat possible distortion of the armhole and neckline. I decided to add a temporary backing of tissue paper before adding lines of machine stay stitching (security stitching).
Once my lining pieces were marked and cut, I used my pattern to carefully pin them to the tissue.
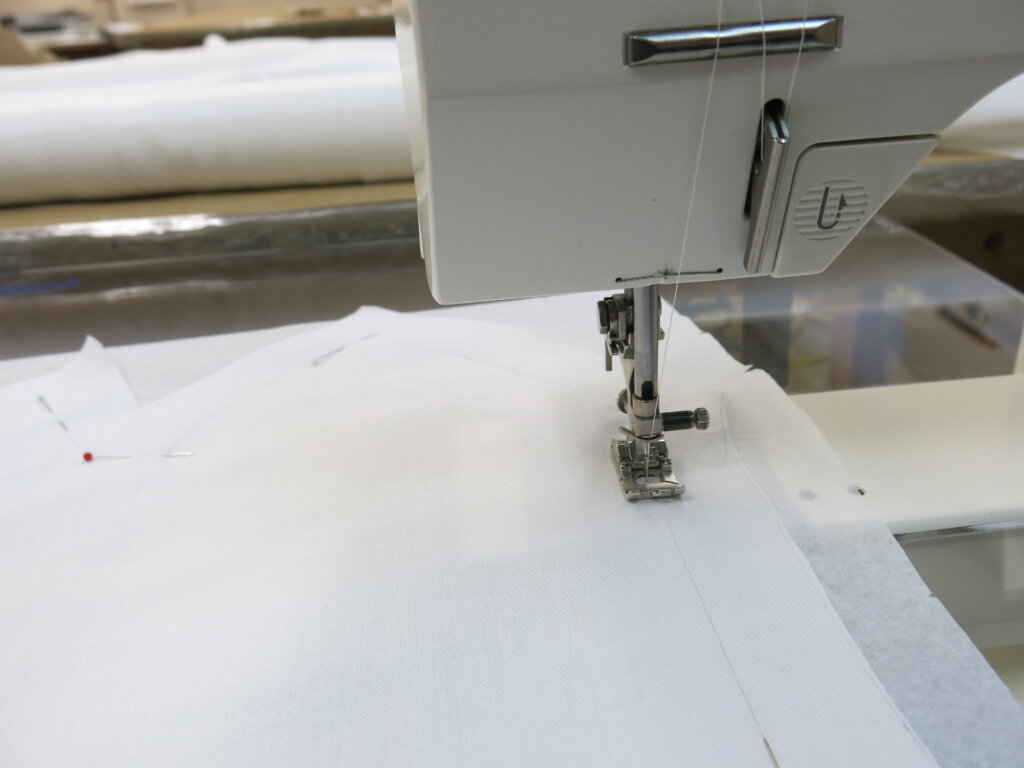
At the machine, I used a tiny stitch length to follow the marked edge line. Then I also added a line of stay stitching 1/4″ in from this.
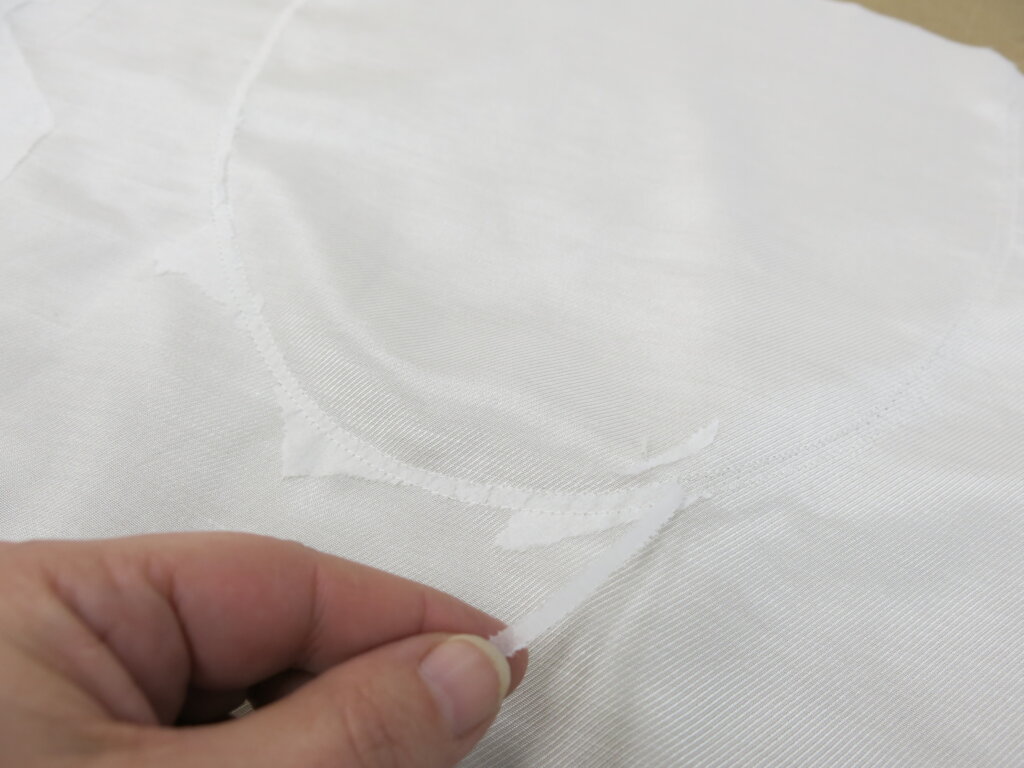
Once the stay stitching was complete, I was able to carefully pull off the paper…
…that had been perforated by the needle.
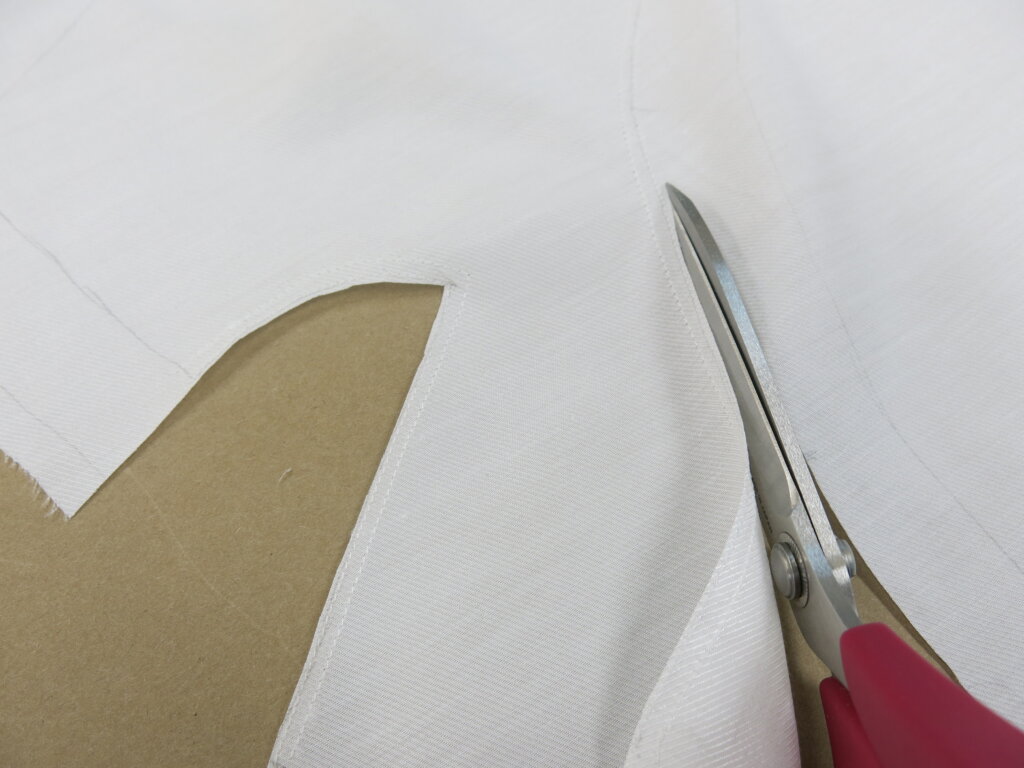
I used the outermost stitching line as my cutting guide. This is the finishing line that would be carefully matched up to the garment’s edges inside the bias tape finish. (The extra line of security stitching would hide underneath the bias tape.)
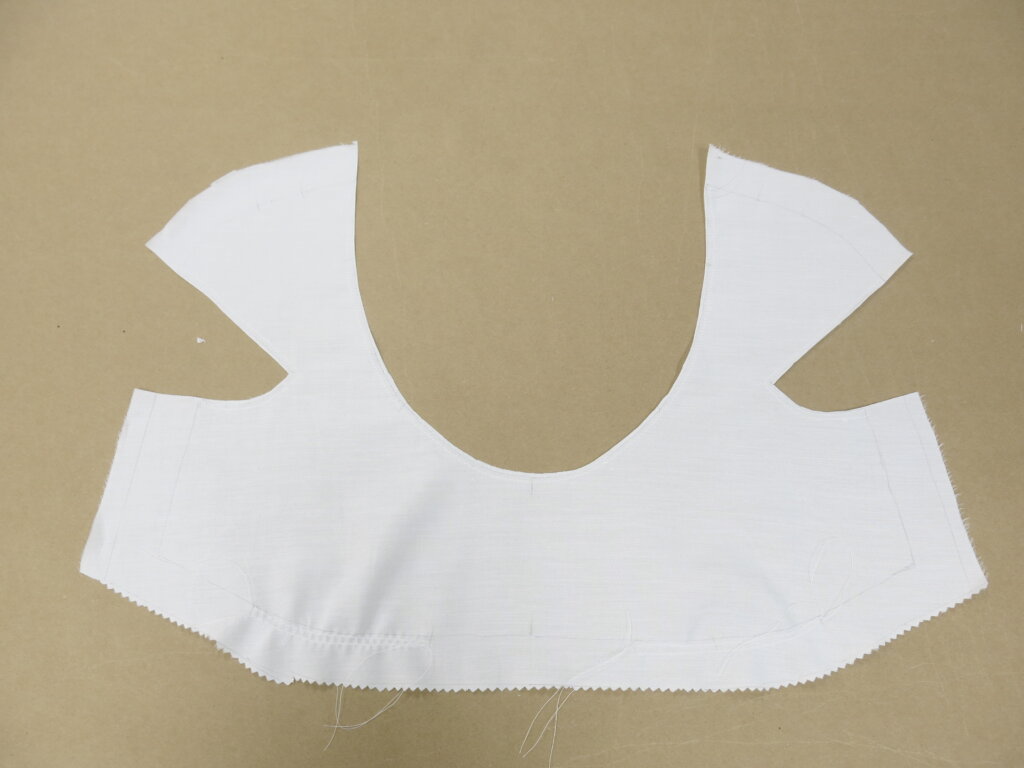
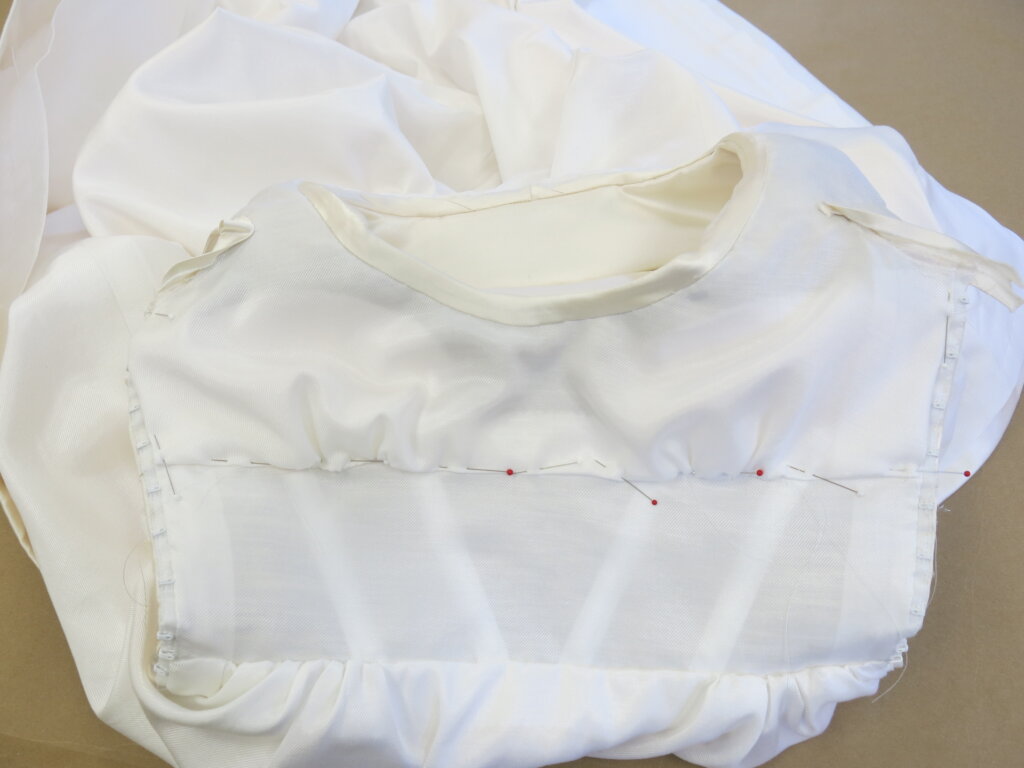
With my neckline and armholes securely stitched and trimmed, I added gathers to the underbust…
…joined the front and back by stitching together the shoulder seams, and carefully basted it inside the bodice. The bias tape was then pulled down over the guts and permanently stitched inside the collar and neckline for a clean finish.
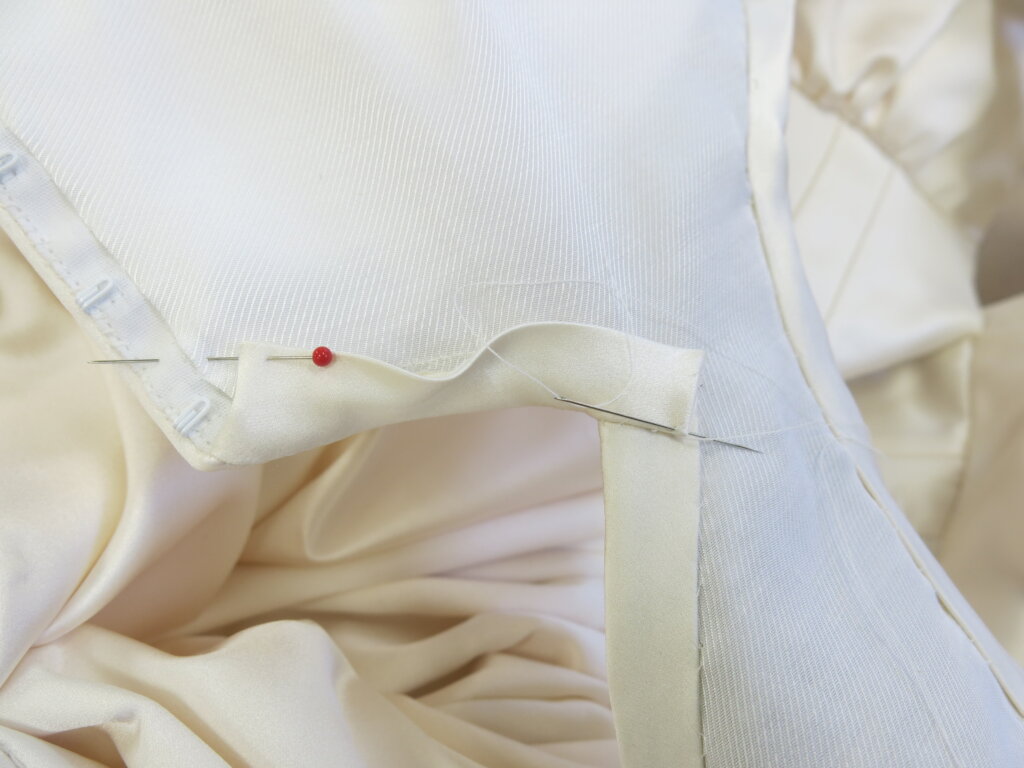
Next, the underbust seam and closure edges were hand stitched in place…
…and the bias tape around the armholes were hand stitched in place to invisibly finish off the edges.
It’s both thrilling and a little sad to add the final stitches – closing up the dress and the dressmaking process.
The Final Stitches
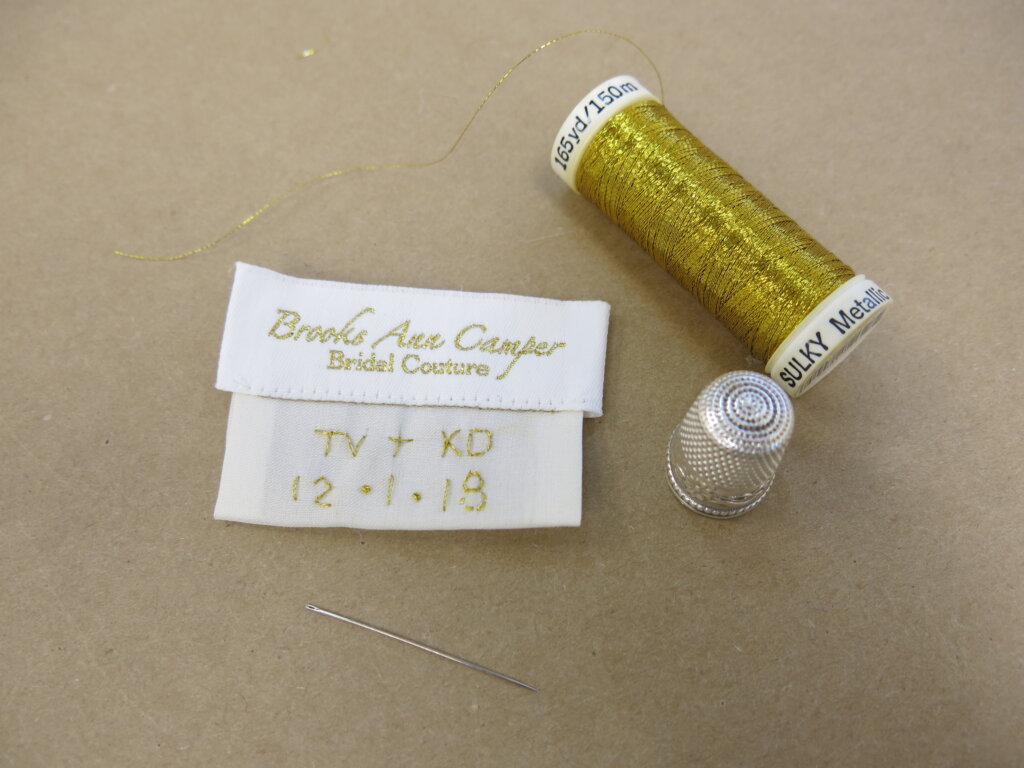
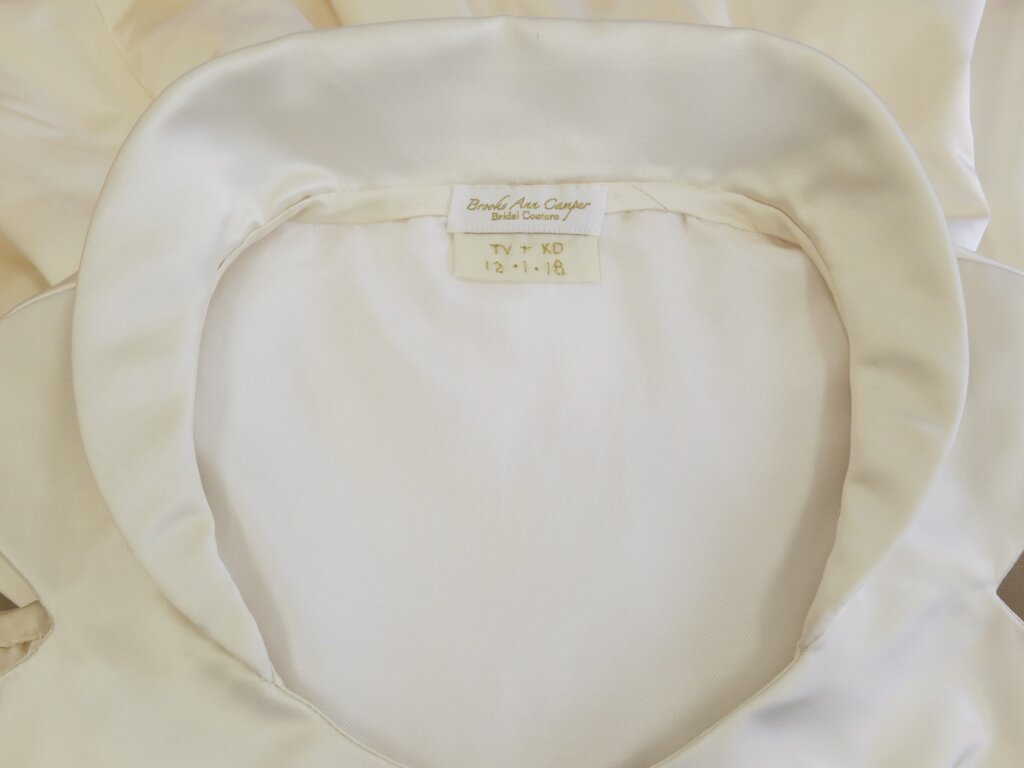
The last step was to add the label! As a special finishing touch, I embroidered the initials of the couple and their wedding date.
(And yes, that date is correct! My blog runs behind for many reasons and Tiffany has been happily married for almost 2 years now!)
That’s it y’all! The final stitch before the final press…
Coming up Next...
But no worries! This is not the final post in Tiffany’s bridal blog series! I’ll share one more post before sharing Tiffany’s wedding day celebration.
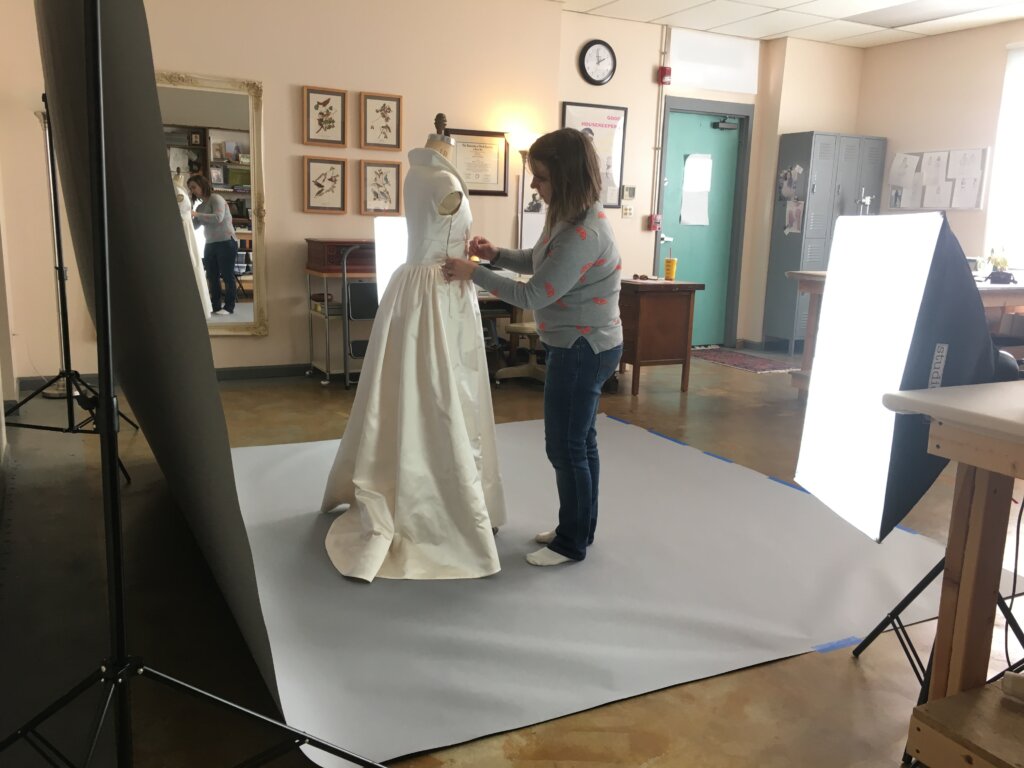
NEXT POST: I’ll share my own photoshoot with Tiffany’s custom wedding dress on the form and on the bride! Don’t miss the exciting conclusions of this series!
Wow! Thanks! I installed the hook & eye tape by hand. You can read all about it and see close-ups in the “Finishing the Closures” section near the top of this post. Thanks for following along! – Brooks Ann
Stunning, just amazing!! Your skill and vision are so impressive, and I’m grateful you are willing to blog all of it for us to admire! If you don’t mind me asking: What kind of scissors do you use for grading seams? I’ve always struggled to get a clean result with my big and small scissors.
I haven’t gotten my hands on any to confirm that it is the same fabric as before, but Kaufman has resumed production of Radiance in a limited number of colors!
I’m a former professional costumer and couture dressmaker for one-of-a-kind bridalwear located in rural North Carolina, who teaches custom garment sewing to sew-curious solo-sewists online.
My blog mostly follows along with the couture process of how each heirloom-quality custom wedding dress was made from idea to wedding day, as well as personal sewing projects and other couture curiosities.
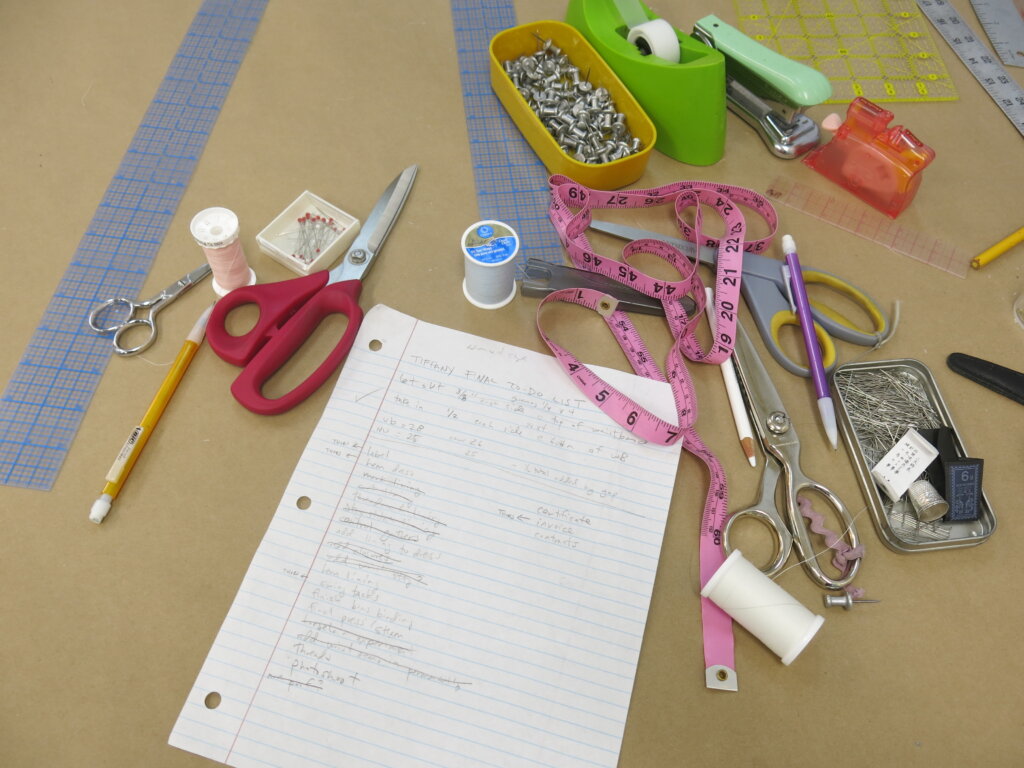
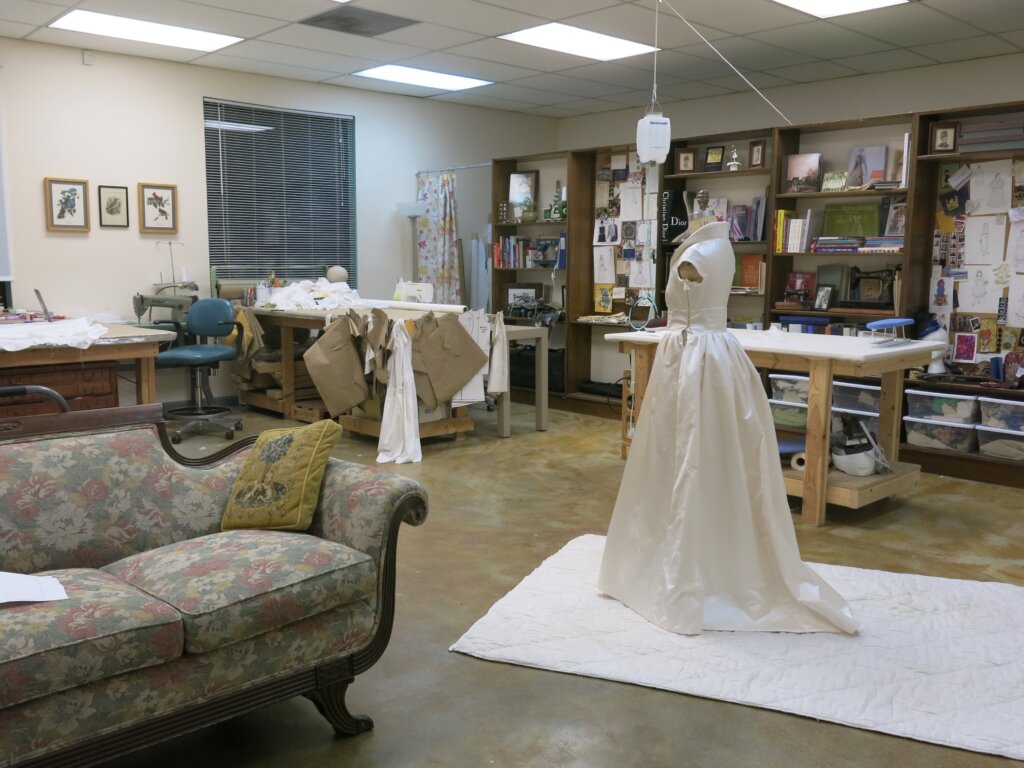
Welcome to my (temporary) Sewing Studio! Come on in! I love seeing other people’s workspaces and tools, so I thought I’d show you mine. I cleaned up after a big...
Duplicating the Vintage Dress’s Pattern (without taking it apart)
In my previous post, I introduced Jenn and the custom bridal wear project(s) for her wedding weekend. Check out the full story for all the deets, but to catch you...
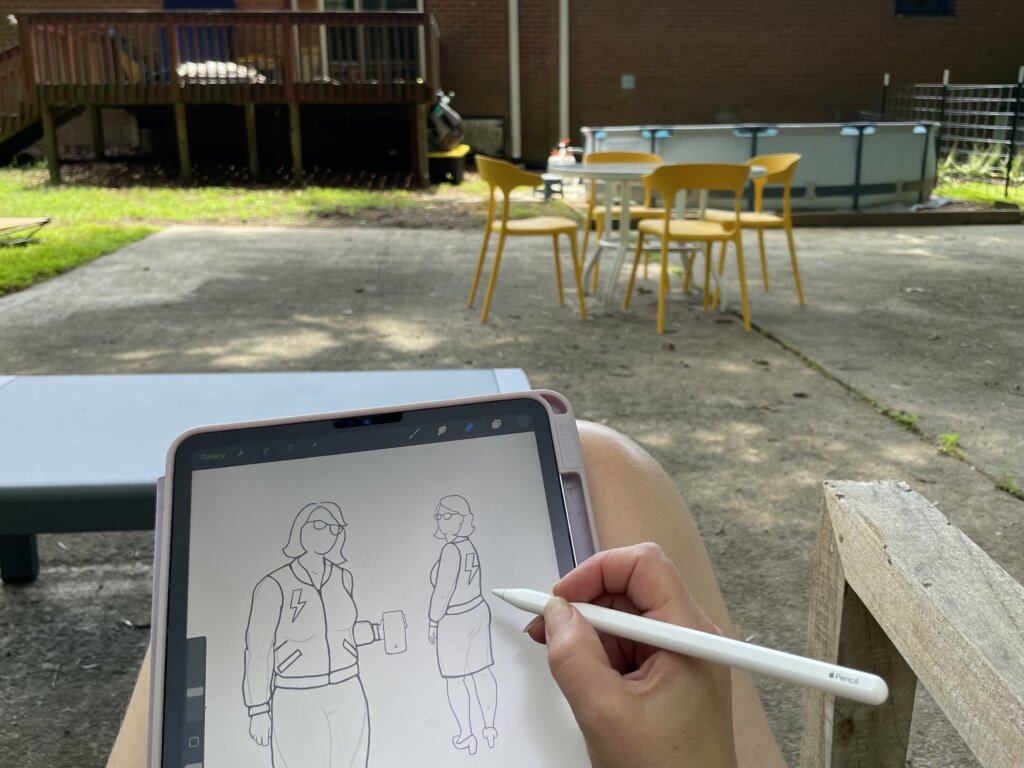
I Made Myself the Coolest Dress pt. 1 – Pattern Design & Mockup
Though my personal wardrobe is mostly “the dressmaker has no clothes”, when I do make something for myself, it’s usually an epic project. I’m so excited to finally share this...
I’ve been blogging for TEN YEARS now, ya’ll! In “My 10 Year Blogiversary pt. 1”, I share links to each bridal blog series that I’ve created over the past decade....
It’s finally time to share about Deborah’s wedding day! HOORAY! Deborah and Blake were married in November 2017 at a church in Greensboro, NC with the reception at a nearby...
New Bridal Blog Series: My (kinda famous) friend Jenn!
Brooks Ann, Jenn, & Charles January 2017 Going Way Back… To begin my next bridal blog series, let’s head into the Way-Back Machine. And we’ll head farther back than this...
The bridal blog series is back! In each bridal blog series, you meet a new bride and I slowly post-by-post recount the process and share the behind-the-seams story of creating...
The bridal blog series is back! In each bridal blog series, you meet a new bride and I slowly post-by-post recount the process and share the behind-the-seams story of creating...
The bridal blog series is back! In each bridal blog series, I recount the process and share the behind-the-seams story of creating a one-of-a-kind custom couture wedding dress from start...
Sally is someone special. Back in December, I got an email from a dear friend named Sally that I had lost touch with. The subject line: “dear lord i’m getting...
As it starts to get cold, it sure is nice to think about summer! Gin and tonics… BLTs… beach trips… seersucker… Earlier this year, I worked with a bride who...
They say documenting the process triples the production time. (And I work more slowly than most.) My Nimbus was cold.She needed a new coat, sooner than later.
Welcome to Part Two! I’m back to share the nerdy behind-the-seams details of creating my Vanishing Tie Top for the Precious Fabric Challenge. But this photo-filled blog post doesn’t feature...
Do you have a fabric that you’ve been SAVING instead of SEWING? Yeah. Me too. So when Whitney Luckenbill of TomKat Stitchery asked me to be a part of her...
Welcome to my (temporary) Sewing Studio! Come on in! I love seeing other people’s workspaces and tools, so I thought I’d show you mine. I cleaned up after a big...
Welcome back! It’s the series finale! In this third and final post of My Warmup Jacket series, I share the behind-the-seams details of my jacket’s construction and finishing stories!
In this second post of My Warmup Jacket series, I share the behind-the-seams details of my jacket’s patternmaking and mockup stories! And after putting this patterning post together (which was...


8 Responses
Hello Ann,
Superb demonstration of mastery!
Haw did you install the hook & eye tape?
Hand or machine?
Wow! Thanks! I installed the hook & eye tape by hand. You can read all about it and see close-ups in the “Finishing the Closures” section near the top of this post. Thanks for following along! – Brooks Ann
Another beautiful creation…with attention to every detail shared. Thank you.
Thanks Kate!
Stunning, just amazing!! Your skill and vision are so impressive, and I’m grateful you are willing to blog all of it for us to admire! If you don’t mind me asking: What kind of scissors do you use for grading seams? I’ve always struggled to get a clean result with my big and small scissors.
Thank you! And I really like using these scissors: https://www.amazon.com/gp/product/B00D6D5CQA/ref=ppx_yo_dt_b_search_asin_image?ie=UTF8&psc=1
I haven’t gotten my hands on any to confirm that it is the same fabric as before, but Kaufman has resumed production of Radiance in a limited number of colors!
Hooray! I hope it is the same as the cotton/silk blend they used to make. Thanks for the tip!