

After our 2nd mockup fitting, it was finally time to get started making the custom dress that Tiffany would wear on her wedding day! Having snapped literally hundreds of photos while constructing Tiffany’s wedding dress in preparation for our basted fitting, I’m breaking the process down into several parts for sharing with all of you. This post will be all about getting started while creating the skirt and the midriff portions of her dress. I hope you enjoy the play-by-play in this (and my upcoming) posts!
Underlining the Skirt
If you’ve followed my blog for any amount of time, you’ll know that I underline almost every garment I create. Underlining (also called flat lining) is a technique of backing your fabrics with another fabric in order to provide extra structure, reduce wrinkling, offer a place to hide stitches for invisible finishes, and much much more. Underlining is a simple technique that can take every custom garment to a level above what can be found in ready-to-wear.
To learn more about underlining, check out my 3-part blog series (with video!) on the technique or this condensed version that I wrote for Seamwork Magazine. You could also type “underlining” in my blog’s search bar to watch me underline nearly every dress in my Portfolio.
If you’ve followed my blog closely, you’ll also know that one of my favorite techniques is to reuse the fabric from my mockup dress as my underlining fabric. But for Tiffany’s dress, I didn’t have this luxury…
Since this dress was a RUSH commission, I wanted to make sure that what the bride tried on during the mockup process had a very similar look and feel to the final dress. As a custom dressmaker of nearly 20 years, I can visualize how a fabric like muslin would translate into the final dress. But when we started the process, I had just met my bride. I wasn’t sure how much she’d want to be a part of the design process or how much imagination she’d have for visualizing the final product during the important mockup stage. I knew there would be almost no time to make any changes once the dress was cut from the final fabrics, so I decided that making the mockup dress out of shiny polyester could be helpful and time-saving in the long run- even though it meant extra dressmaking steps and more fabric yardage (since I would never back scumptious silks with yucky polyester).
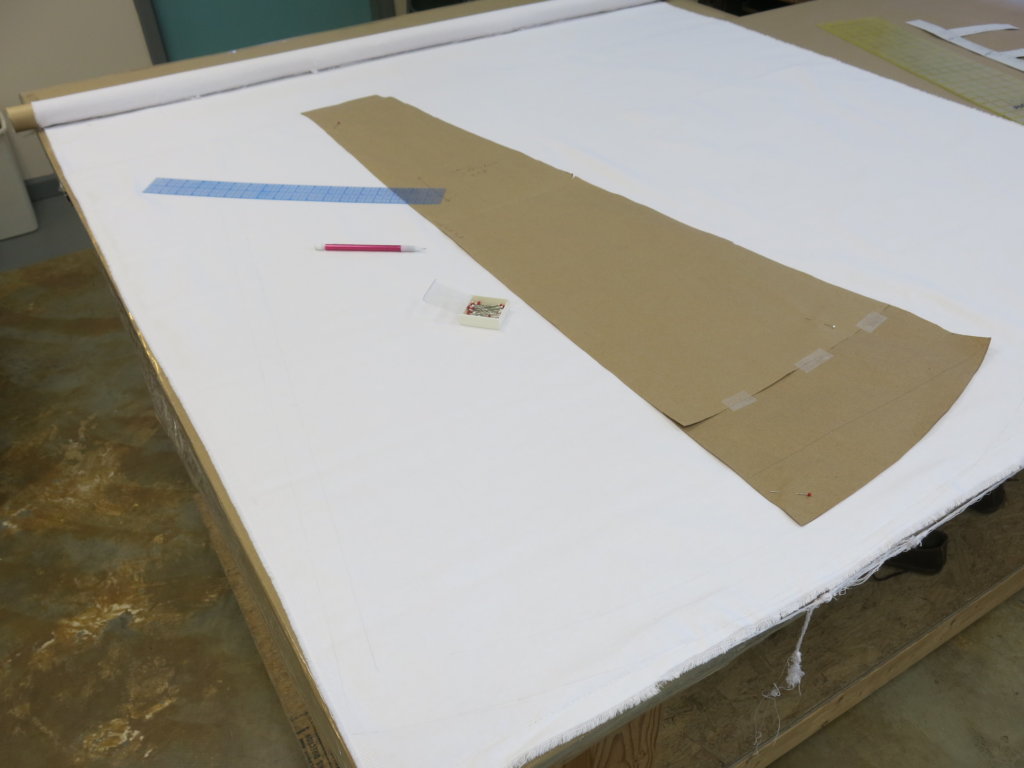
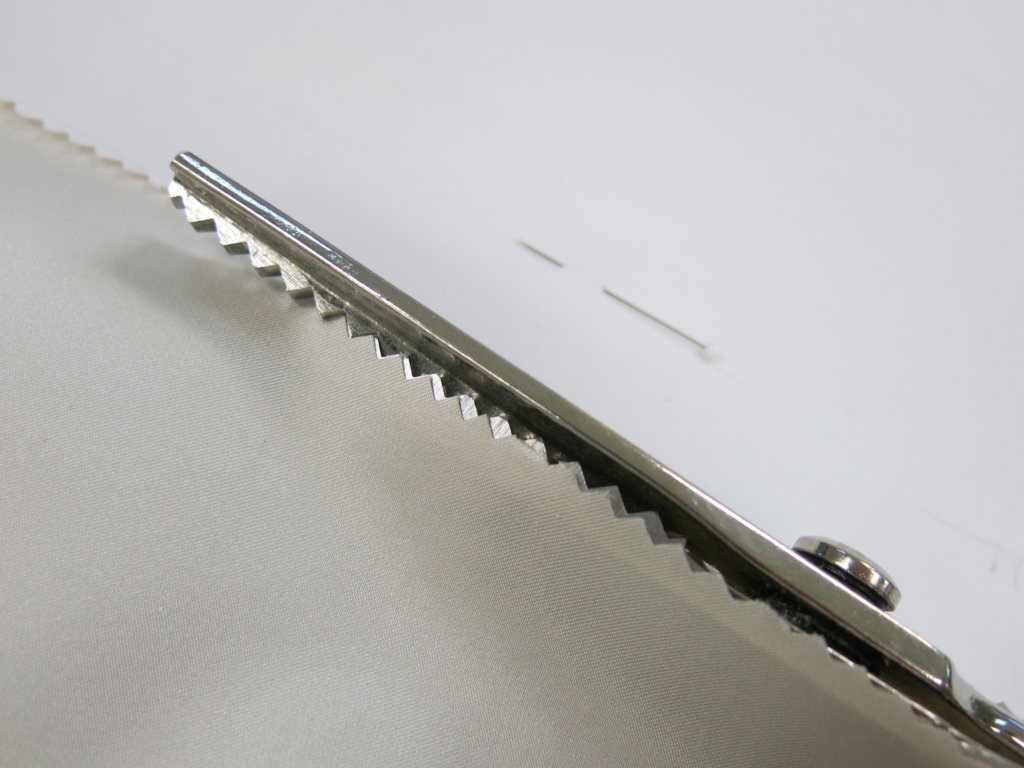
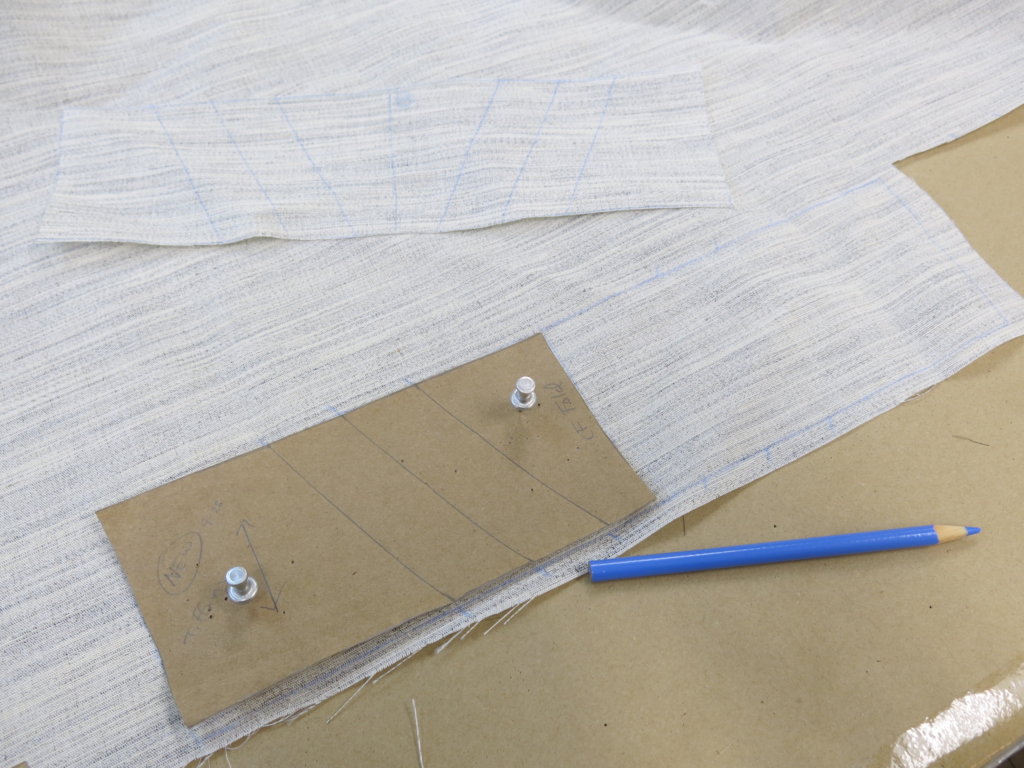
So instead of taking Tiffany’s mockup apart and using its fabric pieces to underline the silk, I first needed to mark and cut fresh fabrics to underline every piece of her wedding dress. The underlining fabric I chose to back the silk was a soft structured cotton twill. Using my edited brown paper pattern and a ruler, I marked all of the stitch lines and cutting lines with pencil directly on the cotton before cutting out each piece with pinking shears.
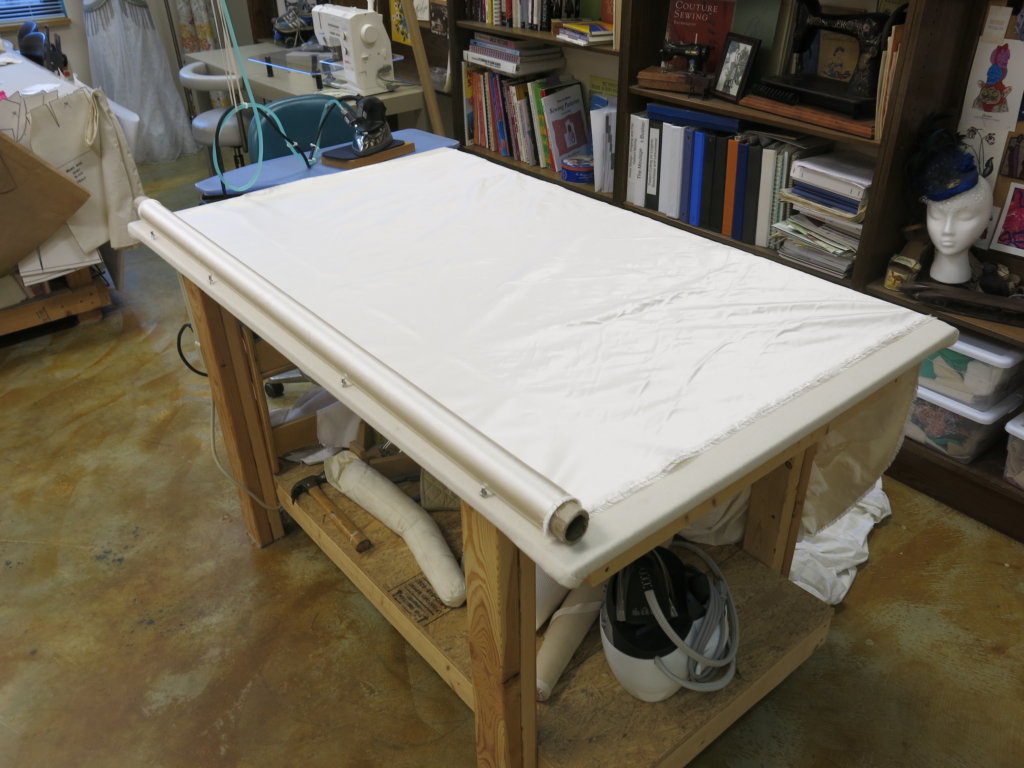
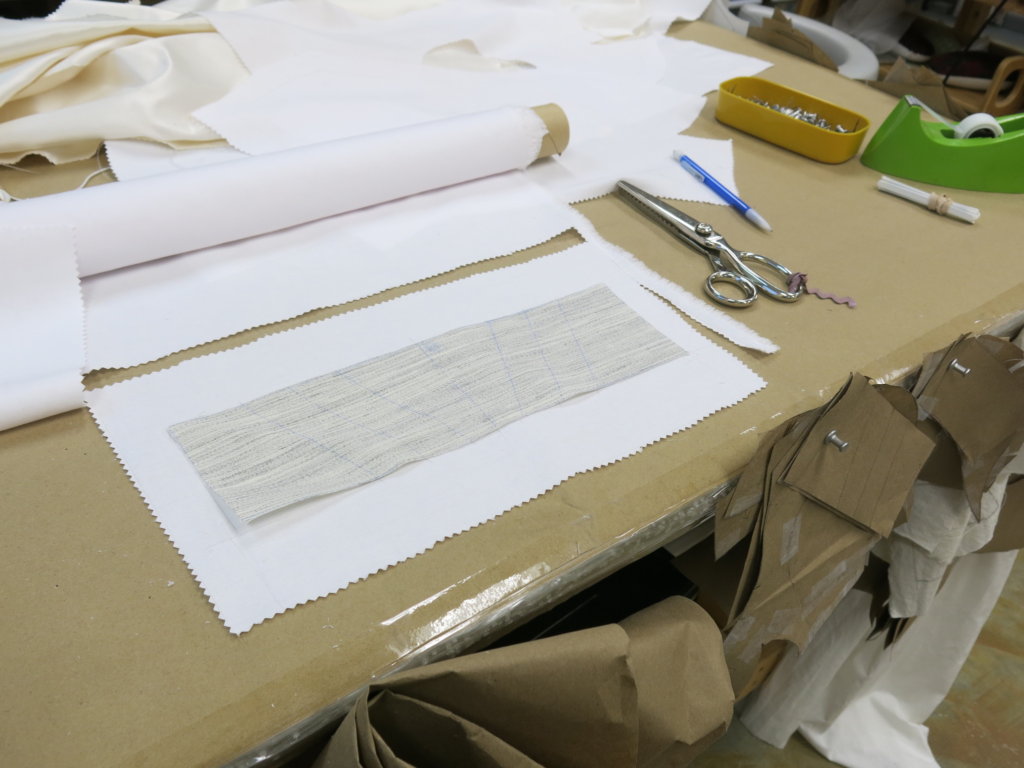
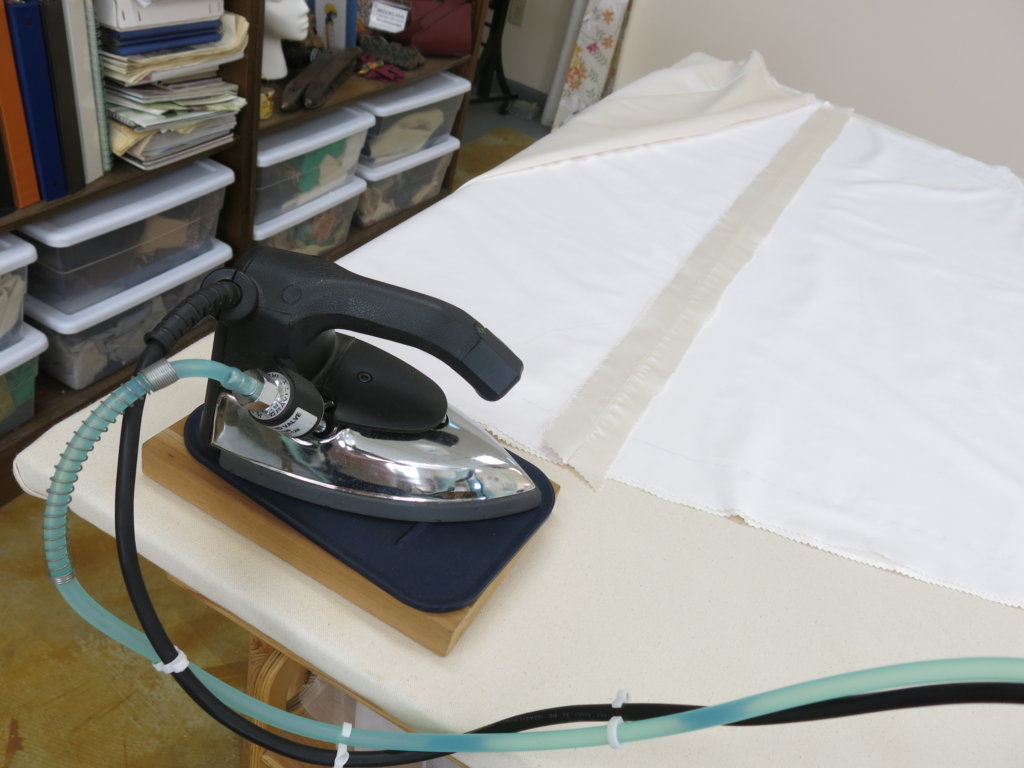
I also steam pressed the gorgeous silk satin from Mulberry Silks onto a roll using my custom ironing table and my gravity fed iron (affiliate link). I first covered the floor with muslin to keep the yardage clean during the pressing and rolling process.
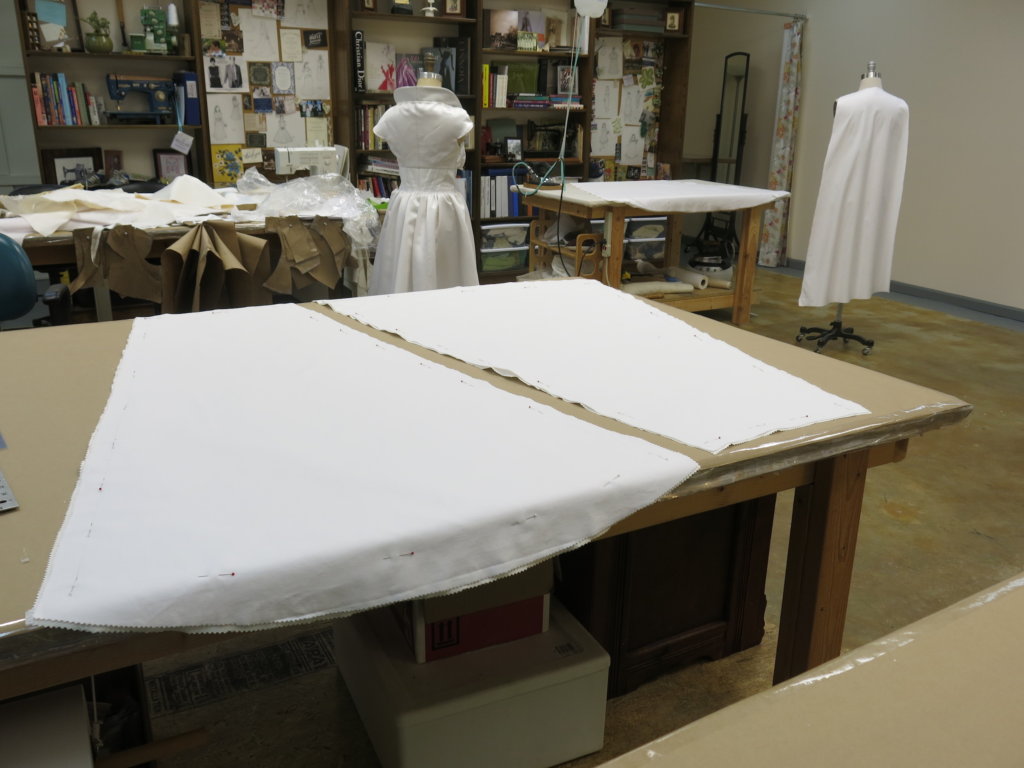
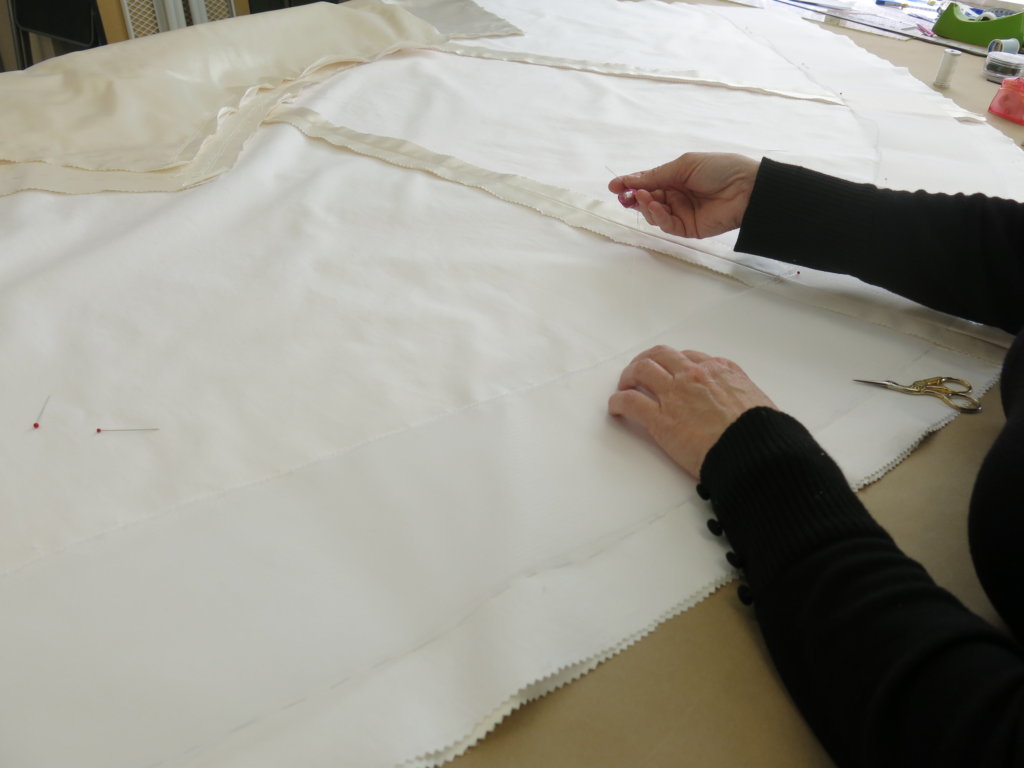
Once the silk was all pressed, I rolled it out onto my custom cutting/drafting/sewing table and pinned the cut cotton underlining pieces to the silk yardage matching both of the fabrics’ grains.
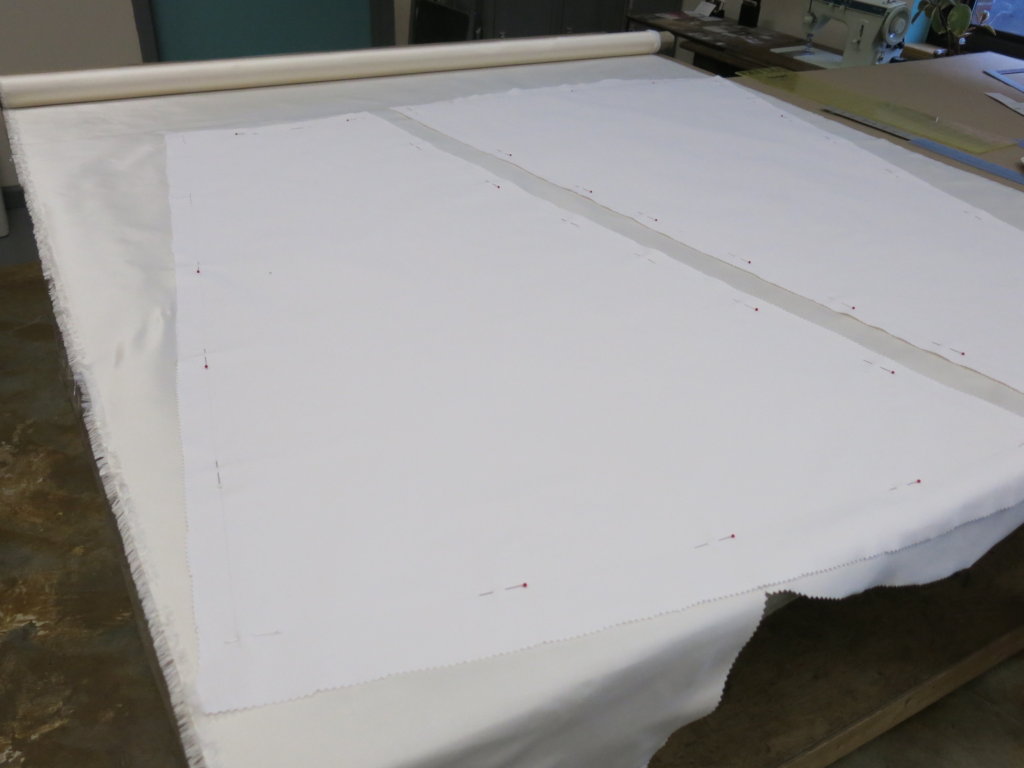
Then I used the cut edges of the cotton as my guide to cut around the silk…
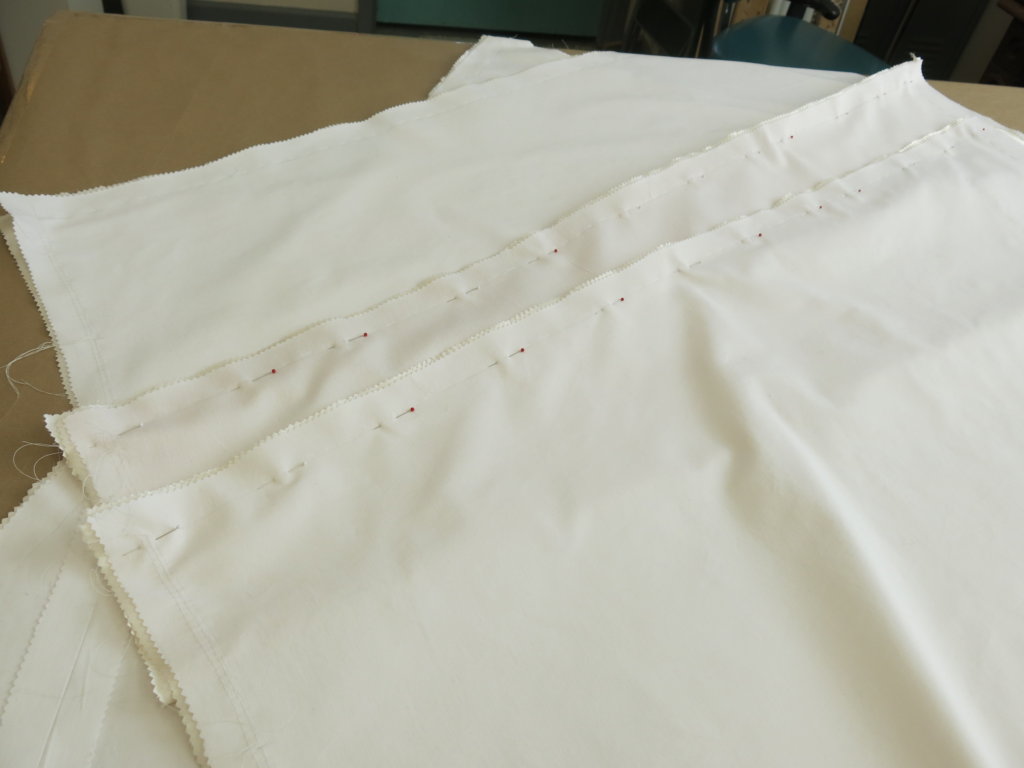
… until all of the skirt pieces had two layers of fabric- cotton and silk- cut and pinned together as one.
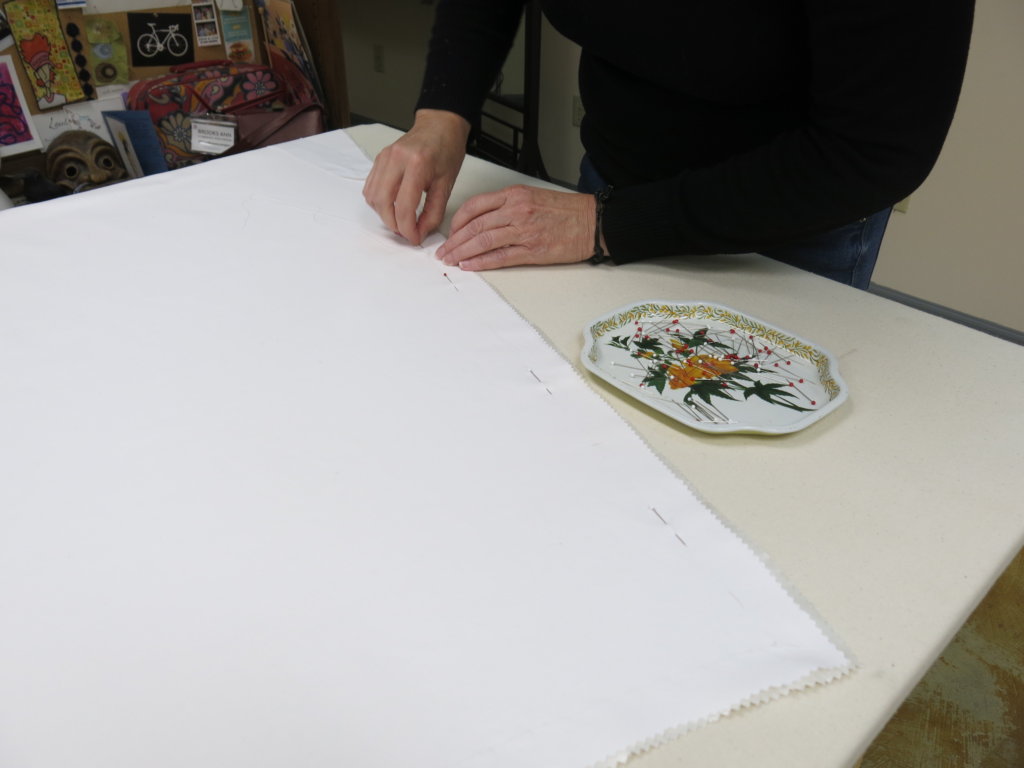
My assistant Rebecca then replaced the pins with lines of hand basting stitches. These stitches were added in the allowances right beside (but not exactly onto) the stitching lines. This meant that, though technically a temporary stitch, they’d always be hidden without ever needing to be removed. (I absolutely love all the helpful little stitches that are hidden inside my dresses!)
Once the two layers were completely hand stitched together and pressed flat, the underlining process was complete and I would use each layer of cotton and silk fabric together as if they were single pieces of super-silk throughout the rest of the process. Underlining for the win!
The Midriff Band
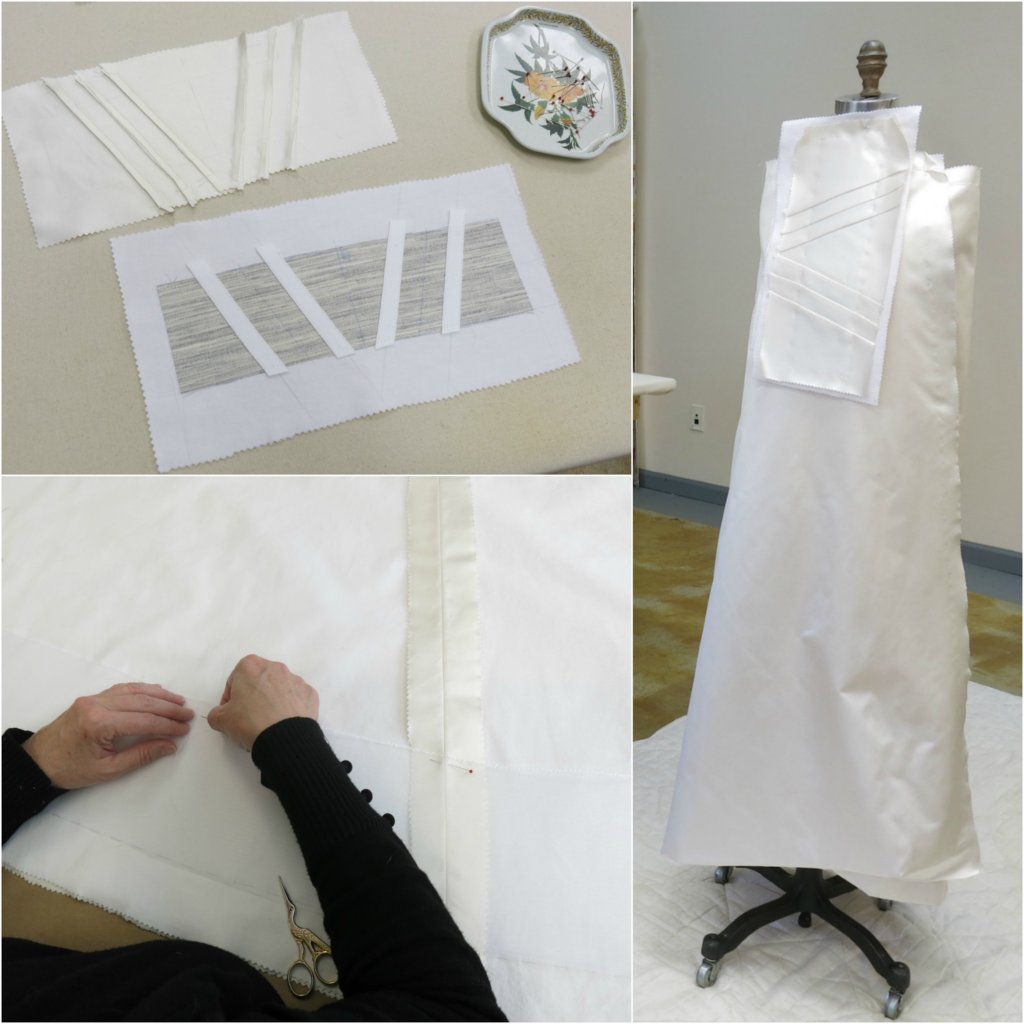
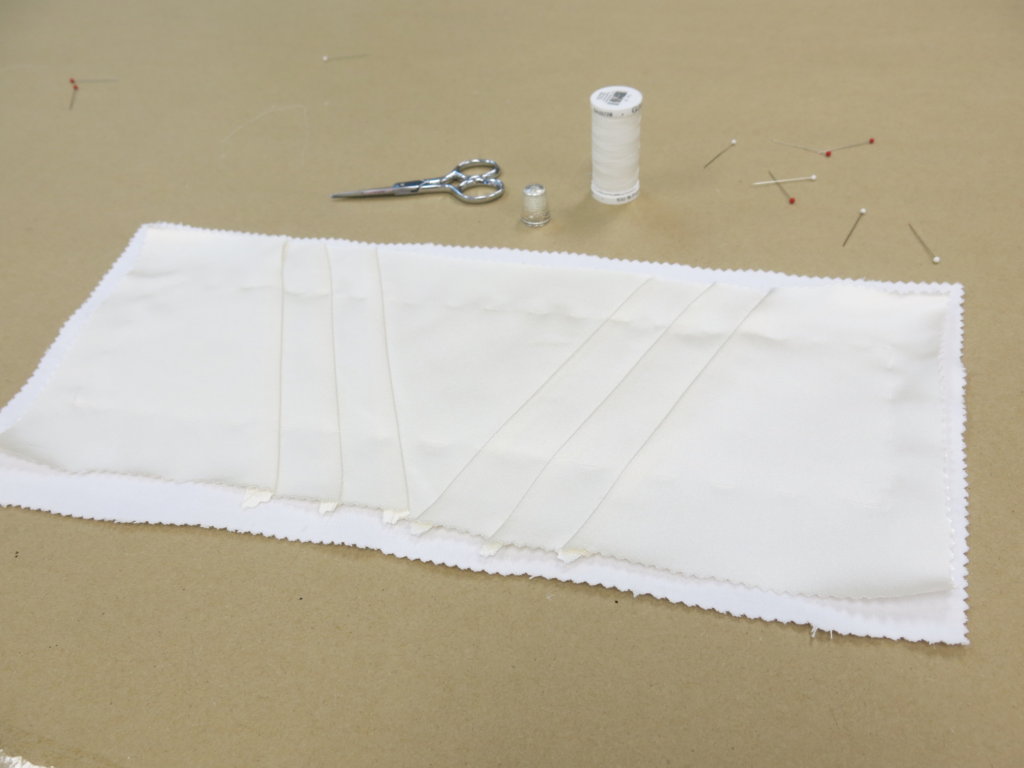
While Rebecca was hand stitching, I began to work on the midriff band for Tiffany’s dress. My process started with an experiment. The bride wanted decorative diagonal lines on the midriff. I mostly figured out my construction process during the mockup fittings, however, there was a small design decision to be made in the silk.
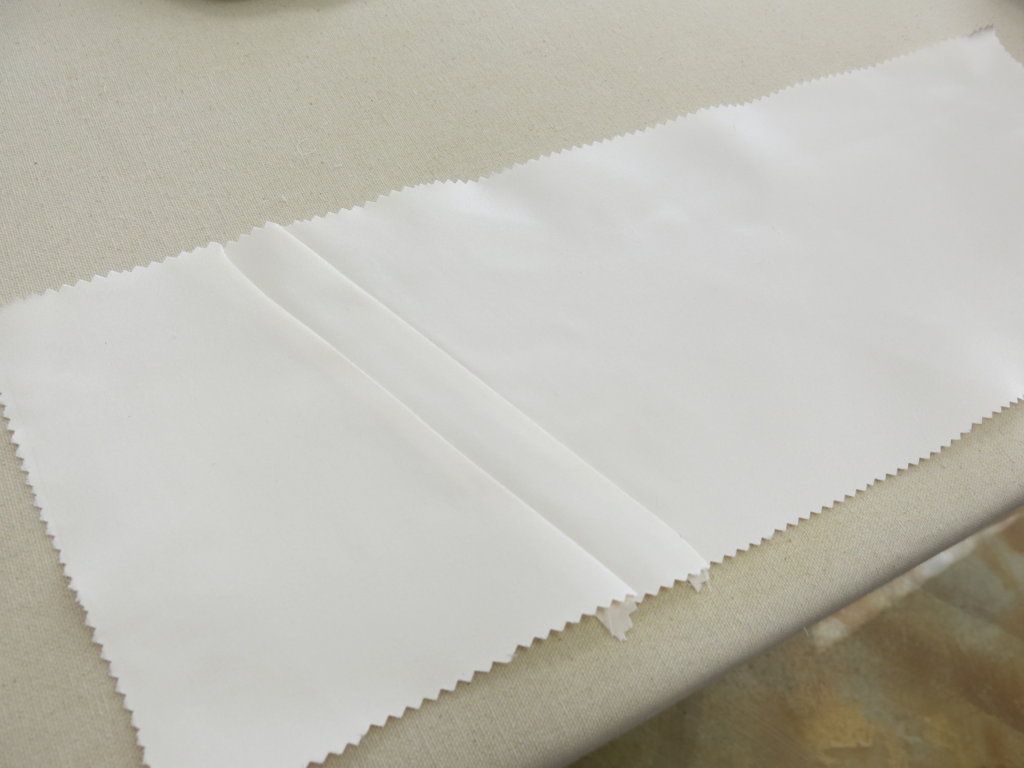
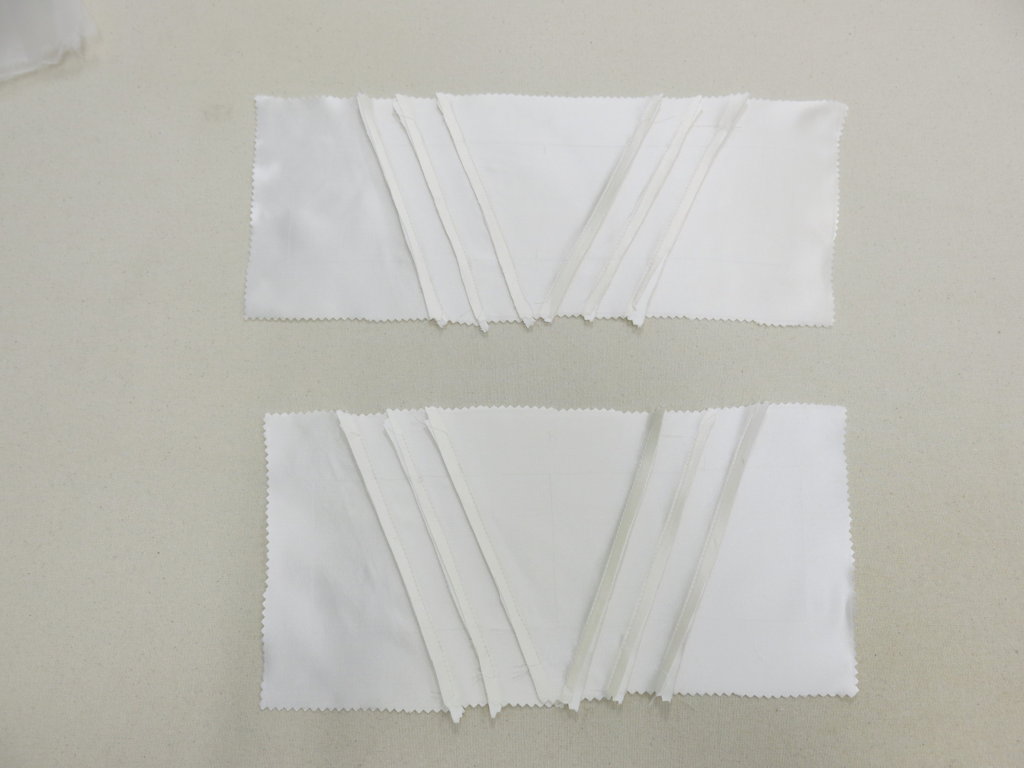
The direction that I pressed the inner seam allowances of the diagonal lines would give a slightly different look, which I could observe via samples pinned to the mockup dress. When the allowances were pressed up, there would be a small shadow on the diagonal line- which you can observe in the sample on the left. The sample on the right showed that when the allowances were pressed downward, a slight highlight would show instead of the shadow.
It’s a super-subtle difference, but which do you prefer? (You’ll find out my choice later in this post!)
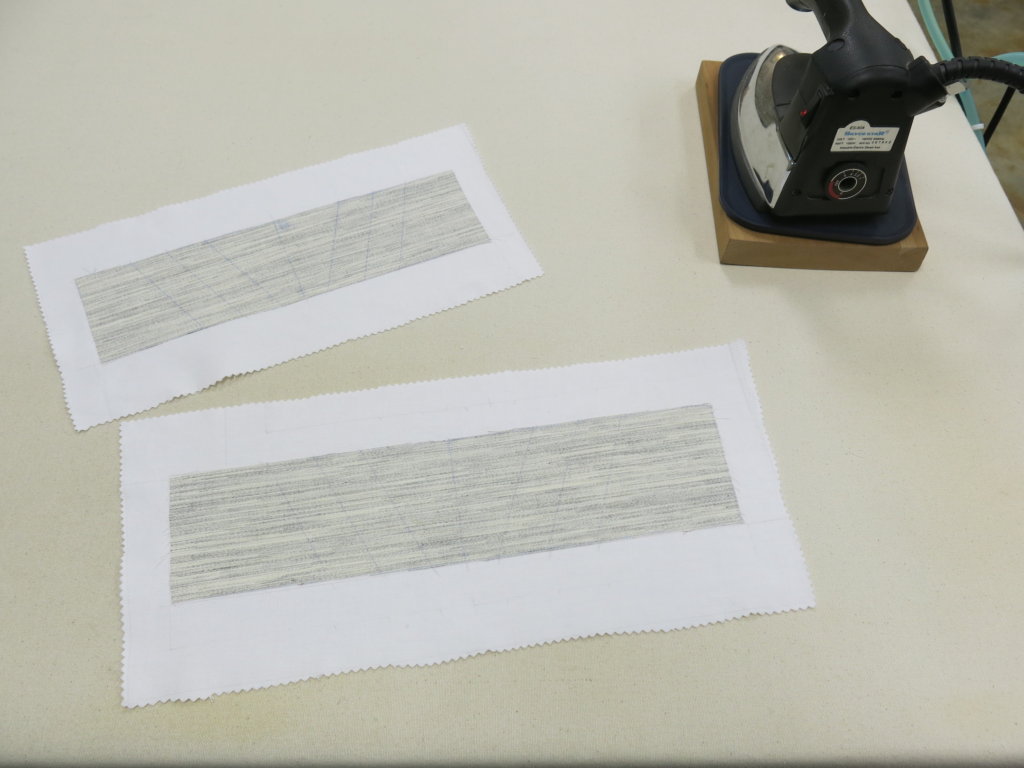
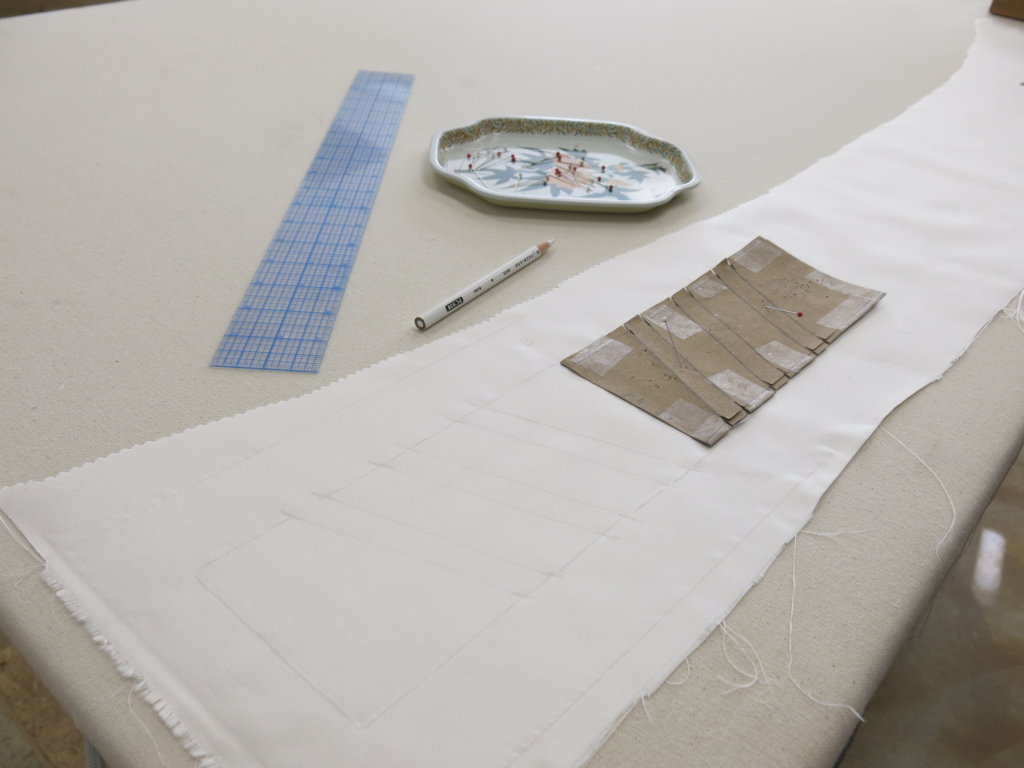
To construct the band, I first marked and cut some fusible tailor’s canvas interfacing to exactly match the size of the bands (without allowances).
Next, I used the cut interfacing to mark and cut the underlining layer in the cotton (with allowances)…
…and fused the two together with my iron.
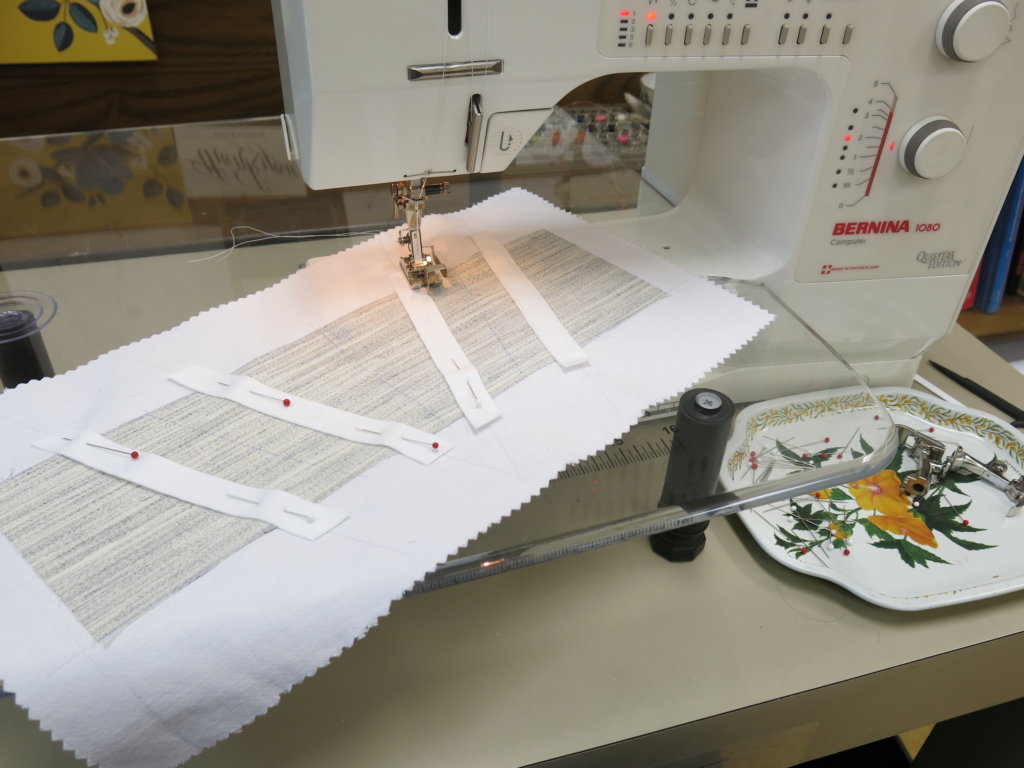
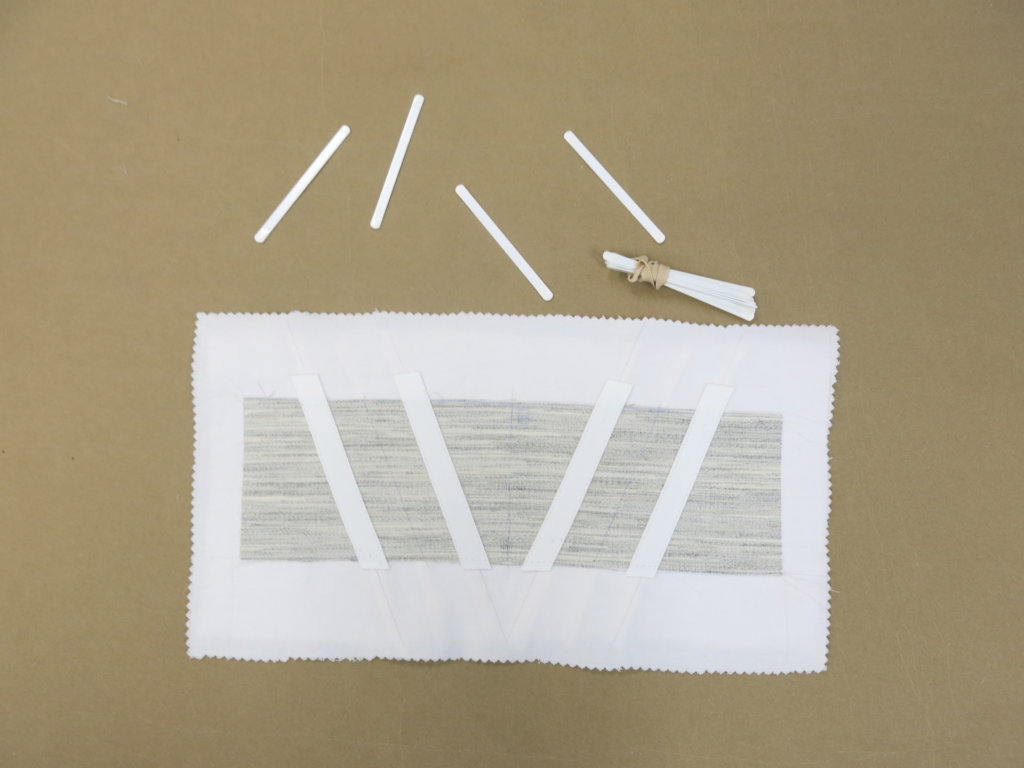
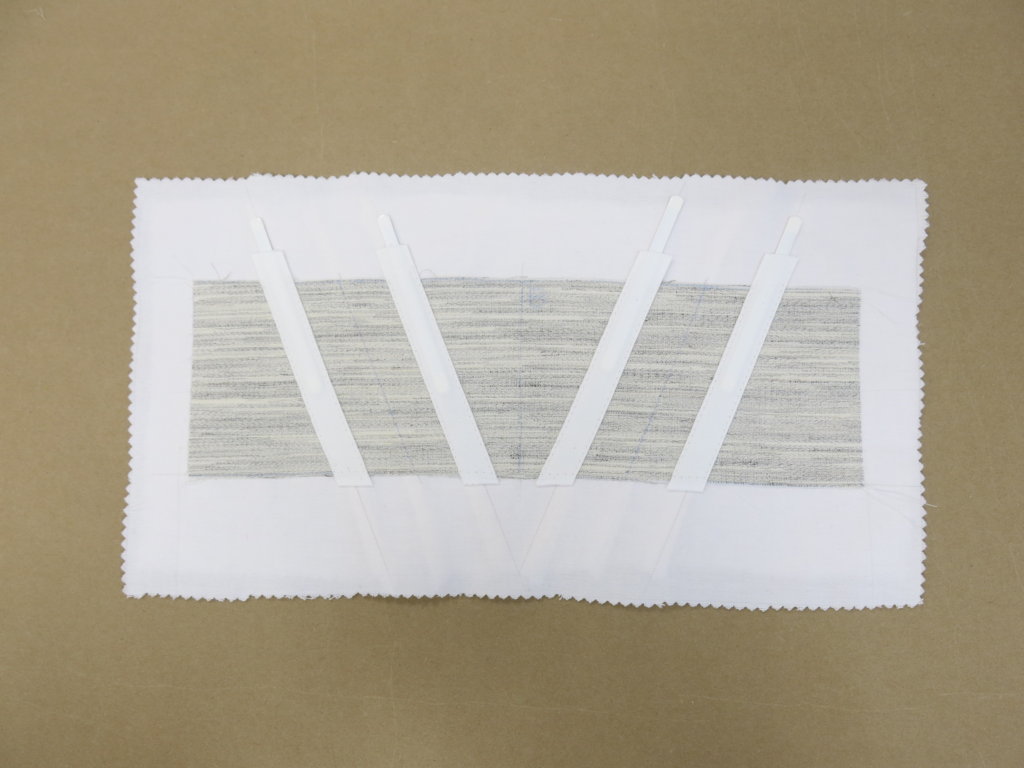
Next, I used the marked diagonal lines to add cotton casings for some steel boning.
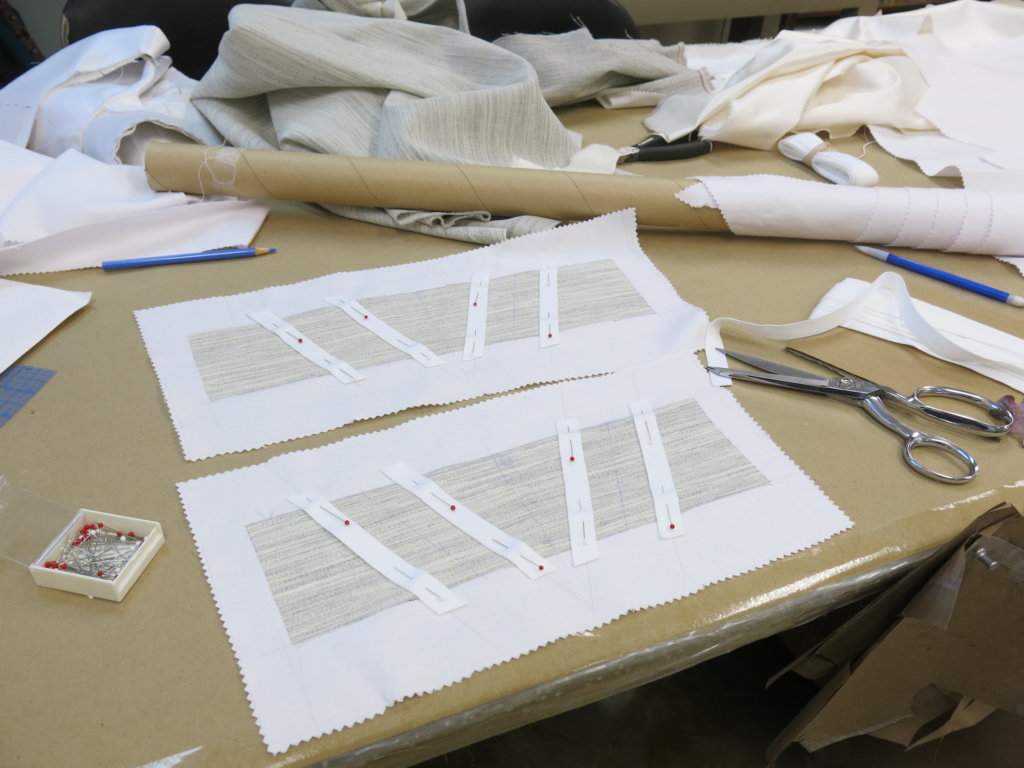
Stitching the bone casings to the inside layers before adding the outer silk layer would hide any stitching secretly inside the dress.
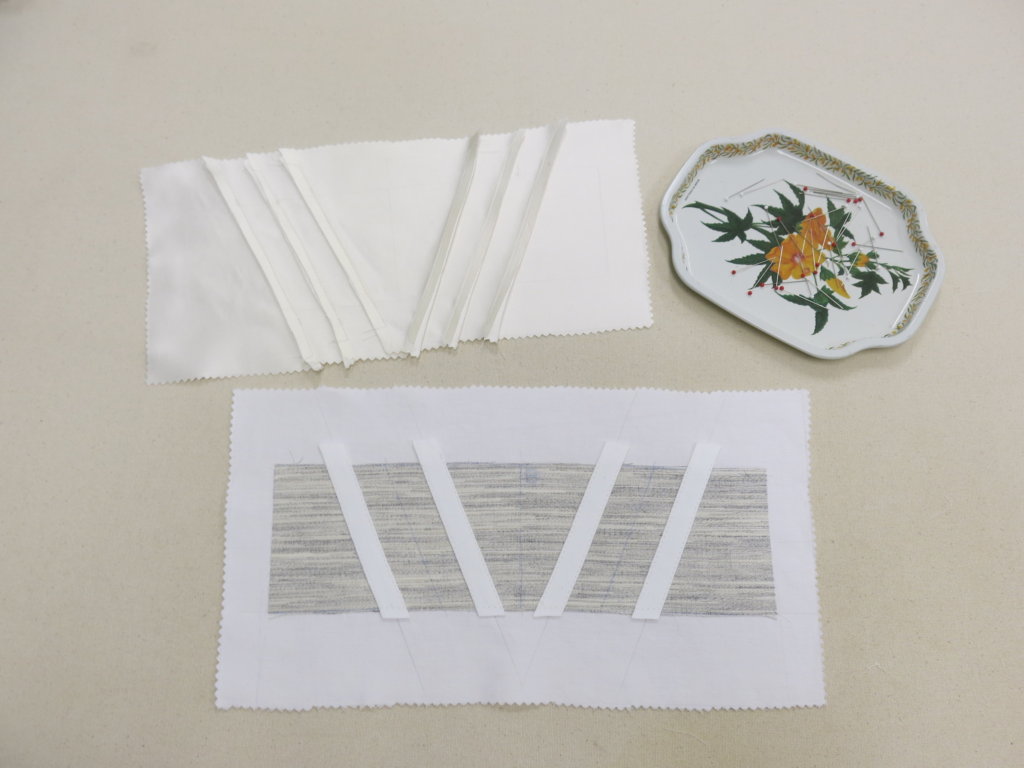
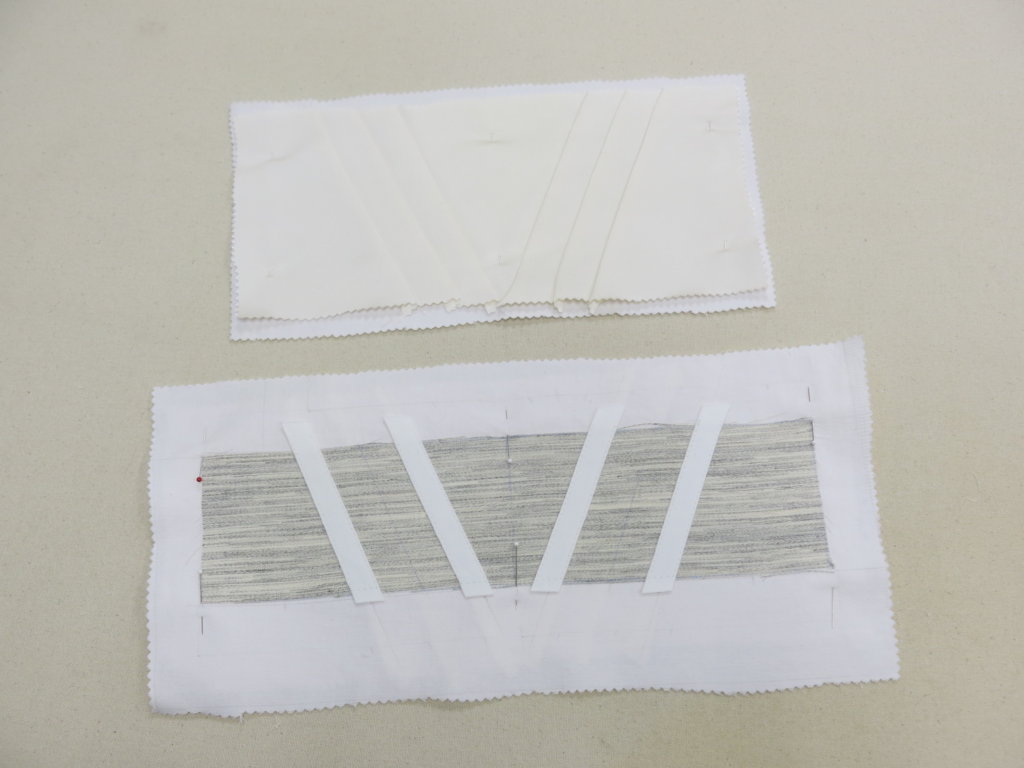
Next, I prepped the silk layer of the midriff by marking its lines with a white pencil on the white fabric- just dark enough for me to be able to see on the inside for stitching, but light enough that it would never be seen on the outside of the dress. I would cut, stitch, and press the diagonal lines only in this layer before adding it to its backing. This would make the seams more delicate while hiding all the inner construction.
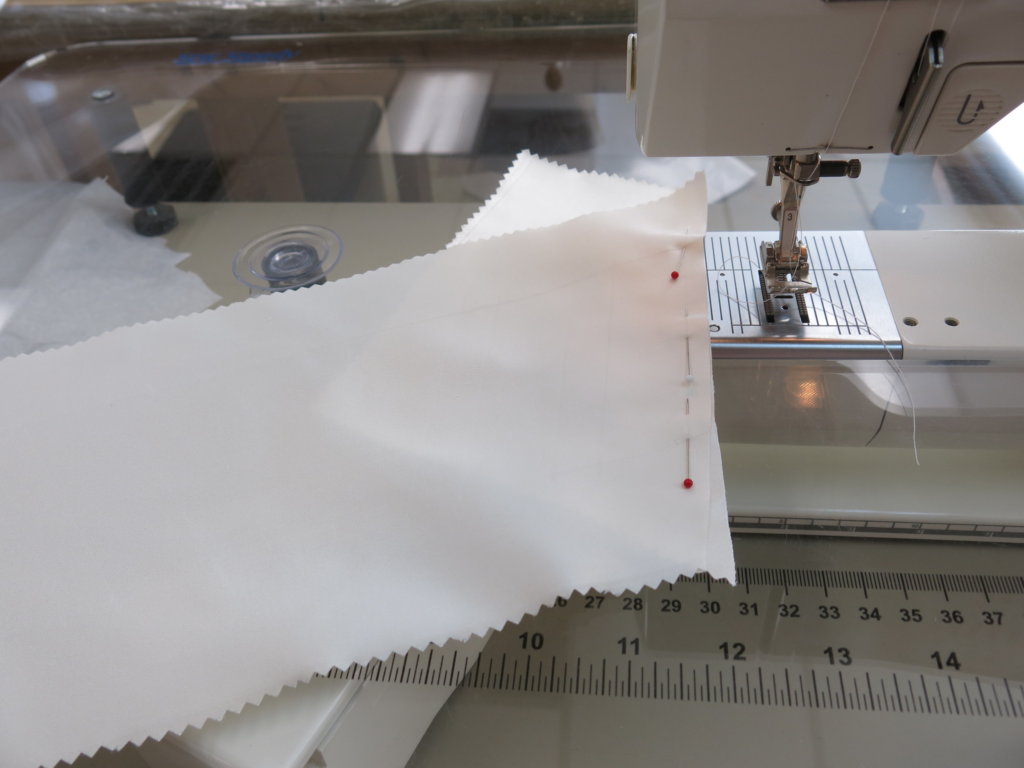
I knew that cutting and sewing on the bias grain to create the decorative diagonal lines would be a tricky task, so my self-drafted pattern included 1/2″ gaps that I would cut and sew one at a time to minimize overhanding. I cut through the middle of each gap, then immediately pinned the stitch lines together before stitching it up by machine.
After each stitch, I’d press the allowances and then start the same process over for the next line.

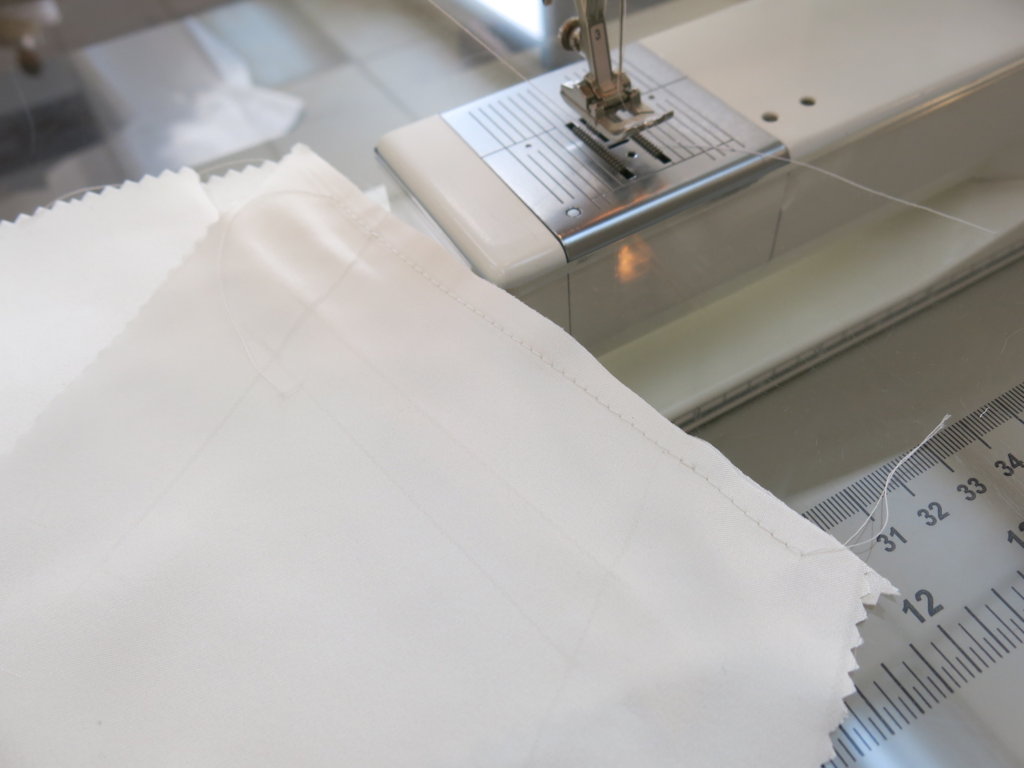
I decided to press each allowance downward to show the little highlight on the edge when viewed from the front.
Eventually all the decorative diagonal lines were marked, cut, stitched and pressed. Here’s the view from the inside…
… and from the public side. Pretty cool, huh?

Next, I matched each completed silk layer with each completed inner layer…
…to combine each as one. First pinning…
…then hand stitching the layers together to complete the underlining process for these pieces.
Next, I added little steel bones…
…into the little cotton casings…
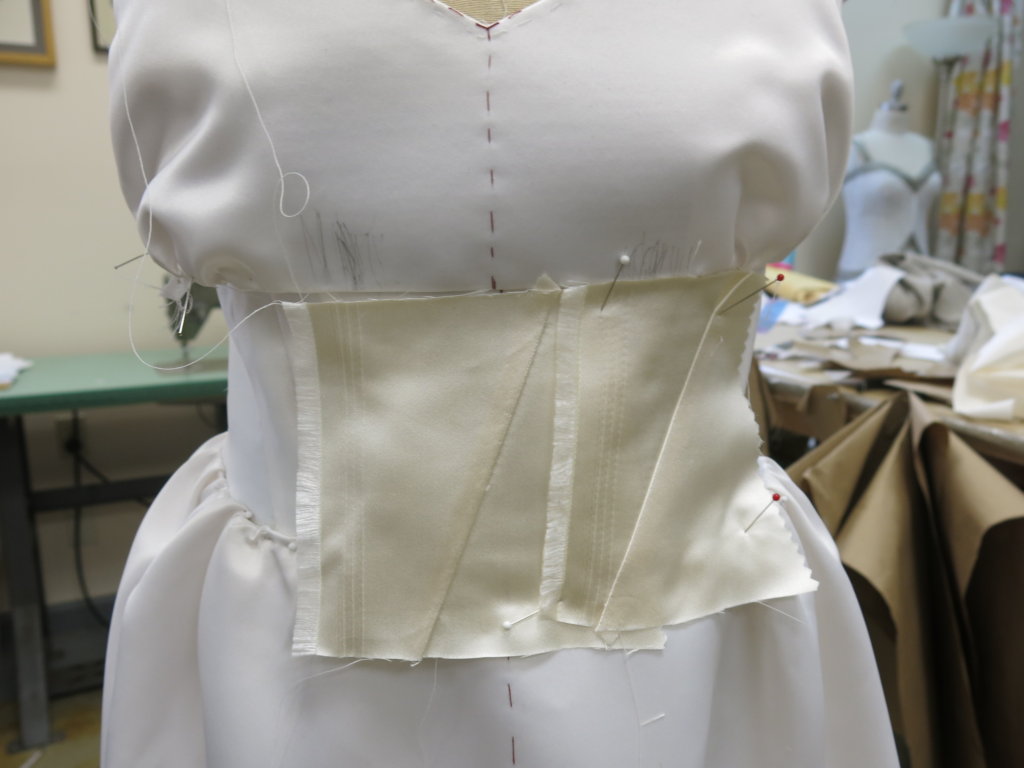
…to offer a nice structured fit for the middle of Tiffany’s wedding dress!
Meanwhile, the skirt…
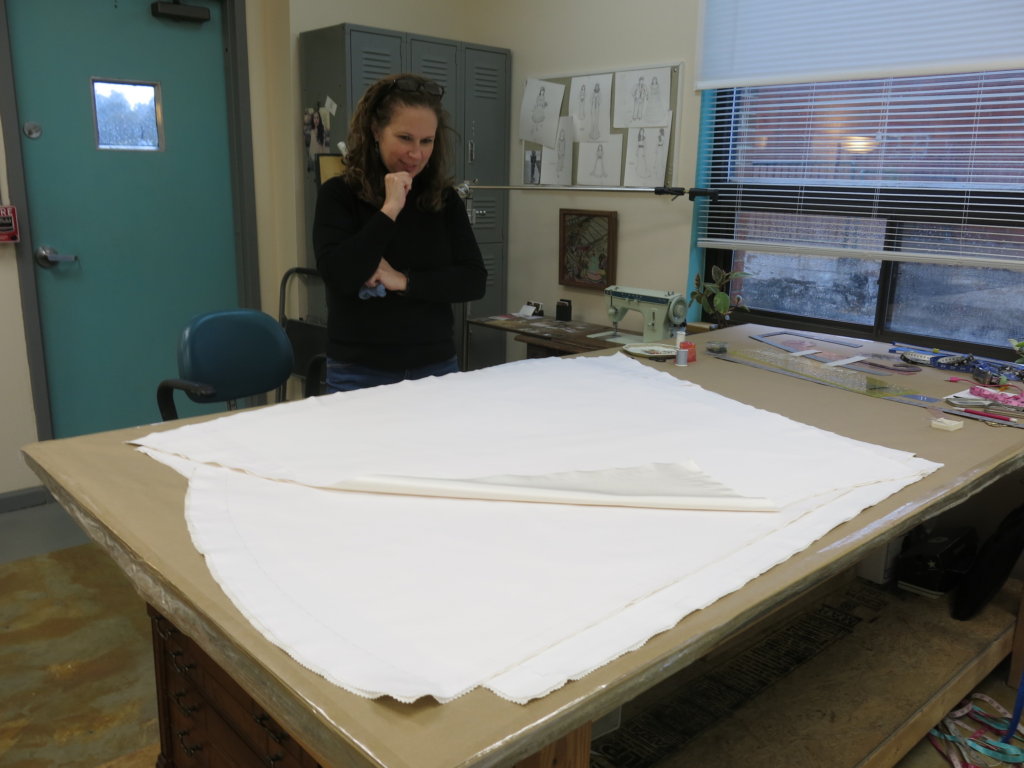
Once Rebecca finished adding the underlining stitches around all the skirt pieces, we stopped to admire her work. The skirt features only one large piece with no seams on the front and three pieces joined together for extra fullness and drama in the back.
I pinned and stitched the seams of the back of the skirt together…
…and pressed them open on the inside.
Then Rebecca worked on hemming the front and back pieces separately. Stitching the side seams would happen much later in the dress’s construction. Not only would this make our basted fitting easier, a great way to avoid overhanding during the dressmaking process is to keep the pieces as flat as possible for as long as possible.
First she added 6″ horsehair using a catch-stitch by hand. She would pick her stitches through the cotton underlining layer only, leaving the silk layer untouched for a stitchless invisible finish.
Then she turned up the hem…
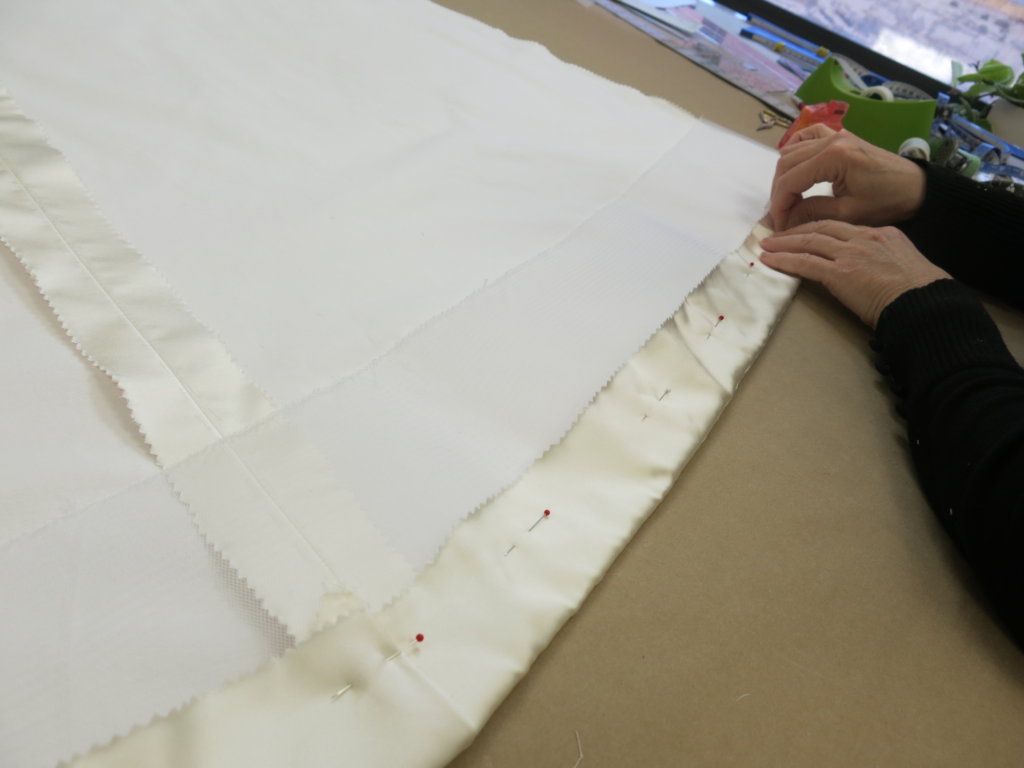
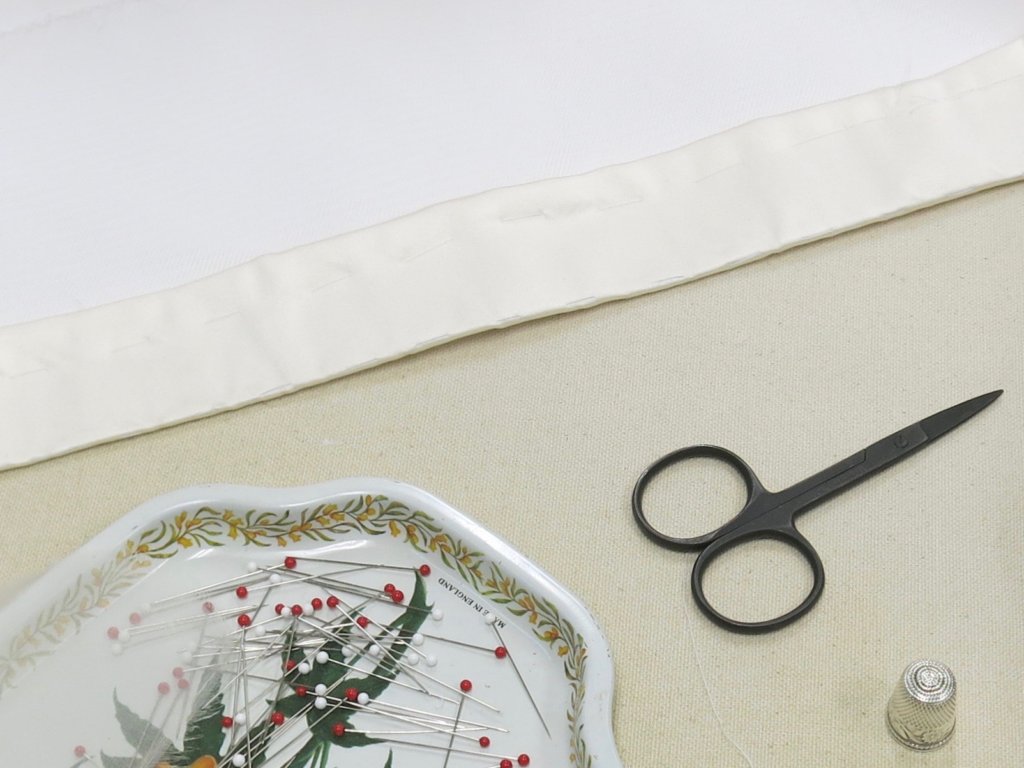
… which we hand basted in place in preparation for the basted fitting.
Making Progress!
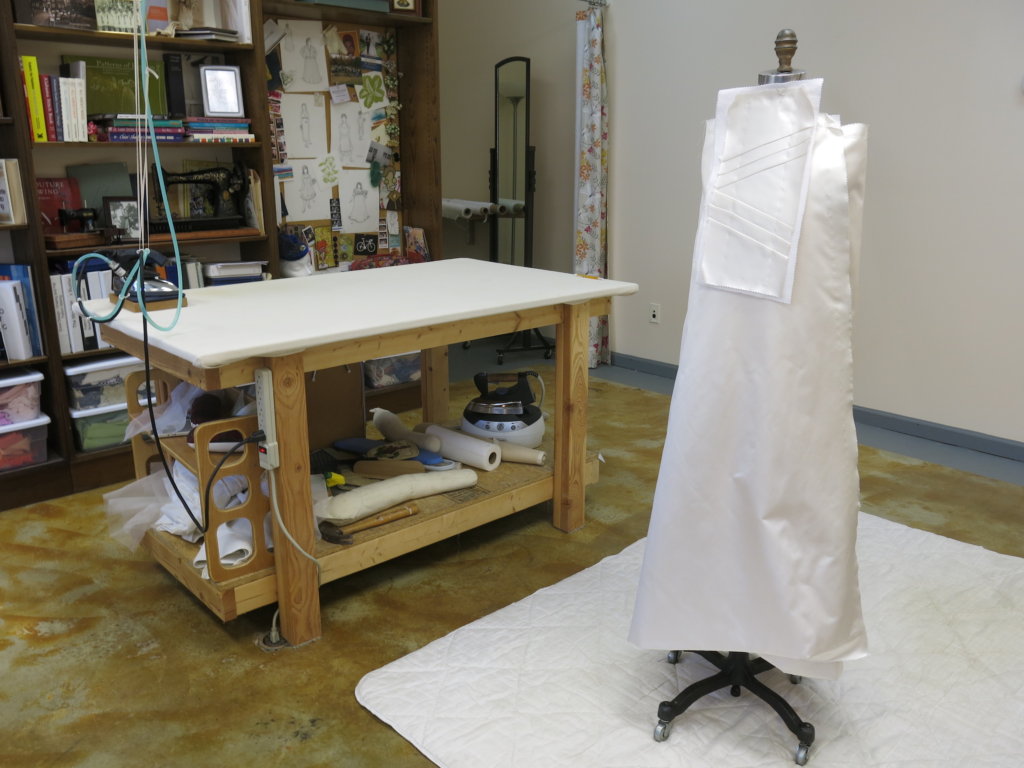
With the front and back pieces of the midriff and the skirt (mostly) constructed…

…I was feeling very happy with Tiffany’s wedding dress progress!
But, really, the dressmaking was just getting started. Onward to more Adventures in Silk!
NEXT POST: I’ll share the story of how the shoulders and cut-in-one sleeves of Tiffany’s beautiful bodice came together. I think you’ll enjoy it, if you keep following along!
This post contains an Amazon Affilate link. If you order anything via my link, I will earn a small commission at no additional cost to you. Thanks for your support!


