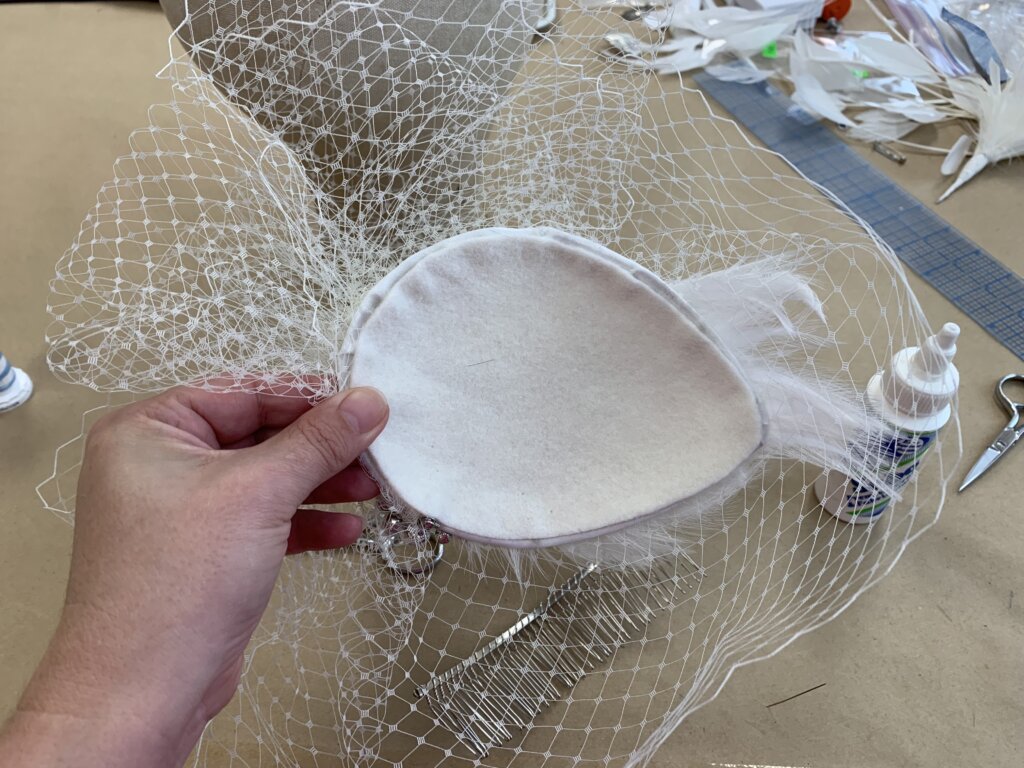
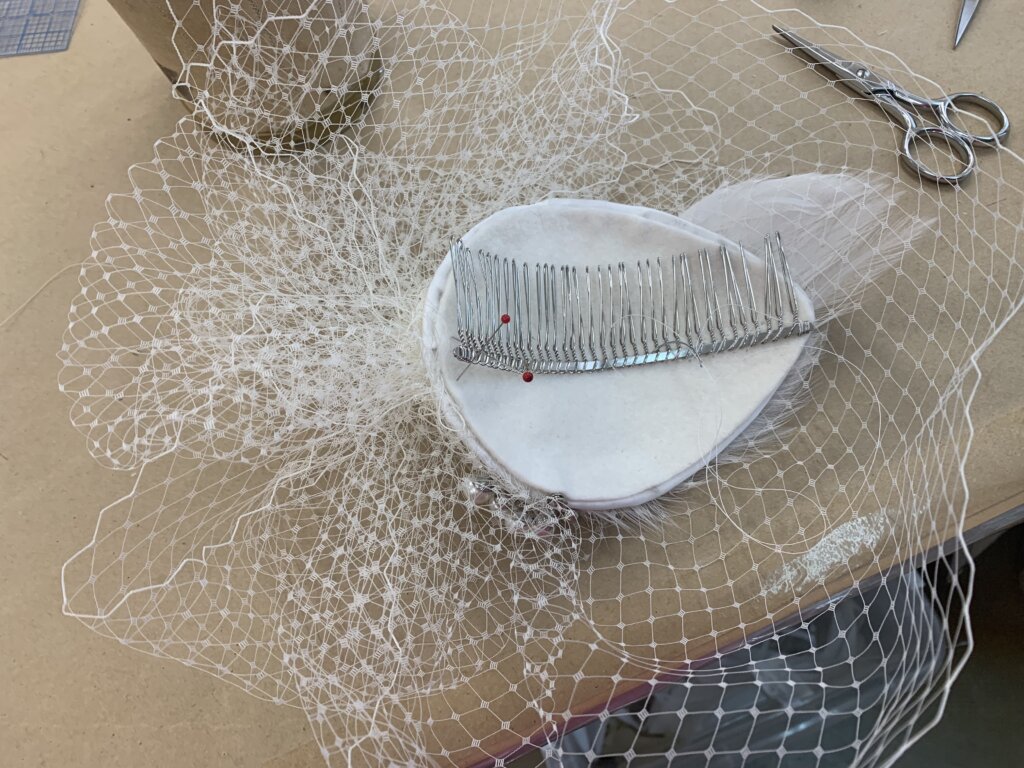
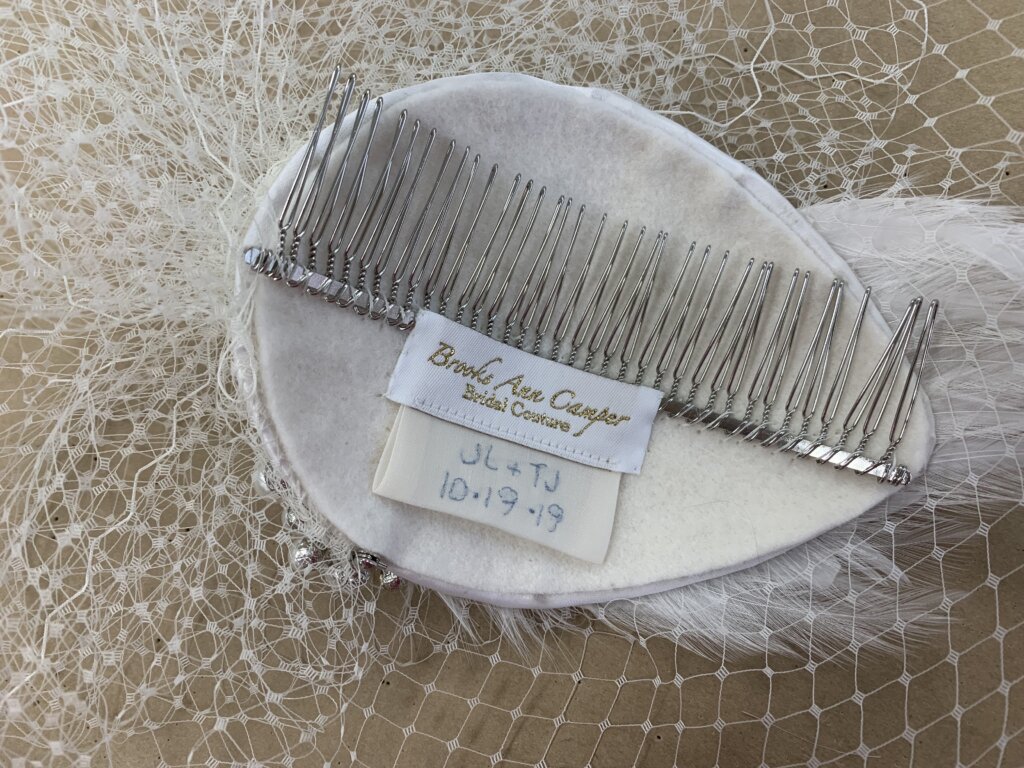
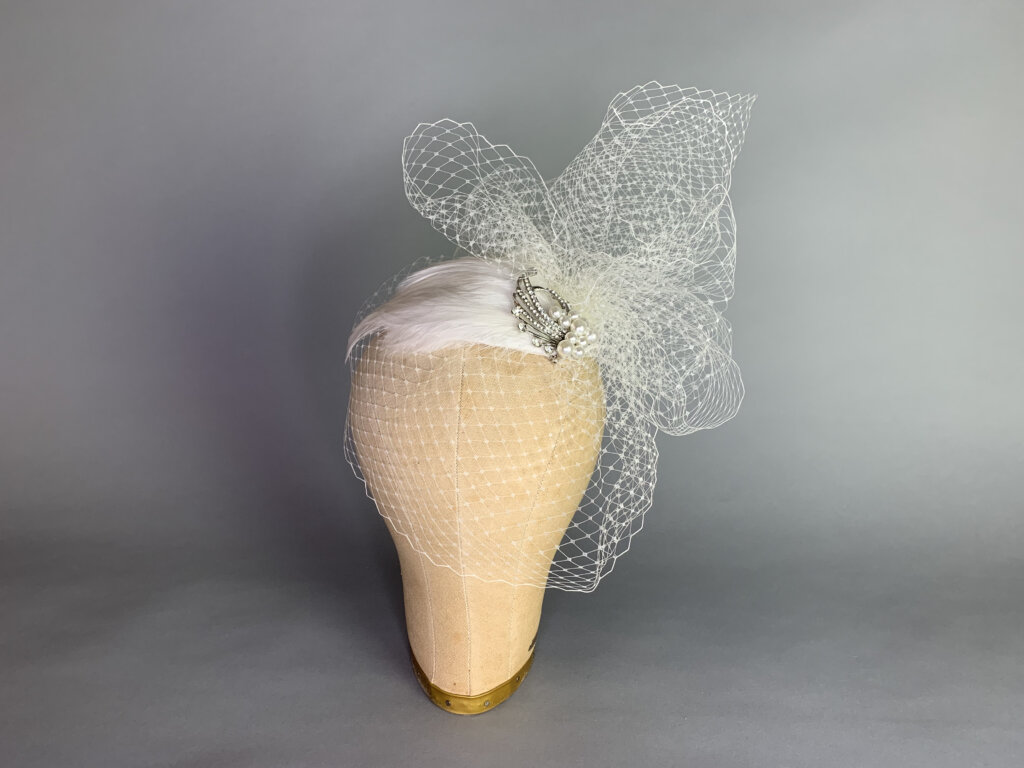
In this second-to-last post in Jenn’s bridalwear blog series, I’ll share the story of creating a custom fascinator headpiece for her to wear during her wedding ceremony. I love making millinery pieces!
Did you know that handcrafting one-of-a-kind millinery used to be my profession? And that the first wedding veil I ever made was for Broadway’sMama Mia!? After earning my MFA in Costume Production, I moved to New York City and immediately got my dream job as a theatrical milliner for Broadway shows and other major productions. I worked for the talented milliner and lovely human Lynne Mackey. (You can find video interviews with Lynne HERE and HERE.)Making hats and headpieces for celebrities was my jam.
So I was thrilled when my celebrity friend Jenn announced she was getting married and wanted me to make the custom millinery for her wedding ceremony (which would be featured in People)!
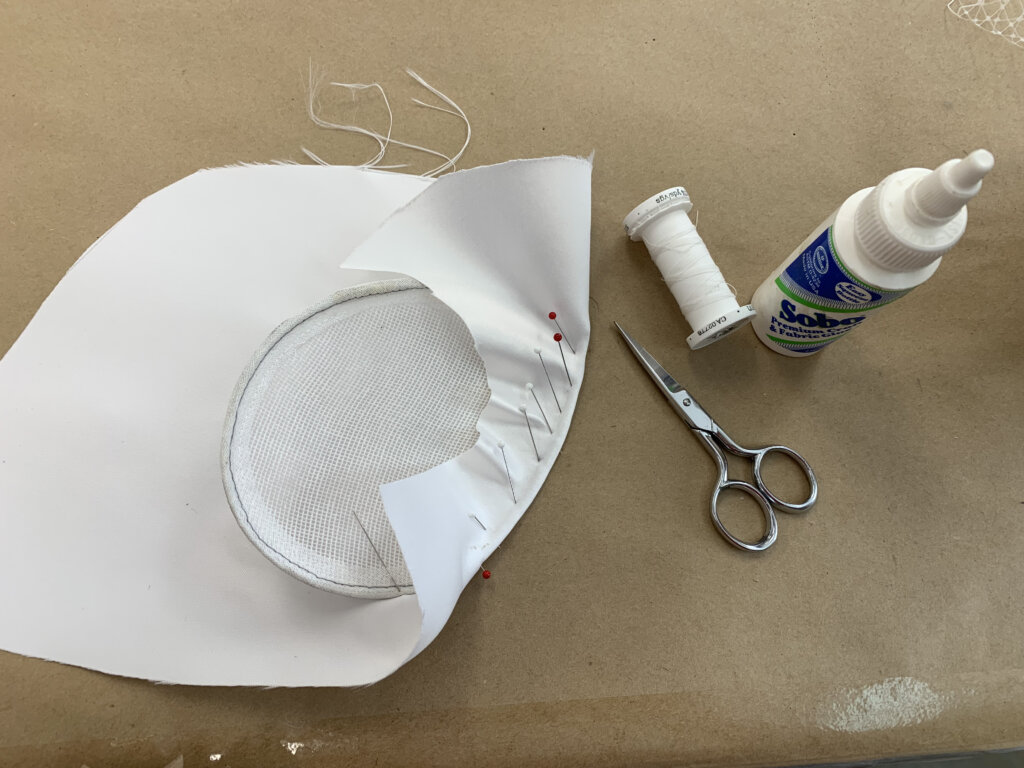
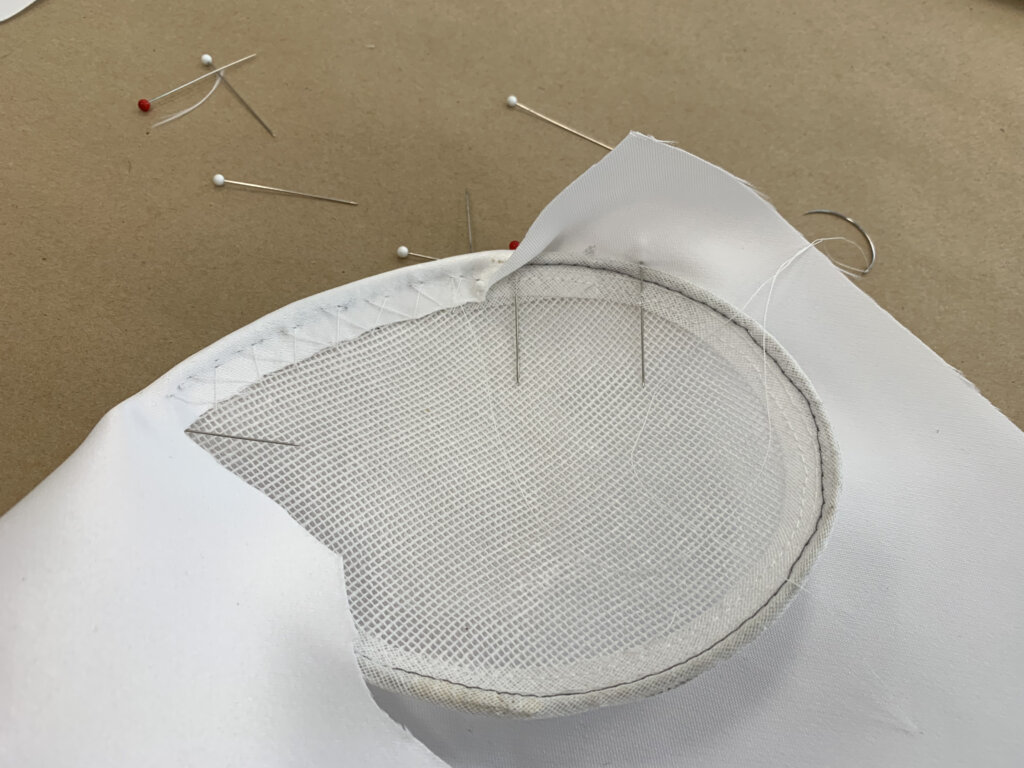
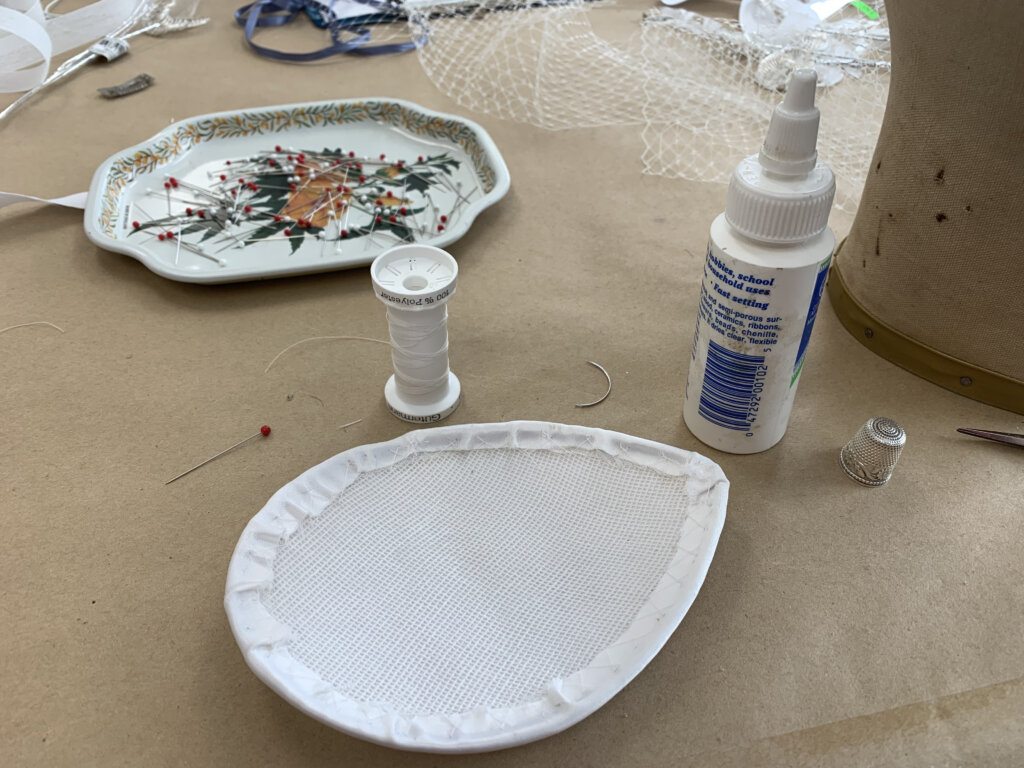
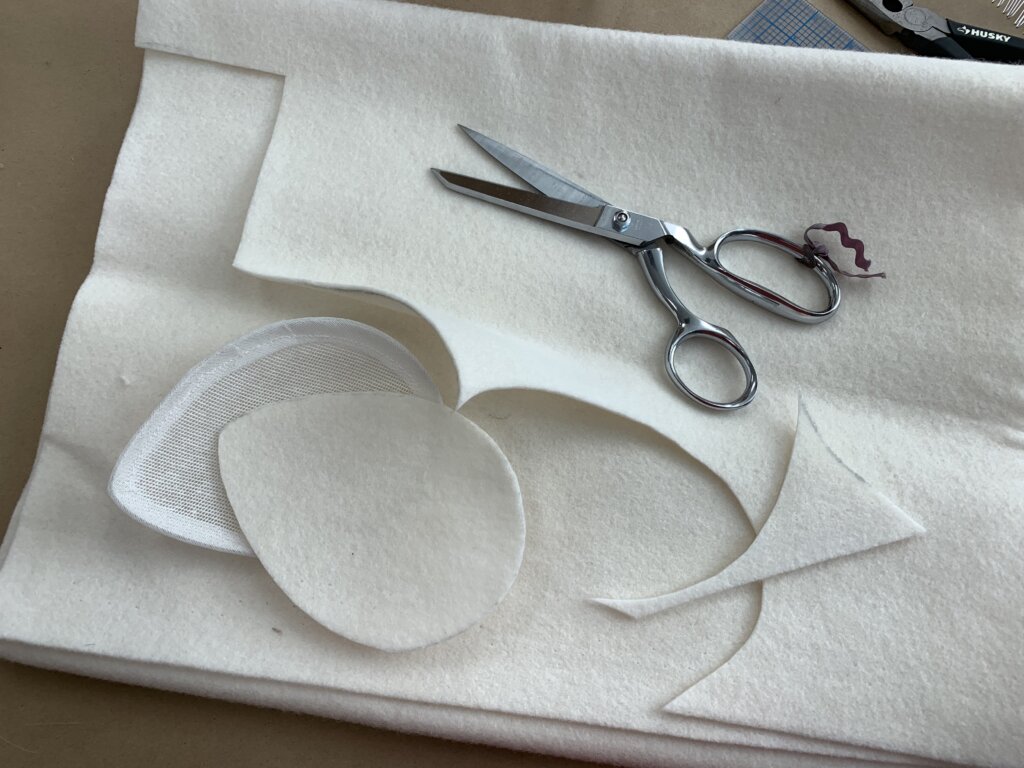
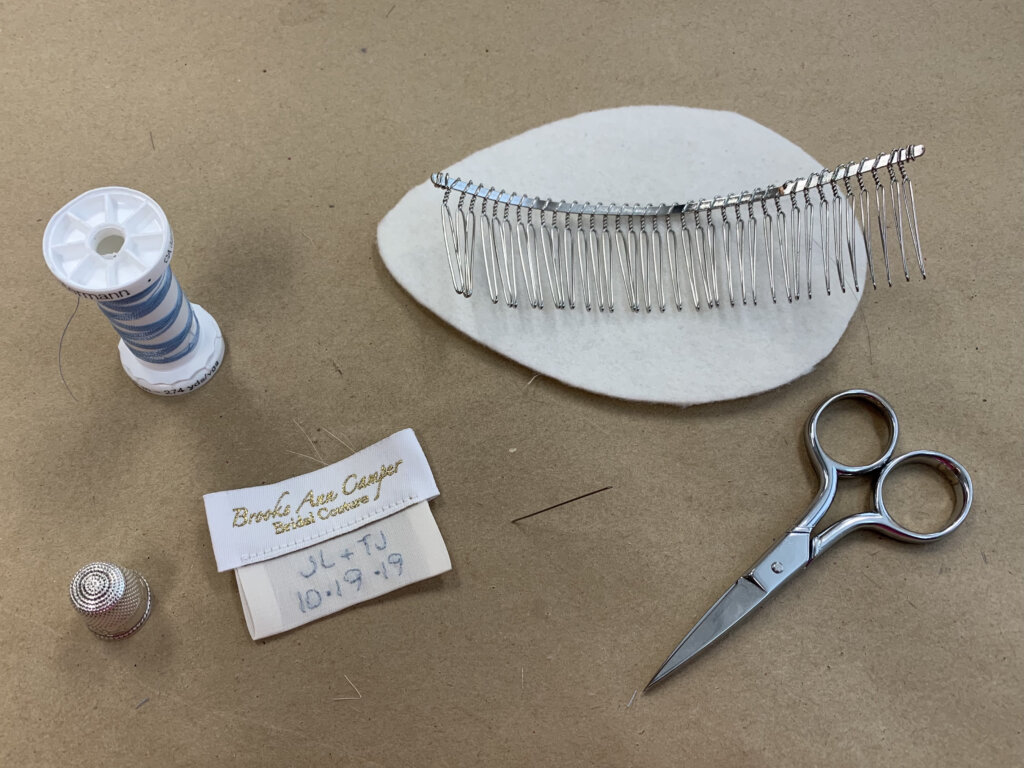
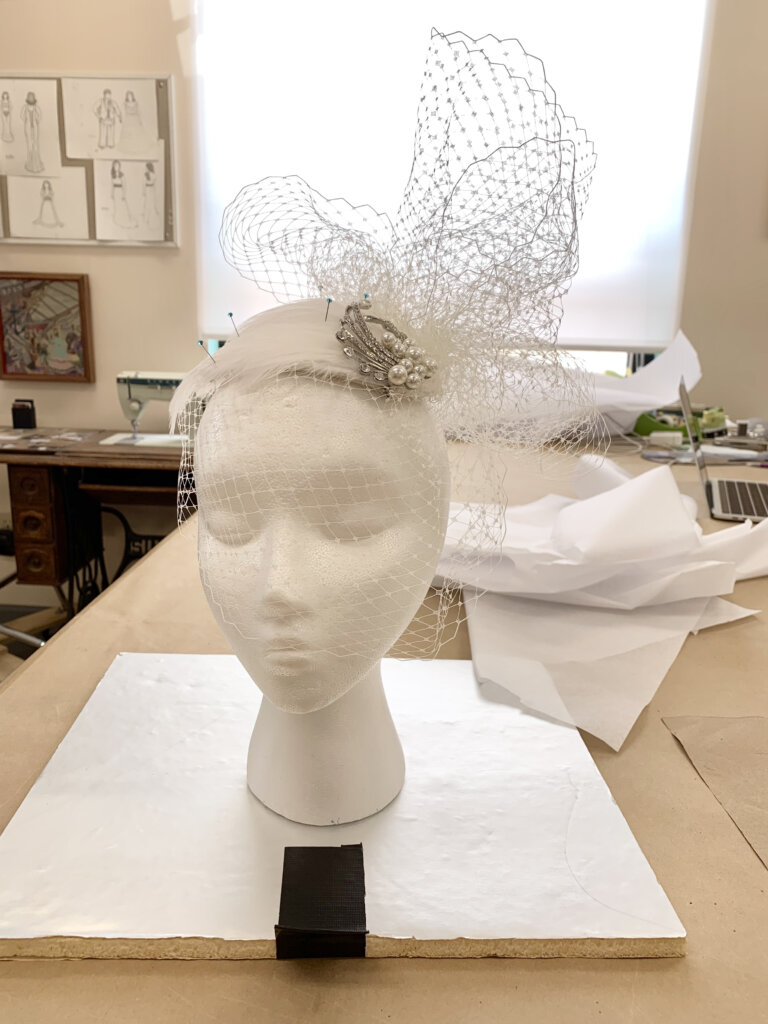
The Design
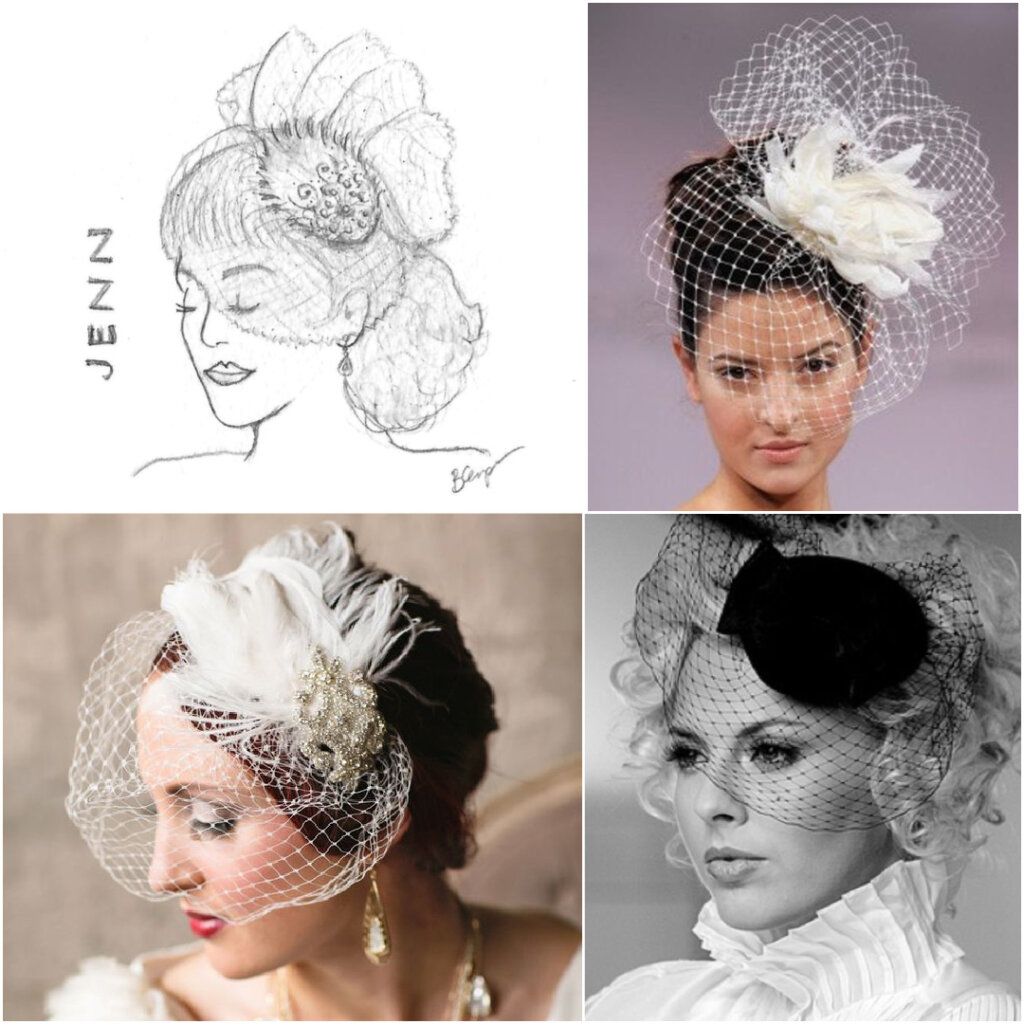
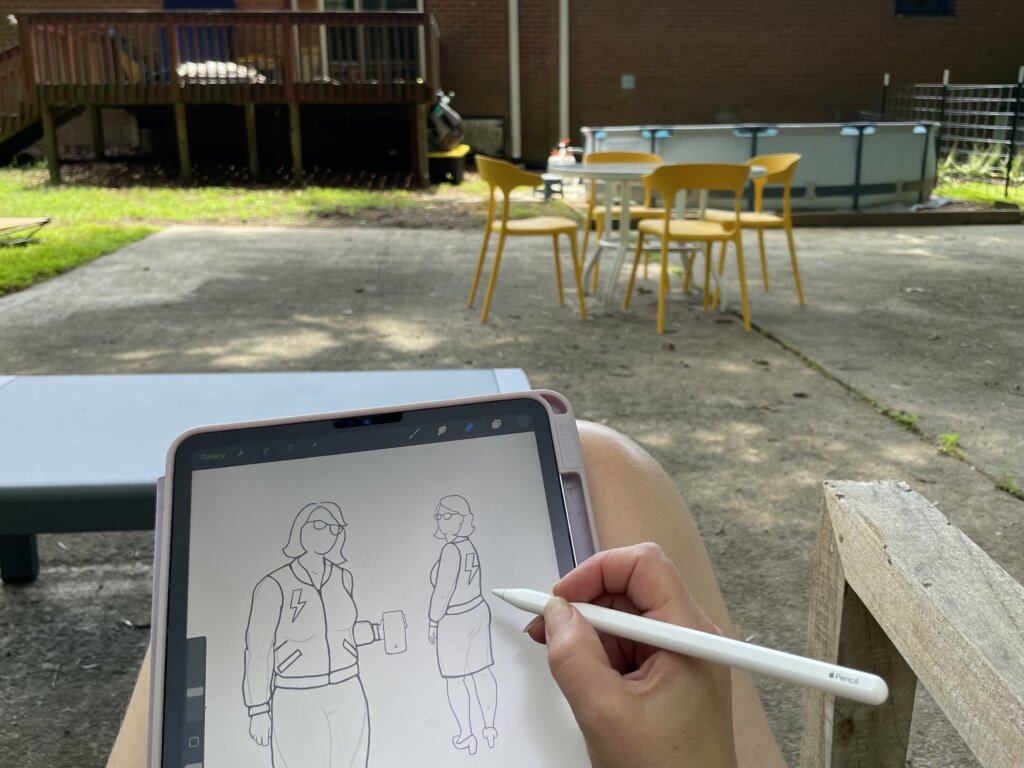
As you may remember from this earlier post, we had already roughly designed this headpiece together. Here’s my original sketch and a few of our inspirations:
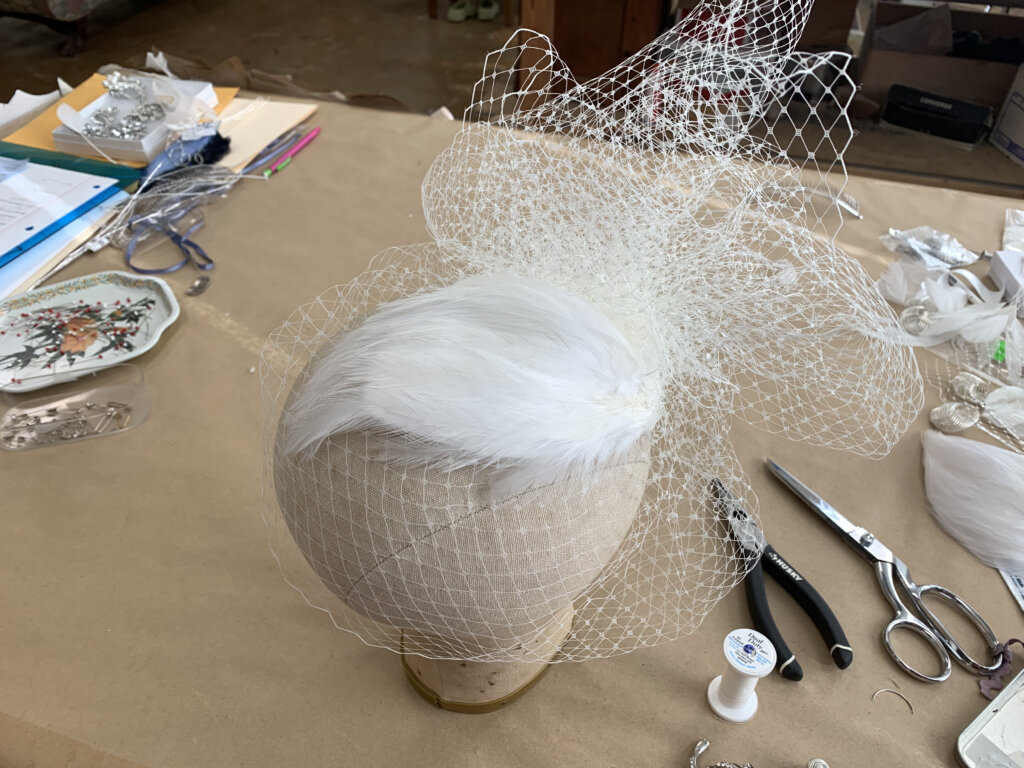
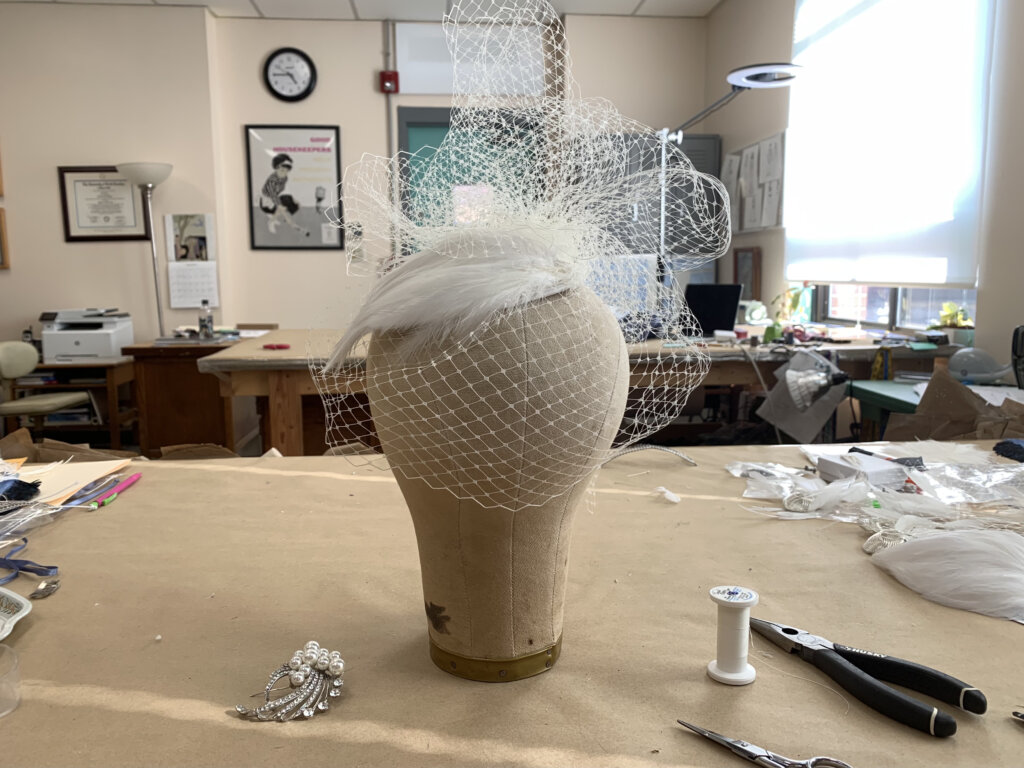
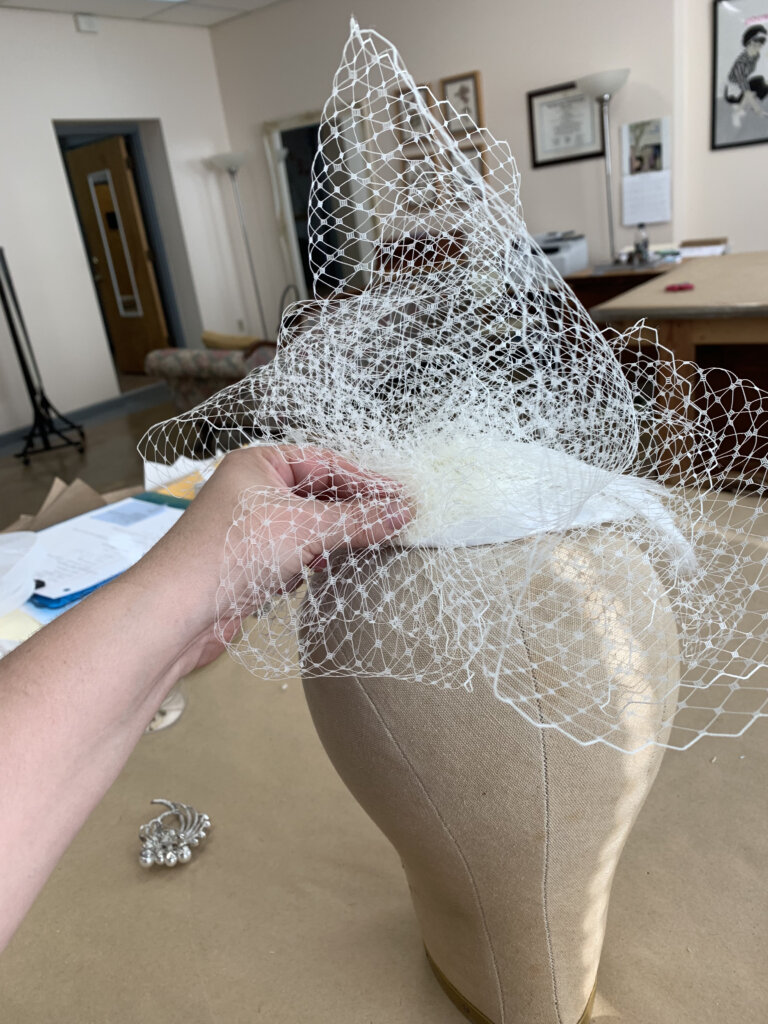
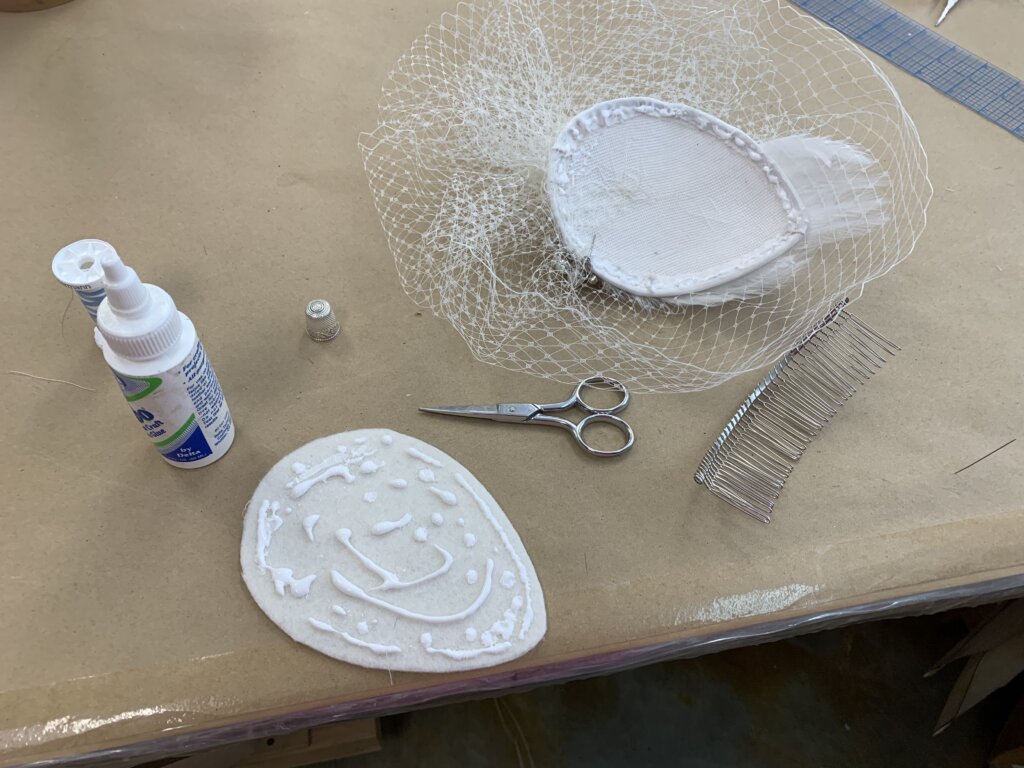
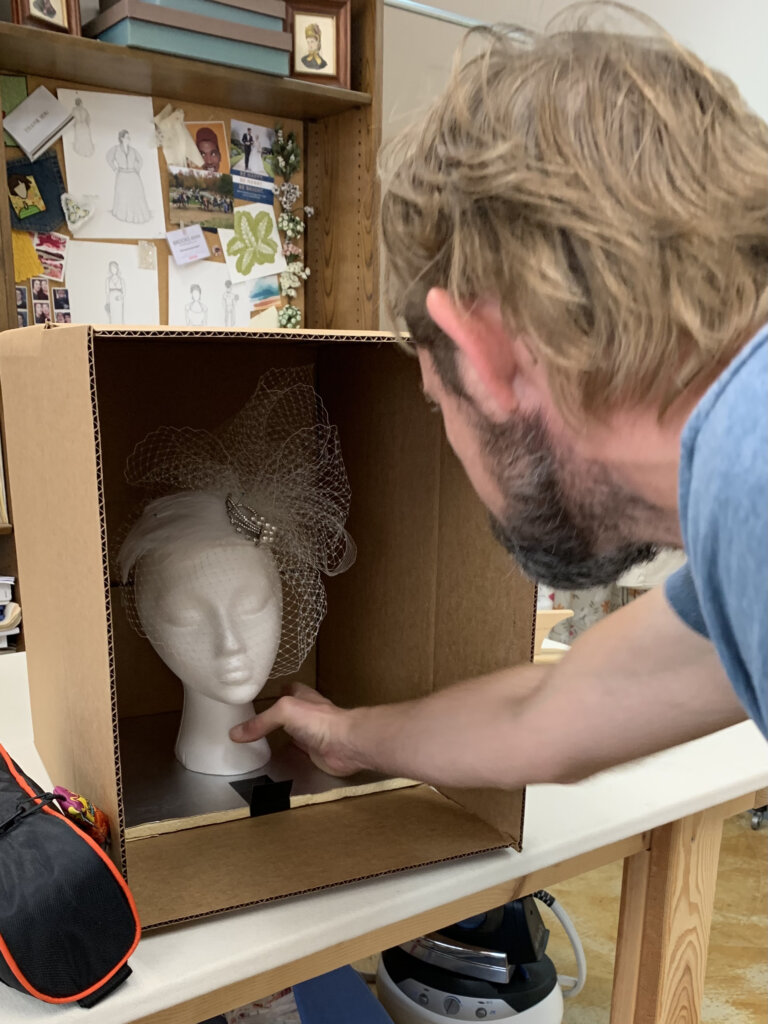
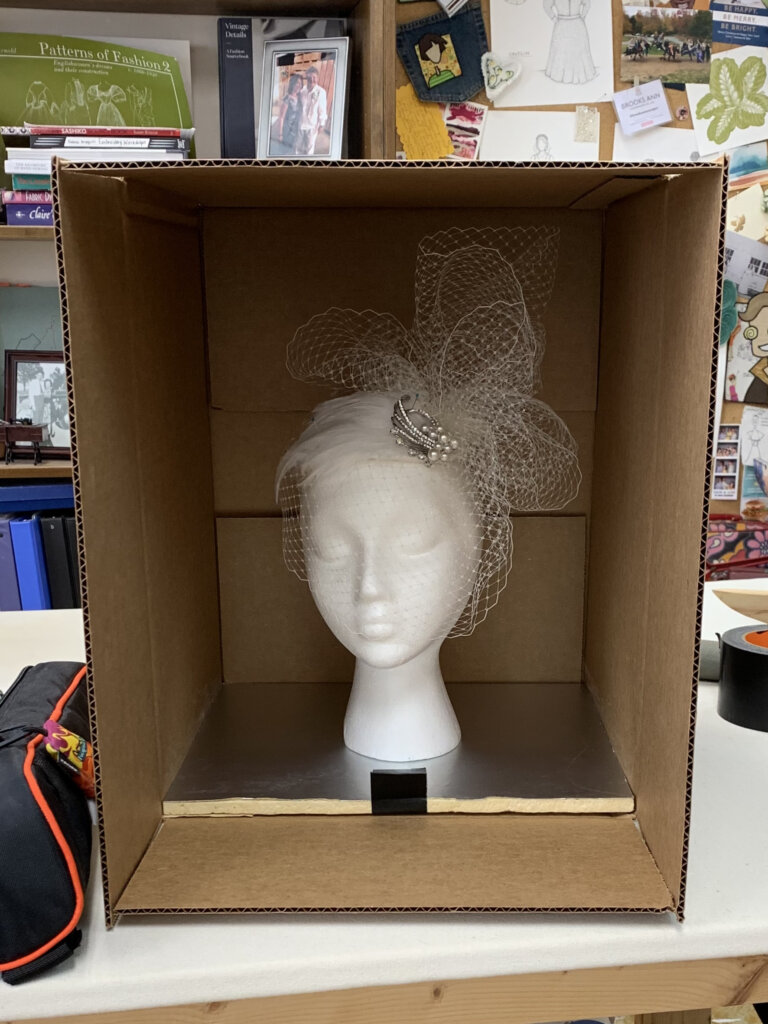
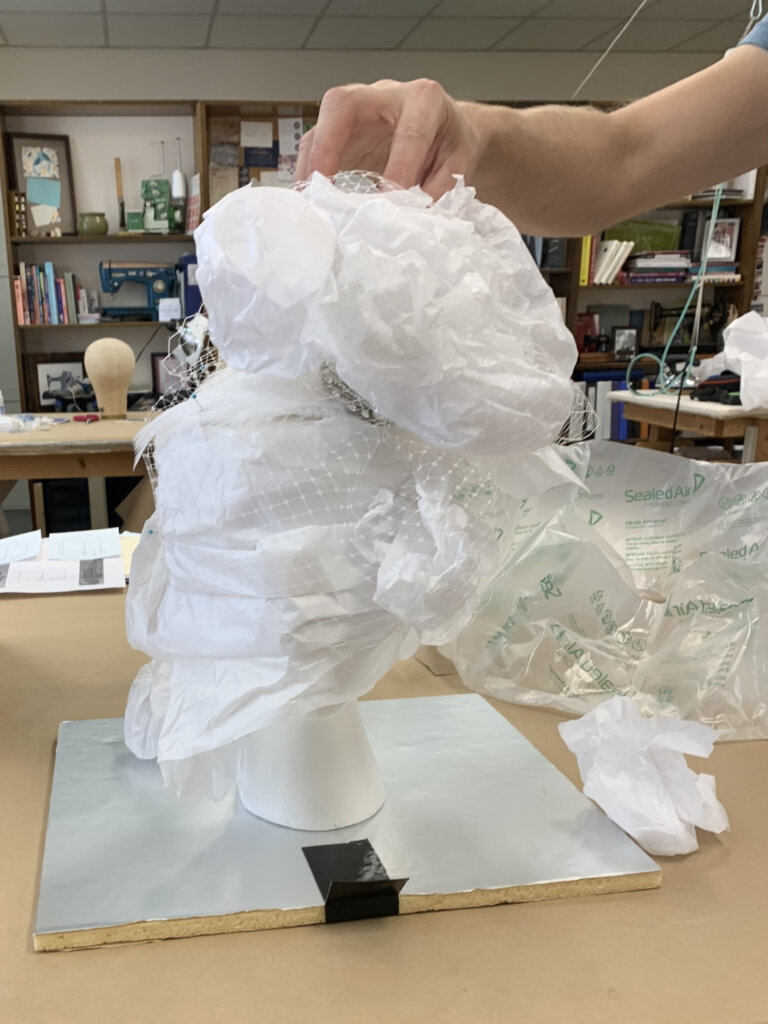
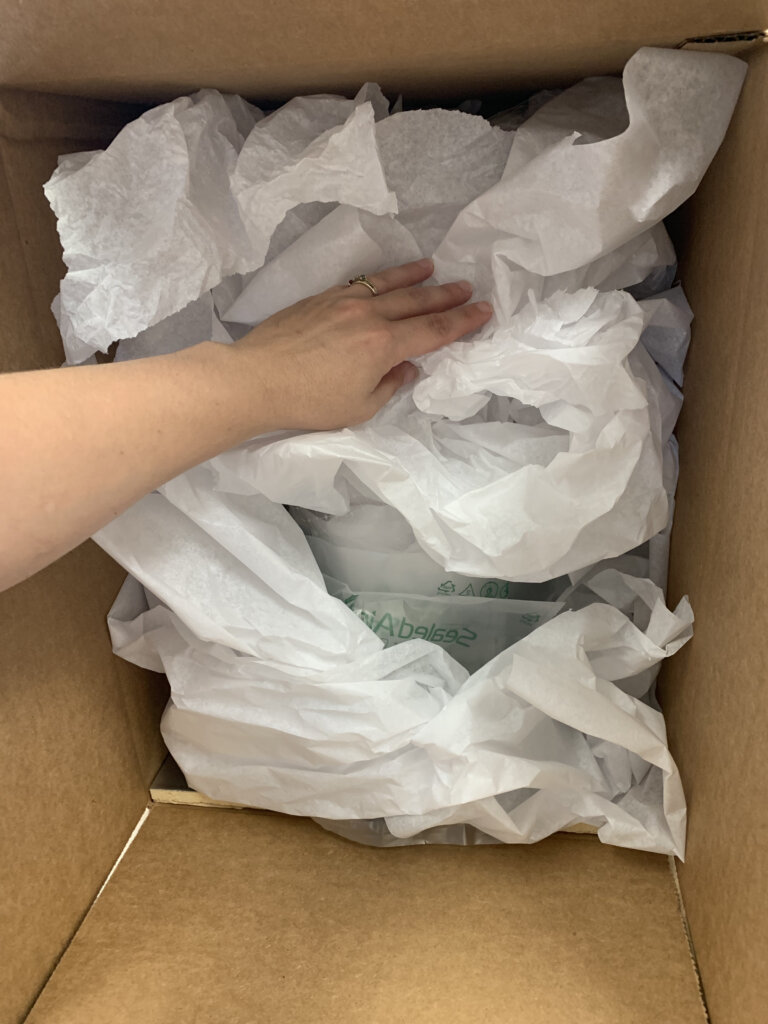
Then I cleaned up my studio and packed up the patterns.
It’s always bittersweet when the labor of love leaves the studio. It’s like a close friend has left on an adventure. You are excited, but you also miss them.
But I wouldn’t have to miss Jenn for long! I’d be heading to her wedding soon!
Wedding Day Sneak Peek
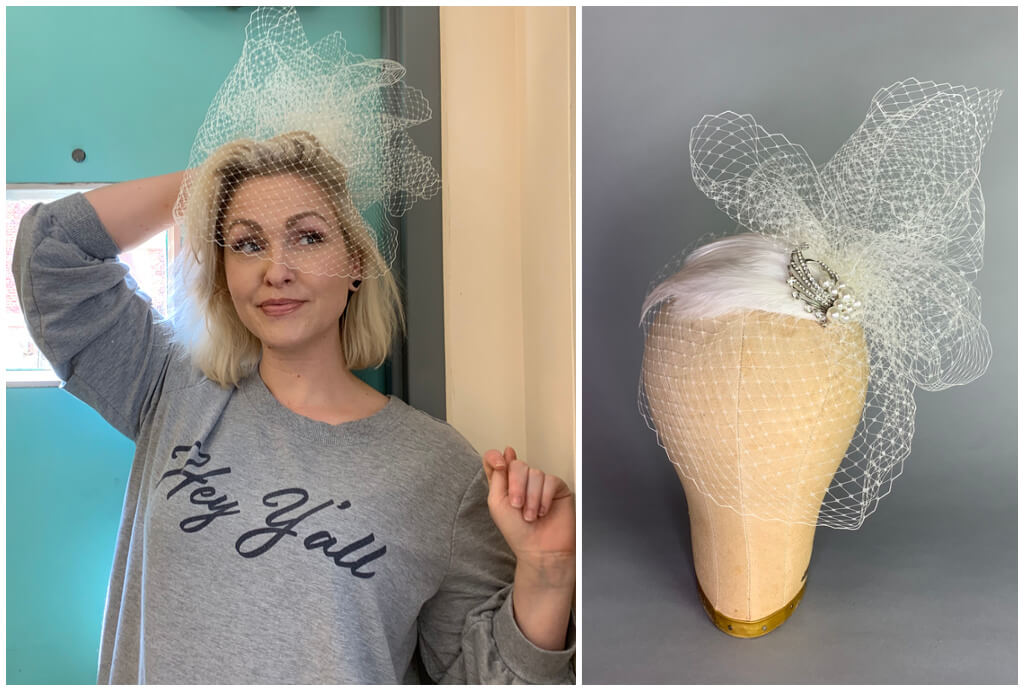
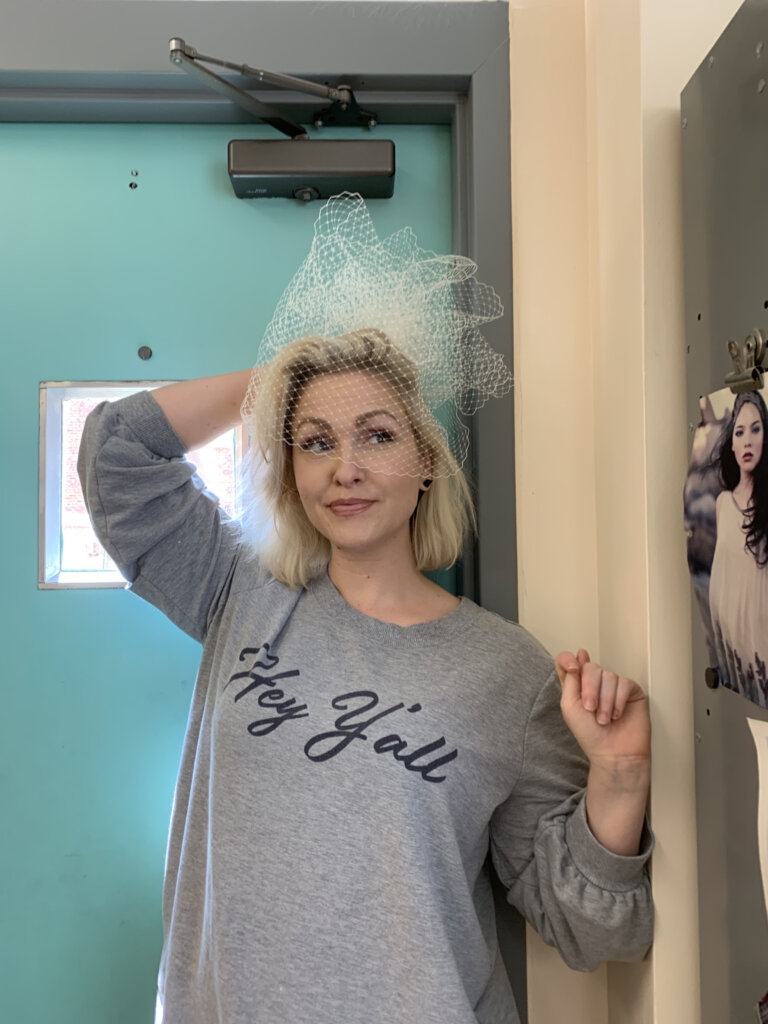
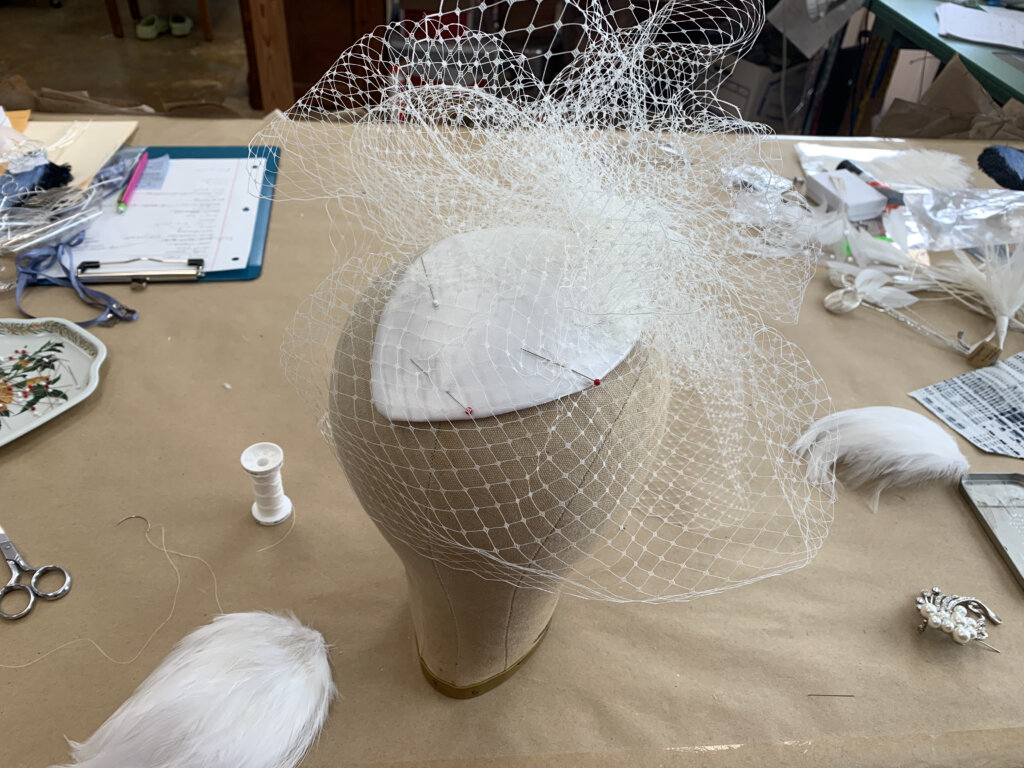
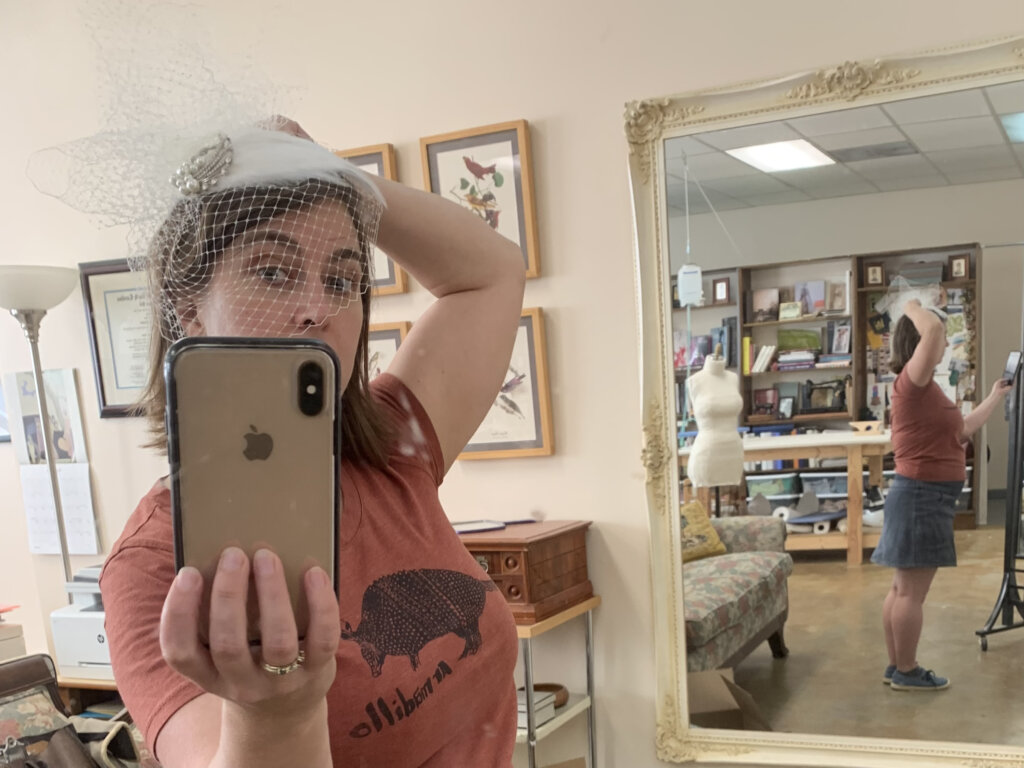
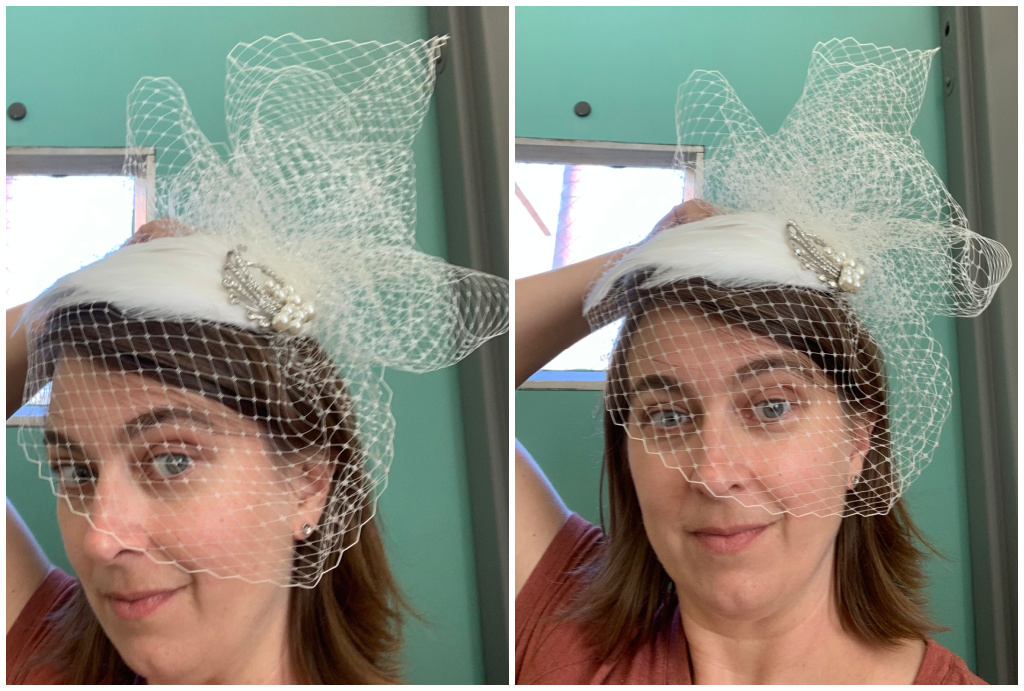
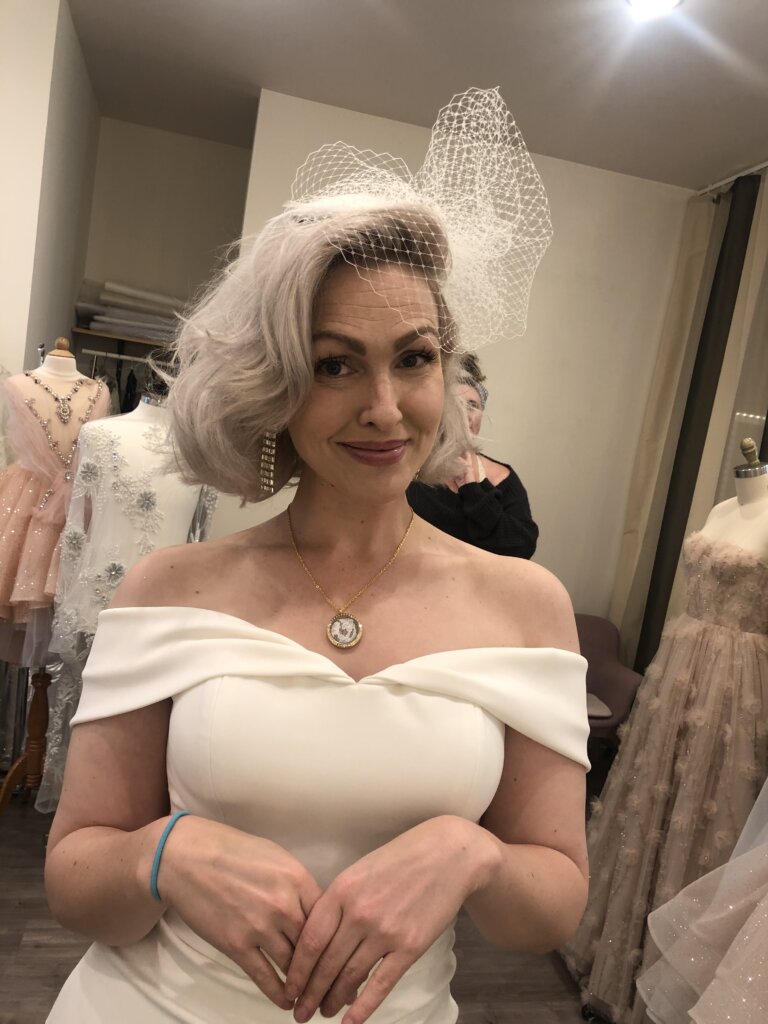
Jenn safely received the millinery before her final wedding dress fitting. She texted me this shot from the dressing room!
Isn’t she stunning? It was super fun to create these custom pieces for Jenn. I hope you’ve enjoyed following the creation stories I’ve been sharing bit by bit!
Have you ever made any custom millinery? Or taken apart an heirloom garment to use the fabric for something completely new? I’d love to hear your sewing stories!
NEXT POST: The epic ending of Jenn’s bridalwear blog series! I will share a roundup of all of the previous posts, plus photos from Jenn’s rehearsal day wearing the top I made from her mom’s wedding dress AND photos from her celebrity wedding wearing this headpiece!
Don’t want to miss it? Join my mailing list to get my blog posts delivered to your inbox!
I’m a former professional costumer and couture dressmaker for one-of-a-kind bridalwear located in rural North Carolina, who teaches custom garment sewing to sew-curious solo-sewists online.
My blog mostly follows along with the couture process of how each heirloom-quality custom wedding dress was made from idea to wedding day, as well as personal sewing projects and other couture curiosities.
Welcome to my (temporary) Sewing Studio! Come on in! I love seeing other people’s workspaces and tools, so I thought I’d show you mine. I cleaned up after a big...
Duplicating the Vintage Dress’s Pattern (without taking it apart)
In my previous post, I introduced Jenn and the custom bridal wear project(s) for her wedding weekend. Check out the full story for all the deets, but to catch you...
I Made Myself the Coolest Dress pt. 1 – Pattern Design & Mockup
Though my personal wardrobe is mostly “the dressmaker has no clothes”, when I do make something for myself, it’s usually an epic project. I’m so excited to finally share this...
I’ve been blogging for TEN YEARS now, ya’ll! In “My 10 Year Blogiversary pt. 1”, I share links to each bridal blog series that I’ve created over the past decade....
It’s finally time to share about Deborah’s wedding day! HOORAY! Deborah and Blake were married in November 2017 at a church in Greensboro, NC with the reception at a nearby...
New Bridal Blog Series: My (kinda famous) friend Jenn!
Brooks Ann, Jenn, & Charles January 2017 Going Way Back… To begin my next bridal blog series, let’s head into the Way-Back Machine. And we’ll head farther back than this...
The bridal blog series is back! In each bridal blog series, you meet a new bride and I slowly post-by-post recount the process and share the behind-the-seams story of creating...
The bridal blog series is back! In each bridal blog series, you meet a new bride and I slowly post-by-post recount the process and share the behind-the-seams story of creating...
The bridal blog series is back! In each bridal blog series, I recount the process and share the behind-the-seams story of creating a one-of-a-kind custom couture wedding dress from start...
Sally is someone special. Back in December, I got an email from a dear friend named Sally that I had lost touch with. The subject line: “dear lord i’m getting...
As it starts to get cold, it sure is nice to think about summer! Gin and tonics… BLTs… beach trips… seersucker… Earlier this year, I worked with a bride who...
They say documenting the process triples the production time. (And I work more slowly than most.) My Nimbus was cold.She needed a new coat, sooner than later.
Welcome to Part Two! I’m back to share the nerdy behind-the-seams details of creating my Vanishing Tie Top for the Precious Fabric Challenge. But this photo-filled blog post doesn’t feature...
Do you have a fabric that you’ve been SAVING instead of SEWING? Yeah. Me too. So when Whitney Luckenbill of TomKat Stitchery asked me to be a part of her...
Welcome to my (temporary) Sewing Studio! Come on in! I love seeing other people’s workspaces and tools, so I thought I’d show you mine. I cleaned up after a big...
Welcome back! It’s the series finale! In this third and final post of My Warmup Jacket series, I share the behind-the-seams details of my jacket’s construction and finishing stories!
In this second post of My Warmup Jacket series, I share the behind-the-seams details of my jacket’s patternmaking and mockup stories! And after putting this patterning post together (which was...