If you’ve been following my blog for a while, you’ll know that I love the mockup process! A mockup (often called a muslin or a toile) is a test garment that you construct in a way that allows you to easily deconstruct it.
The magic of a mockup garment is that it is specifically designed for making discoveries and improvements to fit, design, and proportion. You can’t mess up a temporary garment made of temporary stitches, so there’s no risk and no expectation for perfection!
And since is impossible to mess up a mockup, it can be super fun to play around with during the mockup fitting. You can cut, rip open, pin, and draw all over it. Don’t like the changes you made? You can easily go back to where you were or try a new idea. It’s your laboratory and learning time (and possibly my favorite part of the custom process)!
You start off with a bunch of questions/ideas/guesses/unknowns and then you learn so much while figuring out the answers. With questions answered, it’s a joy to move confidently on to the real thing- knowing there will be very few surprises and very little unpicking.
Mocking things up for Jenn
At this point in the journey of Jenn’s mom’s wedding dress being transformed into a top, I had no measurements (!) and we had not even brainstormed the design! I only had the vintage dress. So, the upcoming mockup experiments would begin with trying a copy of Lydia’s dress on Jenn- knowing that it would not fit her or resemble the final design.
This is NOT how I work with my clients ( Jenn is a friend)- but this means our first fitting will be all about PLAY! YAY!
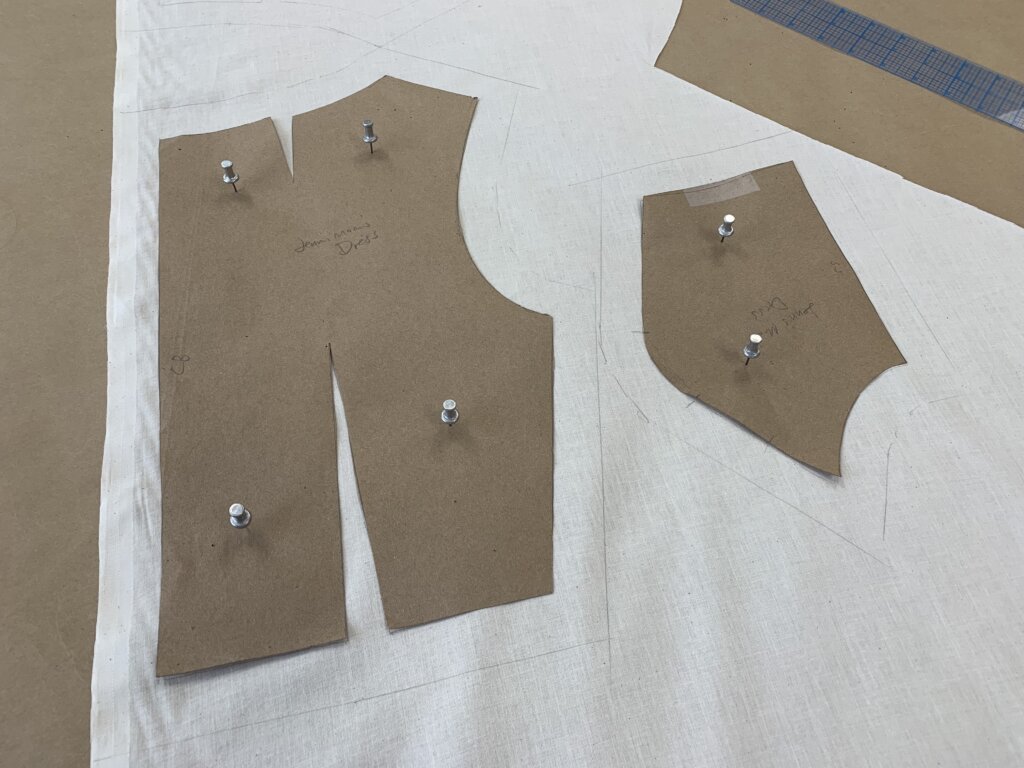
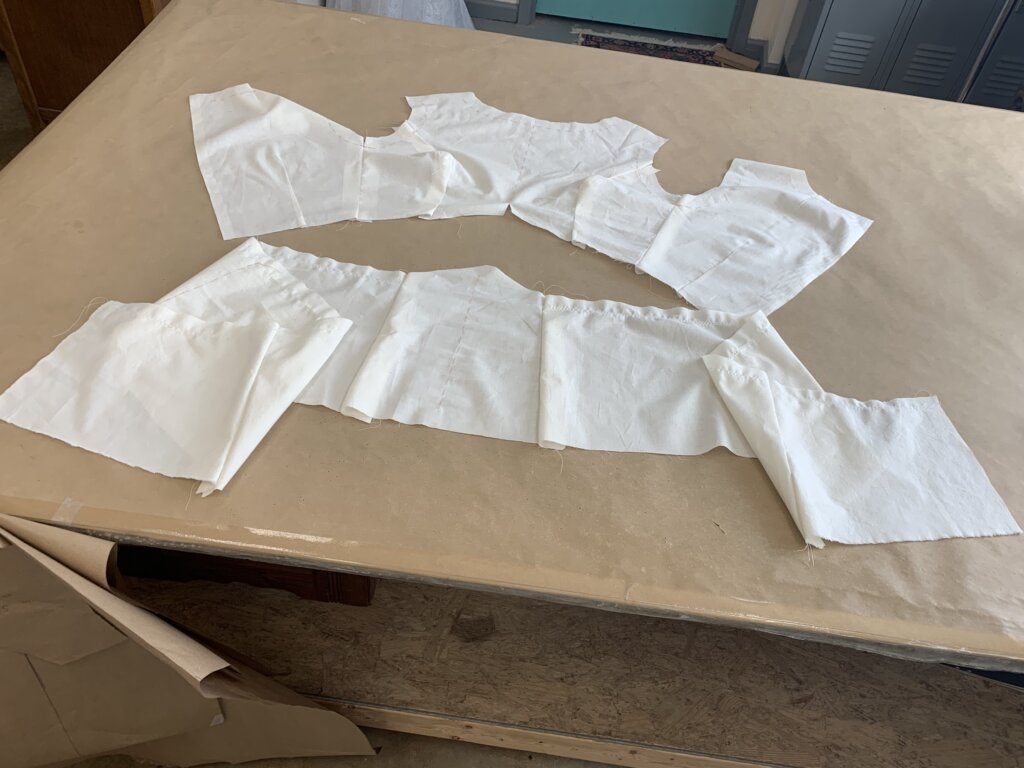
To start making the mockup, I used the paper patterns that I “ghosted” from the original vintage dress to mark some inexpensive muslin fabric. With a regular pencil, I traced the edges of my pattern pieces (which represent the fit lines of the garment) and a 1″ border for allowances.
With the lines that represent the fit of the garment marked, there’s no need to carefully cut the edges. Cutting is one of my favorite sewing tasks because (unlike when following a home sewing pattern) the precision of the cut line is not important!
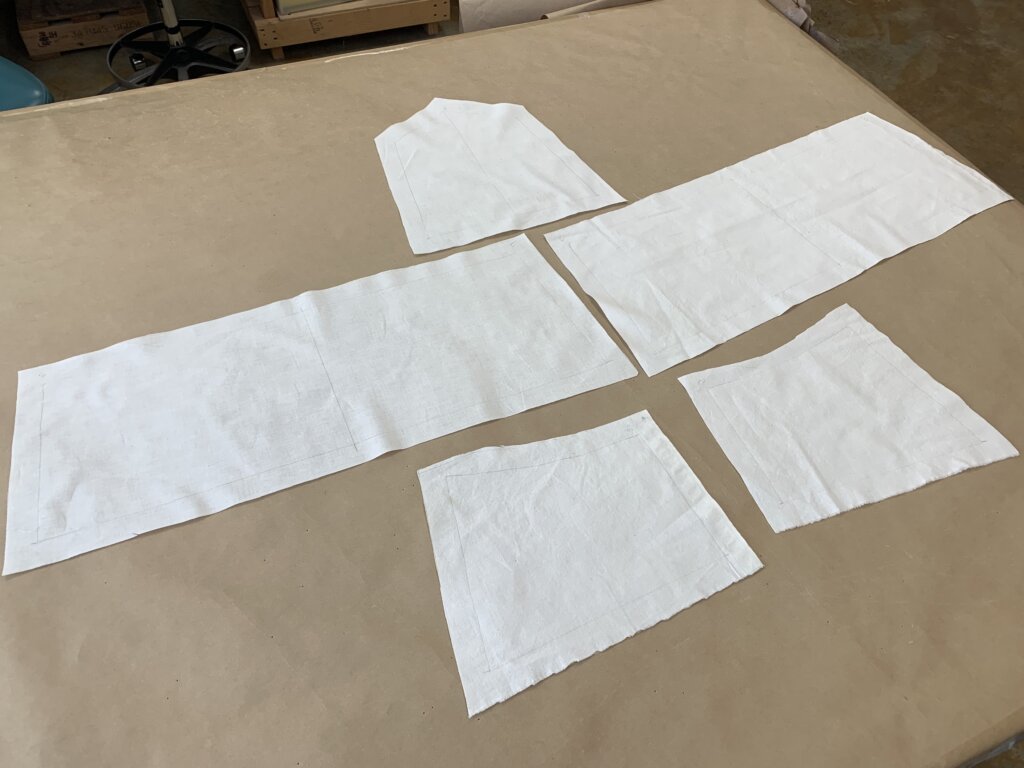
Here are the bodice pieces marked and cut…
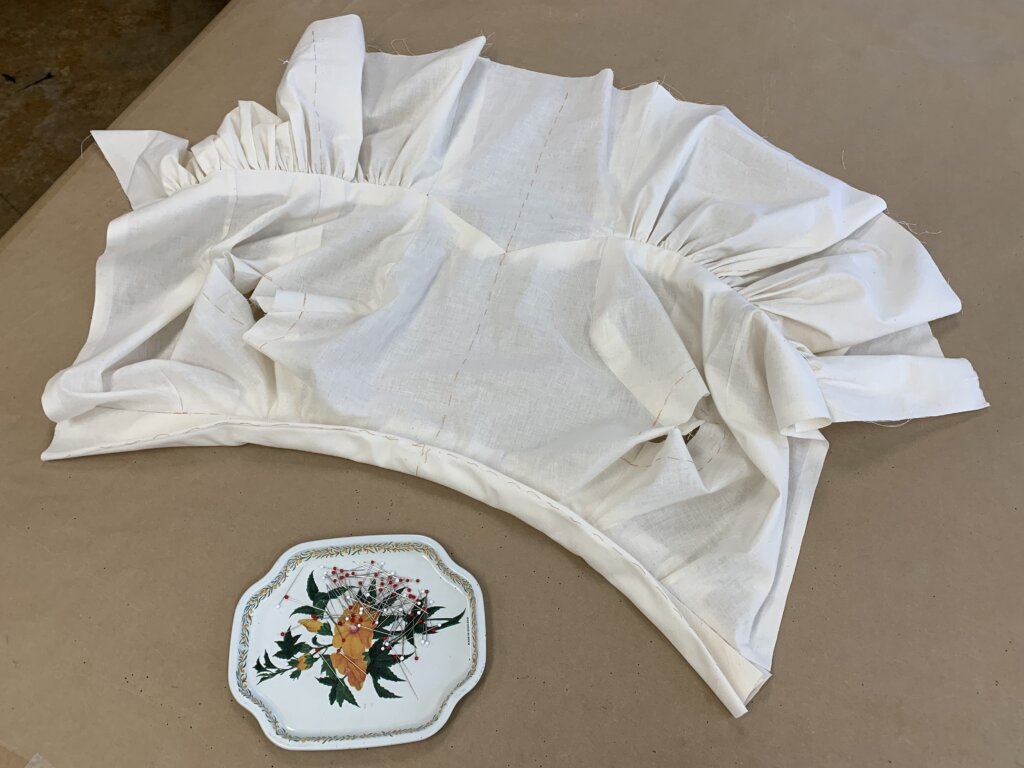
…and here are the skirt-turned-peplum pieces marked and cut.
Next step: Threadmarking!
Threadmarking is a quick temporary stitch to visually transfer information from one side of the fabric to the othervia a removable line of thread.
Why thread mark? I’ve got a lot of helpful pencil markings on the inside! Some I’ll use for pinning and stitching- which are tasks that happen from the inside, so those don’t need to be threadmarked. But there are other lines and markings that I want to observe temporarily during my fitting- like the line down the Center Front, which you see me threadmarking by hand in the photo below. Also- Mockups don’t include finishing pieces like facings, so I wanted to thread mark the edges of the garment.
While thread marking, I also start pondering my plans for putting things together. I love how the steps of the custom process includes slower tasks offering time to think!
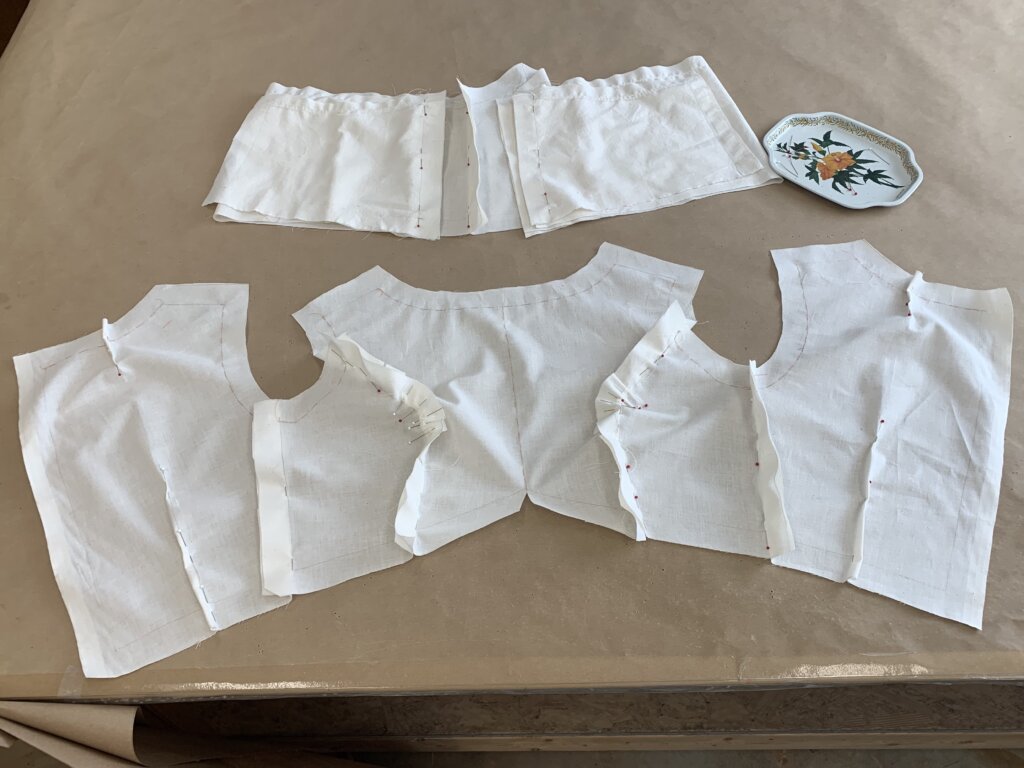
Then, while keeping everything as flat as possible for as long as possible, I pinned all the future seams I could, line to line,…
…then I replaced the pins with machine stitches- using a long temporary basting stitch length. This will make ripping seams open really easy (and really fun.)
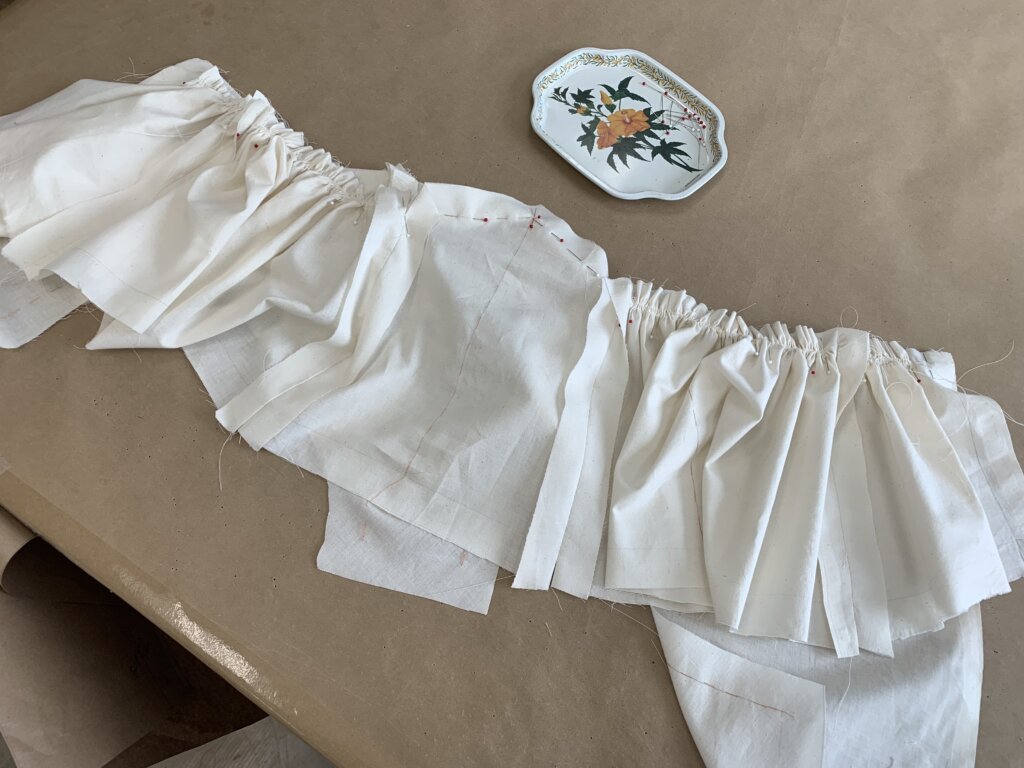
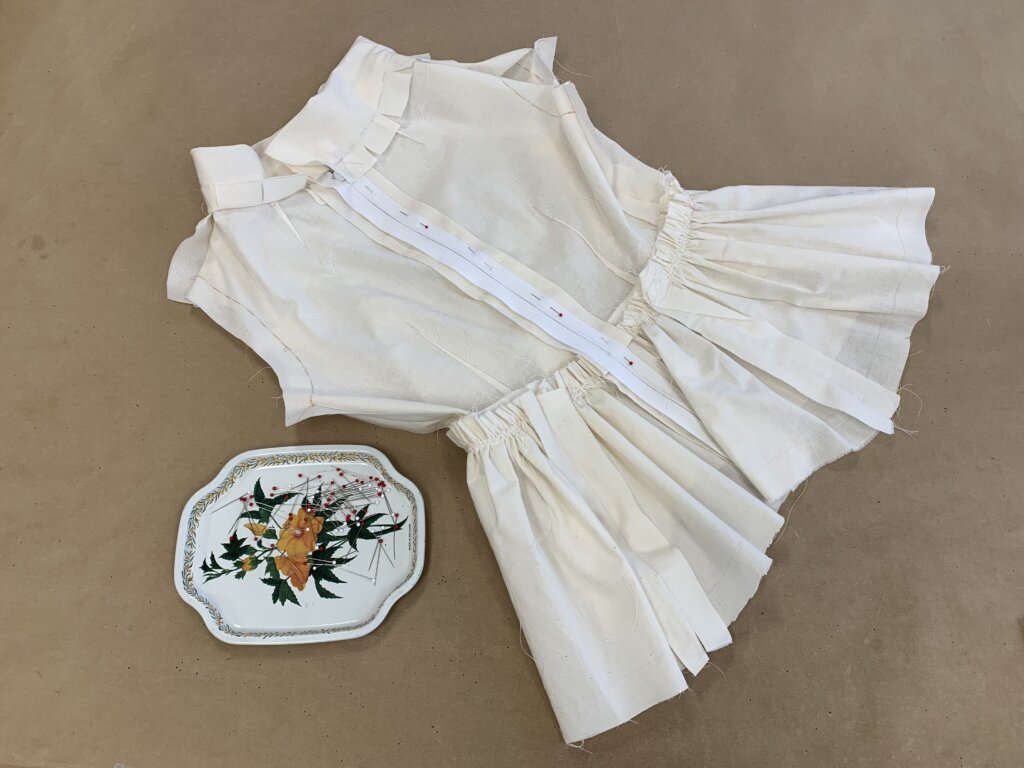
Then, I gathered the peplum onto the bodice via more basting stitches and pins…
…and it quickly started looking (kinda) like a top!
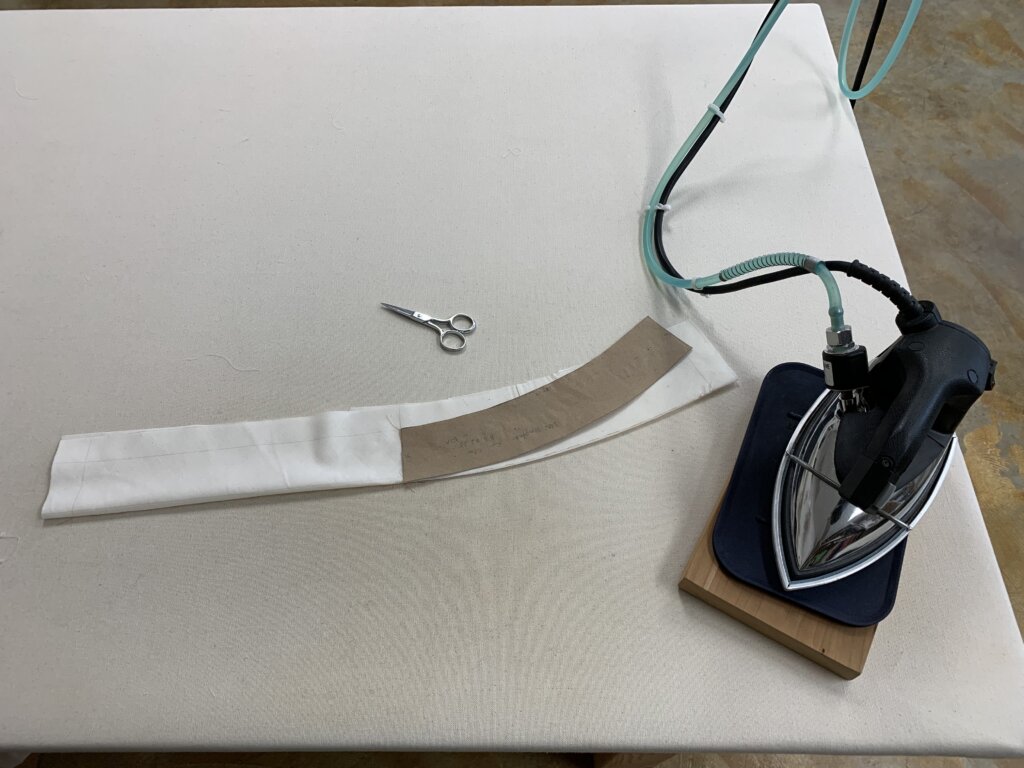
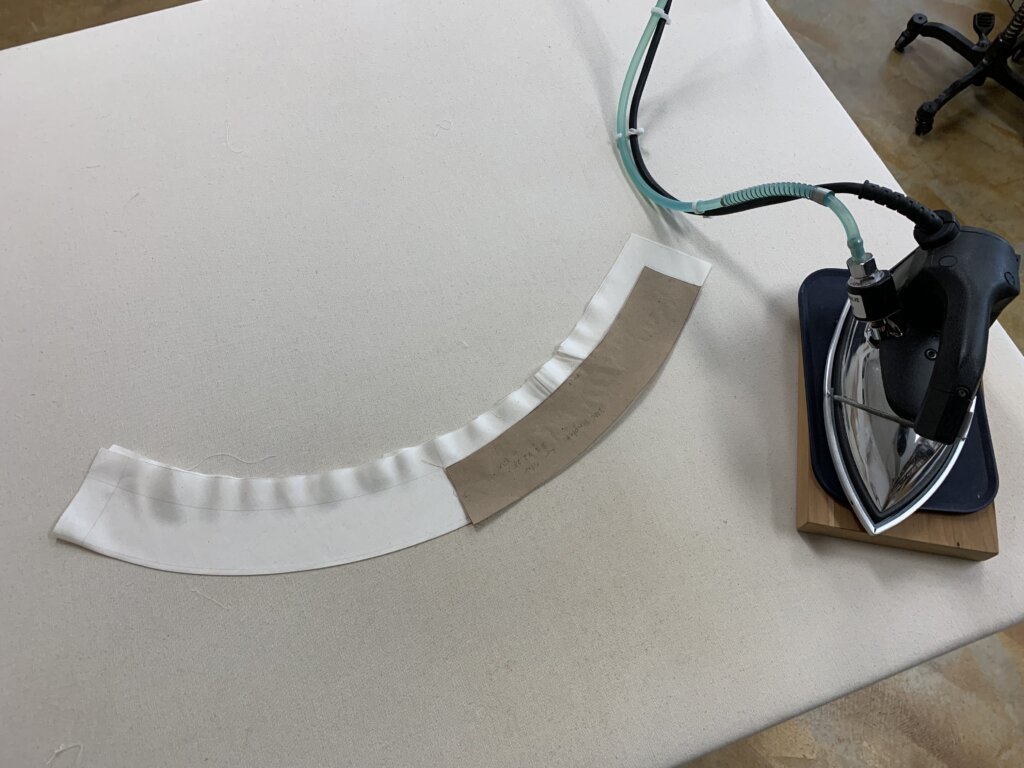
Since I knew that the collar on the vintage dress would be too small to reuse, I improvised my own pattern to play around with. Instead of cutting a curved shape, I folded a straight piece of fabric that was cut on the bias…
…and used the curved pattern piece to press the shape to match. Pretty neat, huh?
Next, I basted the shoulder seams and the collar piece in place…
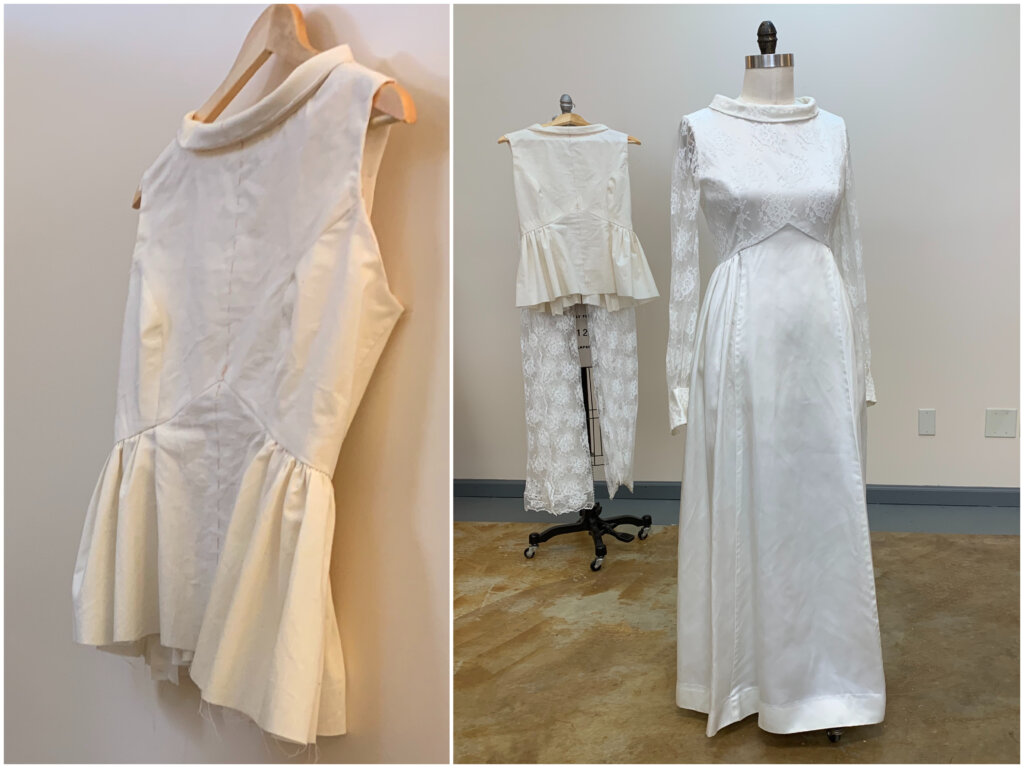
…and basted a long zipper in the back.
After using my threadmarking to clip and baste back the allowances around the armholes, the mockup top was ready for play in a no-risk way! I was so excited that my friend Jenn would be in town for her first mockup fitting soon….
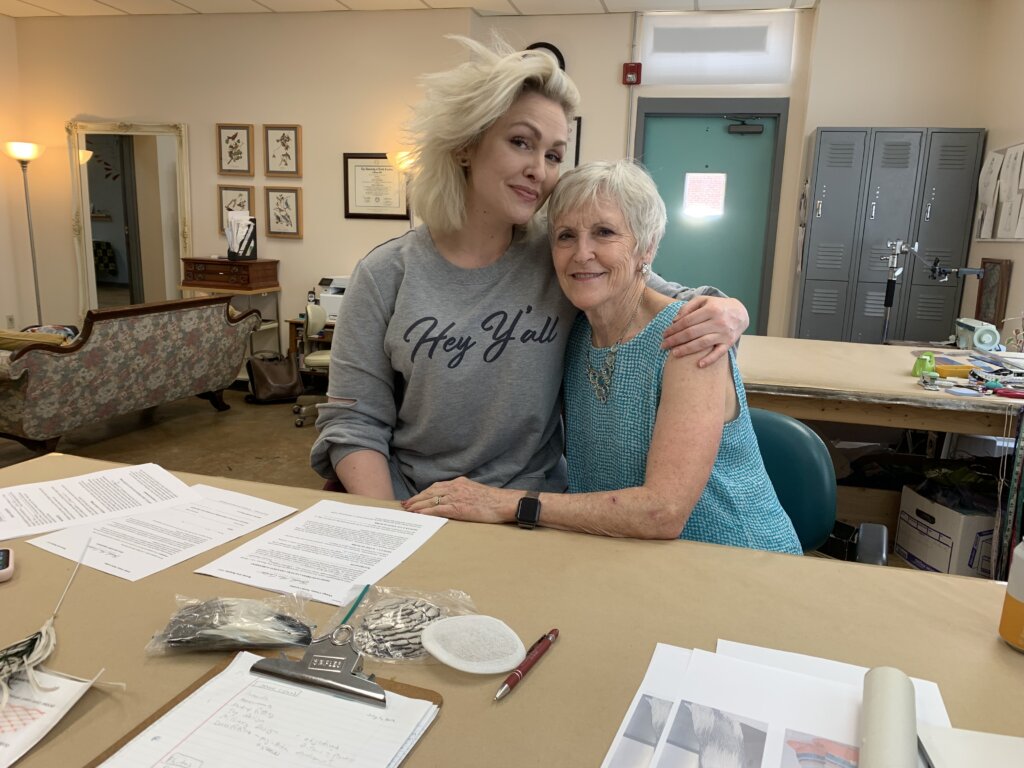
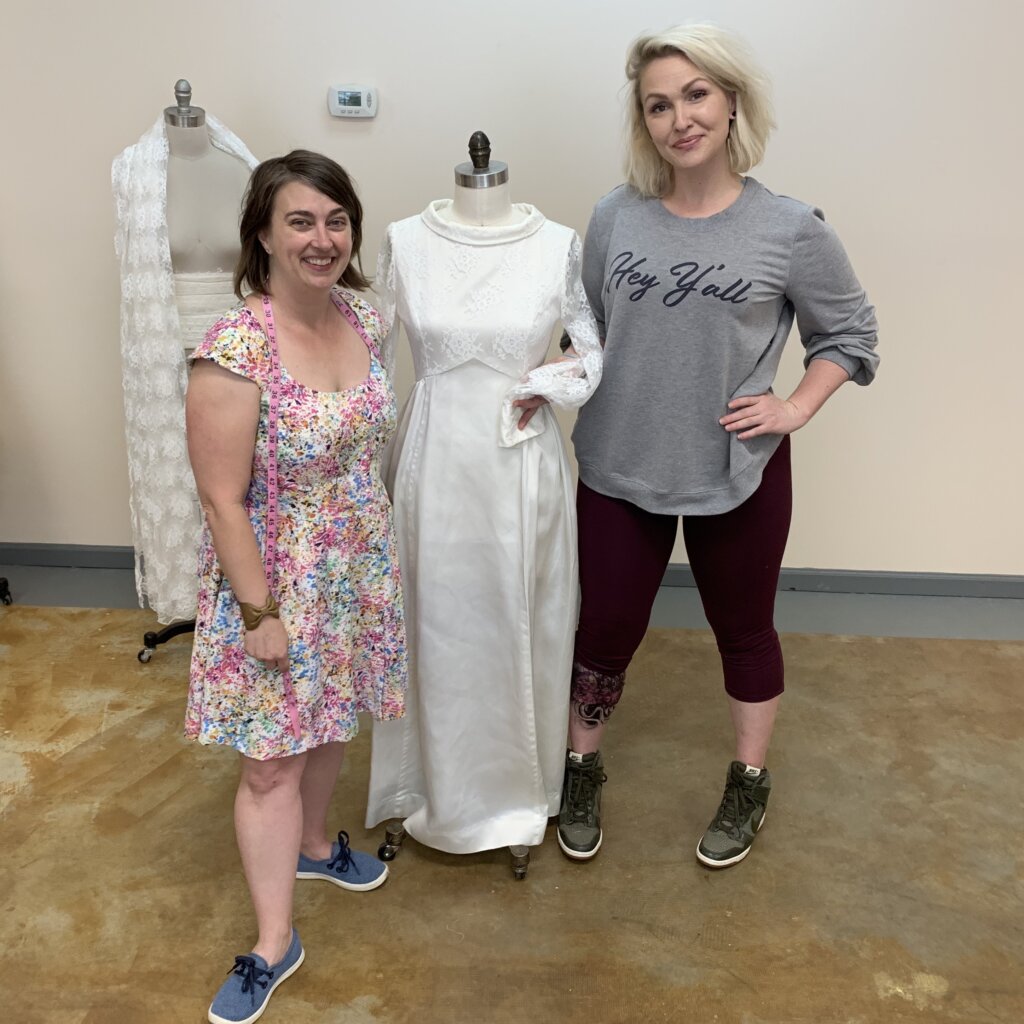
Jenn and Lydia visit the Studio!
Two years after their last visit to the studio, Jenn and her mom Lydia returned for our Design Consultation and the first Mockup Fitting!
Together, we looked at inspiration images and brainstormed ideas for what the rehearsal dinner top would become…
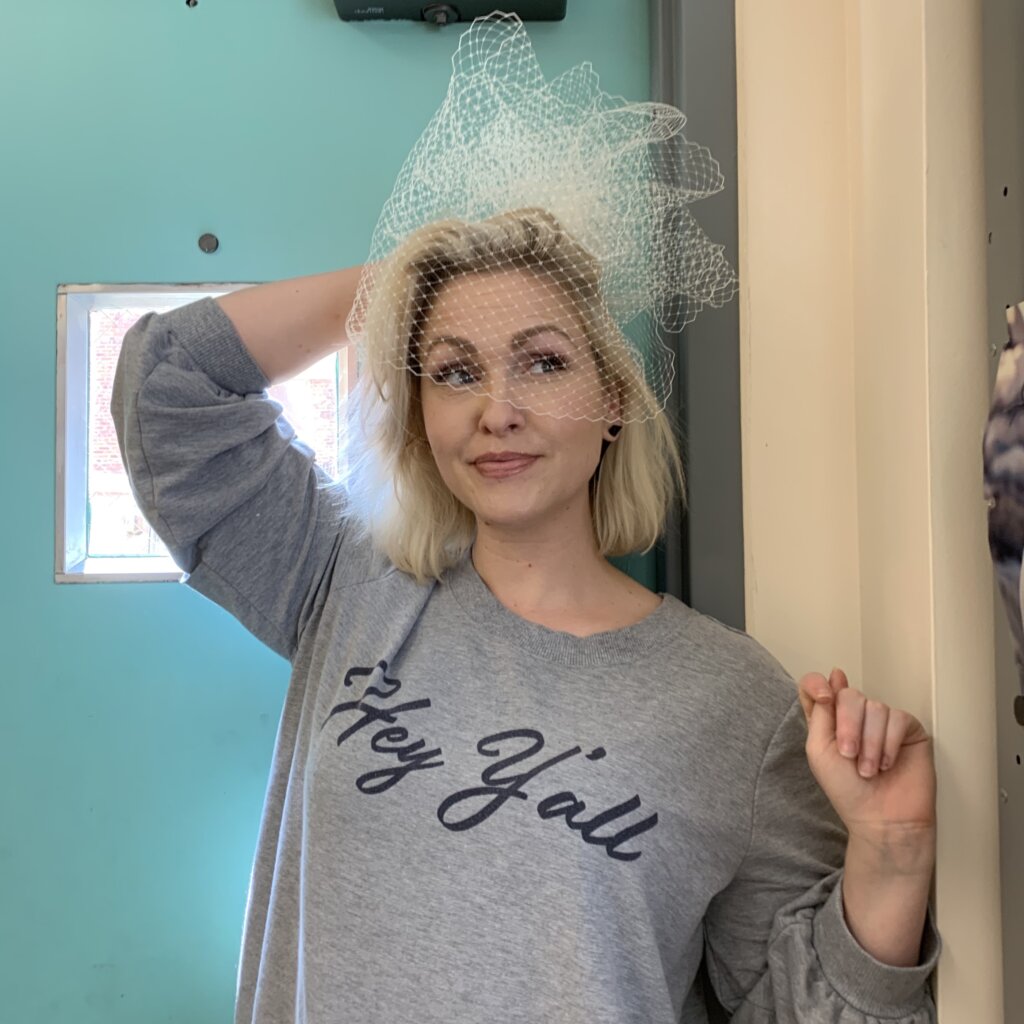
…and also looked at inspiration images and brainstormed ideas for what her wedding day veil would become. Here’s the millinery mockup!
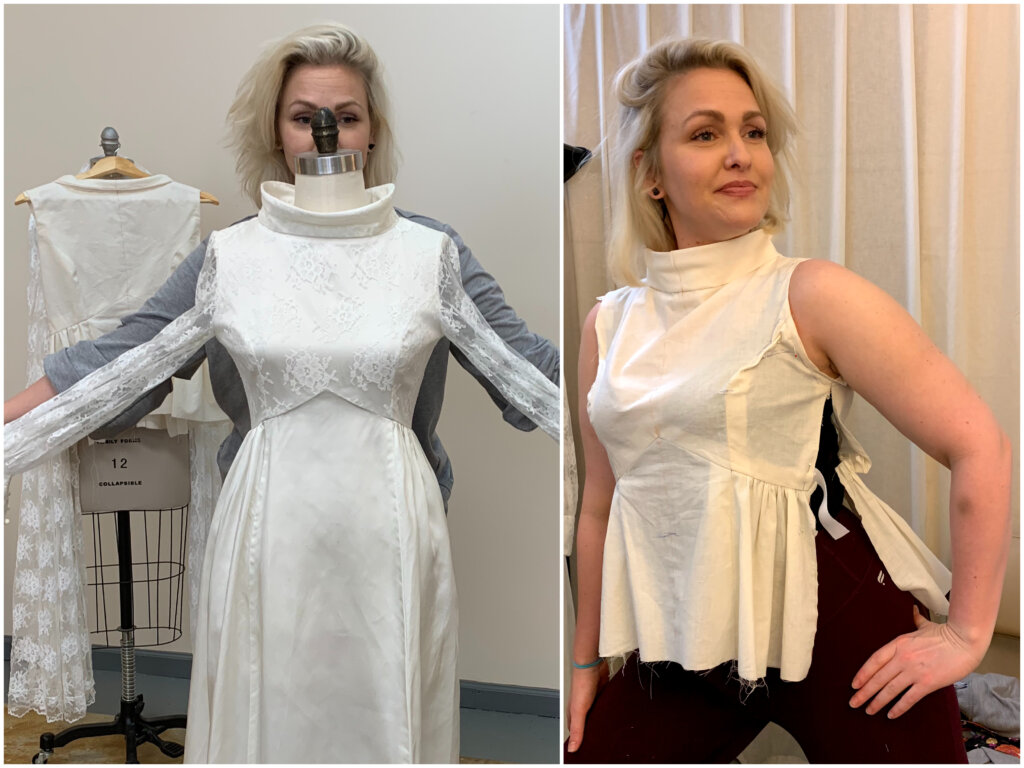
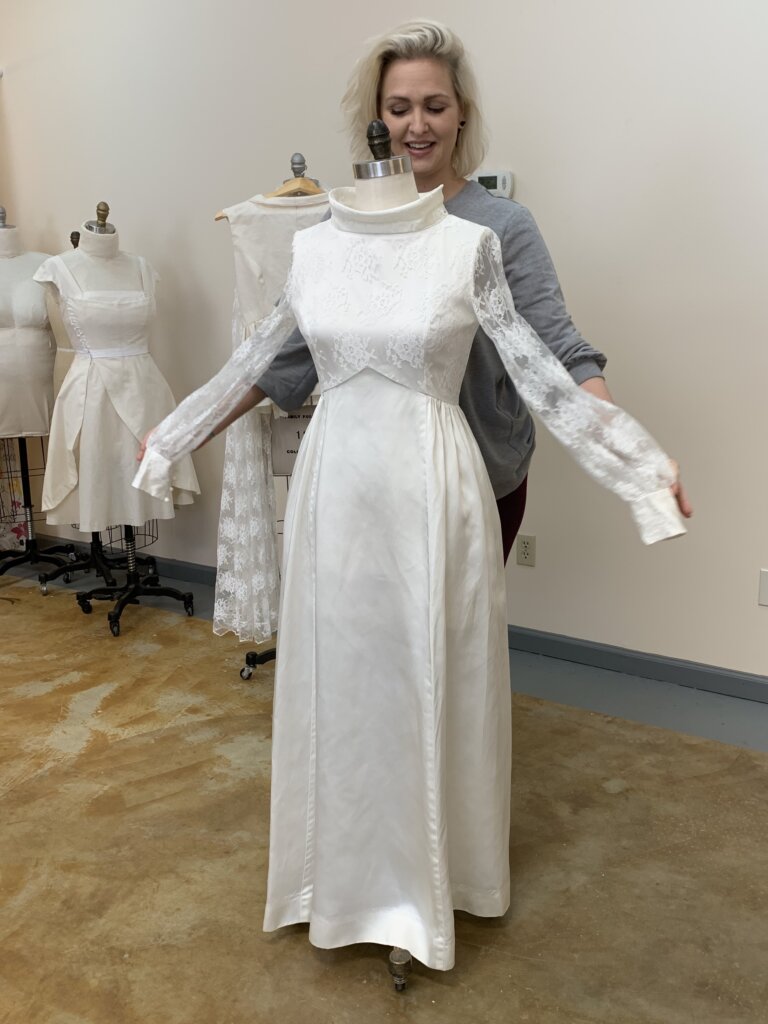
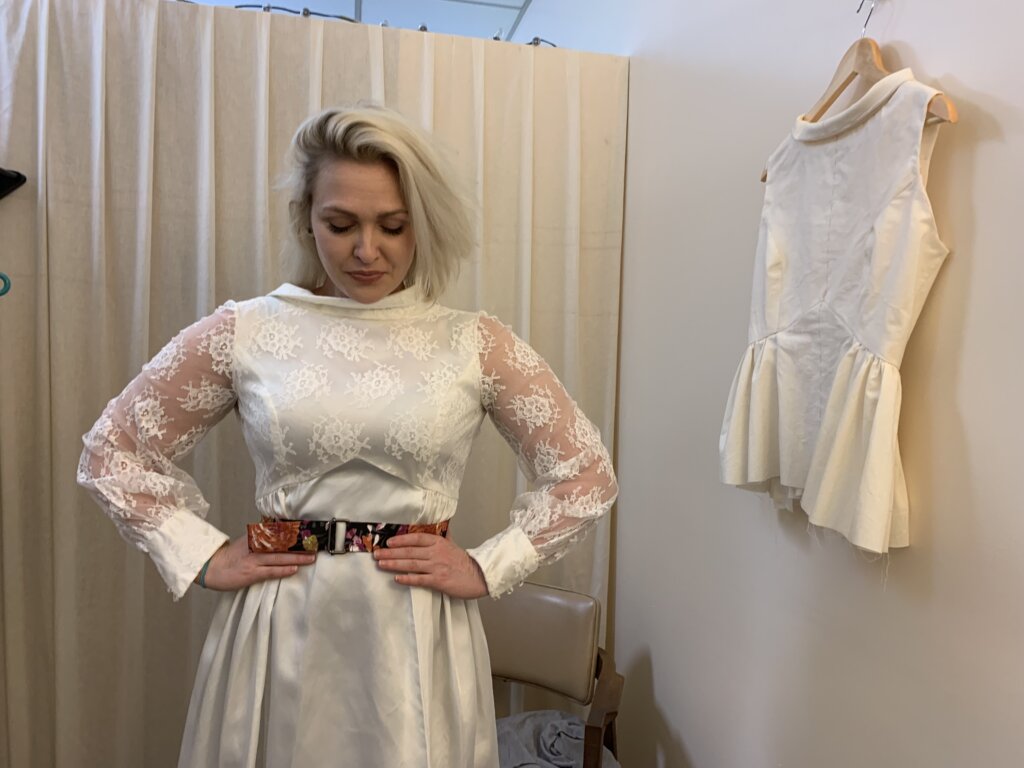
After playing around some more, we decided to try Lydia’s 1970 wedding dress back on Jenn.
(Behind Jenn, you can also peep a wedding dress mockup I was making for another bride at the same time. Andy's bridal blog series will follow Jenn's!)
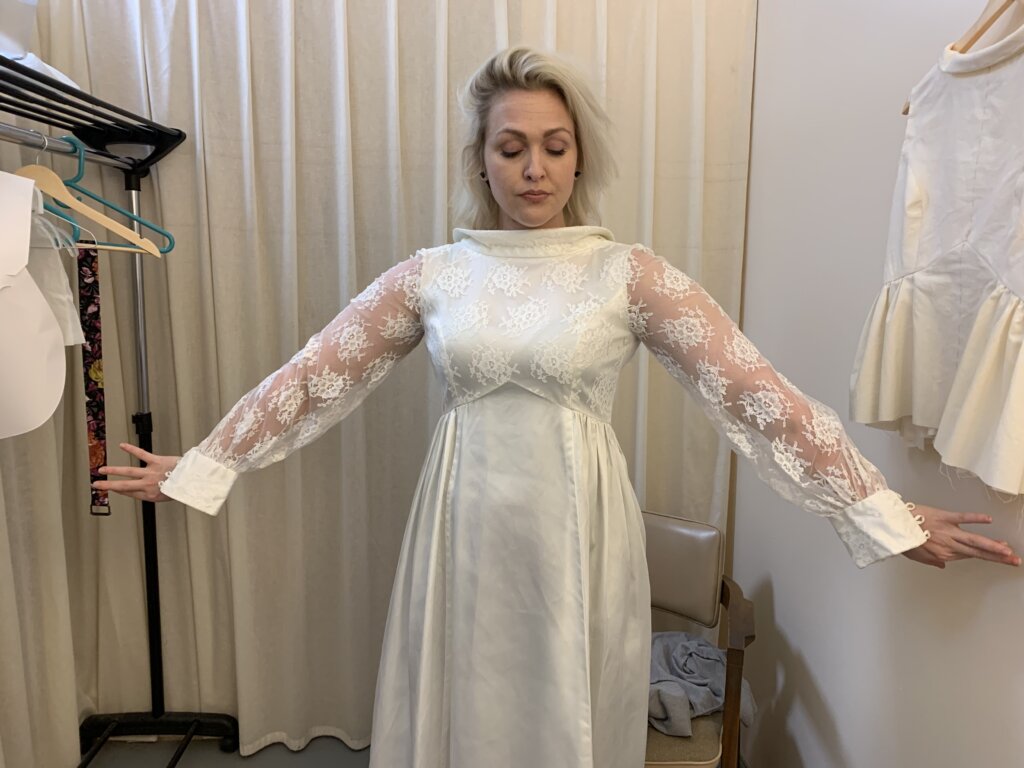
Looks kinda good from the front…
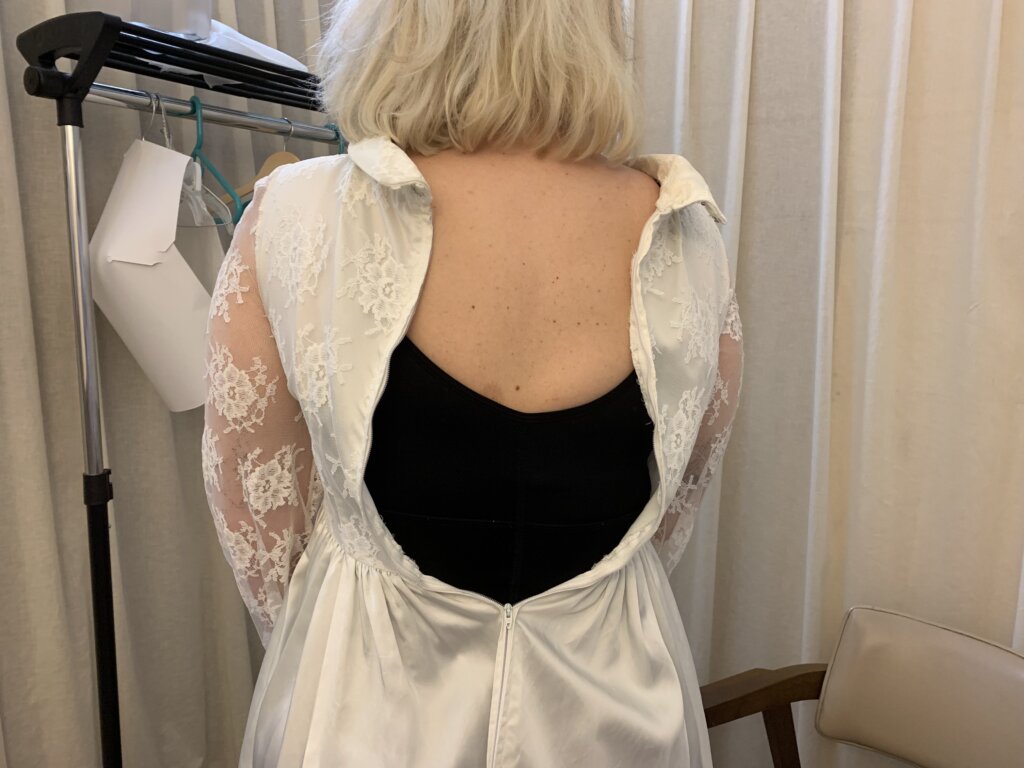
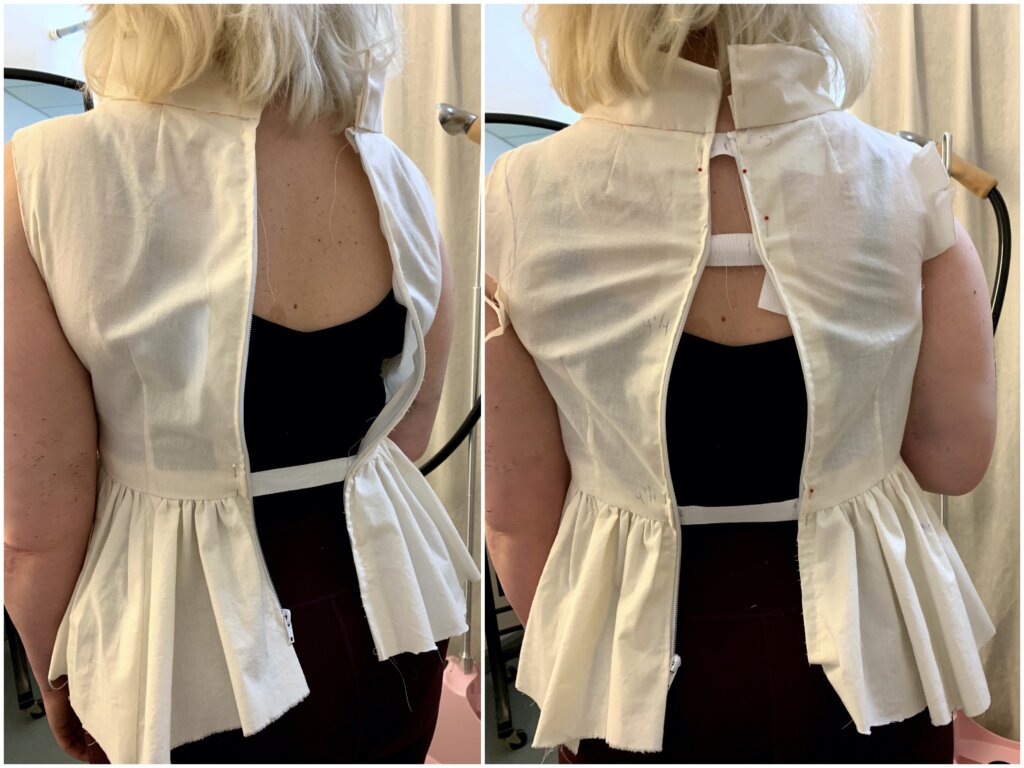
…but the back immediately revealed how much it didn’t fit.
While wearing the vintage dress, we played around a little with design by adding a belt…
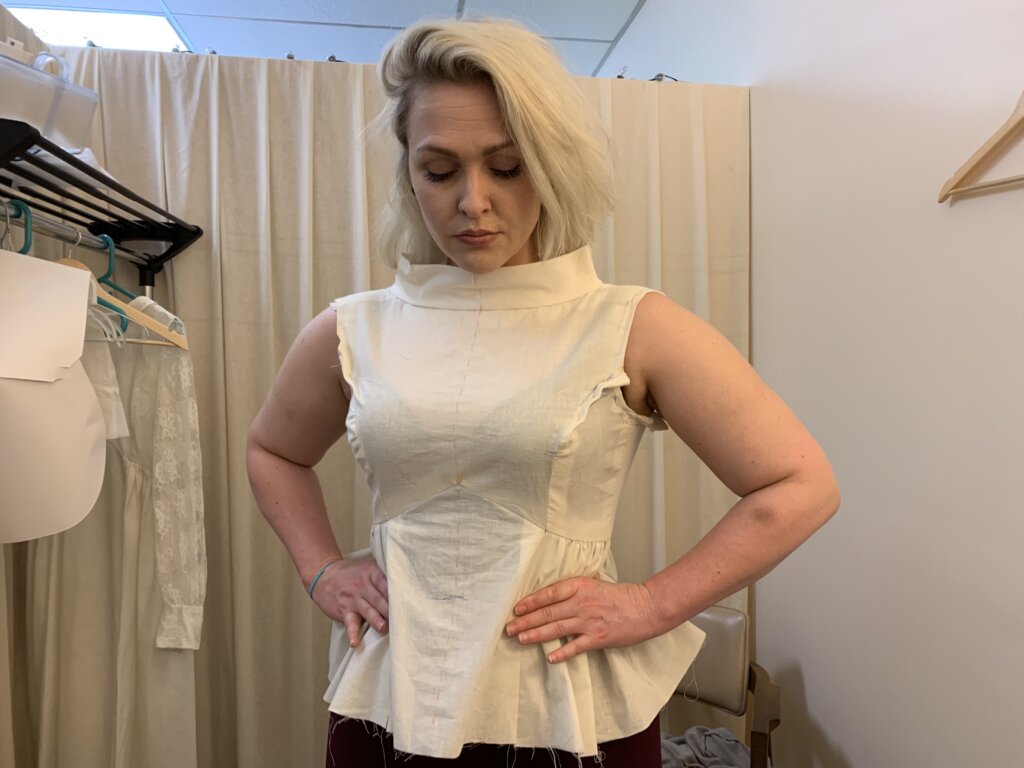
…but then worked with the mockup to determine a better fit.
I had no measurements when I made this mockup, but I was able to allow the fabric to tell me more about Jenn’s shape without needing numbers.
I also worked on fine-tuning the front fit…
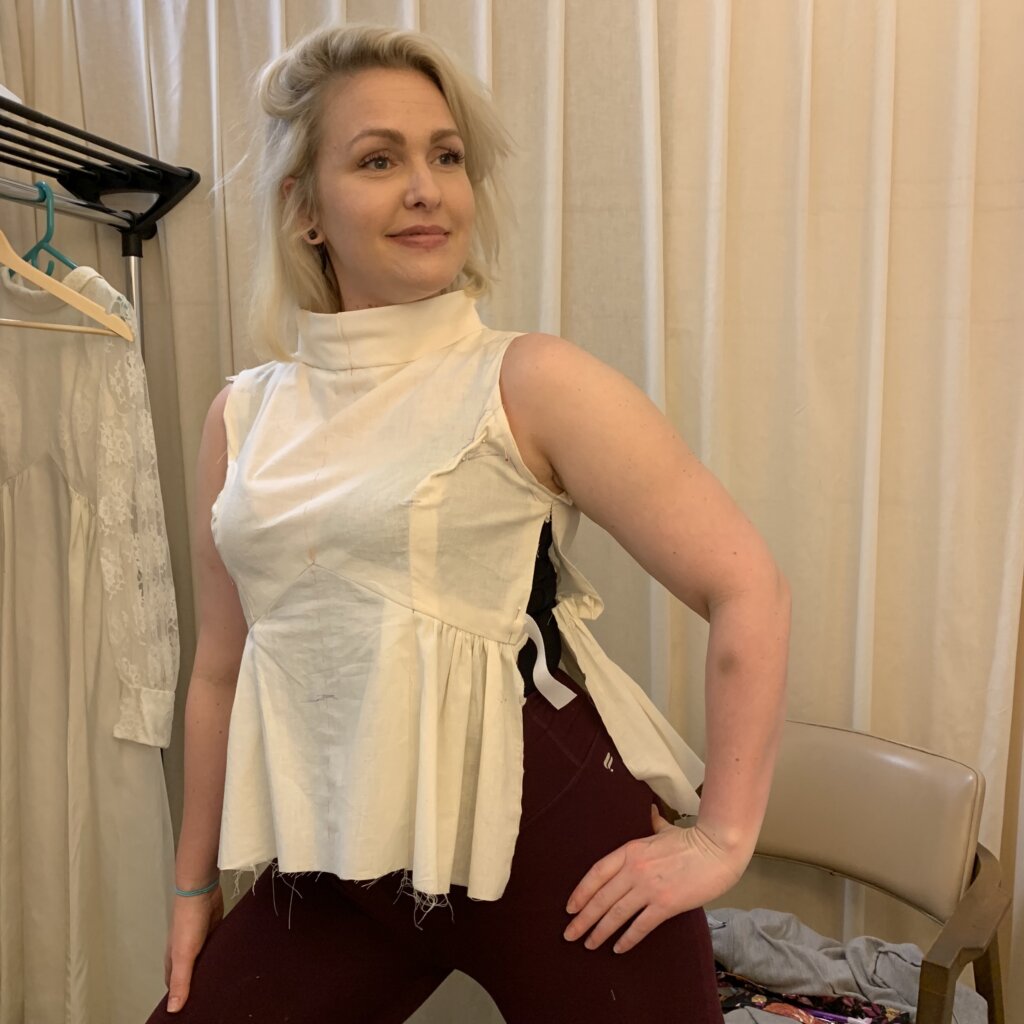
…until we had basically ripped the mockup to shreds. Busting through seams like a Hulk can feel Incredible! Mockups are so fun to fit!
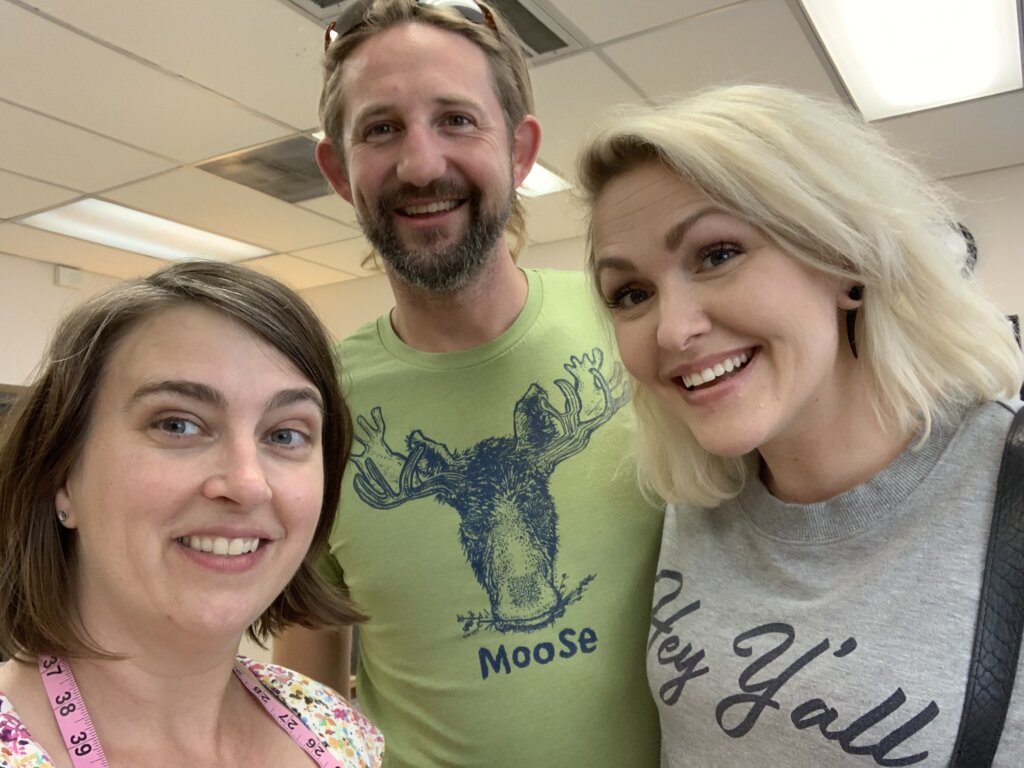
With all the information I needed from Jenn’s brain and body to confidently move forward with our bridalwear projects, my handsome husband Charles showed up and we all spent the rest of the day giggling together!
Do you love playing with mockups too? Does working with your friends ever inspire you to work a little differently?
NEXT POST: I’ll ponder our design ideas to create custom sketches, and use the data from the first mockup to make a new-and-improved second mockup!
Wanna know more about the unconventional way I sew?
I’m a former professional costumer and couture dressmaker for one-of-a-kind bridalwear located in rural North Carolina, who teaches custom garment sewing to sew-curious solo-sewists online.
My blog mostly follows along with the couture process of how each heirloom-quality custom wedding dress was made from idea to wedding day, as well as personal sewing projects and other couture curiosities.
Welcome to my (temporary) Sewing Studio! Come on in! I love seeing other people’s workspaces and tools, so I thought I’d show you mine. I cleaned up after a big...
Duplicating the Vintage Dress’s Pattern (without taking it apart)
In my previous post, I introduced Jenn and the custom bridal wear project(s) for her wedding weekend. Check out the full story for all the deets, but to catch you...
I Made Myself the Coolest Dress pt. 1 – Pattern Design & Mockup
Though my personal wardrobe is mostly “the dressmaker has no clothes”, when I do make something for myself, it’s usually an epic project. I’m so excited to finally share this...
I’ve been blogging for TEN YEARS now, ya’ll! In “My 10 Year Blogiversary pt. 1”, I share links to each bridal blog series that I’ve created over the past decade....
It’s finally time to share about Deborah’s wedding day! HOORAY! Deborah and Blake were married in November 2017 at a church in Greensboro, NC with the reception at a nearby...
New Bridal Blog Series: My (kinda famous) friend Jenn!
Brooks Ann, Jenn, & Charles January 2017 Going Way Back… To begin my next bridal blog series, let’s head into the Way-Back Machine. And we’ll head farther back than this...
The bridal blog series is back! In each bridal blog series, you meet a new bride and I slowly post-by-post recount the process and share the behind-the-seams story of creating...
The bridal blog series is back! In each bridal blog series, you meet a new bride and I slowly post-by-post recount the process and share the behind-the-seams story of creating...
The bridal blog series is back! In each bridal blog series, I recount the process and share the behind-the-seams story of creating a one-of-a-kind custom couture wedding dress from start...
Sally is someone special. Back in December, I got an email from a dear friend named Sally that I had lost touch with. The subject line: “dear lord i’m getting...
As it starts to get cold, it sure is nice to think about summer! Gin and tonics… BLTs… beach trips… seersucker… Earlier this year, I worked with a bride who...
Welcome to Part 2 of the story behind making Andy’s 2019 wedding dress, where I’ll recount the testing phase of the custom process. If you’ve been following my blog for...
They say documenting the process triples the production time. (And I work more slowly than most.) My Nimbus was cold.She needed a new coat, sooner than later.
Welcome to Part Two! I’m back to share the nerdy behind-the-seams details of creating my Vanishing Tie Top for the Precious Fabric Challenge. But this photo-filled blog post doesn’t feature...
Do you have a fabric that you’ve been SAVING instead of SEWING? Yeah. Me too. So when Whitney Luckenbill of TomKat Stitchery asked me to be a part of her...
Welcome to my (temporary) Sewing Studio! Come on in! I love seeing other people’s workspaces and tools, so I thought I’d show you mine. I cleaned up after a big...
Welcome back! It’s the series finale! In this third and final post of My Warmup Jacket series, I share the behind-the-seams details of my jacket’s construction and finishing stories!
In this second post of My Warmup Jacket series, I share the behind-the-seams details of my jacket’s patternmaking and mockup stories! And after putting this patterning post together (which was...