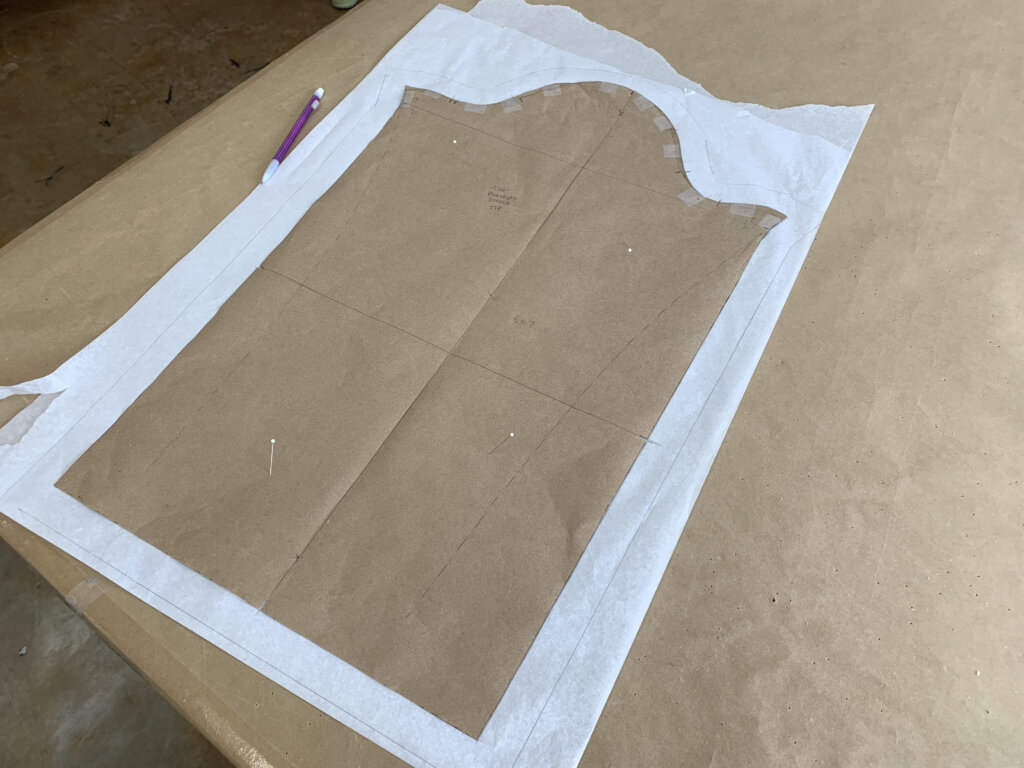
When the story of turning Jenn’s mom’s wedding dress into a rehearsal day top left off, the vintage dress had been taken apart. Its satin fabric had been cut after pinning the mockup pieces as a backing fabric. Catch up here.
The post you are reading now is all about that lace…
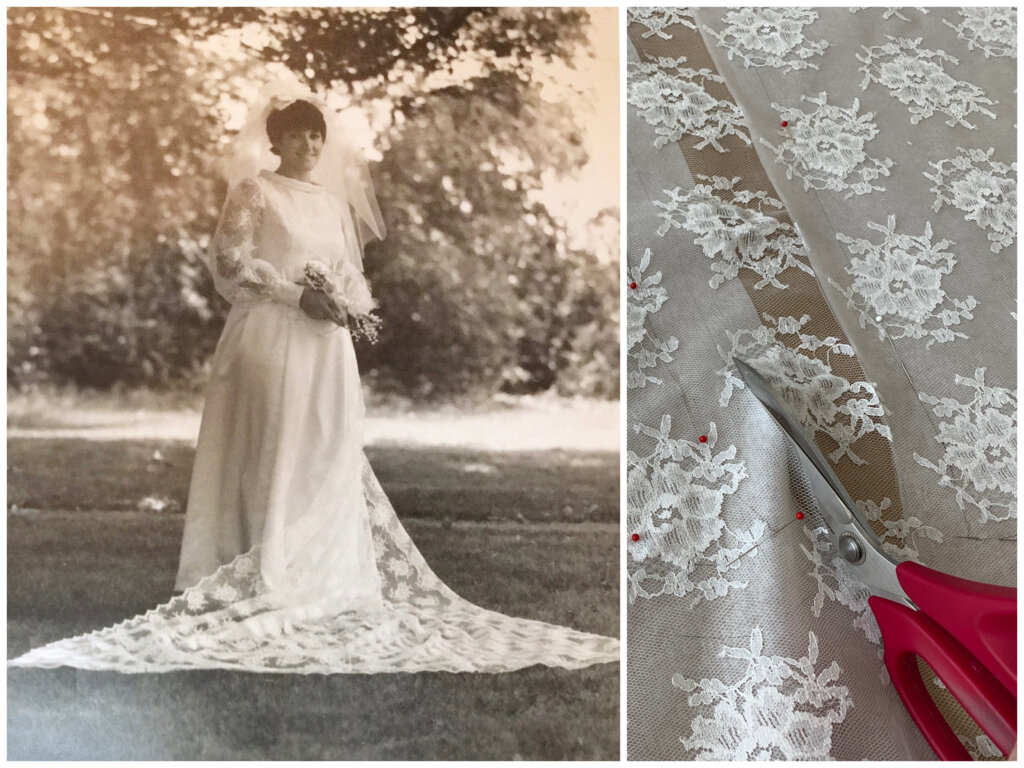
Jenn’s mom Lydia wore a wedding dress that was mostly satin- only the bodice and the sleeves were lace. Jenn’s top design also has the bodice and sleeves made with lace, but the style and sizing of each piece changed in a way that I couldn’t reuse the lace from Lydia’s dress.
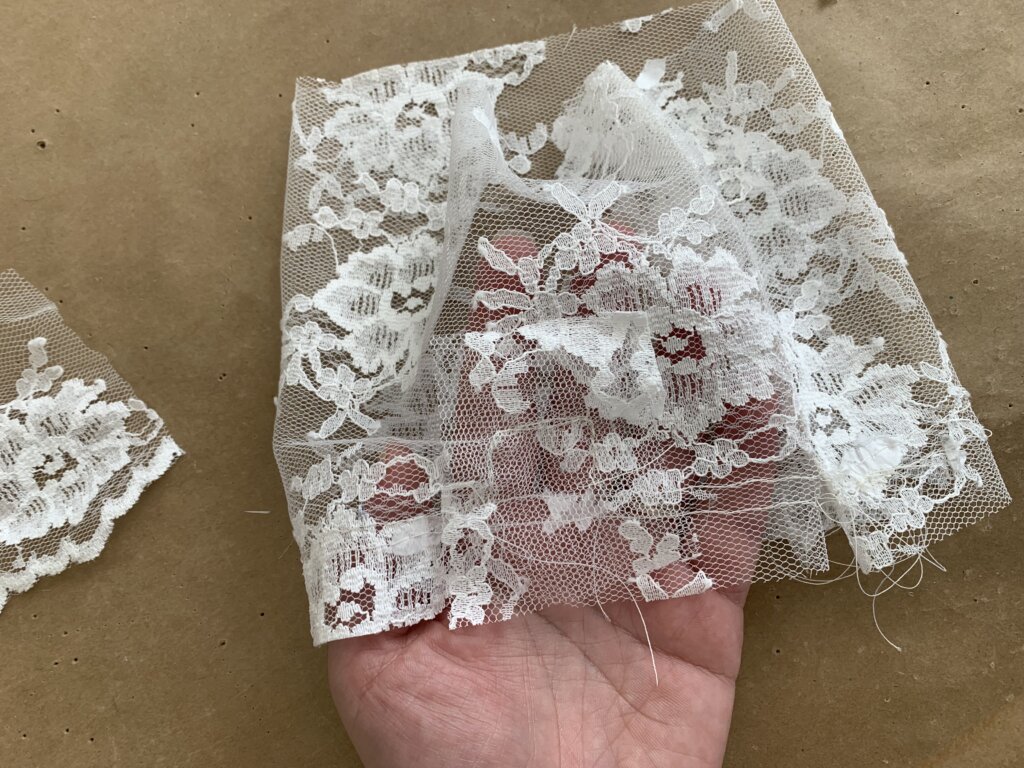
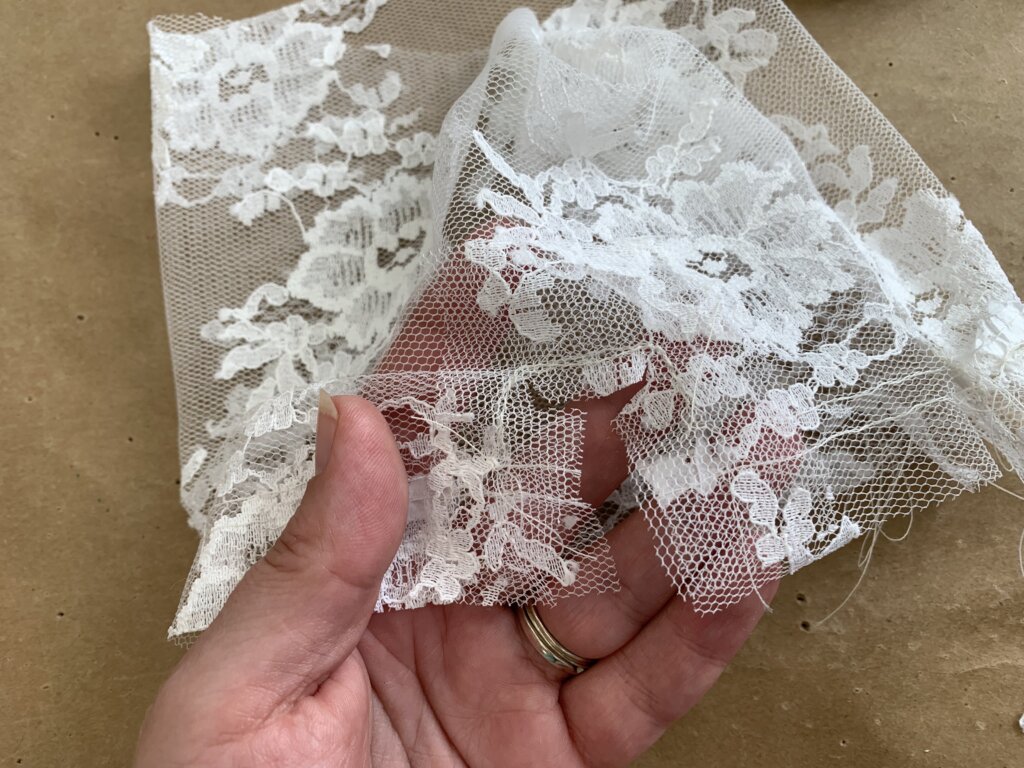
No worries! Lydia also wore a looooooong lace train that hooked along her the neckline. I’d use the train to cut all of Jenn’s lace!
...'bout that lace...
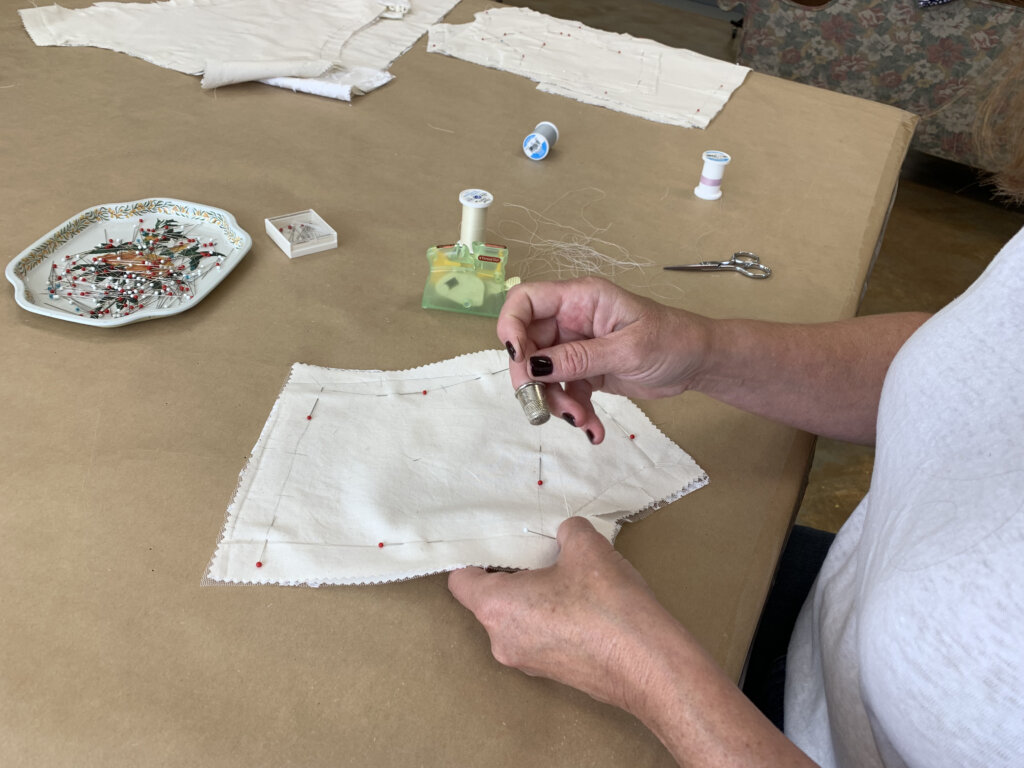
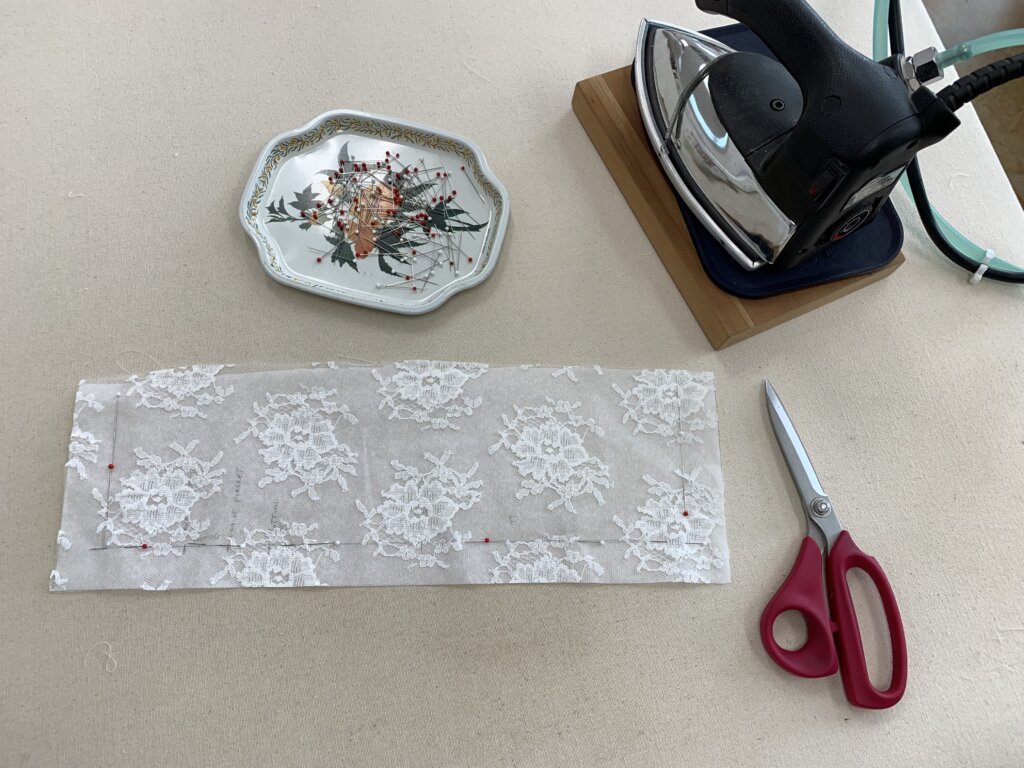
With the mockup fittings complete, it was a joy to continue prepping for our upcoming basted fitting. The basted fitting is often the first time trying on the actual garment in the real fabrics and often the last time to make any changes before finishing.
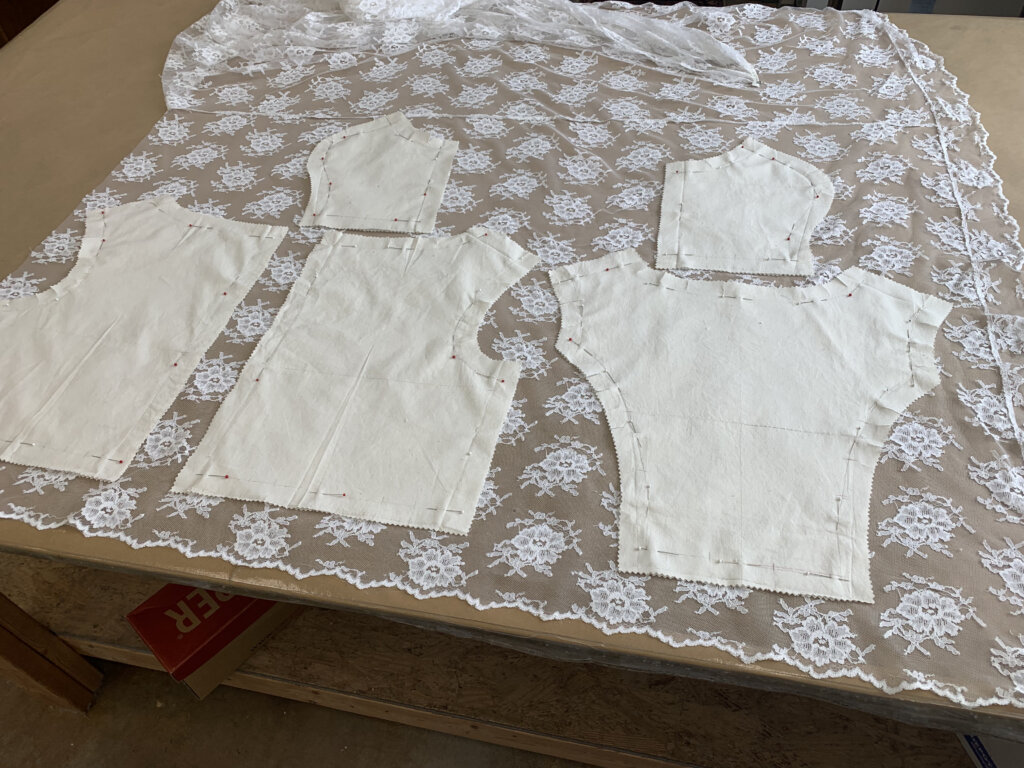
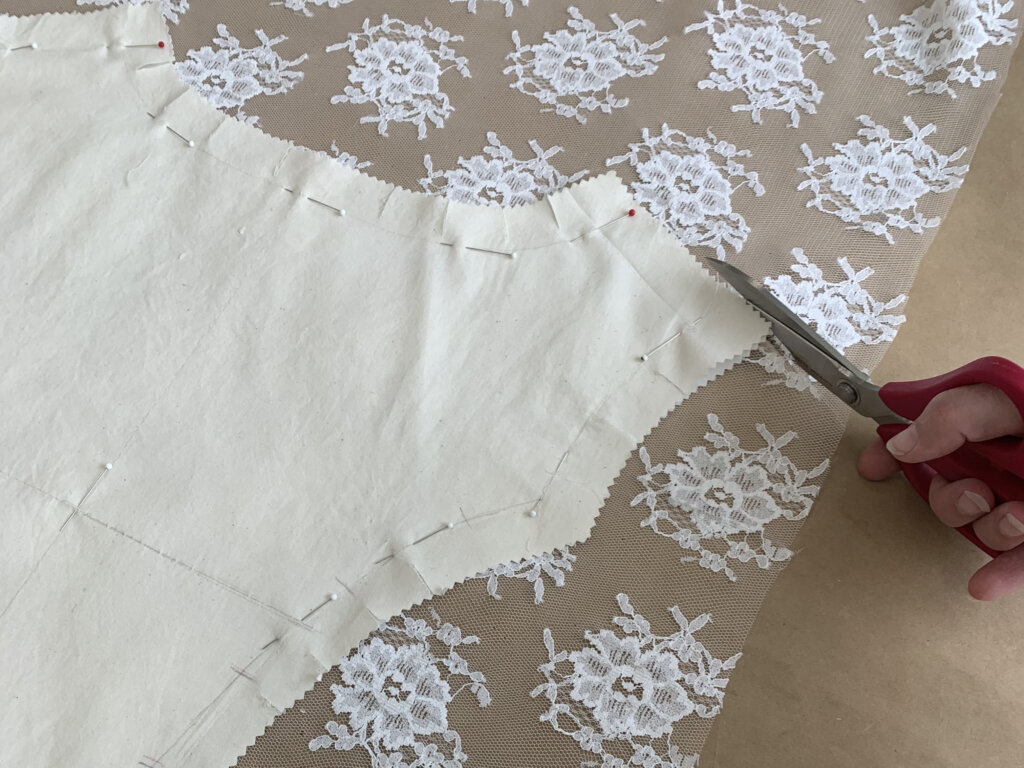
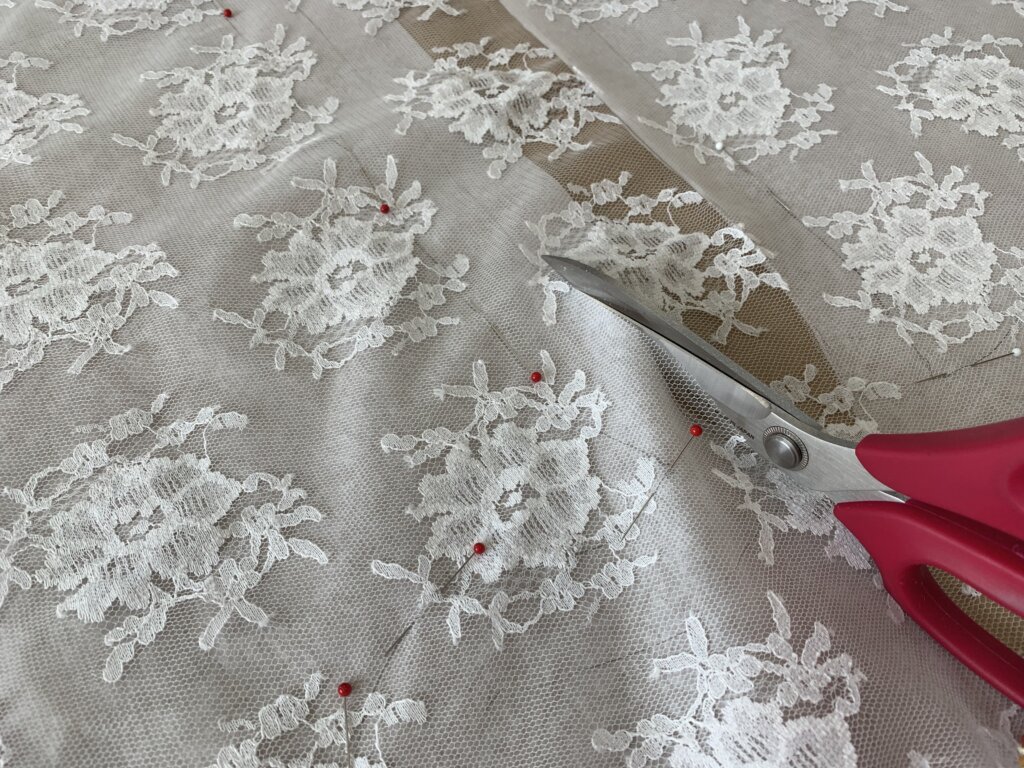
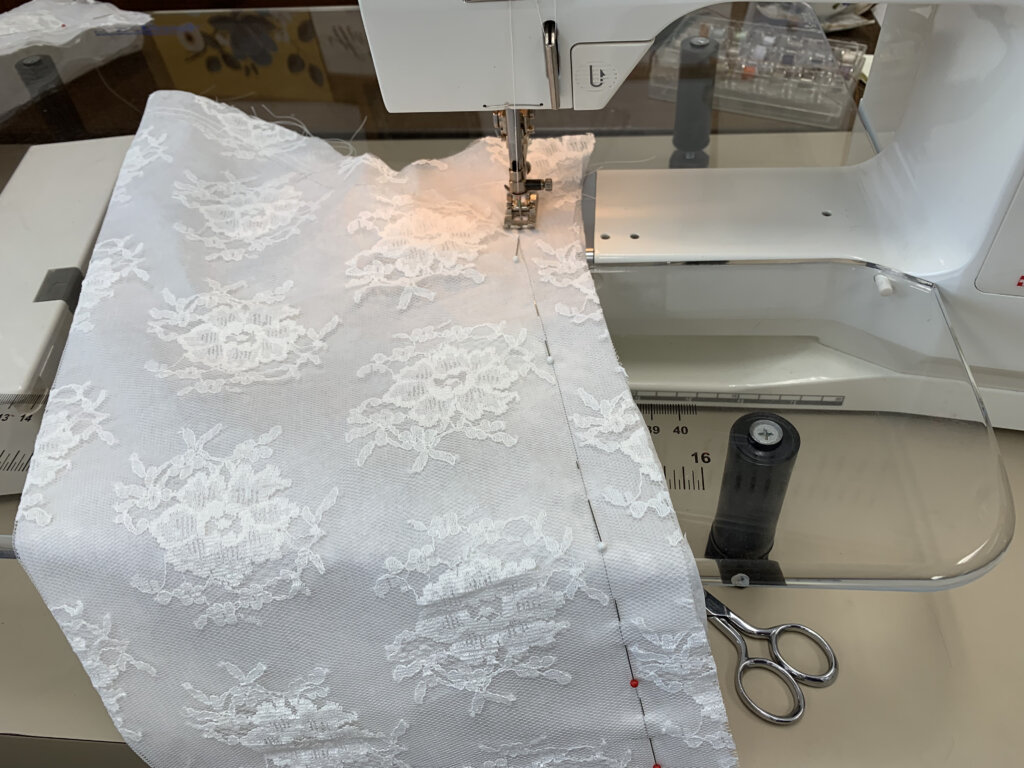
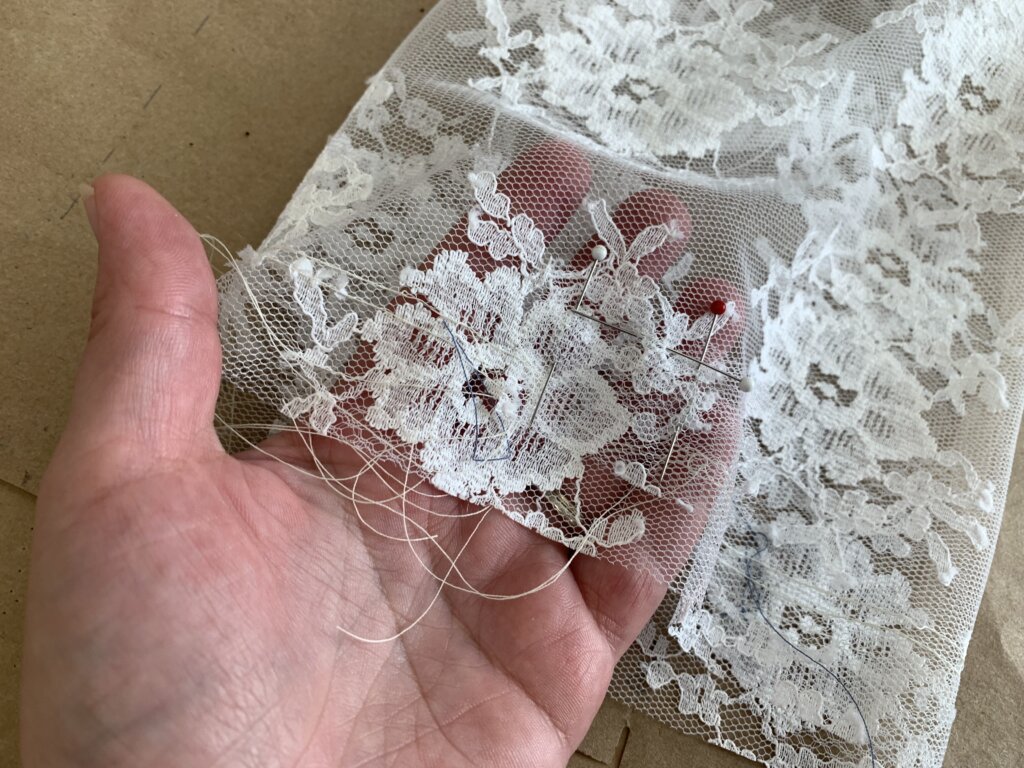
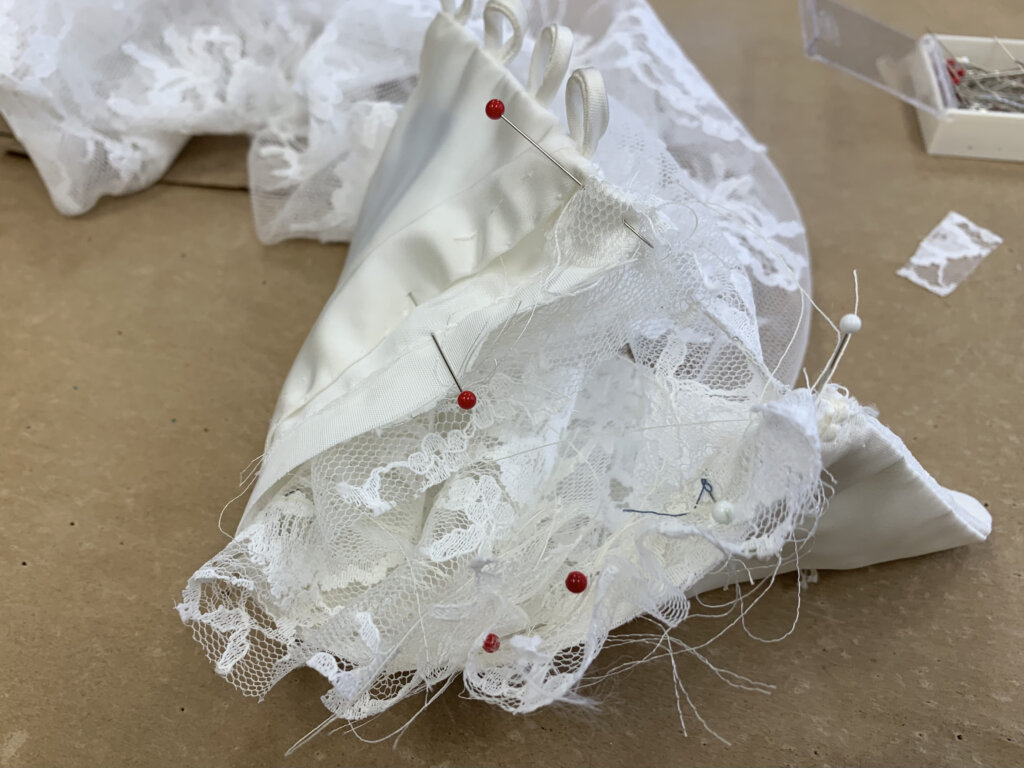
To cut the lace layer for the bodice pieces (that were already pinned as a mockup/satin sandwich), I carefully positioned the lace to look pleasing and cohesive on each piece. Then, one at a time, I revised each pin to now hold three layers together, instead of just two.
As I cut around each edge, Lydia’s train becomes part of Jenn’s top-to-be!
For the collar, I decided to sew the seams and use a single scrap of lace to cover the entire collar. This makes it slightly less adjustable during the basted fitting, but if we decide to make tweaks, I’d use this collar as a prototype- crafting a new one for the final top.
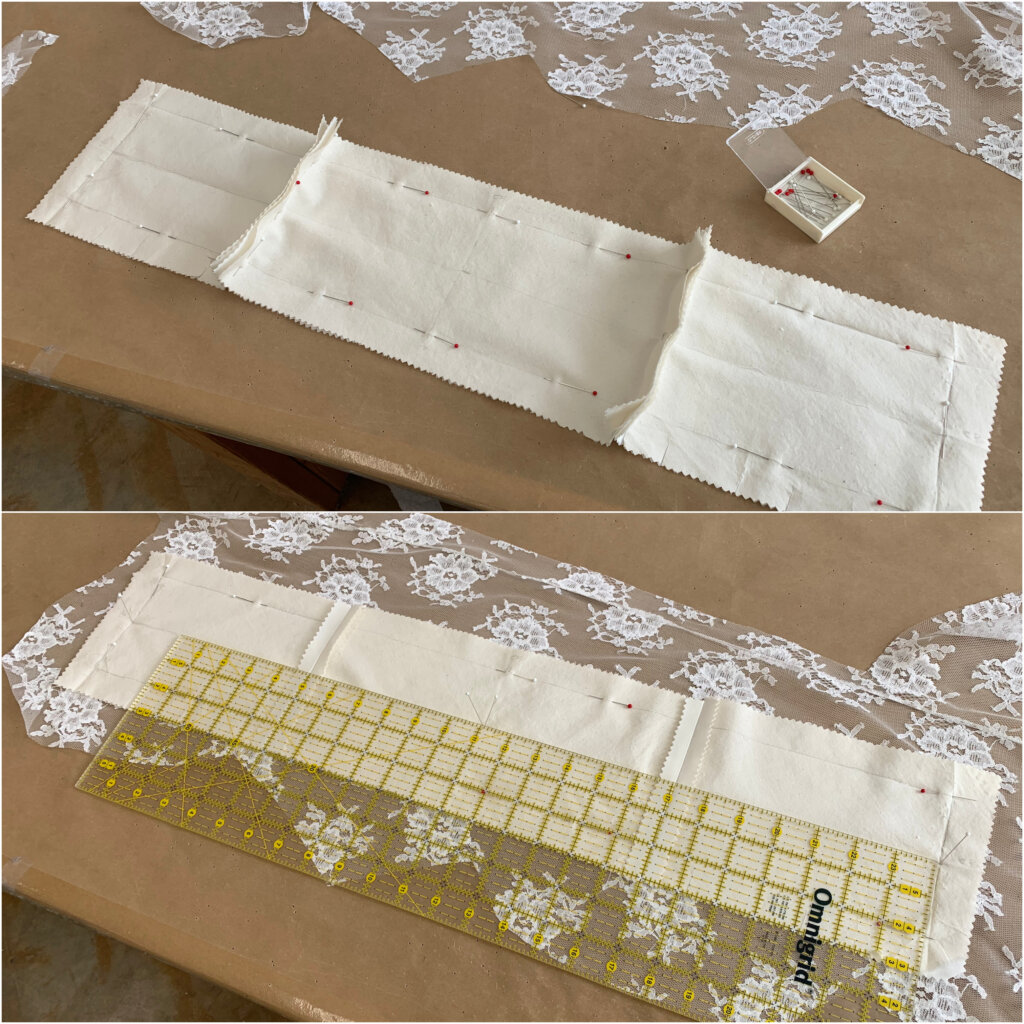
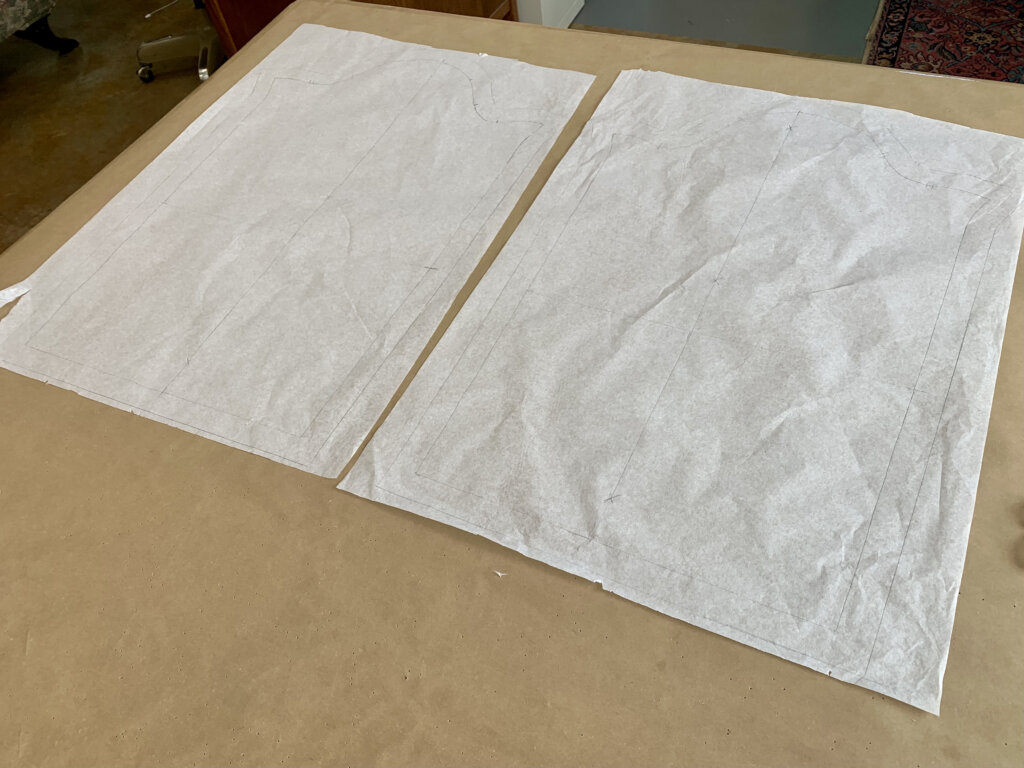
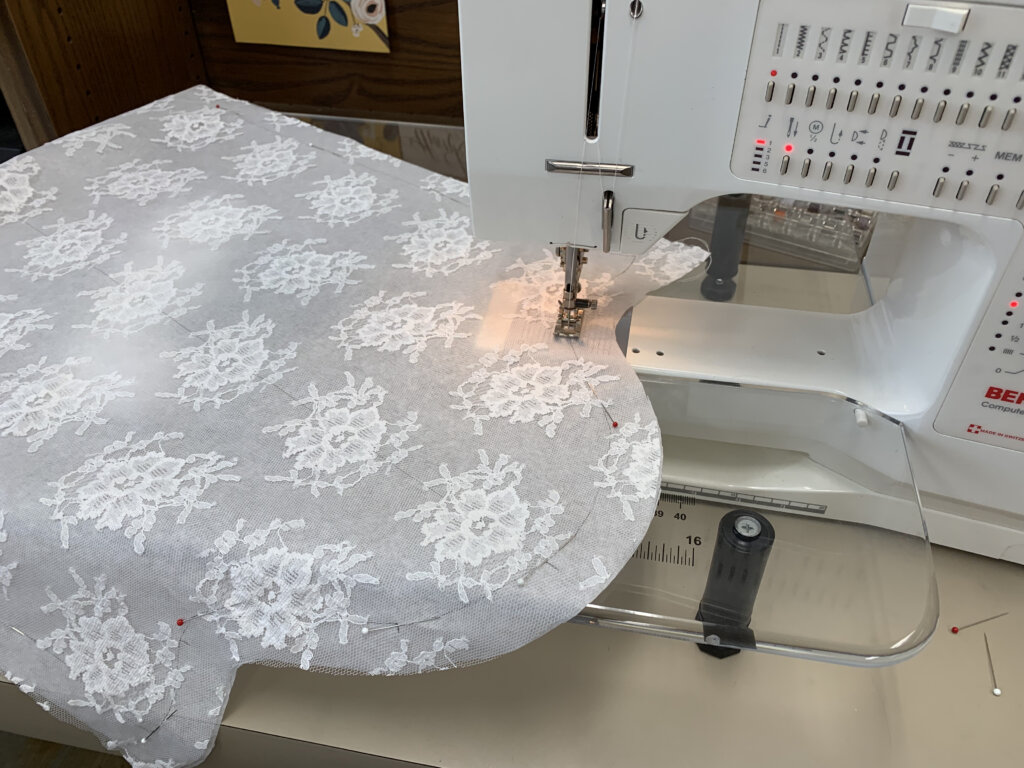
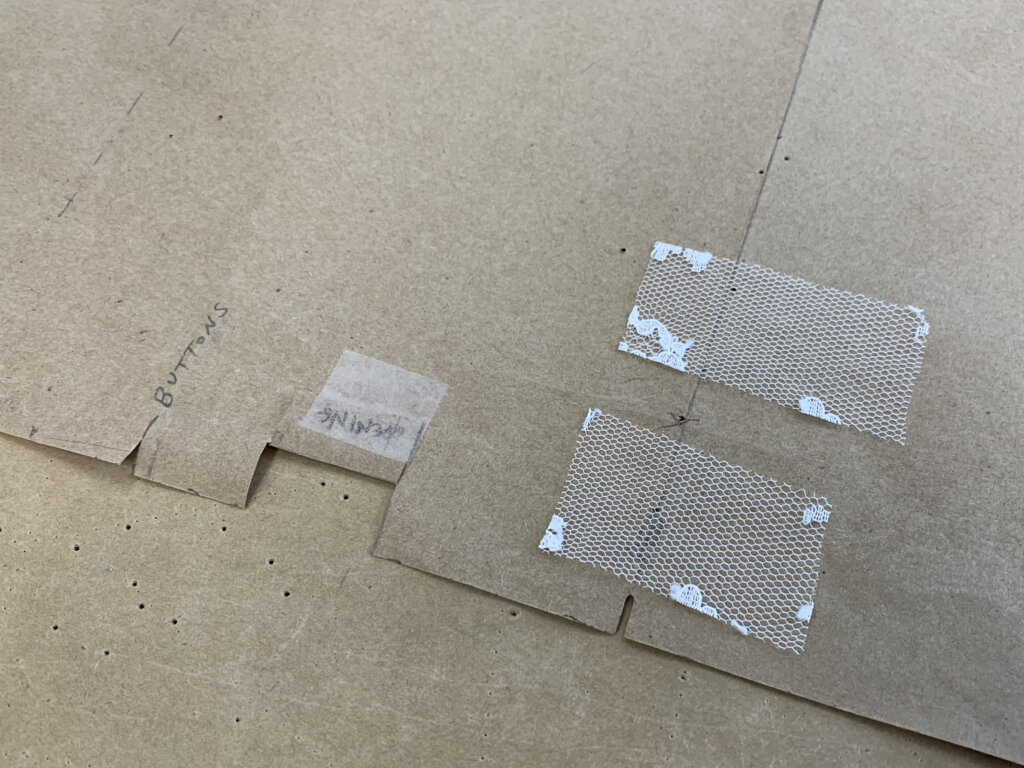
Each sleeve would be made from a single layer of sheer lace- so instead of using my backing fabric as a cutting guide, I traced my sleeve pattern onto tissue paper.
I’d use the pencil lines on the tissue for cutting, pinning, and stitching the lace!
After laying out the lace on top of the tissue, I pinned along each stitching line and cut along each cutting line.
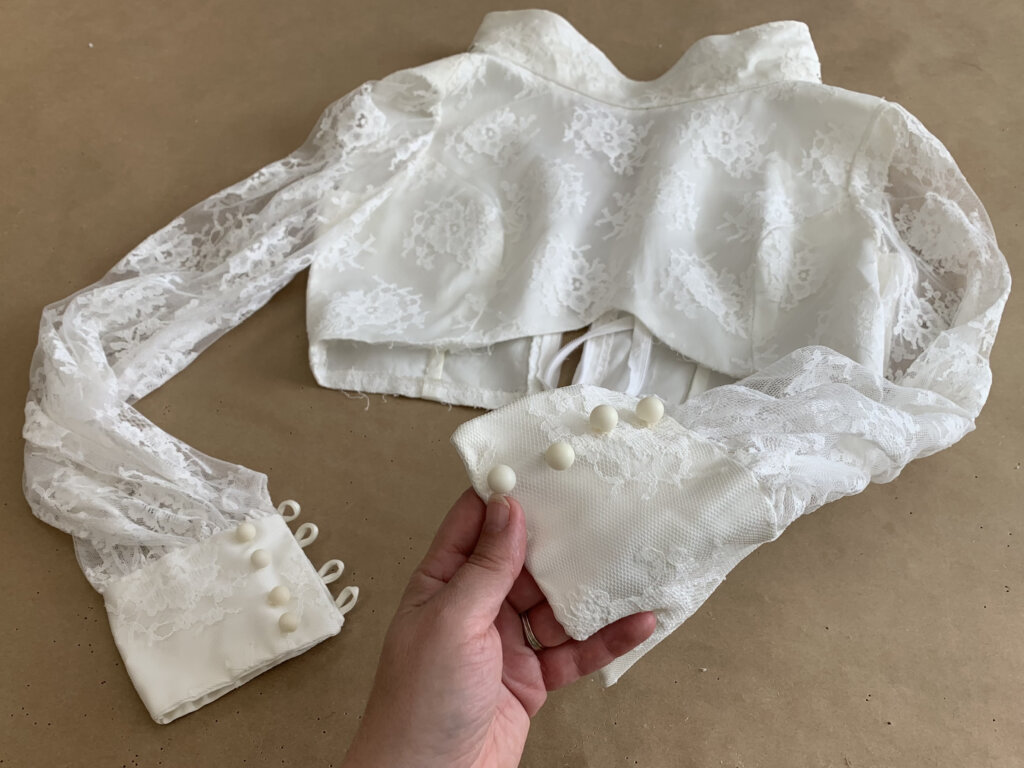
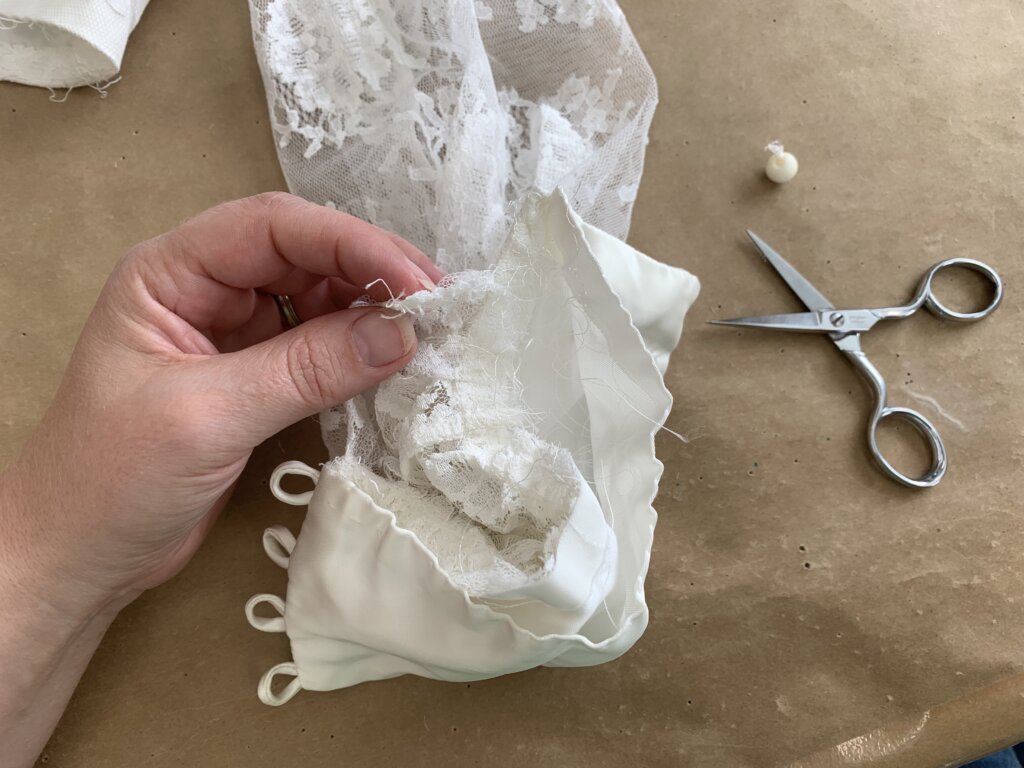
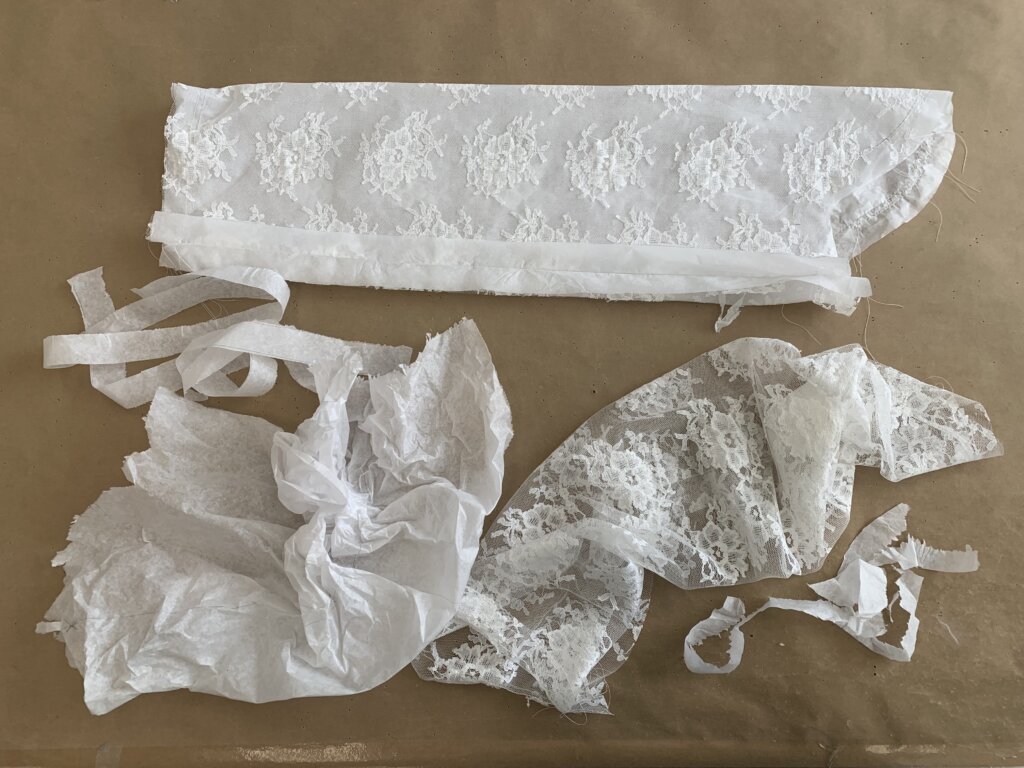
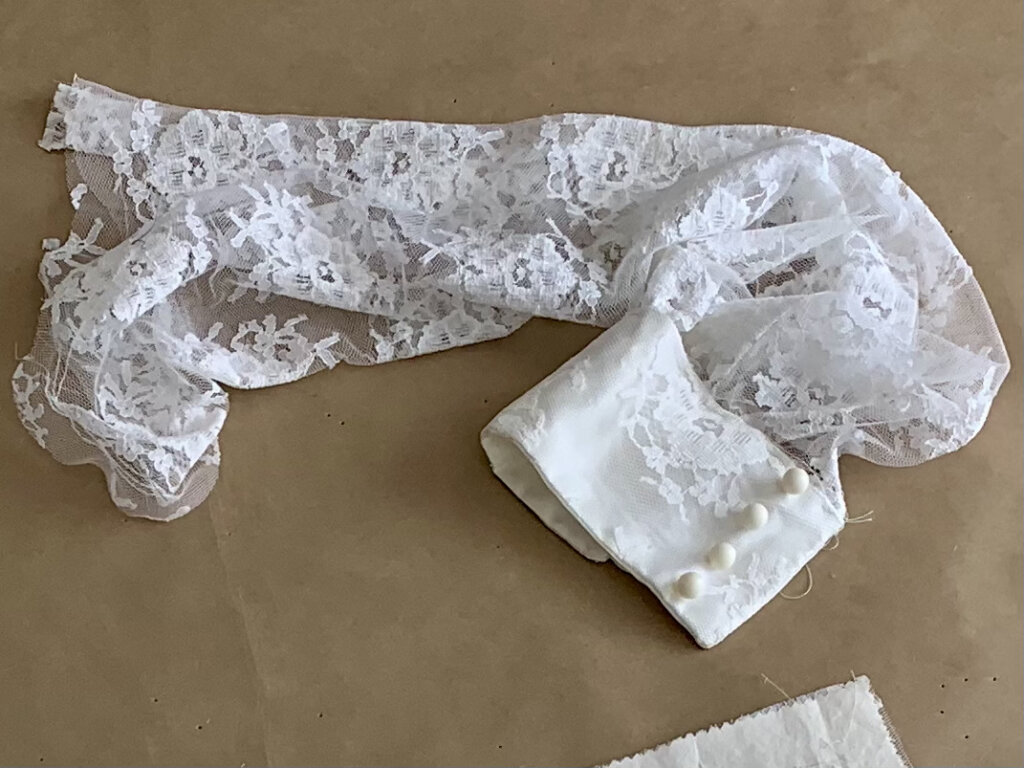
The last lacy bits for Jenn’s top: The cuffs.
I used my embroidery scissors to carefully remove the original cuffs (sewn by Jenn’s grandma!) from Lydia’s sleeve. Jenn would wear the same cuffs her grandma so lovingly stitched up for her daughter’s wedding day…
Joining Fabrics by Underlining
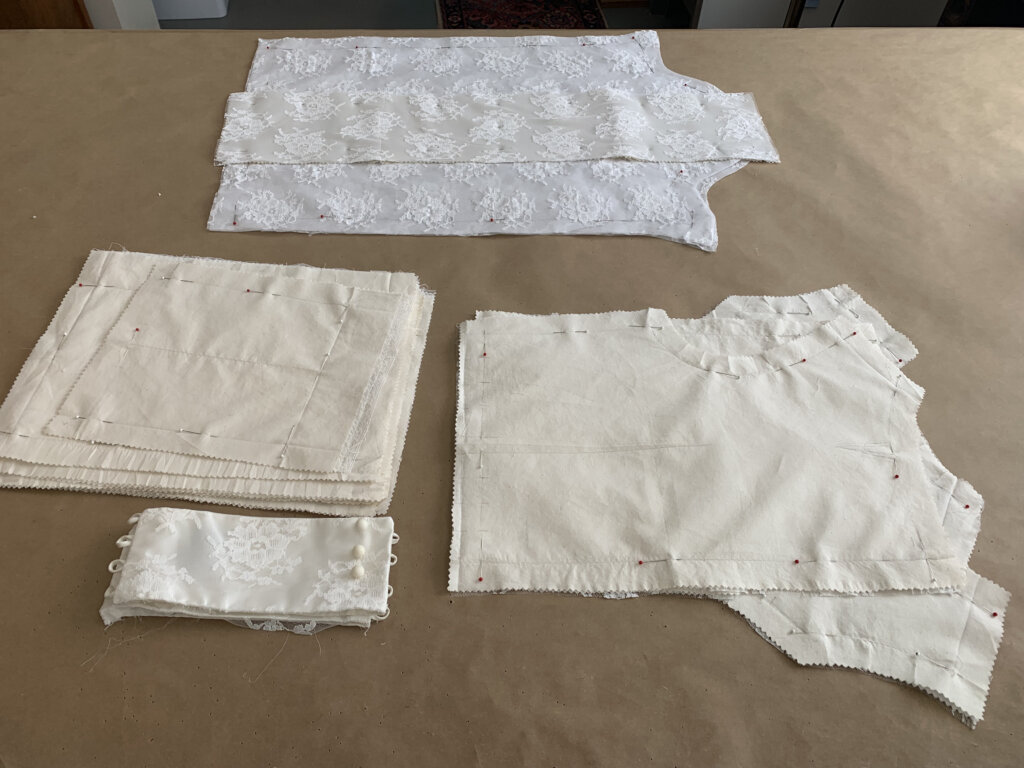
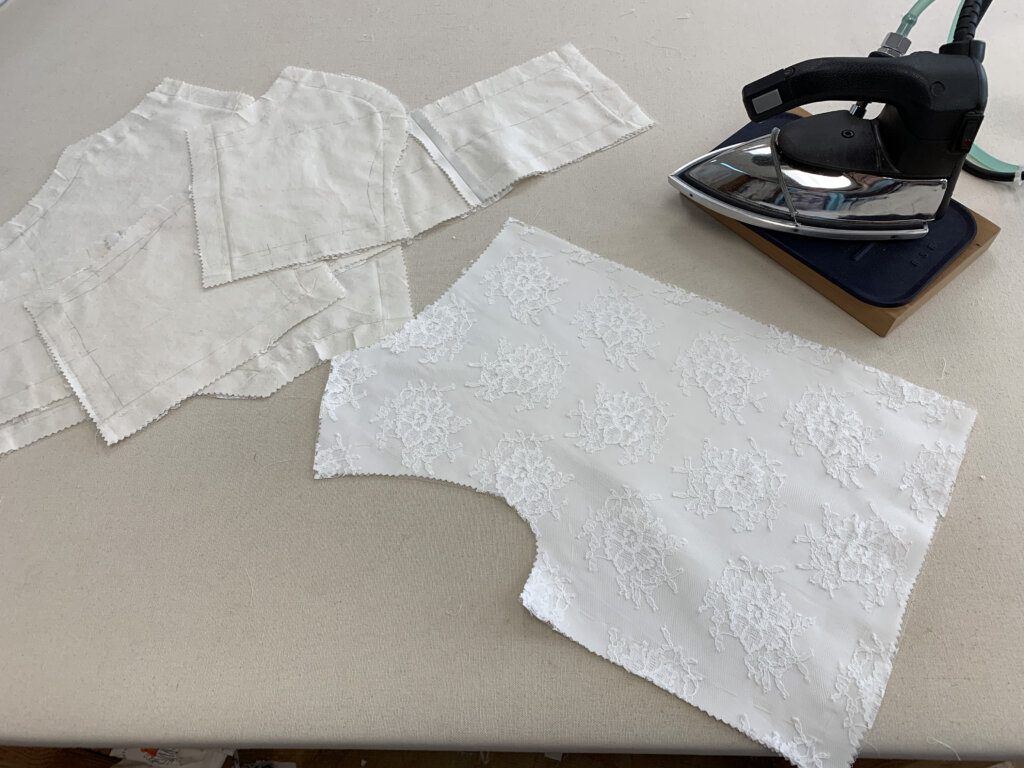
All the pieces of Jenn’s rehearsal day top were now flat and ready to go. Onto underlining!
The next step of underlining is replacing the pins with hand stitching. A simple running stitch is added by hand- just outside of the stitching line in matching thread.
This step can be time-consuming, but it is not difficult. The goal of the stitching process is to join the layers of fabric together as one. If you reach the goal, it does not matter what the stitch looks like. It will be hidden inside (or removed from) the final garment.
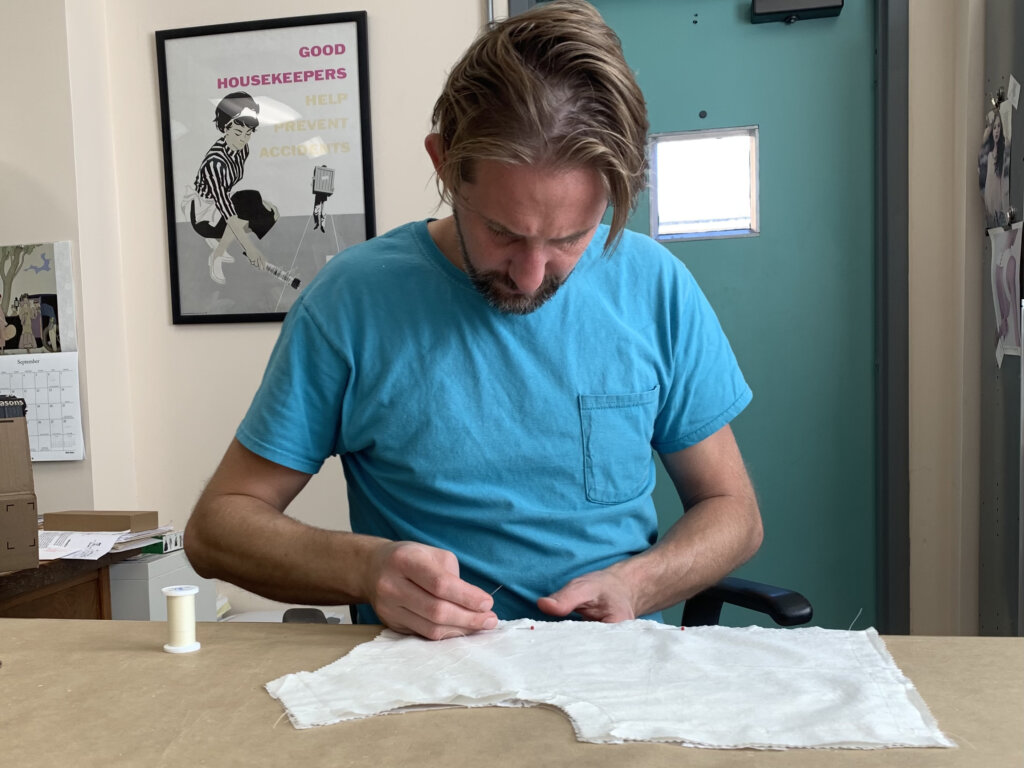
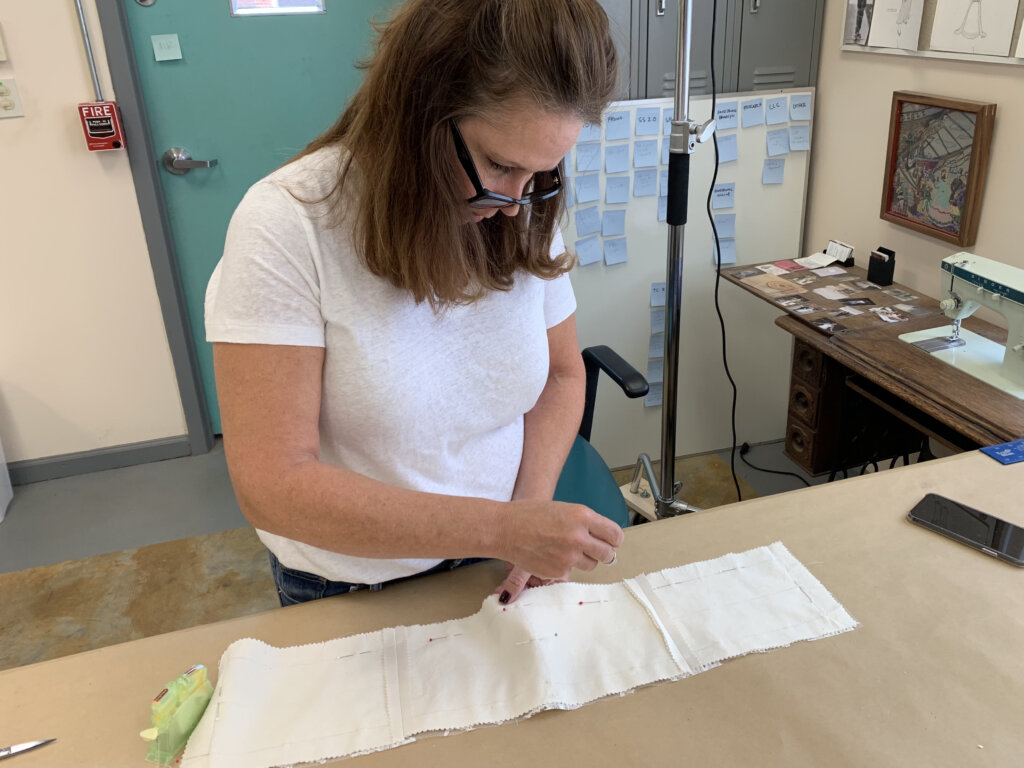
Together with our thimbles and needle threaders, we joined multiple layers of fabric together…
…and had a lot of fun!
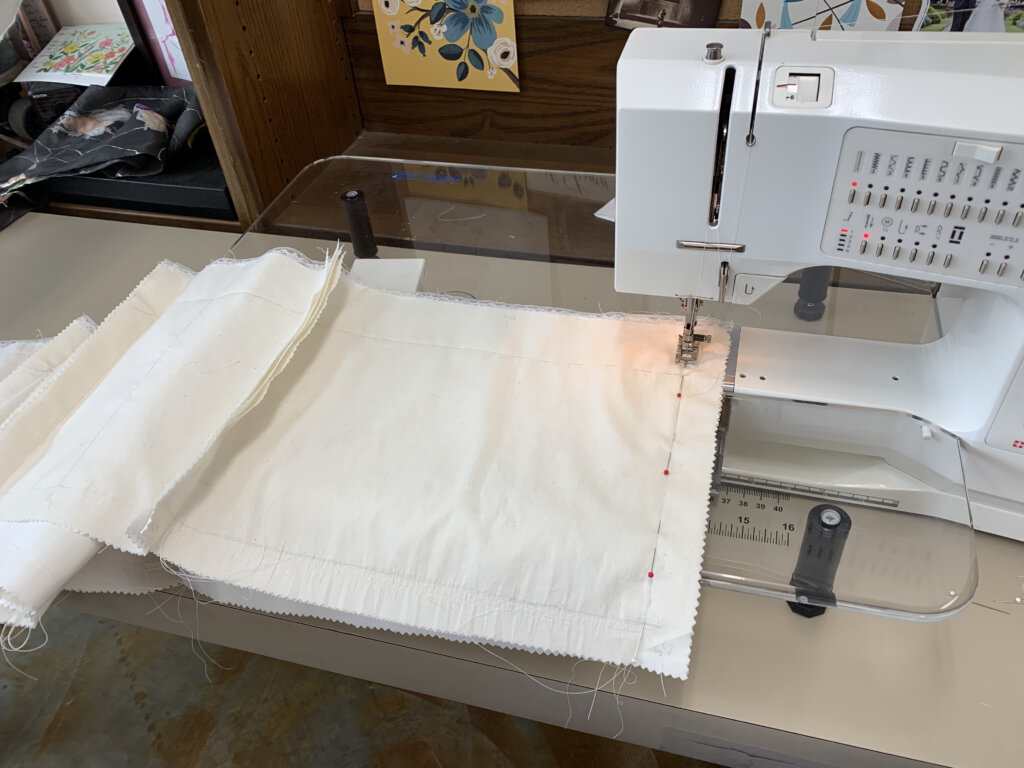
The Peplum
Once the peplum pieces were completely underlined, I left the hand stitching crew to start sewing some seams together.
And I can hear you say “But I thought this post was All About That LACE! Jenn’s peplum design is only satin…”
Wow! Good thinking! But…
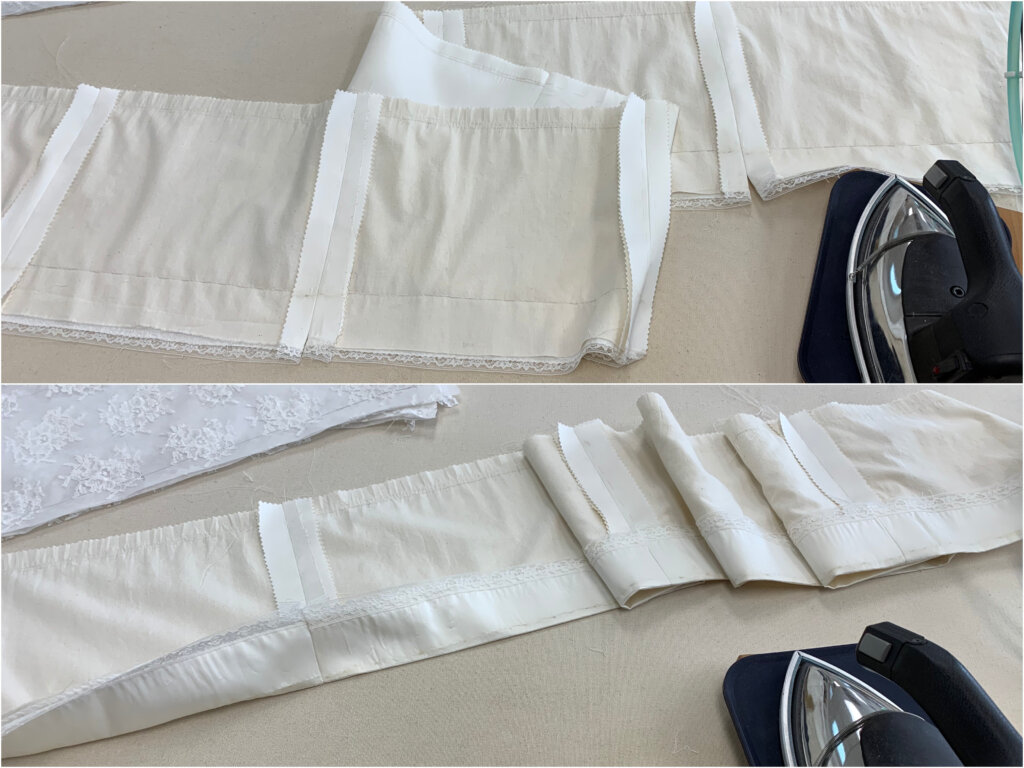
When cutting the fabric, I matched the hem pieces of the peplum to the hem pieces of Lydia’s dress. Lydia’s mom had sewn the hem with hem lace– which I kept intact to reuse!
I pressed Jenn’s hem just above the original hemline (which was slightly dirty). It will look pristine on the outside- with memories to peep on the inside!
The Sleeves
While still chatting and giggling with Charles and Rebecca, I moved on to the sleeves. While still flat, I followed the marked stitching line on the tissue to add gathering stitches to the sleeve head and cuff edge of each lace sleeve.
Then I pinned the seamlines together before machine stitching them through the paper and the lace.
The needle perforates the paper while creating the stitch- making the tissue easy (and kinda fun) to rip away once the stitching is complete.
Do you ever use tissue when sewing slippery and/or sheer fabrics?
Adding the Cuffs
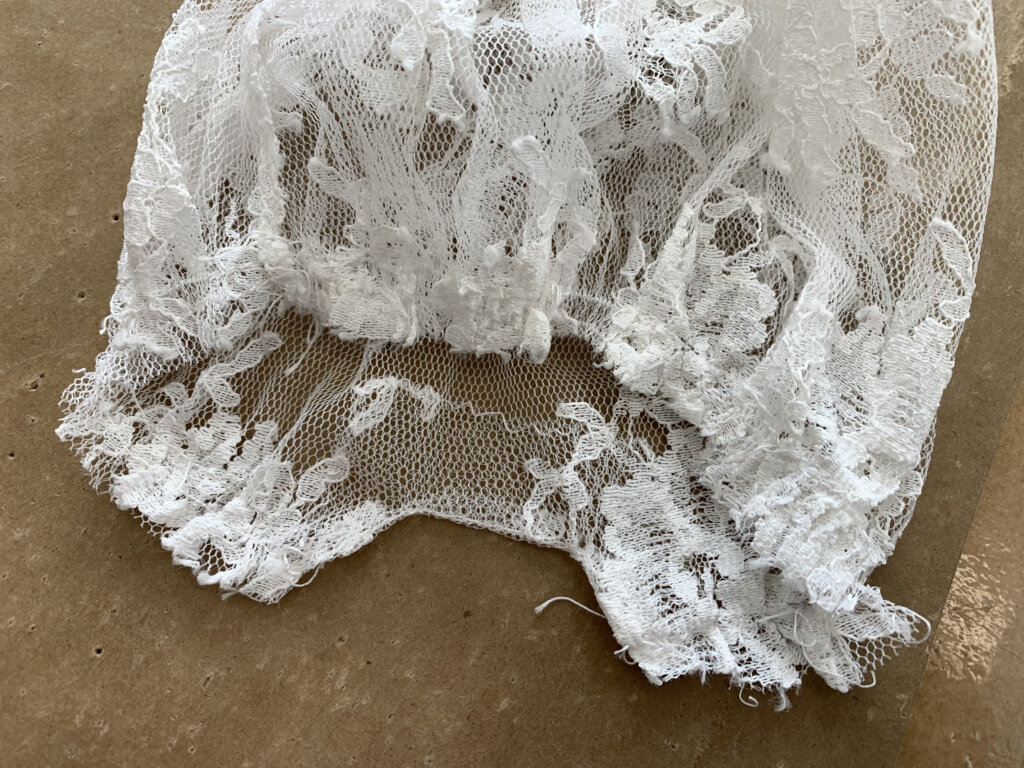
To add the cuffs to Jenn’s new sleeves, I investigated Lydia’s sleeve (with the cuff freshly removed) to figure out a plan for the opening. The gathers were interrupted by a delicate little squared off area- designed to help the cuffs beautifully button up.
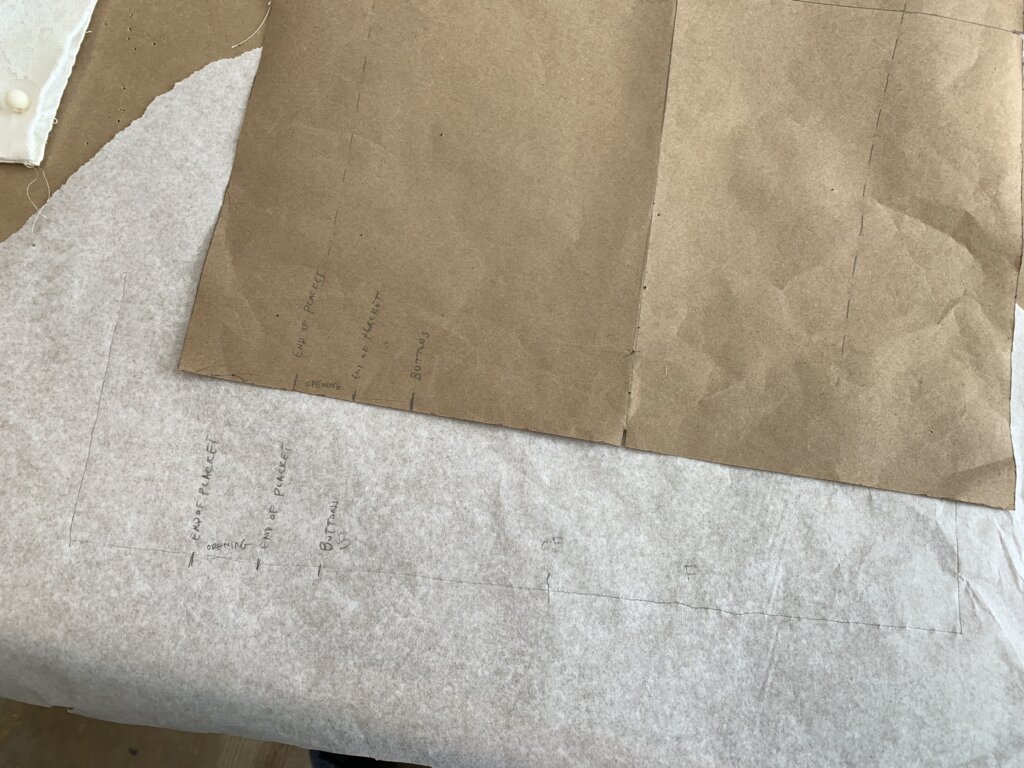
I used the data gathered and my ideas and my sleeve pattern to map out a plan. Then I transferred the plan to tissue…
…to test it in a sample! (I love samples!)
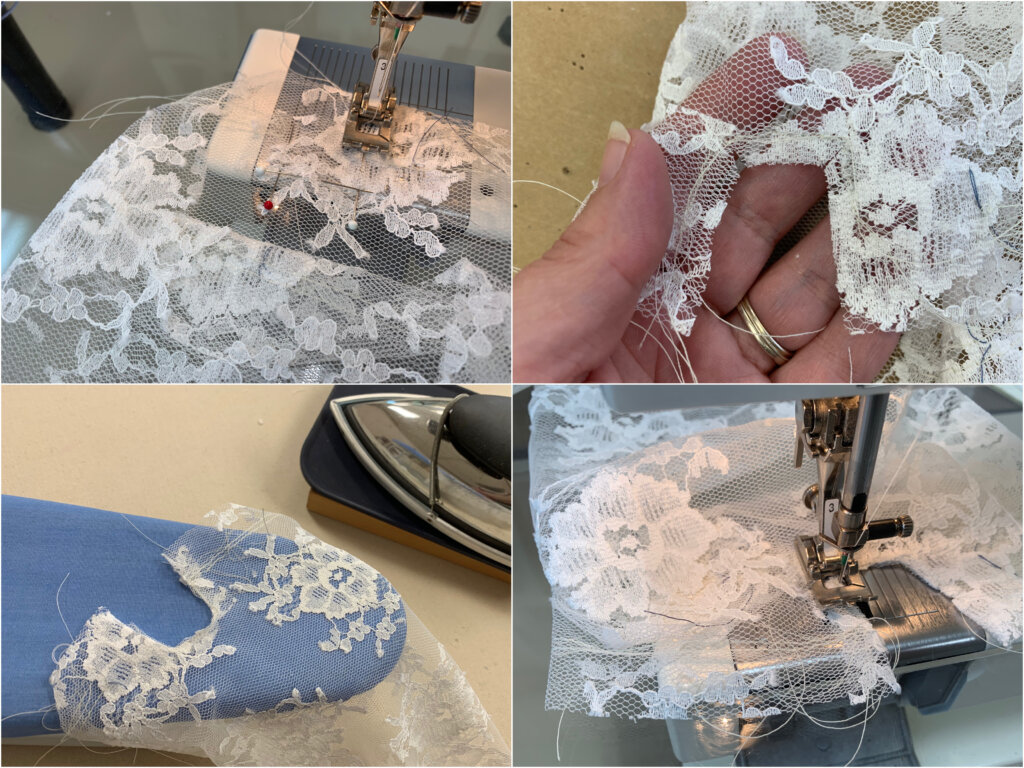
After marking and prepping, I took a rectangle of lace and stitched it to the public side of the bottom of the sleeve to prep for a squared off opening.
To open up the opening, I clipped both layers through the middle and to each corner.
Then, I turned the rectangular patch and the allowances to the inside- using my iron to help me coax the stitches to the edges.
Finally, I trimmed, made a neatness, and stitched the excess to finish off a beautiful little opening for the cuffs.
To test how to add the cuffs to the lace and see if this works, I used my pattern and some pins to guide me.
Beautiful! Worked like a charm.
Ok then! Let’s do this! Equipped with my plan and some little rectangles…
I carefully prepped…
…and applied my sample’s techniques to the sleeves for Jenn’s top!
Adding the vintage cuffs was a satisfying puzzle!
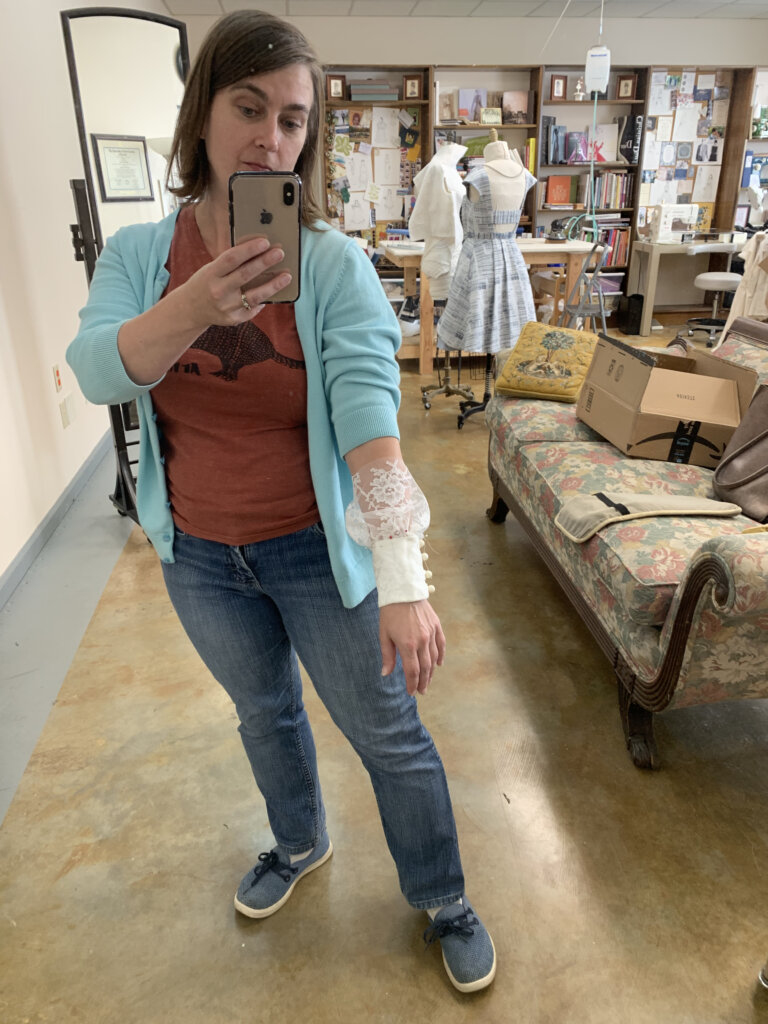
Hand basting the cuff to the sleeve will allow for easy tweaks during the basted fitting and/or will make it easy to complete if no changes are needed. Win-win!
To be Continued...
The sleeves were now ready to be basted into the top…
…and the top pieces were now underlined and ready to be assembled!
Though I most often love sewing solo, it was fun to have Charles and Rebecca in the studio with me. We got a lot of great work done while having a lot of fun!
Do you like to sew with friends? Prefer to sew solo? Or to mix it up?
NEXT POST: I’ll baste the rest of the bodice together + share Jenn’s basted fitting (in Brooklyn)!
I’m a former professional costumer and couture dressmaker for one-of-a-kind bridalwear located in rural North Carolina, who teaches custom garment sewing to sew-curious solo-sewists online.
My blog mostly follows along with the couture process of how each heirloom-quality custom wedding dress was made from idea to wedding day, as well as personal sewing projects and other couture curiosities.
Welcome to my (temporary) Sewing Studio! Come on in! I love seeing other people’s workspaces and tools, so I thought I’d show you mine. I cleaned up after a big...
Duplicating the Vintage Dress’s Pattern (without taking it apart)
In my previous post, I introduced Jenn and the custom bridal wear project(s) for her wedding weekend. Check out the full story for all the deets, but to catch you...
I Made Myself the Coolest Dress pt. 1 – Pattern Design & Mockup
Though my personal wardrobe is mostly “the dressmaker has no clothes”, when I do make something for myself, it’s usually an epic project. I’m so excited to finally share this...
I’ve been blogging for TEN YEARS now, ya’ll! In “My 10 Year Blogiversary pt. 1”, I share links to each bridal blog series that I’ve created over the past decade....
It’s finally time to share about Deborah’s wedding day! HOORAY! Deborah and Blake were married in November 2017 at a church in Greensboro, NC with the reception at a nearby...
New Bridal Blog Series: My (kinda famous) friend Jenn!
Brooks Ann, Jenn, & Charles January 2017 Going Way Back… To begin my next bridal blog series, let’s head into the Way-Back Machine. And we’ll head farther back than this...
The bridal blog series is back! In each bridal blog series, you meet a new bride and I slowly post-by-post recount the process and share the behind-the-seams story of creating...
The bridal blog series is back! In each bridal blog series, you meet a new bride and I slowly post-by-post recount the process and share the behind-the-seams story of creating...
The bridal blog series is back! In each bridal blog series, I recount the process and share the behind-the-seams story of creating a one-of-a-kind custom couture wedding dress from start...
Sally is someone special. Back in December, I got an email from a dear friend named Sally that I had lost touch with. The subject line: “dear lord i’m getting...
As it starts to get cold, it sure is nice to think about summer! Gin and tonics… BLTs… beach trips… seersucker… Earlier this year, I worked with a bride who...
Welcome to Part 2 of the story behind making Andy’s 2019 wedding dress, where I’ll recount the testing phase of the custom process. If you’ve been following my blog for...
They say documenting the process triples the production time. (And I work more slowly than most.) My Nimbus was cold.She needed a new coat, sooner than later.
Welcome to Part Two! I’m back to share the nerdy behind-the-seams details of creating my Vanishing Tie Top for the Precious Fabric Challenge. But this photo-filled blog post doesn’t feature...
Do you have a fabric that you’ve been SAVING instead of SEWING? Yeah. Me too. So when Whitney Luckenbill of TomKat Stitchery asked me to be a part of her...
Welcome to my (temporary) Sewing Studio! Come on in! I love seeing other people’s workspaces and tools, so I thought I’d show you mine. I cleaned up after a big...
Welcome back! It’s the series finale! In this third and final post of My Warmup Jacket series, I share the behind-the-seams details of my jacket’s construction and finishing stories!
In this second post of My Warmup Jacket series, I share the behind-the-seams details of my jacket’s patternmaking and mockup stories! And after putting this patterning post together (which was...