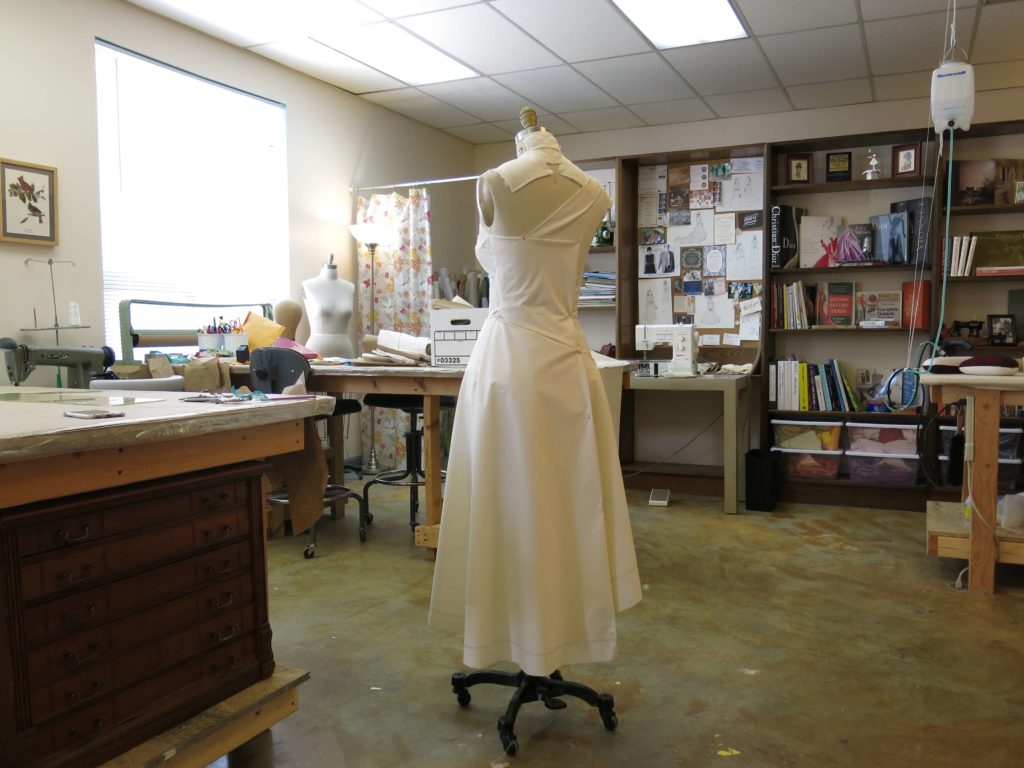
Once the design was approved by the bride, I was ready to roll on Sally’s custom wedding dress!
Finding the perfect stripe…
Throughout our design process, Sally and I both explored options for fabrics.
Sally had a very specific vision of what the striped fabric for her custom wedding dress would look like. She wanted white or cream with brown or gray stripes. If at all possible, she wanted the stripes to be evenly spaced and approximately half an inch wide. I feel like we practically combed the planet looking for this yardage!
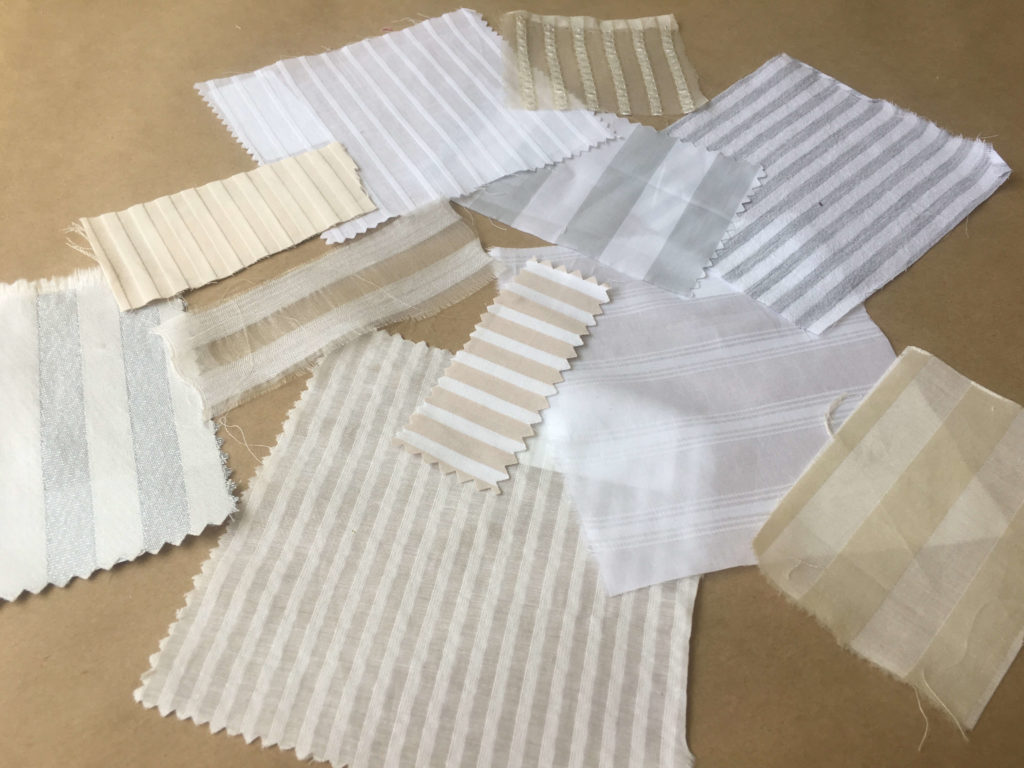
These are only a handful of the swatches I ordered trying to find that perfect stripe!
There was one fabric we both loved, but it was almost sold out. I feared that what was left wouldn’t be enough to create Sally’s dress. Since I hadn’t made the pattern yet, I couldn’t be sure of the yardage needed.
I made a bold and secret move to go ahead and buy the fabric without letting Sally know about it. Once I got through the patternmaking stage, I’d let her know only if there actually was enough to make her dress!
The Rough Drape
When Sally visited my studio for her design consultation, I took a detailed set of over 40 measurements and several photos in order to create a Size-Sally dress form. I start with a dress form that is smaller than my bride. I then take strips of batting and pads to sculpt her unique body using the photos and the measurements.
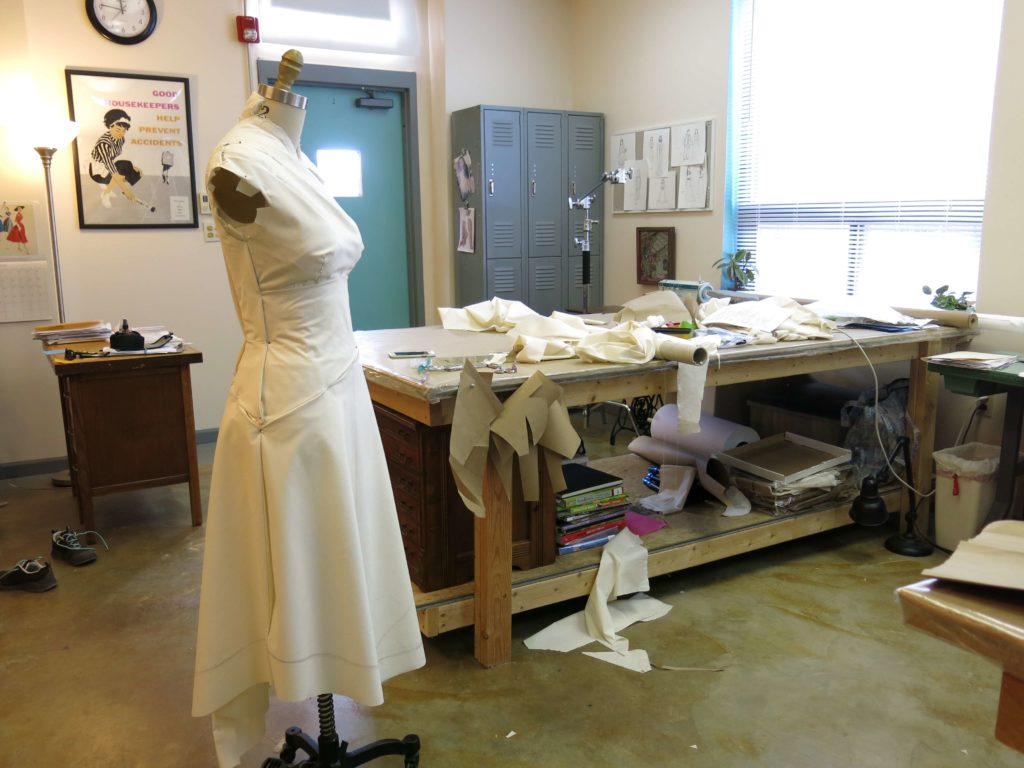
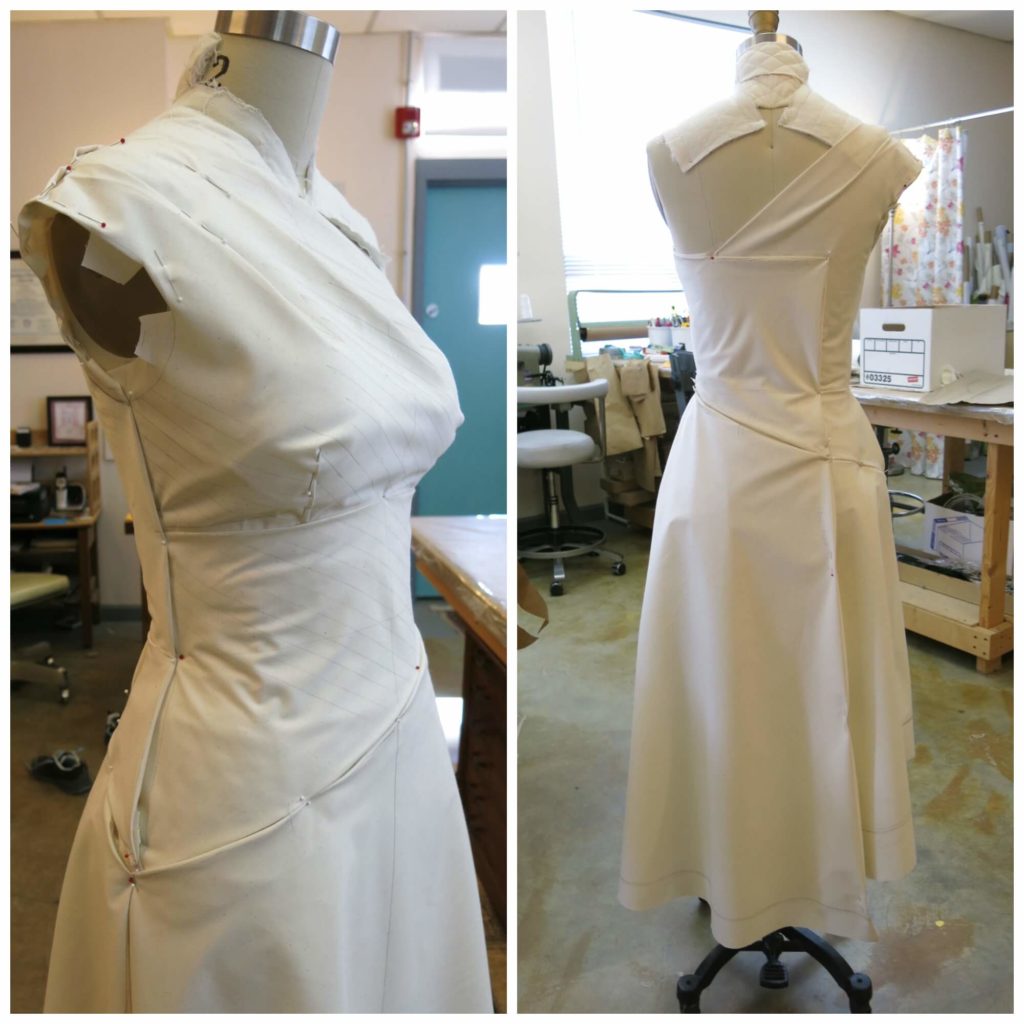
I then manipulated inexpensive fabric over Sally’s “body double” in order to create a “rough drape” that resembled our design. I pin and cut and move and draw all over the fabric as the design in her sketch starts to crudely come to life in 3D.
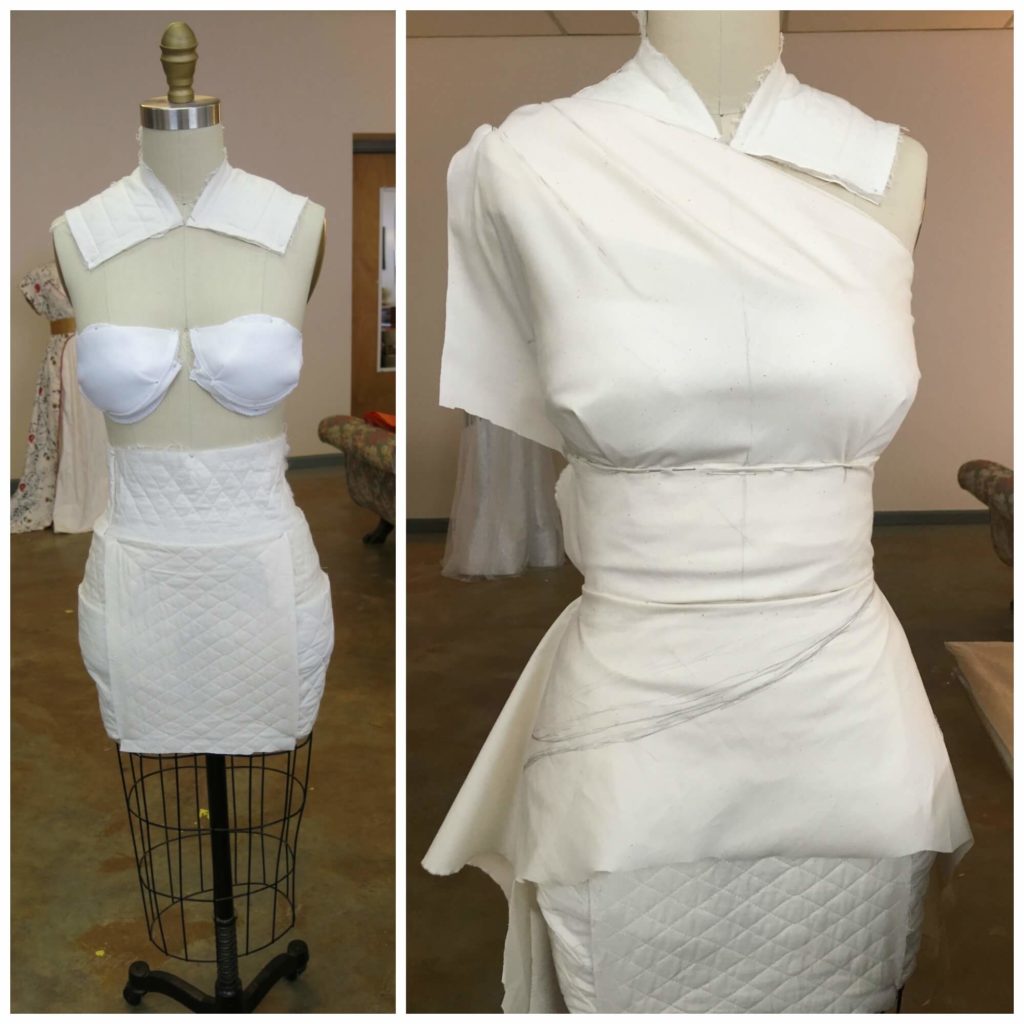
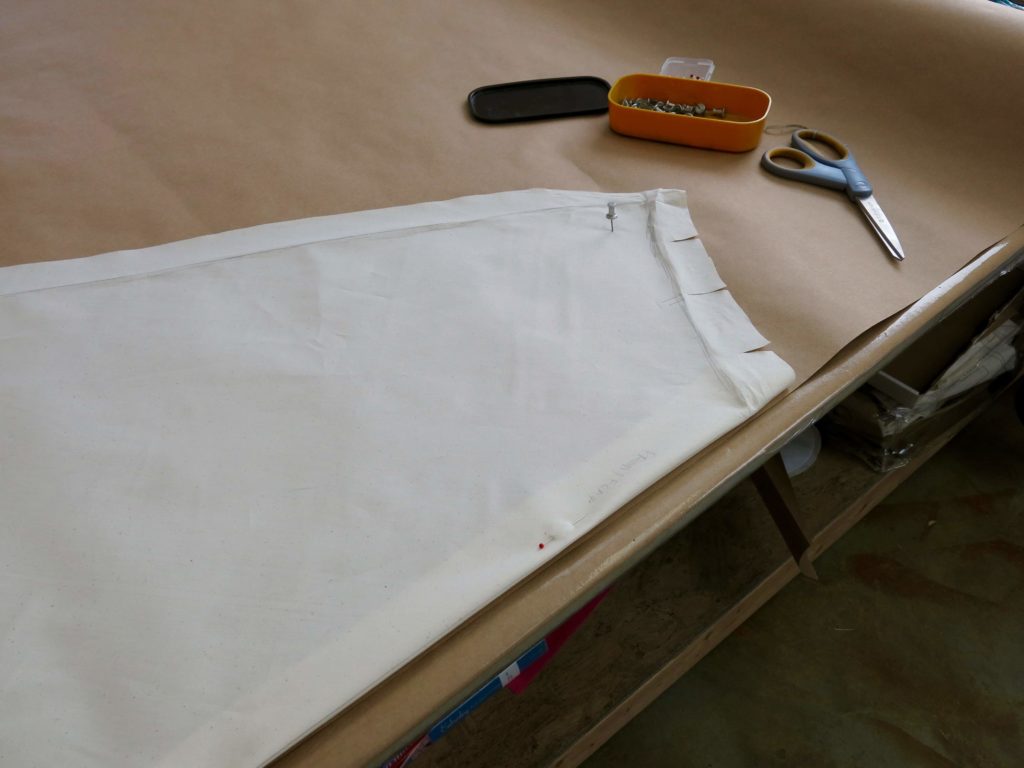
Once I’m happy with how it looks, I mark details on the fabric before removing it and laying it out flat onto some paper.
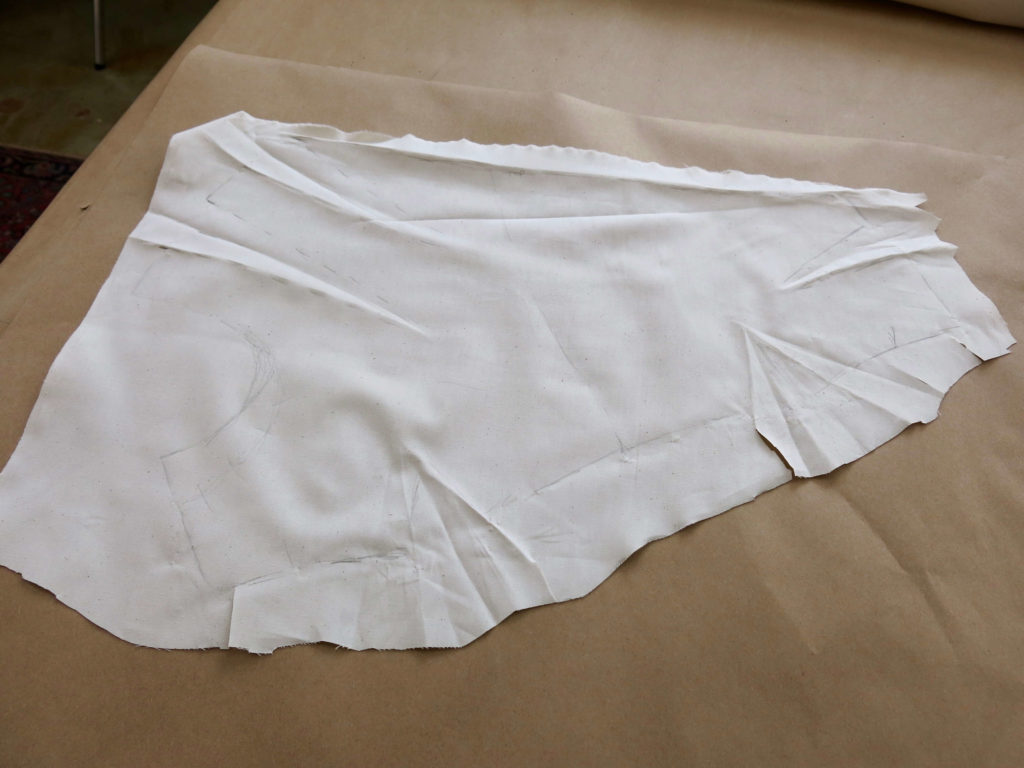
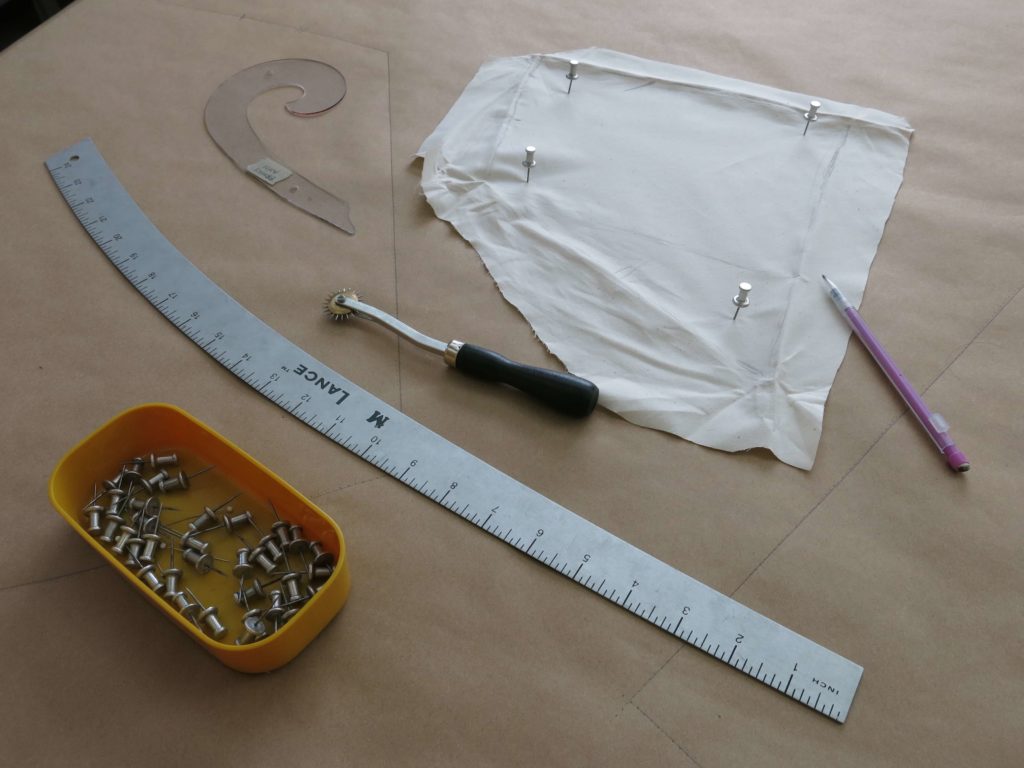
I secure the fabric to the paper (and my pinnable top table) with push pins. Then I trace the pencil lines through the fabric onto the paper with a needlepoint spiky wheel.
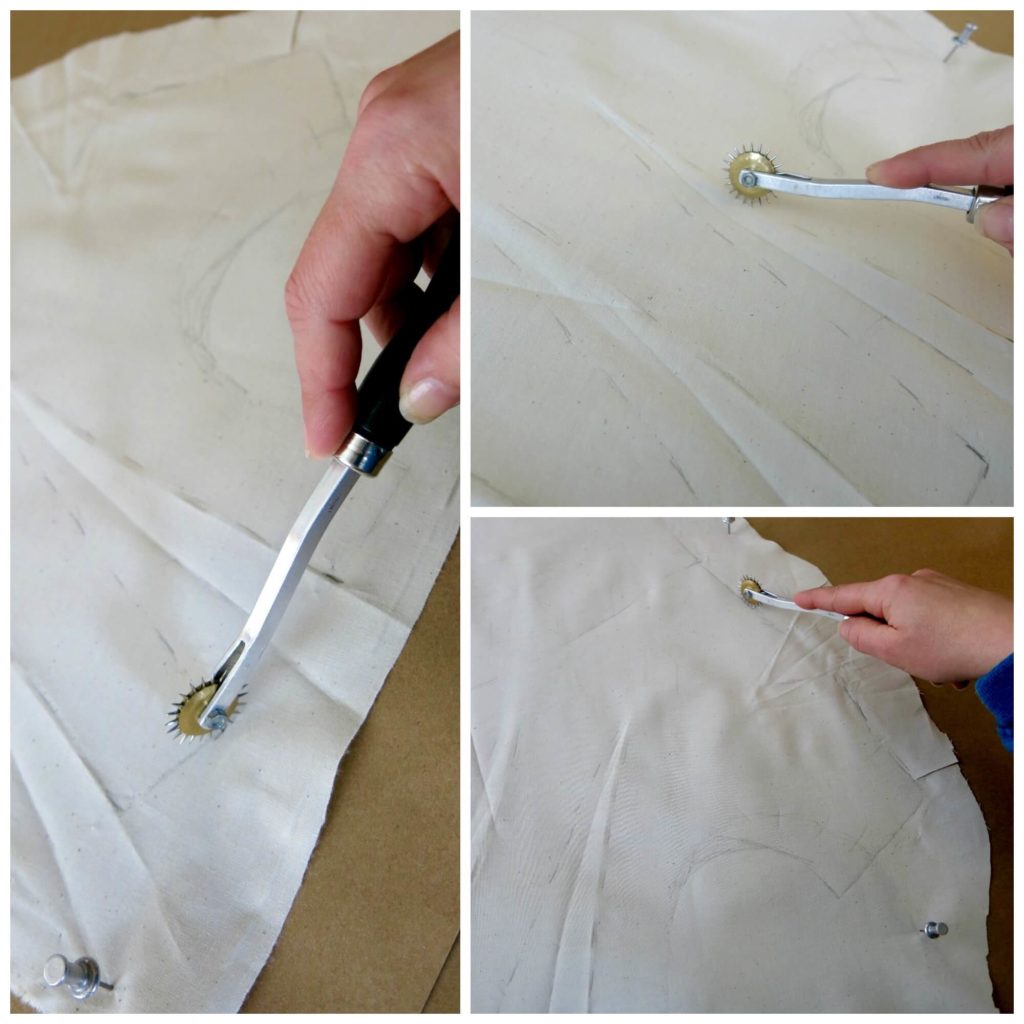
When I remove the fabric, I’ve got a dotted outline of the “rough drape” that I can trace with a pencil as the start of my custom pattern!
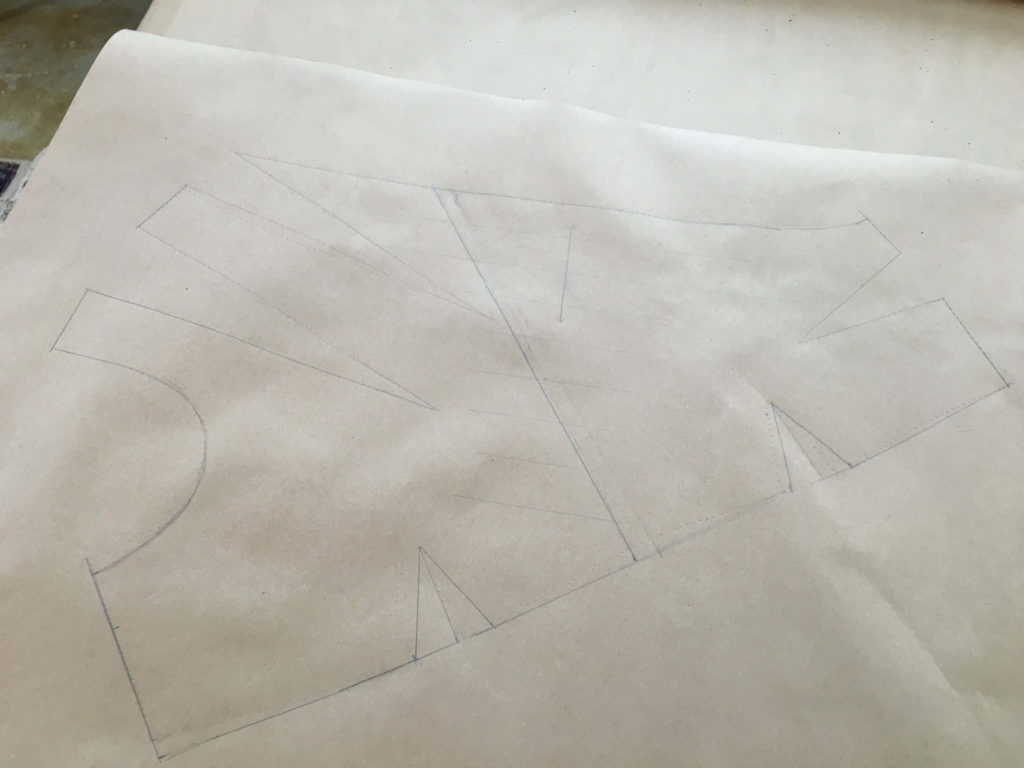
More fun with draping…
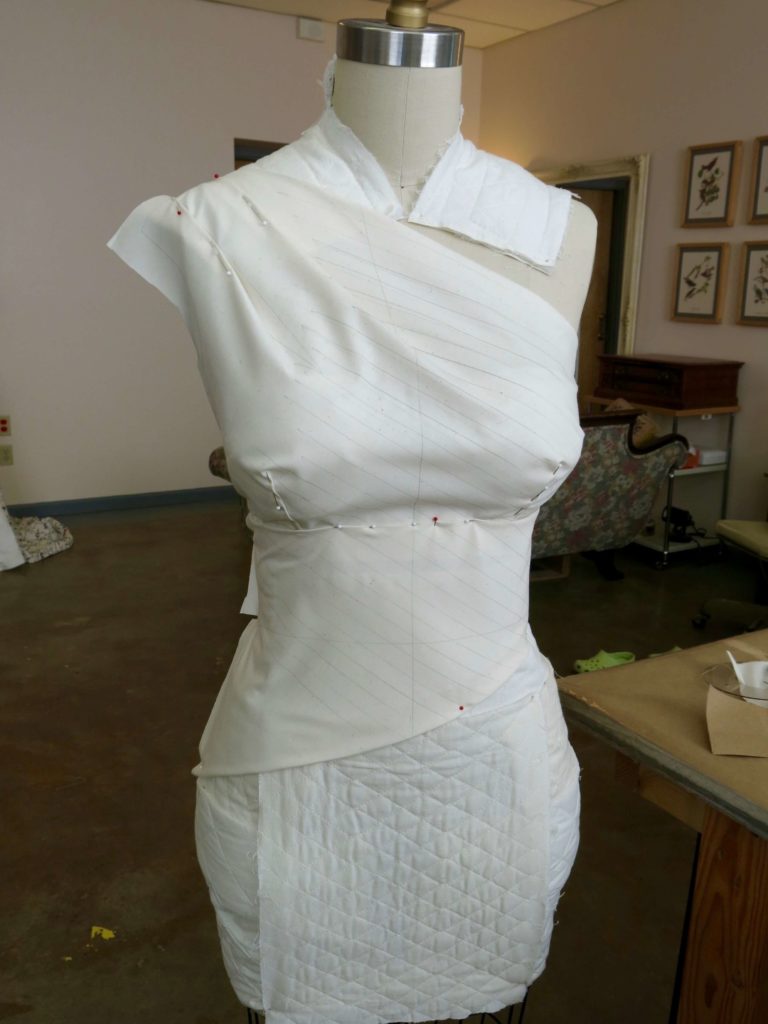
I used this pattern to create a cleaner “rough drape” with the stripes included as I continued to refine the design of the bodice.
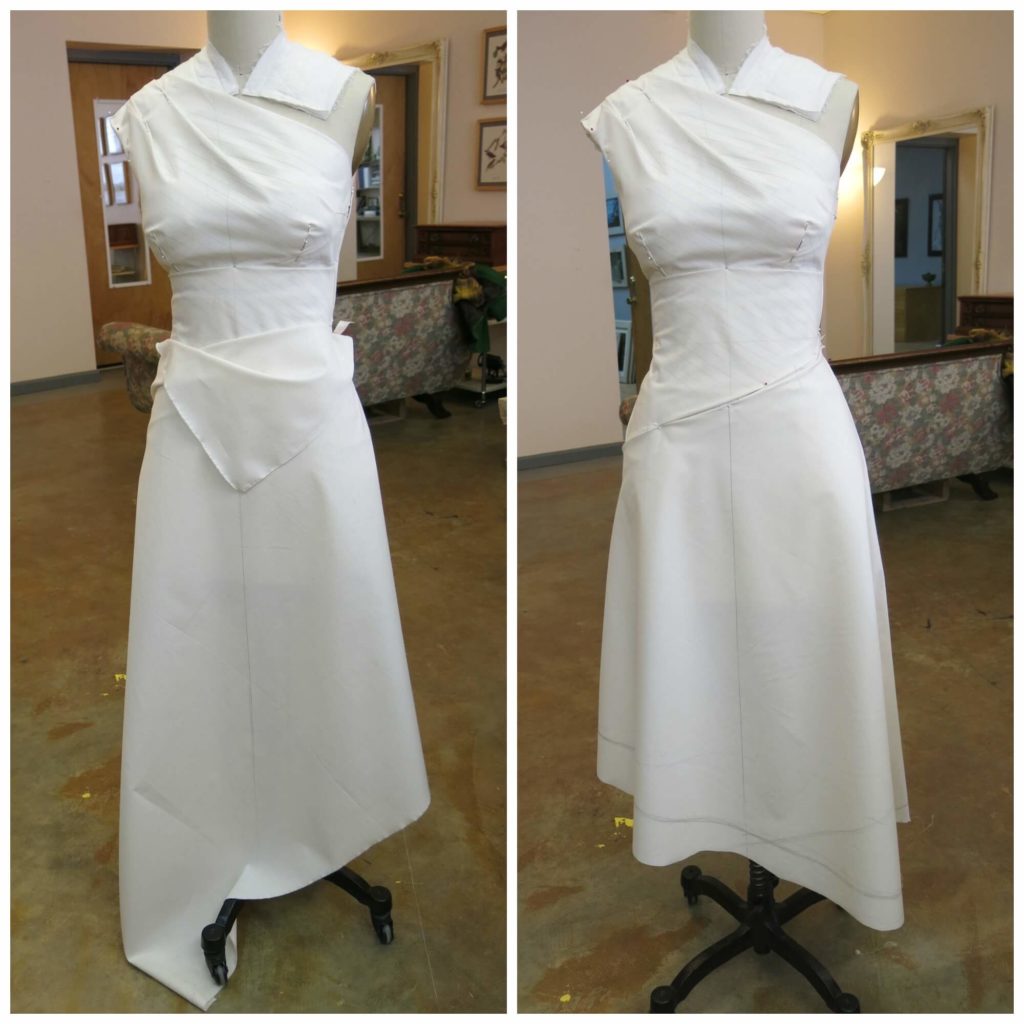
Then I started draping the skirt. On the left you can see the fabric simply pinned in place. On the right, it gets more refined and starts to look like the sketch!
It’s messy business…
Piece by piece the front and the back started roughly looking like our design…
…and each piece of fabric was transferred to paper to create a rough pattern.
The moment of truth…
Once everything was on paper, I was able to “true” the pieces to make sure they would sew accurately together. But more anxiously, I was finally able to see if there was enough yardage of the striped fabric I preemptively purchased.
I marked the fabric width along a spot on my floor with pencils as my guides. Allowing for seam allowances, I laid out the pattern pieces following the direction the stripes would need to be placed.
Aaaaaaand…..
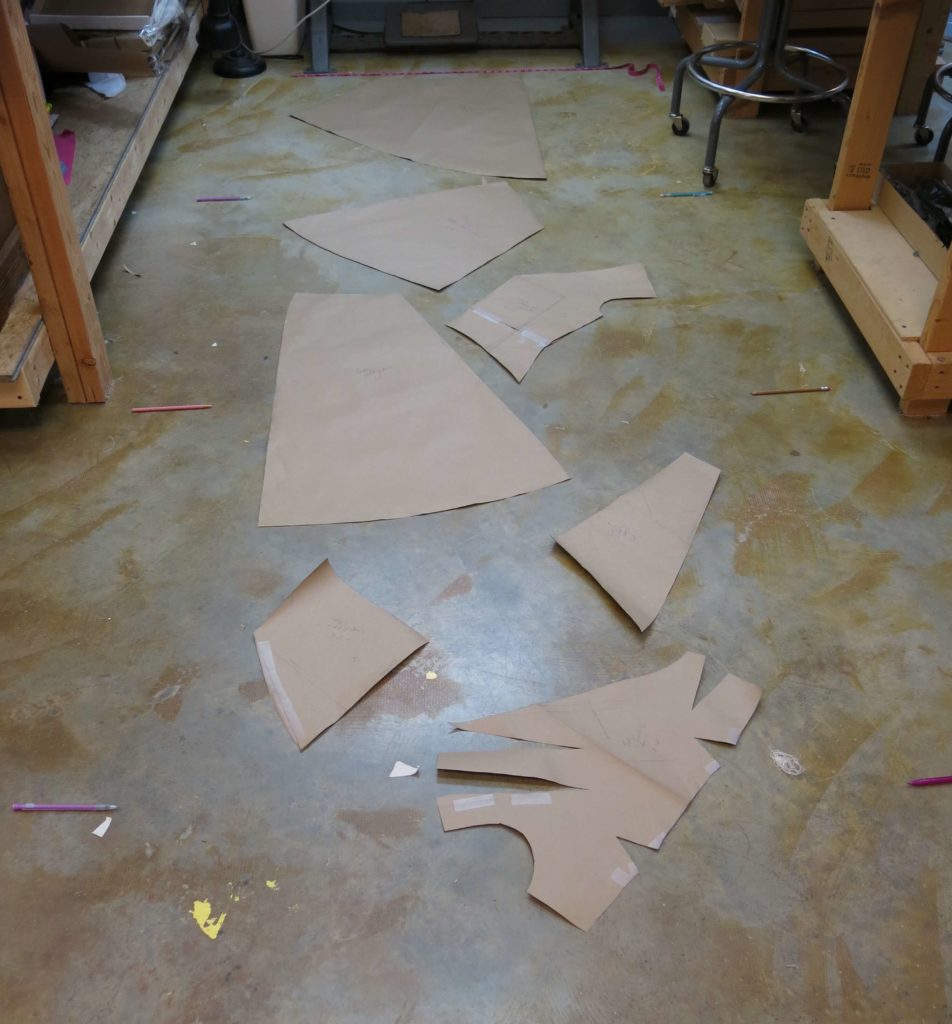
…I HAD ENOUGH FABRIC!
I was thrilled to send Sally this photo of the fabric we both loved which was already purchased and in my studio!
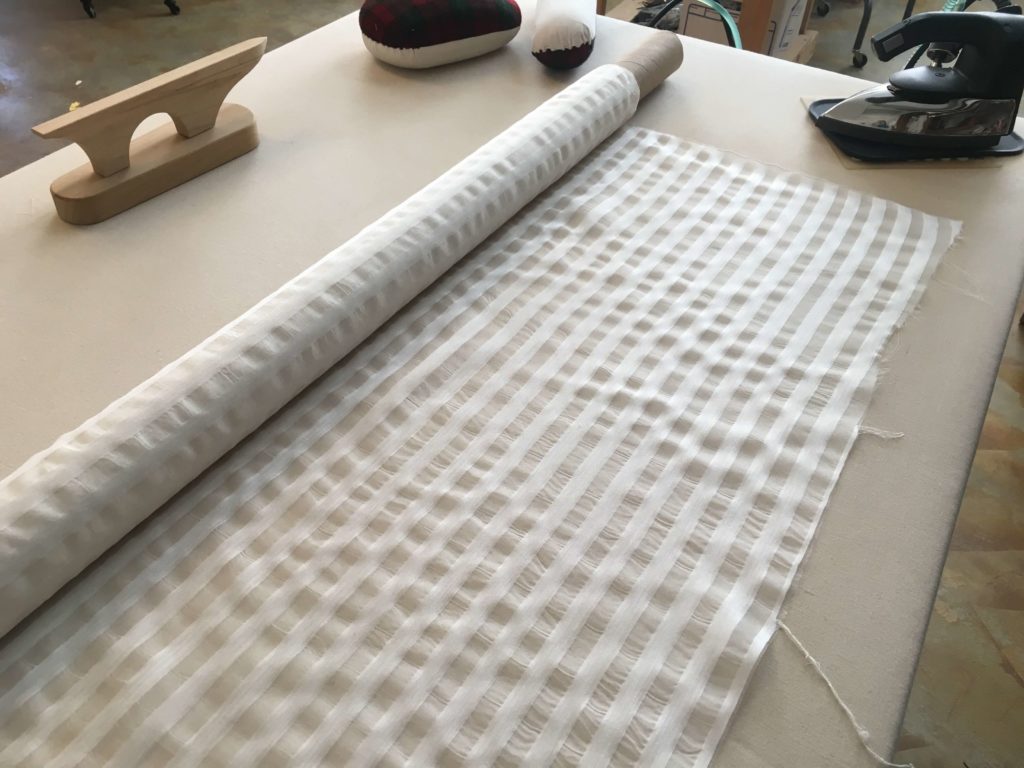
The fabric was silk organza with a half inch ivory stripe and a half inch sheer stripe. We’d layer this fabric over a neutral gray or brown of her choice!
Sally responded to the news saying, “Wow. Brooks Ann, this is awesome!! Thank you so much for taking a risk and ordering the organza. It was definitely my favorite, but I did not want to get too attached. Thank you thank you thank you. I’m so excited!”
NEXT POST: I use these patterns to create a mockup dress for Sally to try on!


