

In part 1 of this Epic Photo Essay, I shared all the prep steps to get my self-drafted splatter print dress ready for stitching. (If you haven’t peeped it yet, go catch up!) In this pt 2, I’ll share how I buttoned everything up. Literally!
When sewing from your own custom patterns, there is no picture of what the end looks like and no instruction booklet to tell you exactly what step needs to happen next. Some may find this scary, but I find it fantastically freeing! The truth is, the pattern designer who wrote the instruction booklet is only ever able to give you a rough guide. They couldn’t possibly know the specifics about your unique goals, body, fabrics, tools, preferences, sewing style… There are so many variables that go into making something a success!
The way I sew is a little more like real life. There isn’t ever a clear picture of how things are going to go down. You simply keep moving forward one step at a time. You don’t know the ending until you get there. Heck, you don’t really know the next step until you get there. It’s a slow journey, but it is one where you are constantly able to evolve, evaluate, experiment, and improve.
Having no rules or instructions forces you to carefully consider the exact moment of the process that you are in. It forces you to carefully consider your specific goals/needs/ideas/desires and your specific combo of body/pattern/design/fabric etc, which in turn gives you your best chance for success! There’s a lots of puzzle-solving and everything you try might not be total success as fast as you’d like. That’s life! Might as well get in some practice with these important life-skills while doing something that you love and enjoy!
This is one of the reasons why I don’t share pics of a finished wedding dress before reaching the end of the blog story of its creation. Before the dress was completed, I didn’t know exactly how it would turn out and the bride didn’t know exactly how it would turn out, so it would be misleading to show all of you what we didn’t know. Same goes for the finished garments created in the online workshops I teach: sharing the end before registration would be a little like spoiling the end of the novel you are about to open!
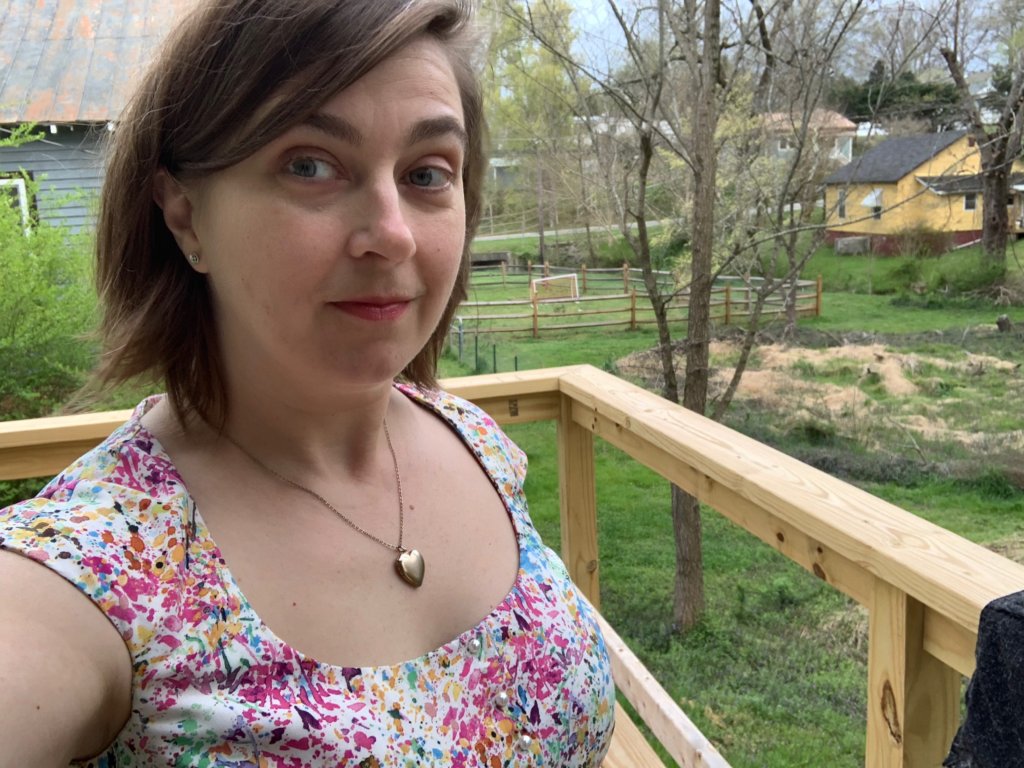
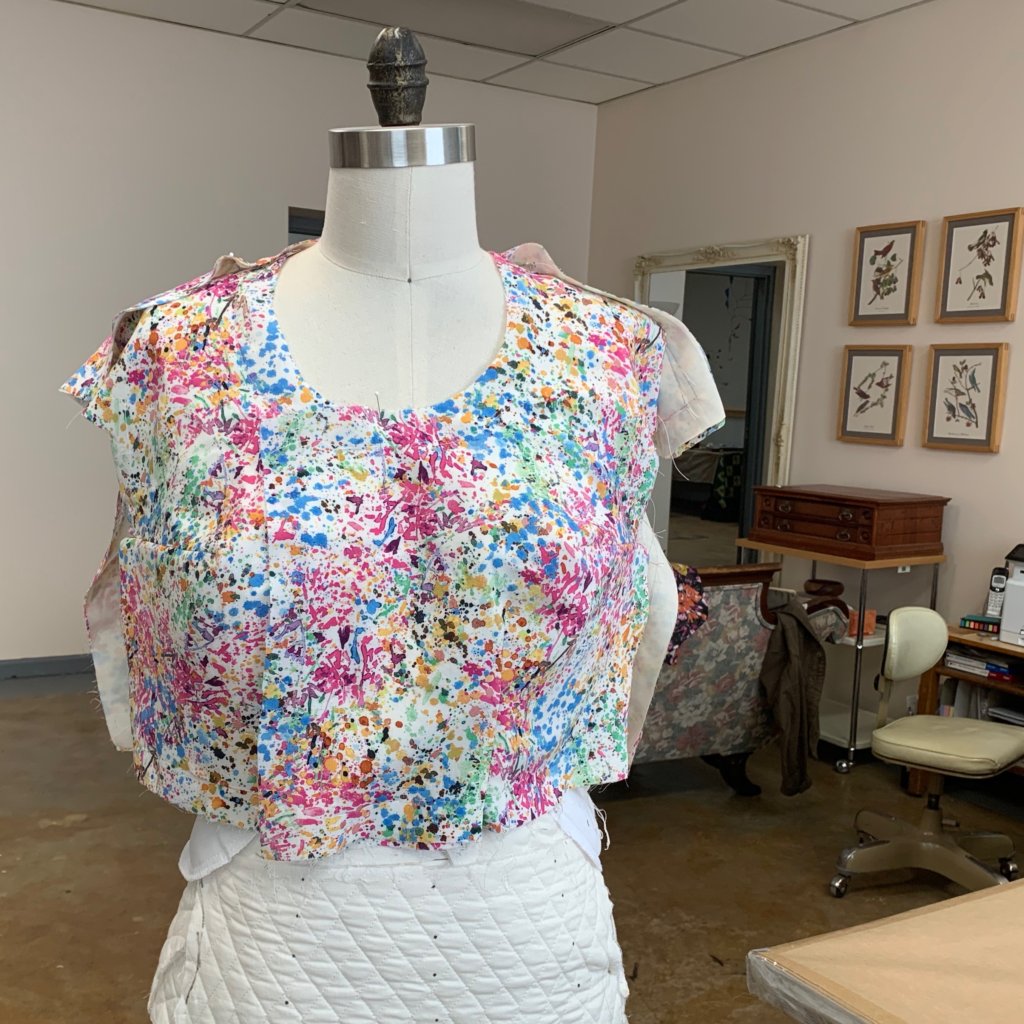
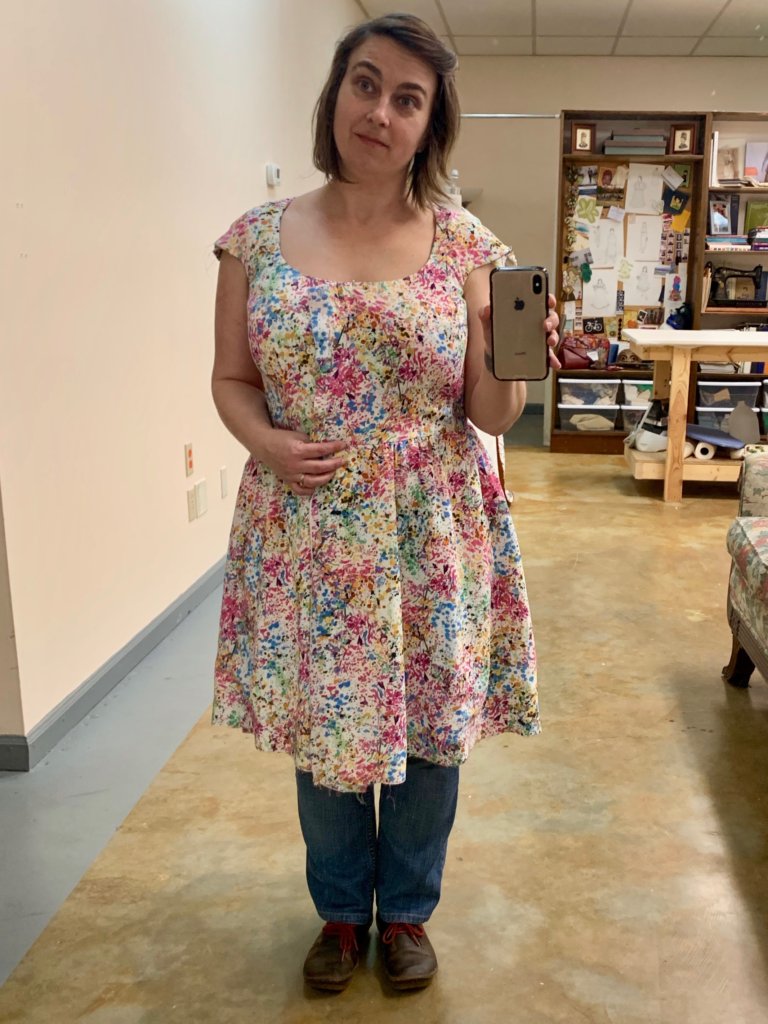
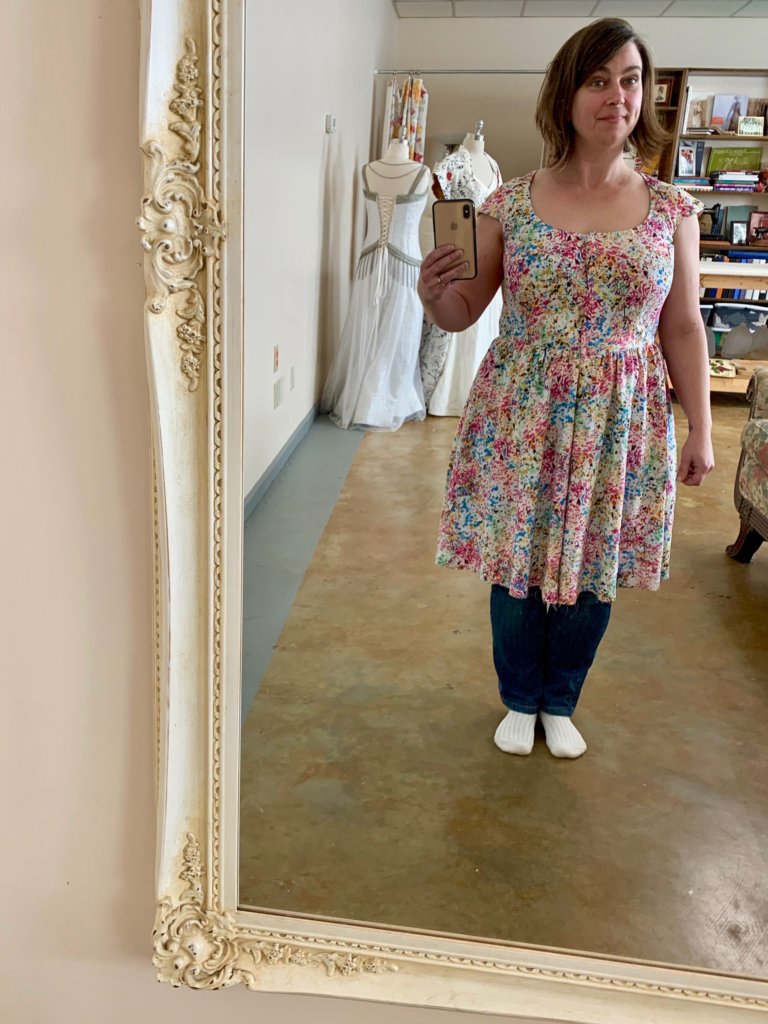
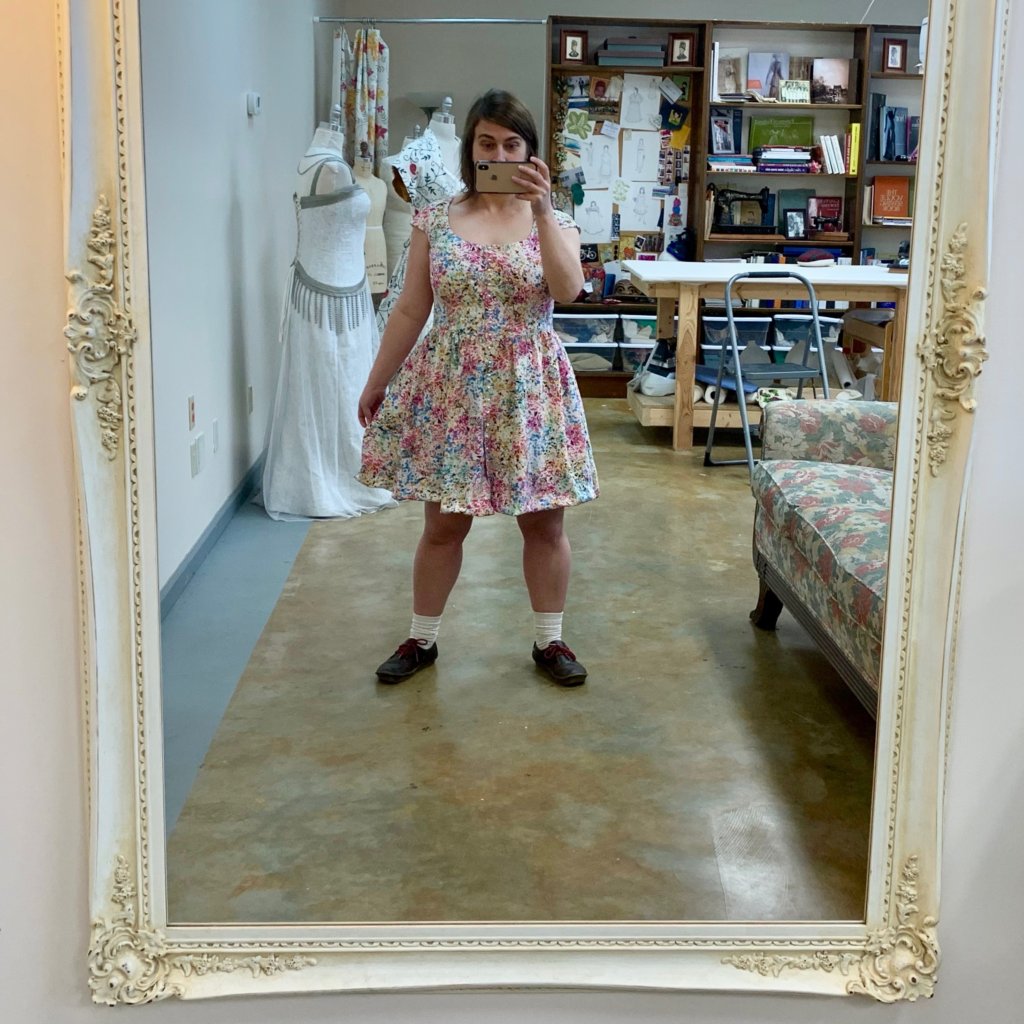
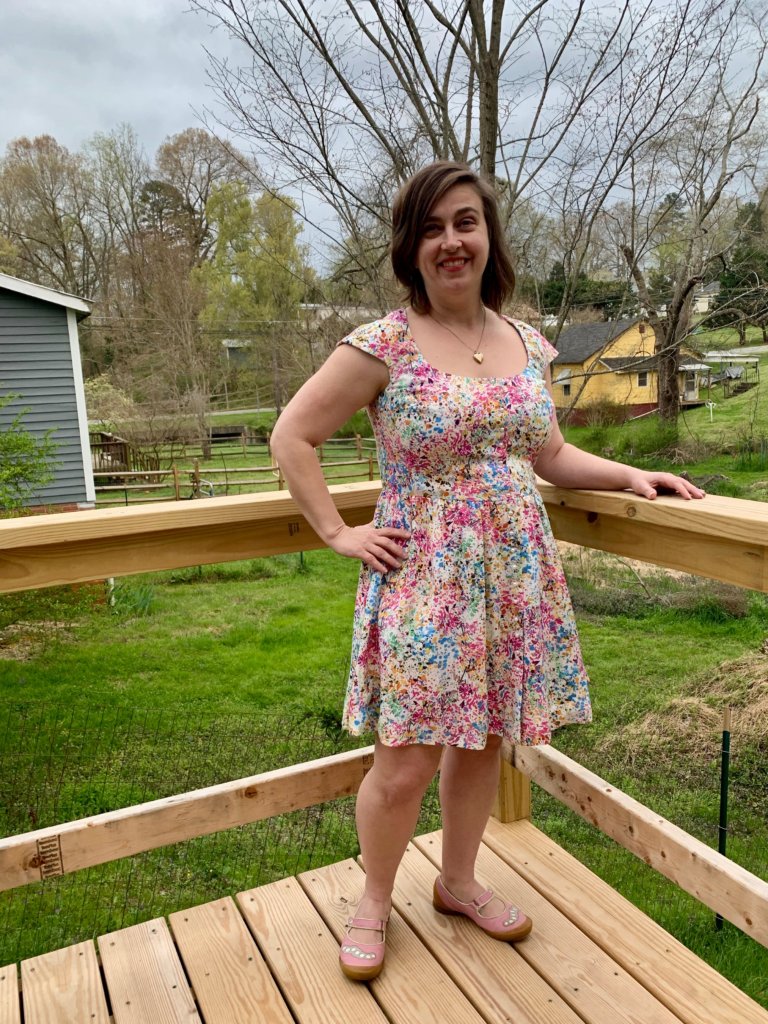
So don’t let the selfie-sneak-peek above fool you! This post begins after all the designing, pattern drafting, mockup making, mockup fitting, fitting corrections, construction sampling, and underlining. All of the pieces of my new dress were still flat, with all the custom shaping and fancy finishing waiting to be added.
Stitching and Shaping
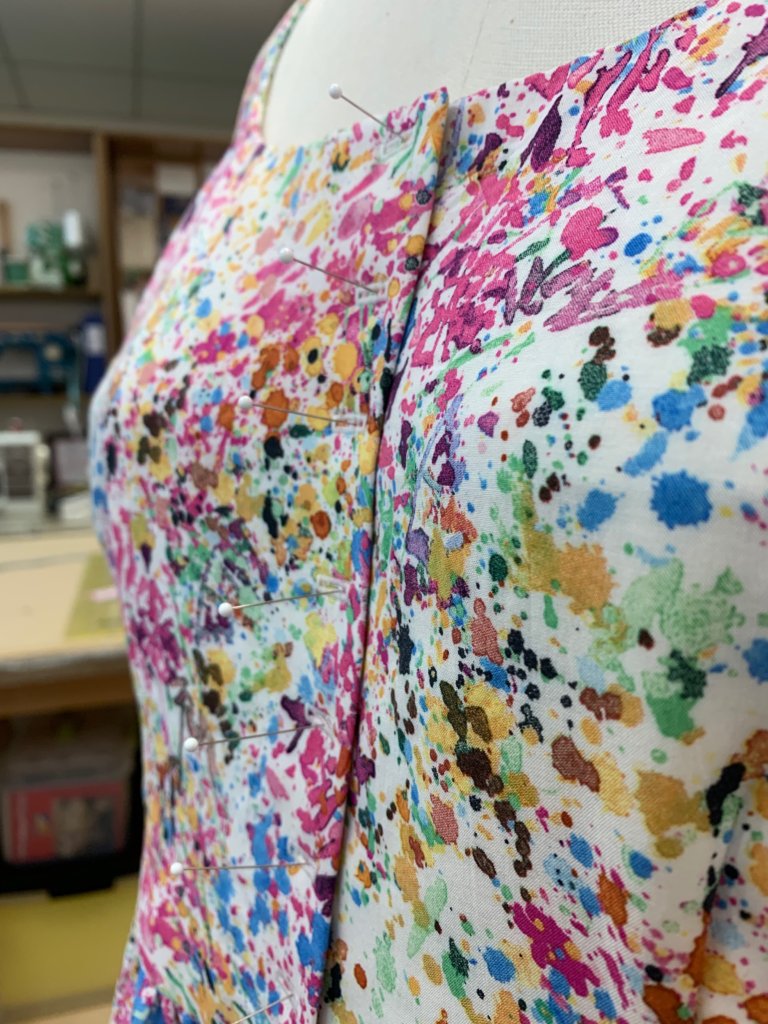
Using my stitching lines, which were already drawn on my mockup-turned-underlining fabric, I pinned all my darts. I fold each dart and then precisely pin line to line, using my pin as a stitch.
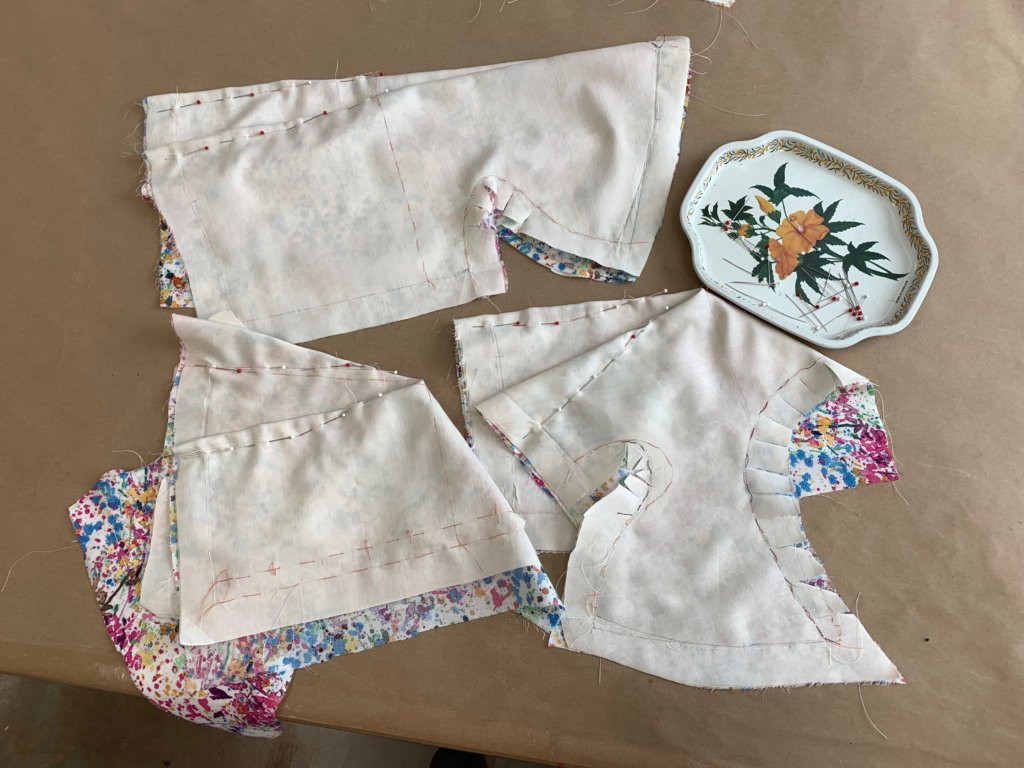
I point the pointy-end of the pin down toward the open-end of the dart. This way when I machine sew the dart from open-end to point, I can easily pull out the pins as I go. For these first lines of permanent stitching, I’d follow the marked stitching lines precisely before driving the stitching right off the end of the dart point. I tie the loose ends with a hand knot so there’s no funny business at the dart point.
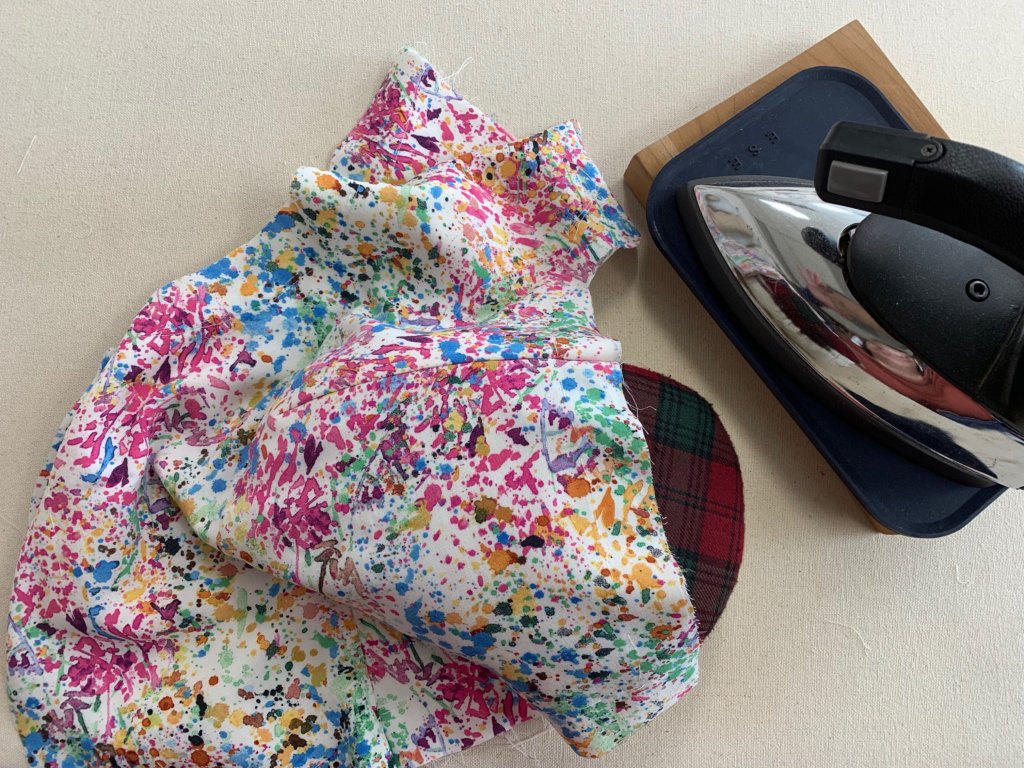
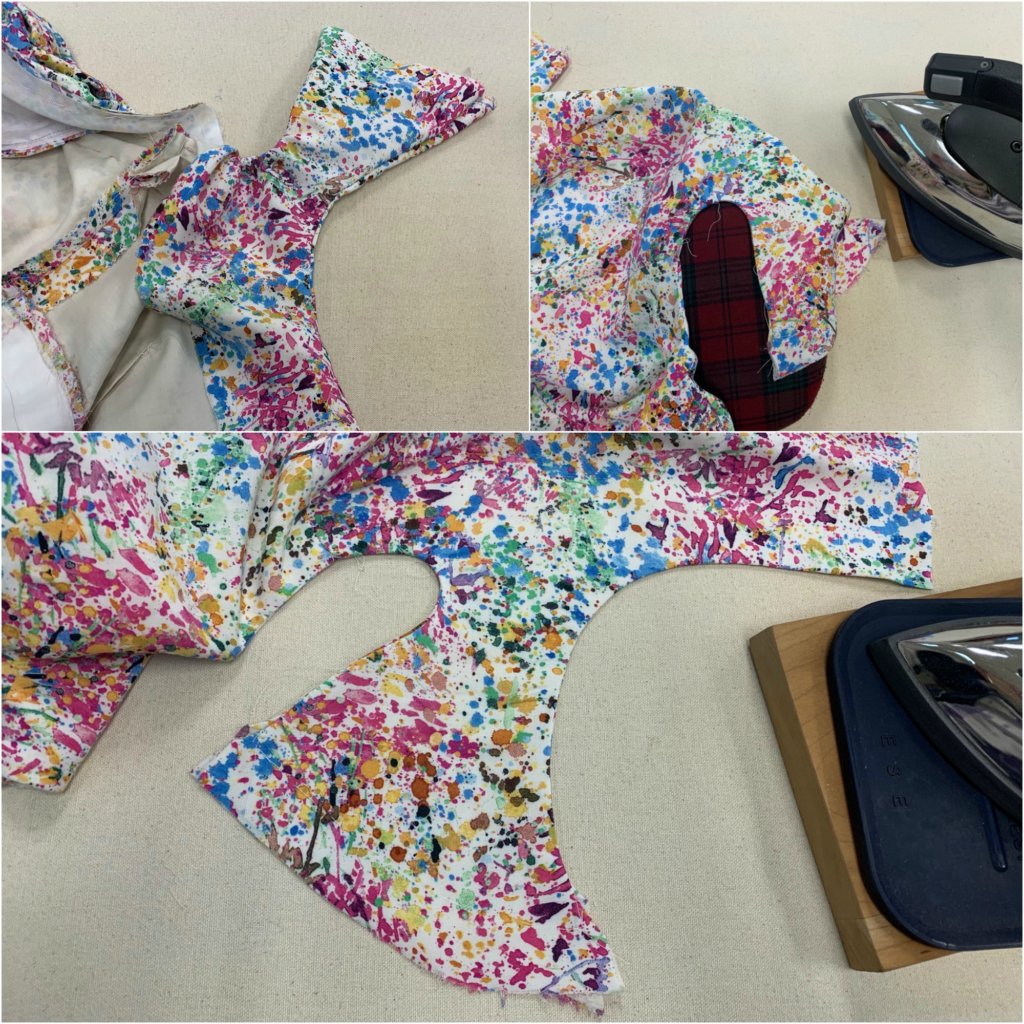
Then I used my tailor’s ham and gravity fed iron to press my darts beautifully into shape!
Once my darts were all stitched and pressed, I pinned the pieces onto a dress form for a little preview! Whoo hoo!
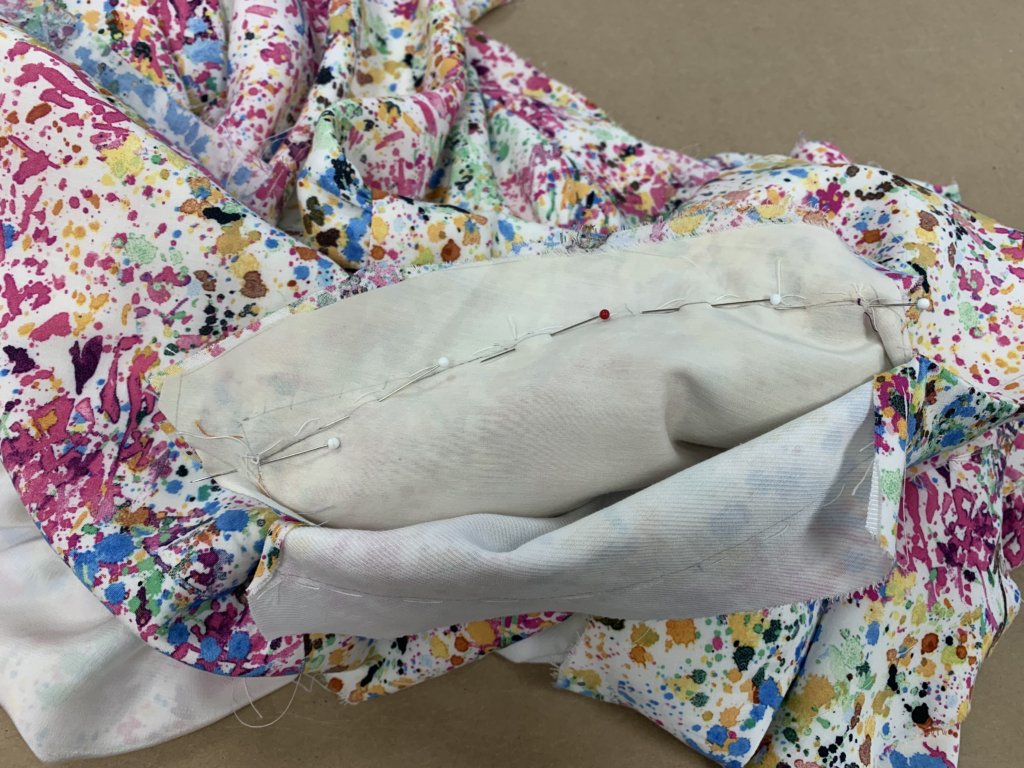
Next, I decided to tackle the inseam pockets! I pinned the pocket bags in place…
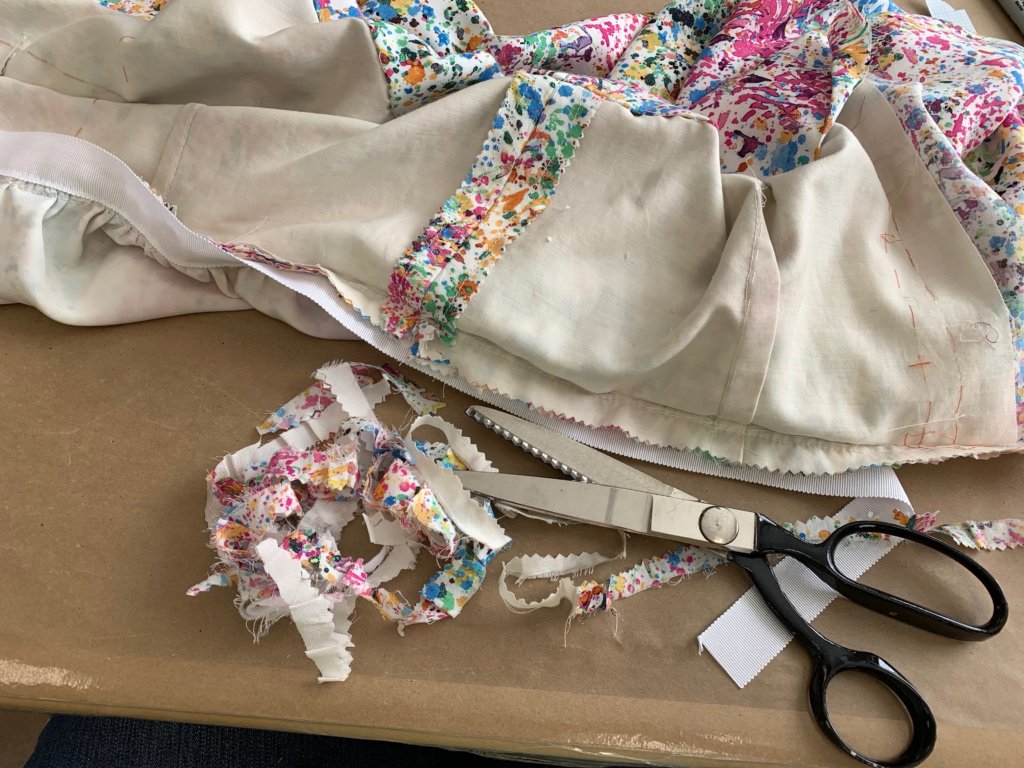
…and then stitched them in place. Then I stitched up all my side seams and finished them with one of my favorite seam finishes: Stitch and Pink!
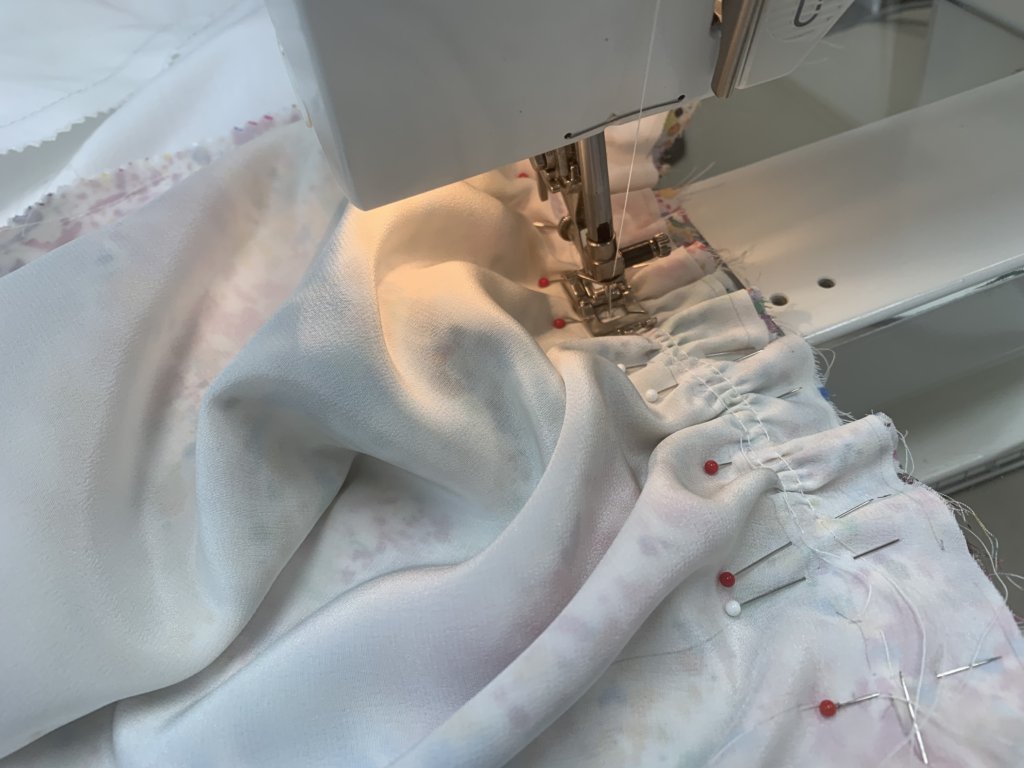
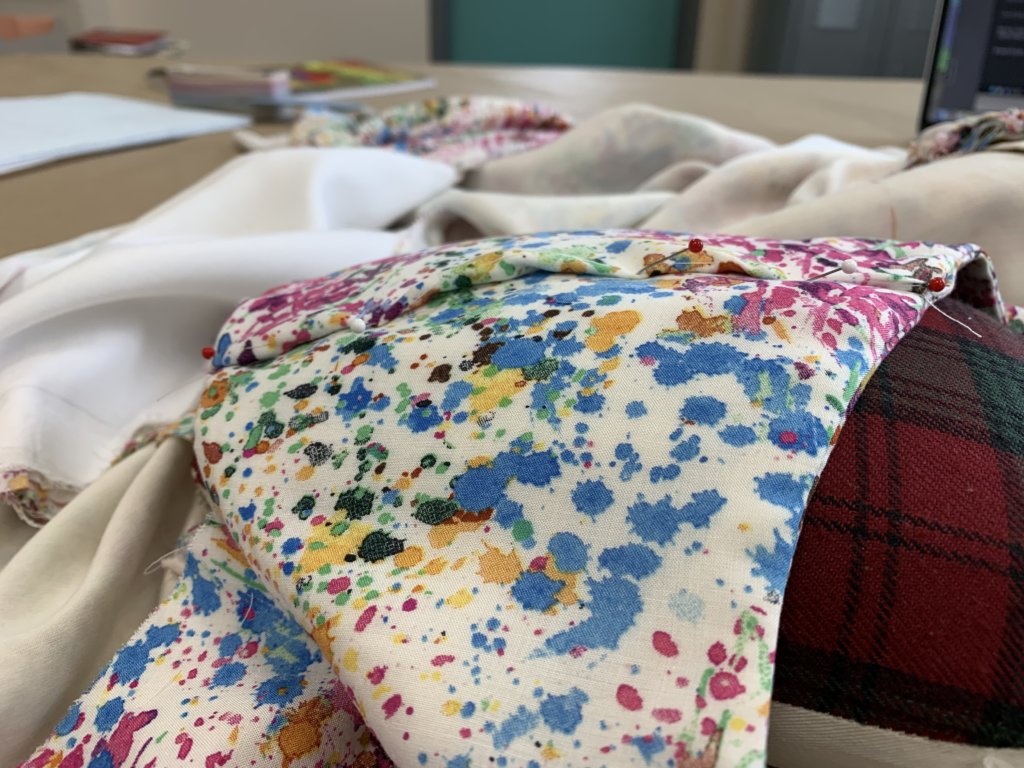
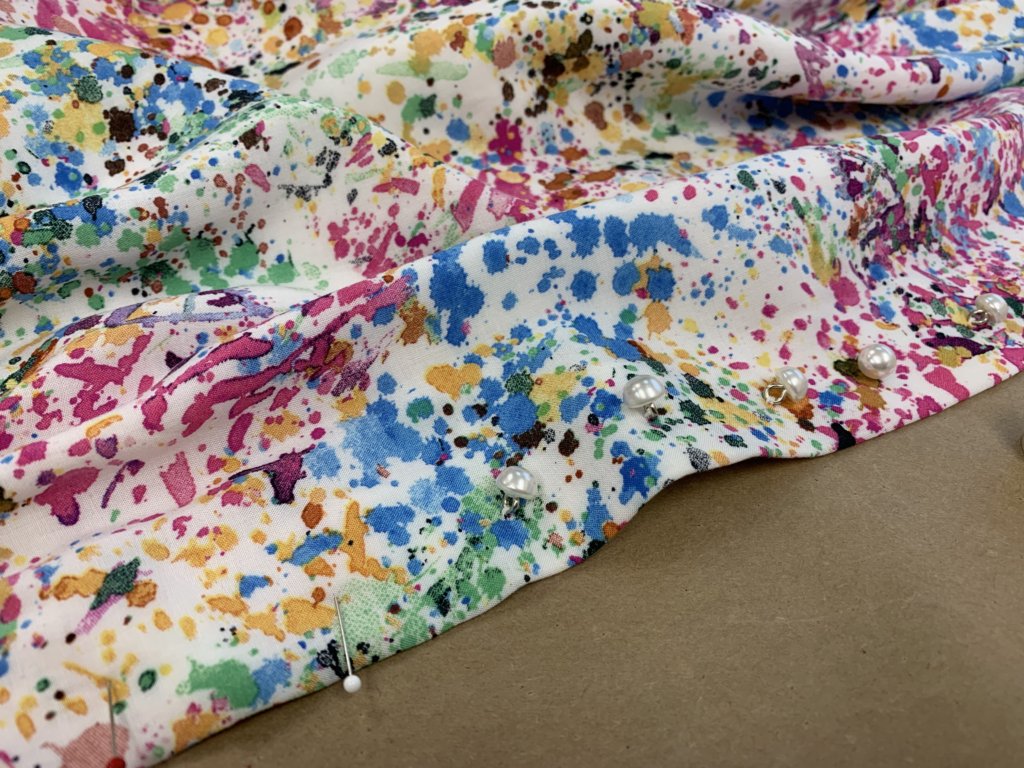
To join the top and skirt, I added gathering stitches to the skirt and pinned it evenly along the top’s waistline…
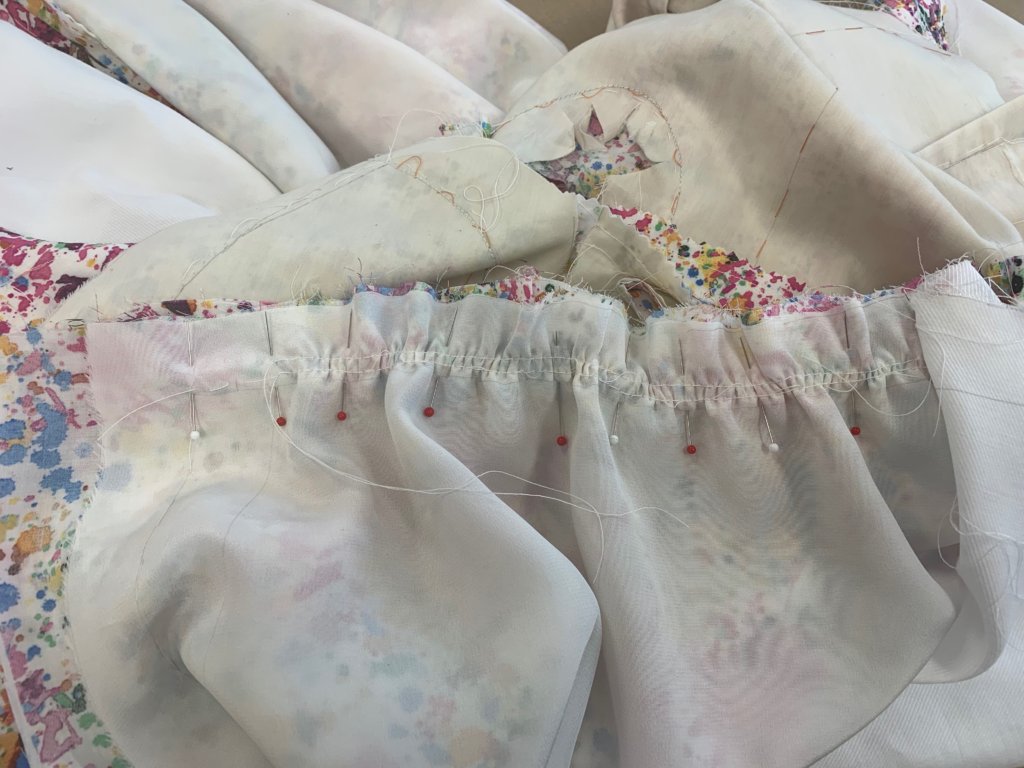
…before machine stitching them together!
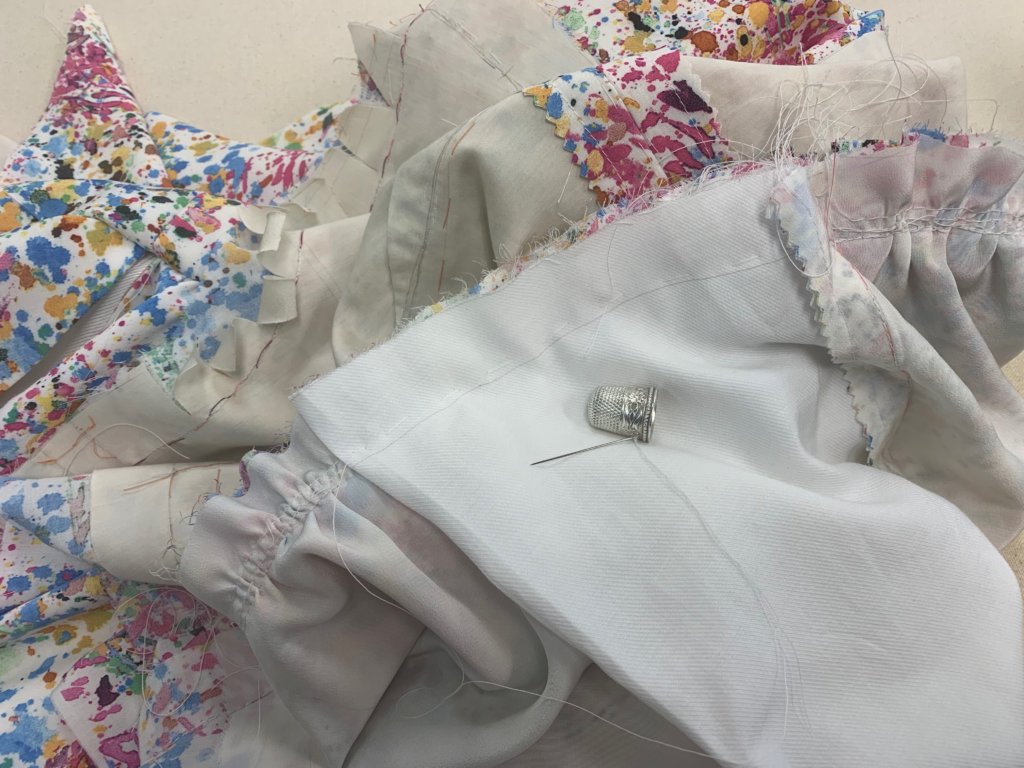
My pocket bags were still flapping around inside, so I hand basted their tops in place along the front waistline (which I’d finish later).
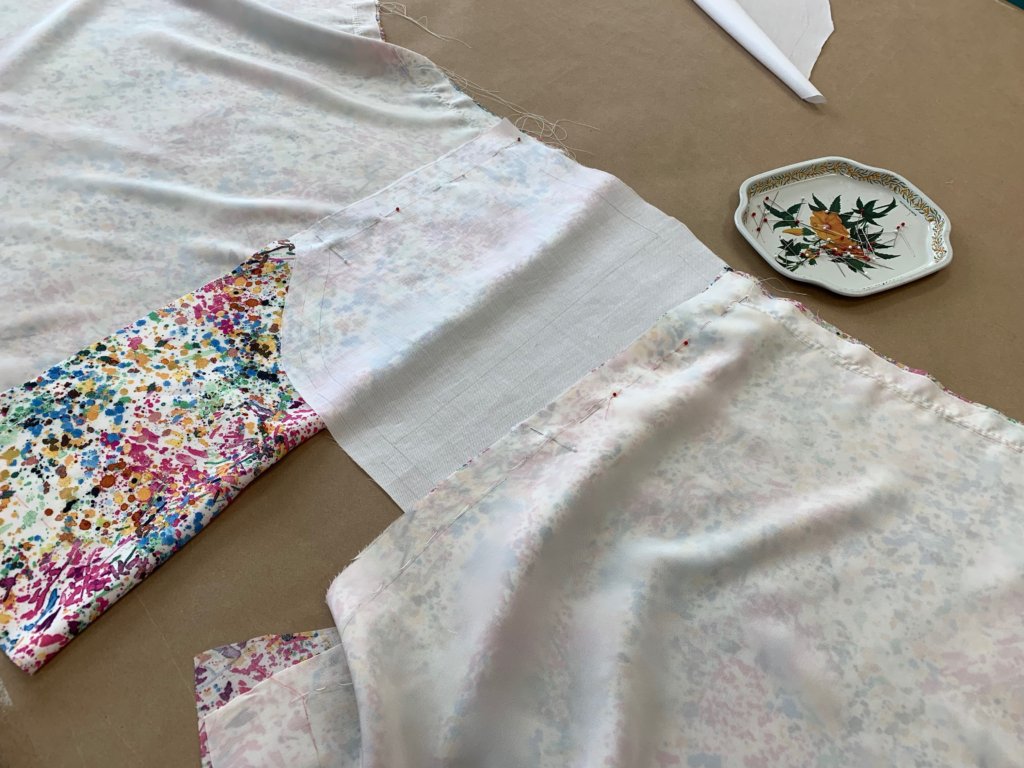
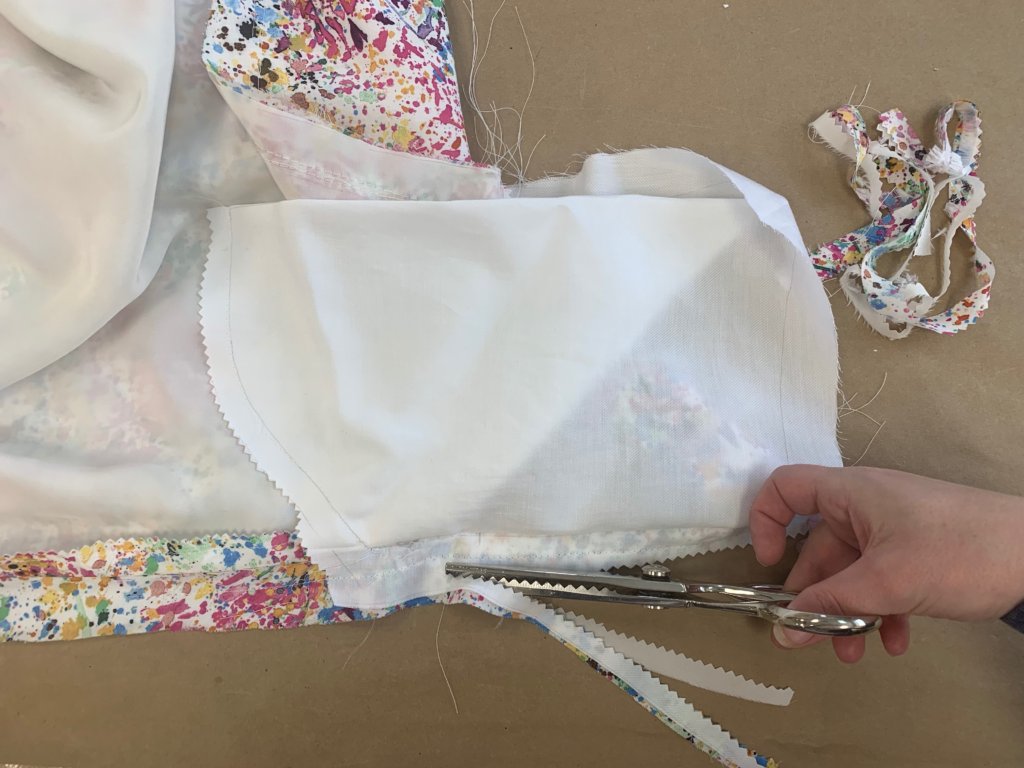
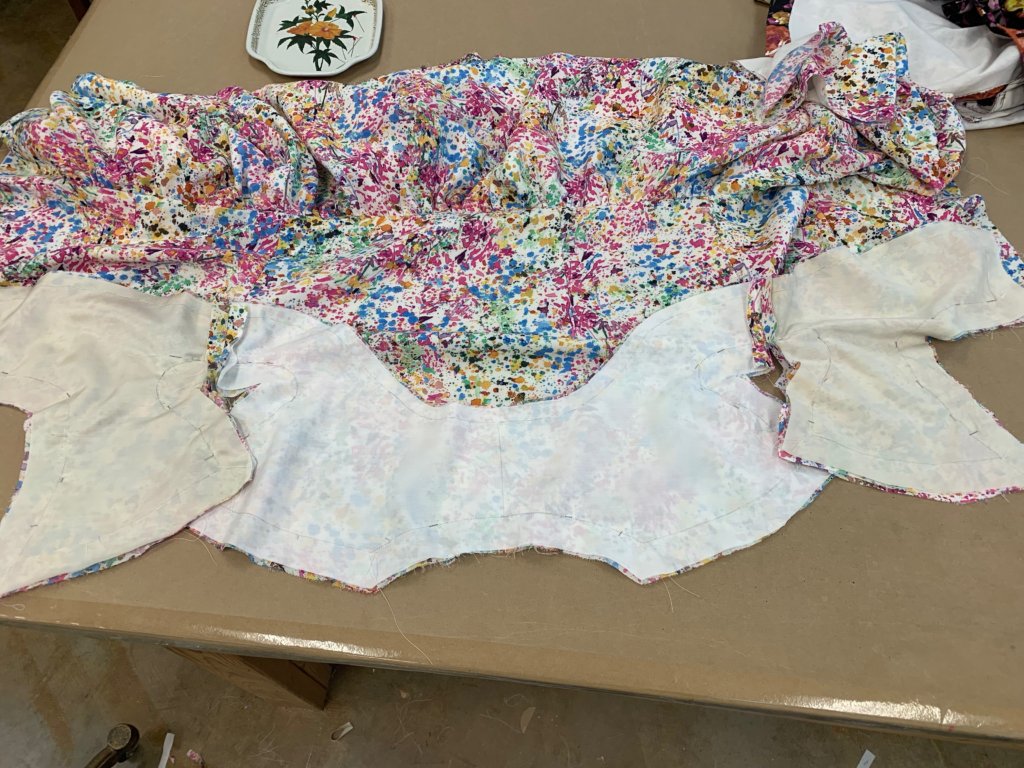
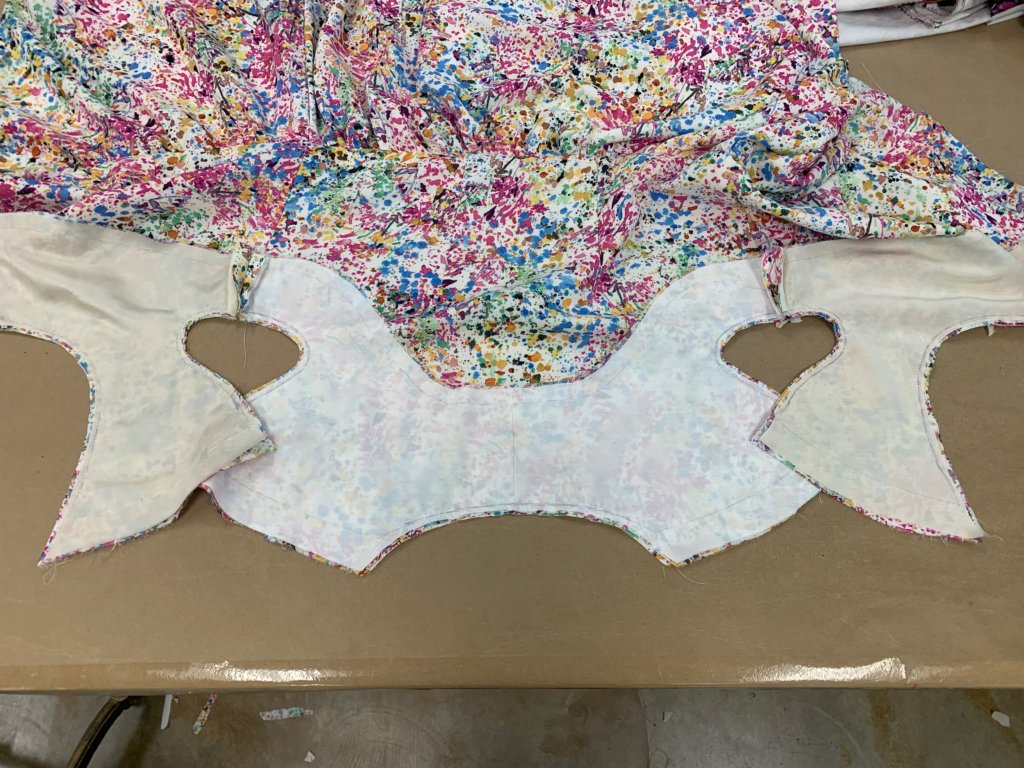
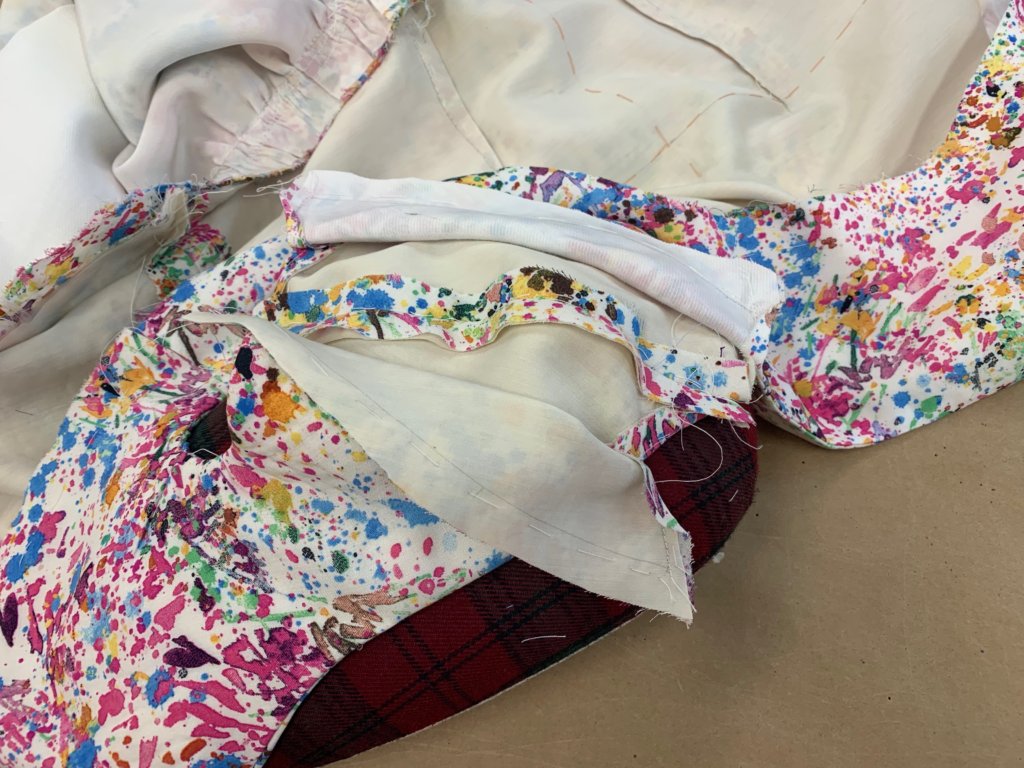
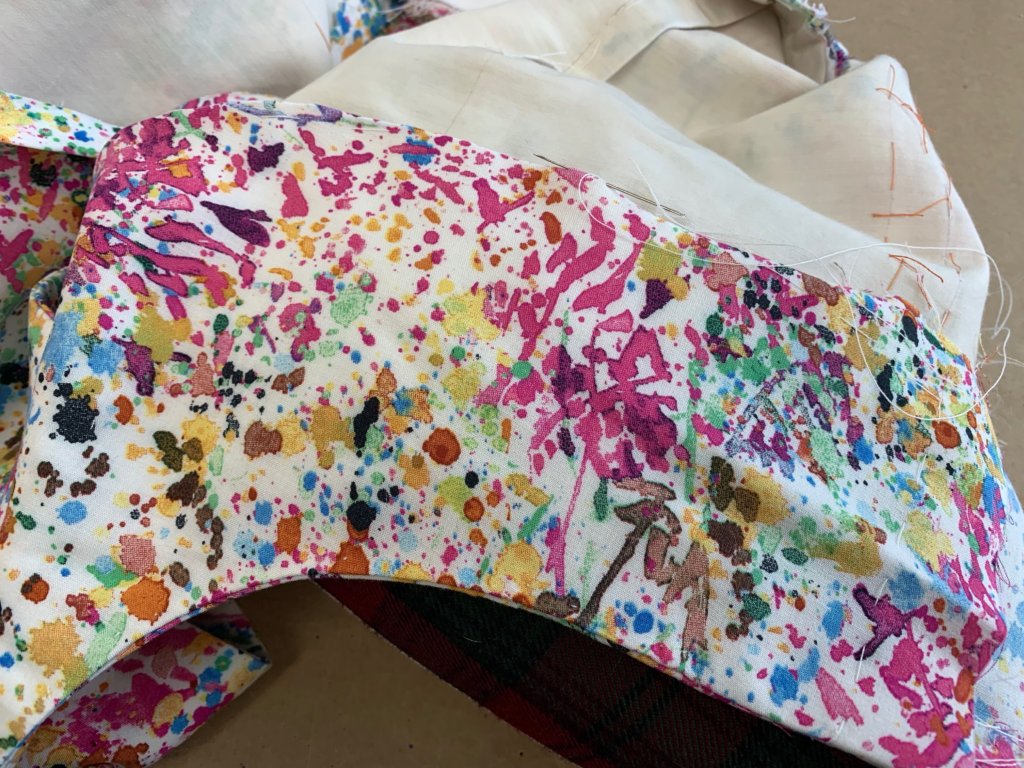
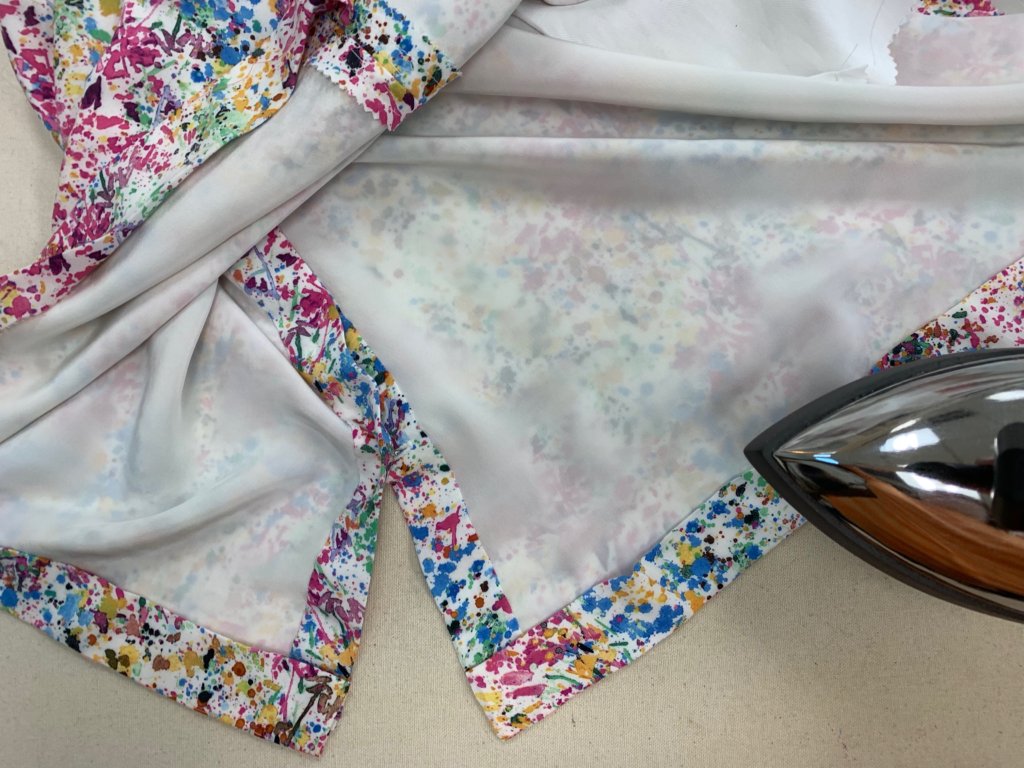
Next, seemed like time to face the facing! I pinned and stitched my neckline edges and armhole edges with right sides together…
…before trimming and grading the excess allowance. Cutting each layer at a slightly different length will allow for a smooth (hopefully unnoticeable) transition, as opposed to a hard edge (that might show through.)
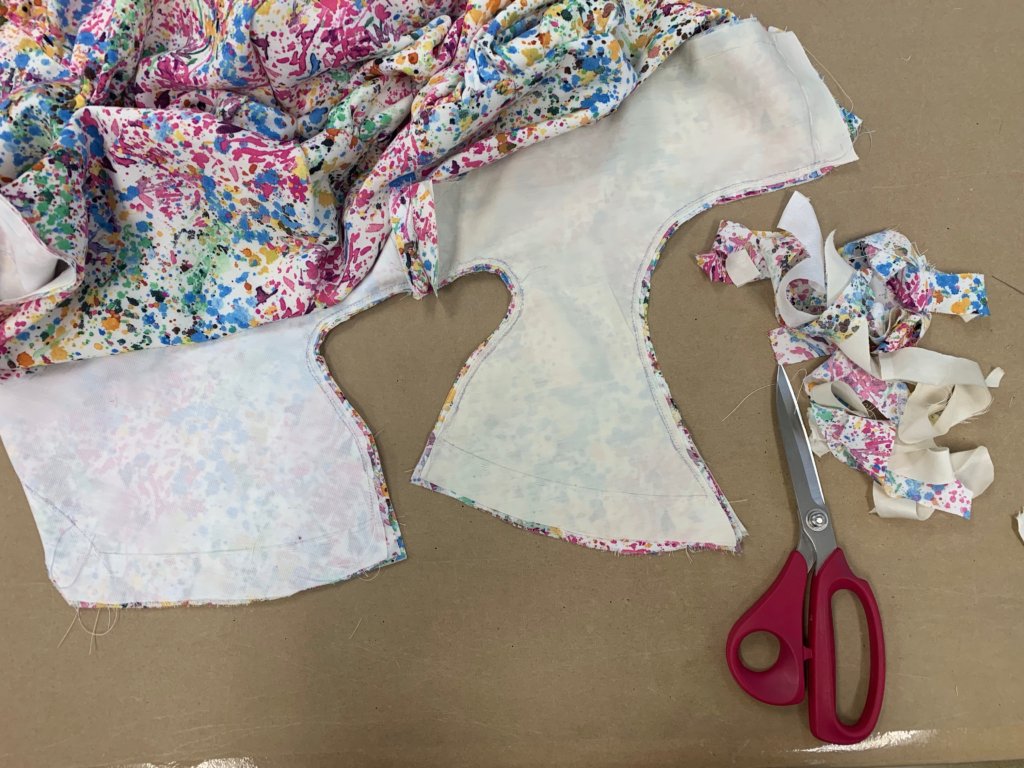
The shoulder seams were left open so that I could turn these fun facings inside out.
It usually looks a little rough immediately after the turn, but with some careful pressing, a facing can be a really clean and crisp way to finish a garment’s edges. I often tell my students “Don’t judge your work until you’ve pressed it!”
Once turned, I could finish the shoulder seams. I decided to pin and baste the dress’s shoulder seams together for a basted fitting before trimming and closing everything up permanently.
The first (basted) try-on of my new dress = Success!
My basted fitting gave me enough confidence to finish the shoulder seams and trim away the excess.
I then pinned my shoulders, facing side up, to my tailors ham. This would allow me to carefully situate the fabric on a curved surface (like my shoulder) to close and finish the facing seam by hand.
Then I cleaned up and finished and pressed anything else that looked like it needed it!
One of my favorite benefits of underlining is that it provides a layer to hide hand stitches. I love hand sewing and underlining so much that I am practically allergic to any stitching showing through to the outside of any garment. In the photo below, I’m hand stitching my facing to my underlining layer, with no stitches reaching all the way through to the front the dress.
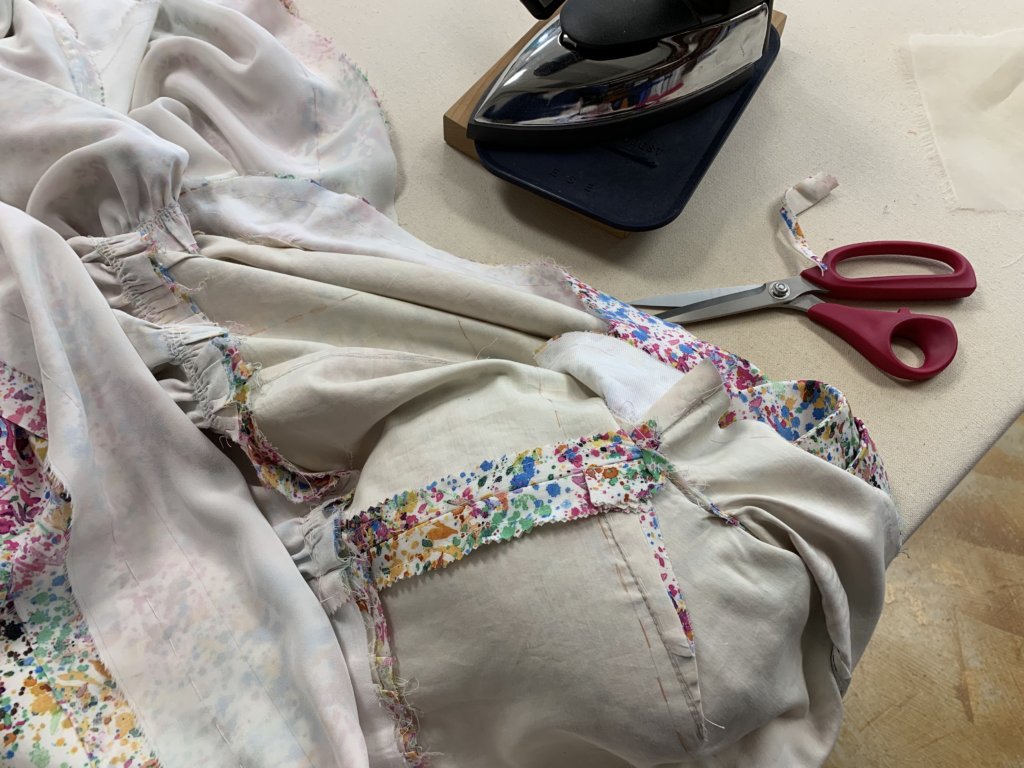
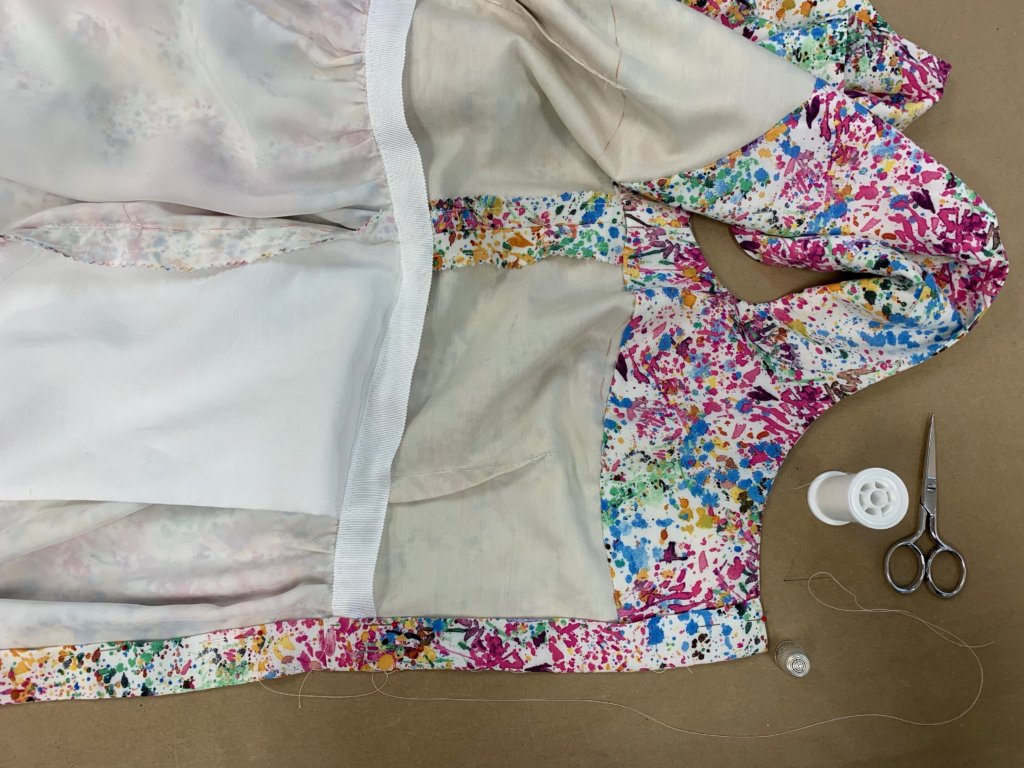
I like to finish my waistlines with unbound grosgrain. I pin and stitch through the ribbon and all the seam allowances and will eventually trim away the insides.

Plackets, Buttonholes, and Buttons
Since I mocked up the bodice of this dress and used that fabric as my underlining, all of my top buttonholes were already marked. The skirt fabric was new and still needed all its markings. I decided to create a little paper tool to help!
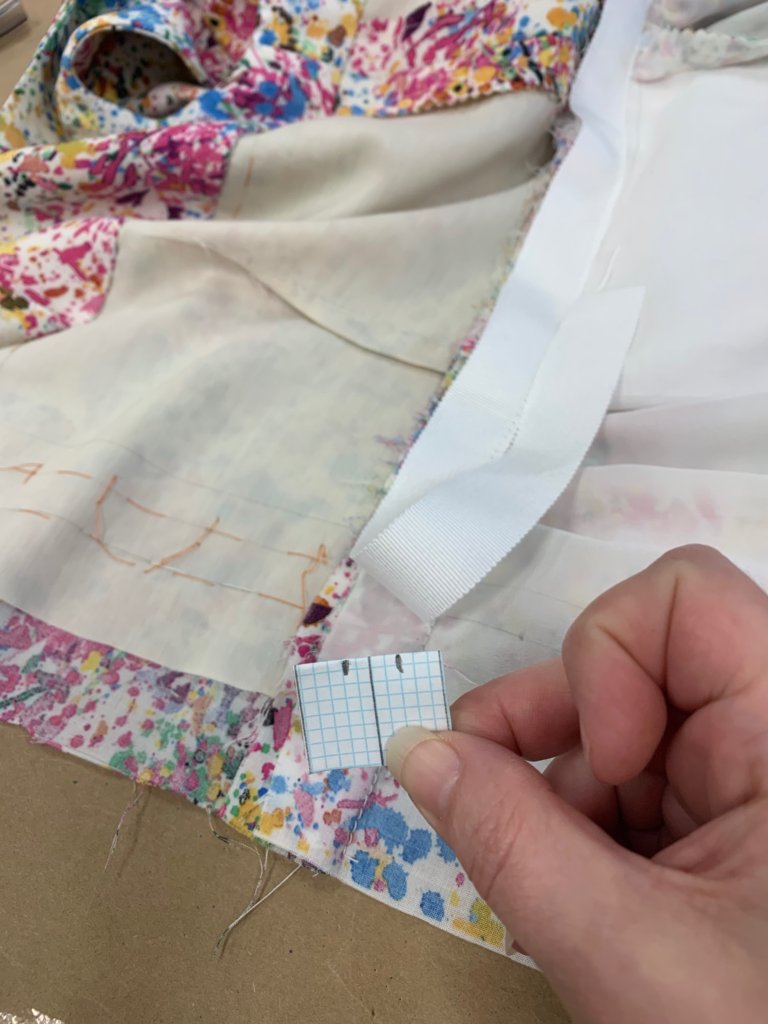
I first marked each buttonhole placement onto my centerline. Then I lined my nifty little tool up to each mark to draw out their widths.
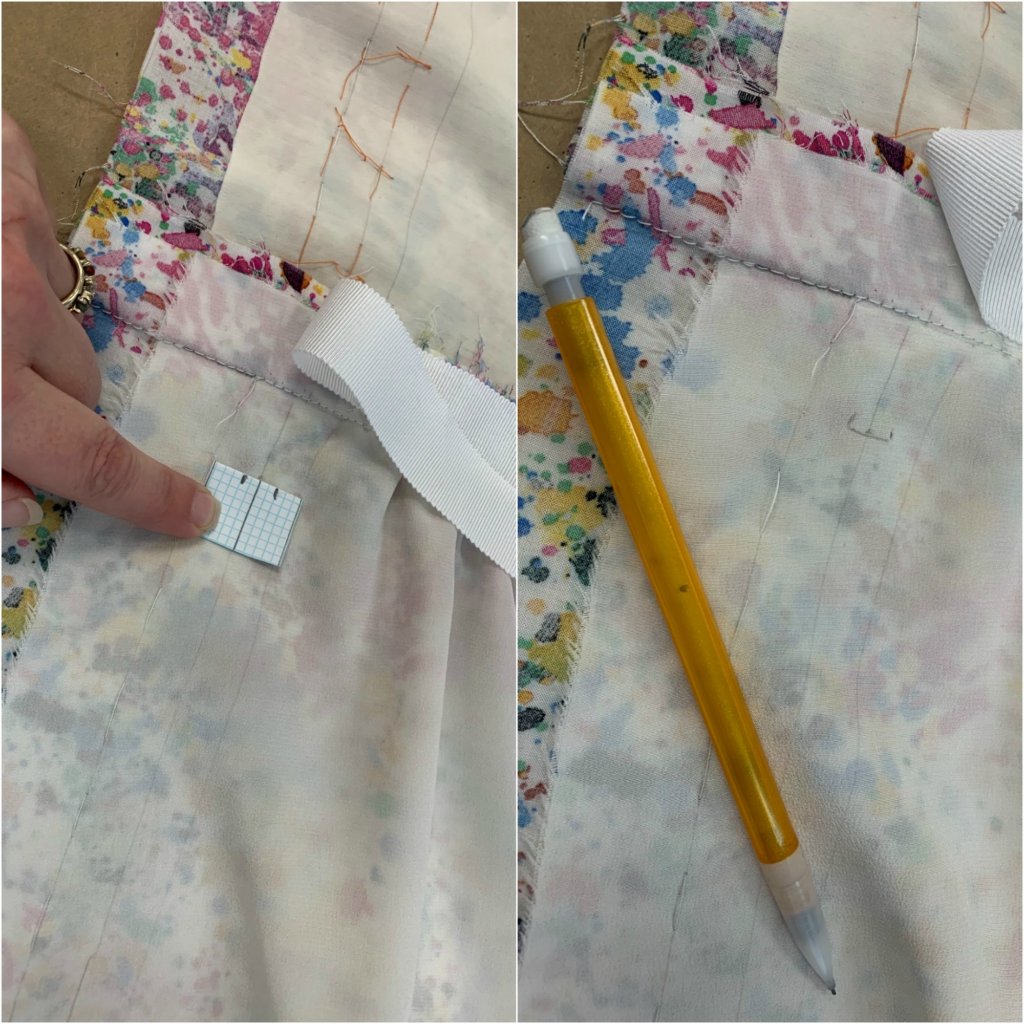
Once they were all marked, I thread marked them so I could see the markings on the front of the fabric even after the placket was folded up…
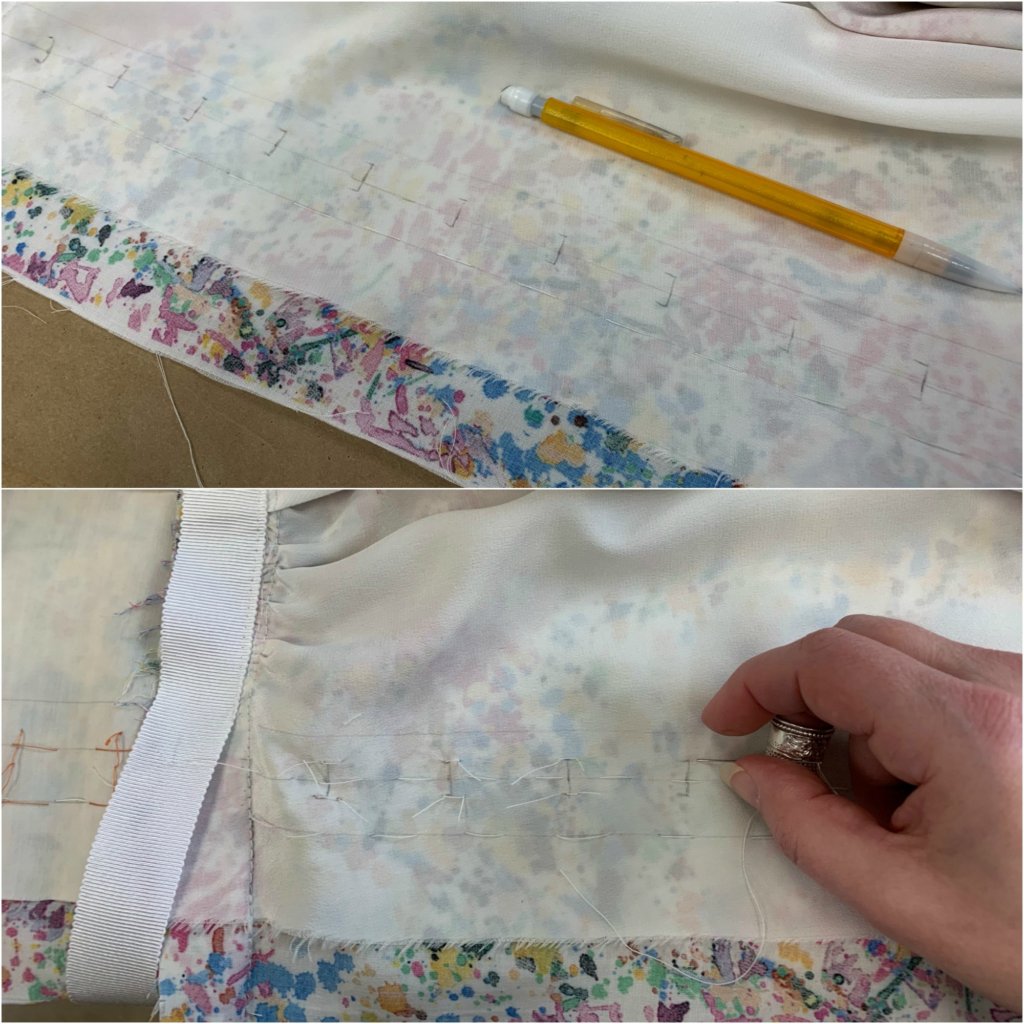
…before trying everything on again with the closures-to-be pinned in place. I thought everything was looking good and I was feeling good about moving forward!
My fitting gave me the confidence to go ahead and trim away the excess allowance at the waist. I’d tack the ribbon upwards in a few places to cover the guts while still allowing a peek inside. (I’m a sucker for secretly viewable construction guts!)
Then I started hand finishing my placket! I’m only picking my stitches through the underlining layer. This means they are completely invisible (which means perfection is not important!)
If you enjoy watching someone else hand sew, tie knots, and thread a needle, here’s 2 minutes just for you!
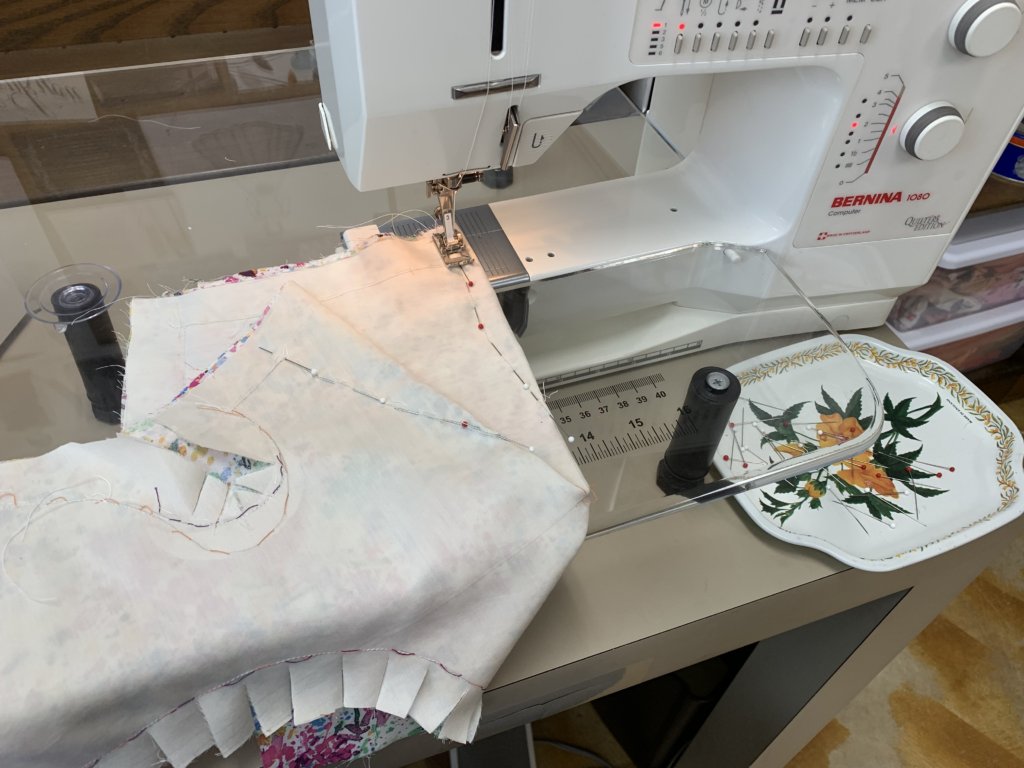
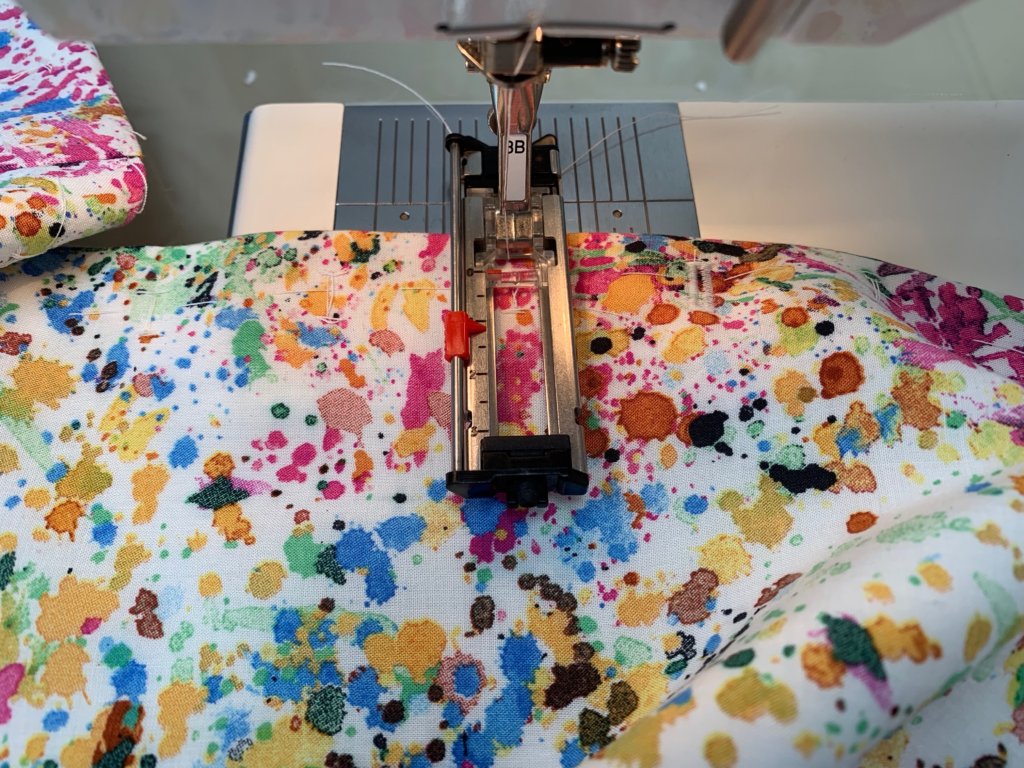
Next it was time to buck up and get to buttonholing! I used the buttonhole foot for my Bernina 1080 and my thread marked lines to knock out all 18 of them.
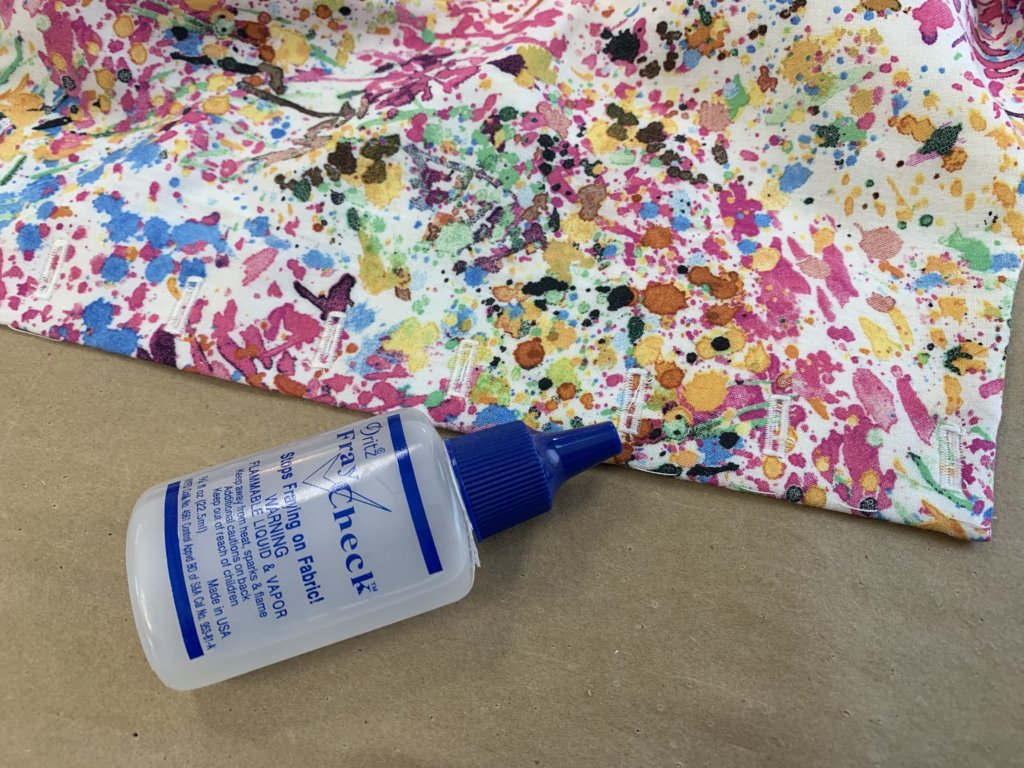
Once I was happy with all my holes, I covered all the buttonhole stitches with Fray Check and let it dry completely.
Then I cut each buttonhole open with a sharp clean chisel over a wooden shim. I like my chisel to be a little smaller than my hole. I’ll do two cuts starting from each edge, so that I know I won’t cut the stitches. Check it out in this quick video!
Once all the holes were cut, I put the dress on the dress form. Lining up my edges and theadmarkings, I put a pin through each buttonhole into the fabric layer underneath.
Then when I ‘unbutton’ the dress, my pins share the perfect placement for each button (even if each buttonhole isn’t perfectly placed.)

Back at the table, I slowly replaced each pin with a pearl button!
Finishing Touches
All buttoned up! One final try-on to mark the hem…
…which I then finished by hand, catching only my underlining layer, before my final press!
Last step: I hand stitched on my label…
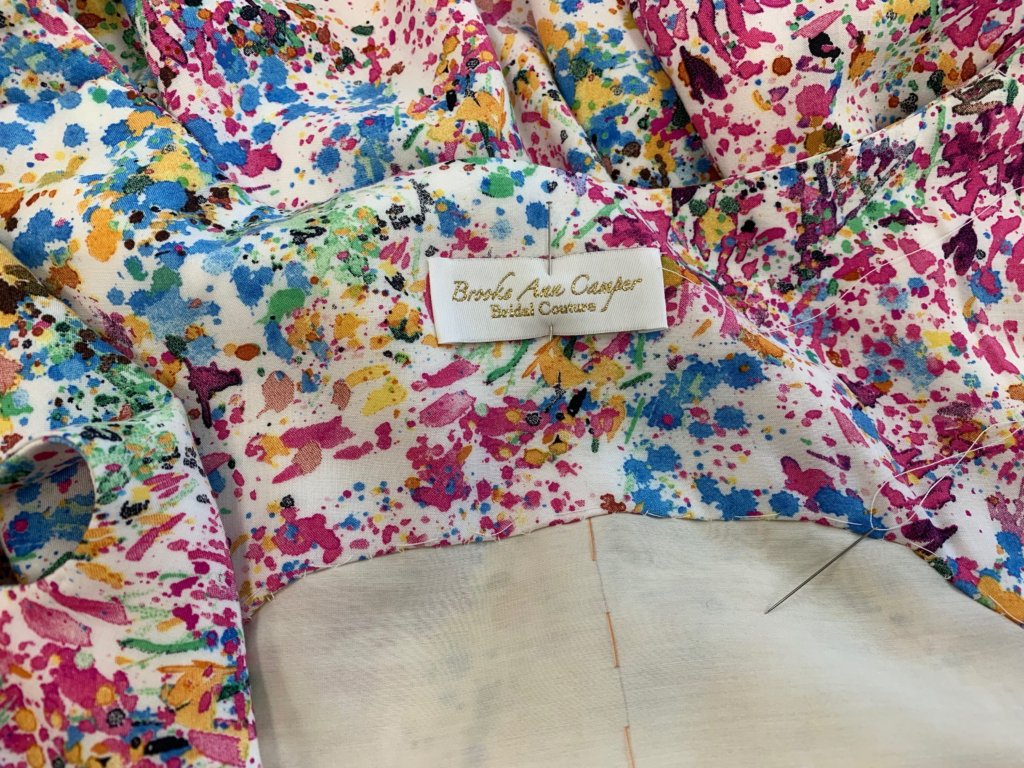
…and called the dress done!
I got my husband Charles to snap this quick photo on our back porch before heading to see Aaron Cardwell’s comedy show!
I hope you enjoyed this peek into the process of making a custom dress for myself. Since all of my training is in couture, it may seem like I did a lot of extra work on this casual creation, but I love both the process and the results that I get when I take my time. Speed and getting quickly to the end is not my style. I’m a slow sewer and I wouldn’t have it any other way! Thanks for following along!
NEXT POST: I’m itching to get to blogging about my next bride Tiffany, but I have one more post to share first. This splatter print dress will make another appearance when I share how and why I made a surprise Dior quilt square. More details coming soon!


11 Responses
Thank you for this mini-series and especially the video of your hand sewing! I’m really fascinated by these techniques (underlining, hand-sewing, etc.) and want to start incorporating them into my projects more and more. I’ve gotten my feet wet with drafting my own patterns and find it so much more satisfying than trying to make a commercial pattern work for me. I definitely want to try underlining my next project and being more confident in my hand sewing.
Yay! Thanks for following along!
I like your philosophy about being a slow sewer and enjoying it. I’ve over the last few yrs. also learned to enjoy the process rather than being a speedster and getting the garment done with little interest in details as well as perfection, well as perfect as can be achieved by we unperfect people. Nice dress, too!
Yep! Happy to hear this resonates with you. I’ve never been a speedster or a perfectionist, which I think are a few secrets of my success. Thanks for following along!
Epic? Not so when one is learning something and doesn’t want to skip-a-beat! I thoroughly enjoyed this as I just began underlining, not just lining. This encouraged me that I’m on the right track. Thank you for the time you spent putting this post together. I am a former blogger and I know what it takes to do this. I absolutely enjoy your posts and have passed your blog forward. :)
Ha! I started with over 400 photos and only shared about 80, so I guess, to some sewing nerds (my people!), I could call it “Restrained” instead of “Epic”… Thanks so much for following along and sharing your thoughts, Mary!
I really enjoy reading your blogs and watching you put together an amazing dress with, what seems like, such ease. Very envious of your skills but highly inspired and motivated by you too! ????
Your work is amazing. I draft and sew my own dresses, and your methods and choice of materials really speak to me. I used to always just use organza to underline but have moved to considering other materials from reading your blog!
I have never done cut in one sleeves and think I’d like to try that out (I really love one of the sheer jackets you created with no armscye front seam).
I have a question about the waist dart.on your bodice. It changed from a triangle to a house-like shape. Could you explain that change?
Thanks for sharing your beautiful work.
Thanks Marshelle! I know the ‘experts’ usually suggest that silk organza is the best choice for underlining, but I very rarely ever choose it (and have sometimes regretted it.) The ‘hand’ of organza has a specific stiffness/crispness that I am rarely looking to add to my garments. Also I like to use my underlining fabric as my mockup, and using silk organza would mean that my mockups were sheer! I don’t think my bride (or myself) would be very comfortable with that!
To answer your question, I added some contouring to my waist dart so that instead of creating a straight bridge of fabric from bust to waist, the design would include a little curved shaping following my body a little more closely underneath my (large) breasts. Hope this helps! Thanks for following along!
I just started reading your process for this dress.
Loads of great techniques.
Thanks for giving us some inspiration.
My pleasure. Thanks for following along!