 When creating something custom, there’s a lot of trial and error. Every new design is an experiment and so is every new body. I actually find this freeing rather than frustrating.
In custom, you don’t have the same expectations for perfection that you would if you had a set of blueprints and directions to follow. Since you are making everything up as you go, you know that it is an evolving process and that perfection will happen slowly through each new trial. I really love this way of working and learning!
In the same way that Sally’s design changed several times before being finalized on paper, I work through “test dresses” before cutting her wedding dress’s fabric (especially since as you learned in my previous post, there’s not much extra). I call the test dress (and this phase of the process) the “mockup”.
The Stitch lines
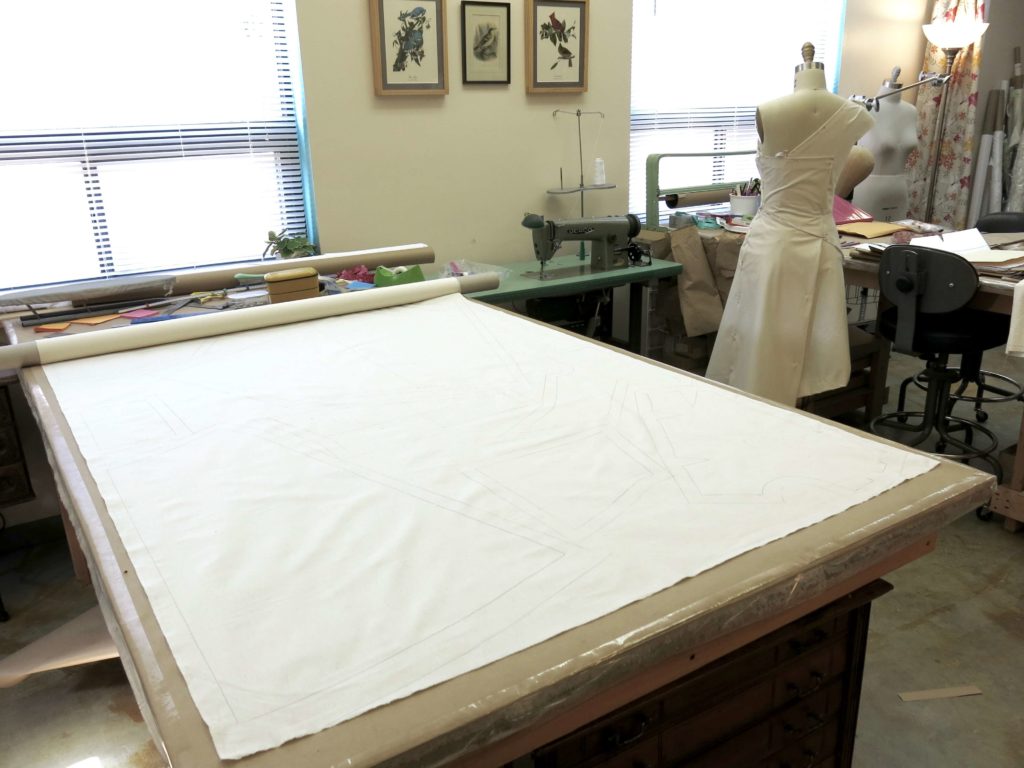
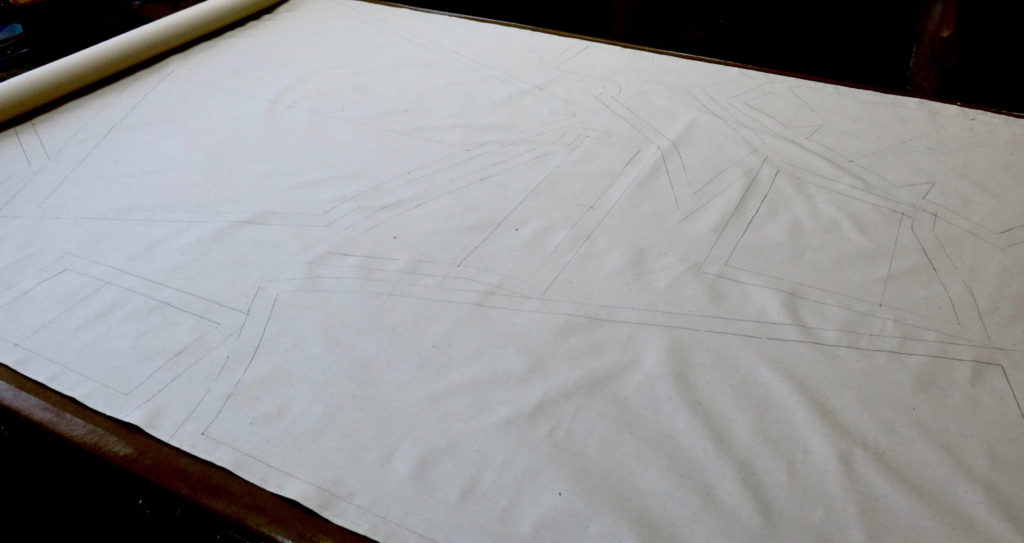
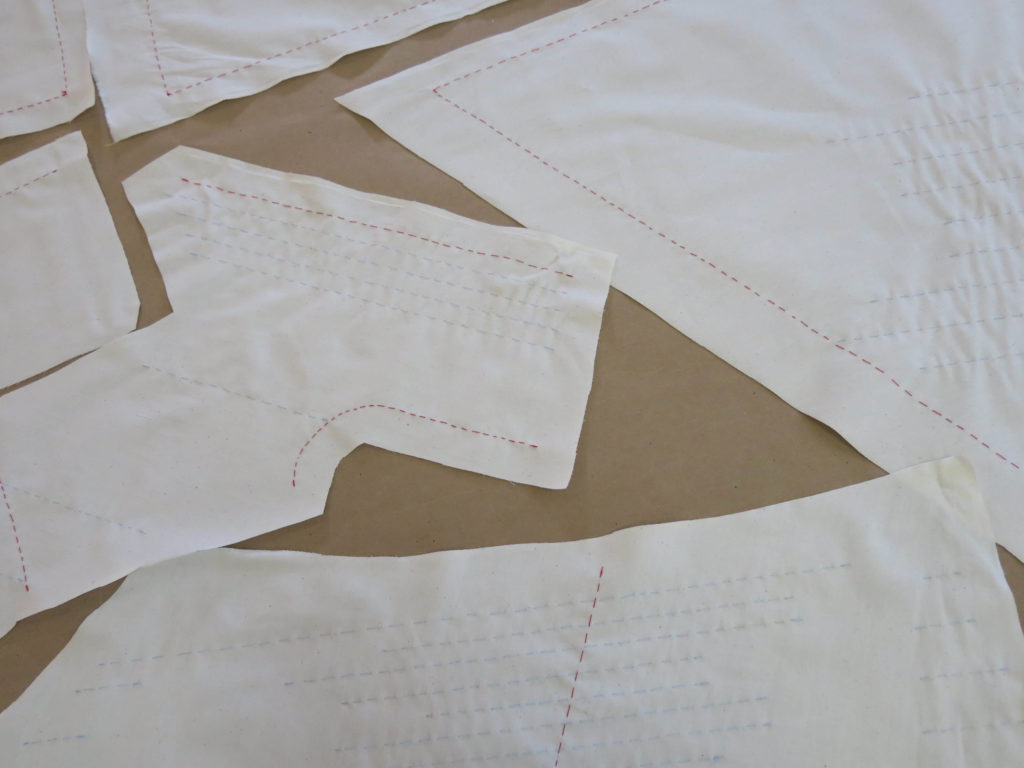
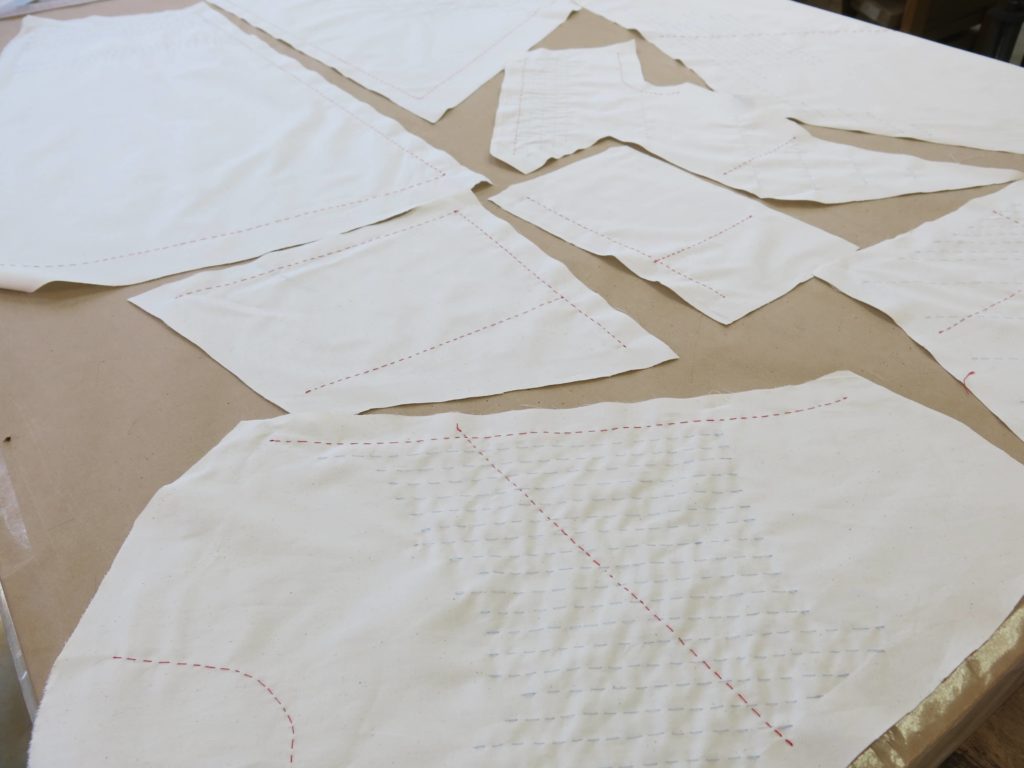
Using the patterns I created from the rough drape, I mark and cut the shapes onto inexpensive fabric, which I’ve washed and pressed onto a roll. With the fabric rolled out in a single layer, I mark my stitch lines and my cut lines with a pencil. The stitch lines represent the fit of the garment and the cut lines add a bit of extra fabric to allow you to sew the seams and to make adjustments to your stitch lines.
The Stripes
Since Sally’s dress design is asymmetric and her fabric has stripes, it was very important that I consider the stripes in the mockup. We’d ultimately be using two layers of fabric: a sheer striped organza with a solid fabric underneath. Having two layers instead of one was actually very helpful!
Woven fabrics create a grid of threads. The direction of these threads will affect the fit of the garment. If I only had one layer of striped fabric, I’d be in a conundrum of choosing the direction that looked best vs. the direction that worked best structurally. Instead, I will be able to join the two fabrics together through underlining (which I will show you later!) allowing the solid to be the structural layer and the stripes simply a decorative layer!
So for Sally’s mockup, I cut each piece according to what I thought would work best structurally. Then I used threadmarking to show how the stripes might work best decoratively. One of my students volunteered to help with the hand sewing!
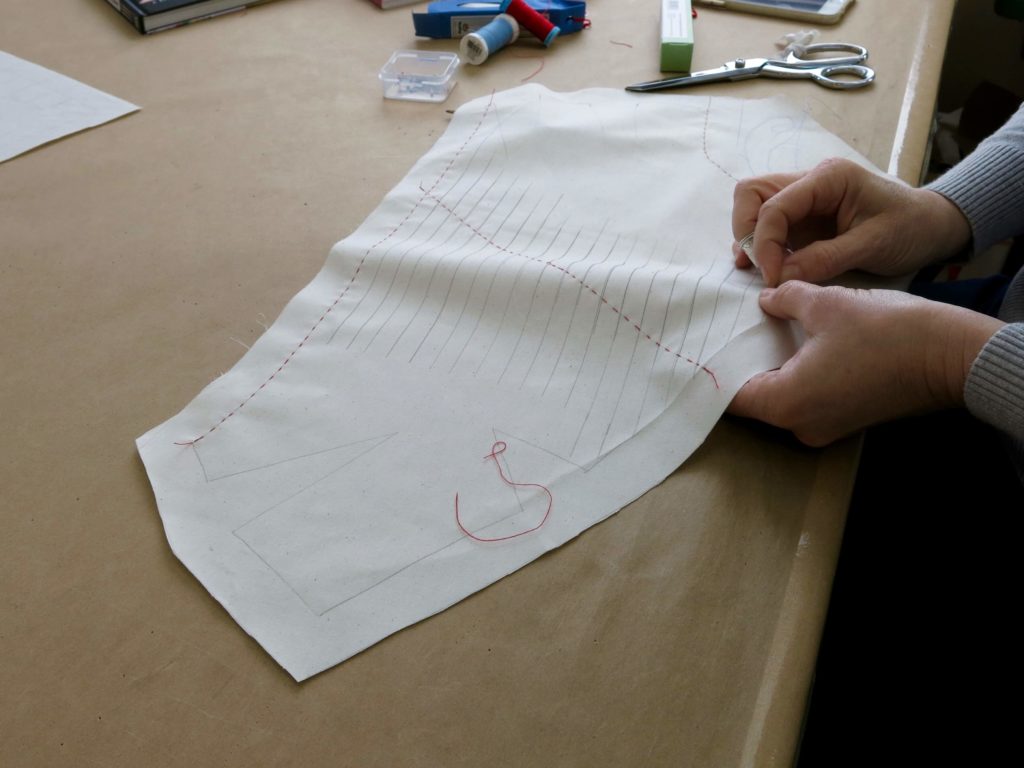
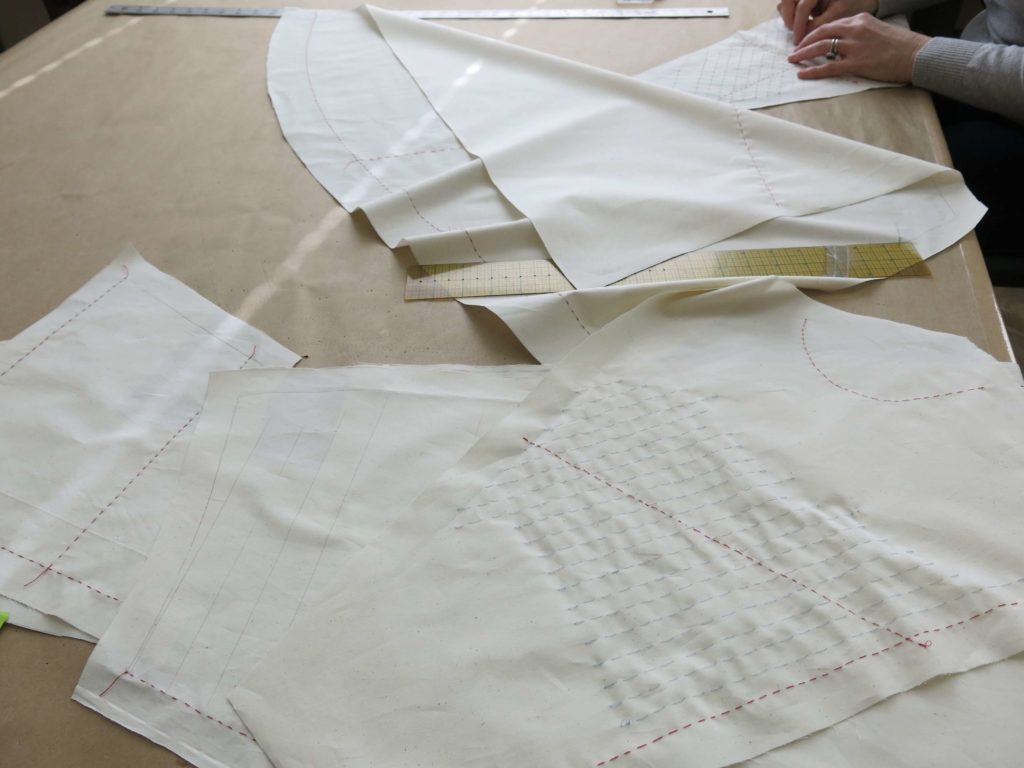
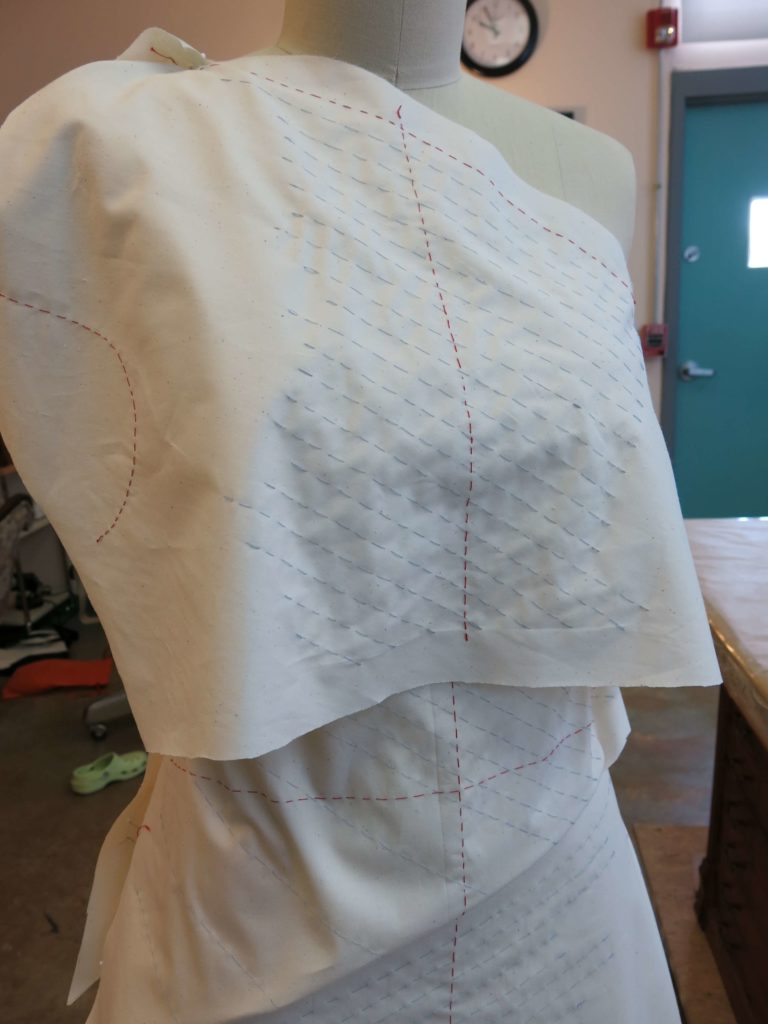
We stitched hints of the stripes on relevant pieces. This would allow me and the bride to visualize the stripes while also having the ability to quickly remove them and make changes.
Plus, it was fun to do and it looked really cool…
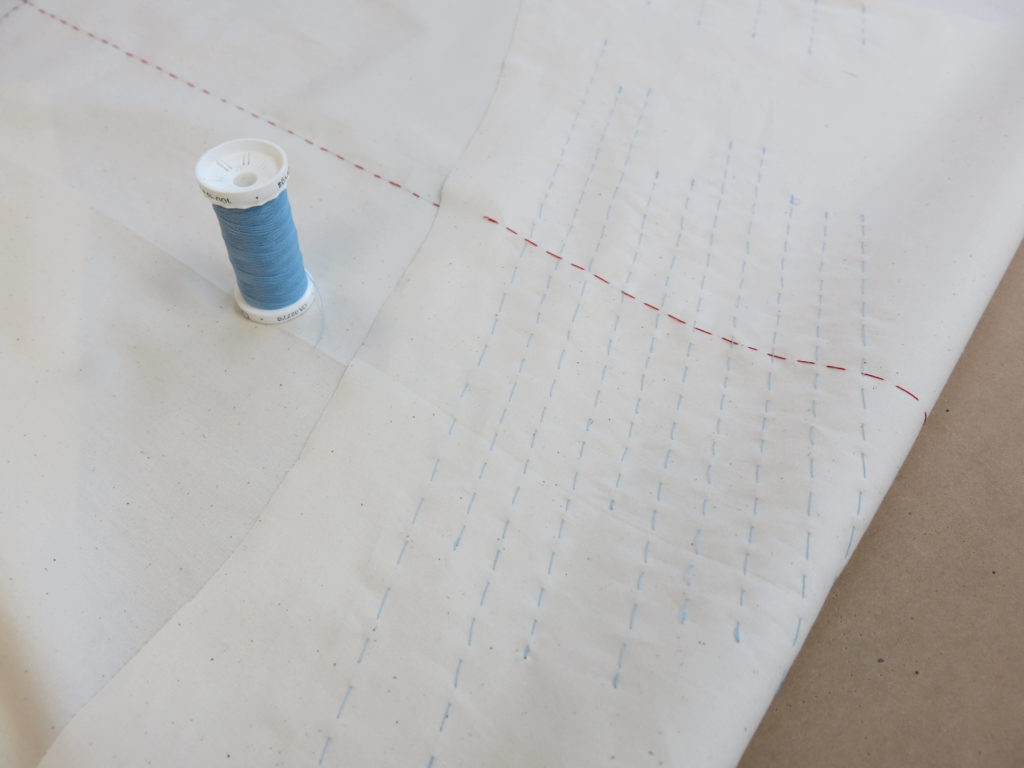
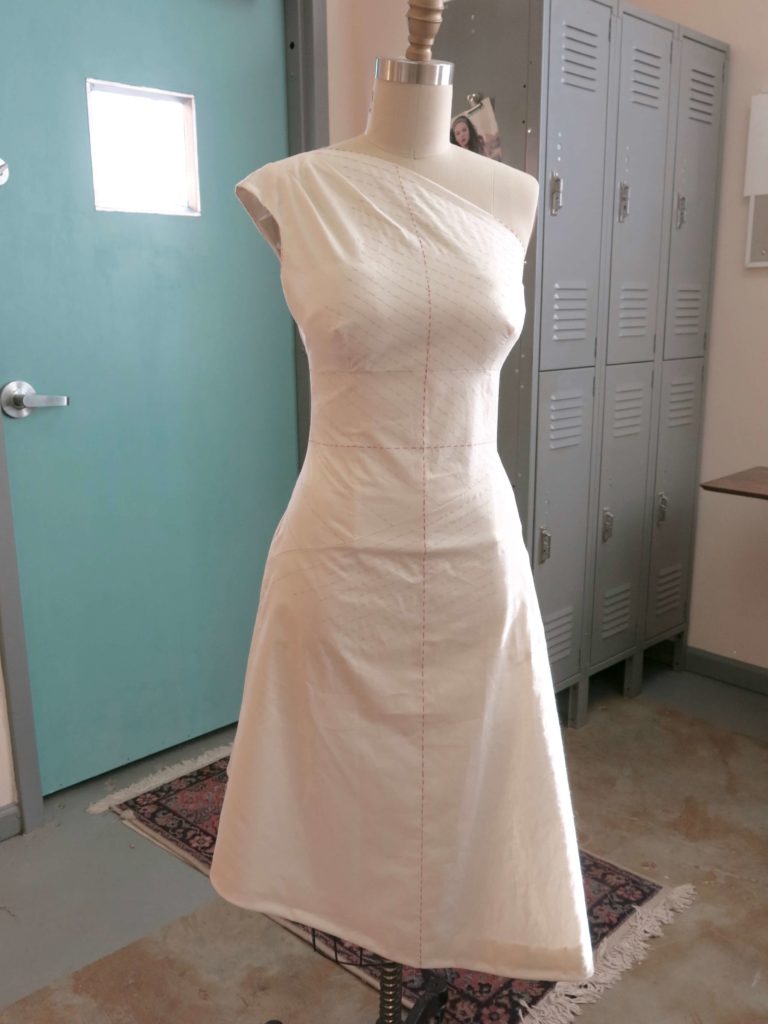
The red lines marked the centers and the edges. The blue lines marked the stripes. I love that it looks a little like notebook paper!
The Sewing
Once all the pieces were prepped, I started machine sewing them together, pressing as I go…
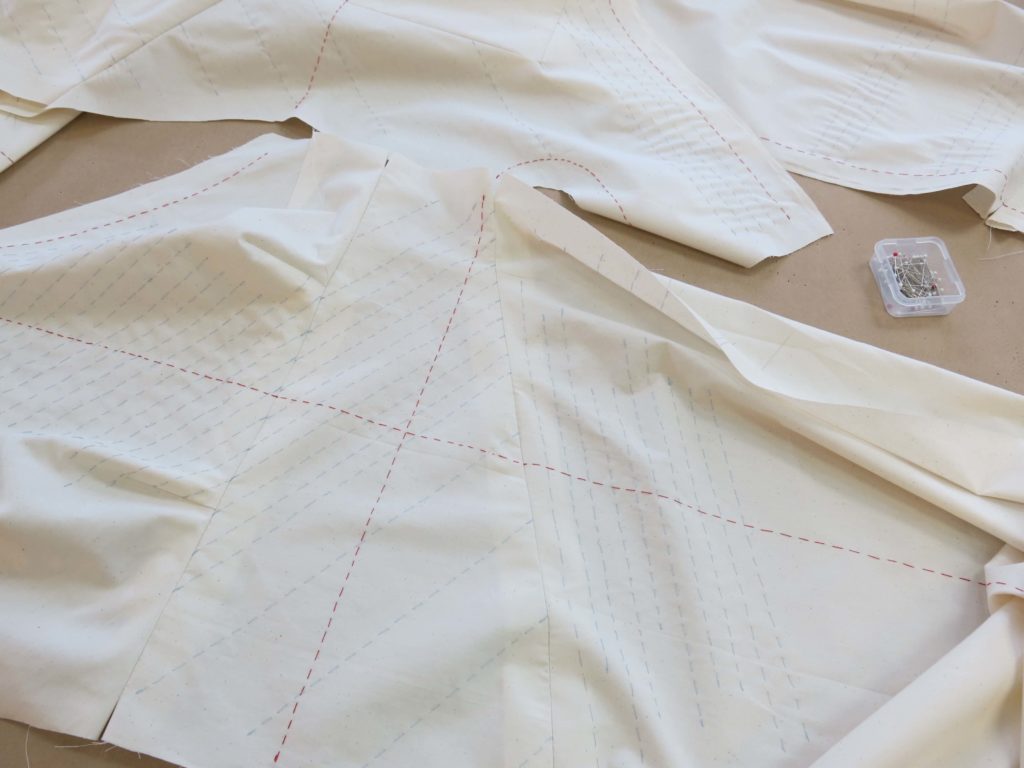
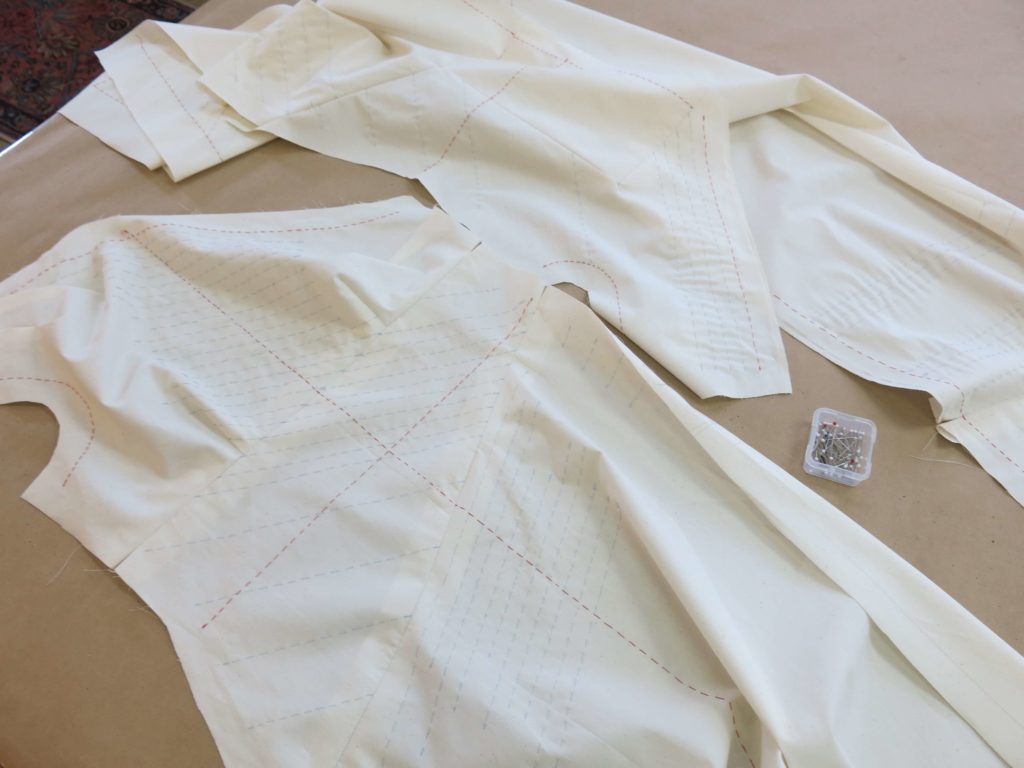
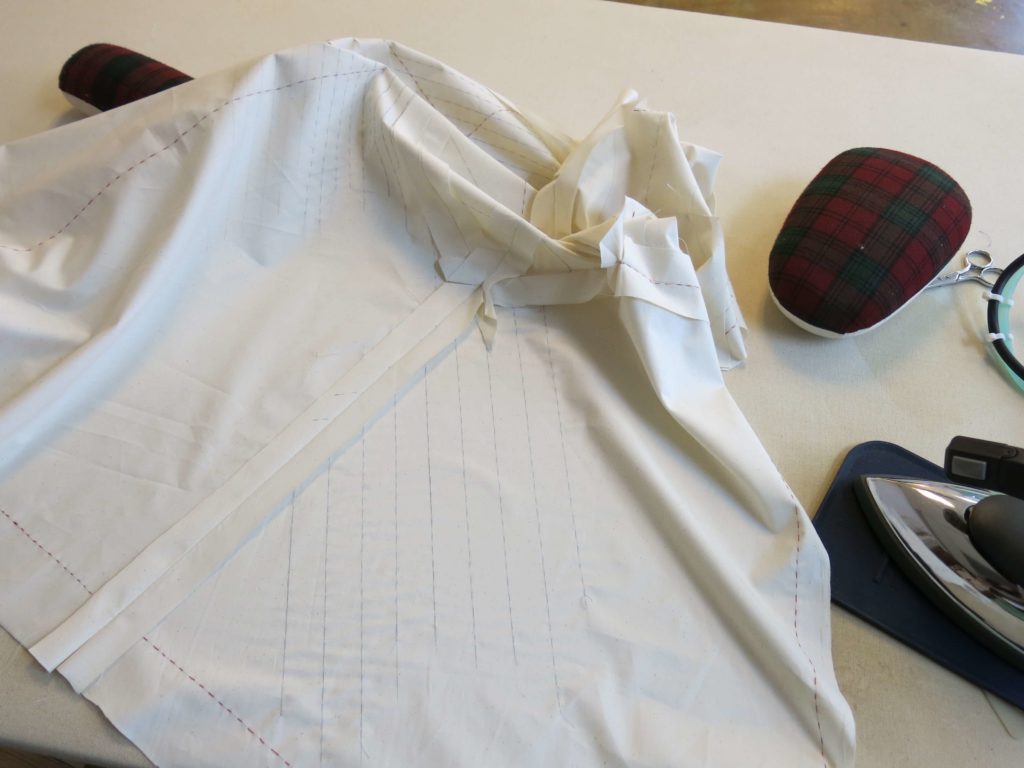
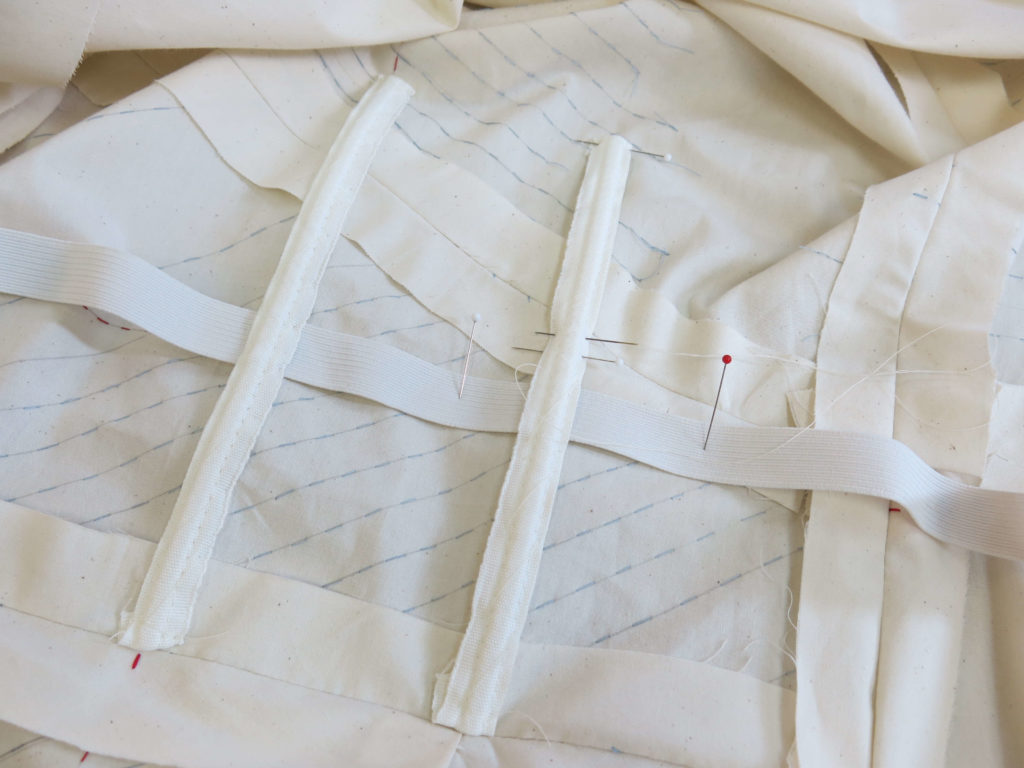
The dress would have light boning and a waist stay, so I hand basted in some plastic bones and threaded an elastic waist stay. Eventually the bones will be steel, but the plastic ones are cheap and easy to move and shorten during this trial stage…
The Showing
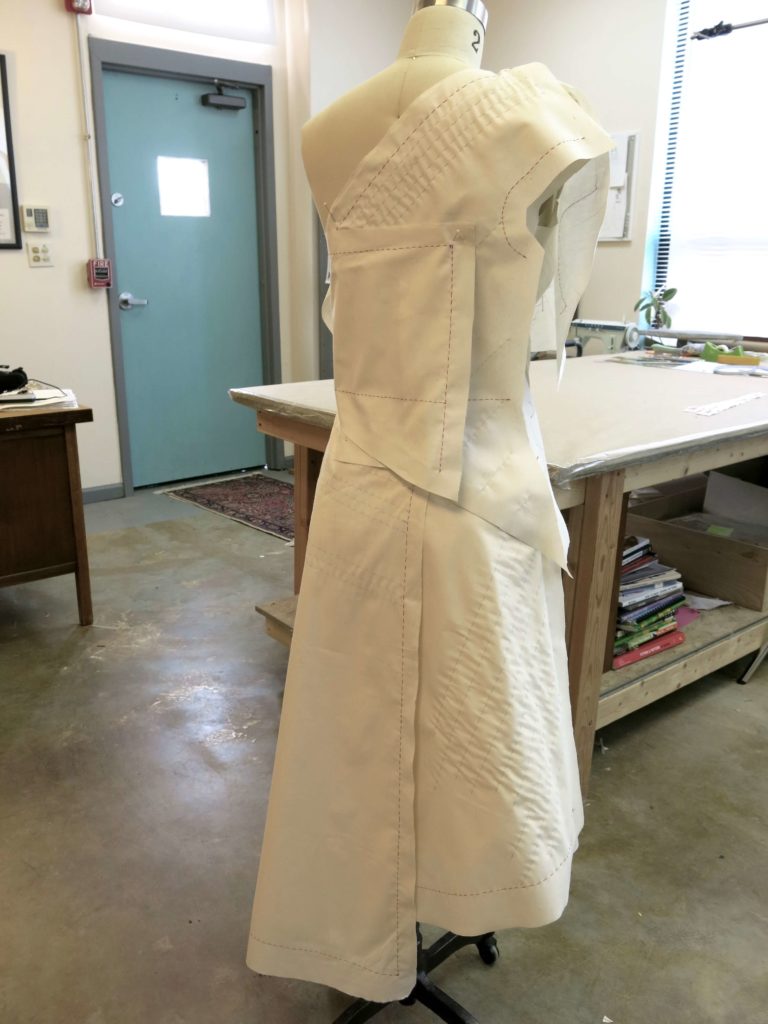
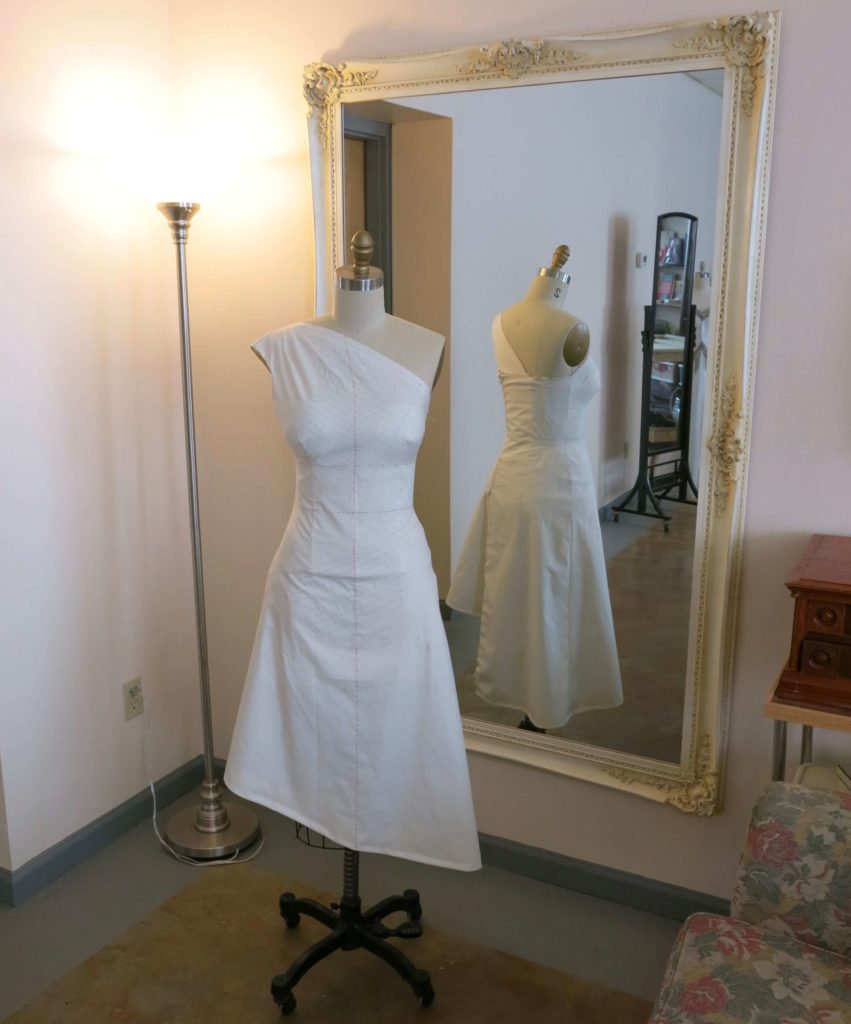
Eventually, the mockup was ready for our first fitting!
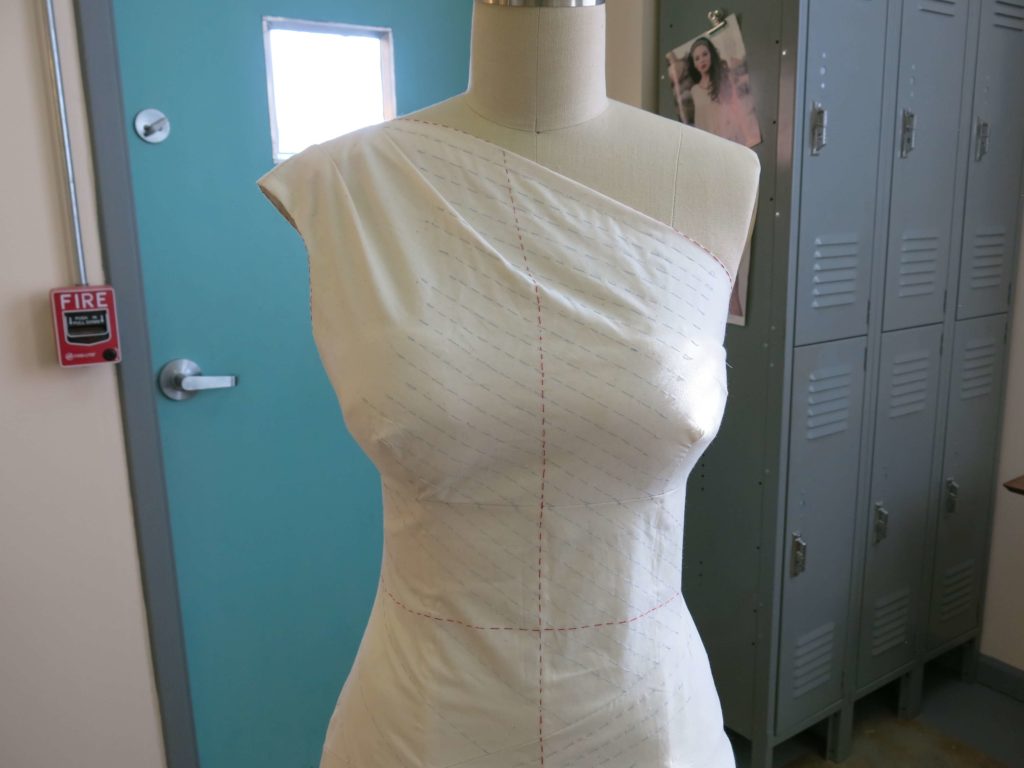
I achieved the back wrap by using two separating zippers. The one you see here will eventually be replaced with bridal buttons…
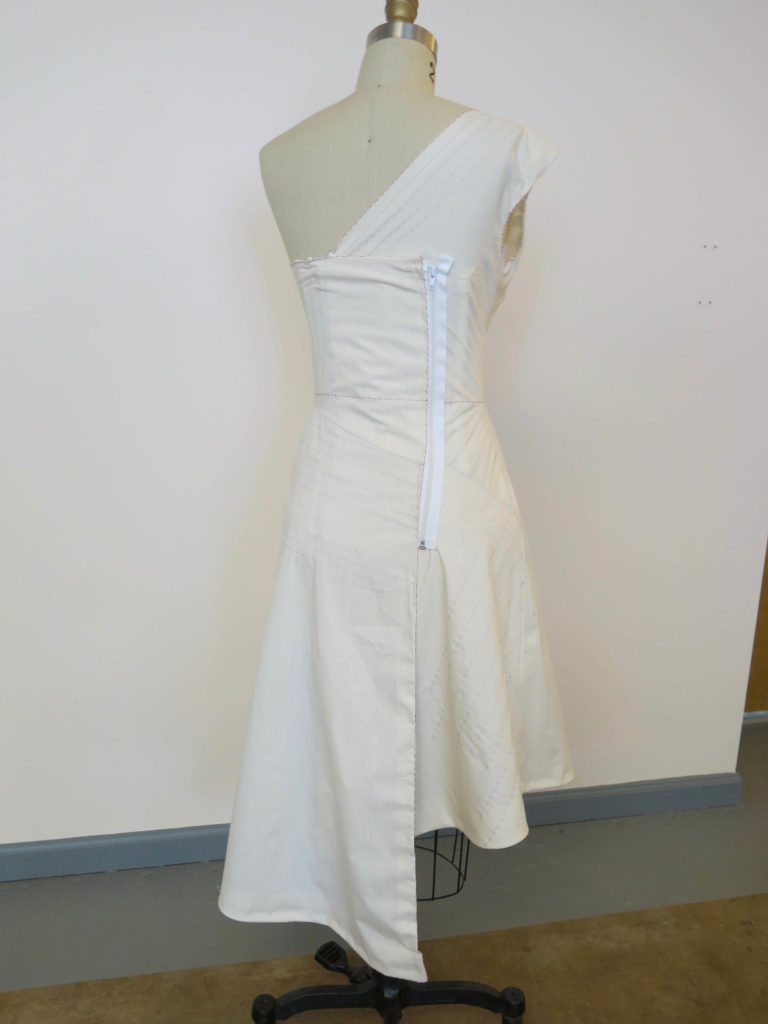
…but there’s also a secret zipper hidden inside, to keep the dress securely in place on Sally’s body.
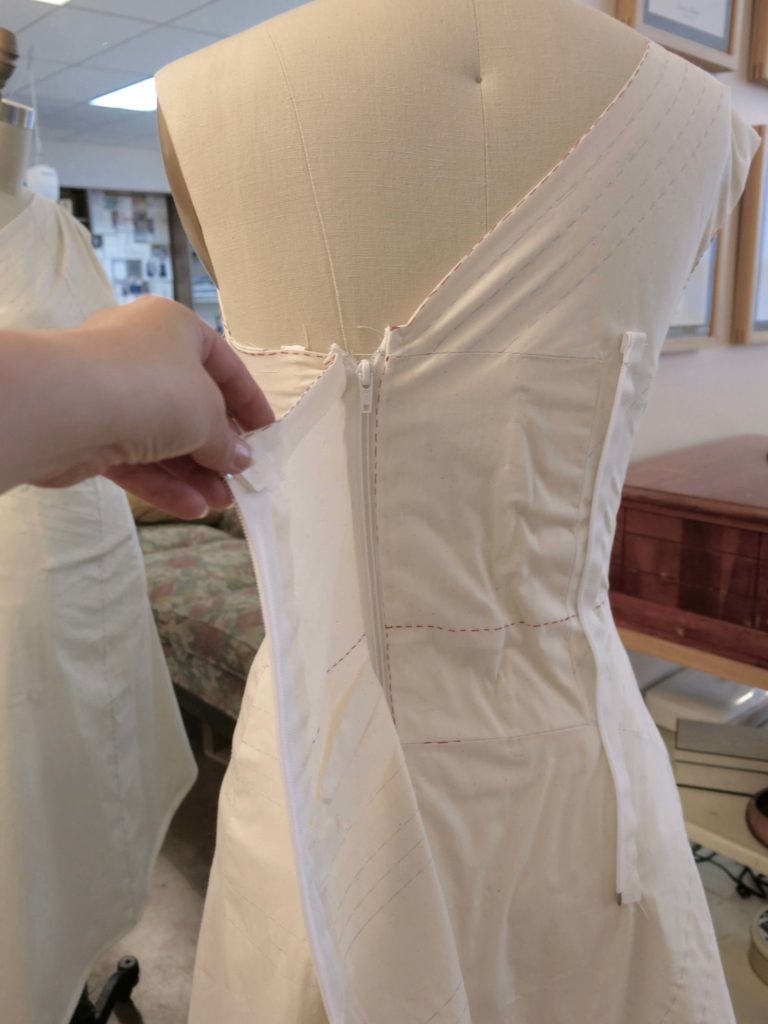
I do not have expectations that this will be perfect in fit or design, but it is perfect for a first draft. To quote author Jane Smiley “A first draft is always perfect, because all a first draft has to do is exist.”
NEXT POST: Sally’s in town! I’ll share our mockup fittings and our corrections. Thanks for following along!


4 Responses
You are amazing.
Thanks Delores!
I love this process of making something beautiful, wearable literally out of just ideas. Your skill is amazing! The amount of detail in the mock up itself is mind blowing. Waiting eagerly for the next post.
Thanks so much Mrunmayee! I’m working on the next post right now!