In this final Part 3, I’ll do the actual dressmaking- stitching and finishing it all up! Let’s get right to it!
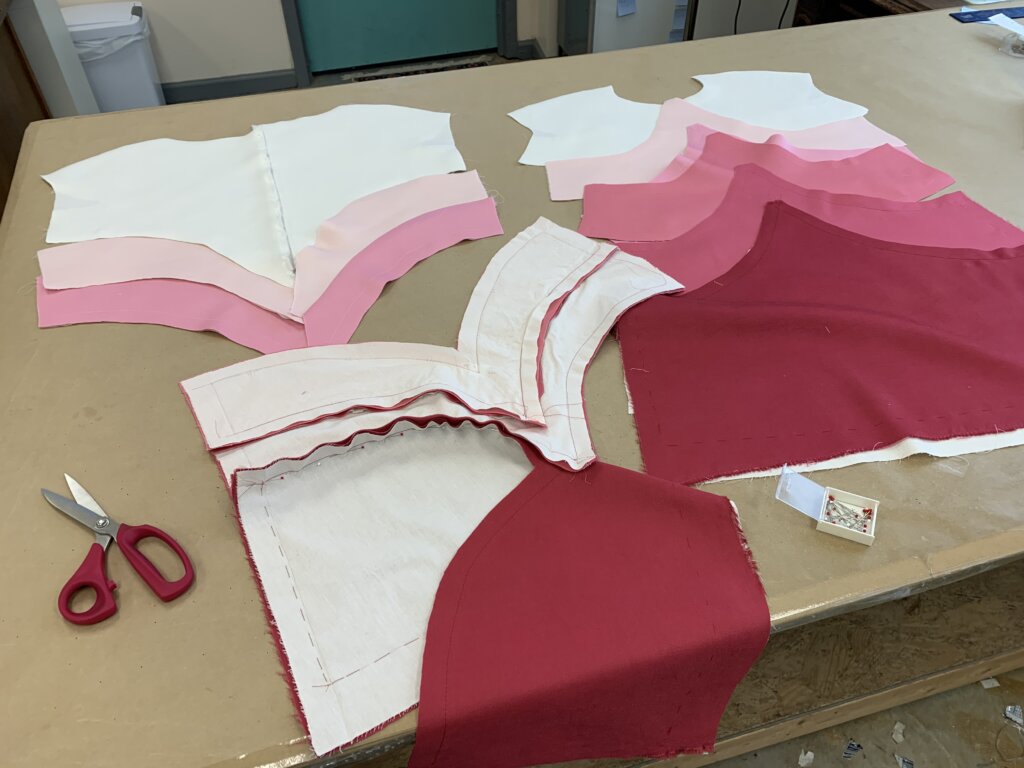
Starting to Stitch
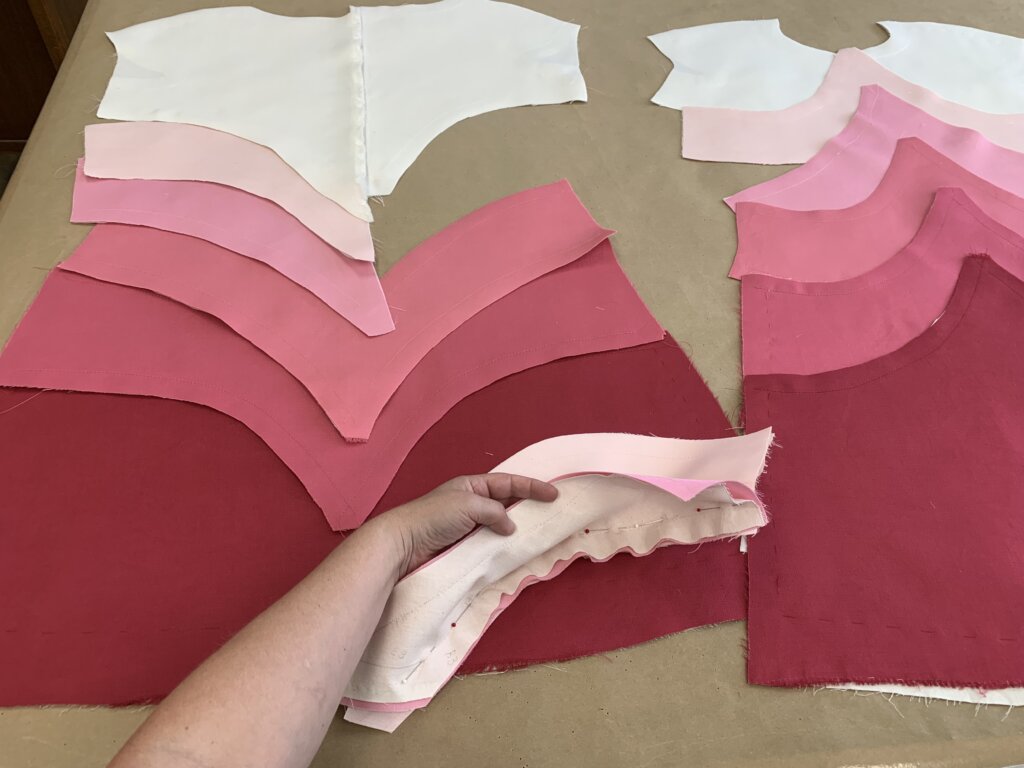
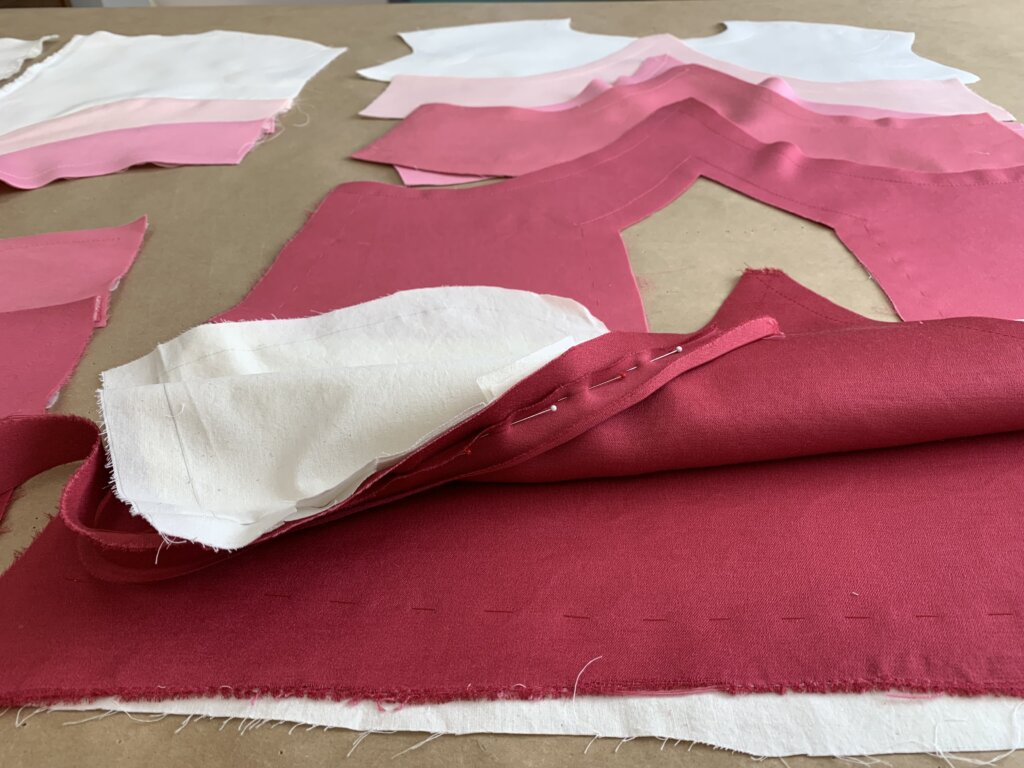
To get myself warmed up, I started assembly with one of the short pieces of the back. I figured that working through the back first would give me enough practice to confidently stitch up the front.
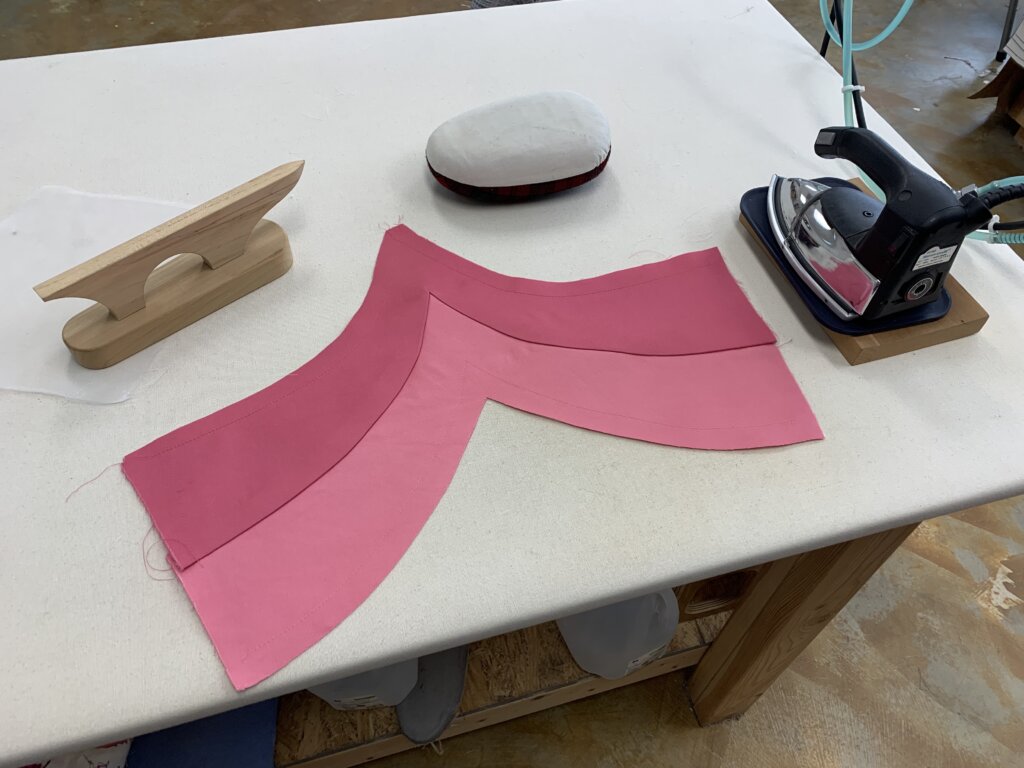
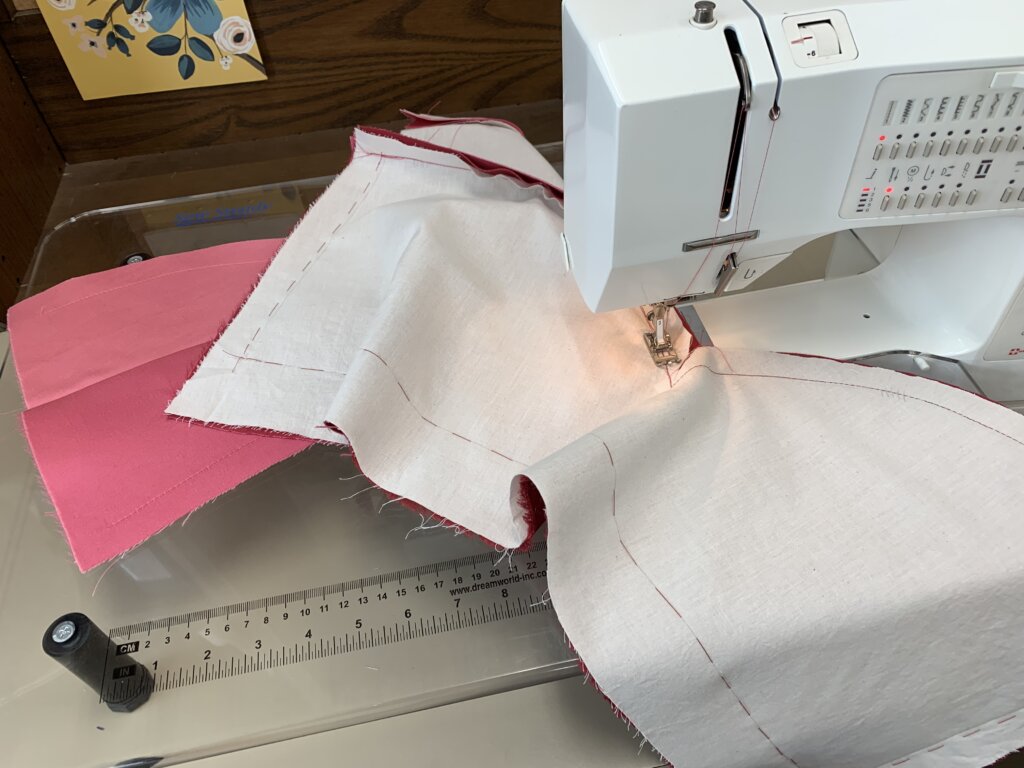
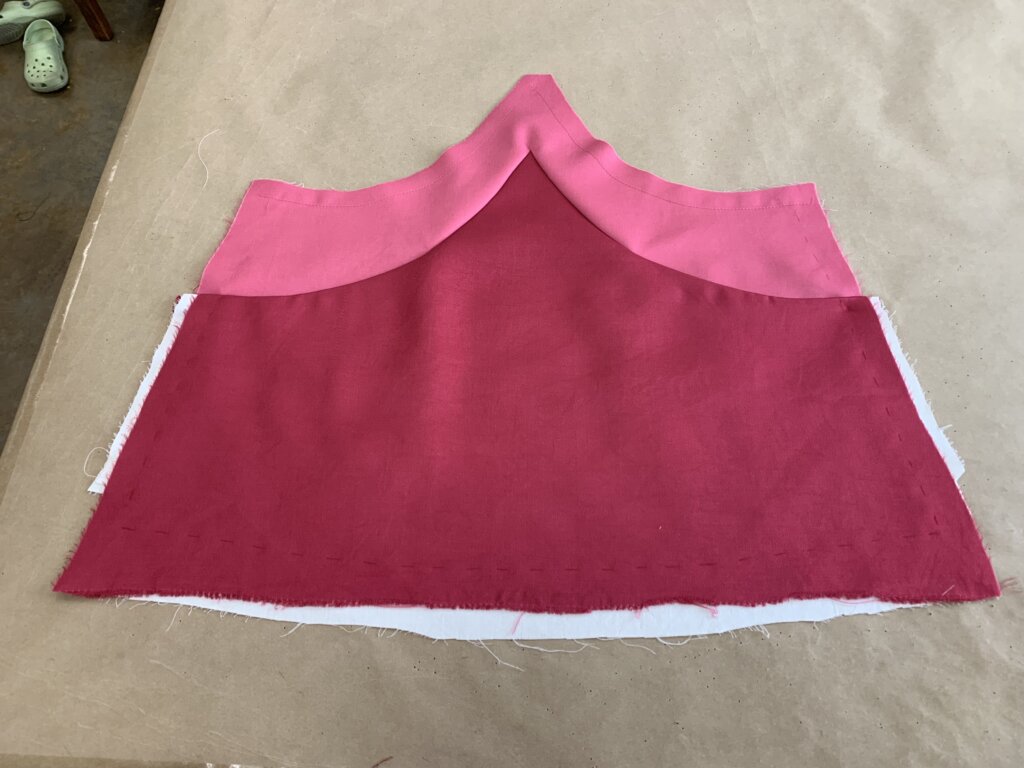
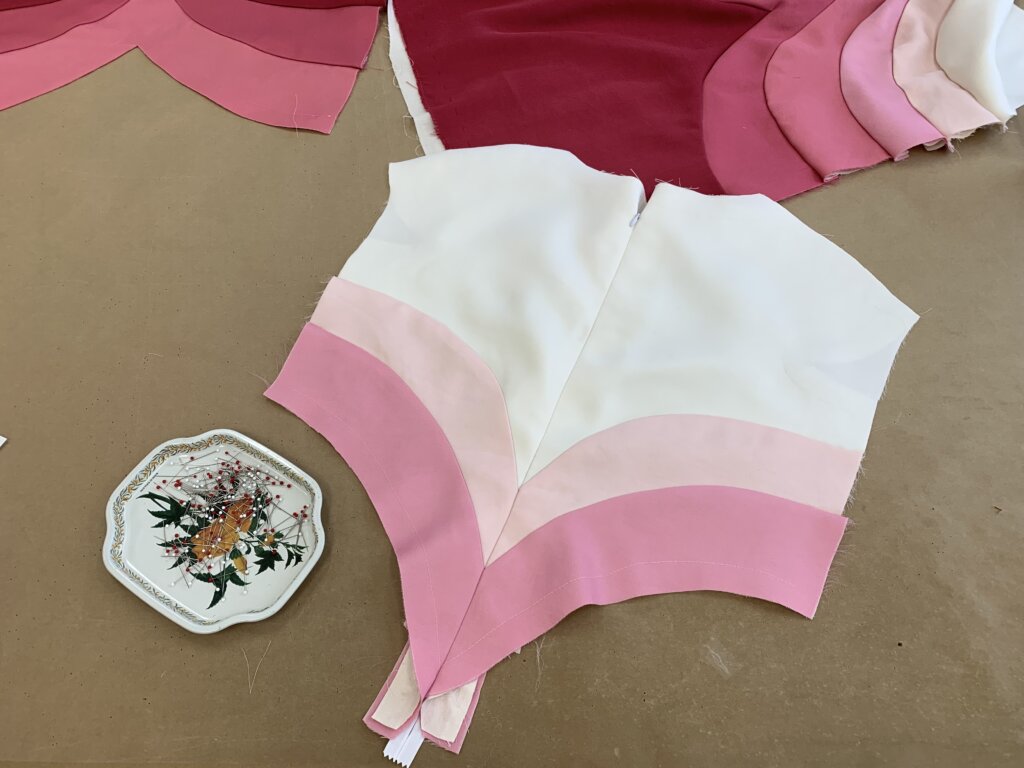
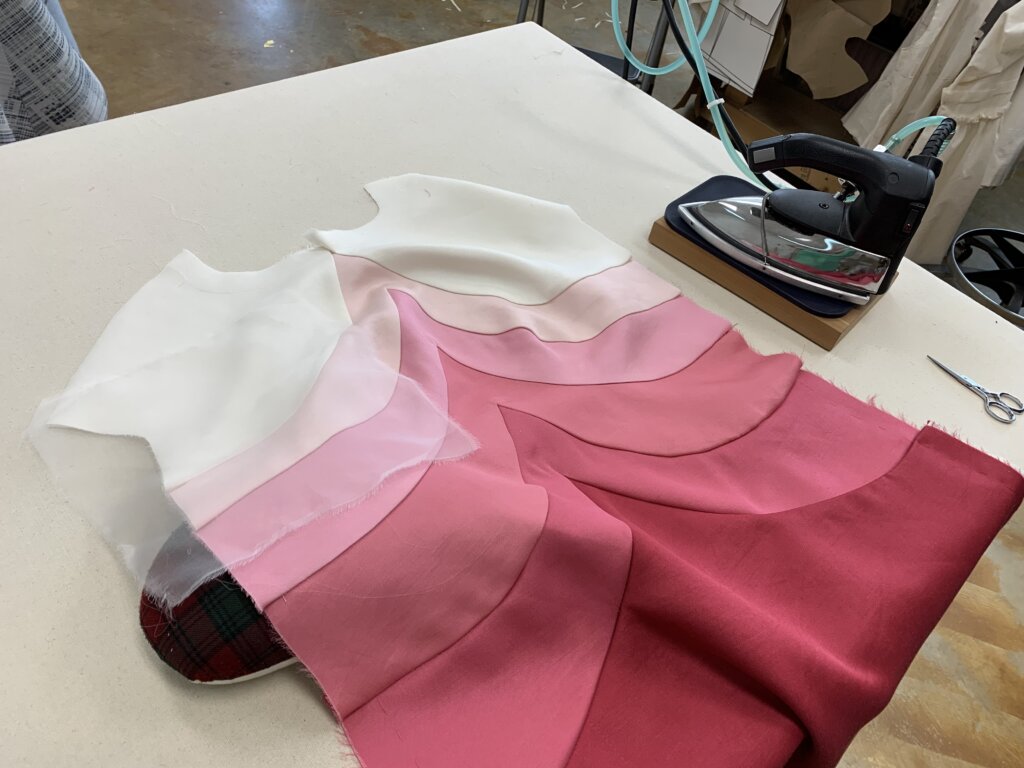
It was exciting to sew the first double curve…
…and to see how gorgeous it looked when pressed!
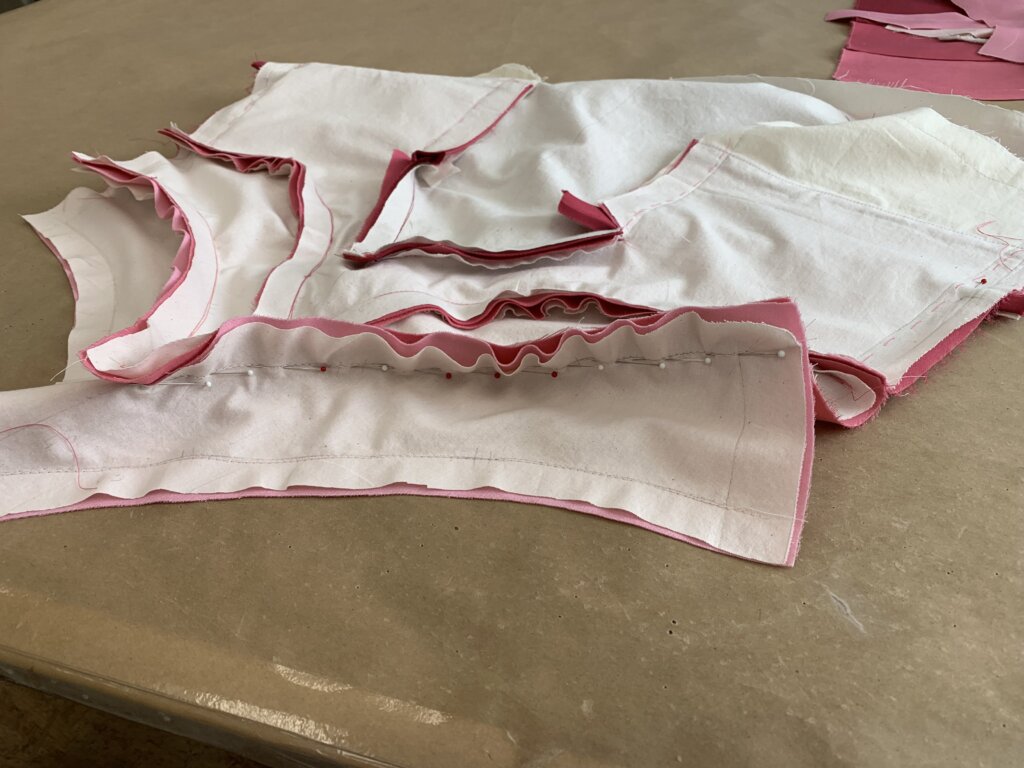
One curve at a time, I worked my way down the back, pinning…
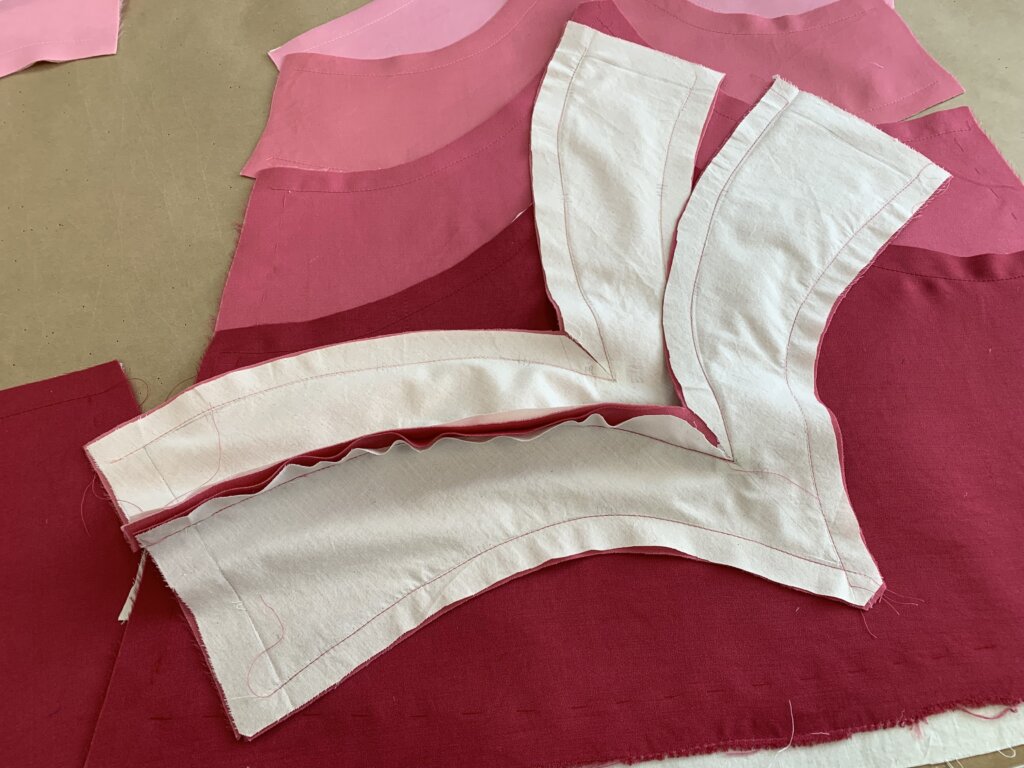
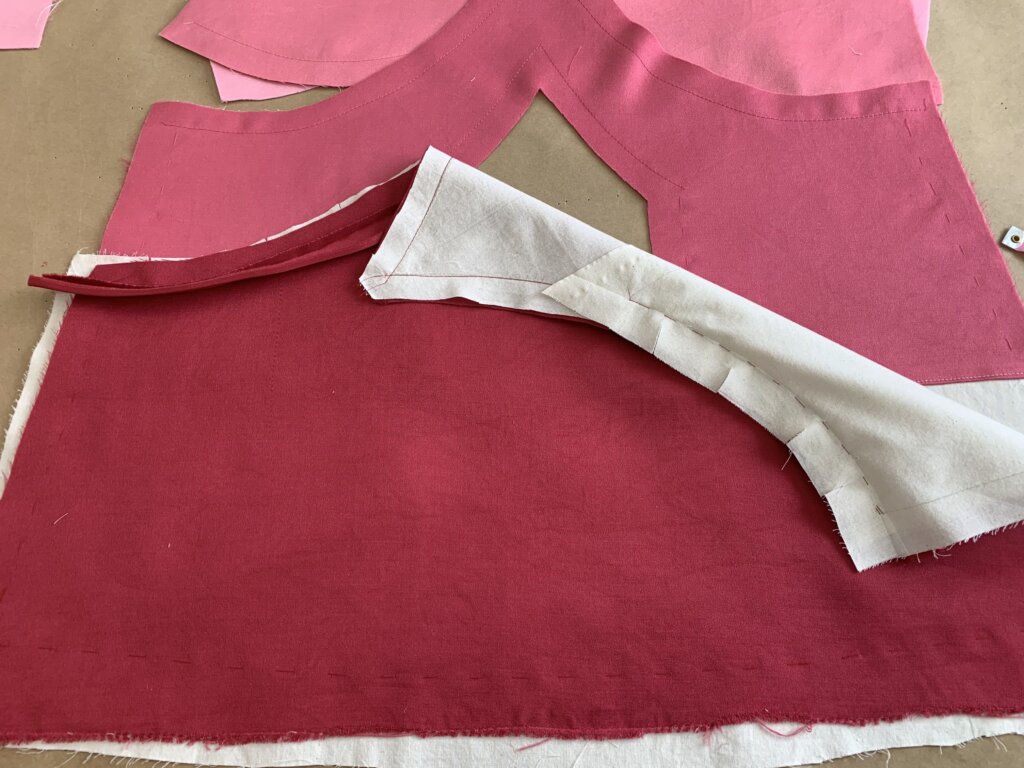
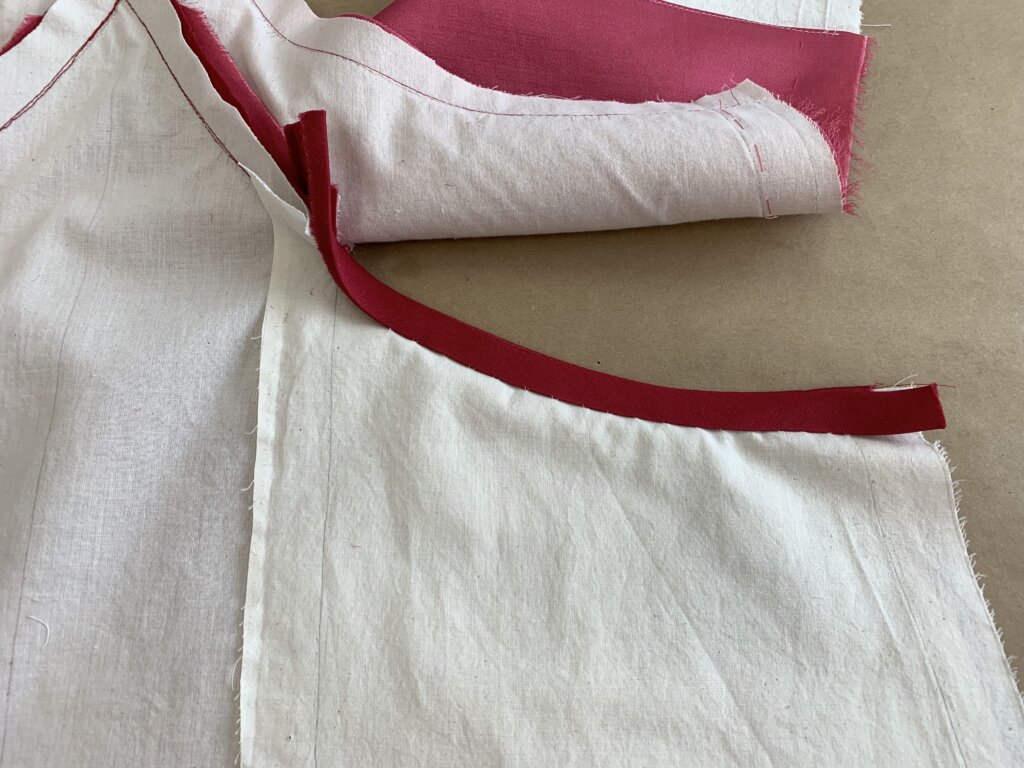
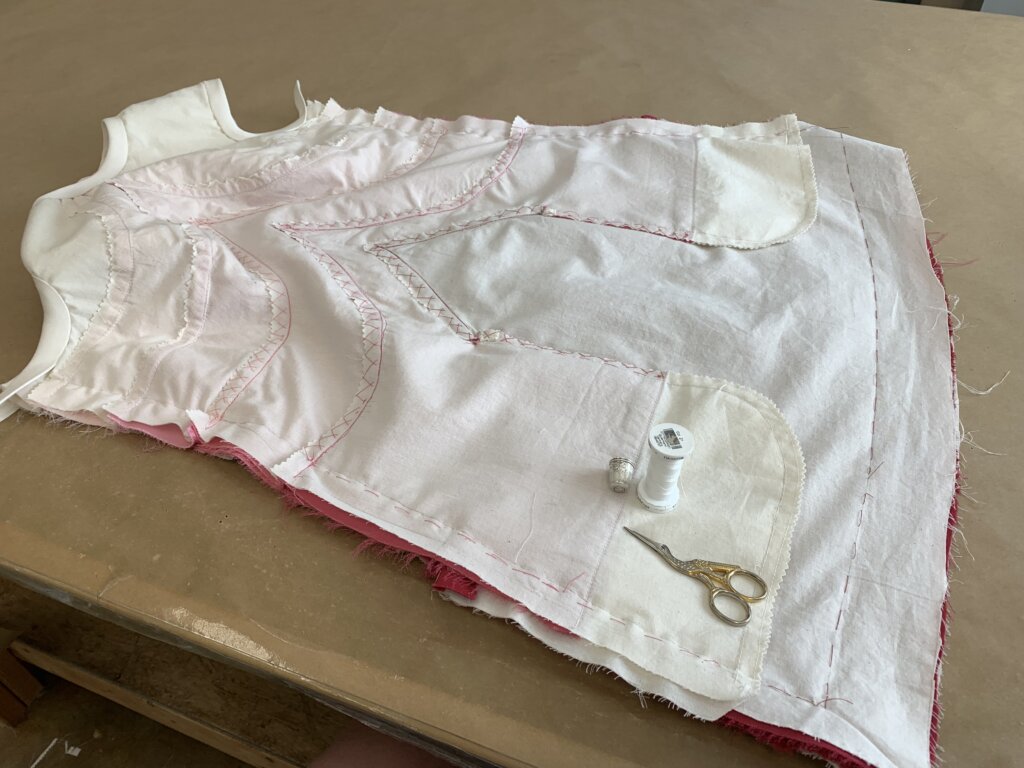
Next up, I decided to tackle the pockets. I got started by creating a couple of short bias strips from the scraps of the darkest color.
I pinned a bias strip and a muslin pocket piece along each pocket opening…
…before hand basting them securely in place.
Next, I machine stitched along my basting lines and gave the strips a press…
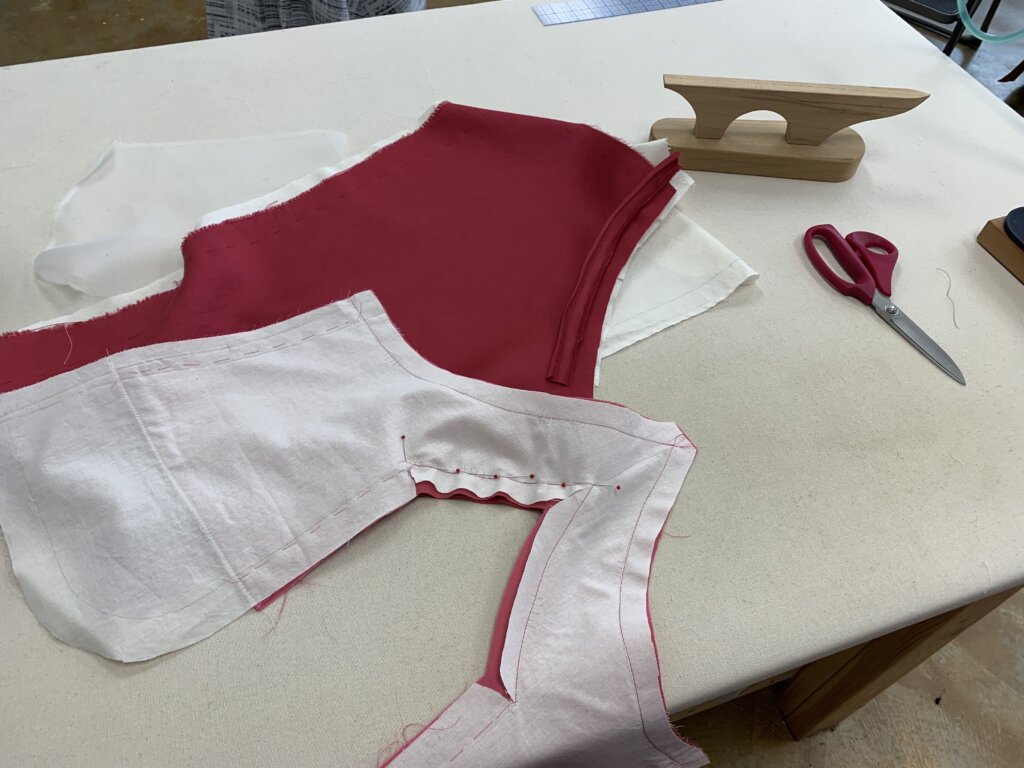
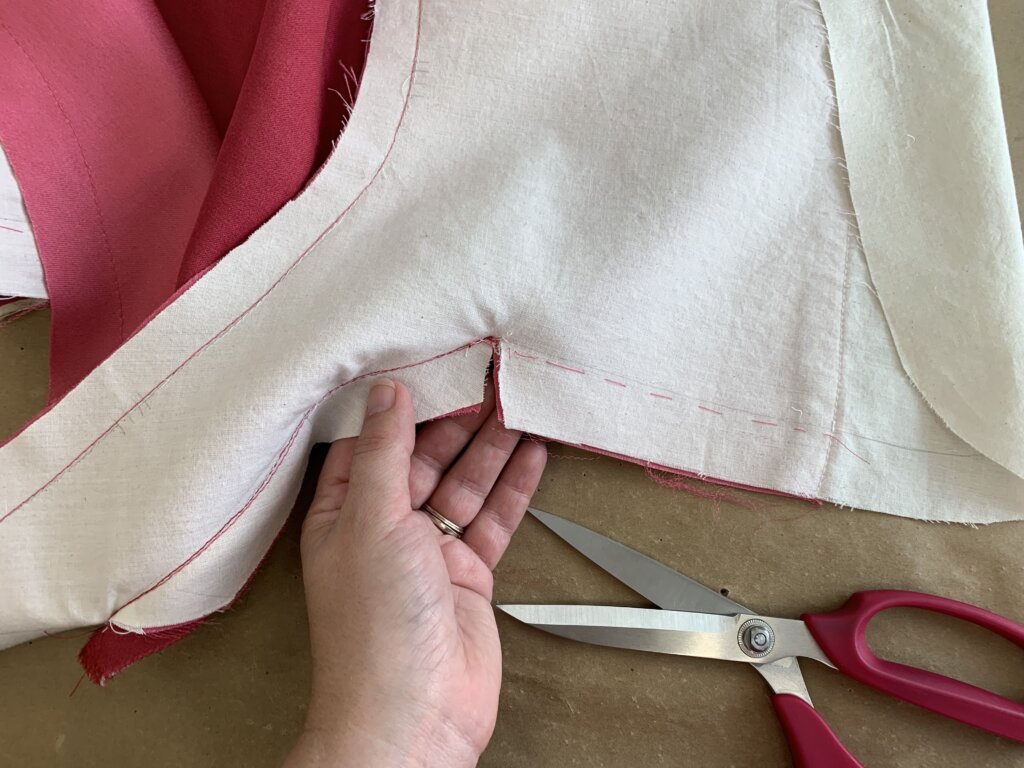
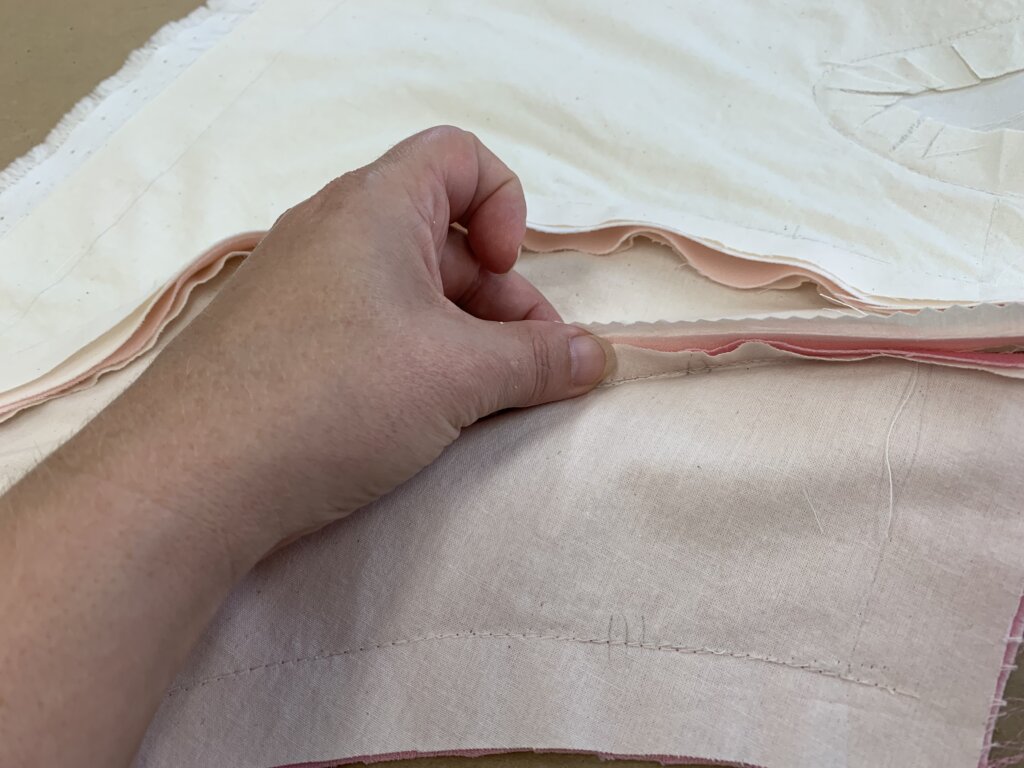
…before pinning and stitching the point to next curve- which includes the back of each pocket bag.
I needed to clip it in order to flip it…
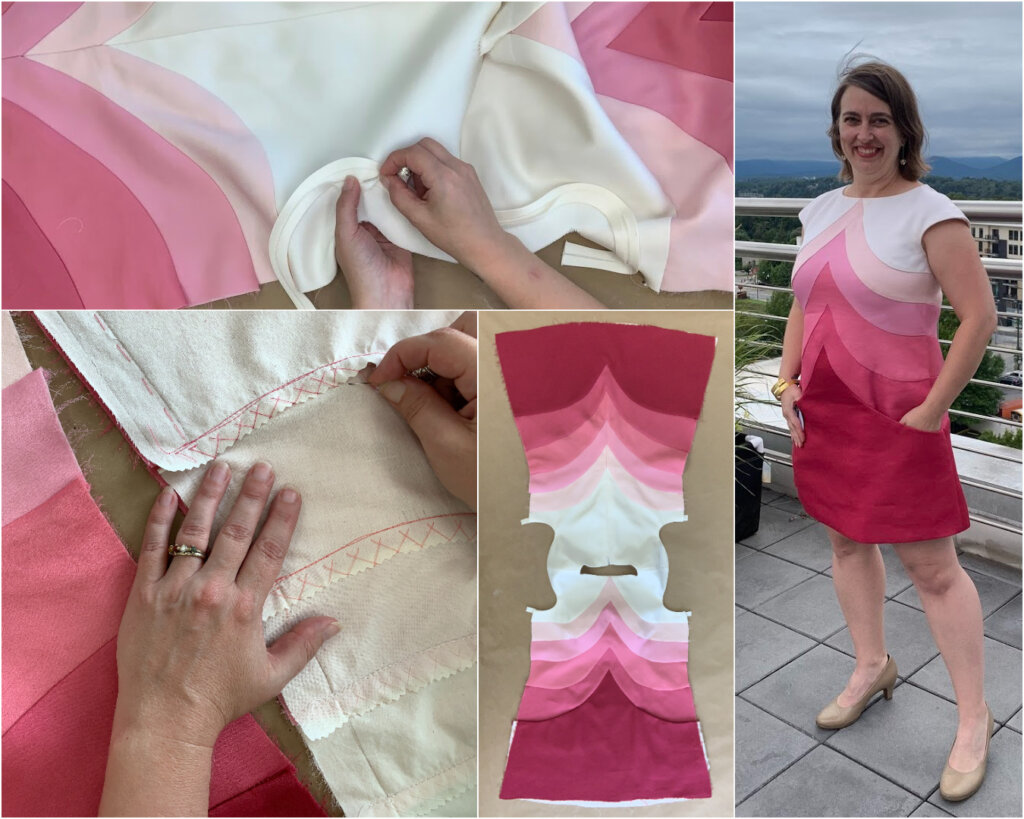
…and to finish off the edges. The bias strips were turned to the inside and slip stitched by hand only through the underlining layer. I love that underlining allows you to hide hand stitches from the public side. Even if your stitches are big or wonky or uneven, you can achieve a clean invisible finish. Win-win!
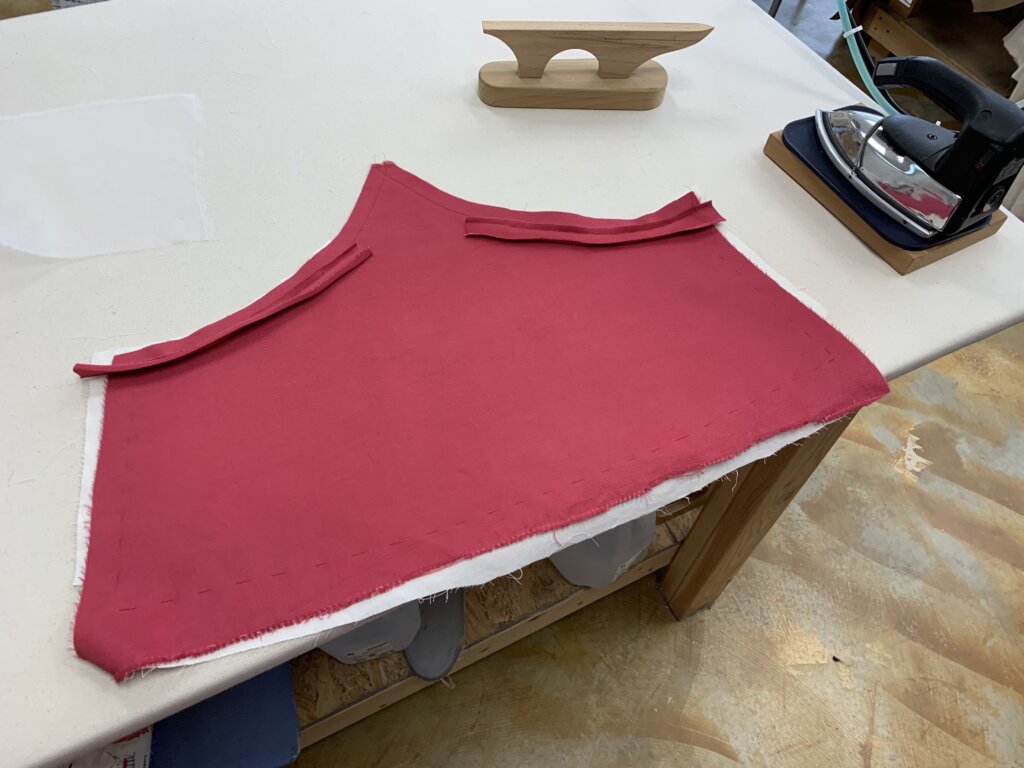
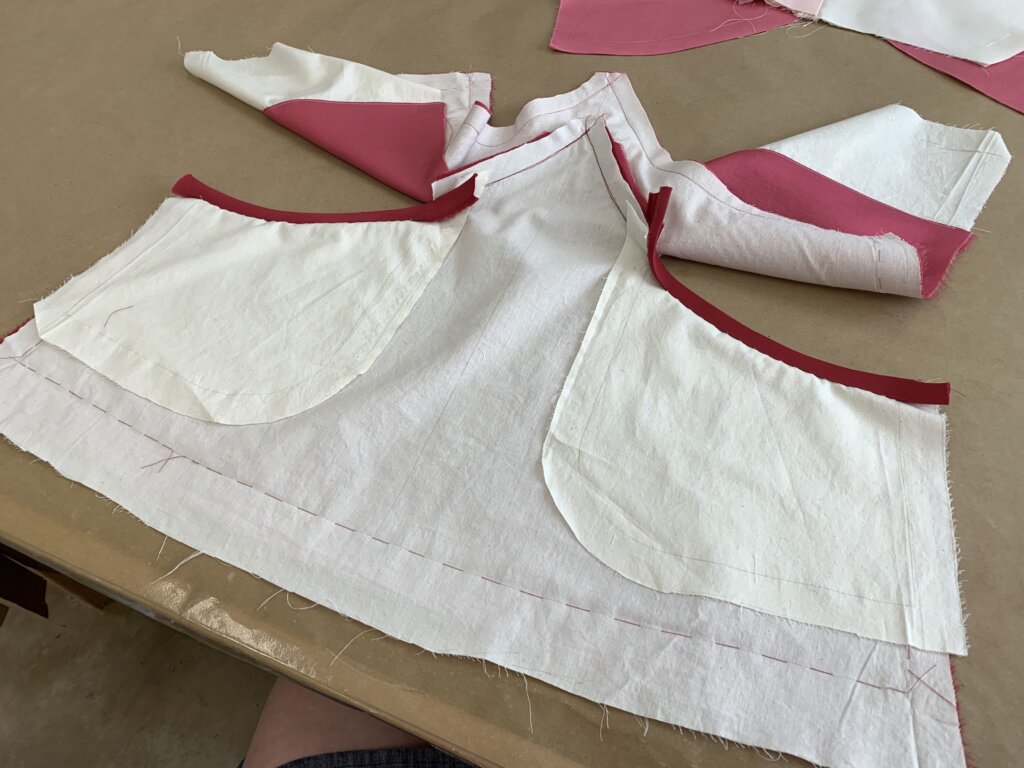
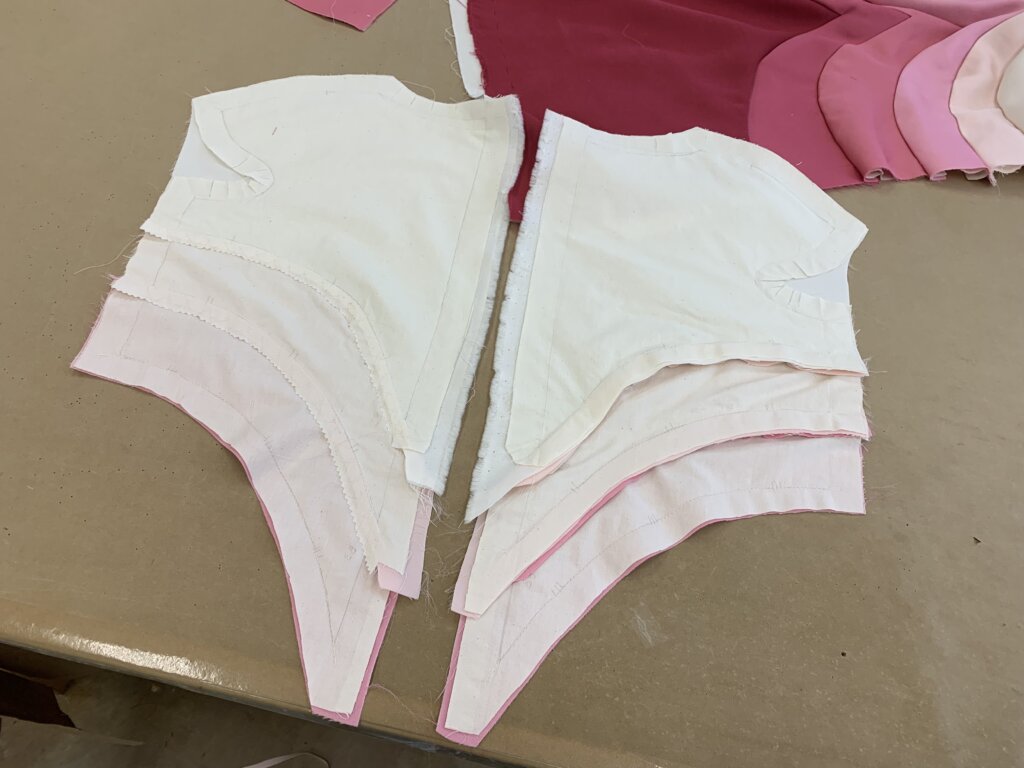
With the edges finished and the point sewn and clipped, I was able to flip the upper piece to the inside…
…to sew the front and back pocket bags together…
…for a cleanly finished outside. Hidden pocket success!
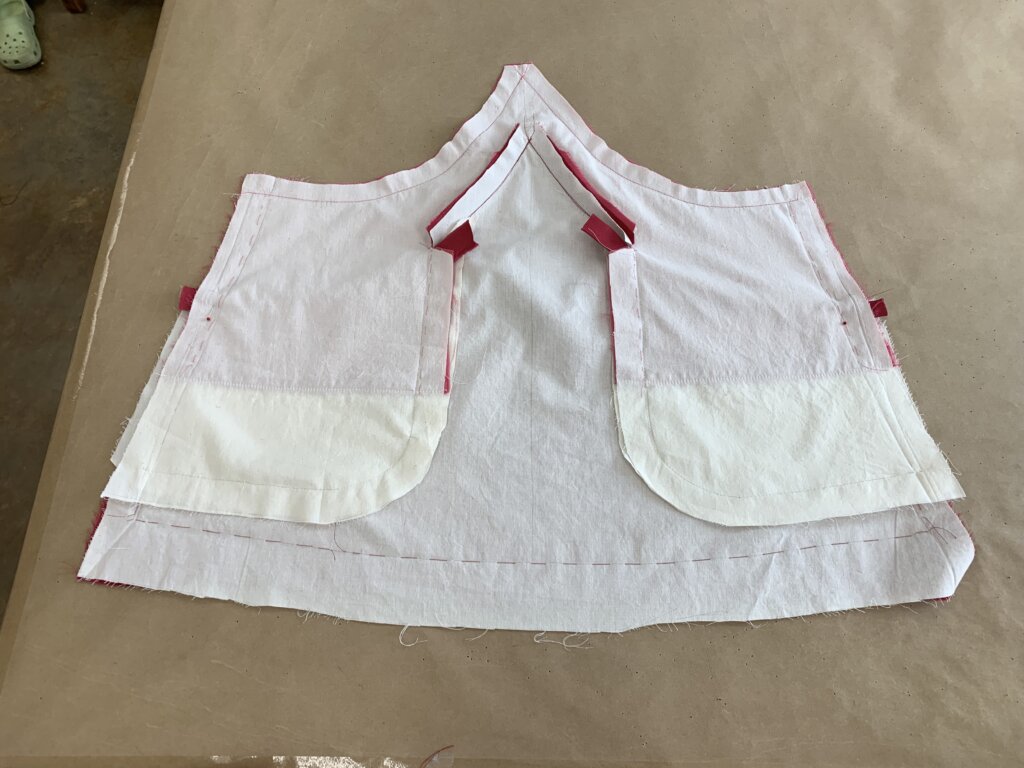
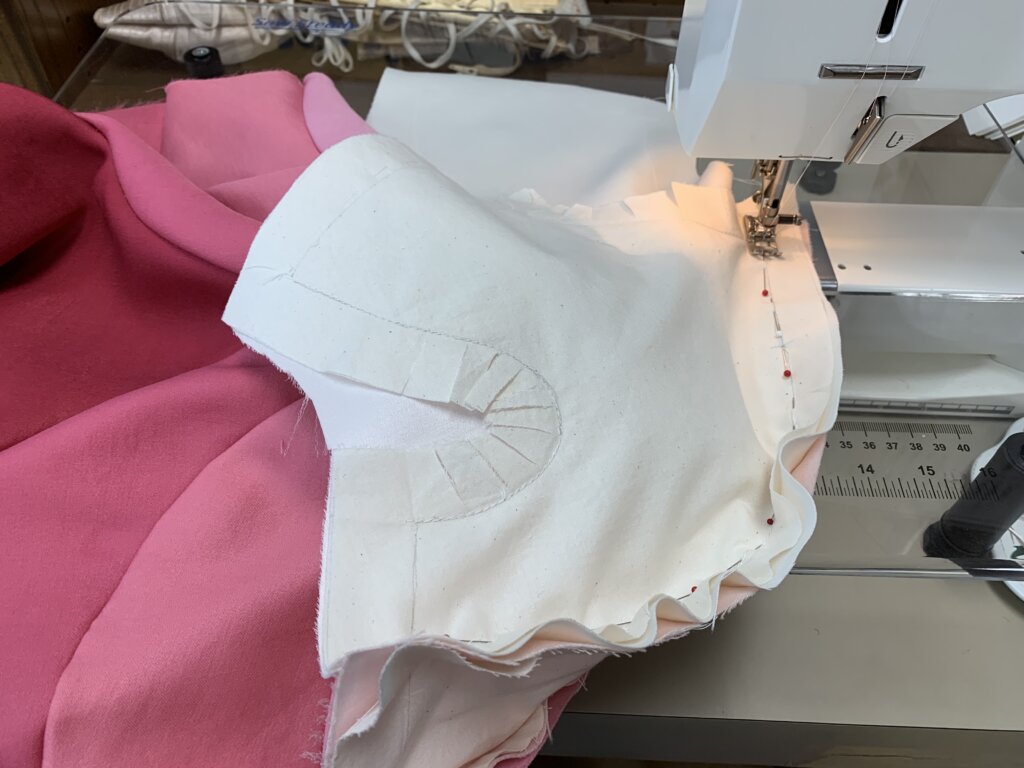
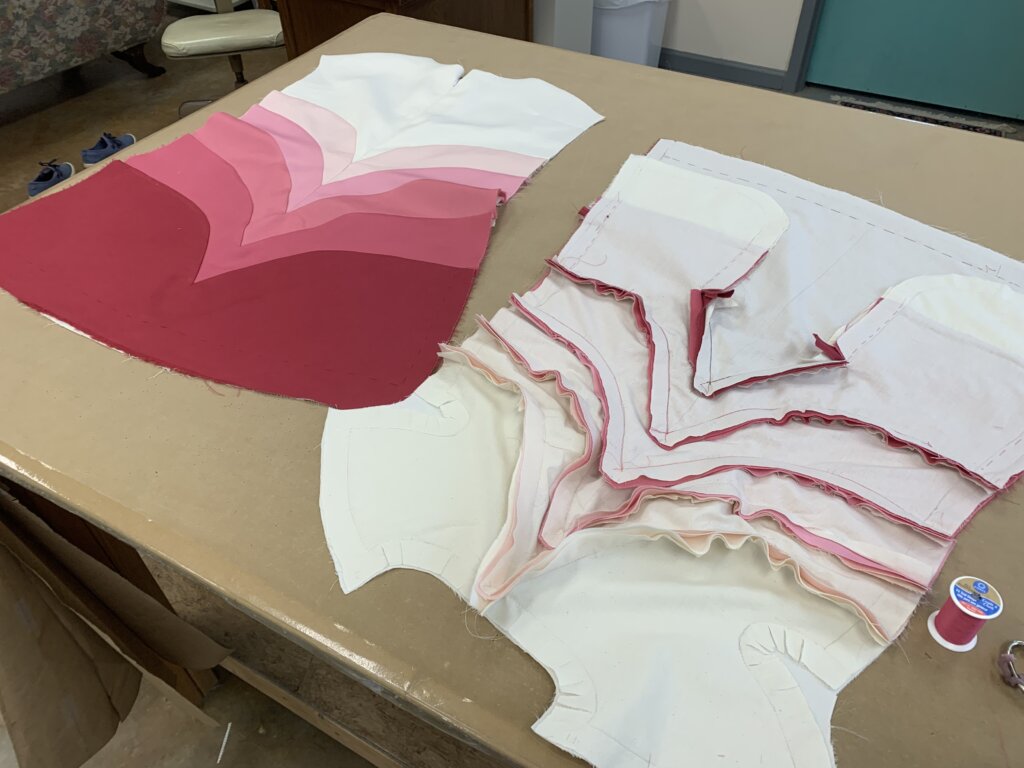
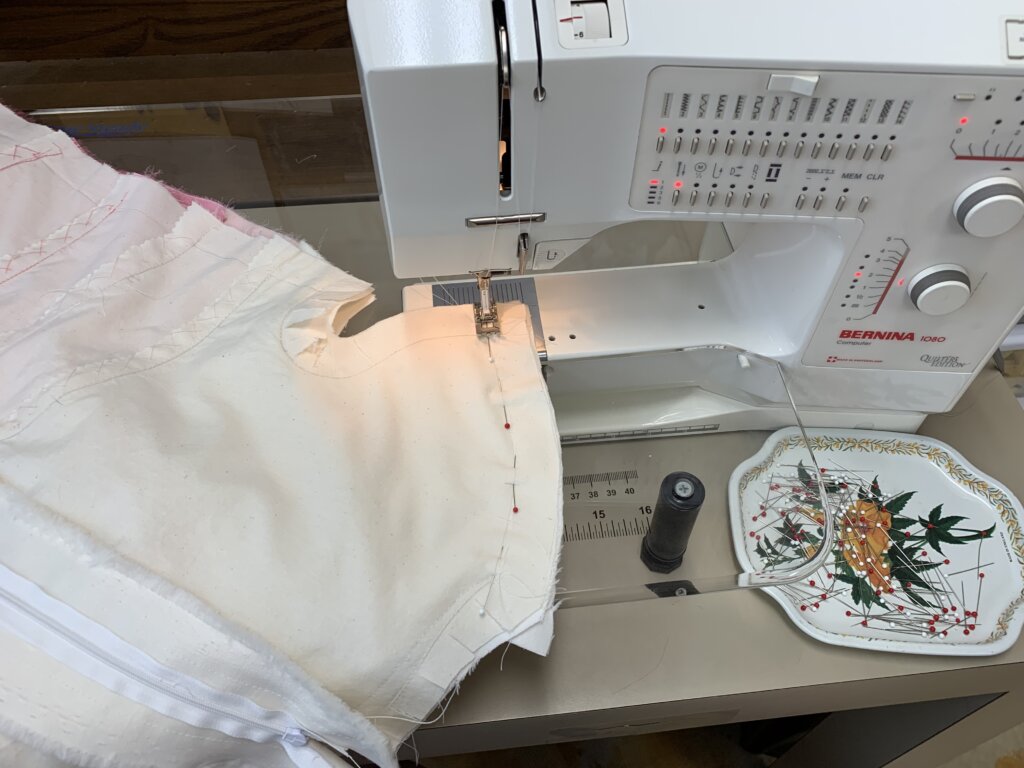
Then, curve by curve, I pinned…
…and stitched my way up the dress!
Invisible Closure & Seam Finishes
Next, I decided to tackle the closure- an invisible zipper down the back.
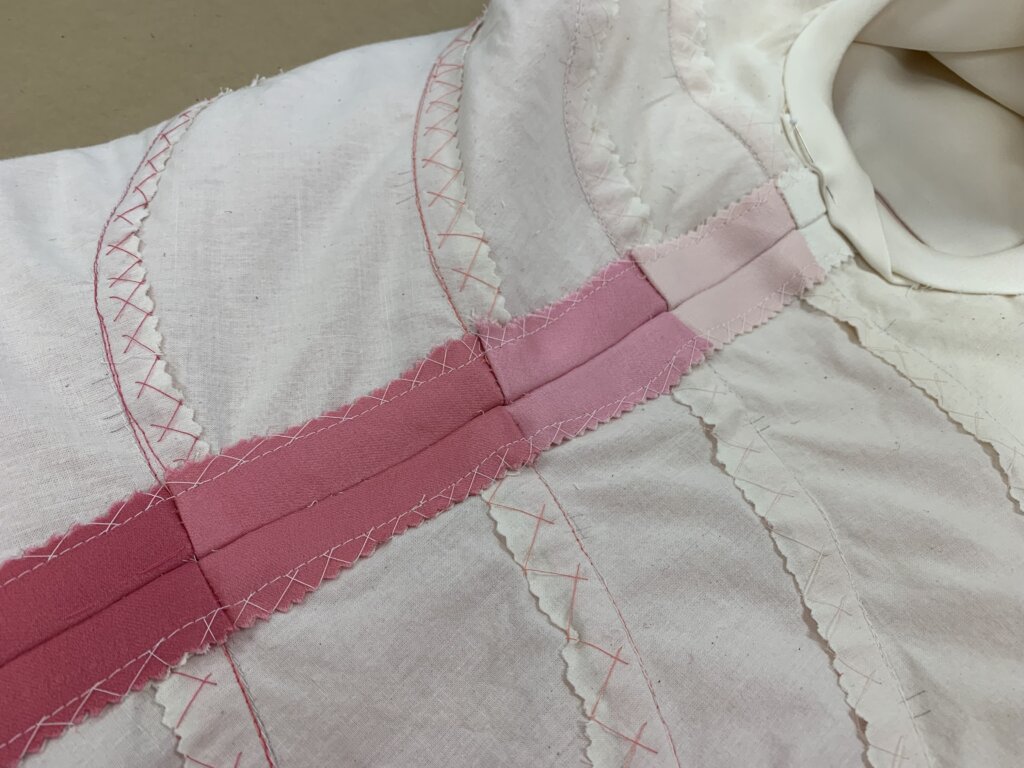
To prep for invisible zipper installation, I decided to go ahead and finish the seams. There are a bazillion different ways to finish a seam, so I came up with my own plan based on a mix of what I wanted to accomplish and what sounded fun to do.
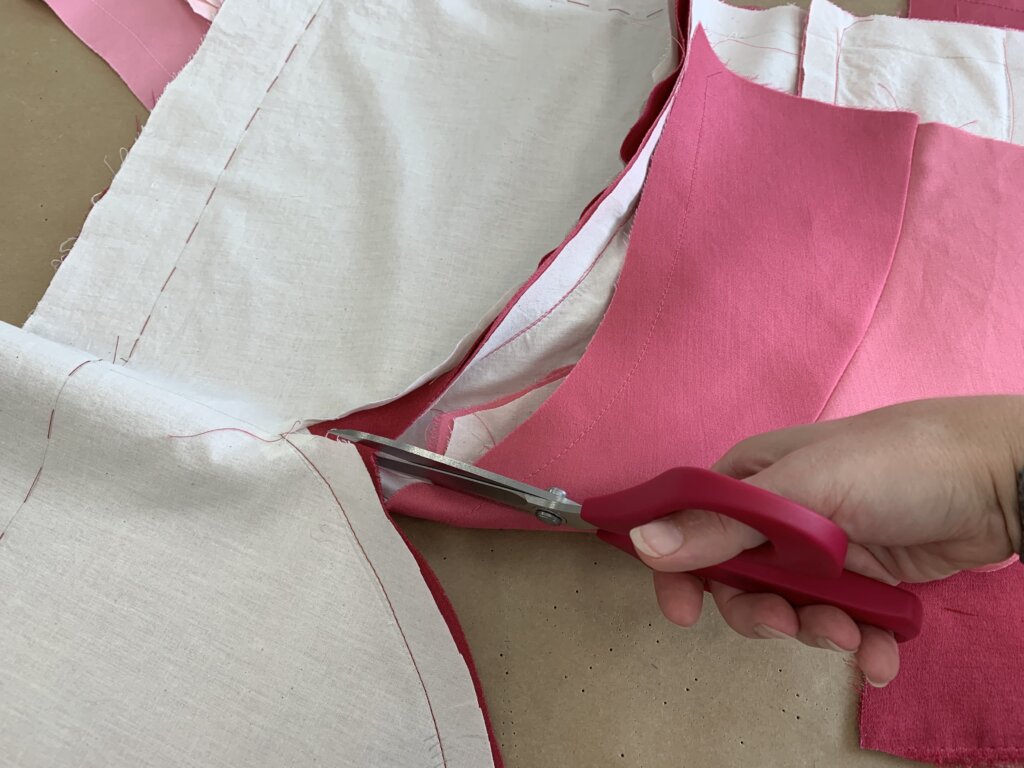
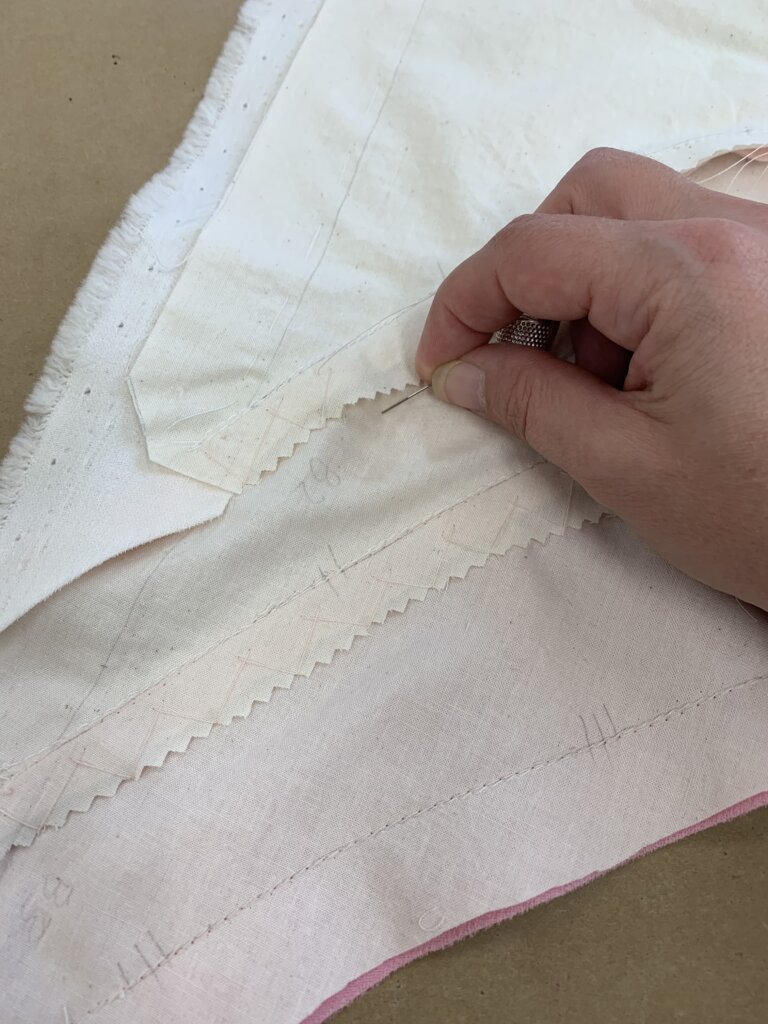
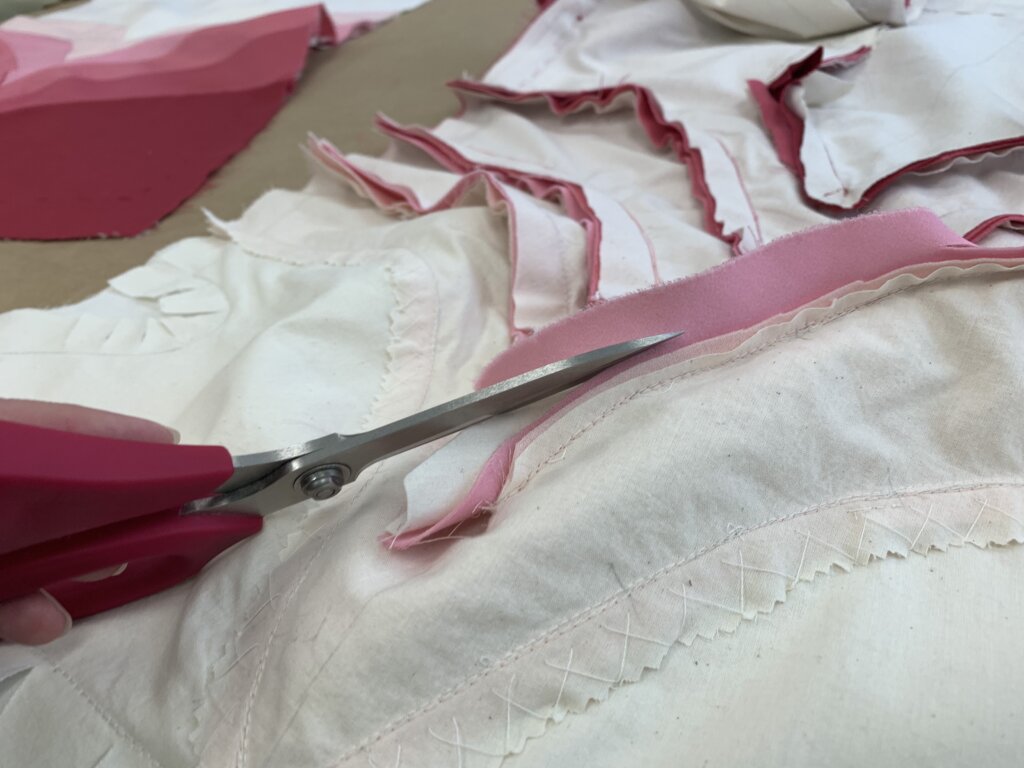
Each curve has a lot of layers on the inside, so I wanted to eliminate excess bulk in a smooth and sturdy way. I first pinked the top layer. Then I graded the allowances below it- cutting each layer a little shorter than the one above. Grading allowances after they are sewn offers a smooth transition- lessening the possibility of a ridge showing through to the public side.
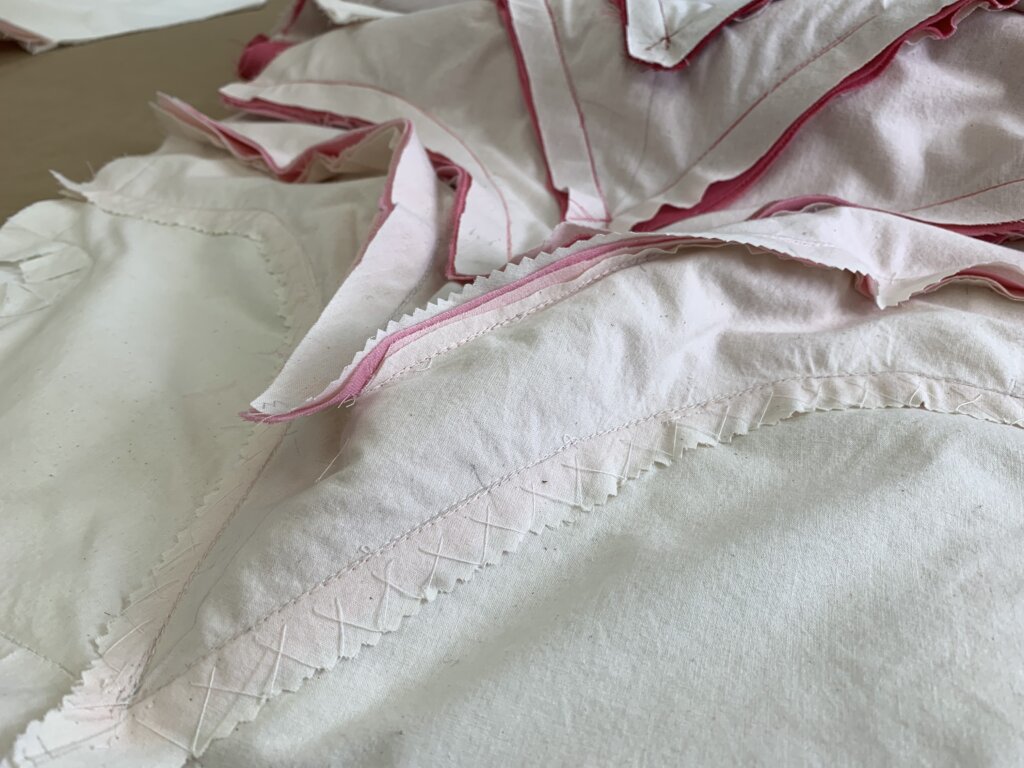
Next up, more hand sewing! I used a cross-stitch (my favorite stitch!) to enclose the seam and control the allowances. The needle travels only through the allowances and underlining layers, so no stitches reach the silk/wool layer. I’m practically addicted to designing and crafting where zero stitching can be seen on the outside of my makes.
But on the inside, show me the stitches! I could line the dress to hide the stitches for a clean finish inside, but this dress his for me. And I personally love seeing all the secret guts and lines and stitches on the inside! (And those in my Hand Sewing Intensive have loved seeing it too!)
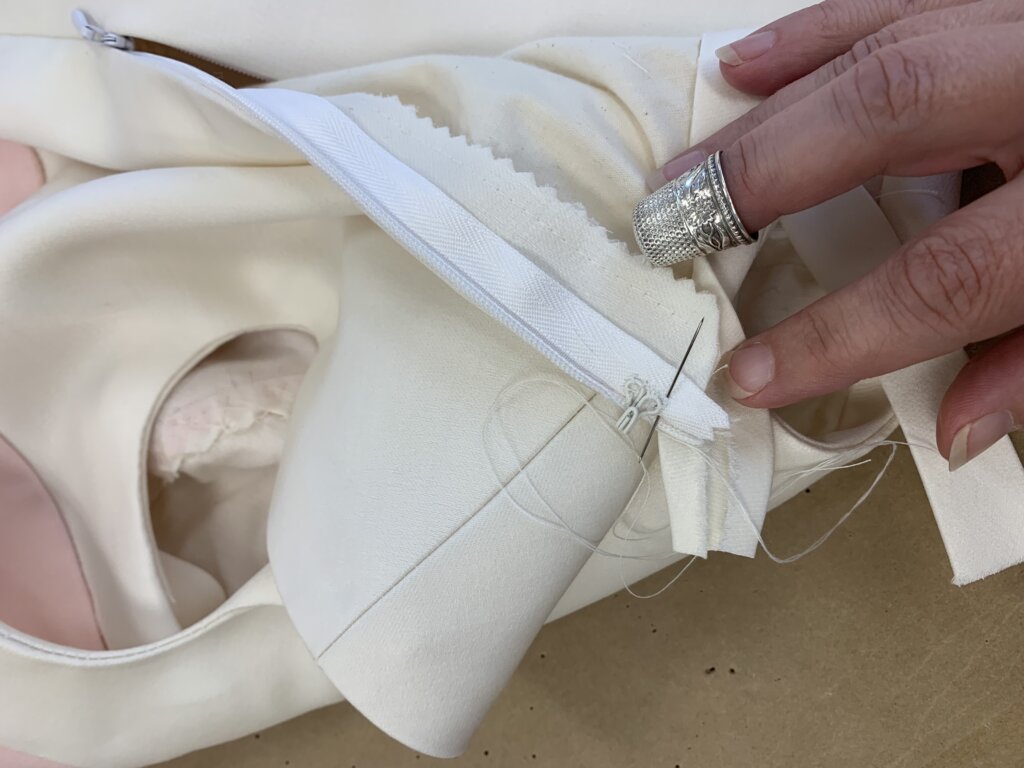
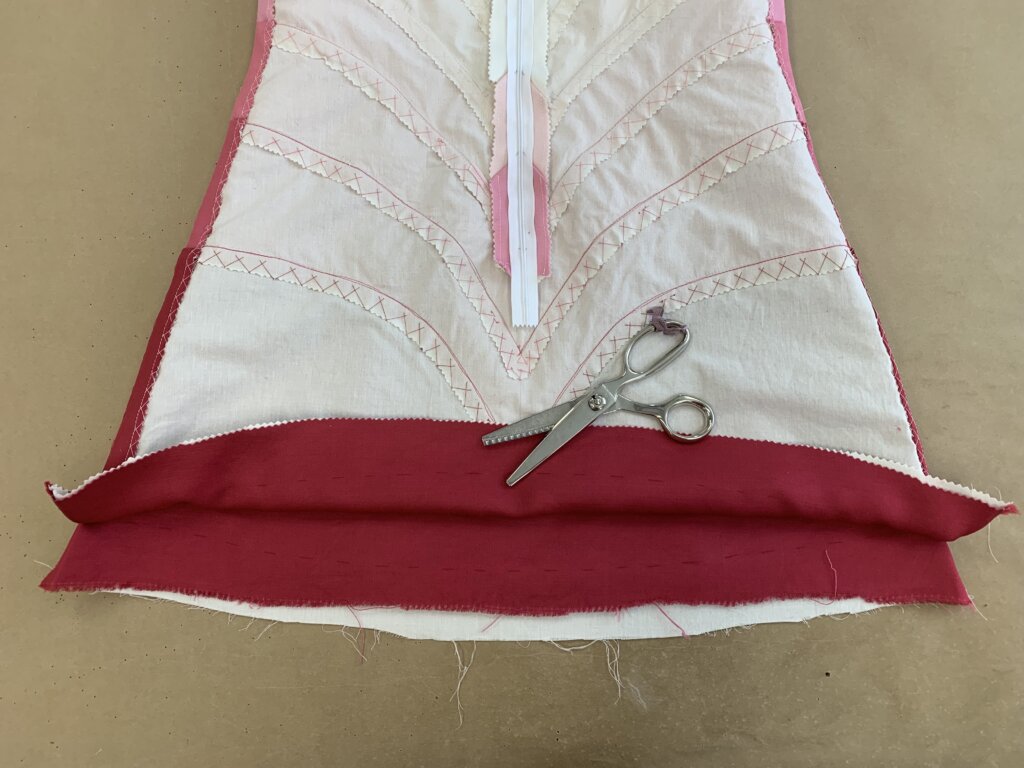
With my allowances now beautifully under control, I installed one side of the invisible zipper.
Then I zipped it up, adding pencil marks at each seam…
…which allowed me to line up and stitch the opposite side for a beautiful match. Invisible Zipper For the Win!
Back to the Front
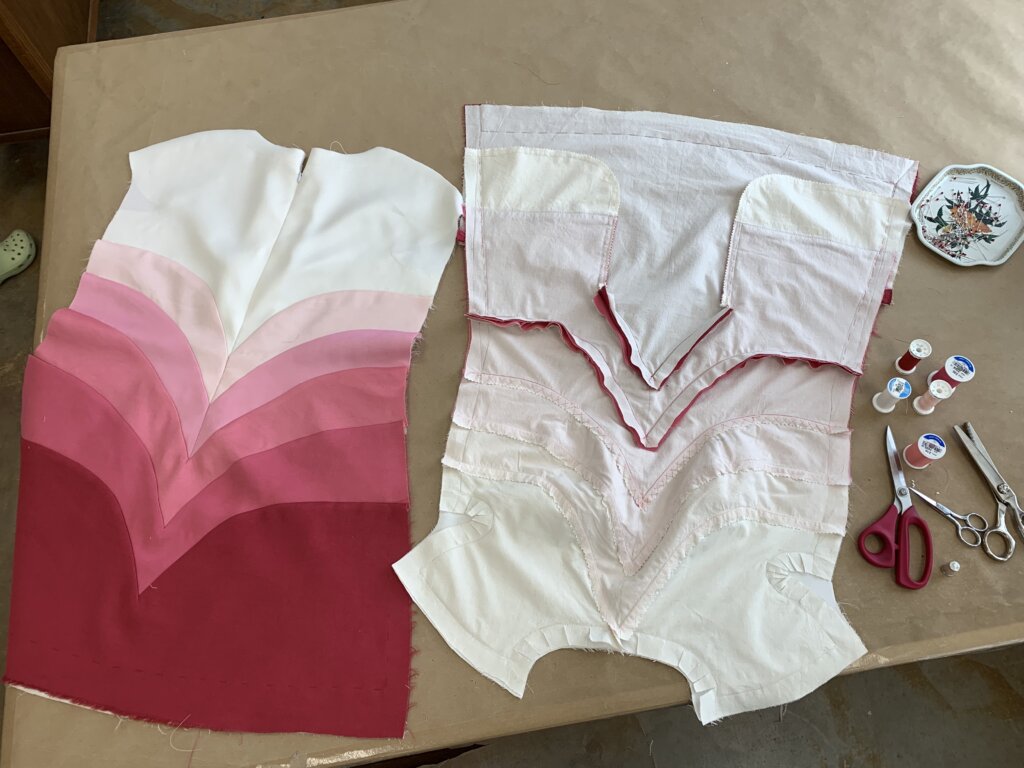
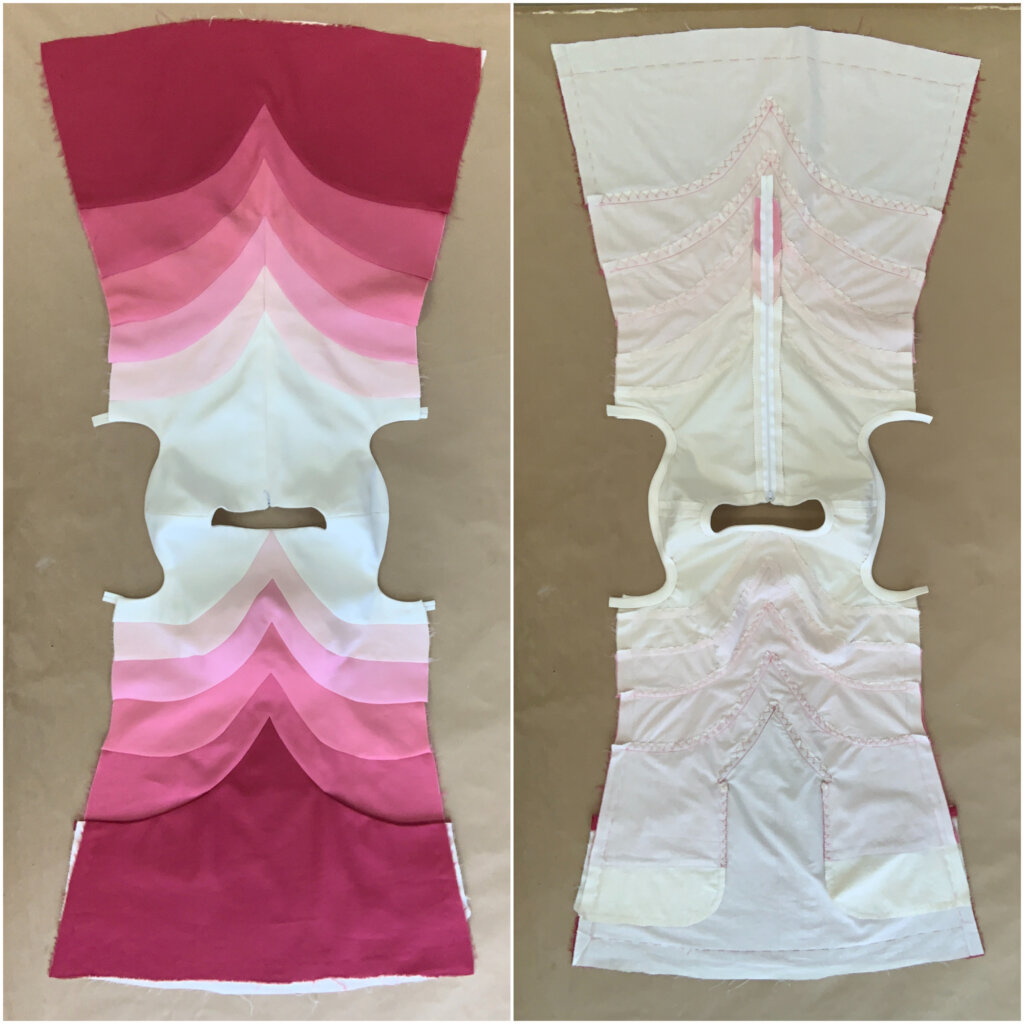
Once the back was complete (beautiful, right?), I needed to finish the raw allowances of the front…
…which involved careful grading…
…pinking and hand stitching…
…curve after beautiful curve.
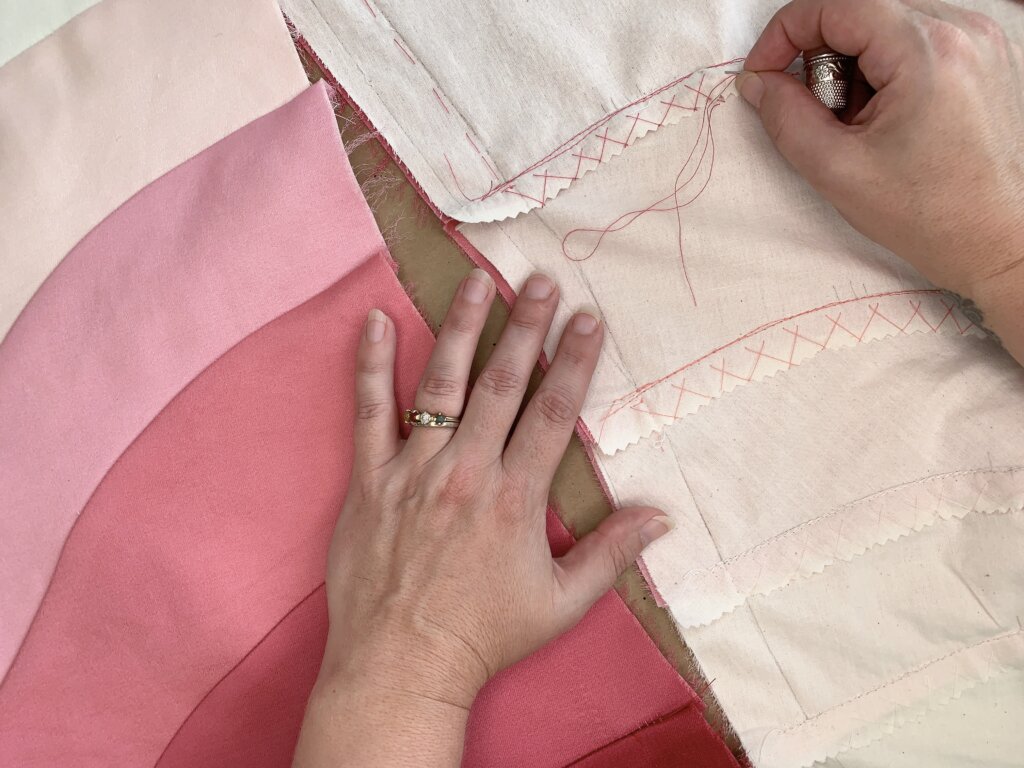
Even though the stitches were only sewn through the underlining layer, therefore invisible to the public side, I still switched up my thread color for fun. I love hand sewing, so this part was a real pleasure!
Each seam was carefully pressed (with a silk organza press cloth)…
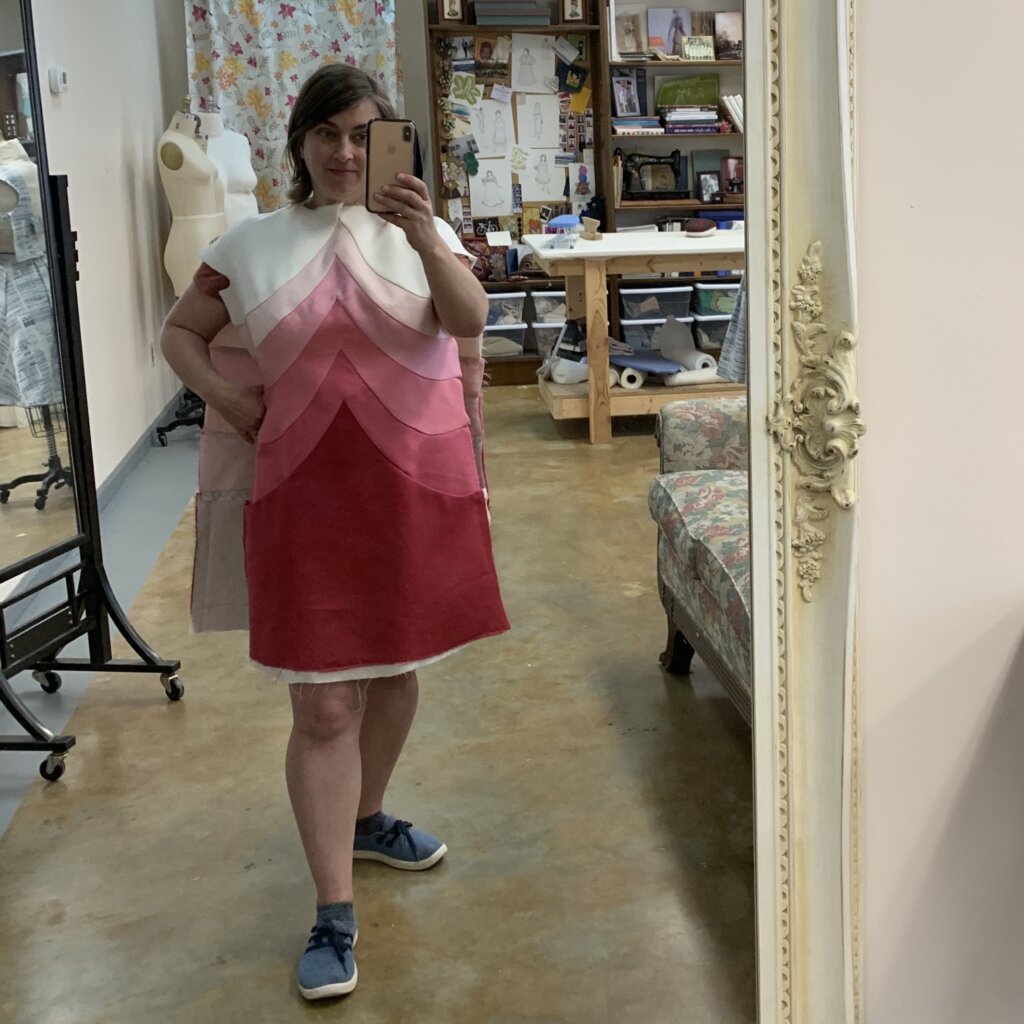
…before the shoulder seams were joined. 15+ pieces finally become one!
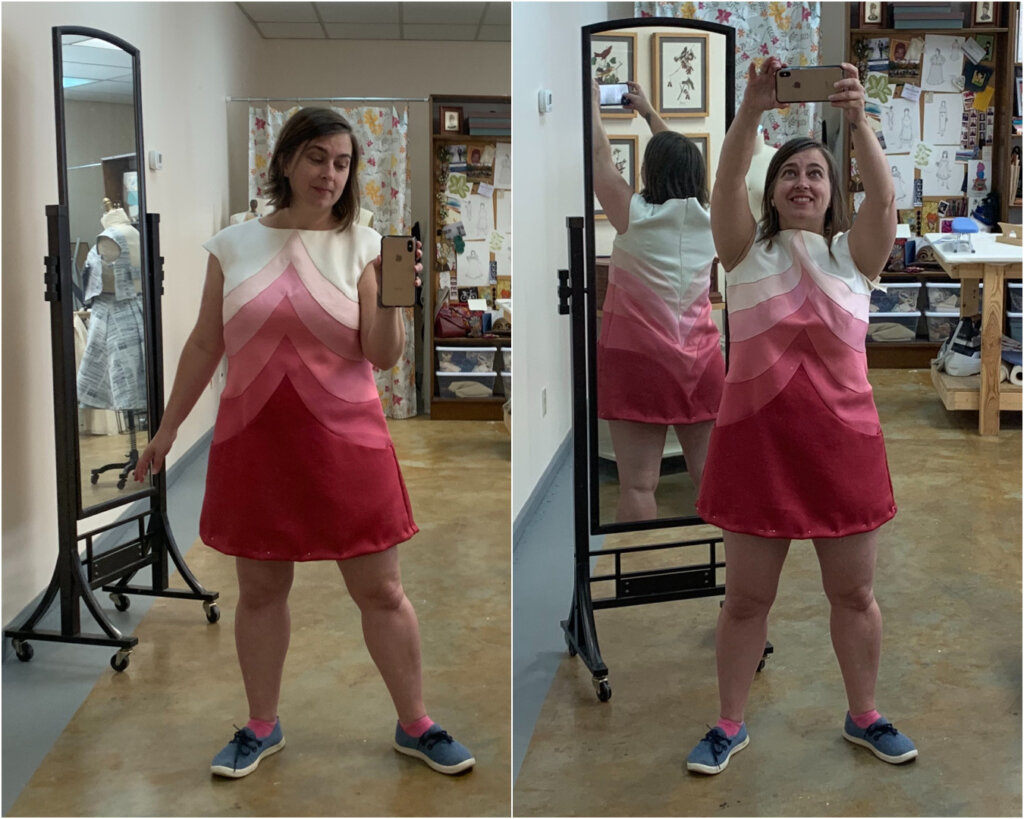
And I couldn’t resist a quick try on!
Sew exciting!
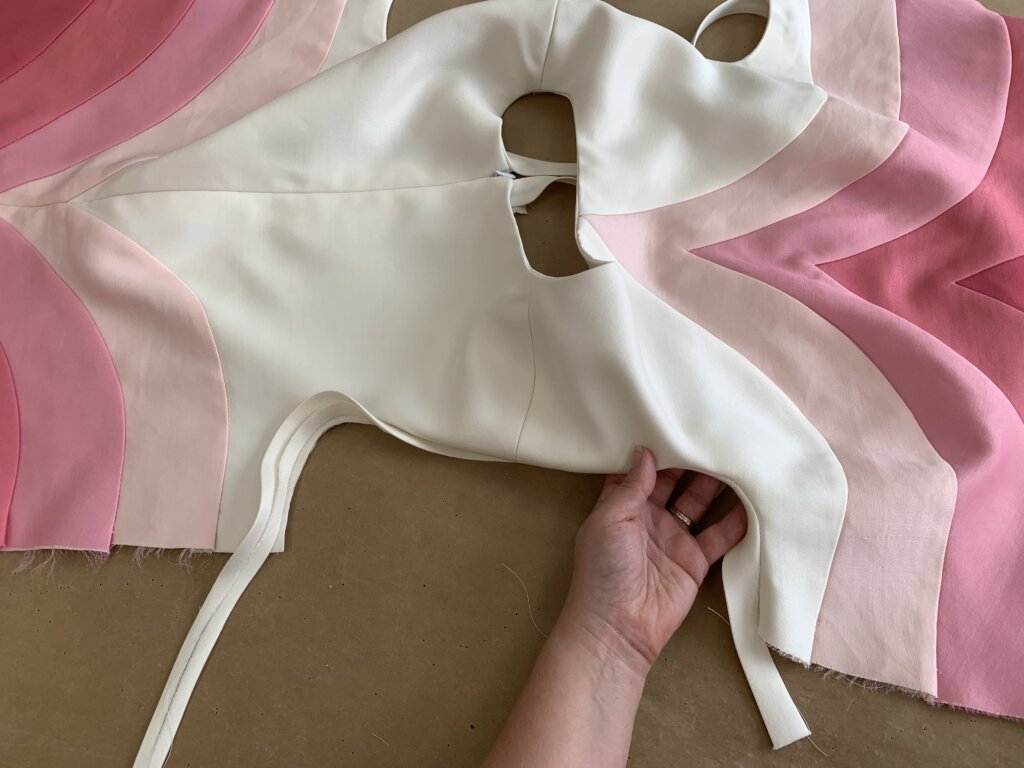
Finishing the Armholes &Neckline
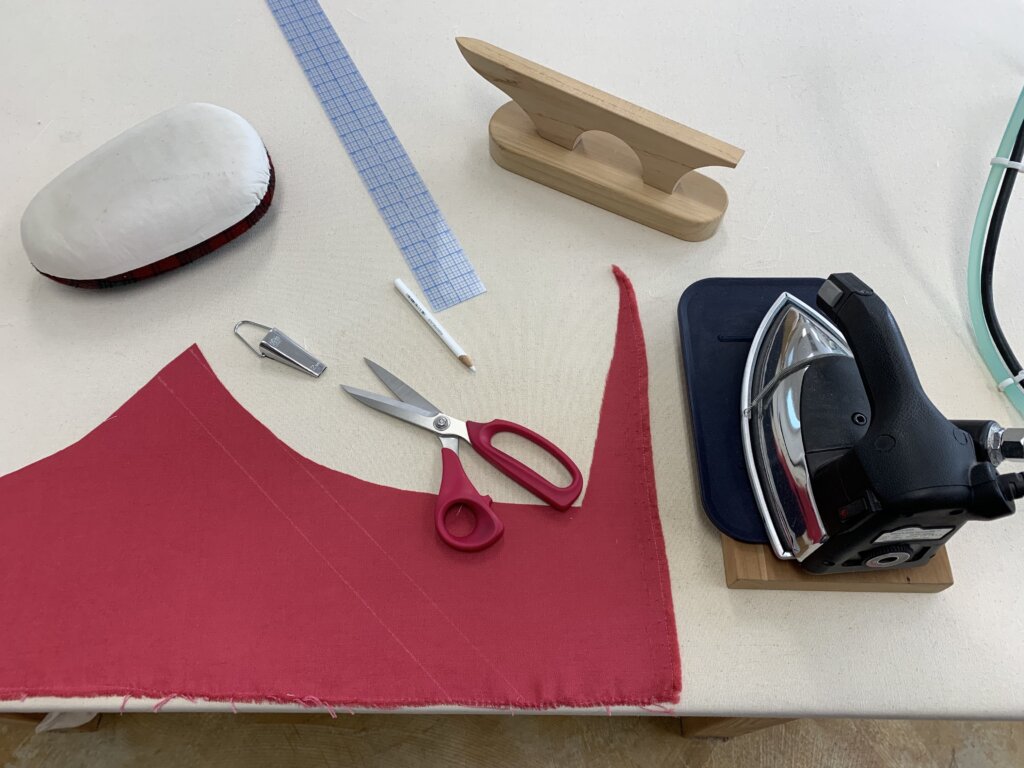
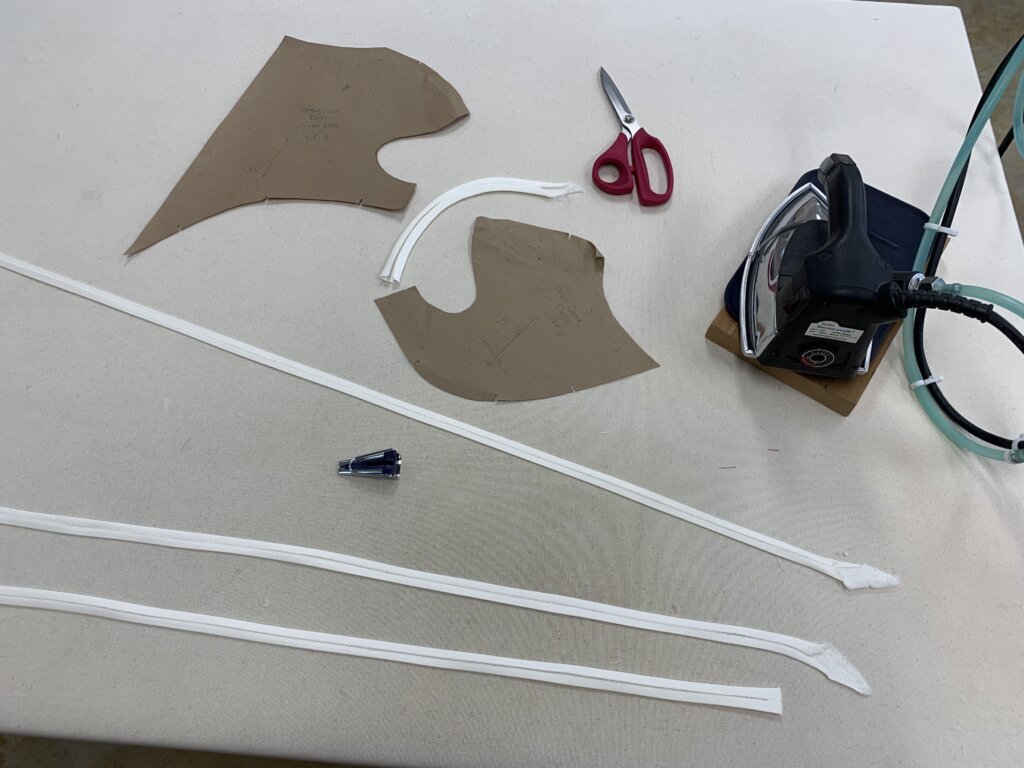
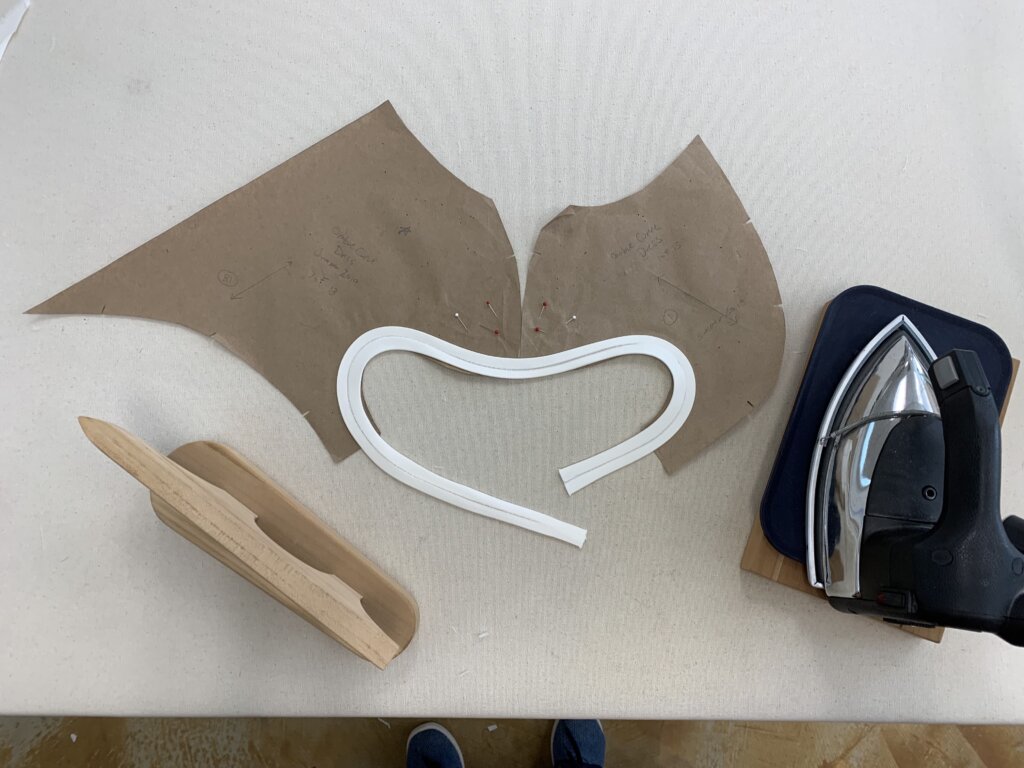
To finish the armholes and neckline, I made my own bias strips from scraps of the undyed silk/wool fabric.
At the iron, I used my paper patterns to shape the tape to match the curves…
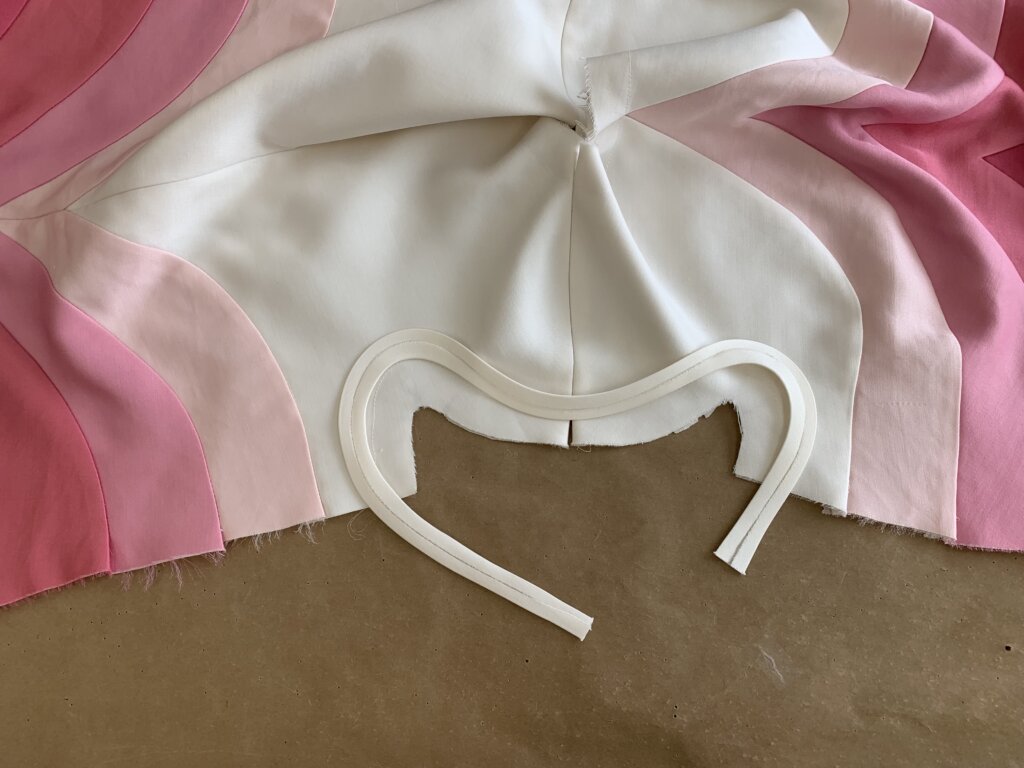
…before laying the shaped tape in place.
Then I carefully hand basted the curved strip- feeling the stay stitches of the dress layer with my fingers and matching it to the inside fold of the tape. Basting is a temporary stitch, so it took only a few minutes to secure each curvy strip.
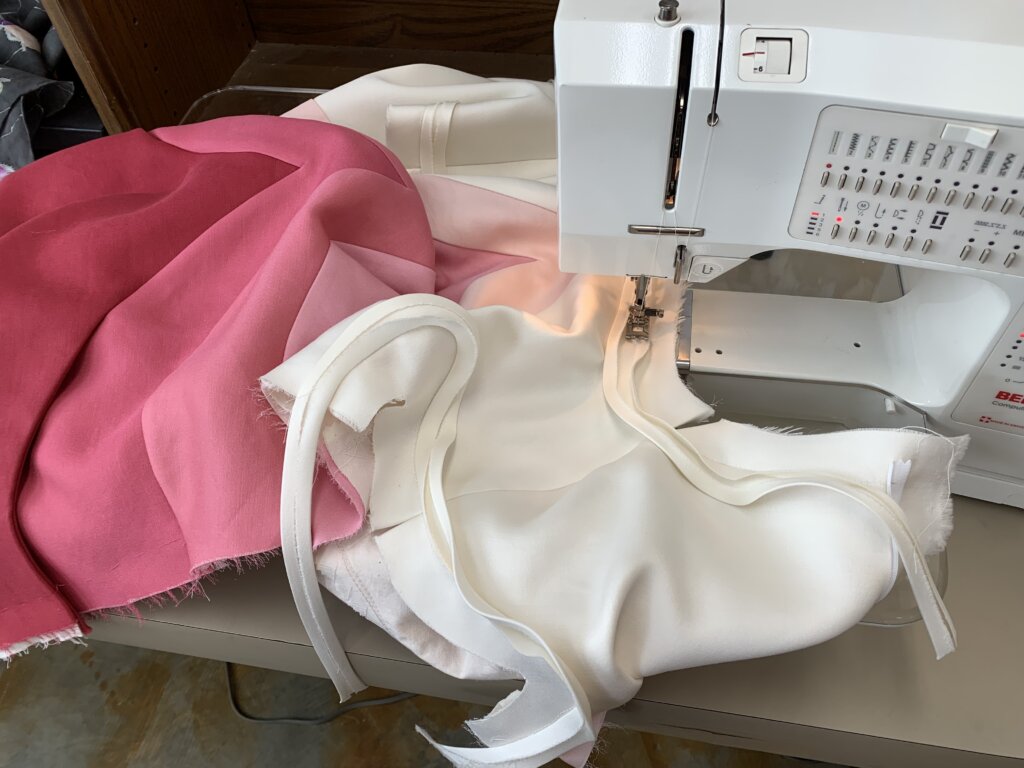
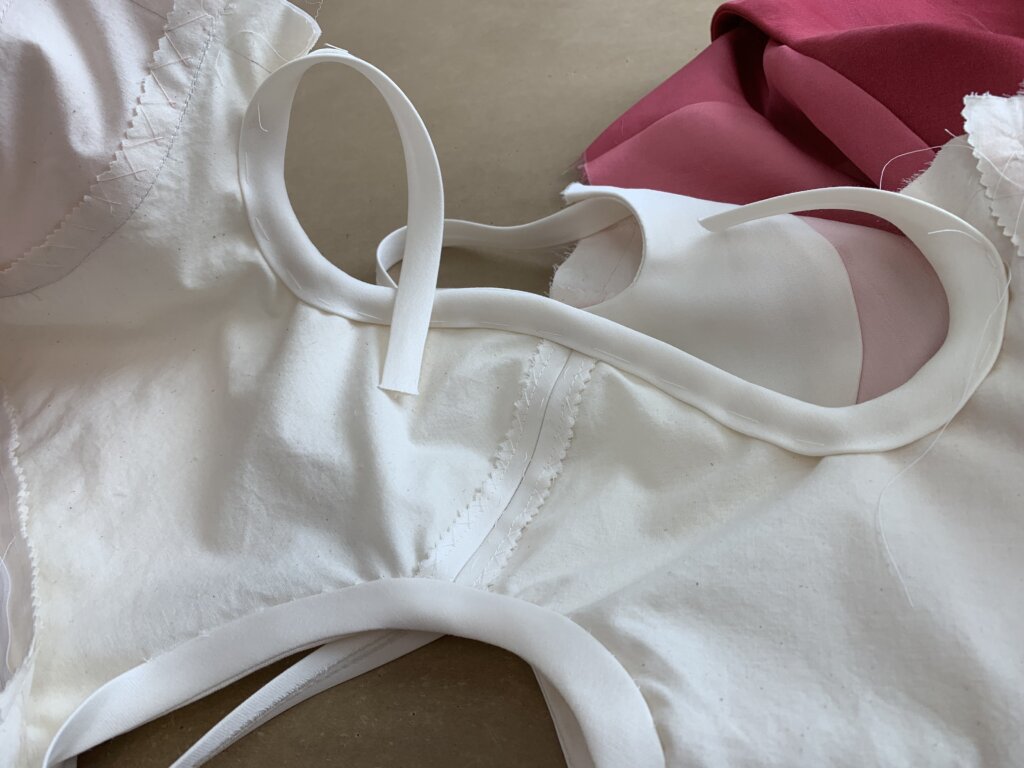
With the custom curved tape basted to each armhole and the neckline, I followed my temporary hand stitches with permanent machine stitches…
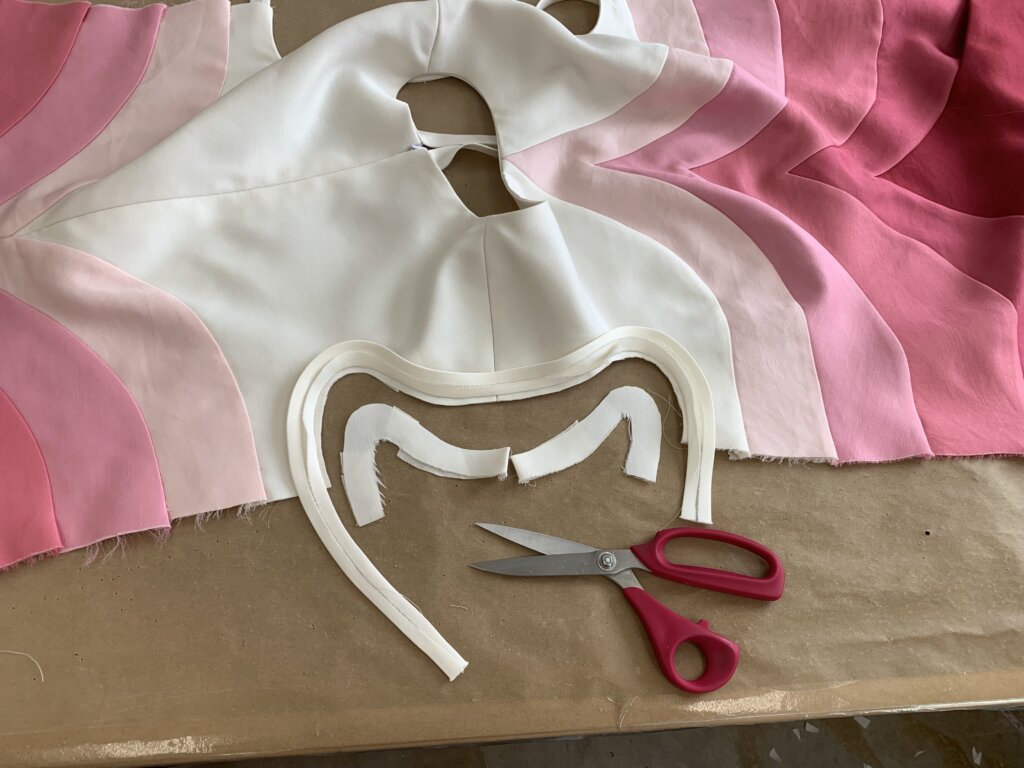
…then trimmed away the allowances…
…turned the tape to the inside…
…and used a slip stitch (by hand, only through the underlining) to invisibly enclose the edges with a crisp clean finish.
A white hook and eye would also be (invisibly) added behind the zipper for successful dressing.
The Basted Fitting- Before, During & After
OMG so gorgeous…. Here’s a little inside-and-out peek before the dress gets closed up!
Next, I quickly hand basted the side seams together for my basted fitting!
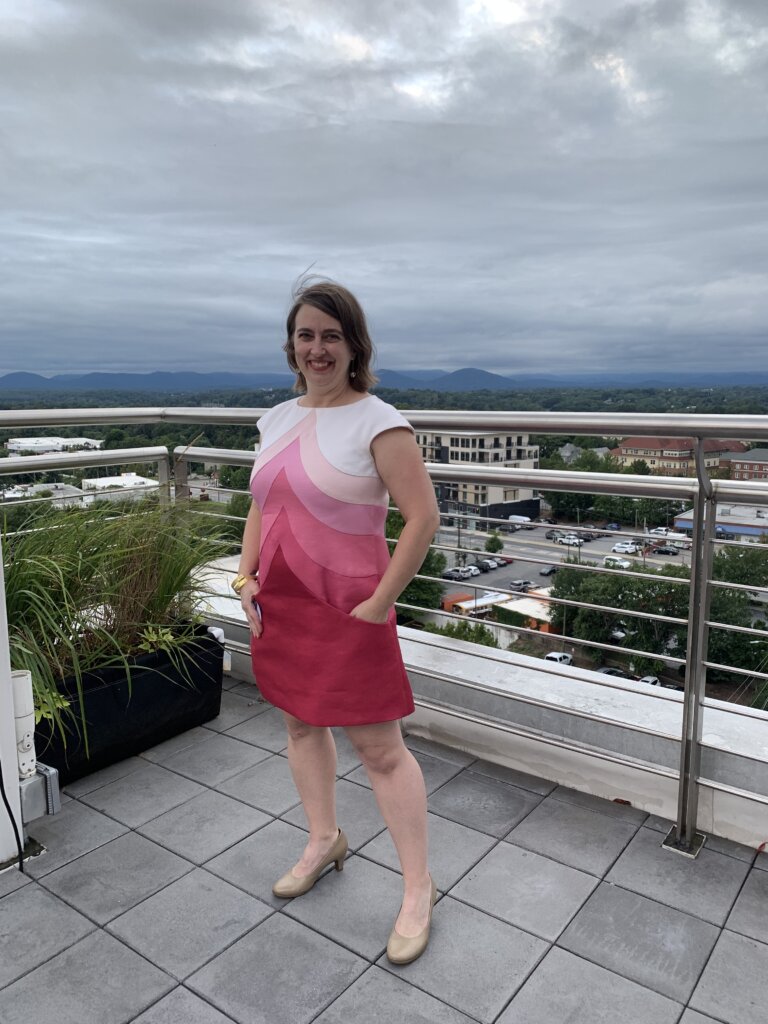
Fantastic fit! I was in love… And I love a short hem, but I also love dancing and hugging people taller than me (I’m only 4’11). Before finalizing my hem length, I did a reach test. With arms up, my butt was still covered…
…so I finished everything up permanently!
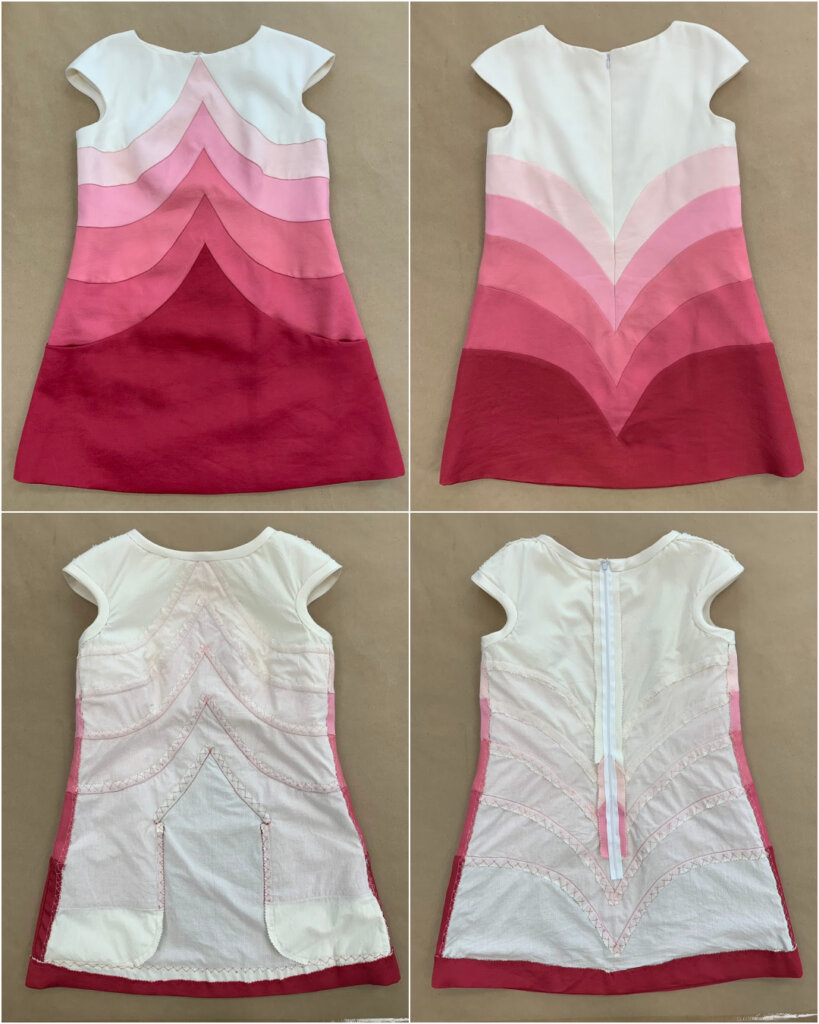
The Coolest Dress!
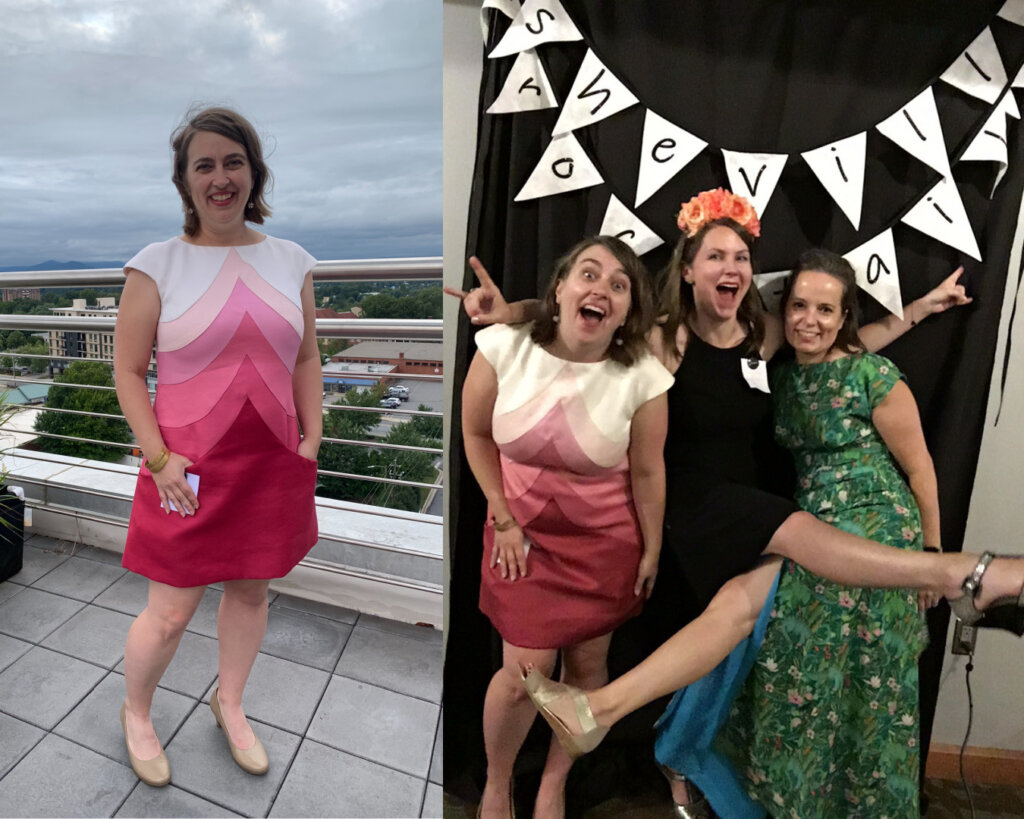
Ta da! Beautiful inside and out. I MADE MYSELF THE COOLEST DRESS!
(Side Note: I’m going to be one of the Special Guests at World Frocktails online in February 2021! I’d love to meet you there!)
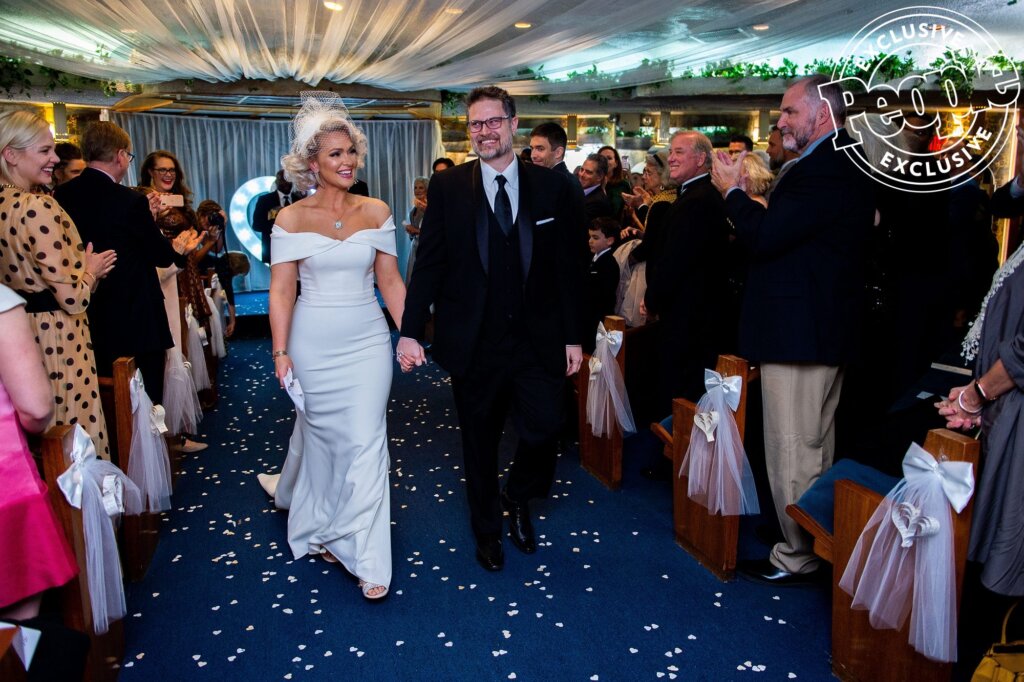
AND I also wore this dress to the wedding of my kinda famous friend Jenn (bridal blog series coming up next)! In the lower left corner, you can see my elbow and the side of my colorful custom dress IN PEOPLE MAGAZINE!
Jenn Lyon and Taige Jensen | CREDIT: DE NUEVA PHOTOGRAPHY
Thanks for following along! Have my custom dressmaking adventures inspired you to try something new? Color blocked pattern drafting? Dyeing? Underlining? As a custom wedding dressmaker and sewing educator, I really enjoyed making a dress for myself for a change. I’d love to learn more about what you are making for yourself!
NEXT POST: I’ll either do a 2020 Year in Review sharing big plans for 2021, or I may jump right in to Jenn’s bridal blog series… Stay tuned! Happy New Year!
I am going for it: I am underlining a quite flimsy crepe with cotton batist for a dress. I am used to lock all the seams (specially “unravelling” fabric). You just cut with the zigzag scissors and bast it down: would this survive wash machine delicate program? The batist will be encased once I hand bast the seams, but will the flimsy crepe survive?
Underlined or not, you can finish (or lock) the seams however you want and in whatever way works best for your unique mashup of fabrics, design, project, and preferences. If you are interested in trying pinked seams that are cross stitched by hand in your underlined dress, but you want to wash it in a machine and aren’t sure if it will hold up- do test samples. Try this option for a seam finish (or several different options for seam finishes) on small samples using your fabrics and then throw them in the wash. Your experiements will tell you the answers so that you will be able to make an educated decision.
I chose this cross-stitch and pinked finish because I wanted less bulk in the curvy seams of this very thick silk/wool fabric and I will never throw this hand dyed dress in the wash. I also use this dress for teaching purposes, so I like to show off the guts rather than cover them up. But just because you are underlining your dress doesn’t mean you have to choose the same finishes as I have in this dress. If you are making bias, you could bind the seams with bias too… There are a bazillion different ways to finish the seams in an underlined dress… Search my blog for the topic of “Underlining” and you’ll find lots of different examples. Since this dress’s fabric is the opposite of “flimsy”, copying my finishes for your fabric might not be the best option for your dress…
I’m a former professional costumer and couture dressmaker for one-of-a-kind bridalwear located in rural North Carolina, who teaches custom garment sewing to sew-curious solo-sewists online.
My blog mostly follows along with the couture process of how each heirloom-quality custom wedding dress was made from idea to wedding day, as well as personal sewing projects and other couture curiosities.
Welcome to my (temporary) Sewing Studio! Come on in! I love seeing other people’s workspaces and tools, so I thought I’d show you mine. I cleaned up after a big...
Duplicating the Vintage Dress’s Pattern (without taking it apart)
In my previous post, I introduced Jenn and the custom bridal wear project(s) for her wedding weekend. Check out the full story for all the deets, but to catch you...
I Made Myself the Coolest Dress pt. 1 – Pattern Design & Mockup
Though my personal wardrobe is mostly “the dressmaker has no clothes”, when I do make something for myself, it’s usually an epic project. I’m so excited to finally share this...
I’ve been blogging for TEN YEARS now, ya’ll! In “My 10 Year Blogiversary pt. 1”, I share links to each bridal blog series that I’ve created over the past decade....
It’s finally time to share about Deborah’s wedding day! HOORAY! Deborah and Blake were married in November 2017 at a church in Greensboro, NC with the reception at a nearby...
New Bridal Blog Series: My (kinda famous) friend Jenn!
Brooks Ann, Jenn, & Charles January 2017 Going Way Back… To begin my next bridal blog series, let’s head into the Way-Back Machine. And we’ll head farther back than this...
The bridal blog series is back! In each bridal blog series, you meet a new bride and I slowly post-by-post recount the process and share the behind-the-seams story of creating...
The bridal blog series is back! In each bridal blog series, you meet a new bride and I slowly post-by-post recount the process and share the behind-the-seams story of creating...
The bridal blog series is back! In each bridal blog series, I recount the process and share the behind-the-seams story of creating a one-of-a-kind custom couture wedding dress from start...
Sally is someone special. Back in December, I got an email from a dear friend named Sally that I had lost touch with. The subject line: “dear lord i’m getting...
As it starts to get cold, it sure is nice to think about summer! Gin and tonics… BLTs… beach trips… seersucker… Earlier this year, I worked with a bride who...
Welcome to Part 2 of the story behind making Andy’s 2019 wedding dress, where I’ll recount the testing phase of the custom process. If you’ve been following my blog for...
They say documenting the process triples the production time. (And I work more slowly than most.) My Nimbus was cold.She needed a new coat, sooner than later.
Welcome to Part Two! I’m back to share the nerdy behind-the-seams details of creating my Vanishing Tie Top for the Precious Fabric Challenge. But this photo-filled blog post doesn’t feature...
Do you have a fabric that you’ve been SAVING instead of SEWING? Yeah. Me too. So when Whitney Luckenbill of TomKat Stitchery asked me to be a part of her...
Welcome to my (temporary) Sewing Studio! Come on in! I love seeing other people’s workspaces and tools, so I thought I’d show you mine. I cleaned up after a big...
Welcome back! It’s the series finale! In this third and final post of My Warmup Jacket series, I share the behind-the-seams details of my jacket’s construction and finishing stories!
In this second post of My Warmup Jacket series, I share the behind-the-seams details of my jacket’s patternmaking and mockup stories! And after putting this patterning post together (which was...


3 Responses
I am going for it: I am underlining a quite flimsy crepe with cotton batist for a dress. I am used to lock all the seams (specially “unravelling” fabric). You just cut with the zigzag scissors and bast it down: would this survive wash machine delicate program? The batist will be encased once I hand bast the seams, but will the flimsy crepe survive?
Underlined or not, you can finish (or lock) the seams however you want and in whatever way works best for your unique mashup of fabrics, design, project, and preferences. If you are interested in trying pinked seams that are cross stitched by hand in your underlined dress, but you want to wash it in a machine and aren’t sure if it will hold up- do test samples. Try this option for a seam finish (or several different options for seam finishes) on small samples using your fabrics and then throw them in the wash. Your experiements will tell you the answers so that you will be able to make an educated decision.
I chose this cross-stitch and pinked finish because I wanted less bulk in the curvy seams of this very thick silk/wool fabric and I will never throw this hand dyed dress in the wash. I also use this dress for teaching purposes, so I like to show off the guts rather than cover them up. But just because you are underlining your dress doesn’t mean you have to choose the same finishes as I have in this dress. If you are making bias, you could bind the seams with bias too… There are a bazillion different ways to finish the seams in an underlined dress… Search my blog for the topic of “Underlining” and you’ll find lots of different examples. Since this dress’s fabric is the opposite of “flimsy”, copying my finishes for your fabric might not be the best option for your dress…
Hope this helps!
PS: I will also make bias from the batist to finish the sleeves and neck 😁 Wish me luck! I will tag you on my instagram