100+ hours into the process, I am finally taking Lila Rose’s actual wedding dress to the sewing machine! Out of the 170 hours projected for this project, I probably spend no more than 10 of them at the sewing machine. The majority of the time is spent designing, patterning, mockups, fittings, shopping, pressing, cutting and lots of handwork.
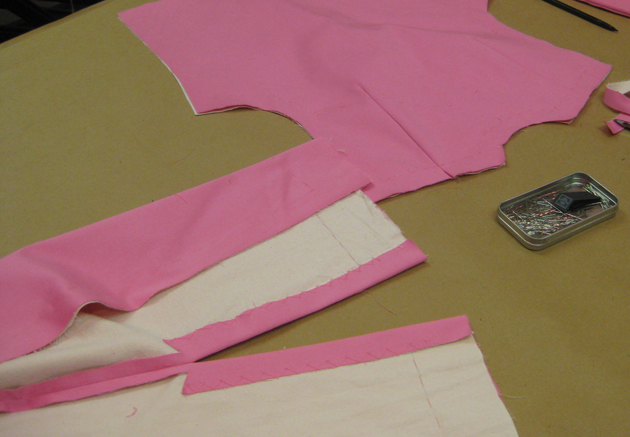
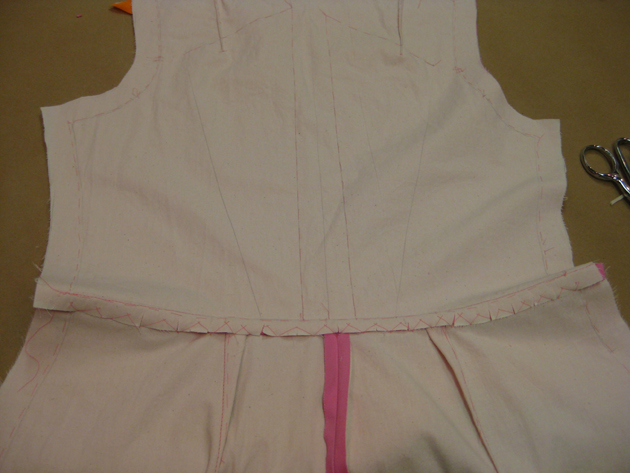
When I use the machine, I like to have a system. I pin and sew all the darts first. Then all of the seams that will cross other seams, then the seams that they cross…. until finally it starts looking like a dress! Seam allowances are dealt with by trimming and hand stitching to the underlining, where needed. Yet another great reason to use underlining!
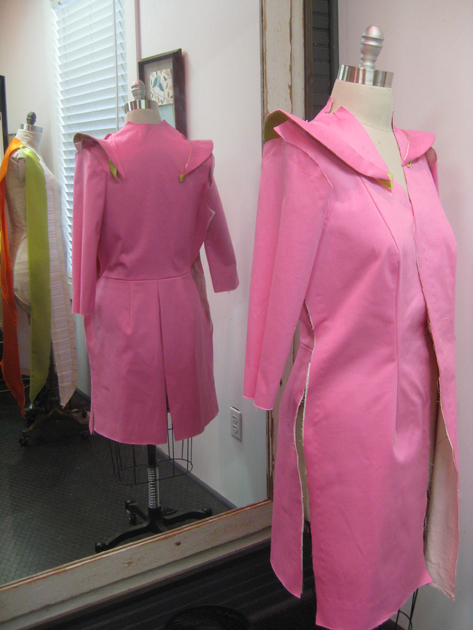
The photo below shows the first time that THE dress starts to look somewhat like a dress!
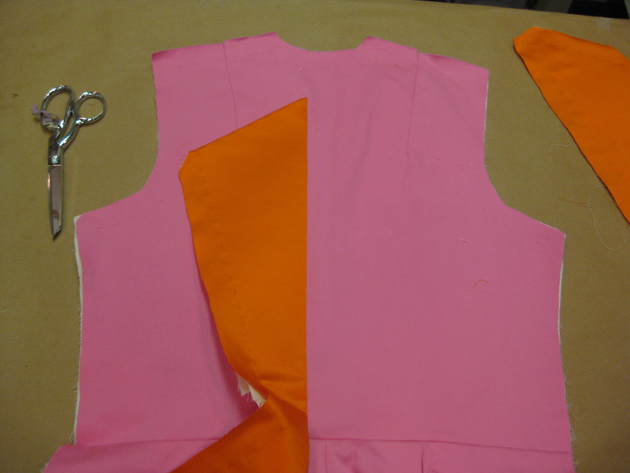
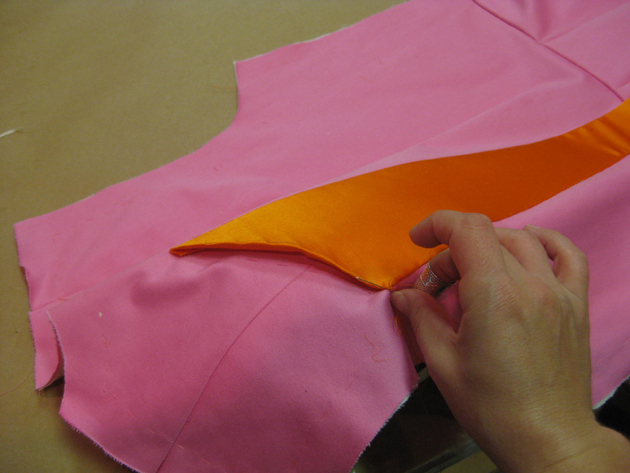
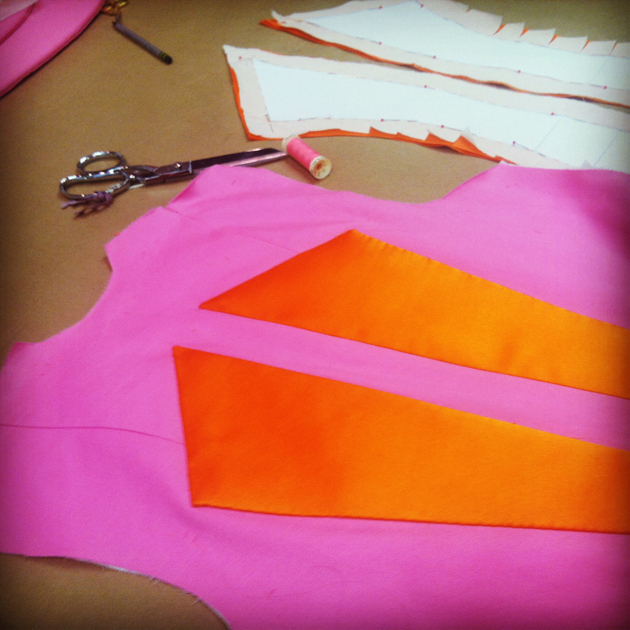
While I still had the dress rather flat, I applied the orange panels. I attached the centermost line with machine, but the rest was applied by hand. My interfacing and underlining made it easy for me to see where to turn the edges for a clean finish.
Handstitching over a pressing ham retains the rounded shape of the back of the shoulder.
Wow!
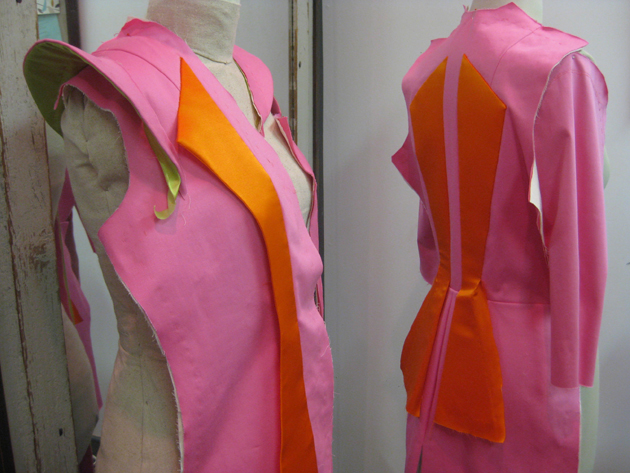
When I’m not working on them, I pin my in-progress pieces onto dress forms. It’s fun to see the dress shaping up!
In my next post, I’ll tackle the collar! I came up with an interesting way to use “wiggle bones” to keep the pleated collar standing perfectly. So keep reading!




One Response
YES YES YES!!! David Bowie should be at this wedding. Love it!!!