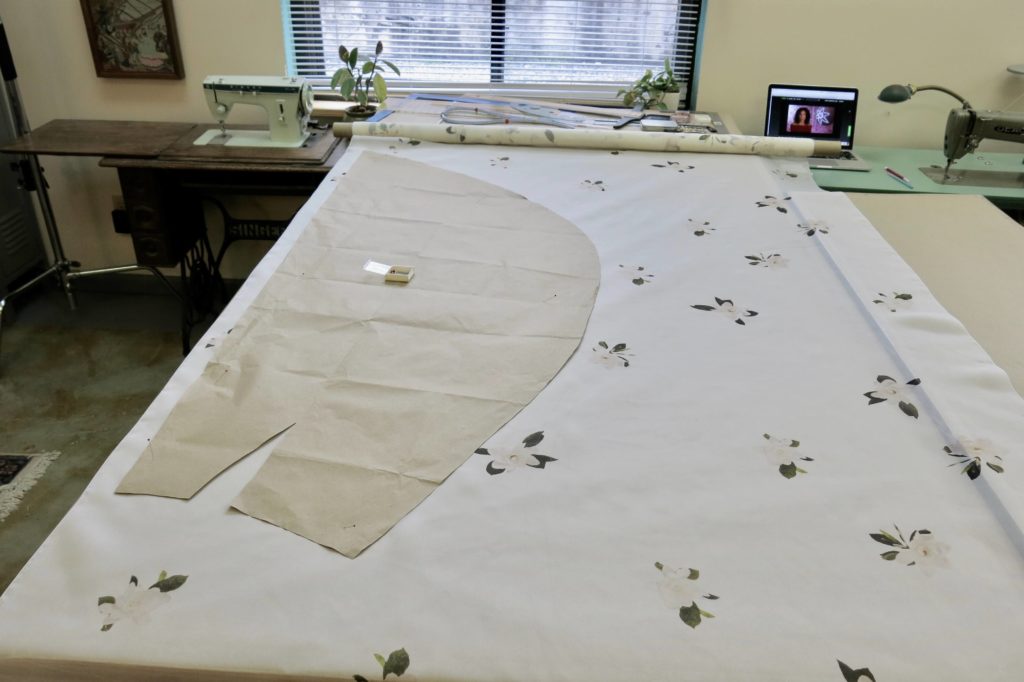
When you sew one-of-a-kind, there is no instruction booklet. You most often brainstorm and create plans for each step of the process as you go.
Once Cameron’s custom printed fabric was pressed and ready to roll, I started playing around with the layout of the flowers compared to her custom drafted pattern pieces. The “sprinkled” nature of the gardenias on the silk called for clever positioning of each piece to get the best placement for each flower.
The Experiments
The flowers of the bodice pieces were the most important to position well. I did not want any flowers to be cut up into seams, folded into darts, or placed awkwardly anywhere on Cameron’s body. I started my experiments by laying the corrected paper pattern pieces onto the fabric, but this mostly obscured what I was trying to observe…
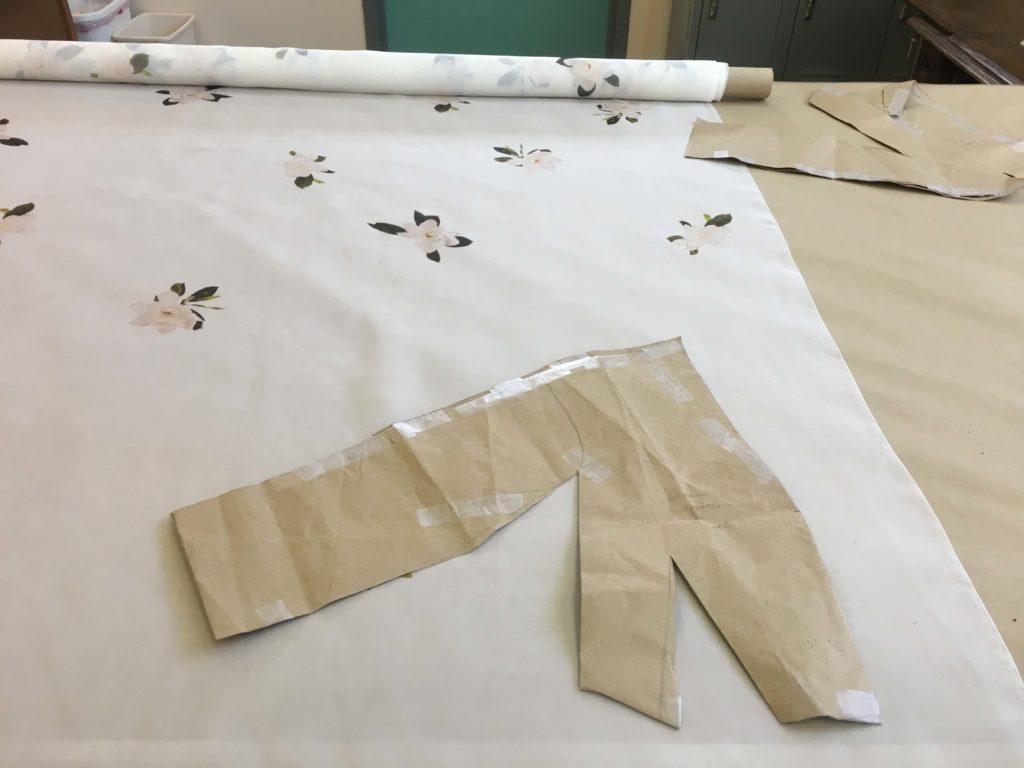
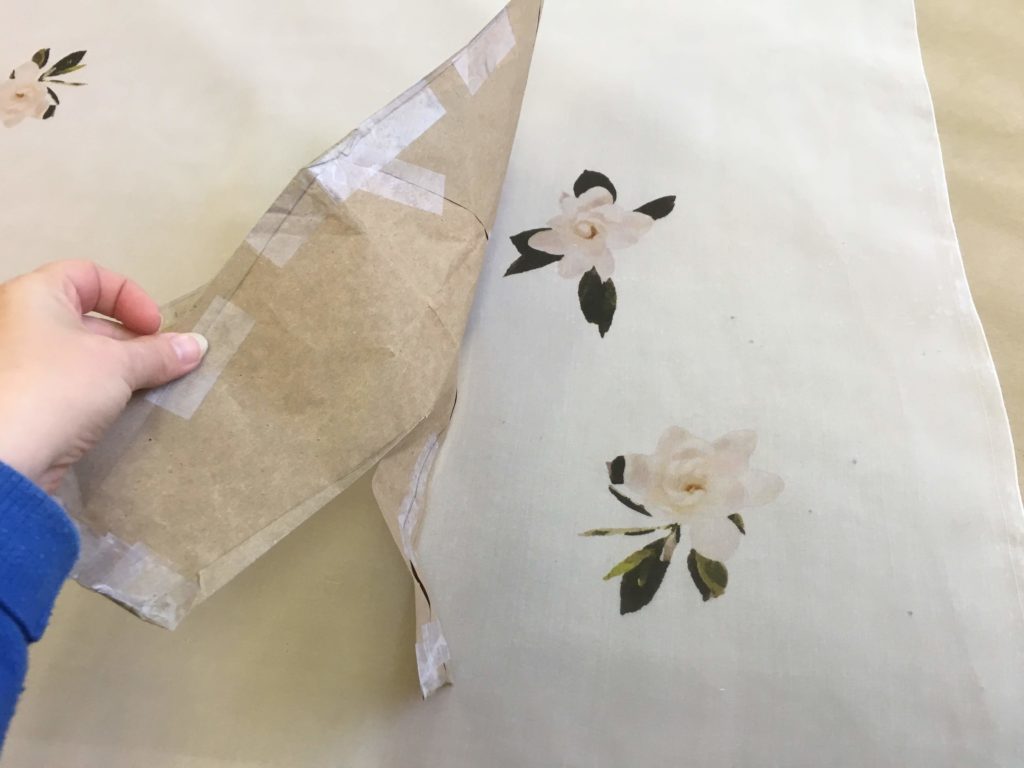
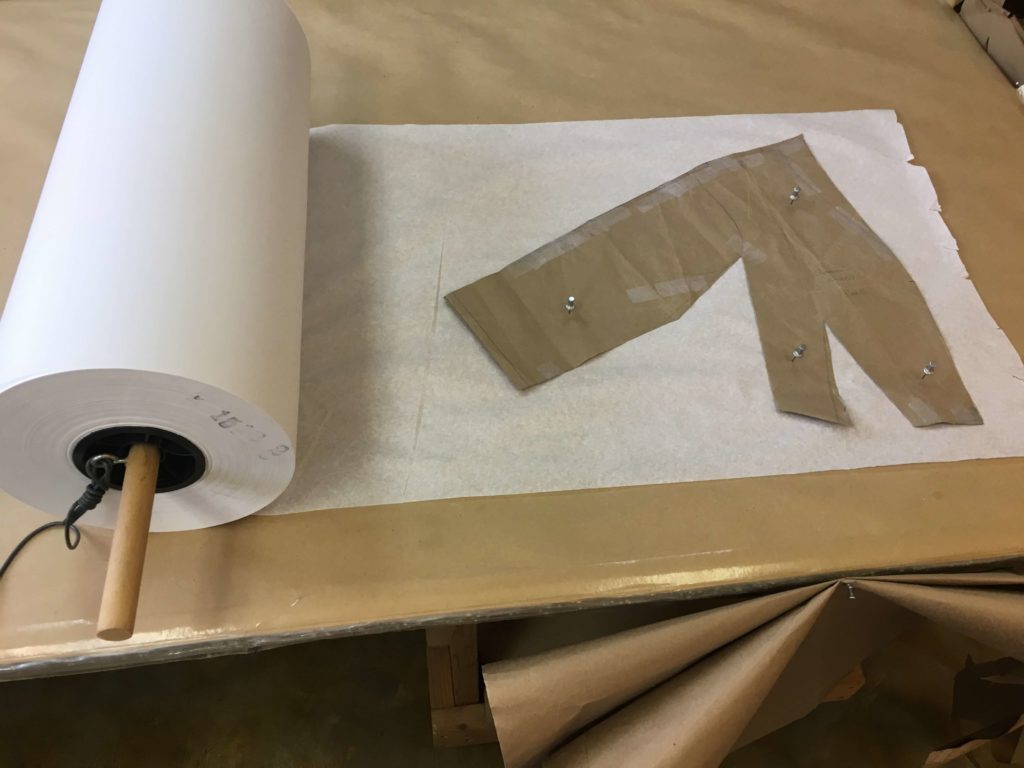
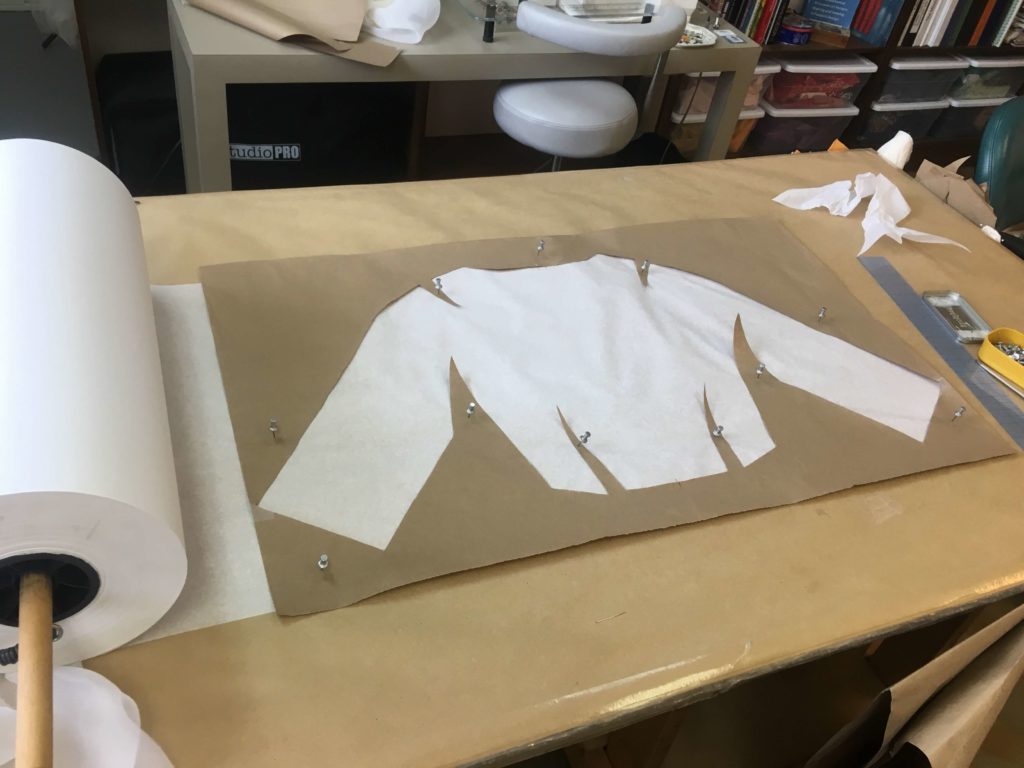
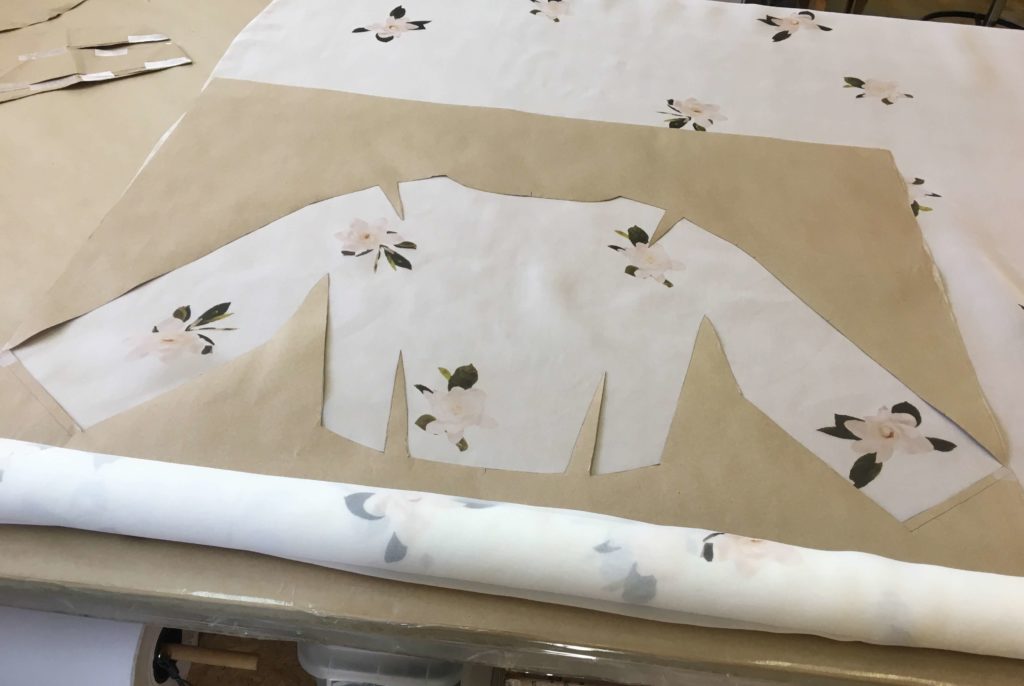
This led me to create a negative of the pattern piece so I could really visualize what it would look like on Cameron. On a fresh piece of paper, I traced around the pattern (which doesn’t include seam allowances)…
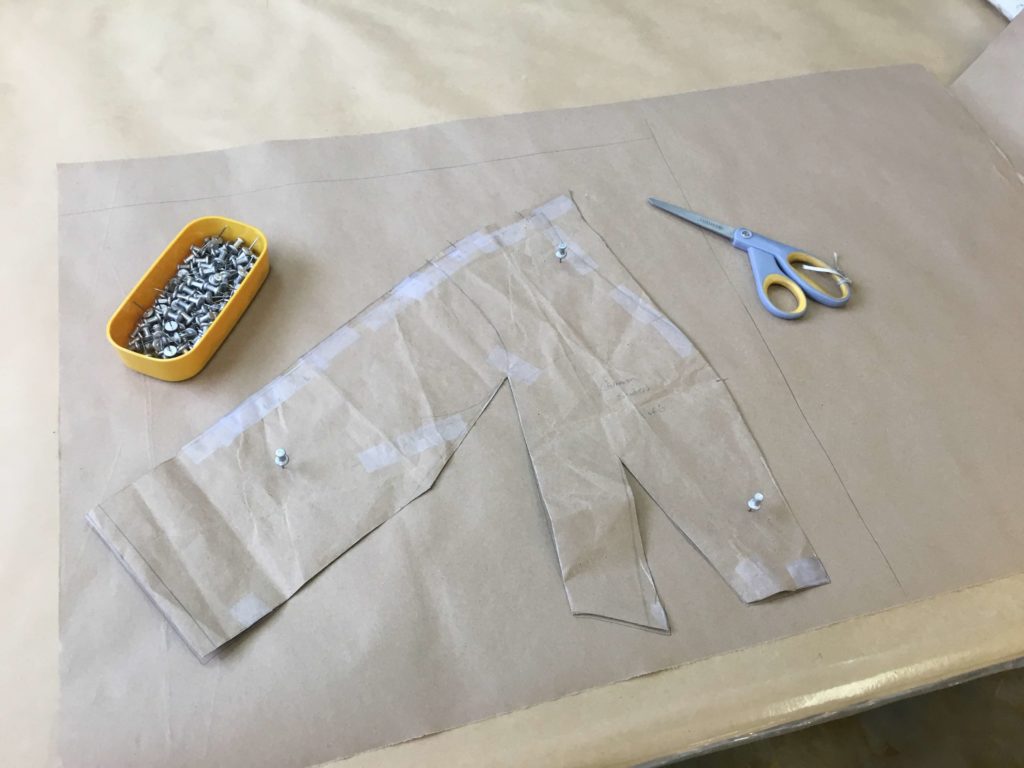
…and cut it out…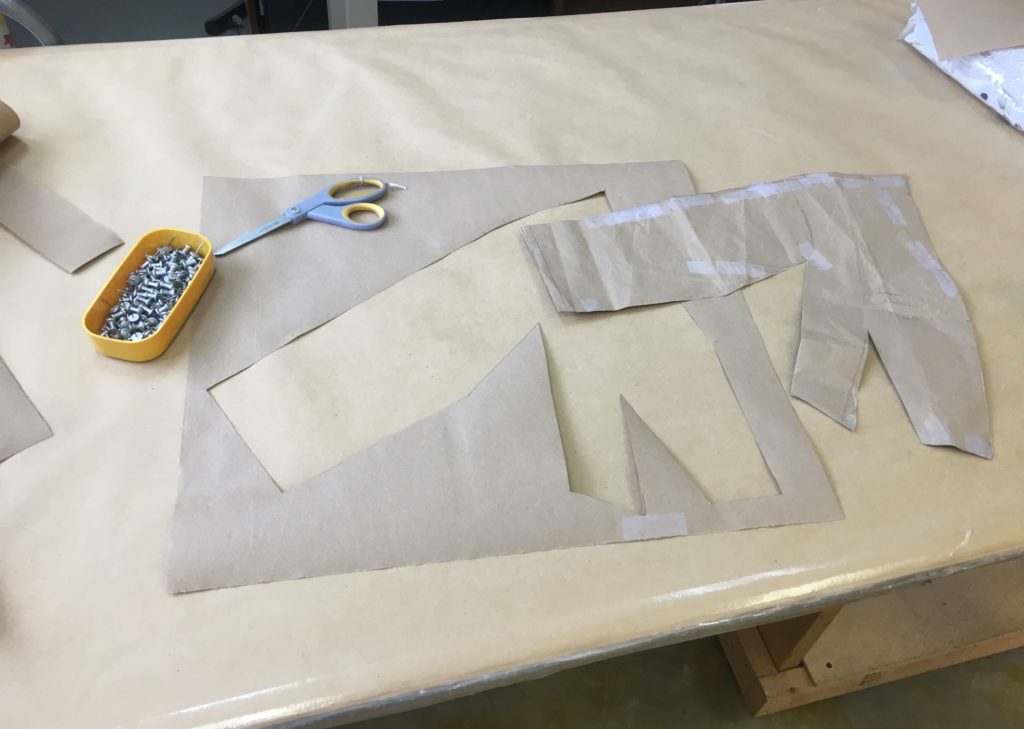
…which allowed me to move it around until I found the perfect positioning for the flowers. (The floral layout would be asymmetrical, so I’d flip the template to find a complimentary arrangement for the opposite side.)
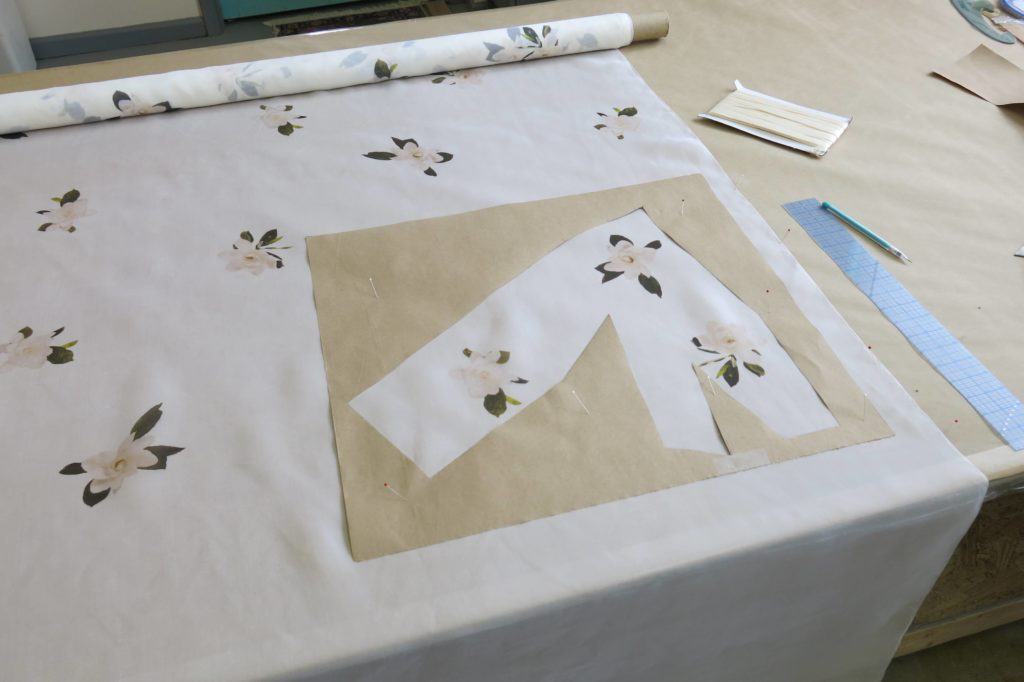
The back was a larger piece so it would be even trickier to find the perfect layout. I traced around the half of the pattern…
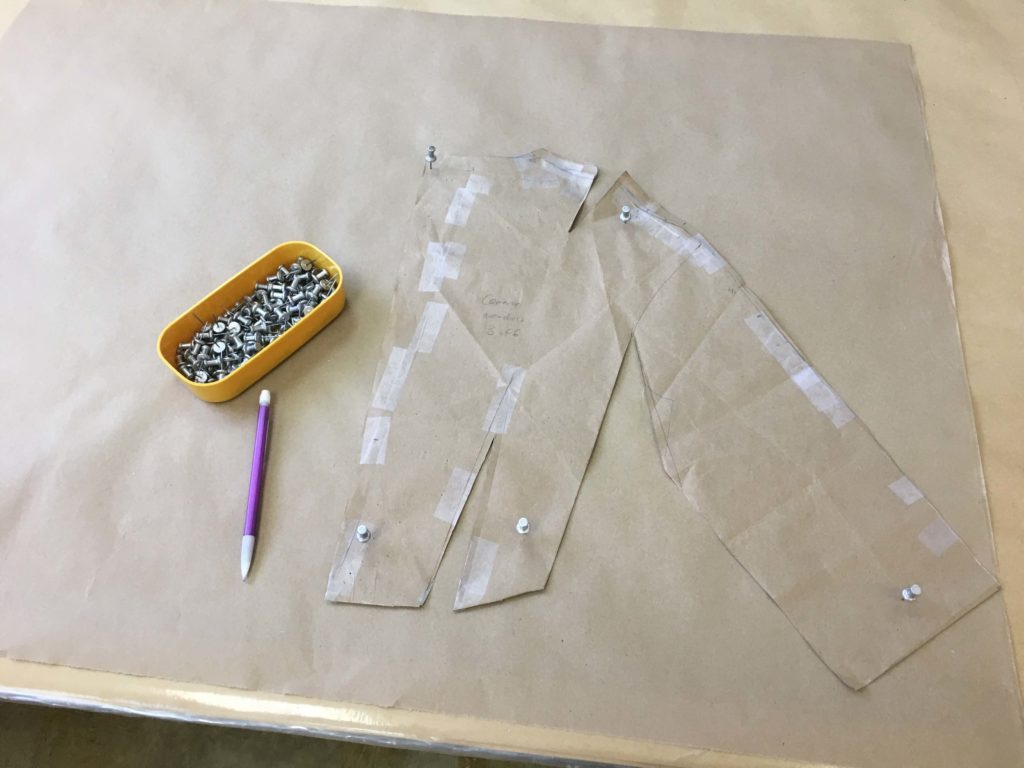
…including the center back line…
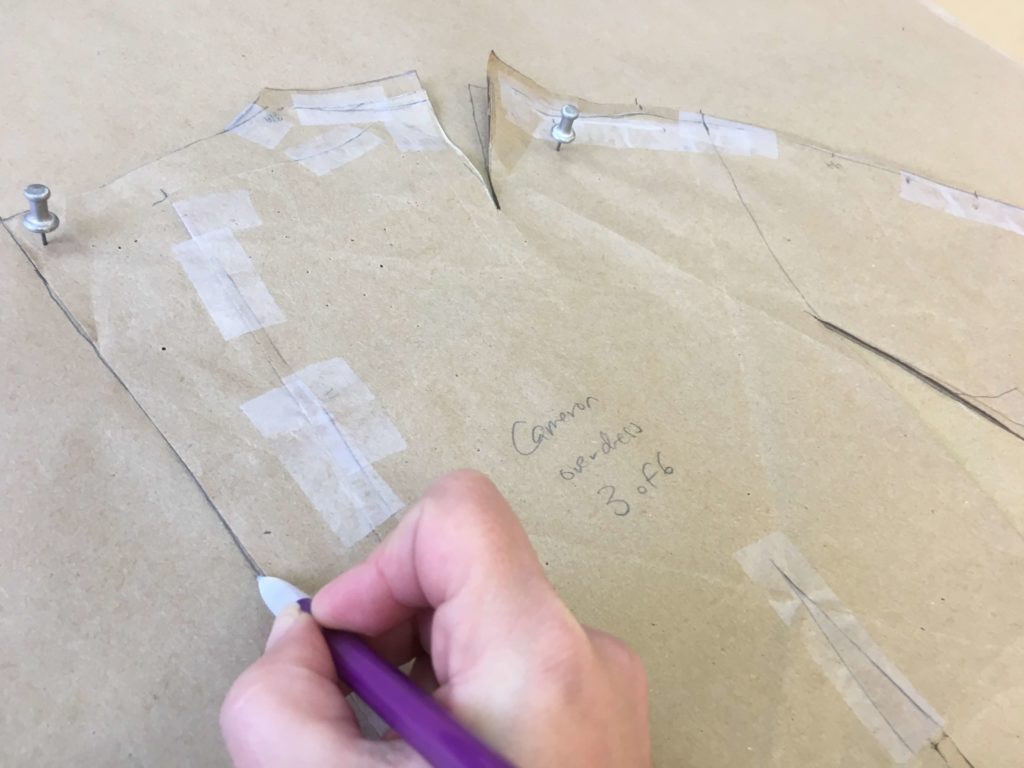
…and flipped the pattern piece to trace a full negative of the entire back.
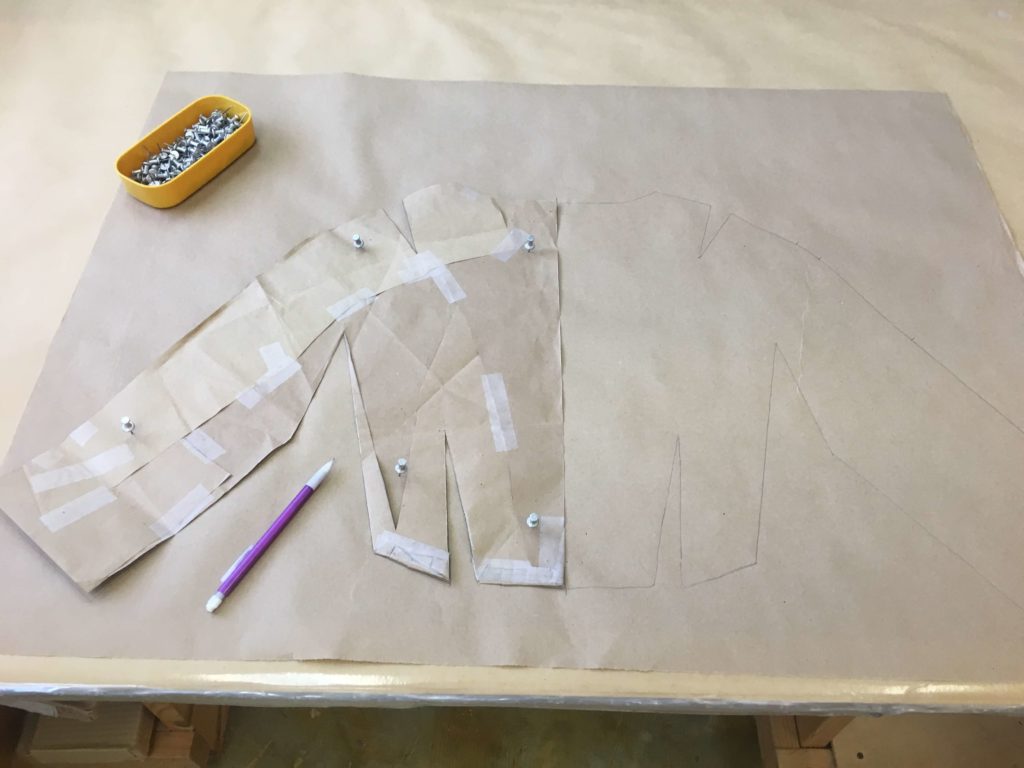
After cutting it out…
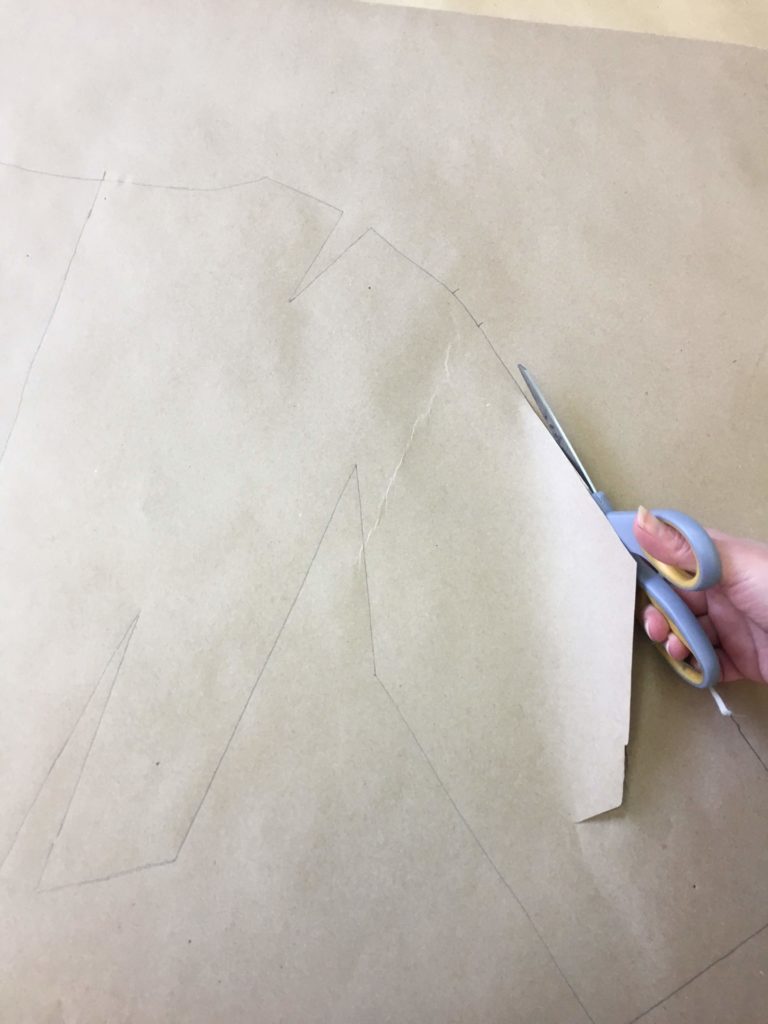
…I had a good visual of the whole back, cut-in-one sleeves and all!
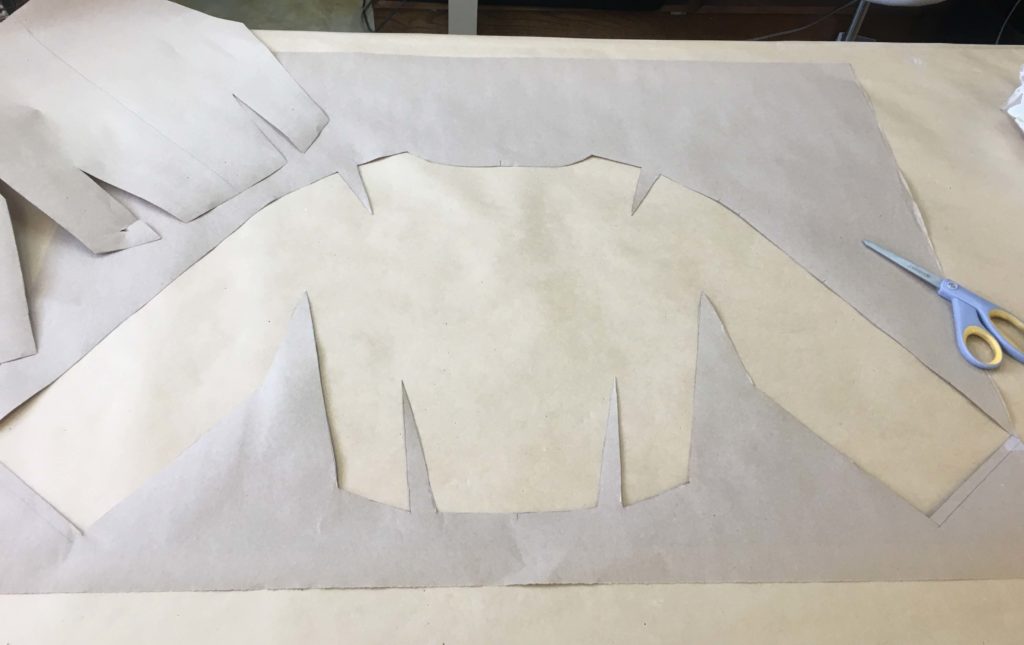 I moved this negative template around, experimenting with different possible layouts for the sprinkled flowers…
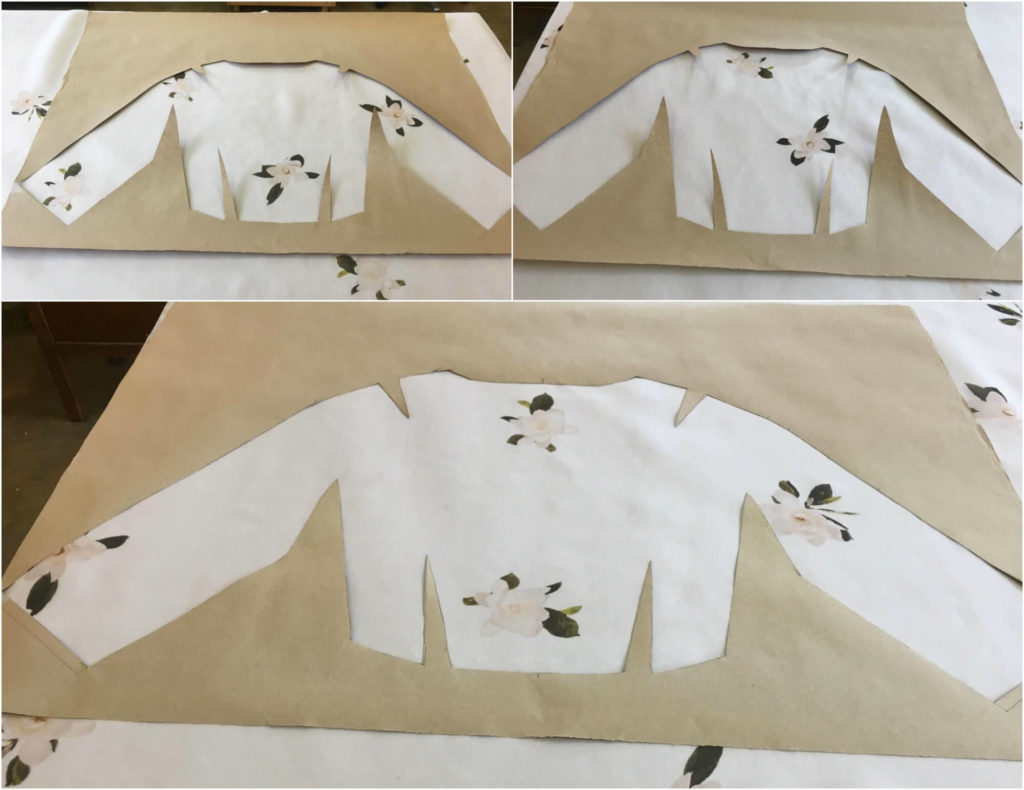
…until I found “the one”.
Marking and Cutting Slippery Sheer Silk
Once I had my positioning plan, I moved on to my next step: preparing to cut the sheer slippery fabric. This meant more brainstorming!
Since I sew from stitch lines instead of cut edges, I wanted to see the lines without marking the sheer fabric. I also needed to stabilize each slippery piece to keep it from stretching and/or shifting throughout the next steps as I cut it, move it, and as I sew it. Tissue paper solves both these puzzles!
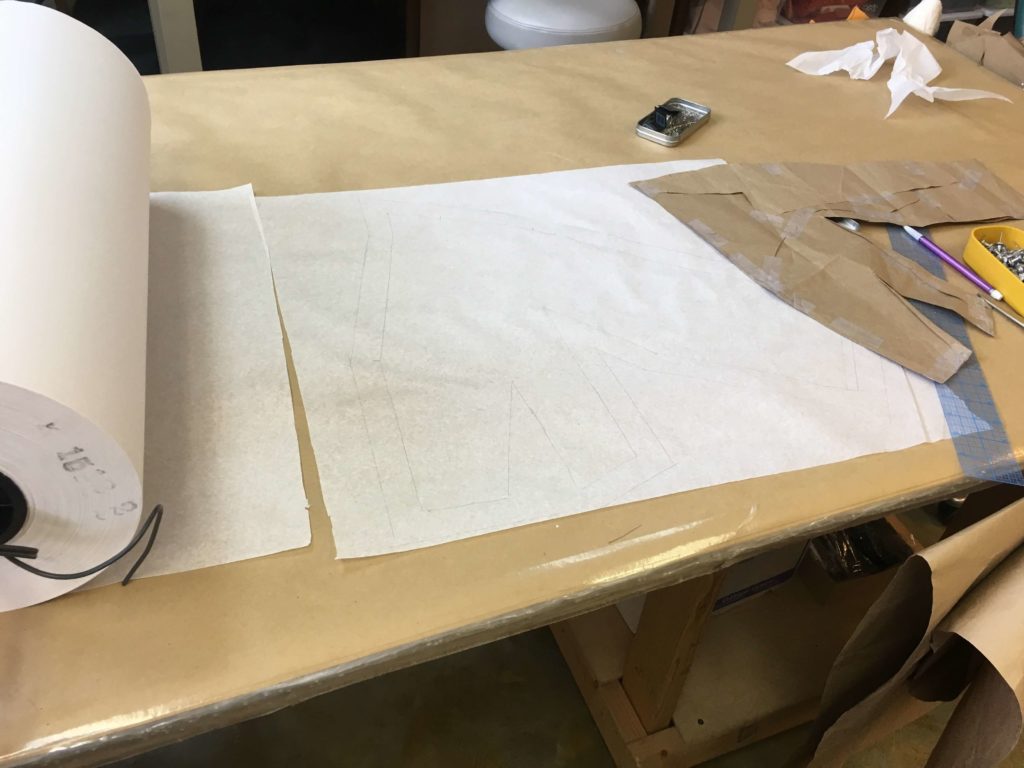
I traced each piece of my pattern, transferring all stitch lines and notches, onto tissue paper…
…and then I added 1″ seam allowance lines.
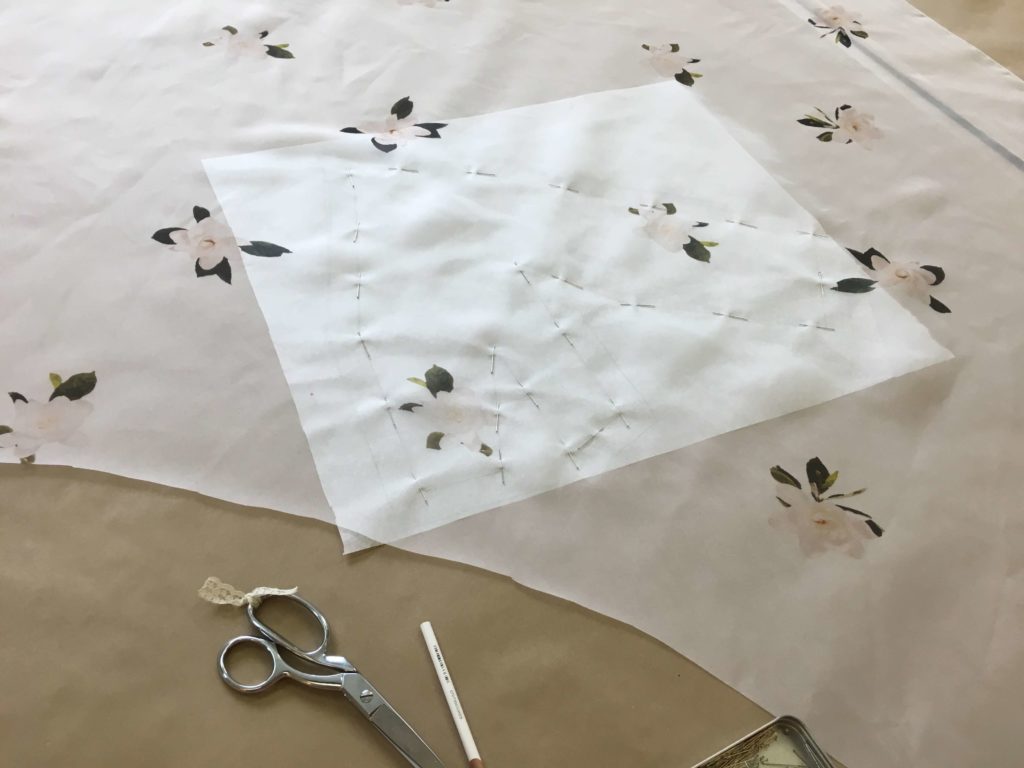
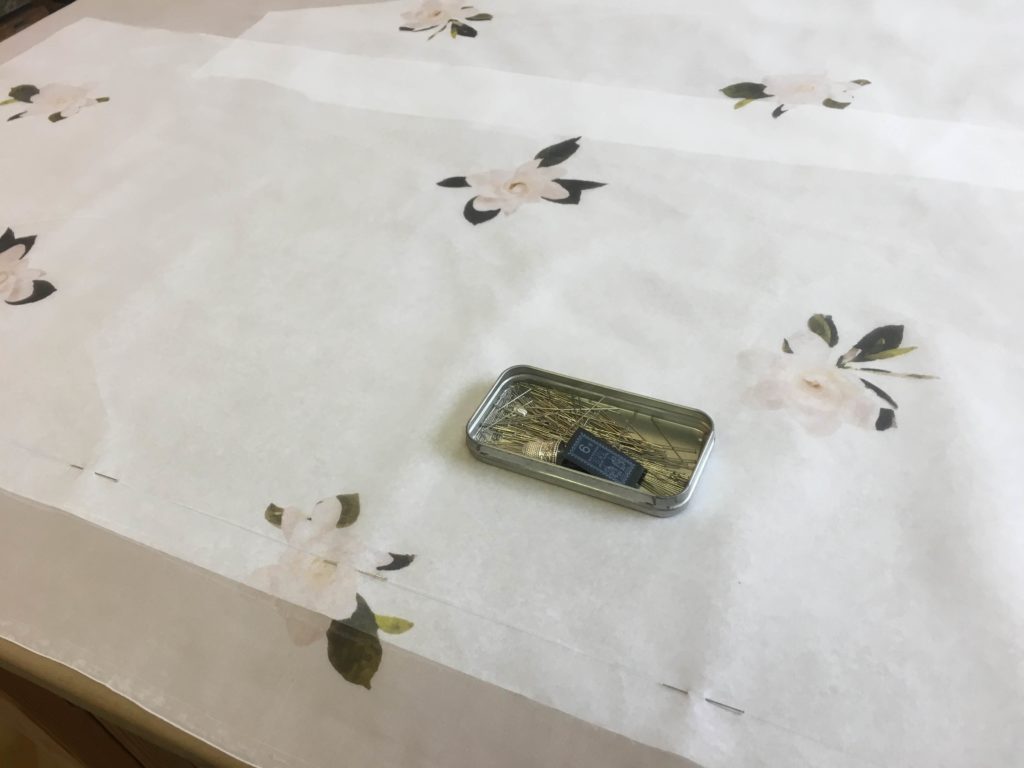
I moved each template underneath the fabric until it was perfectly positioned. Then I pinned through both the fabric and the paper along my stitching lines to hold it securely in place.
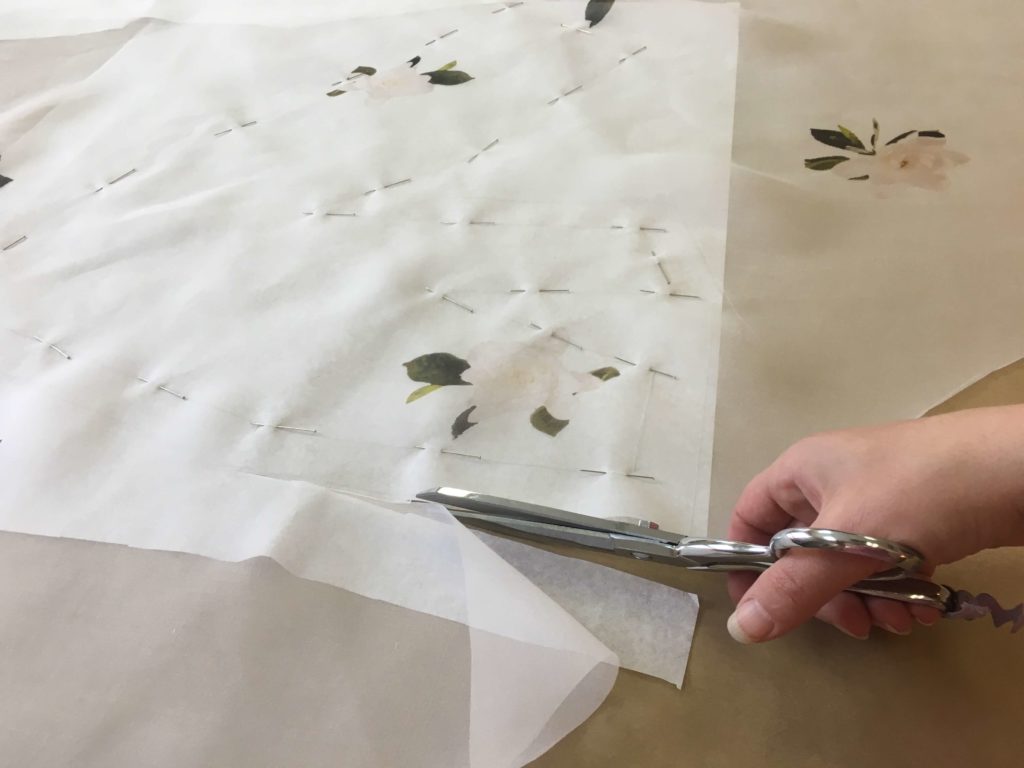
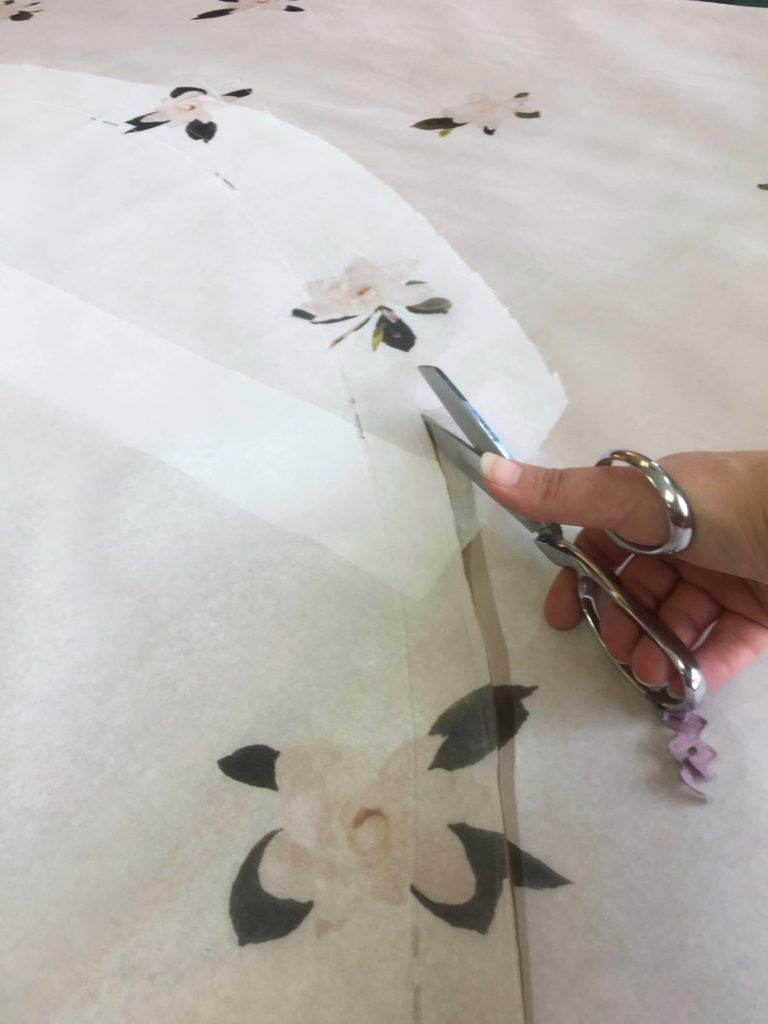
Next, I cut through the paper and the fabric on the cut lines. This keeps everything stable and matching the pattern’s shape (instead of a floppy sheer mess).
I followed this same process for every piece of the garment.
When the skirt pieces were wider than the tissue (the skirt pieces are huge!), I taped strips together before marking and pinning.
And yes, I used my fabric scissors to cut through both the paper and the silk! Though I do segregate my scissors most of the time, tissue paper should have minimal effect on my fabric scissors. The goal of getting the paper and fabric to act exactly as one was more important than the possible dulling of blades (which can be sharpened.)
Piece by piece, the fabric was cut with the stable paper layer attached…
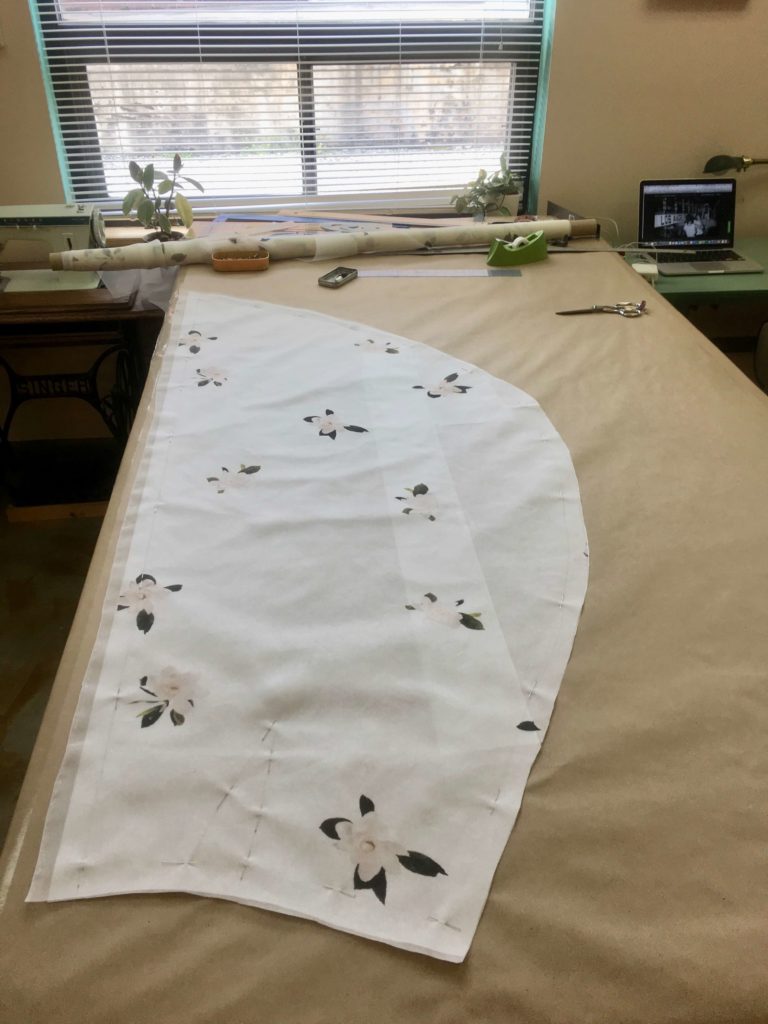
…until everything was cut…
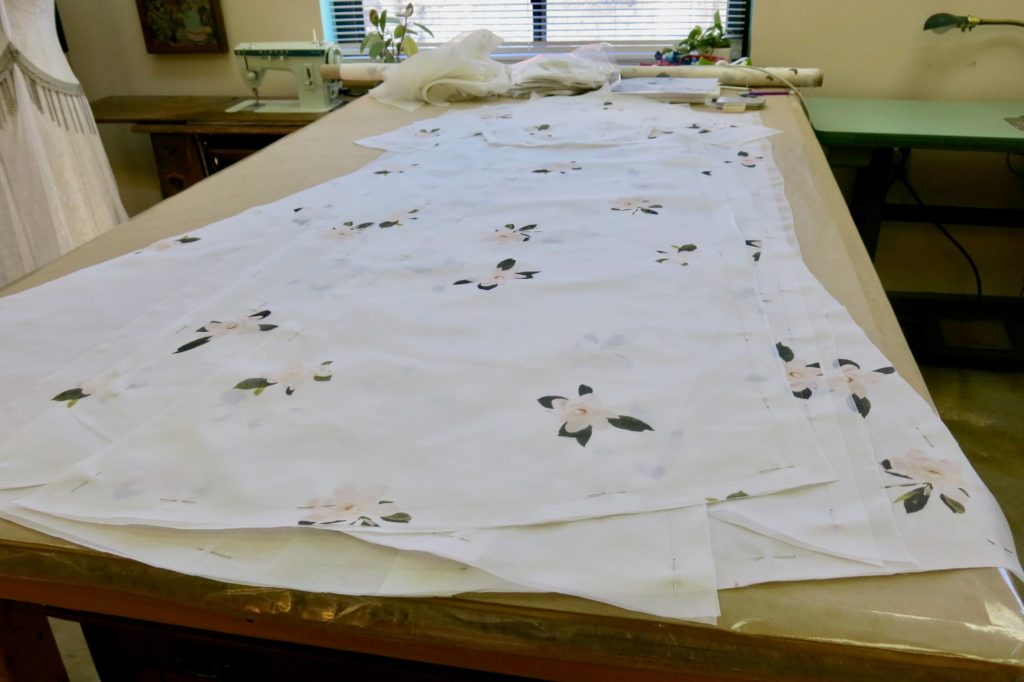
…and ready to sew!
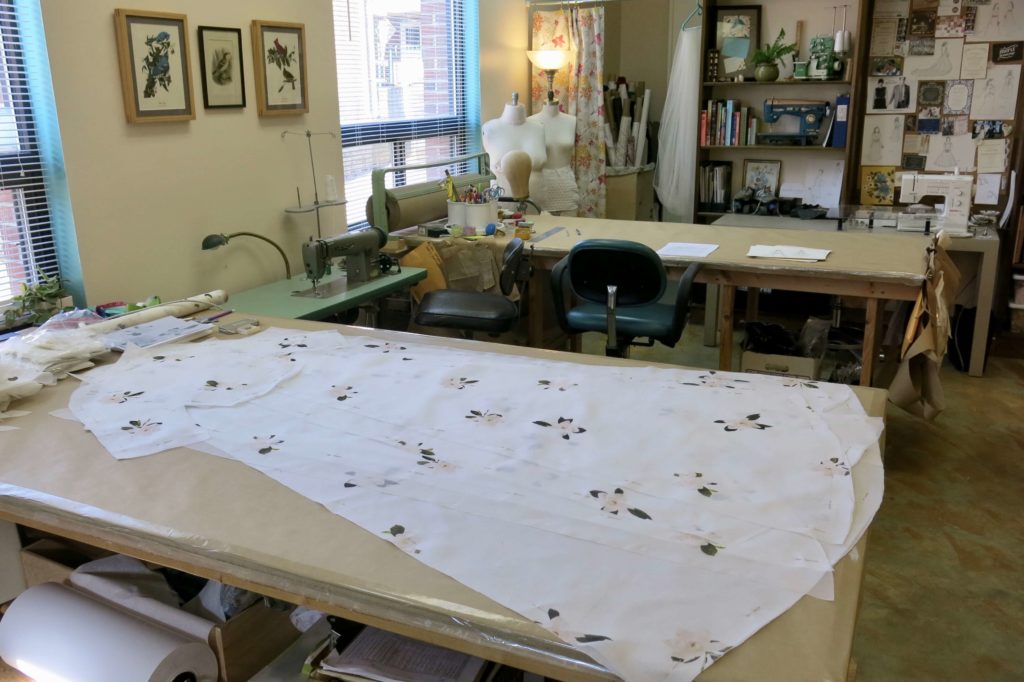
My plan was to stitch everything together similar to how I did Mary’s sheer custom overdress. I was beyond excited to see all of Cameron’s flat floral pieces start to take shape!
NEXT POST: The stitching starts…
SaveSave




5 Responses
Oh man, I’m excited to see this one stitched up!
Brooks Ann,
I discovered you through the love to sew podcast, and ever since then I’ve been combing through all of your wonderful blog posts from your couture wedding dresses. You are such an inspiration and I am constantly learning new techniques from your blog posts. The negative pattern idea is GENIUS for tricky to place fabrics. Thank you so much for the time and effort you clearly take when crafting these posts!!
Thanks for following along!
I Love your blog. I have learned sew many tips from you. Where do you find that huge roll of tissue paper. I would love to get some. I will be sewing a silk dress for my grand daughter and will use your tip of cutting and sewing it with tissue paper.
Ah yes the huge roll of tissue paper! I had to look it up, but it seems that I bought it from Uline back in 2010. I do love it and use it fairly often, but I’ve barely made a dent in it over the past 10 years! Prior to investing in the never-ending roll, I just bought packs of white tissue from a craft store. If you aren’t planning to use it regularly for the next decade+, a roll like mine might be overkill. Hope this helps! Good luck with your granddaughter’s dress!