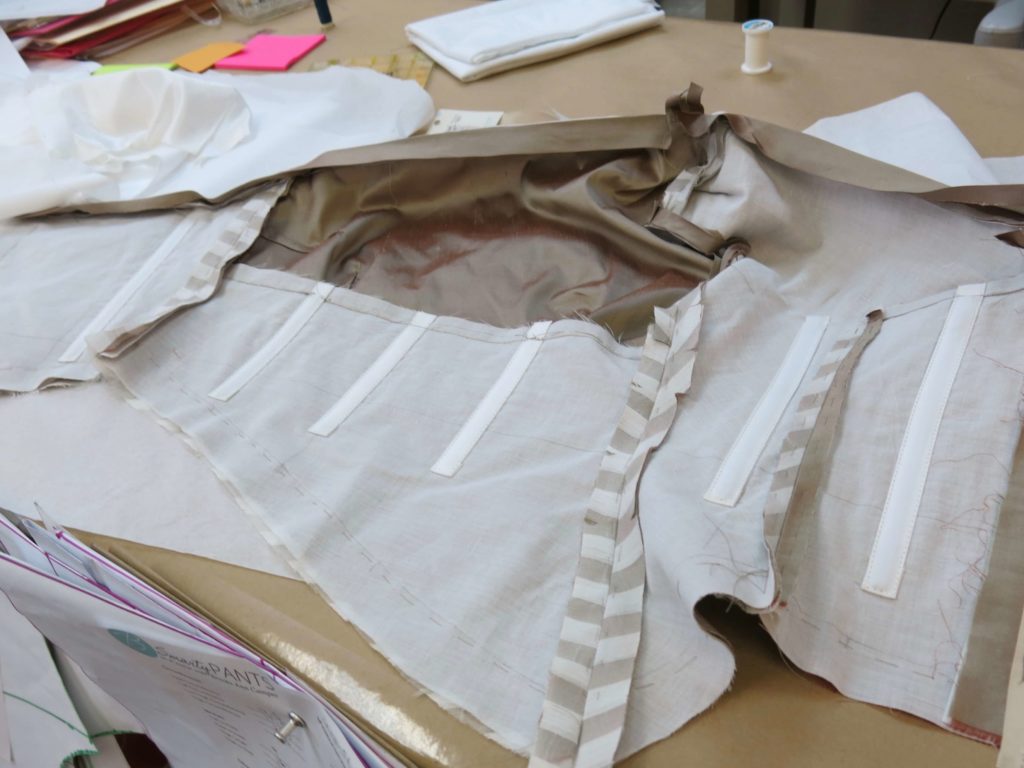
After all the fabric was cut and underlined for Sally’s asymmetrical striped custom wedding dress, it was finally time for construction. I love being able to see all the guts of the garment before the lining is added for a beautiful clean finish. Don’t you?
While it is impossible for stripes to match everywhere in a fitted garment, the seaming was carefully done to make sure that the stripes matched as much as possible. This meant that most seams were stitched together by hand before heading to the machine. As my couture hand sewing students at Camp Workroom Social learned last week (blog post coming soon; I’m honestly still speechless about the ah-mazing experience), hand sewing gives you much more accuracy and control than machine sewing.
One of my local Skirt Skills students volunteered to help with the hand sewing. Together, we were able to use our hand sewing needles to manually match each stripe wherever possible…
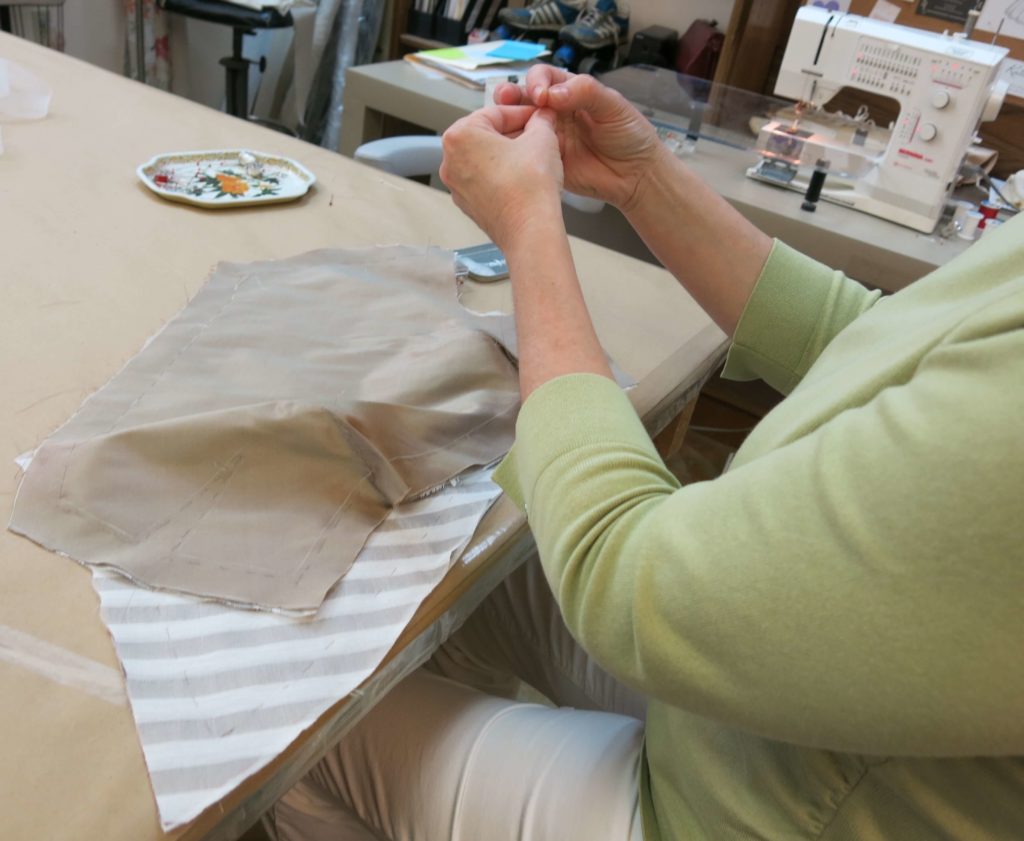 …before heading to the machine for seaming the hand basted stitching lines…
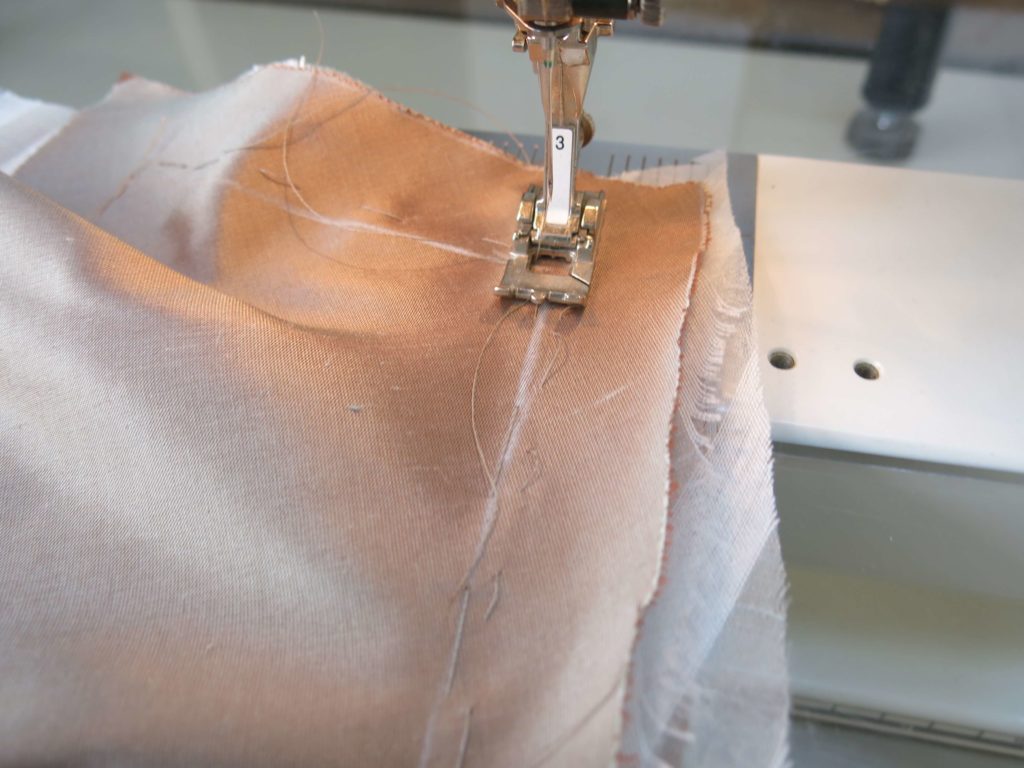
…and heading to the ironing table for a crisp press.
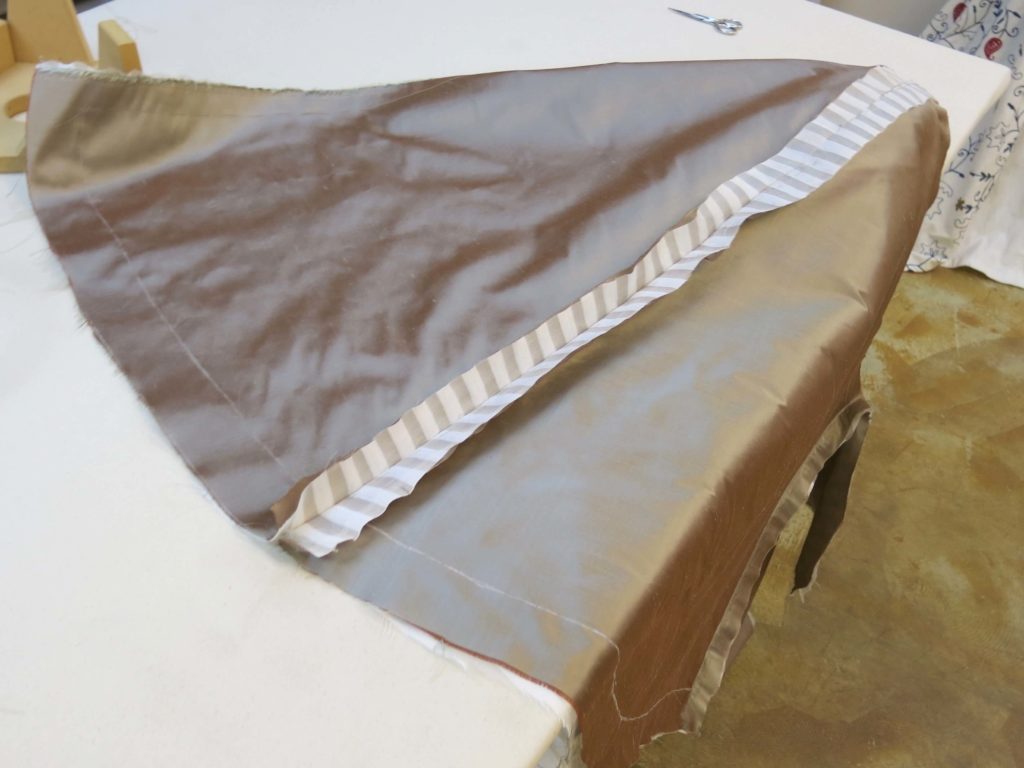
As the dress started taking shape, I was able to insert and secure short steel bones into the cotton bone casings while stitching Sally’s underbust seam.
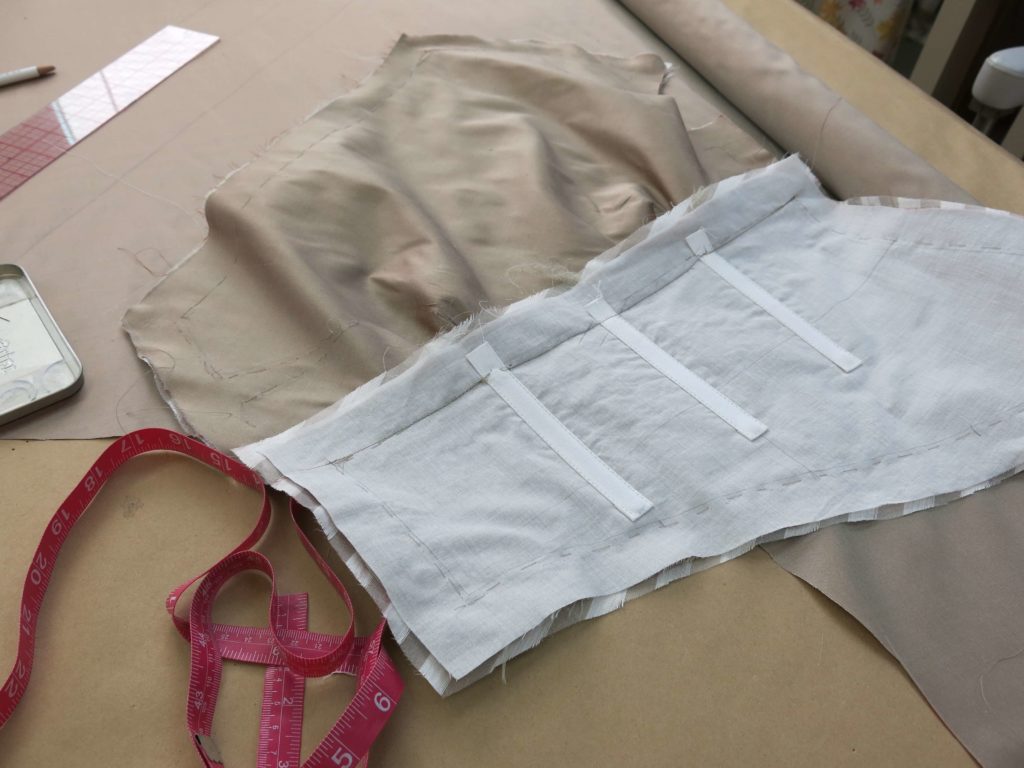
Looking good!
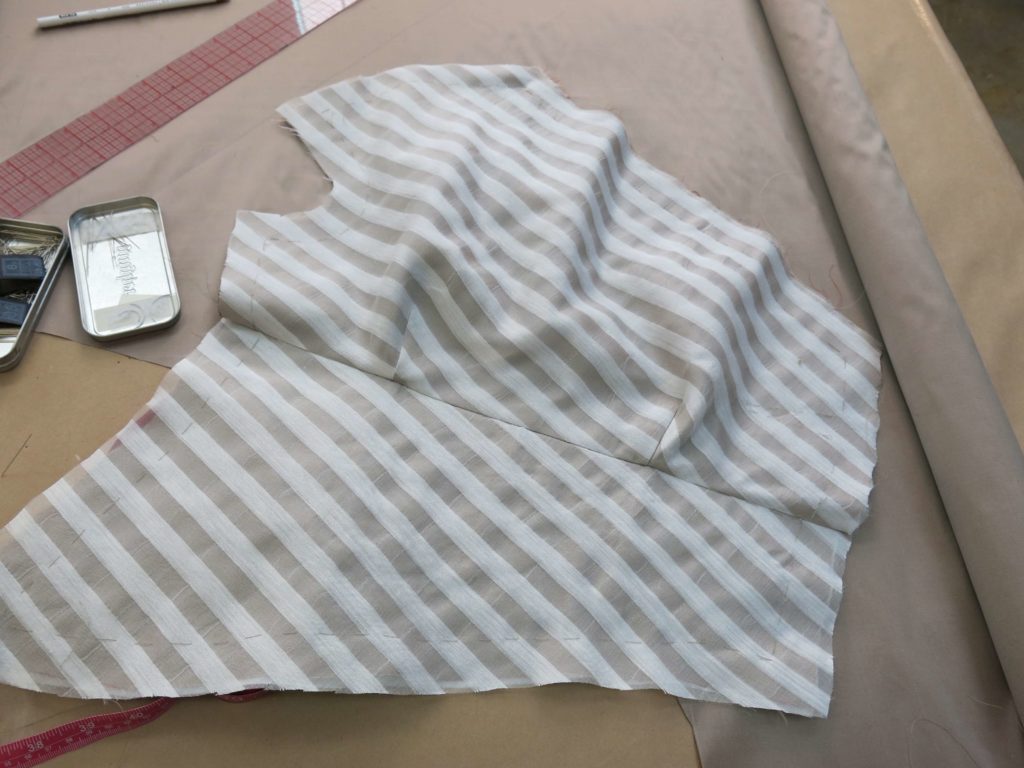
Bit by bit, I added more seams, making more guts to trim and press…
…as the custom creation started looking more and more like a dress!
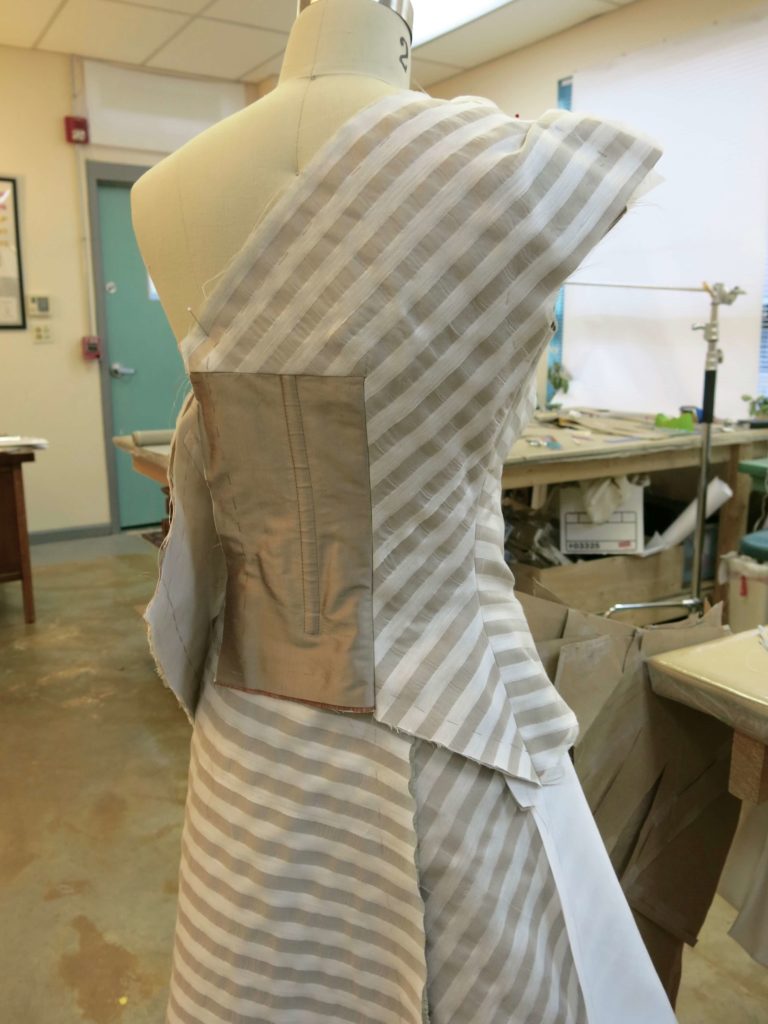
As you may remember from an earlier post, I did not have much extra striped fabric. My rule of thumb is to always have at least enough fabric to cut the largest piece over again, just in case something unpredictable happens. To conserve fabric, I chose to leave the striped layer off the hidden panel under the back wrap. It would never be seen (until the buttons are undone…)
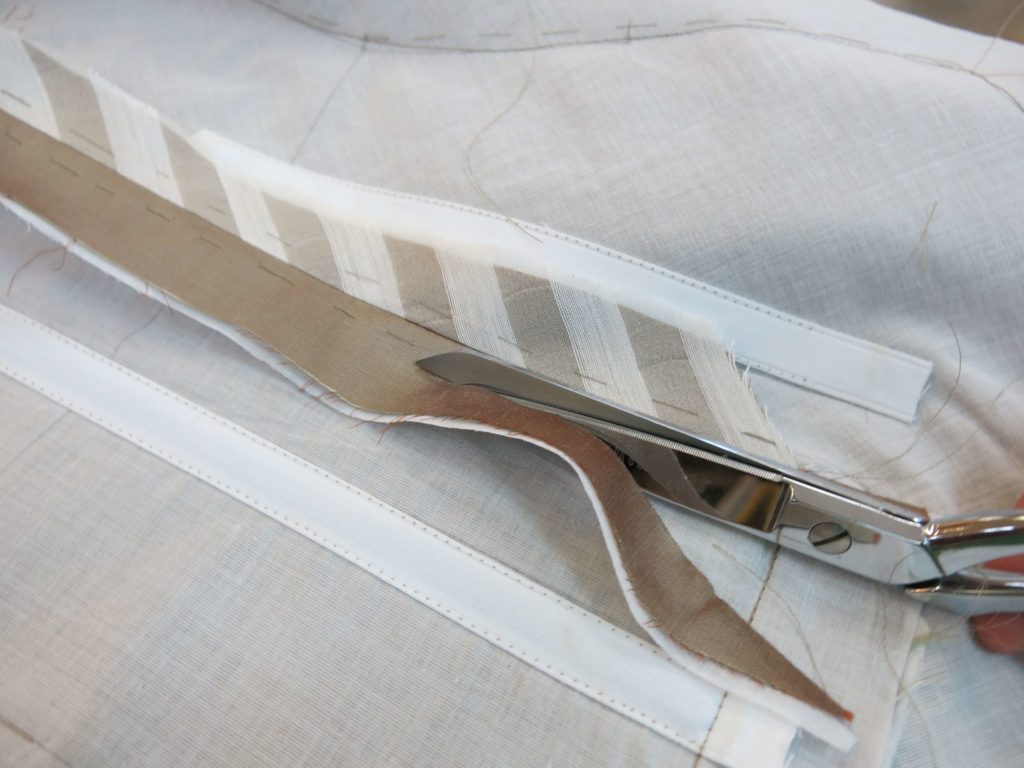
In addition to adding seams, I needed to finish off the raw edges. I chose to make custom bias binding out of the neutral silk. Here you can see the armhole binding being stitched in place…
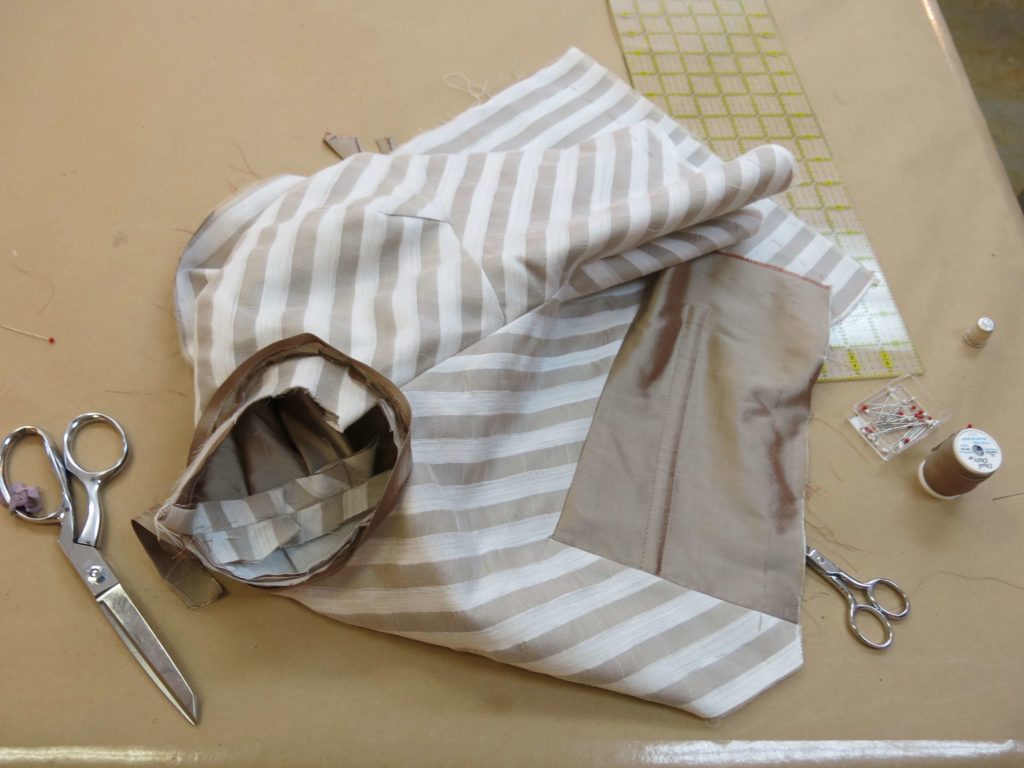
…and the binding following the top edge.
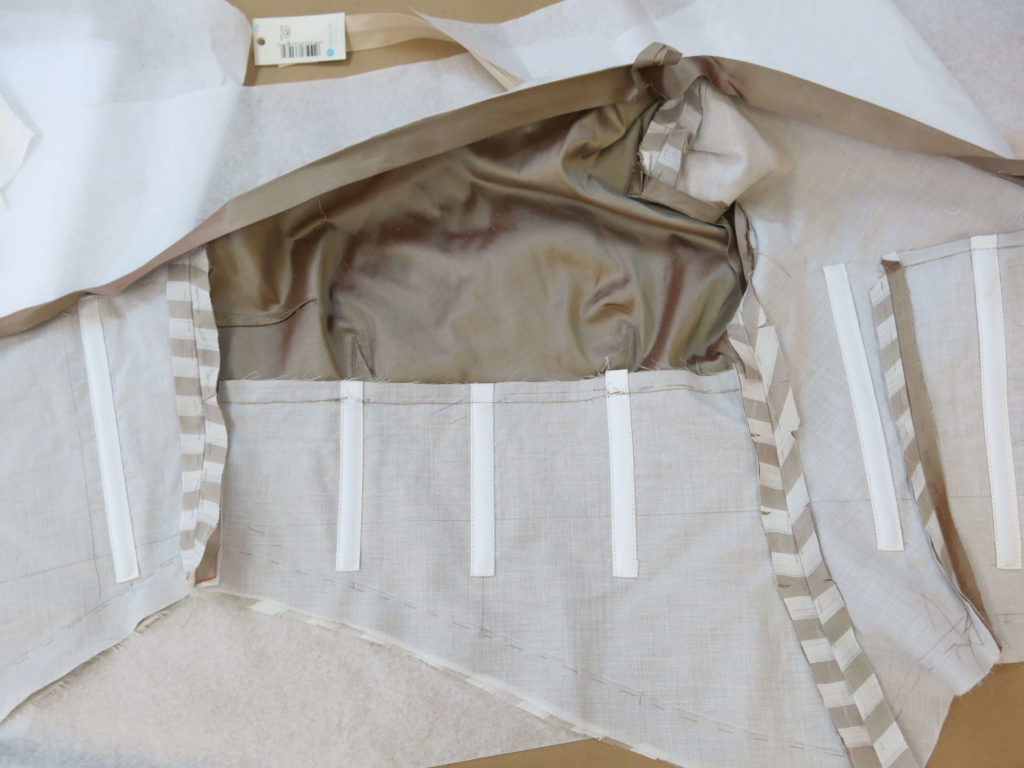
These bindings will eventually be trimmed and pressed to the inside before being hand stitched to the lining. Don’t the guts look so cool?
The stripes were looking stunning and Sally’s dress was really shaping up!
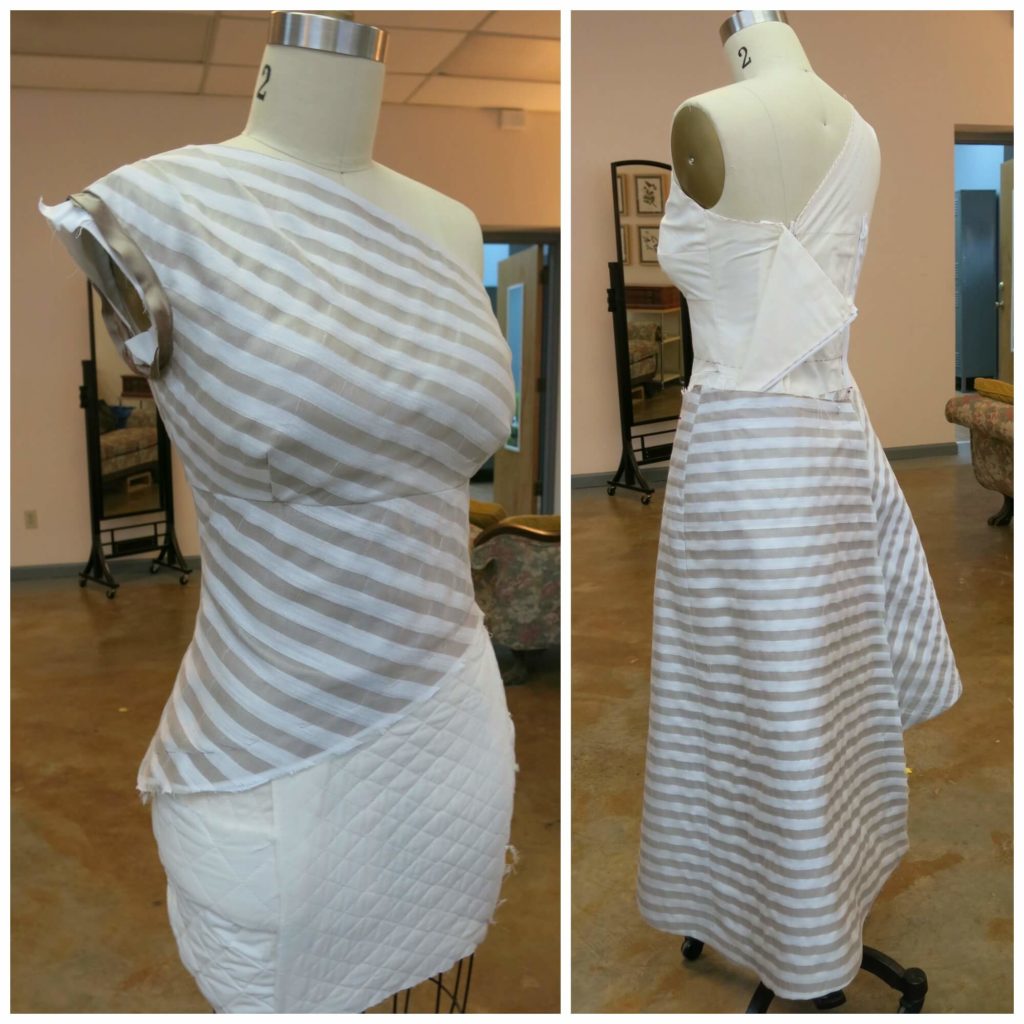
Soon I’ll share how these two pieces (formerly eight pieces) will become one! With buttons and linings! Stay tuned!
NEXT POST: I’ll take a quick break before resuming the story of Sally’s dress to share a new article I’ve written for the November issue of Seamwork Magazine! This will be my third Seamwork feature (read the others here and here). Hope you enjoy it!


3 Responses
WOW Brooks Ann! That dress is stunning. So awesome to see your process from start to finish and to see the techniques you taught us in Skirt Skills being applied in every step. Can’t wait to see this finished. Beautiful, elegant and simply gorgeous!
Thanks Staci!
I love the reminder that, if you want precision, consider hand-stitching! Sometimes my brain doesn’t think that way haha!