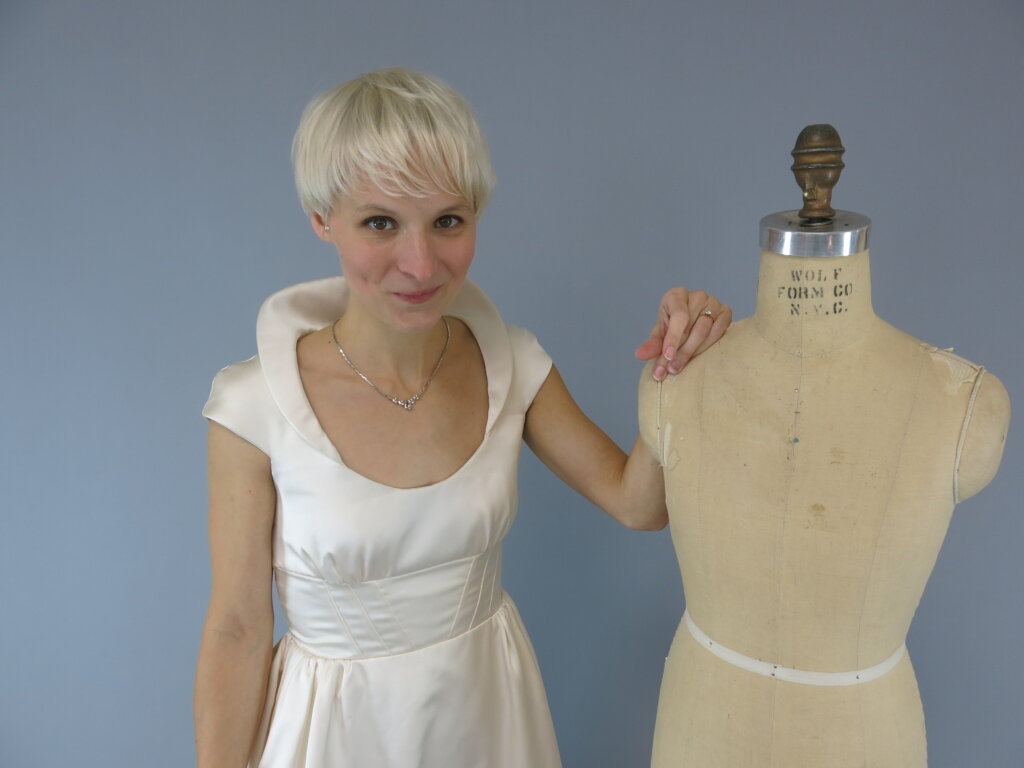
As we are nearing the end of the bridal blog series following the creation of Tiffany’s custom wedding dress, I am really feeling the anticipation and excitement. After making the final stitch, there were still a couple of events before the Wedding Day: The Photoshoot and the Delivery Day (which also became a photoshoot!)
The Studio Photoshoot
Before a custom dress leaves my studio, I have learned to get my own “professional” shots. After months of working through the couture custom process, I get really attached to my work and become nervous to let it go without some serious sharable documentation. Most wedding photographers are delighted for me to share their photos, but they all have different policies and styles. I’ve learned that if you need to be certain that something will be available to you, you often have to do it yourself. Luckily, DIY is my jam!
With the help of my handsome husband Charles, I turned my sewing studio into a photo studio and pretended I was a professional photographer for a day.
But before I share my favorite shots…
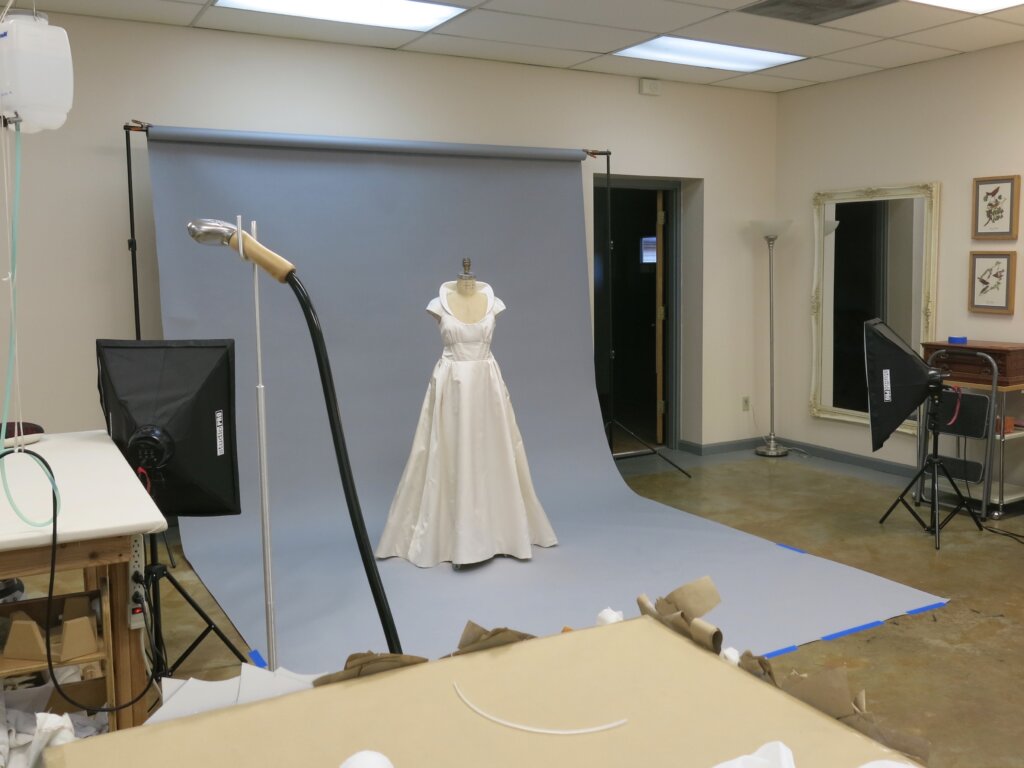
Secrets Behind the Scenes
I wanted to share a little behind-the-scenes secret…
Even though I customized the smallest dress form available (child 10), once we got the final fit to match Tiffany’s petite body, her wedding dress ended up being smaller than the form in the waist.
No worries, it got us where we needed to go! But I’d have to get creative when doing a photoshoot using this form…
Luckily, Tiffany’s dress had hook & eye closures on each side seam. This meant that I could mostly open up one side -the side facing away from the camera…
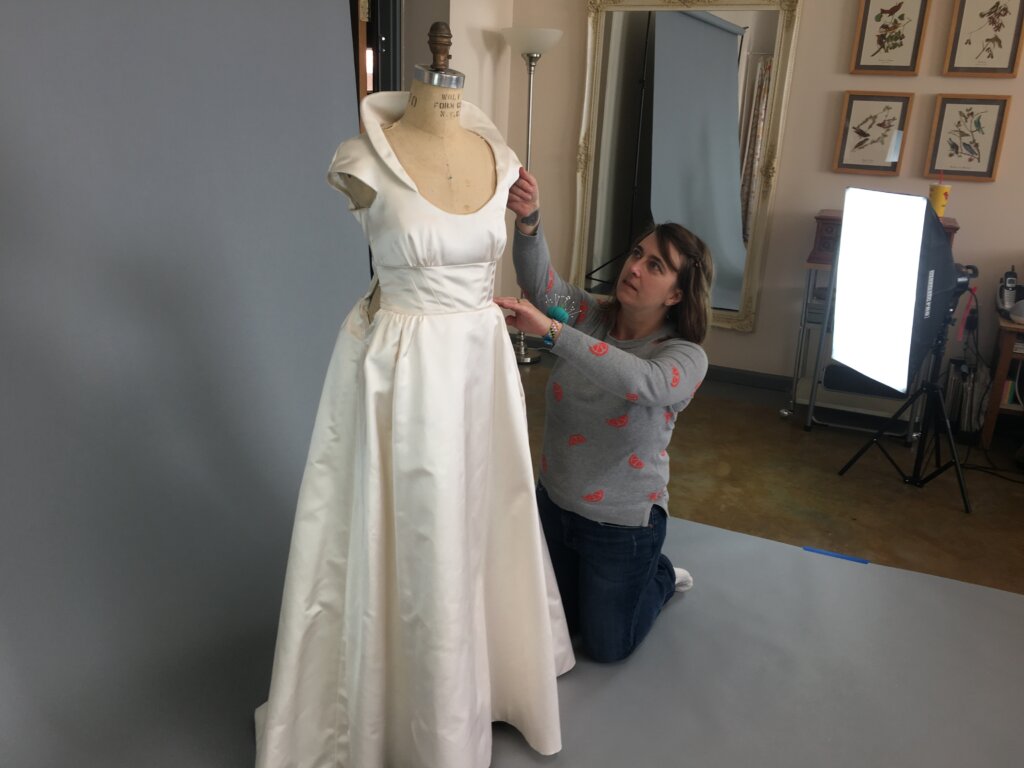
…to concentrate my styling on the camera-facing side. As I moved the dress, I switched the opening.
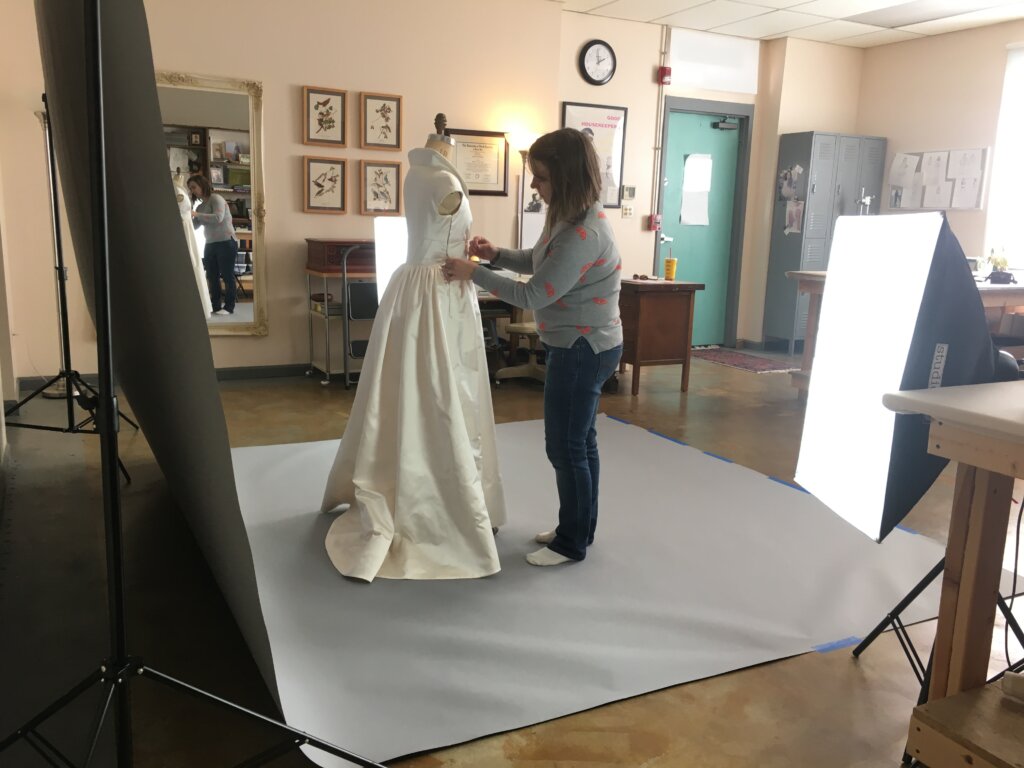
When shooting straight on from the front, I had to strategically balance openings on both sides so they wouldn’t show in the shots.
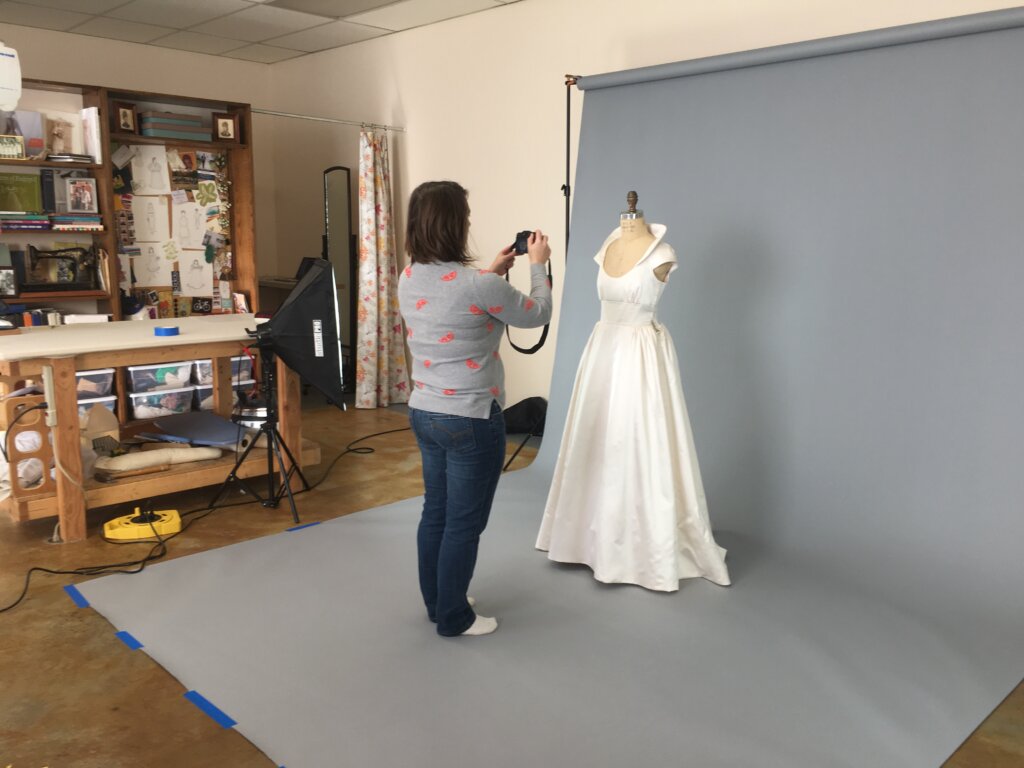
So (shhhhhhhh…..) nearly every photo you see is hiding a gap (or two)… but I thought the solution was pretty clever (thank you double side closures!) and as a DIY “professional” photoshoot, I’m pretty happy with the results!
But enough jibba jabba. Let’s see those shots!
The Studio Shots
Mostly straight off the camera with no editing (I only pretend to know what I’m doing with photography), here are my favorites!
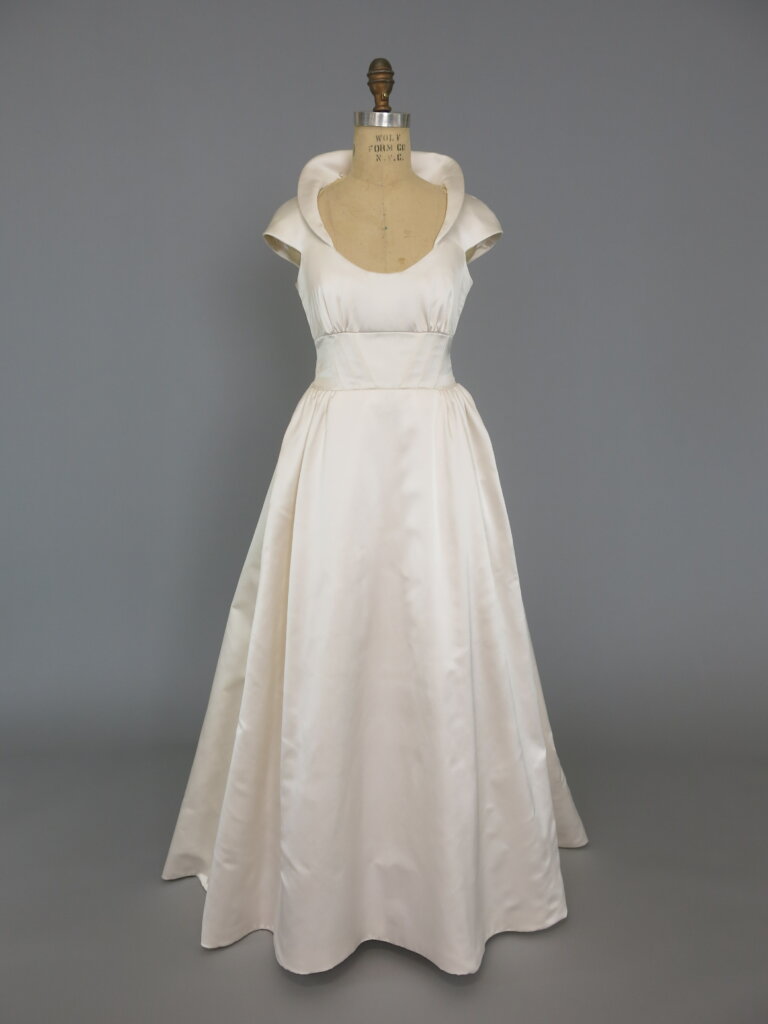
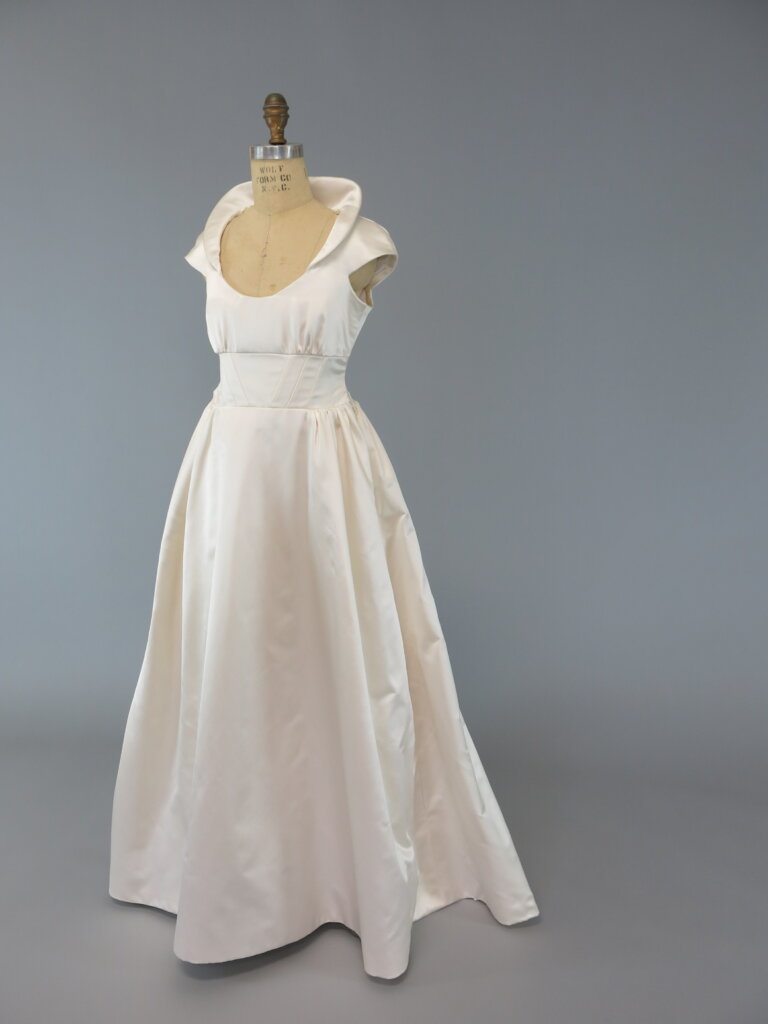
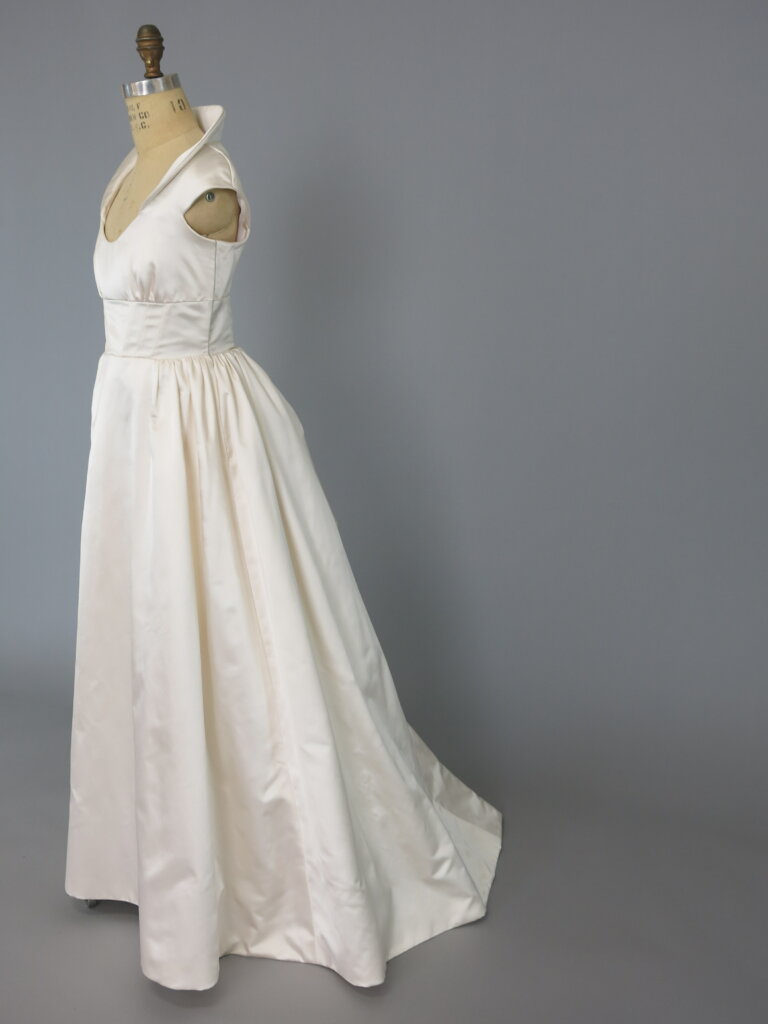
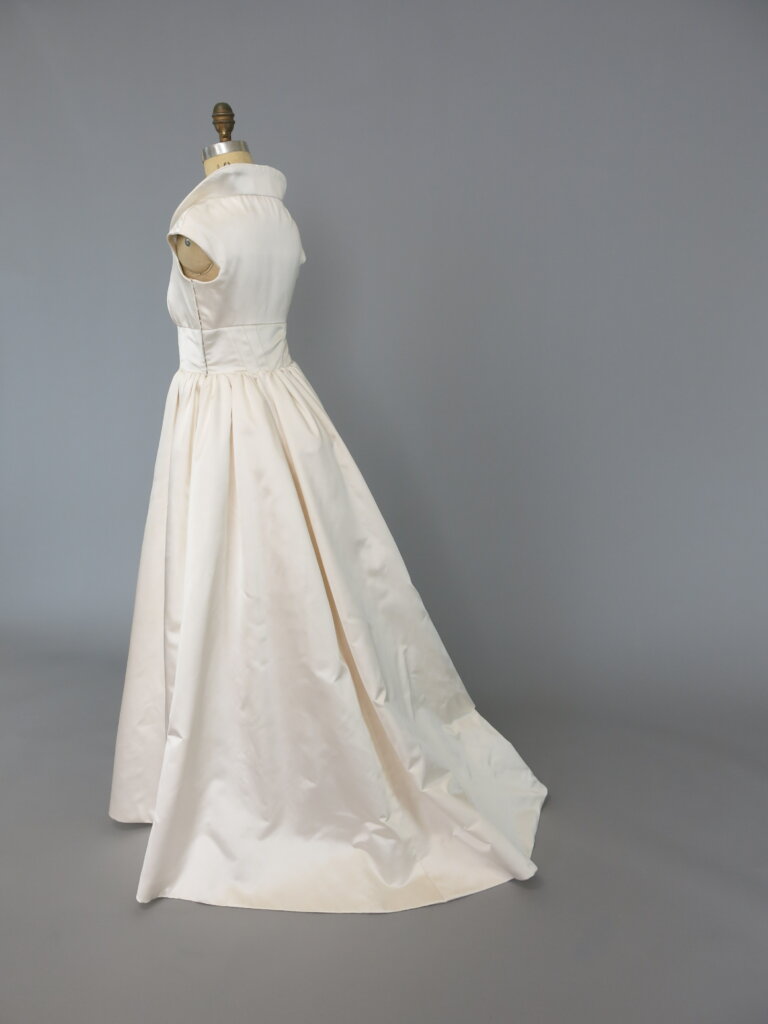
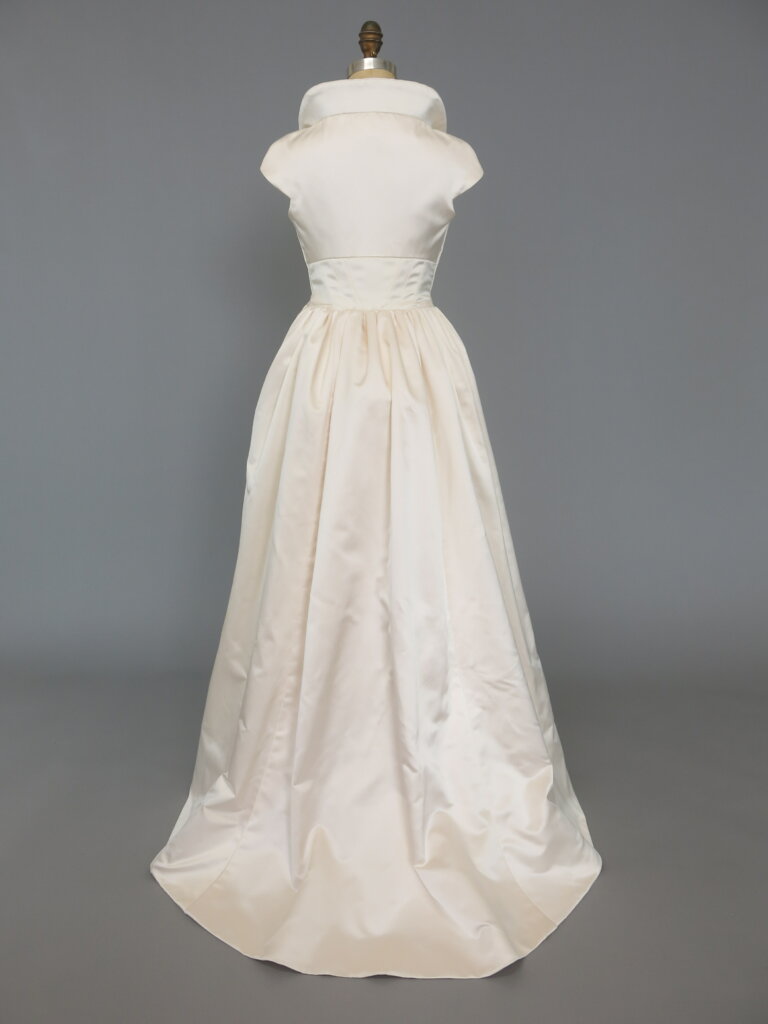
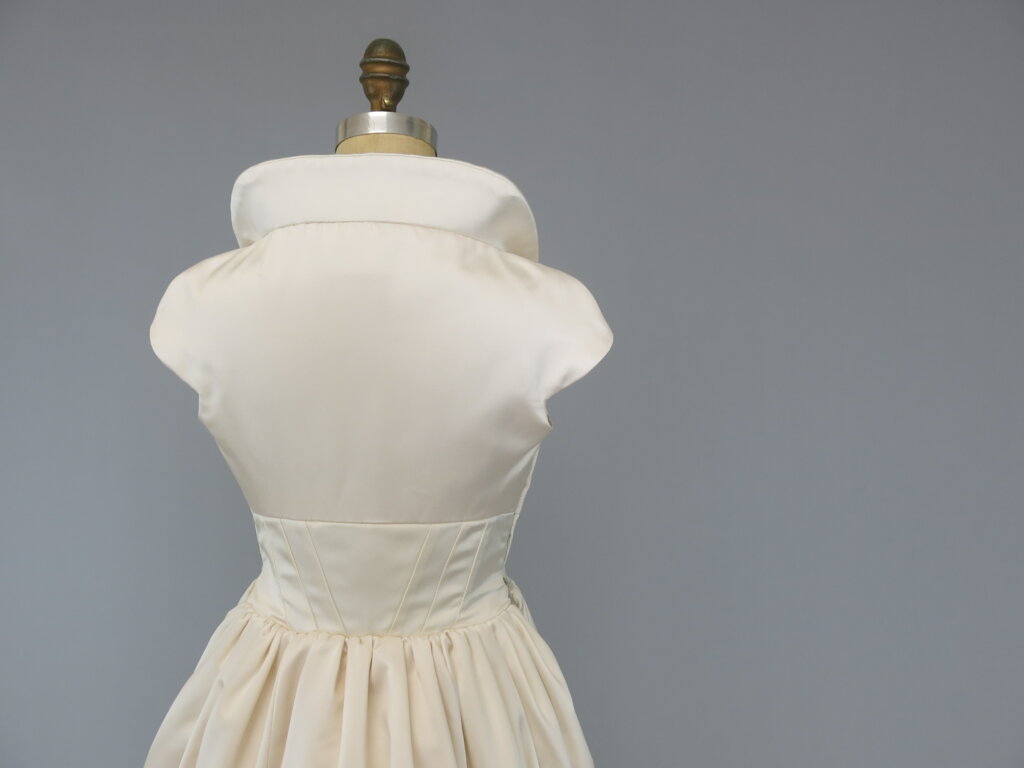
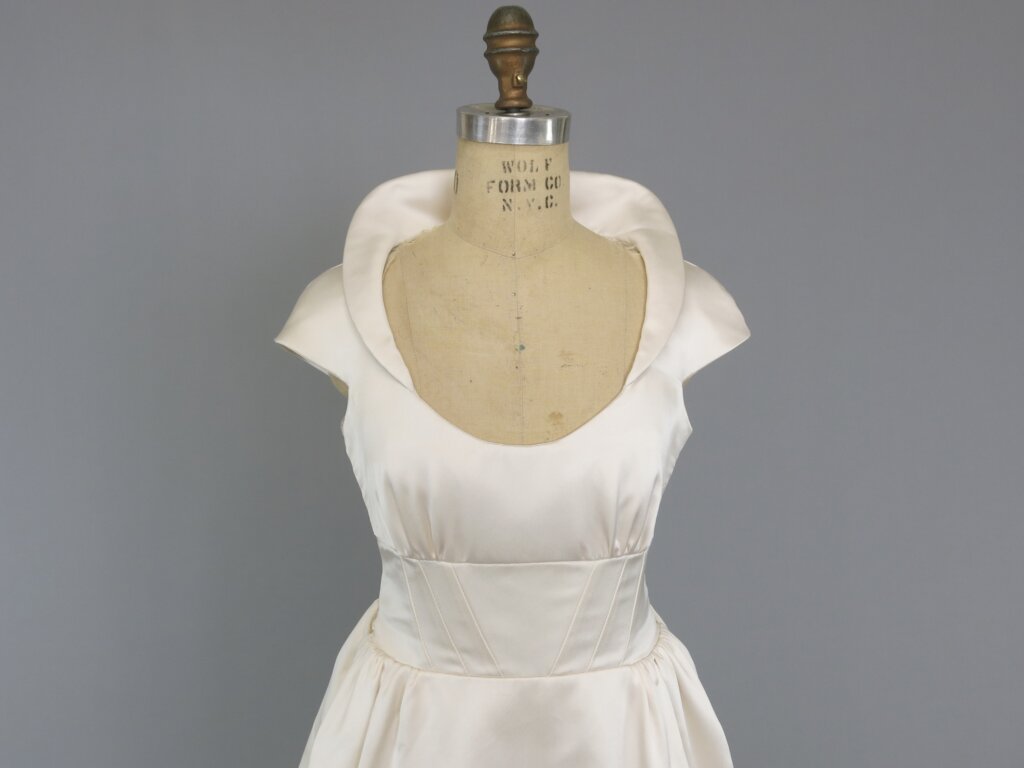
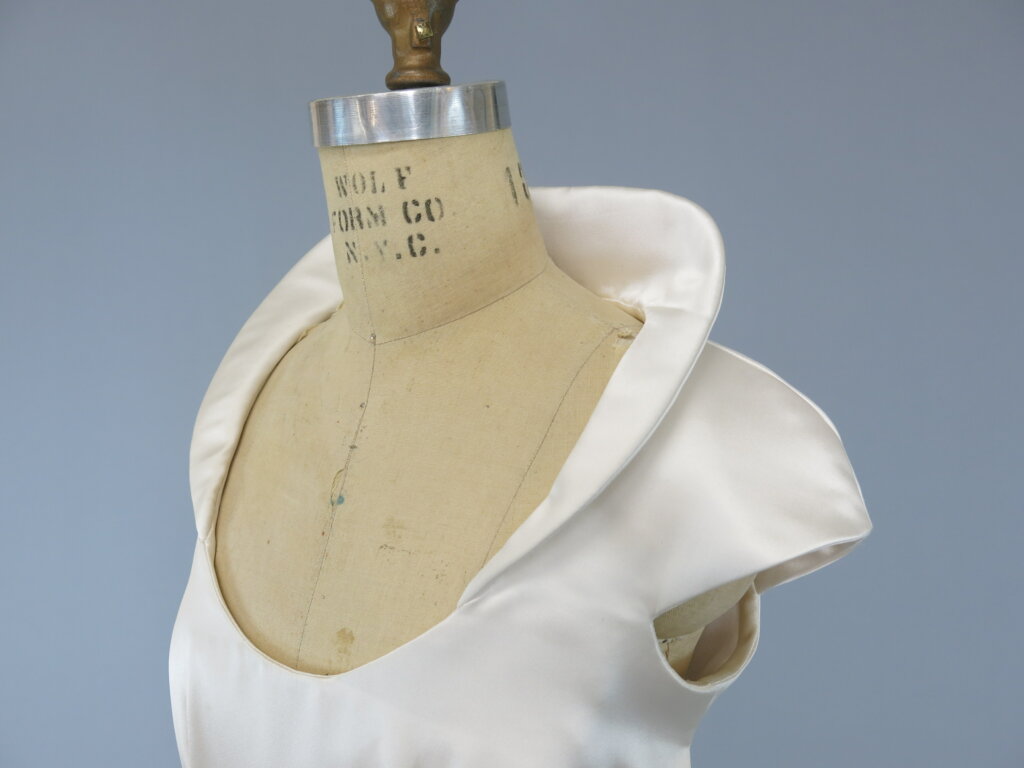
Pretty cool, if I do say so myself… This shot especially shows off the craftsmanship of the custom made collar and the cut-in-one sleeves.
That said, I couldn’t show off the true fit- and a custom wedding dress is so much more about the woman than itself…
So I asked Tiffany if she’d indulge me to model in a Delivery Day Photoshoot…
Aaannnnddd….
Delivery Day
…she said “Yes”!
Off the form and on the table, Tiffany’s dress was finally ready for Delivery Day.
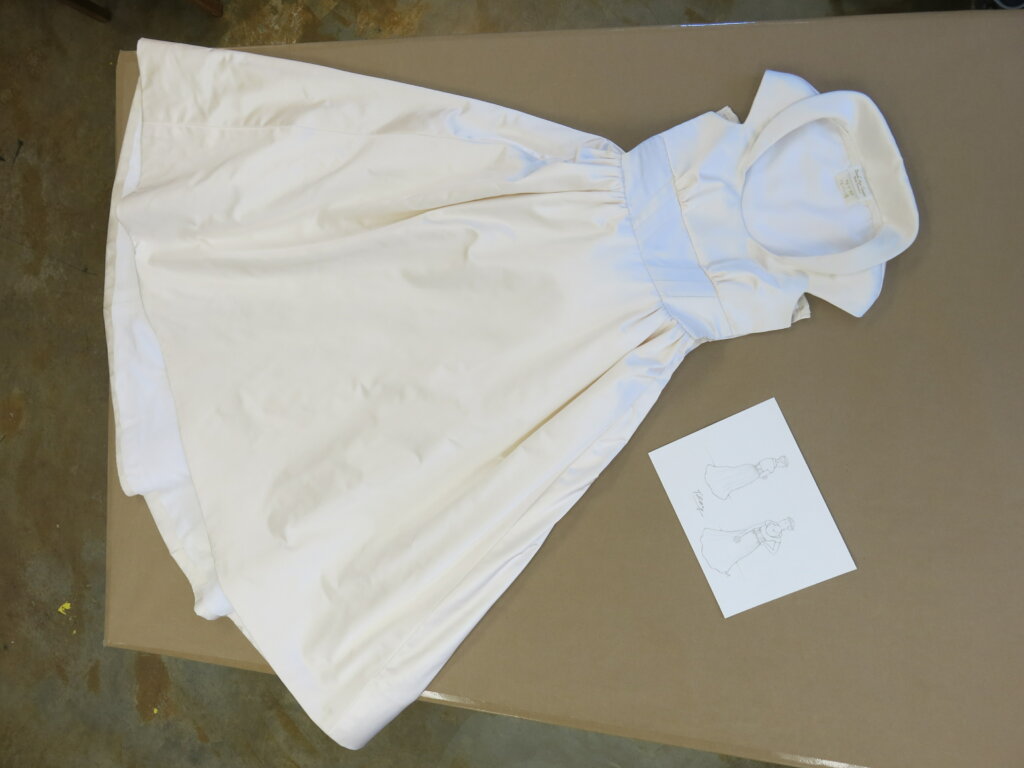
The Delivery Day is the first time Tiffany would try on the completed ensemble that she would be wearing on her wedding day (which was very soon)!
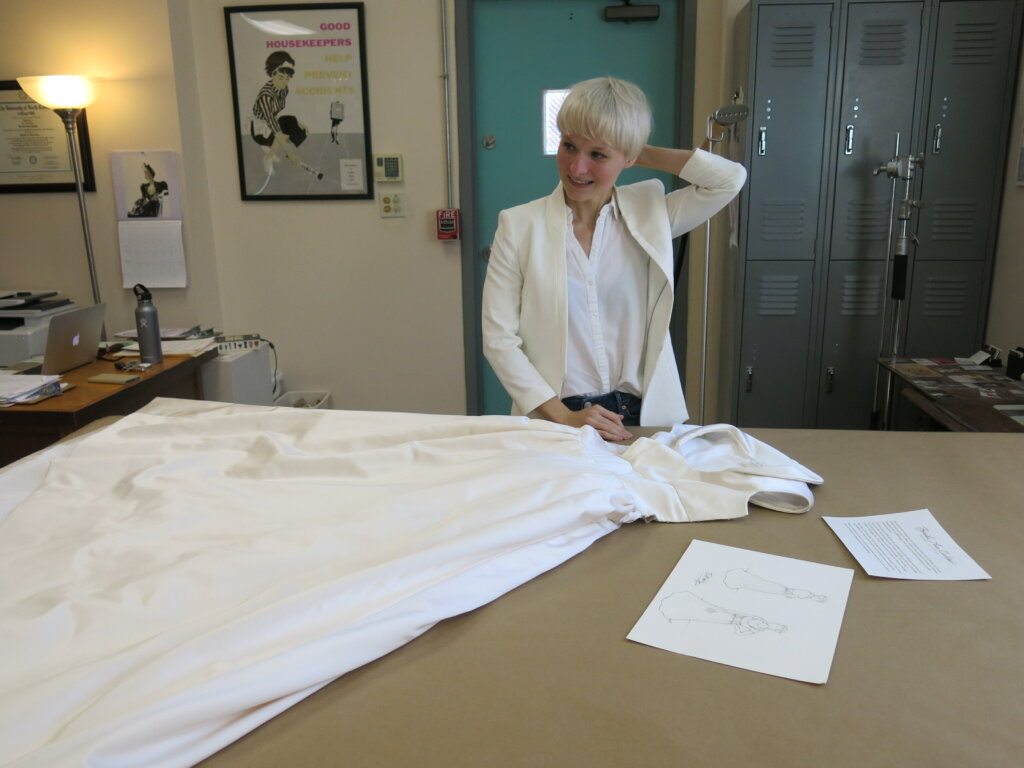
The dress was inspected on the table and then…
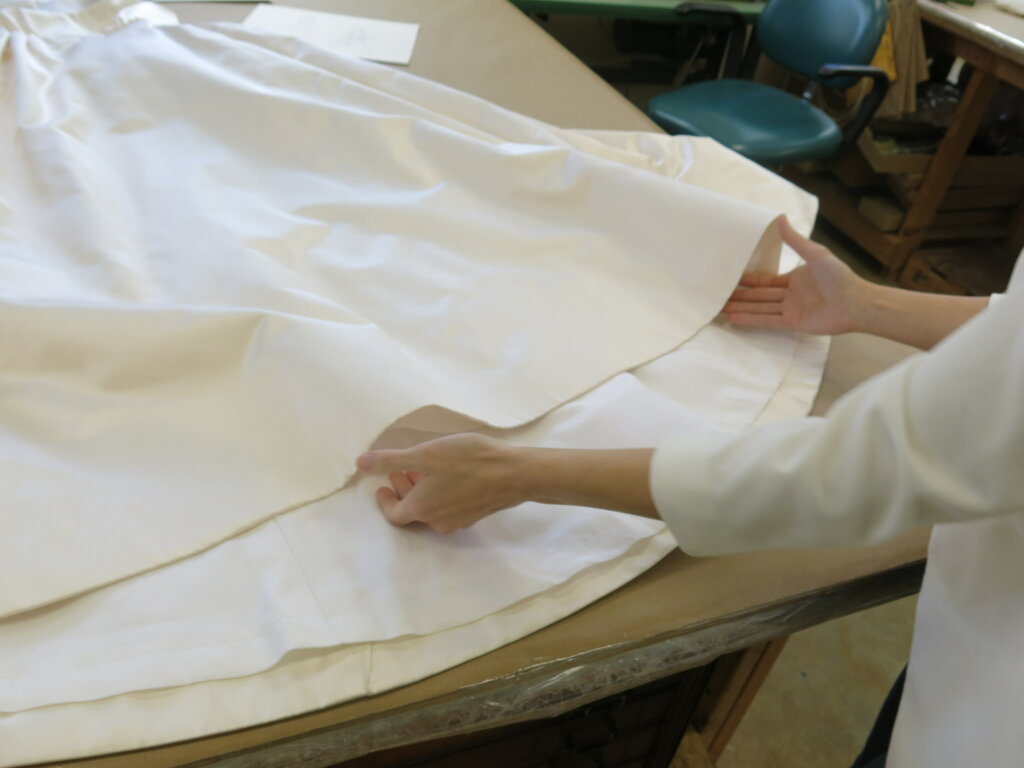
…Tiffany tried it on! Squeeeeeeeeeee……
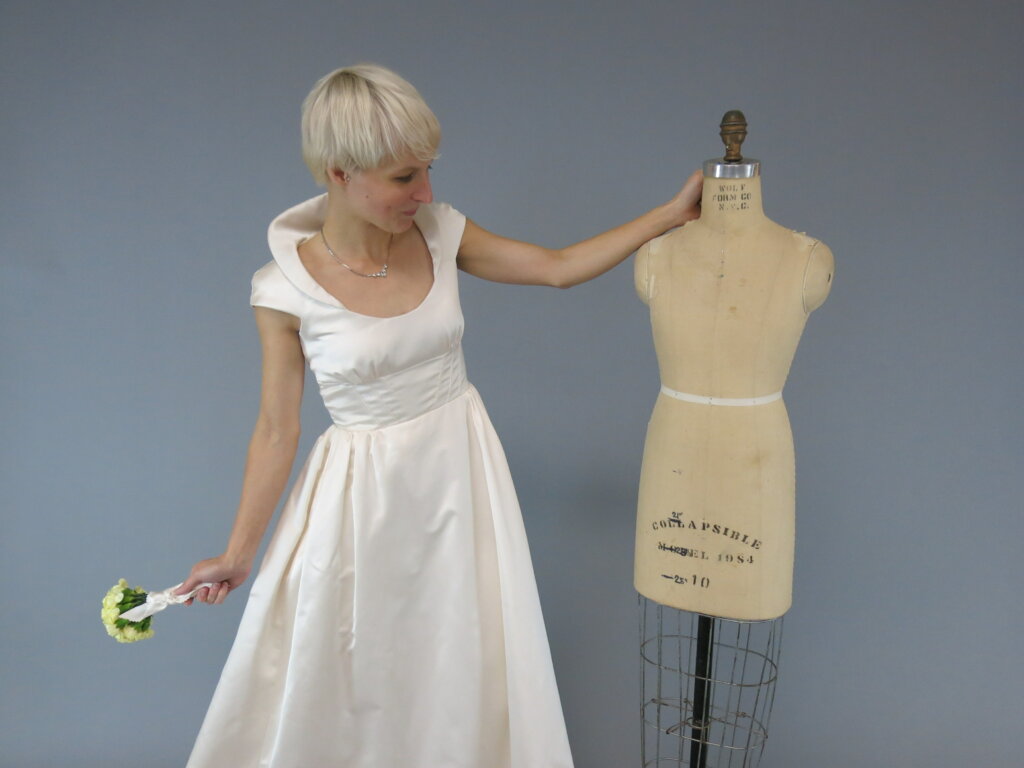
We took a few cute shots with the dress form still out…
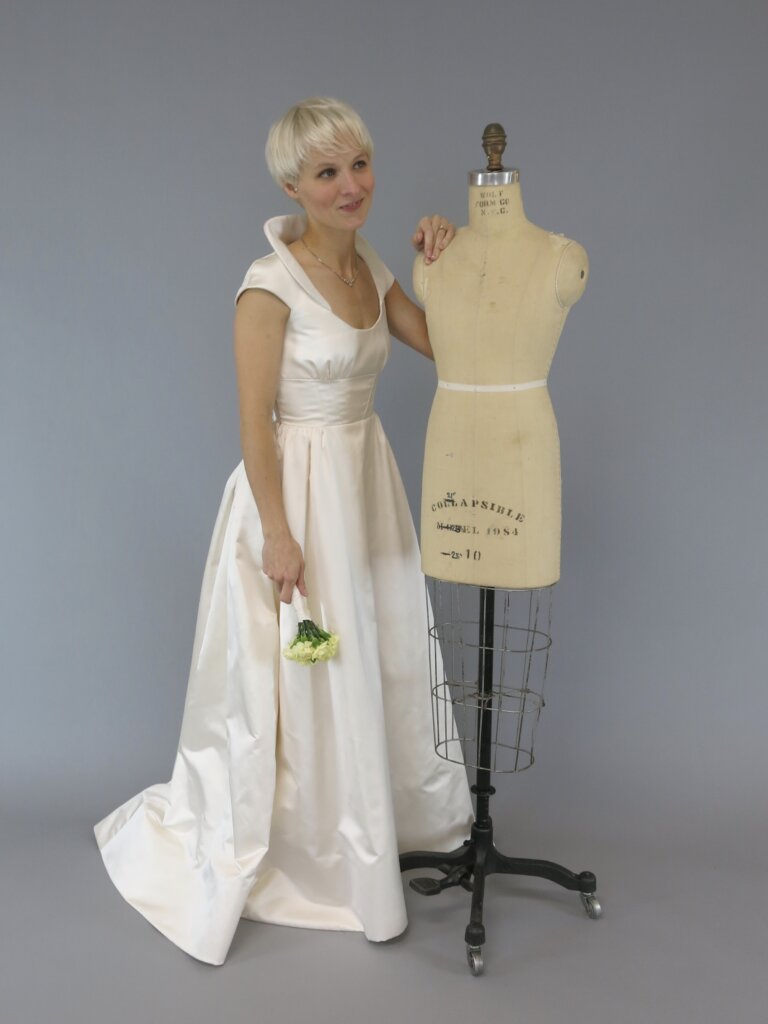
Then we kicked the dress form out of the shot…
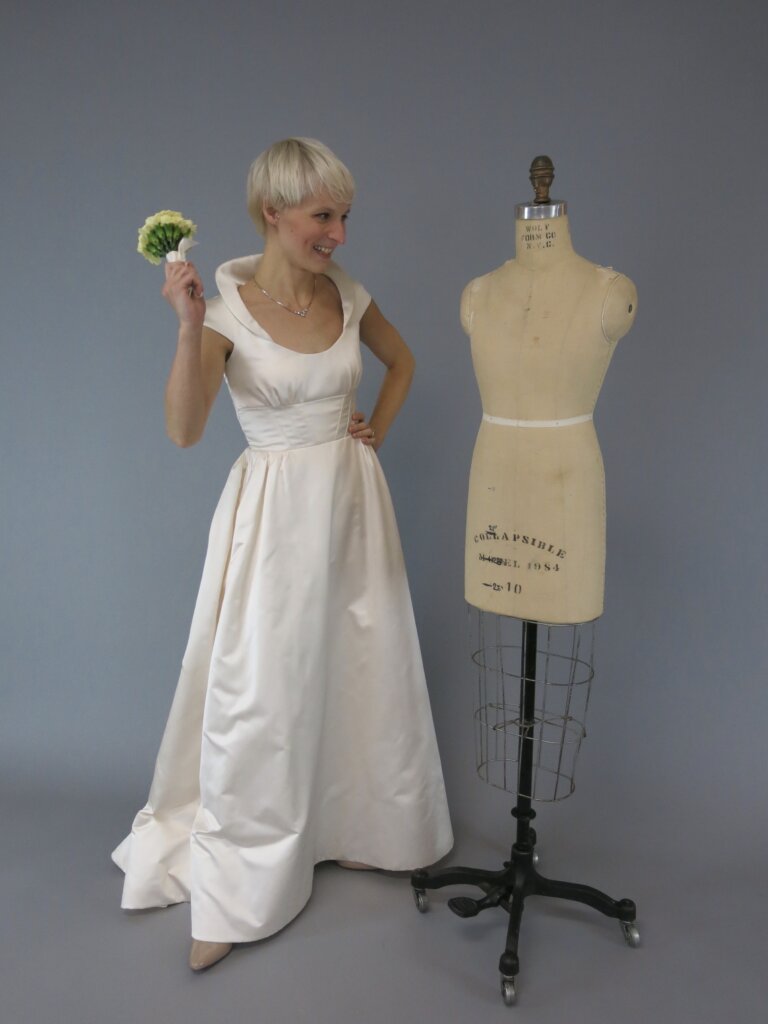
…to have a fun Delivery Day Photoshoot!
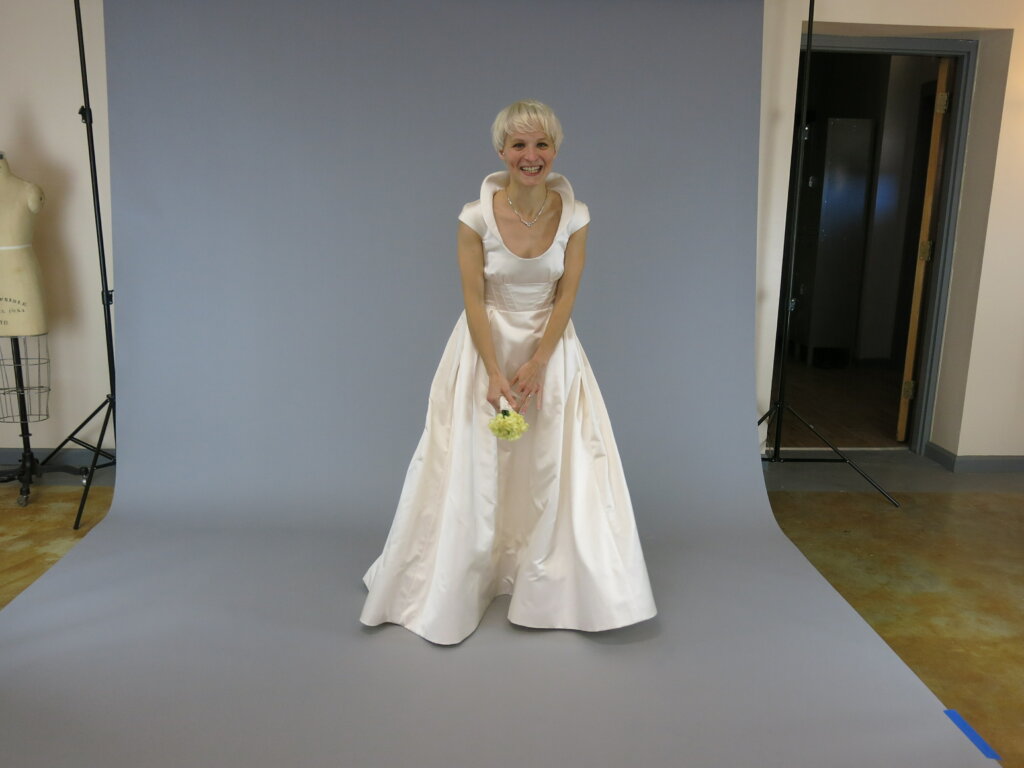
Delivery Day Photoshoot!
Without further ado (and without much editing), here’s my favorite shots!
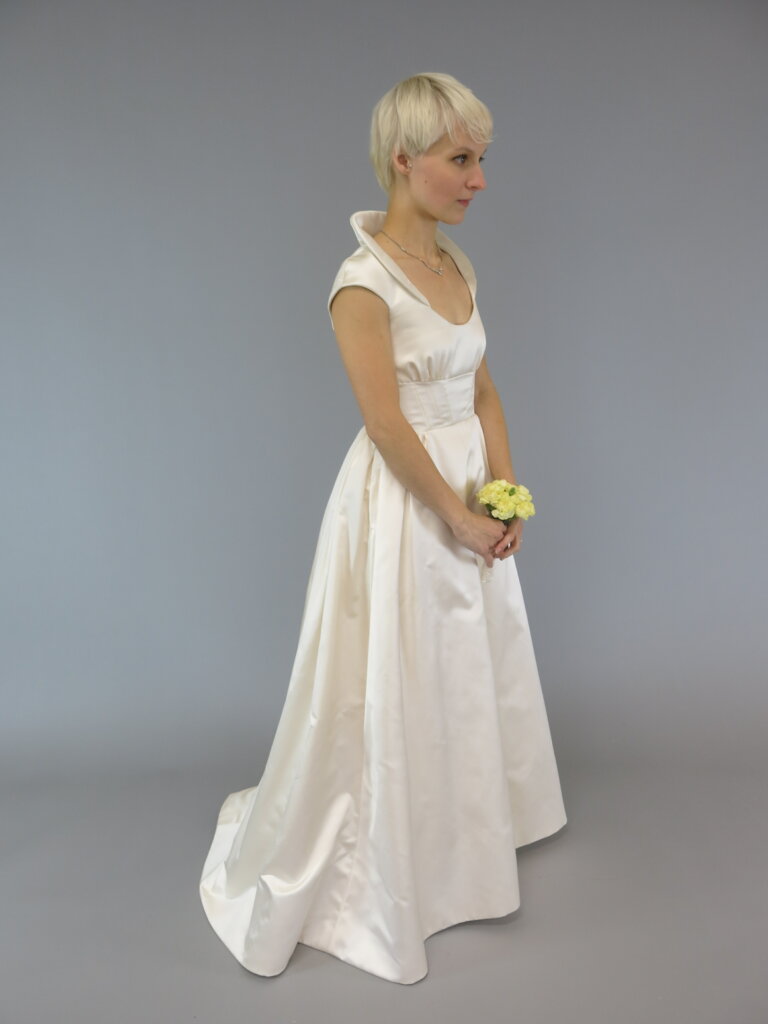
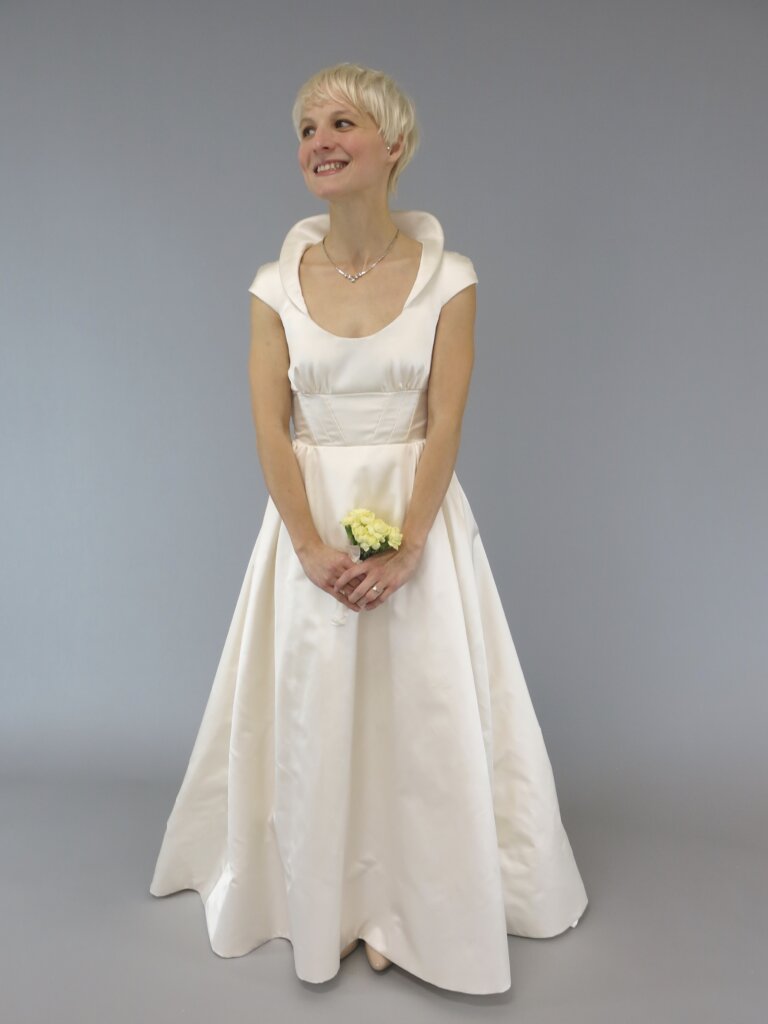
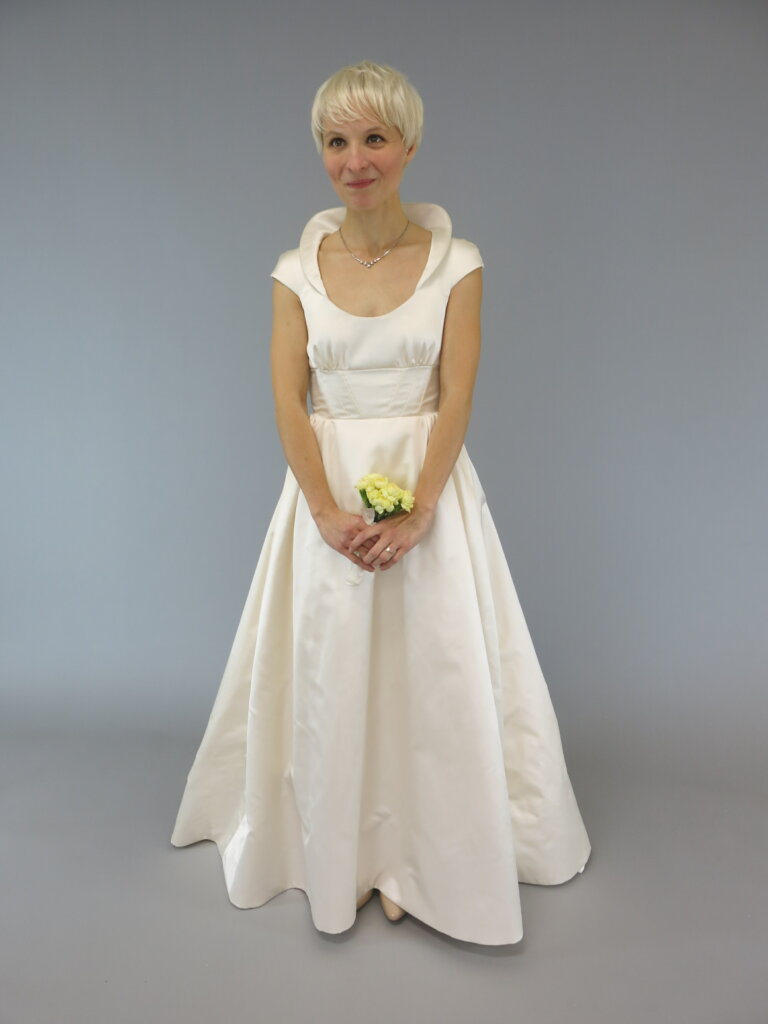
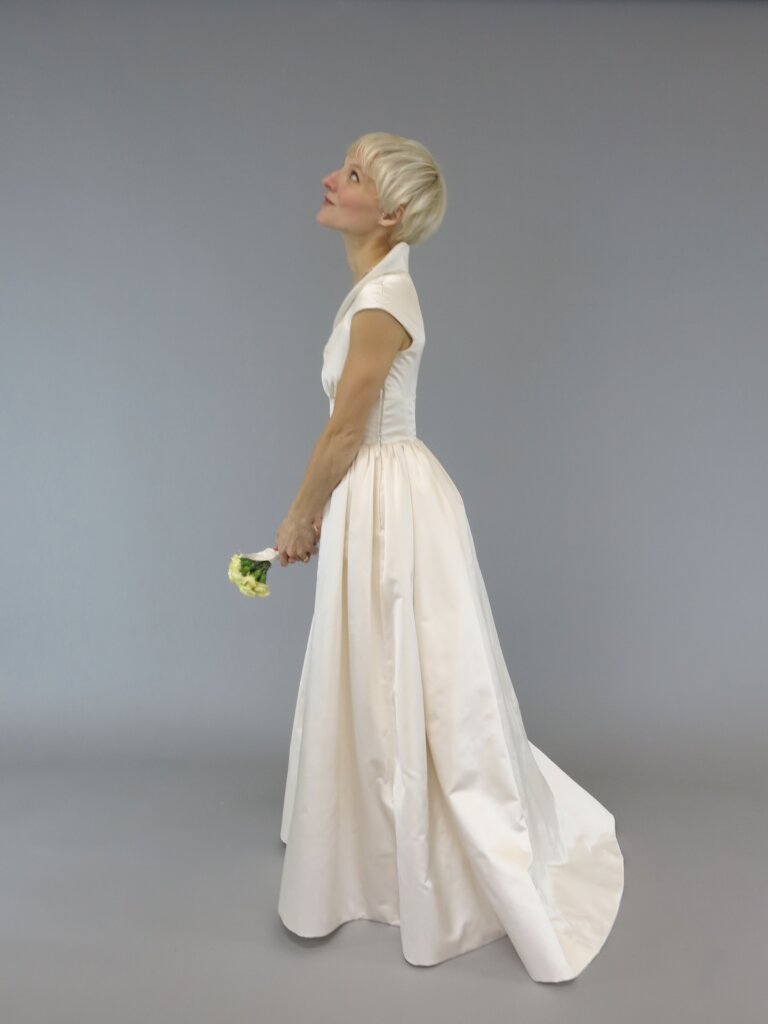
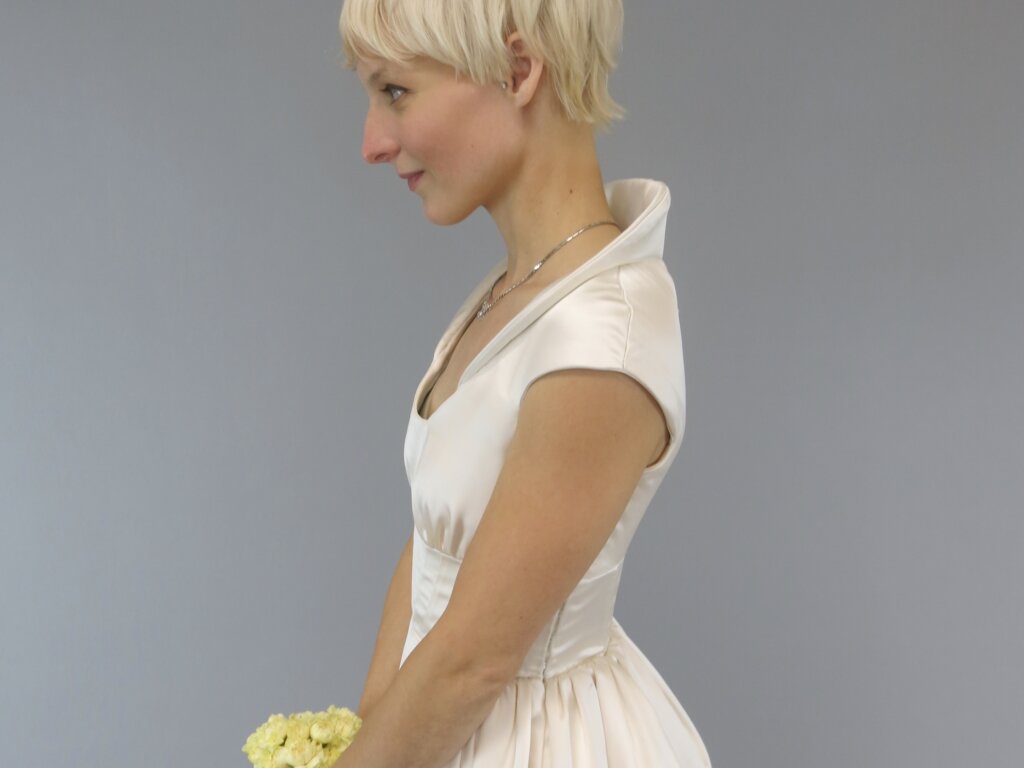
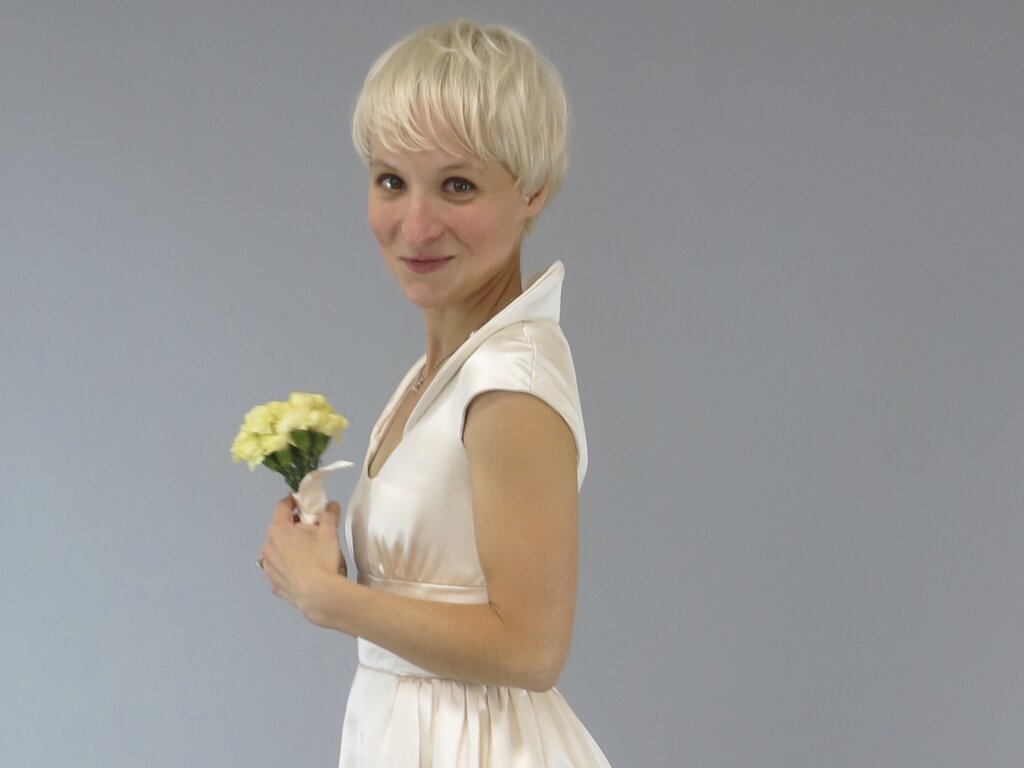
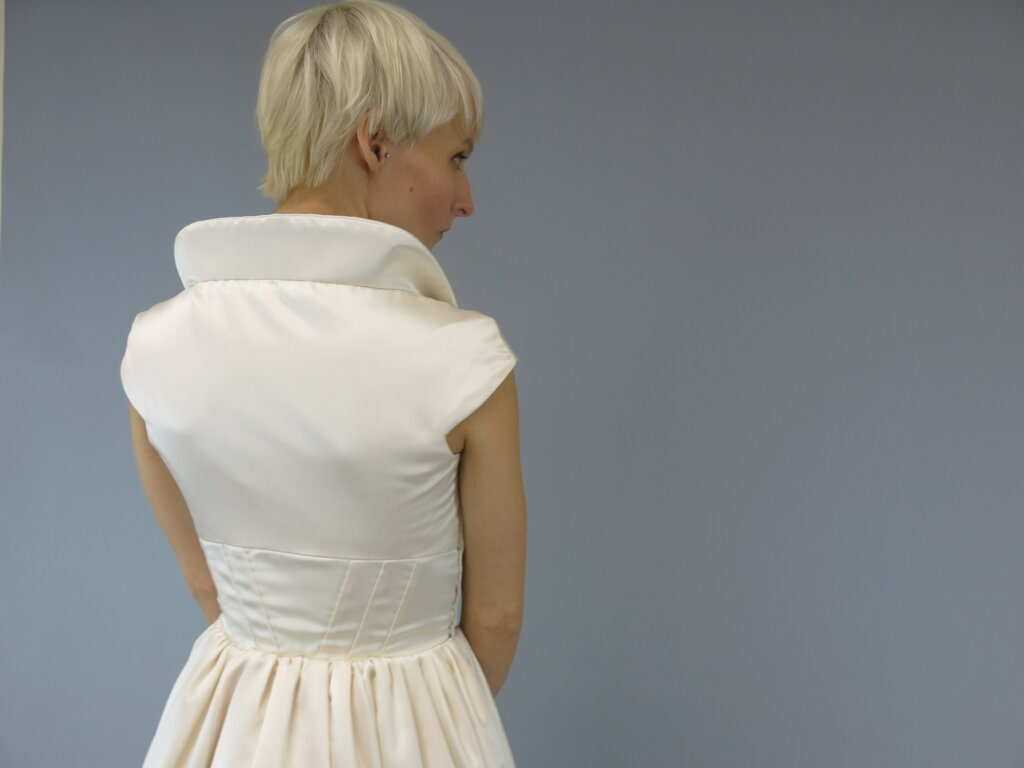
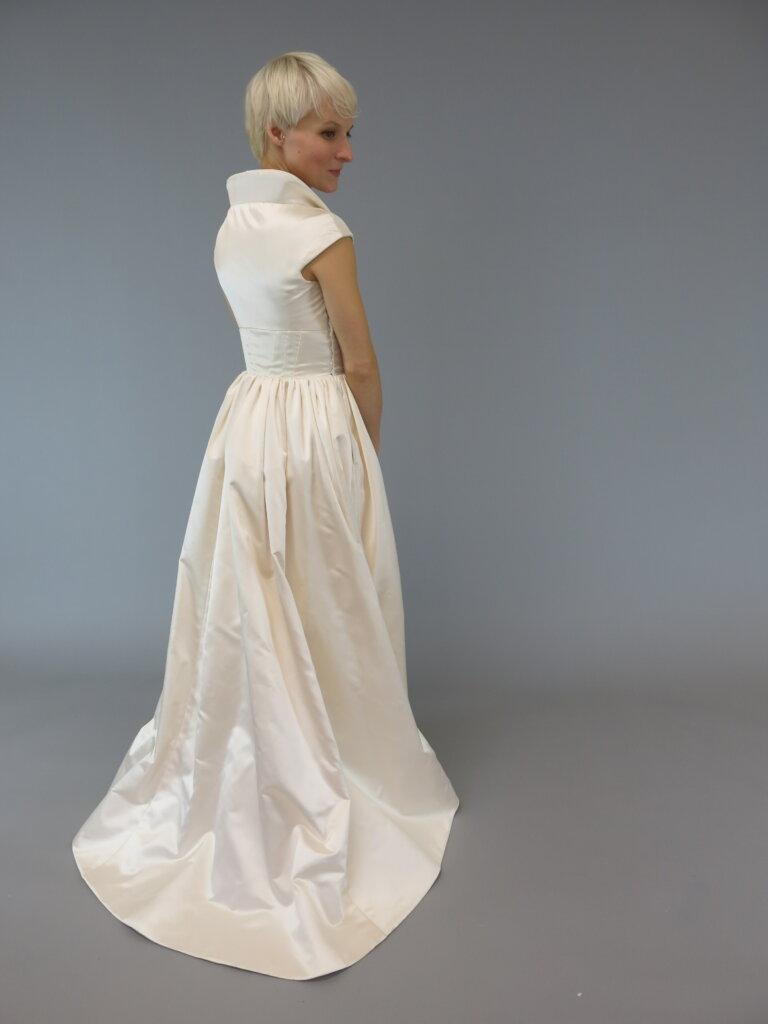
And, at the very end, we remembered to add the earrings!
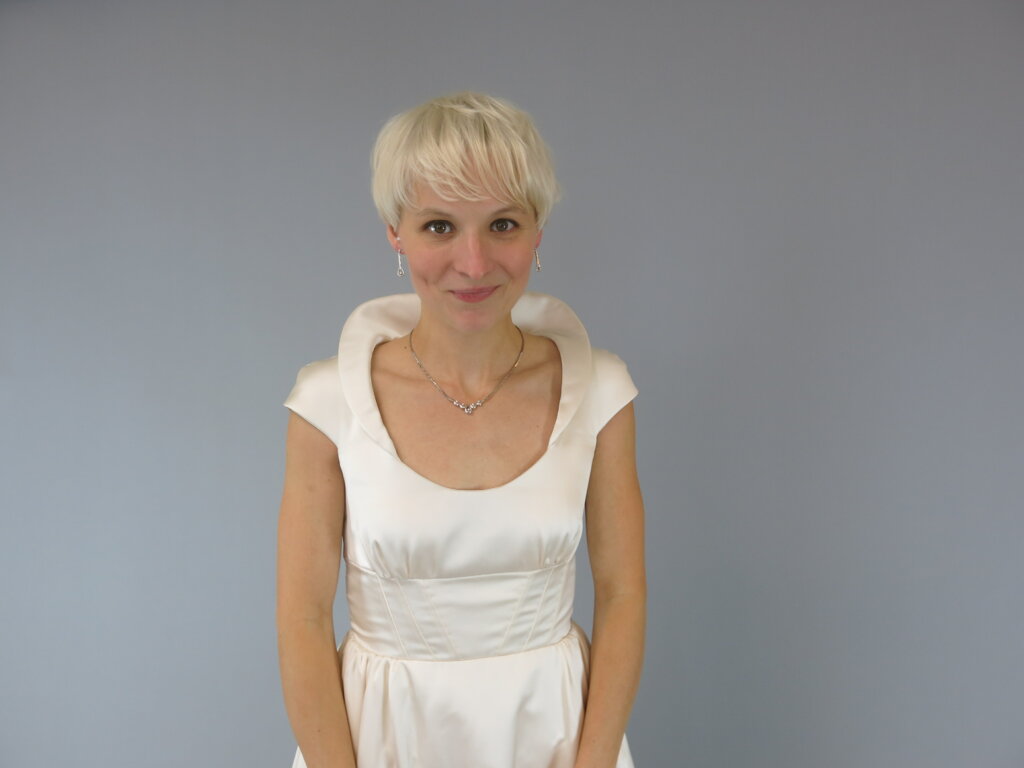
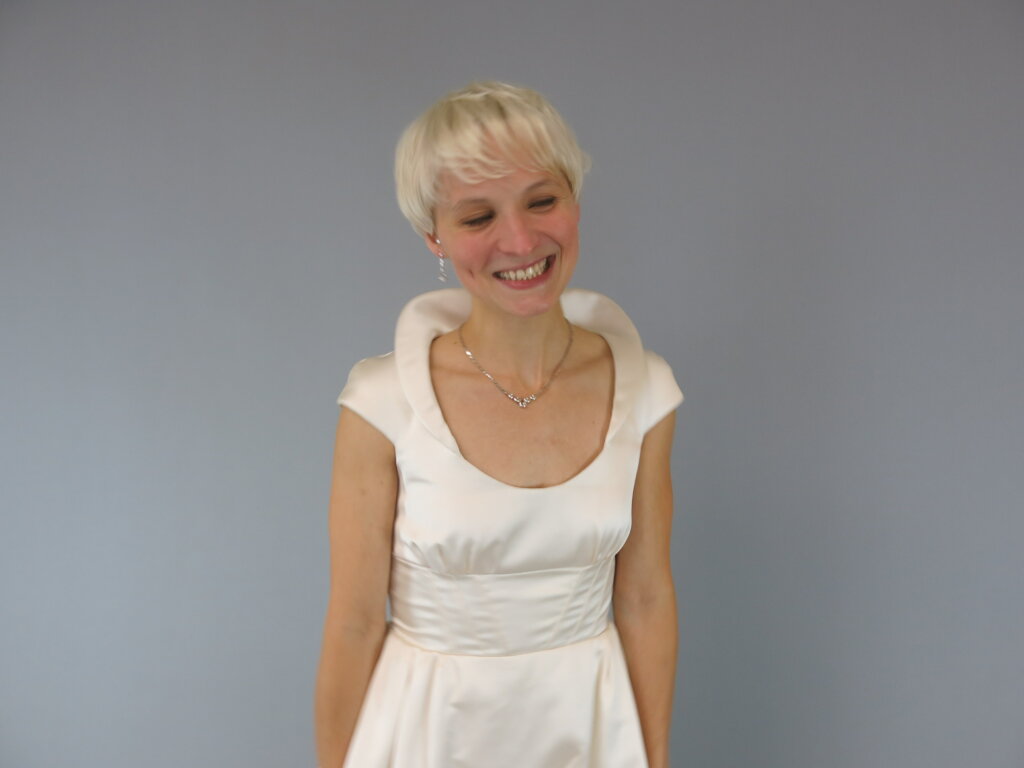
What a gorgeous woman in a gorgeous dress!
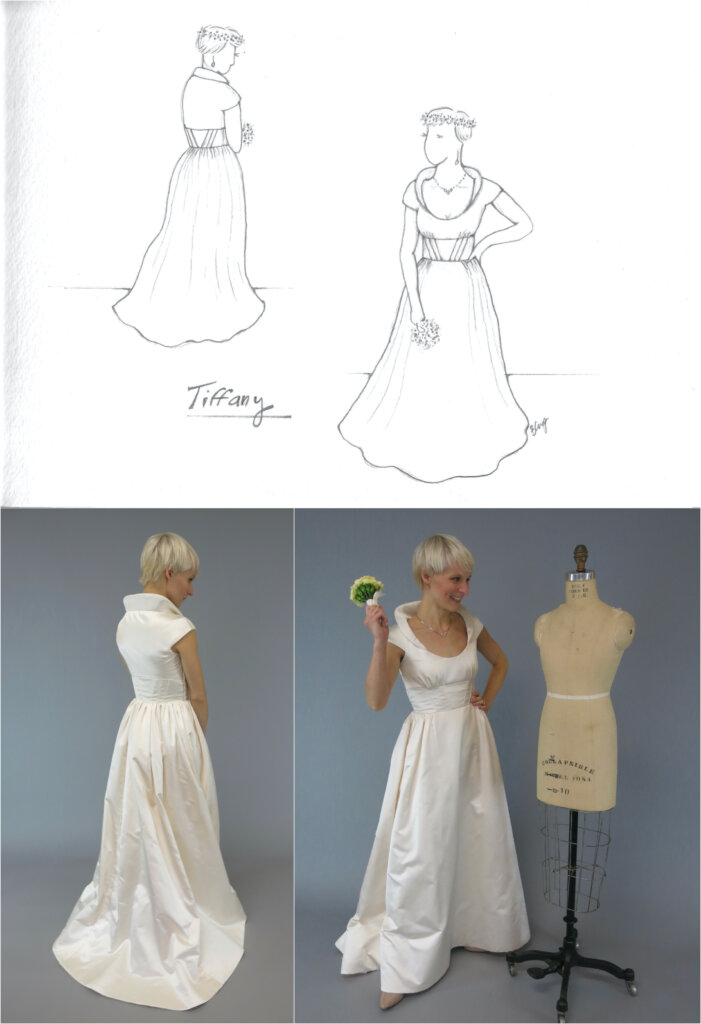
I was excited about how much the dress ended up looking like the sketch!
After finalizing the paperwork, Tiffany left the studio knowing I’d see her again on her wedding day very soon…
…which brings me to…
NEXT POST: I’ll finally wrap up Tiffany’s Bridal Blog Series with TIFFANY’S WEDDING DAY POST featuring photos from Three Region Photography !!! You won’t want to miss the gorgeous conclusion!


2 Responses
What a delightful journey from studio to delivery day! Your DIY photoshoot showcases the meticulous craftsmanship of Tiffany’s custom dress. The behind-the-scenes secret adds a touch of creative problem-solving, and Tiffany’s Delivery Day photos radiate joy and anticipation. A beautiful collaboration captured with skill and heart.
thanks!