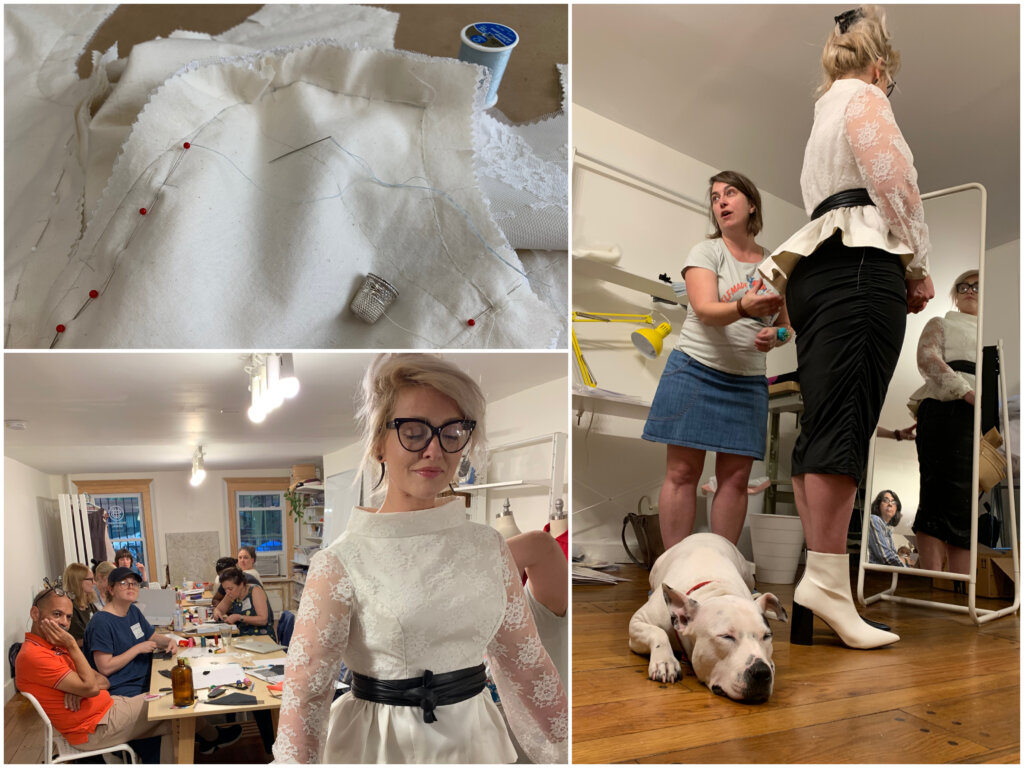
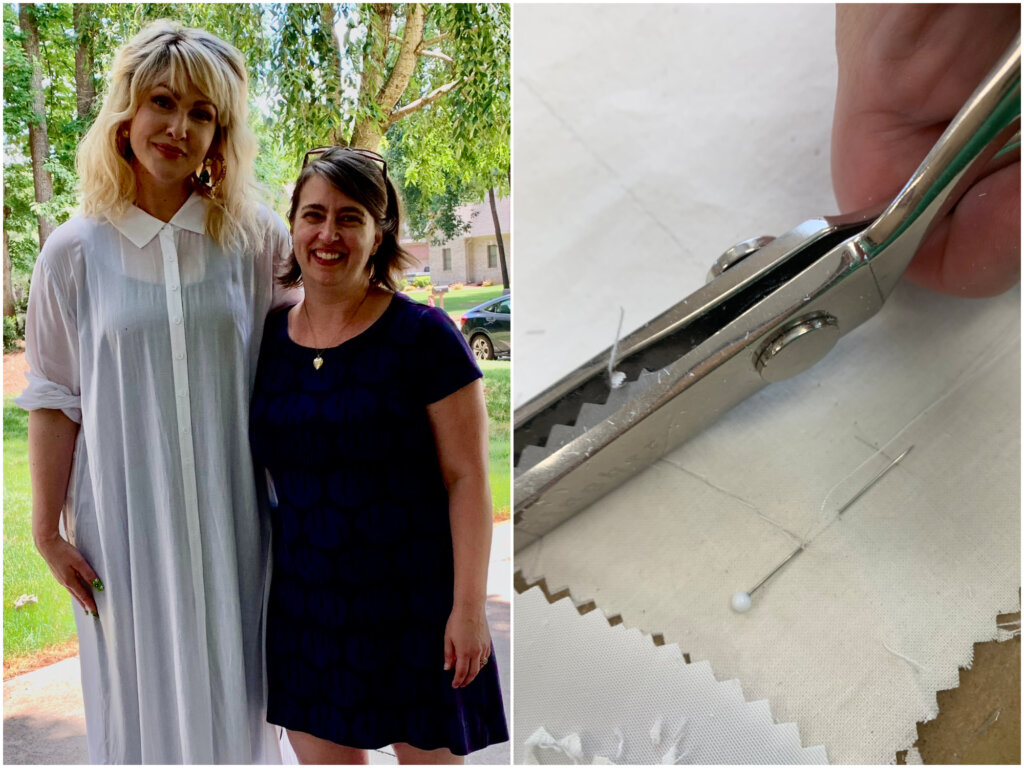
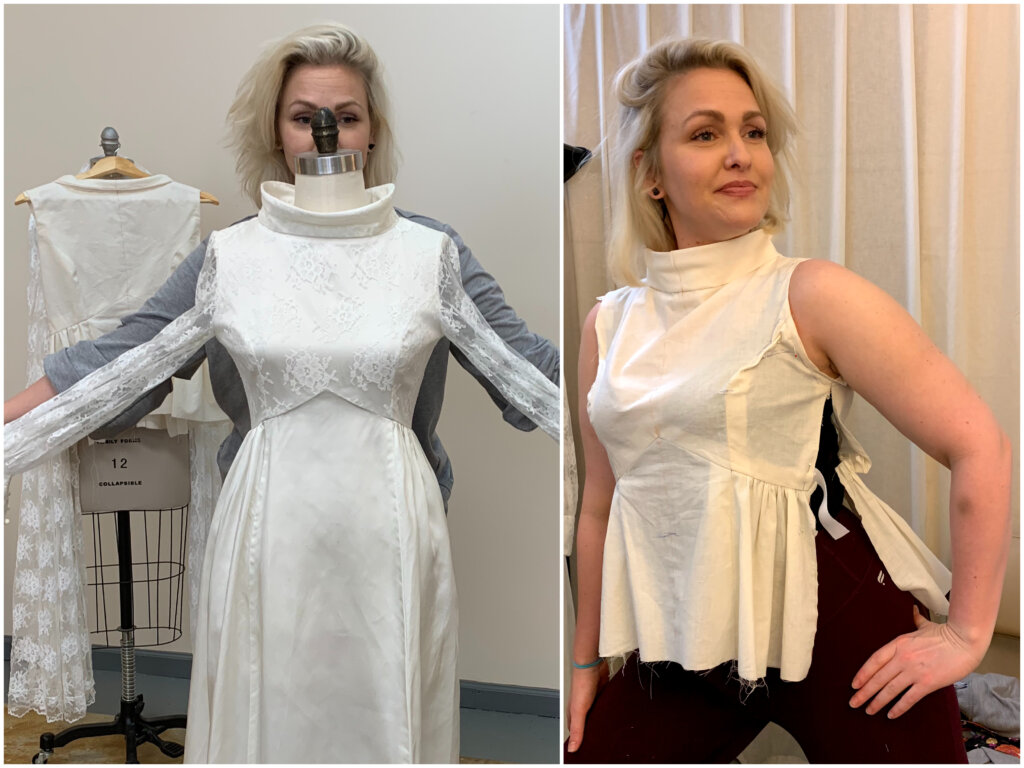
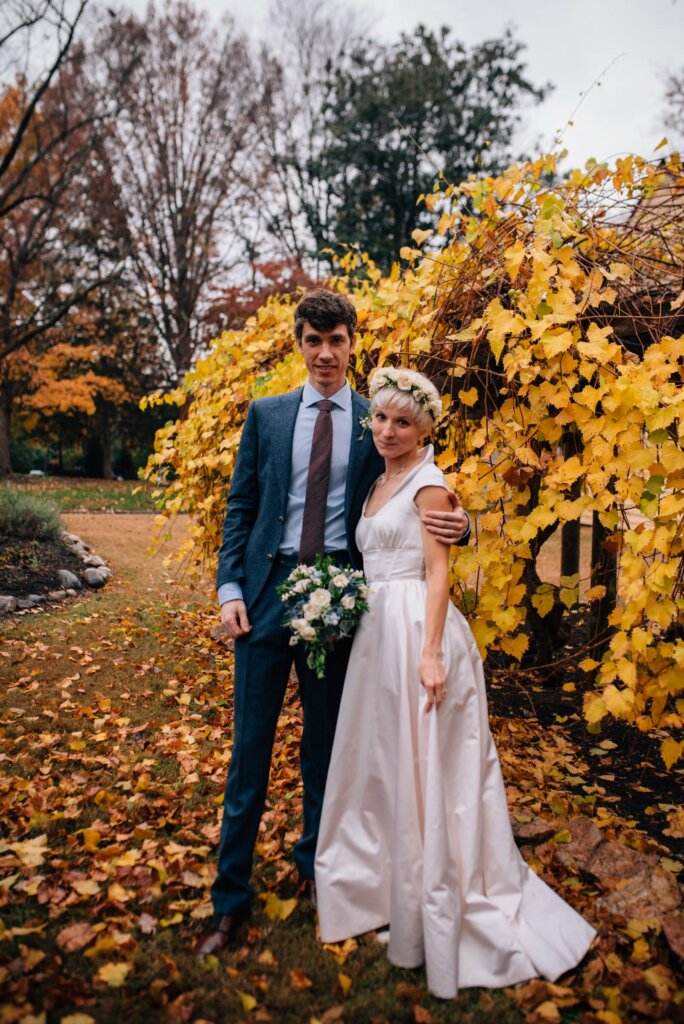
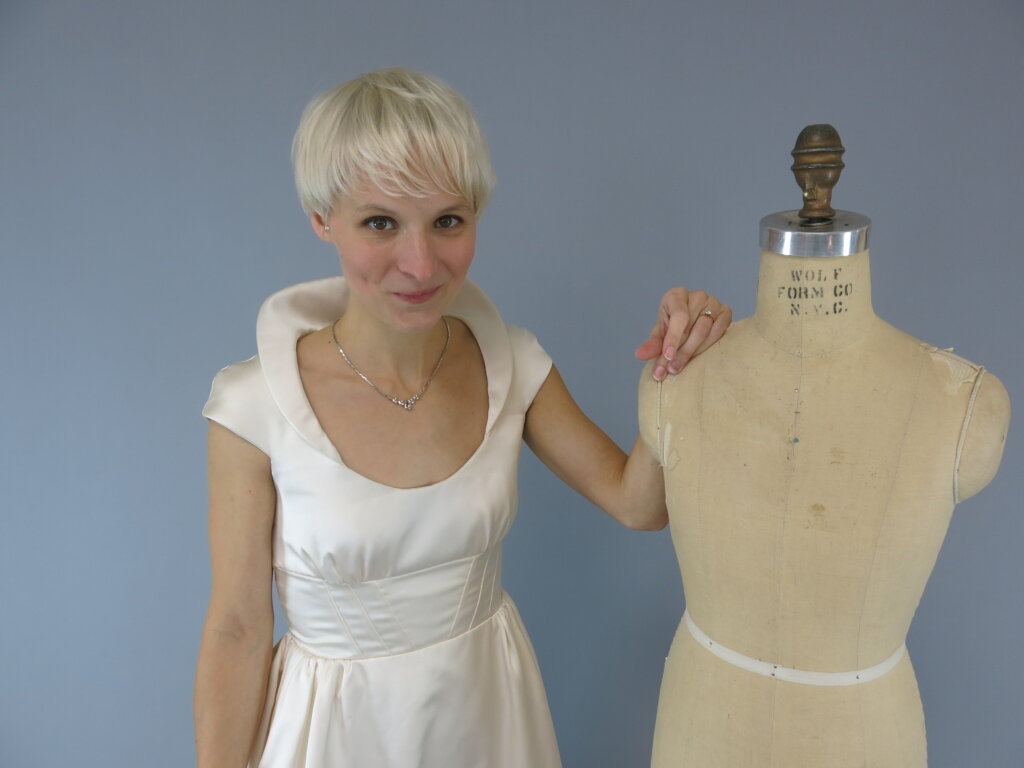
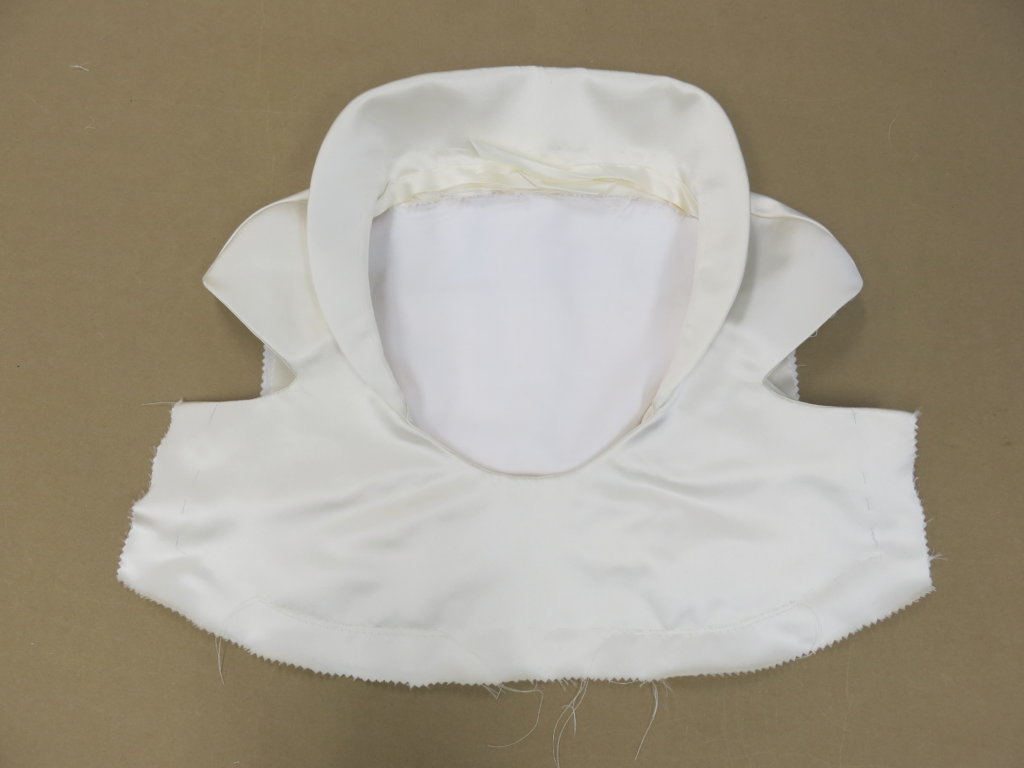
 A lot of work goes into a tailored collar in order for it to stand nicely in the back and roll beautifully across the shoulders. You can’t quite see it in this photo, but the inside of Michelle’s collar is pad-stitched by hand.
Pad-stitching is a fairly complicated technique used in tailored garments which attaches the interfacing (usually hymo or french canvas) to the undercollar. This technique allows the collar to to stand and roll both beautifully and predictably. Without proper interfacing and pad stitching, a collar lacks grace and stability.
The undercollar and the interfacing pieces are cut on the bias and joined with a center back seam. The roll-line (where you want the collar to break from standing to rolling across the shoulders) is first basted through both layers.
Below the roll line, a series of tiny chevron stitches are sewn by hand following the roll line while holding the collar over your other hand. Above the roll line, larger chevron stitches are sewn following the grainline, still rolling it over your hand as you sew. (You must be careful to only pick the tiniest stitches into the undercollar with a thread color that matches the garment, so that they are virtually invisible once the collar is completed!) Sewing by hand and rolling the layers while stitching is what creates the beautiful rise and fall once it is attached to the garment. The two layers become molded as one and, once it is steamed on a ham, it will never lay flat again!
Since you can’t see the stitches in the photo above due to the light thread color, I wanted to find a picture of pad-stitching to share. The best drawings I could find were actually in Reader’s Digest Complete Guide to Sewing.
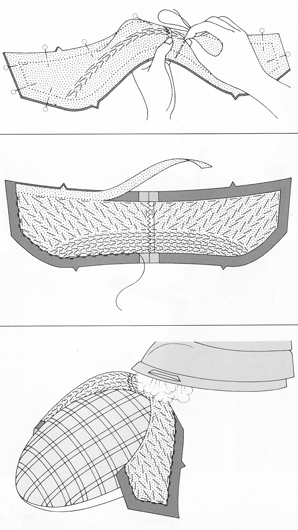
Pad-stitching is a bit tedious, but ultimately it creates a beautiful collar, and once you get the hang of it, it is really fun to do!











One Response
I’ve always been amazed at how detailed this kind of work is.