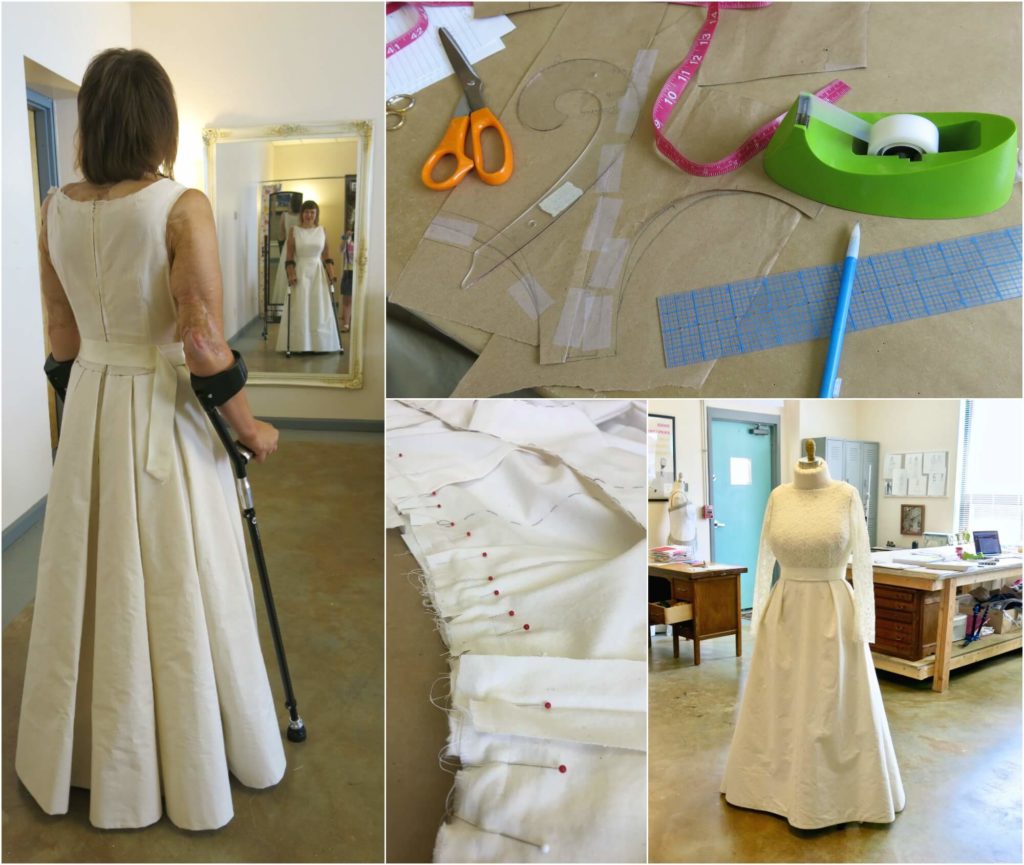
After creating Deborah’s first mockup dress, it was time for her to try it on in our first mockup fitting! A mockup dress is a ‘test dress’ designed specifically for making changes and trying new ideas. I adore the mockup process! It removes all the pressure of getting things perfect on the first try (or second… or third…) and allows you to play around with design and fit changes with no risk of messing anything up! It’s so fun ya’ll… With each new test, you learn more and more about how to create the dress while also gaining practice and confidence before touching any precious fabrics.
If the mockup is my favorite part of the custom process, pattern corrections are likely my number two, and multiple mockups are most often a must. This post will take you all the way through our first fitting, its corrections, and crafting a second mockup dress!
The First Mockup Fitting
My first drafts were not too shabby before any changes, but definitely had room for improvement. The mockup’s waist was too roomy and not exactly following Deborah’s natural waistline and the hem length was too short which took away some of the skirt fullness we were trying to achieve. The neckline and shoulders also weren’t quite the shape the bride-to-be was dreaming of. Without a doubt, Deborah already looked gorgeous in this dress (even in plain muslin), but we knew we could do even better!
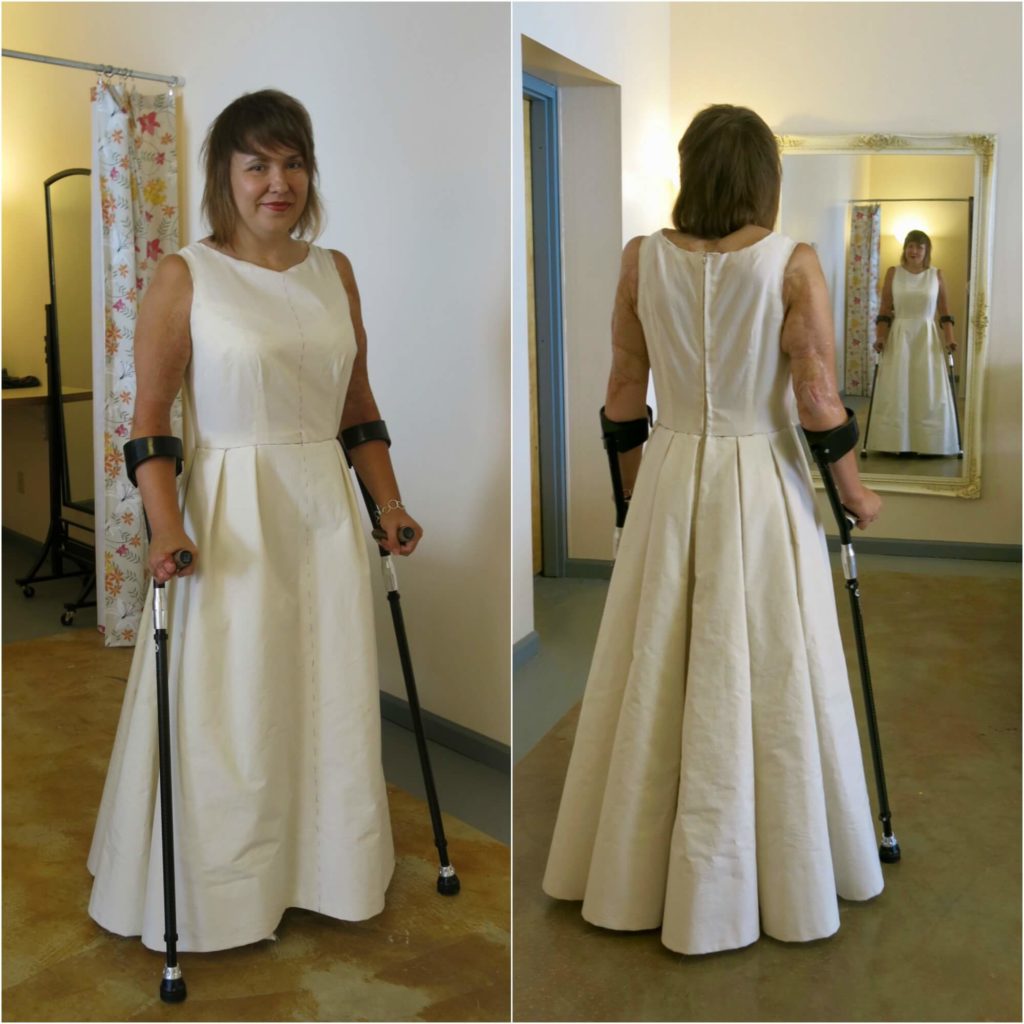
I pinned out a lot of excess fabric from the side seams to better match Deborah’s tiny waist while also marking a better placement for her waistline (with the help of the ribbon belt). We also played around with the shape of the neckline and the width of the shoulder. I tested the shoulder changes on only one side and the seam allowances had already been clipped (which made it look kinda weird). No worries! I’d be able to use all the info from our fitting to create something much nicer the next time around!
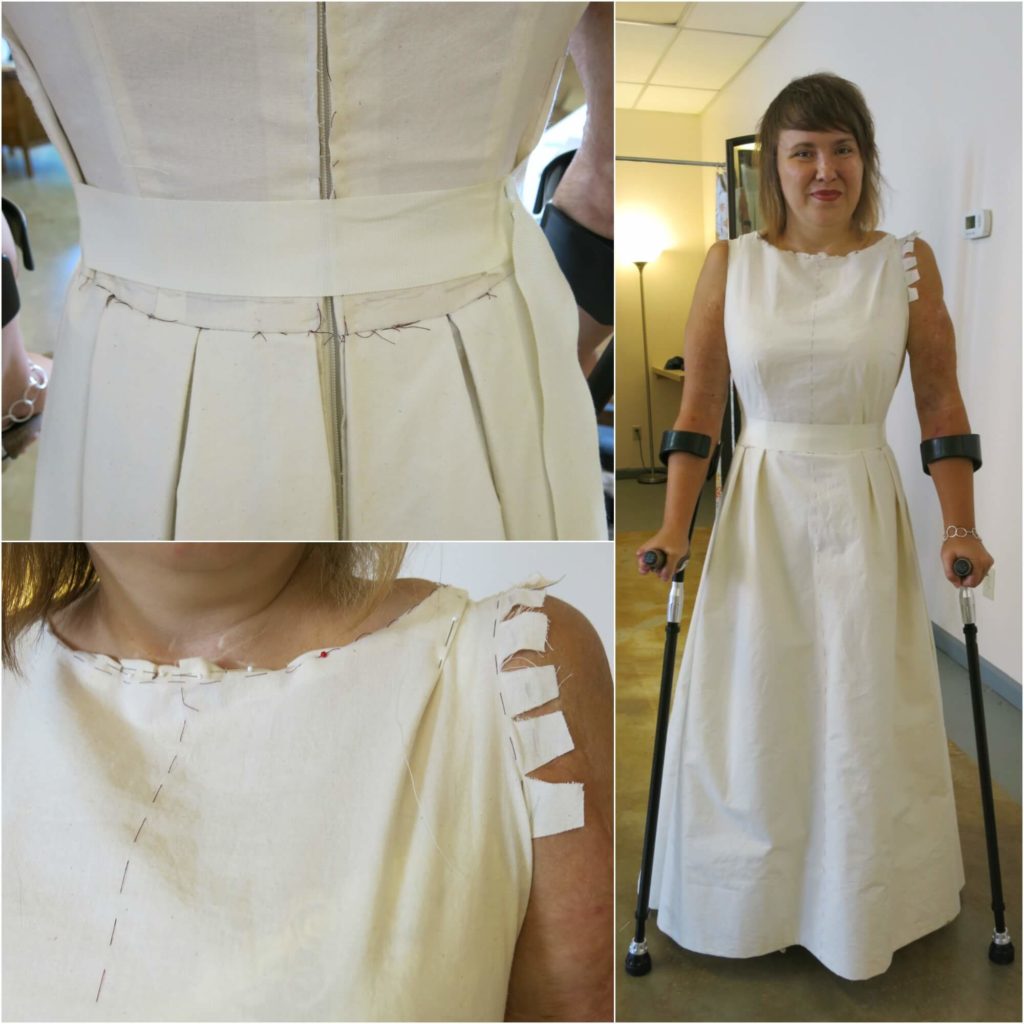
Since the improvements to the top moved into clipped areas and the improvements to the waist affected the math of the pleats, I would not be able to quickly transfer our revisions back to this mockup dress for Round Two. A second mockup dress would need to be created for our second round of tests!
Pattern Corrections
I love post-fitting pattern corrections. I love all the messy tape and lines and puzzles to solve. Many patternmakers enjoy creating very clean and precise patterns, but I adore seeing the whole messy story of all the changes and all the history stored in the paper!
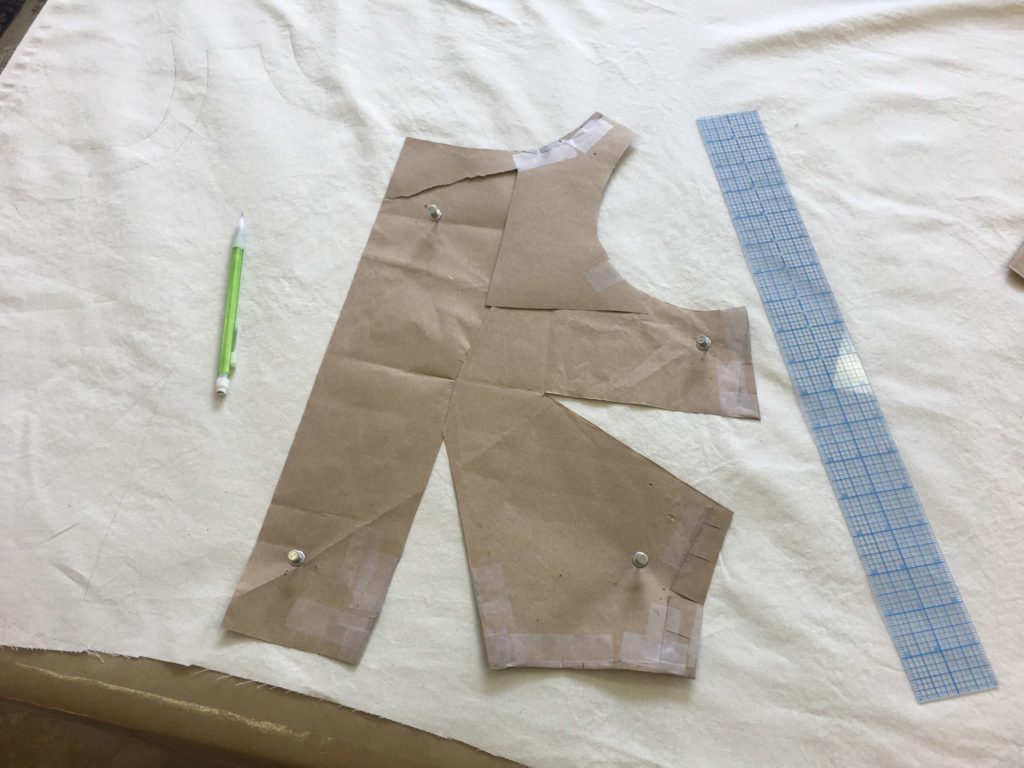
If possible, I like to keep the old versions somewhere within the new ones. In the photos below, I am taking in the side seams to match Deborah’s small waist. Instead of drawing in the changes and cutting away the excess, I like to clip into the changes and tape them to the back. The original attempts are still stored in the pattern, while being totally tucked away…
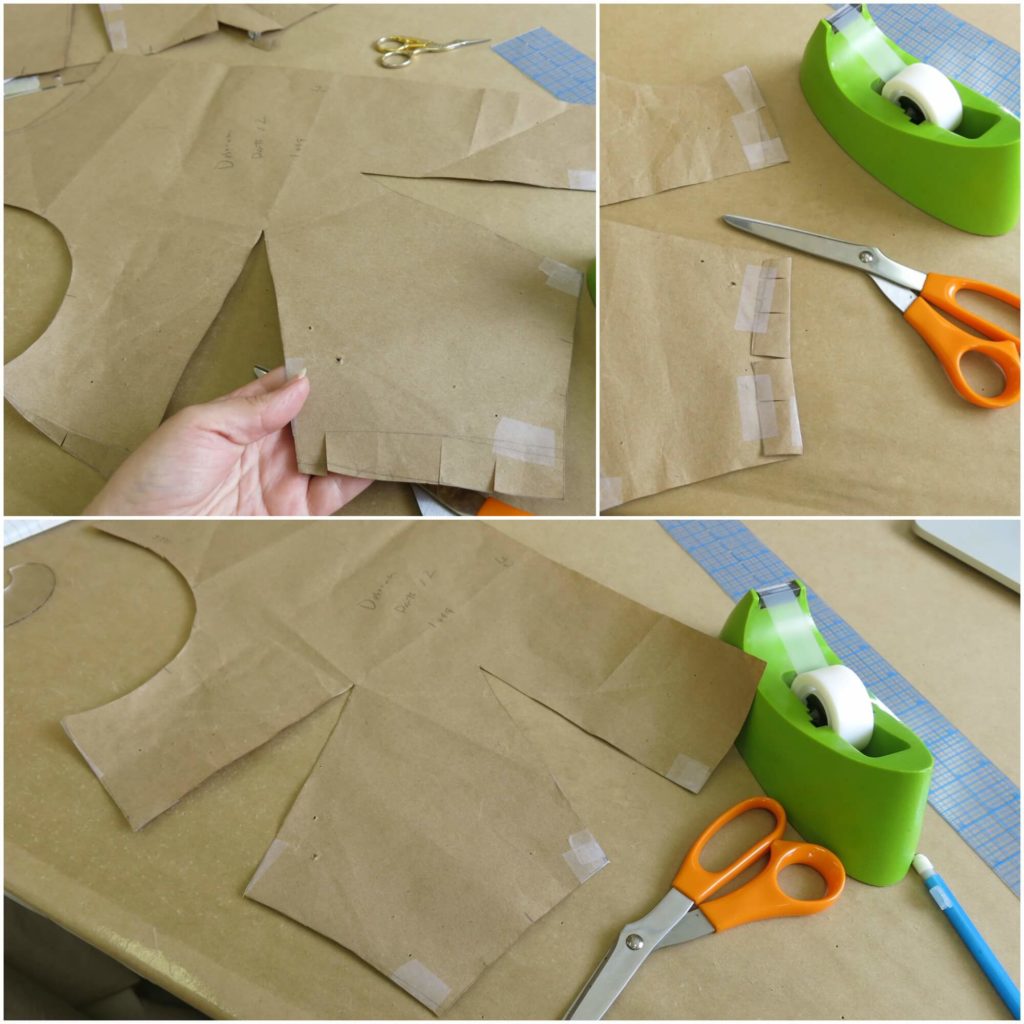
Next I played around with our shoulder and neckline changes. I measured the new goals…
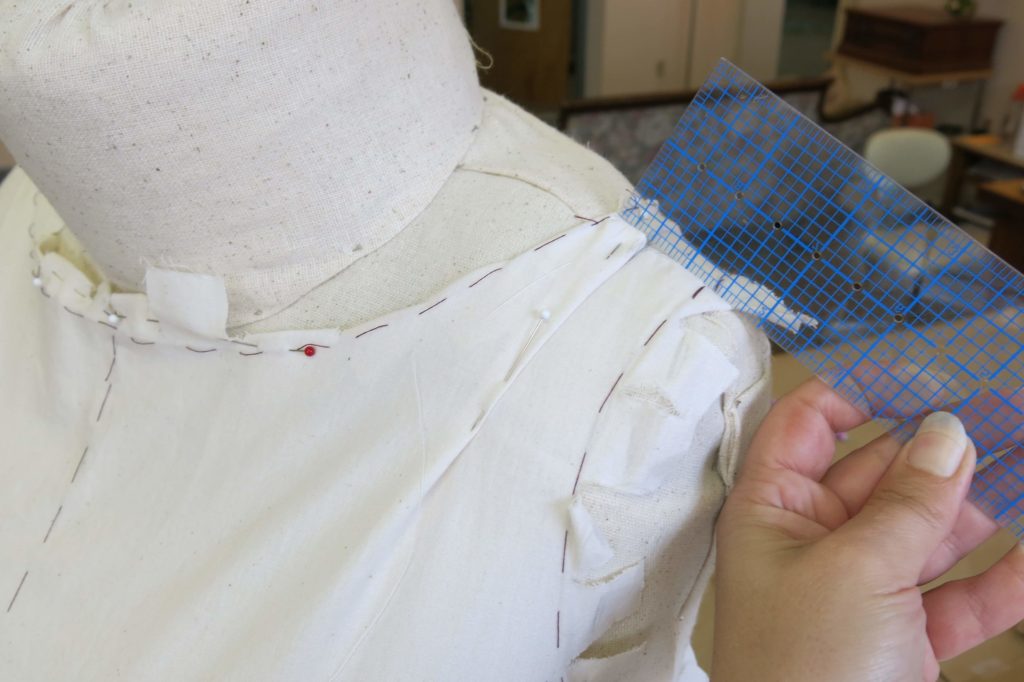
…and played around making a mess while doing my best to make the changes work!
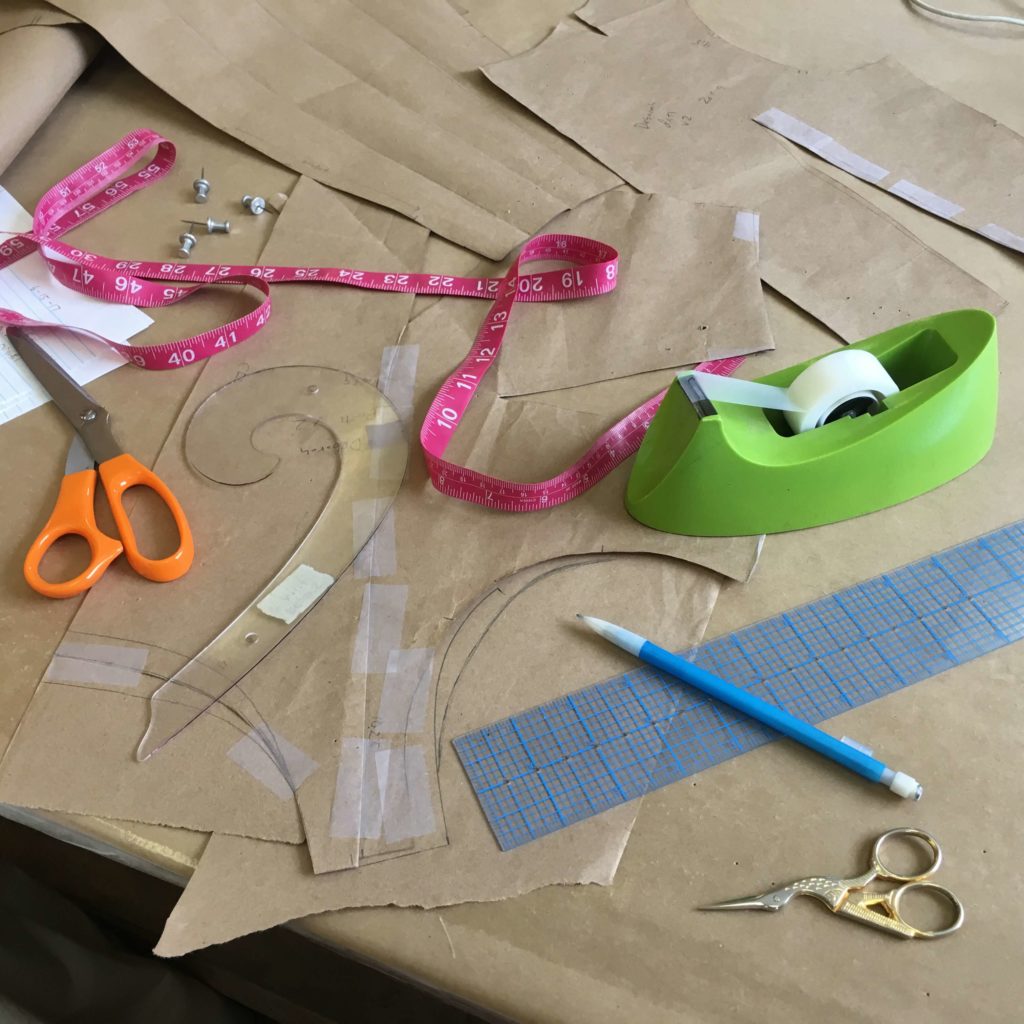
Here I’m completing a new-and-improved waistline…
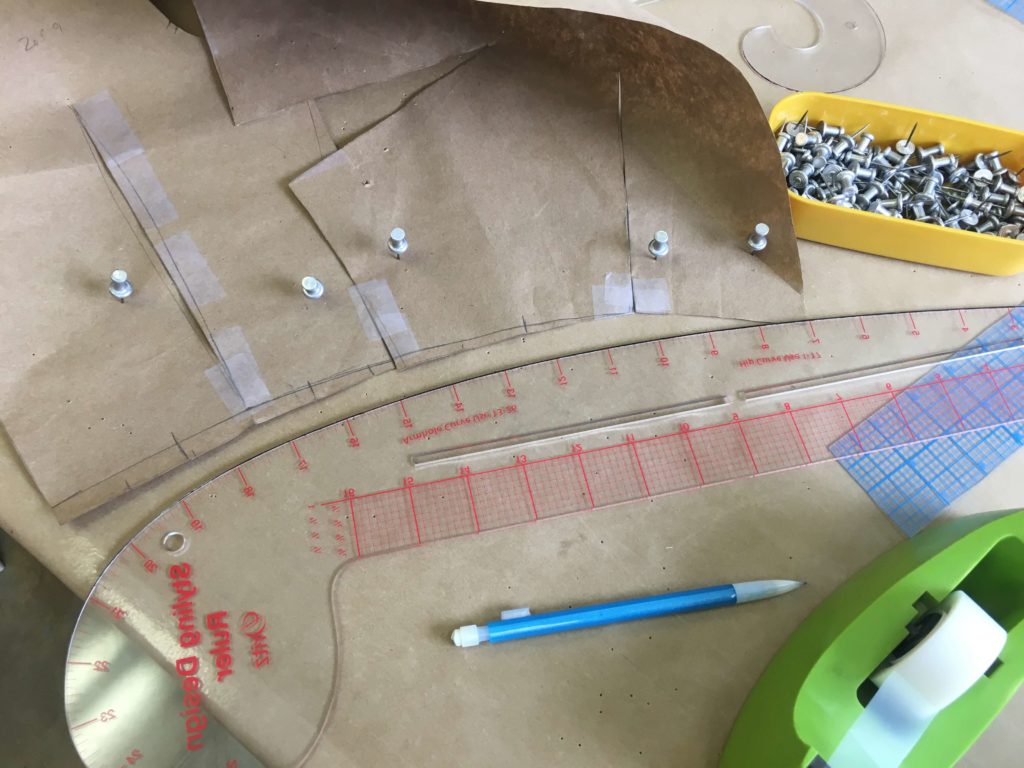
…which required the back skirt pleats to be redrafted to match (not photographed.)
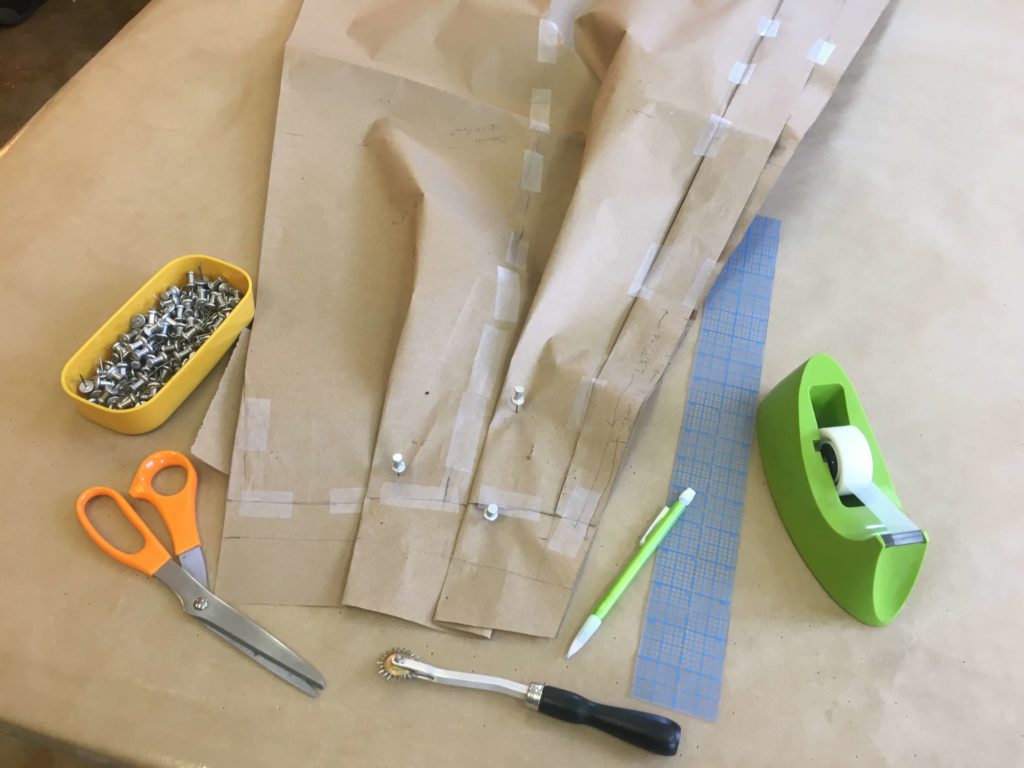
The front skirt pleats and waistline also needed some tweaks. I folded the flat pattern up as it would be when sewn while making some beautifully messy changes!
Crafting Deborah’s Second Mockup
Once the first drafts were corrected with my best guesses for our next mockup tests, I used my new-and-improved patterns to mark and cut a new muslin top with 1″ seam allowances.
Rebecca, a local Skirt Skills student (who you may remember from this post about making her own wedding dress), often volunteers to help me in the studio. I wanted to reuse as much of the first mockup skirt as possible, so I was happy to have her help with carefully taking it completely apart…
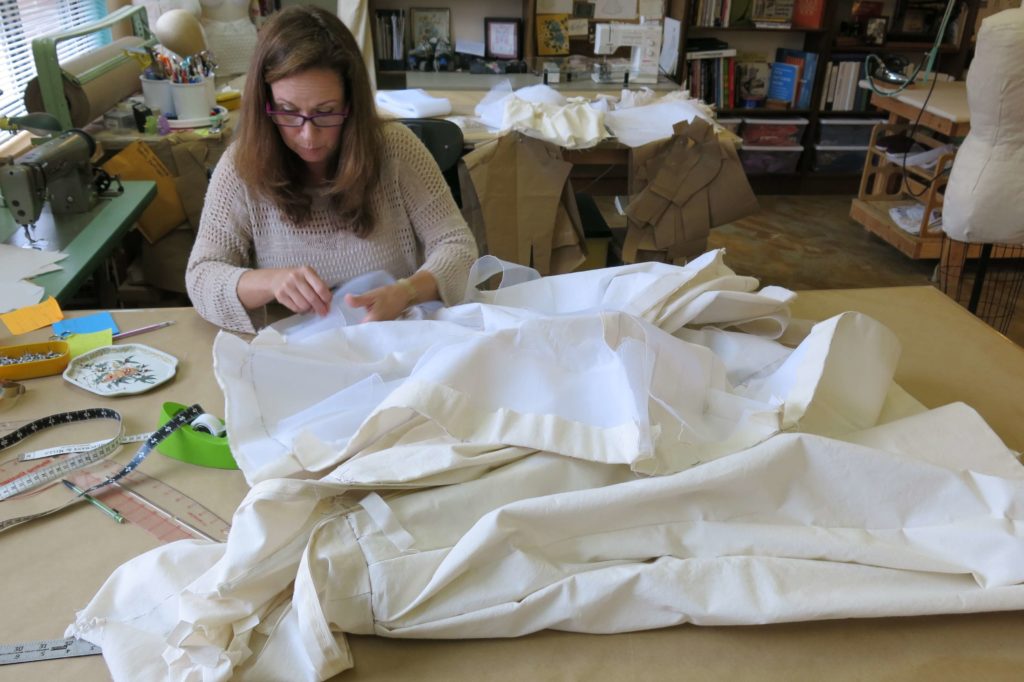
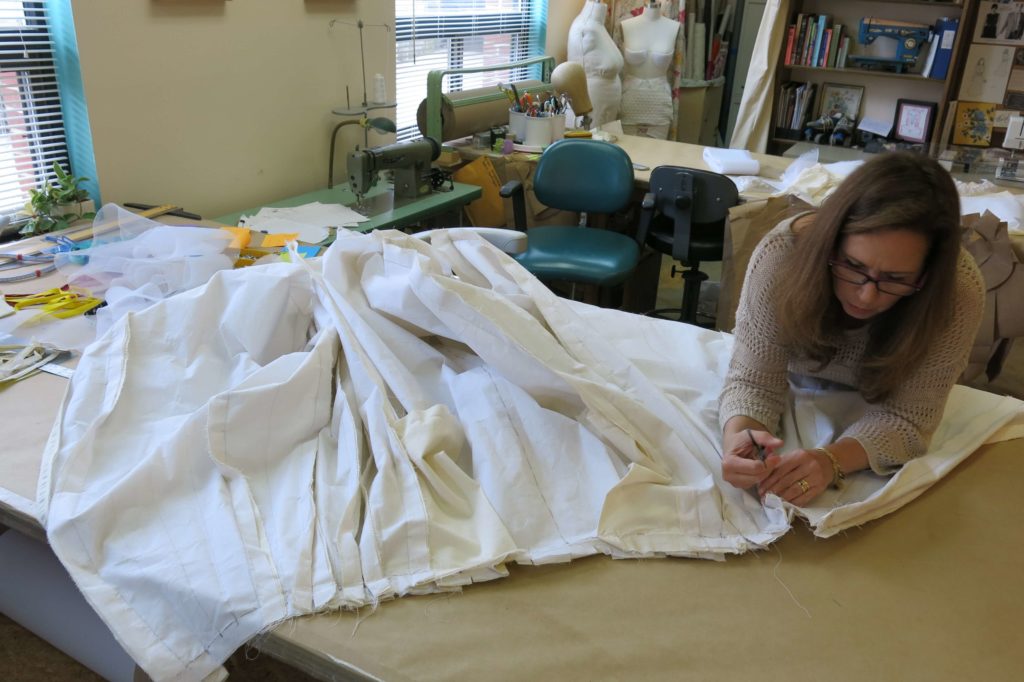
…and redrawing all new stitching lines on the organdy (Thanks Rebecca!) …
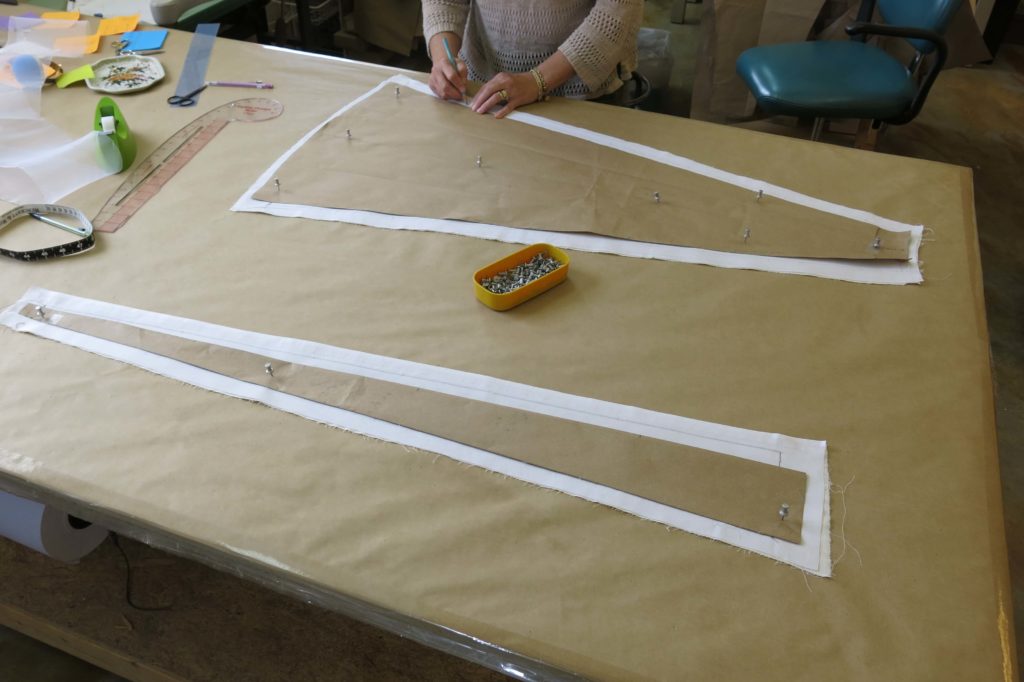
…before I basted it back together again (on my grandmother’s industrial machine).
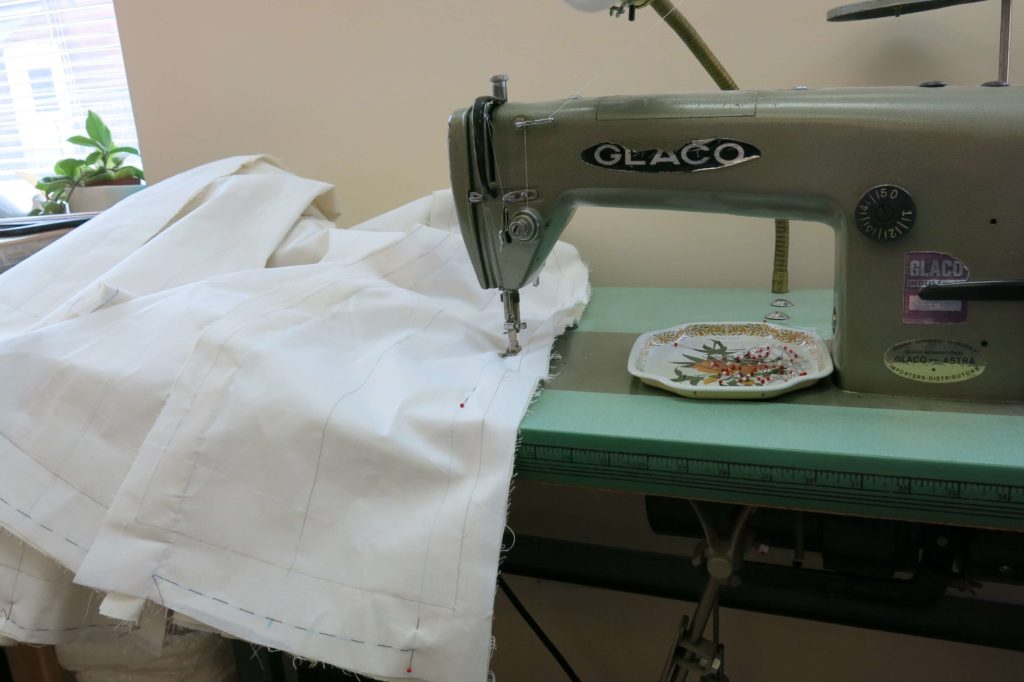
The skirt features a lot of fabric!!!
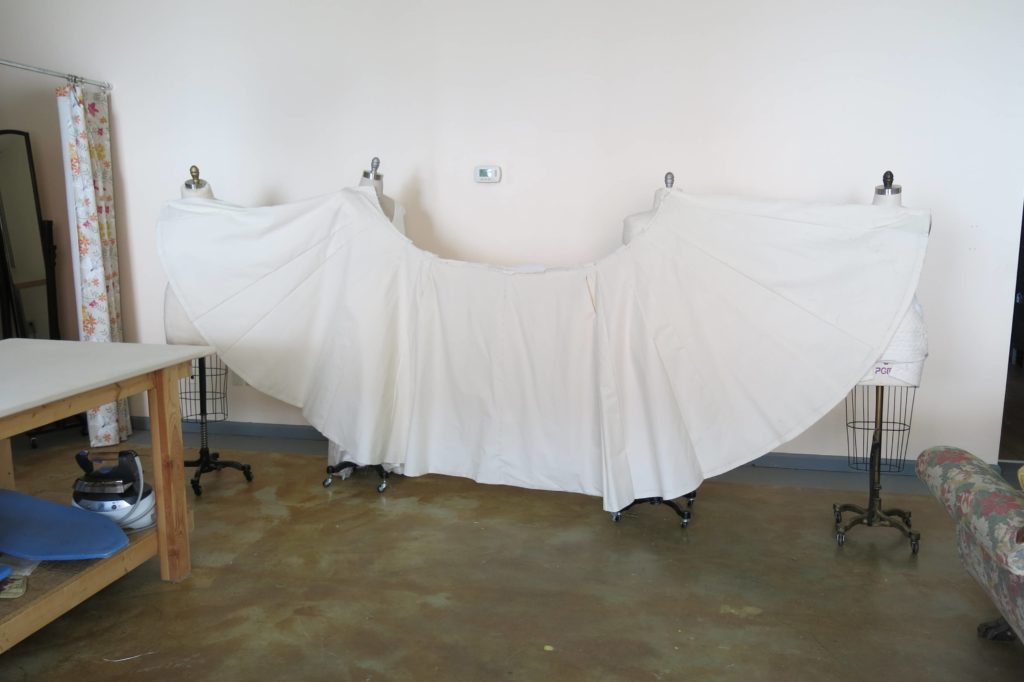
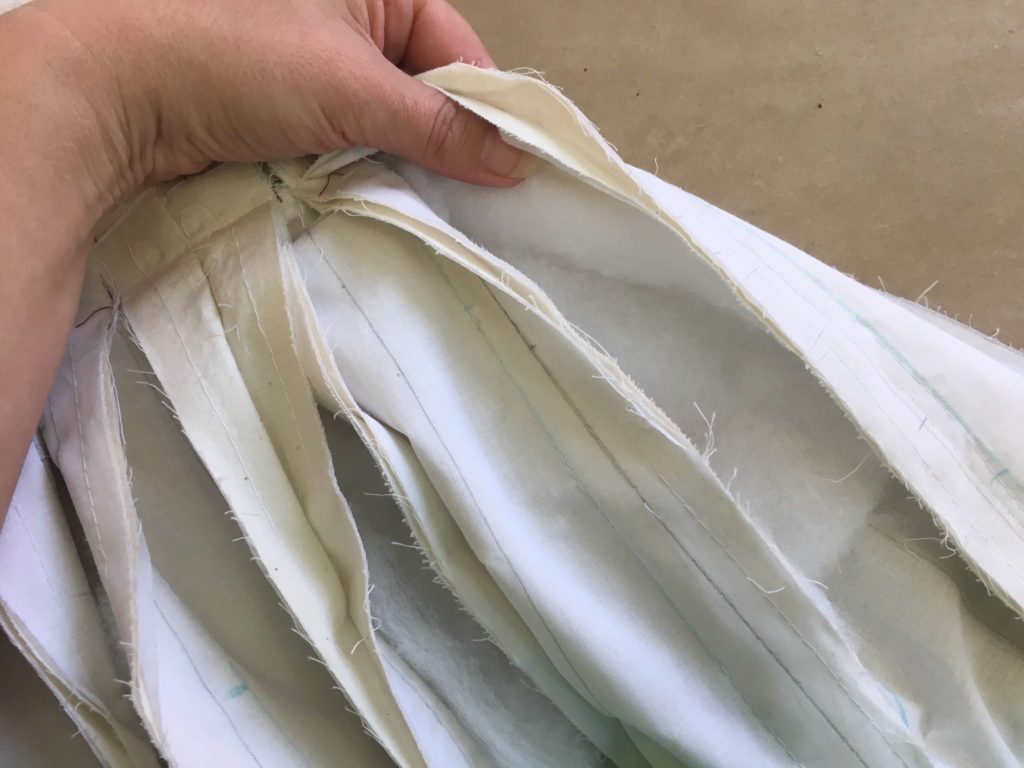
While folding the skirt into all its fancy pleats, the seam allowances were providing some of the structure. The way the seam allowances are stitched together was carefully considered to add some of the extra fullness desired below the waist.
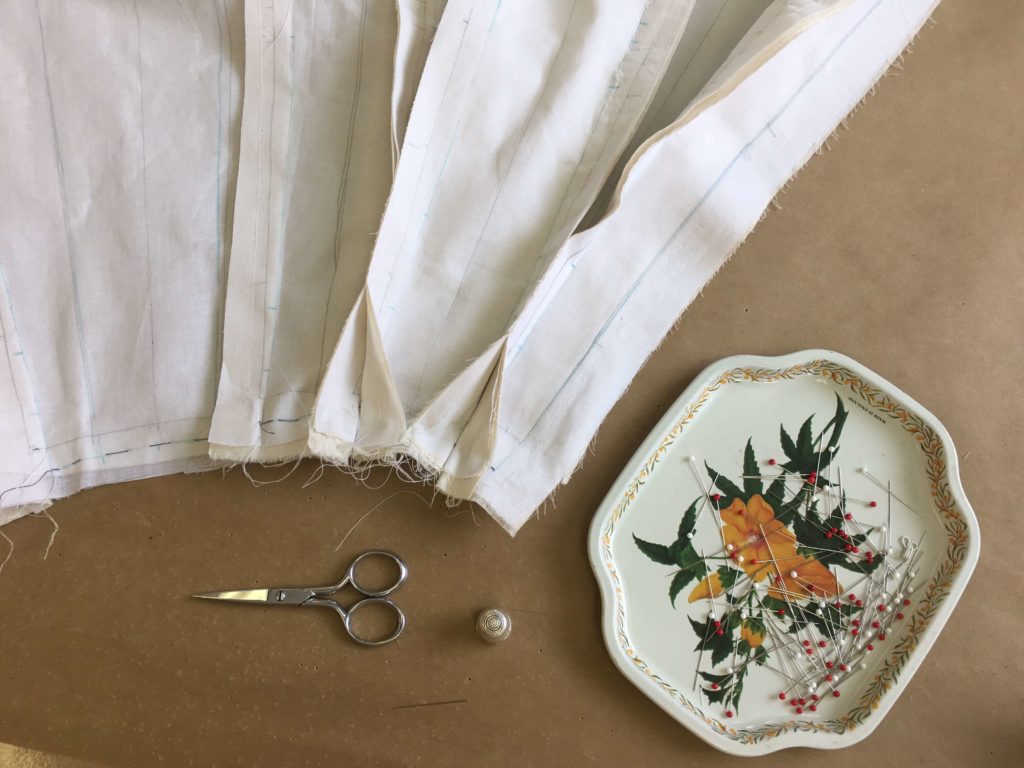
But was it enough? I decided to try adding padding in the top of the pleats…
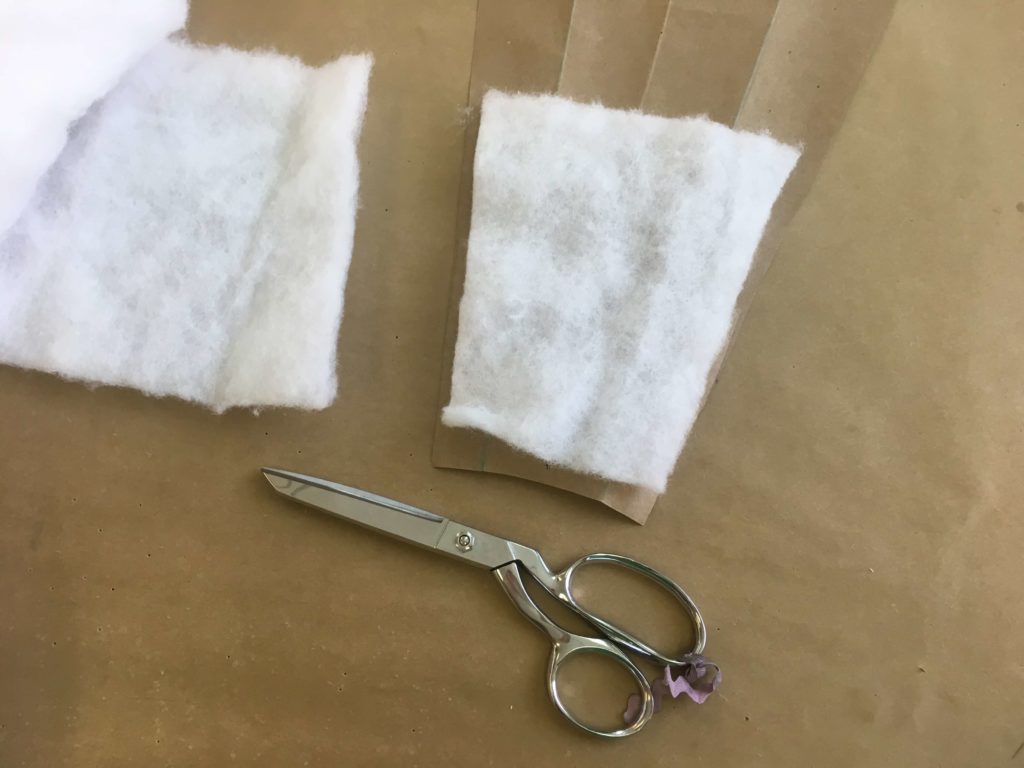
Mockups are all about playing around and testing your ideas!
The wide horsehair was added back into the new-and-improved hem before the skirt was added to the new top…
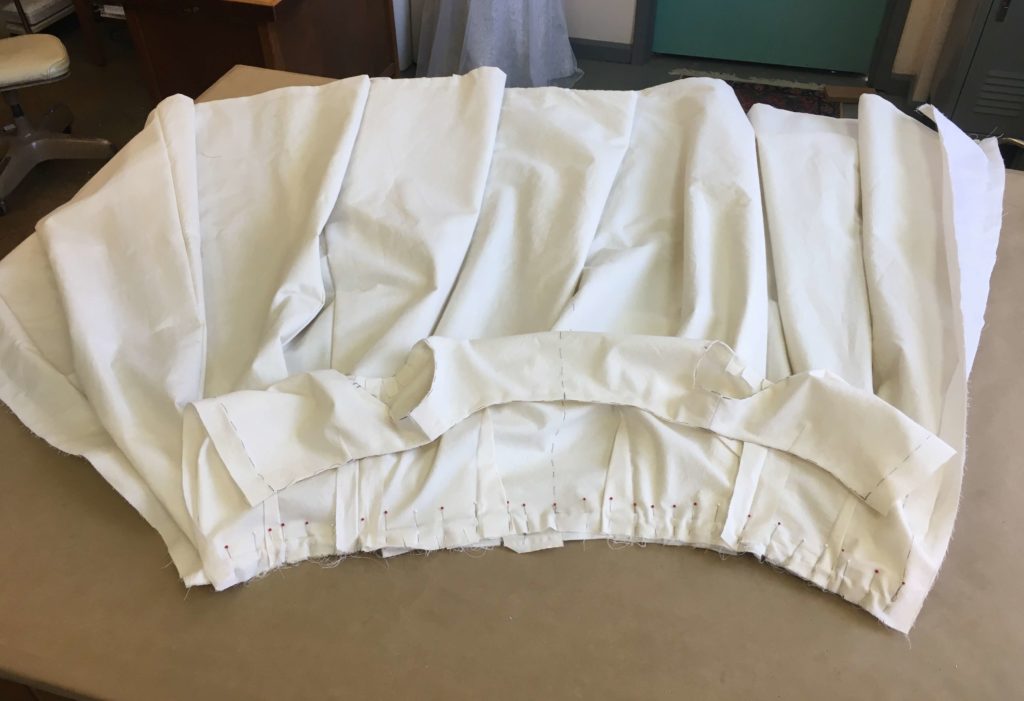
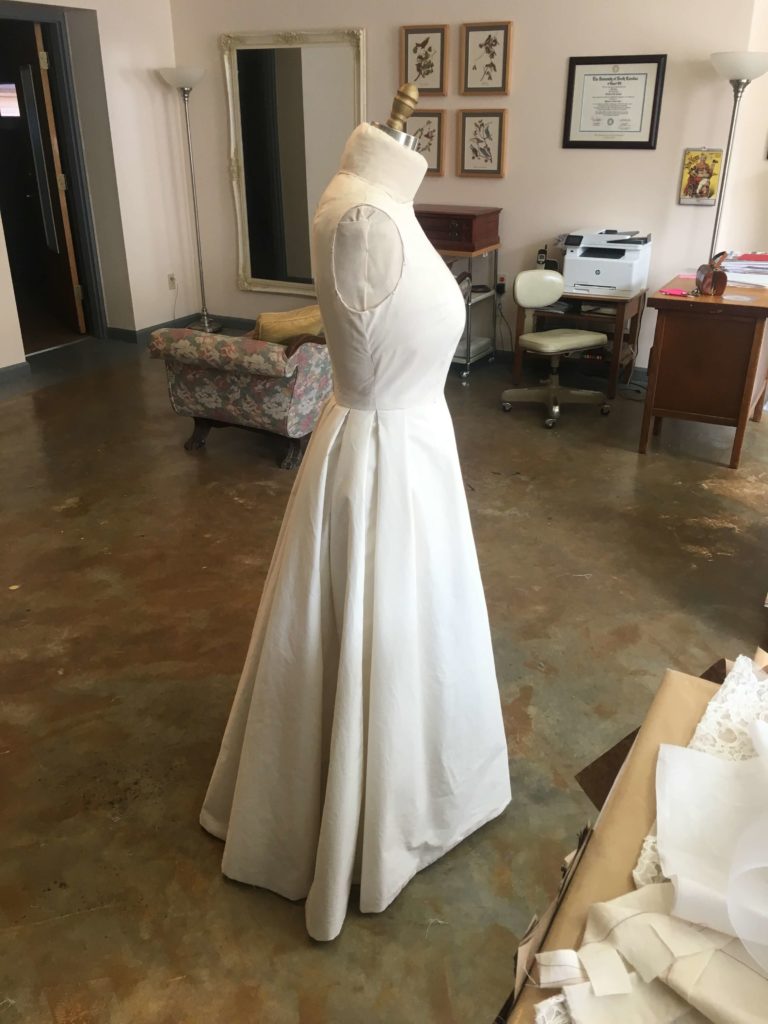
…and eventually the mockup for Deborah’s reception look was ready for Round Two!
But wait… there’s more!
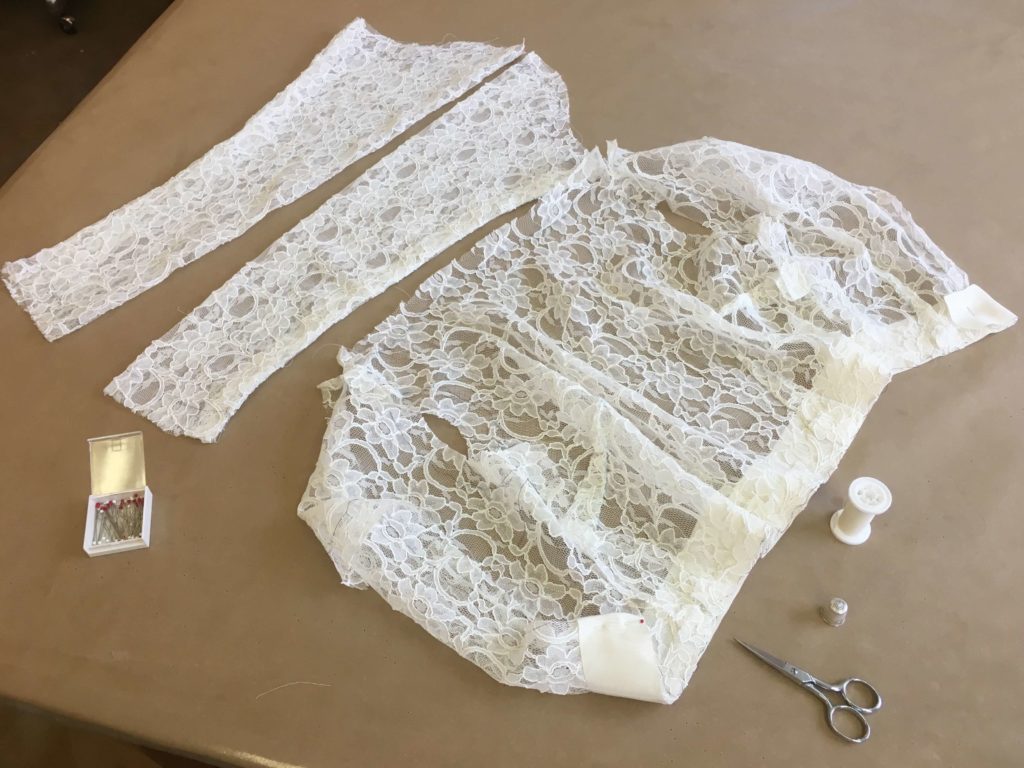
Don’t forget that her ceremony look has a lace top! I basted one together with the new patterns as my starting point using lace leftover from Caitlin’s custom wedding dress!
All Mocked Up Again!
Deborah’s wedding dress mockup was looking gorgeous with all the changes…
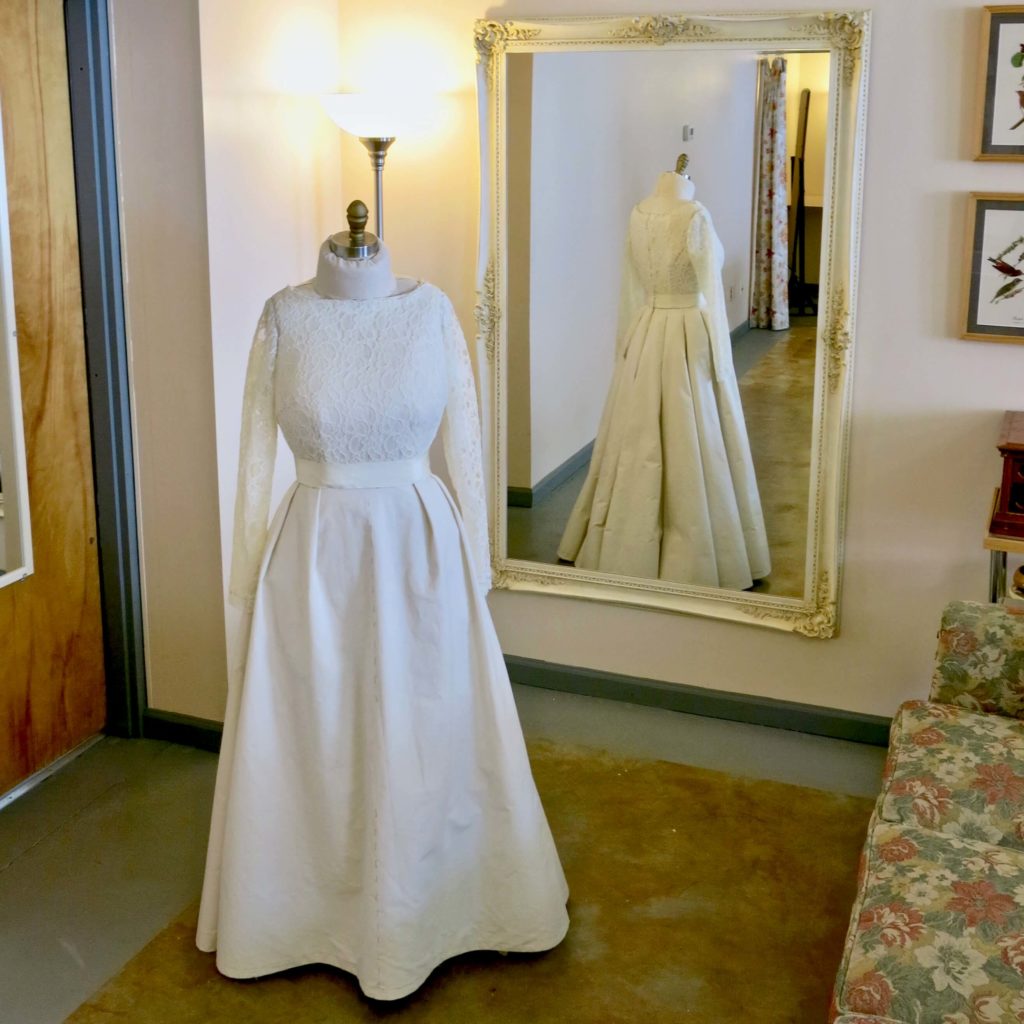
…and the addition of the lace mockup top!
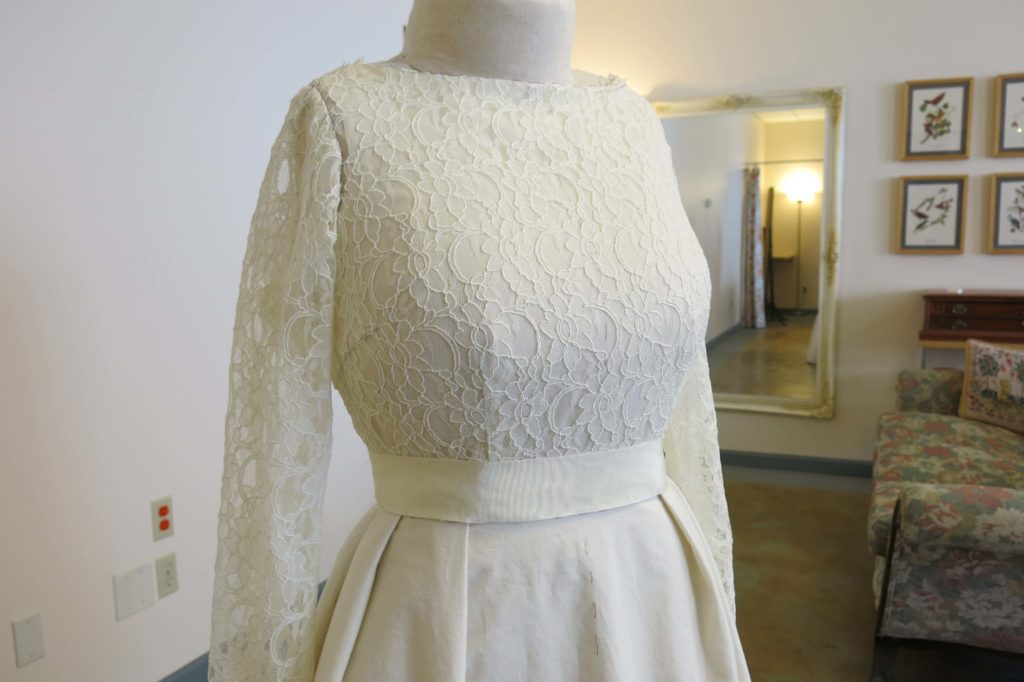
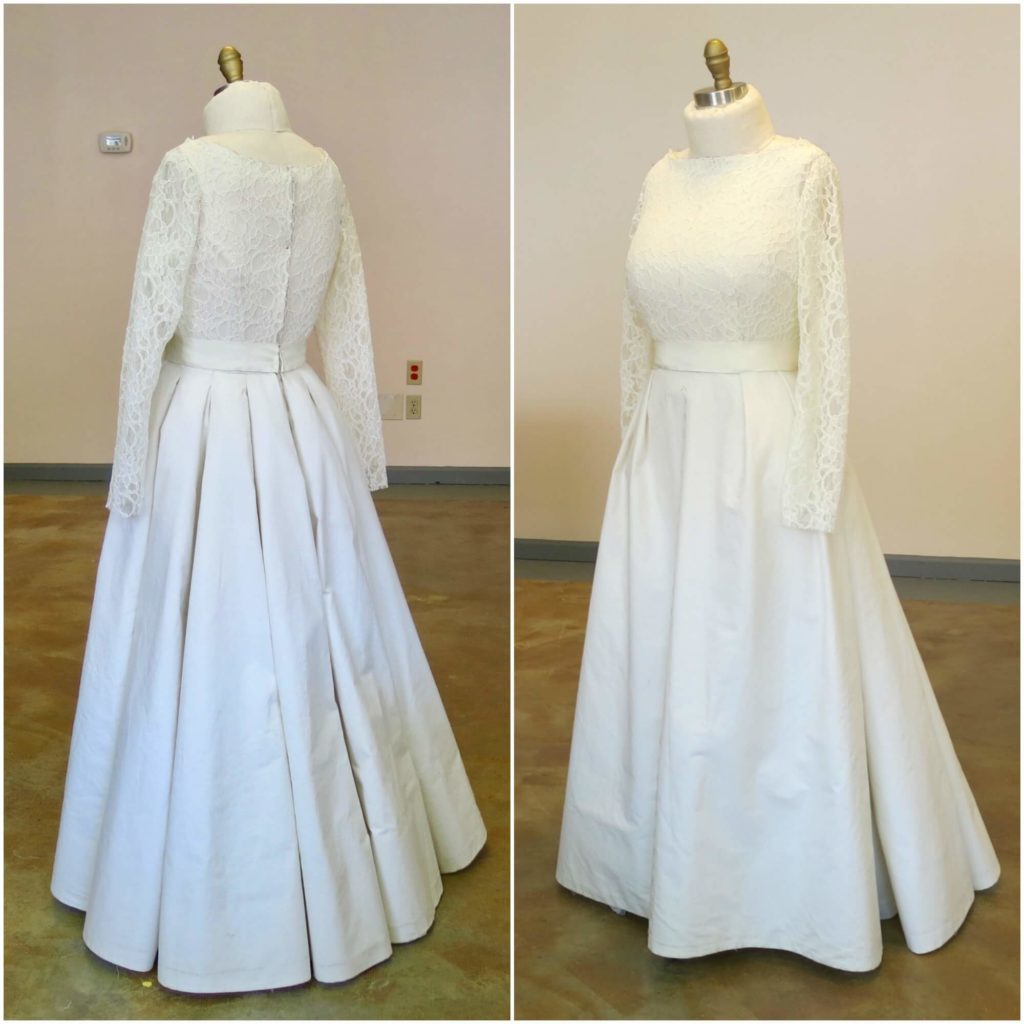
I could tell that our fitting changes improved the dress from my first draft. Slowly and one step at a time, everything gets better and better!
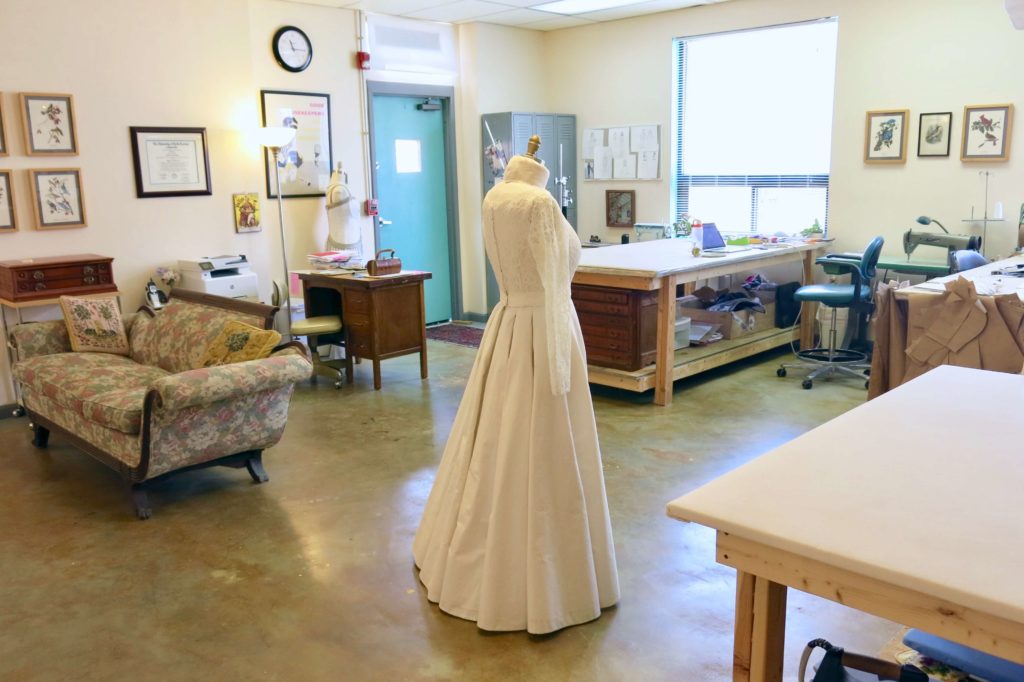
I was really looking forward to observing how this second test dress would fit Deborah and to discover new ways to tweak the design and fit before starting her real custom wedding dress.
Thanks for following along!
NEXT POST: Our second mockup fitting and even more improvements!


6 Responses
Brooks Ann,
I absolutely adore your blog posts!!! Your enthusiasm for the mock up work encourages me, and also, reminds me how important those steps are. This last year I did a project where I cut that process short, knowing better that I shouldnt have, and I paid for it.. the project ultimately worked out, but not without a struggle.
One day, I would love to attend the camp workroom social workshop you are teaching at.. :) Looks like a wonderful time.
Cindee
Thanks for following along Cindee! I plan to turn the hand sewing class that I teach at camp into an online course as soon as I can. I’d love to work with you!
Nice Brooks Ann. I really like the 2 front pleats rounding her waist to a whole mess of pleats. Very pretty. As usual, great job.
Thanks so much Ruth!
Love the idea of adding padding to the skirt! Who would have thought it would make such a differnce. I don’t know how I’d ever use something like that, but I will always keep this in mind while making full skirts.
That little hip bump turned out kinda nice, huh? Thanks for following along!