

Ok! Where was I…?
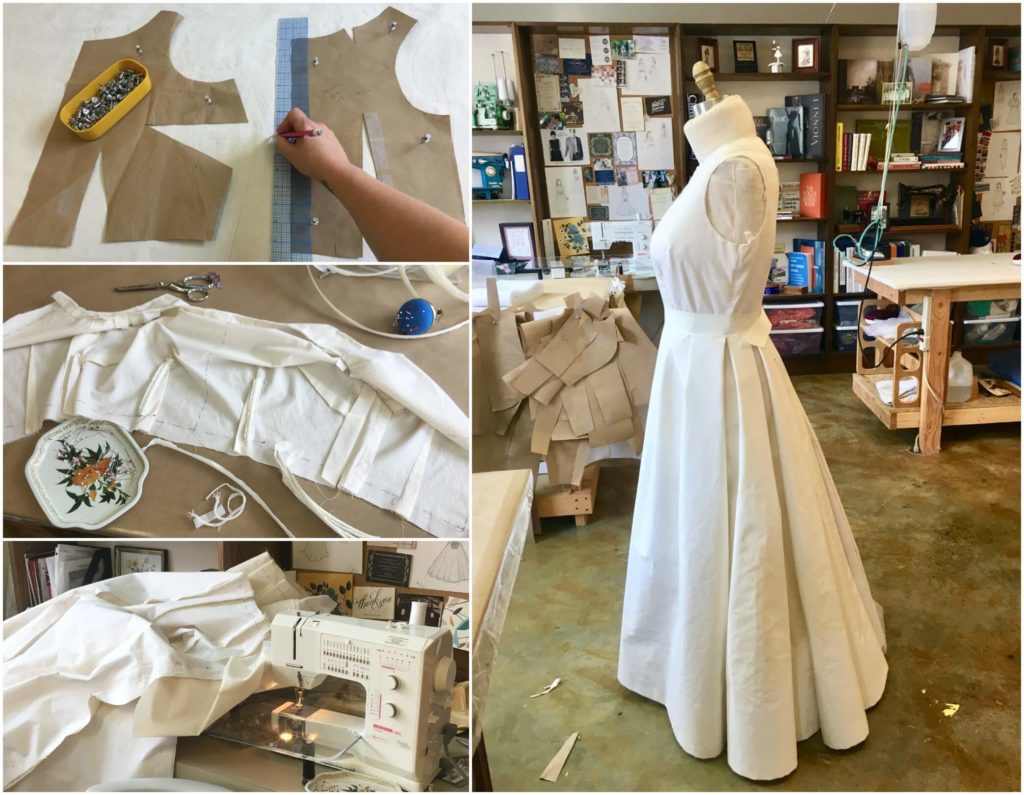
After the first drafts of Deborah’s custom patterns were created, it was time to test my experiments. I’d begin by making an adjustable ‘test dress’ using inexpensive materials. This dress and this stage of the process are what I call the mockup (often also referred to as the muslin or toile). Though I sketched the design onto Deborah’s silhouette, working through mockups is a risk-free way for myself and the bride to communicate design and fitting ideas in 3D on her body, while evolving and improving upon the original information. I absolutely adore this part of the custom process.
A mockup takes away all the pressure to get things right on the first try (or second or third…). Cutting, ripping, pinning, marking, practicing, and drawing all over the test dress is its purpose (and is really fun). You have complete freedom to make a mess (without fear of messing anything up) while discovering the answers to all your questions. Freshly equipped with new knowledge and a bit of practice, it becomes a joy to confidently begin the real dress.
Working through mockups is an amazing opportunity and an important prelude to creating something you’ll truly love!
Deborah’s wedding dress would feature two looks: a 3/4 sleeve lace top over a sleeveless reception gown. For the first mockup fitting, I would concentrate only on the sleeveless look. Once perfected, its pattern will be an excellent starting point for creating the lace top.
Making the Mockup’s Skirt
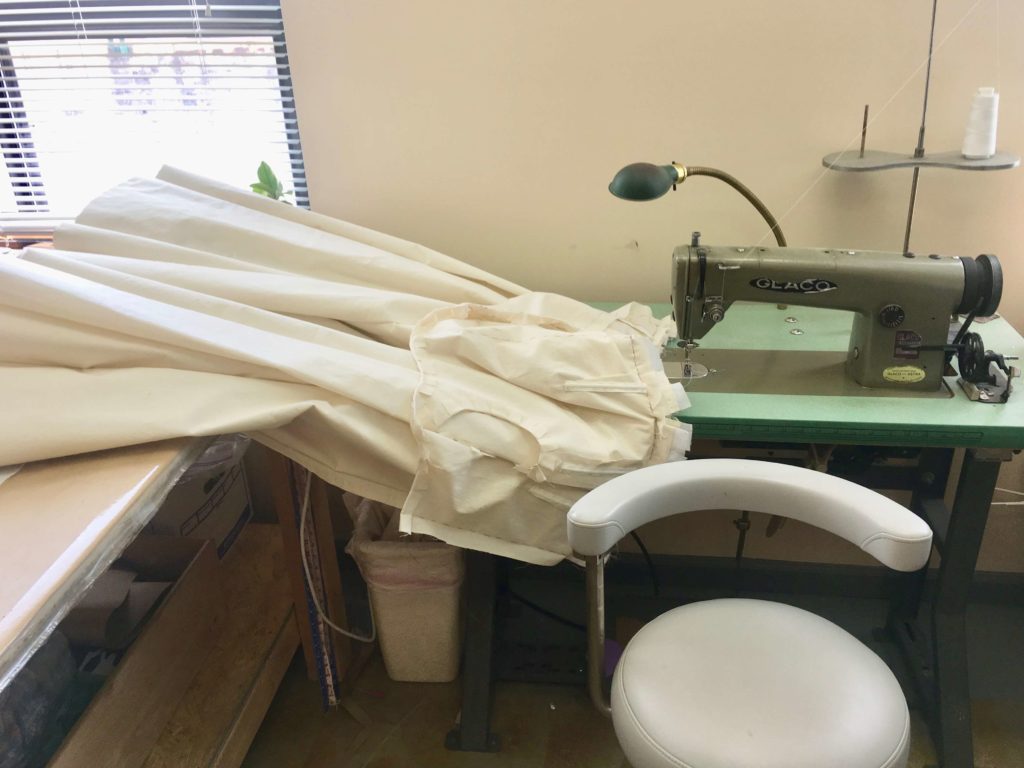
To craft a mockup of Deborah’s reception look, I started with the skirt. The skirt of Deborah’s dress would require some inner structure to achieve the fullness of the design. As you may recall from when I introduced her, Deborah walks on two prosthetic legs with the help of arm crutches. We wanted to achieve the full skirt without a bunch of petticoats getting in the way or slowing her down.
My plan to achieve the fullness in the skirt was to stitch 6″ wide horsehair into the hem and to underline the silk with stiff cotton organdy. In order to see how this idea would work in her real dress, I decided to test the same horsehair and cotton organdy in the mockup. Neither are expensive and, if everything worked out, I could potentially reuse the pieces in her real dress.
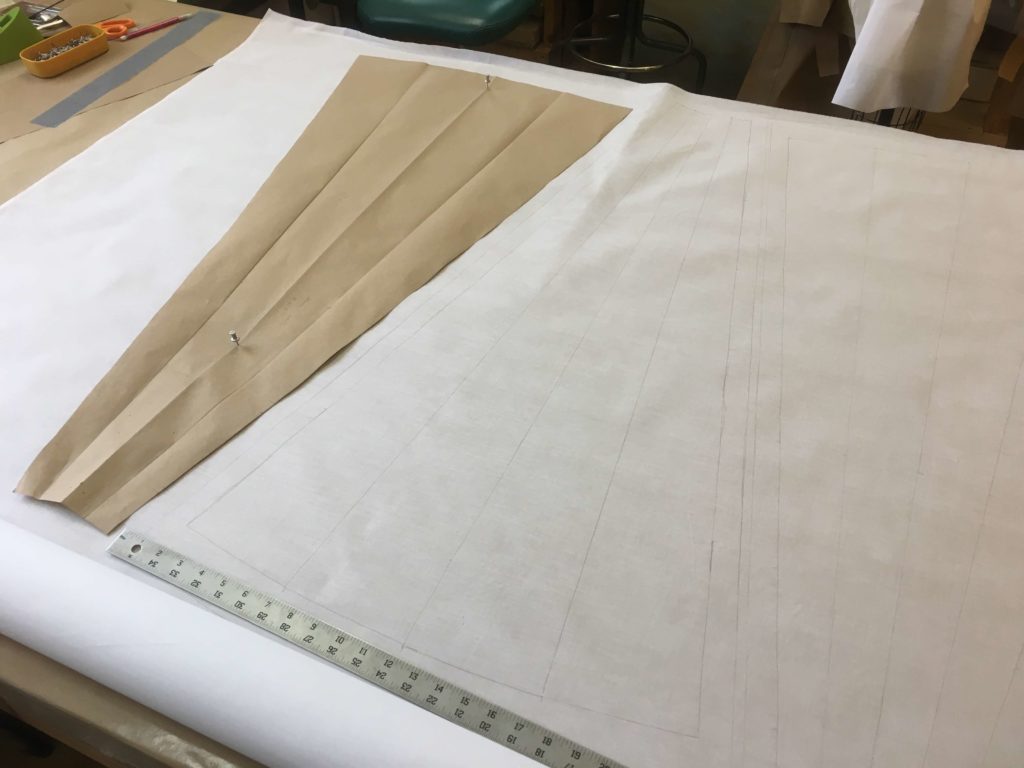
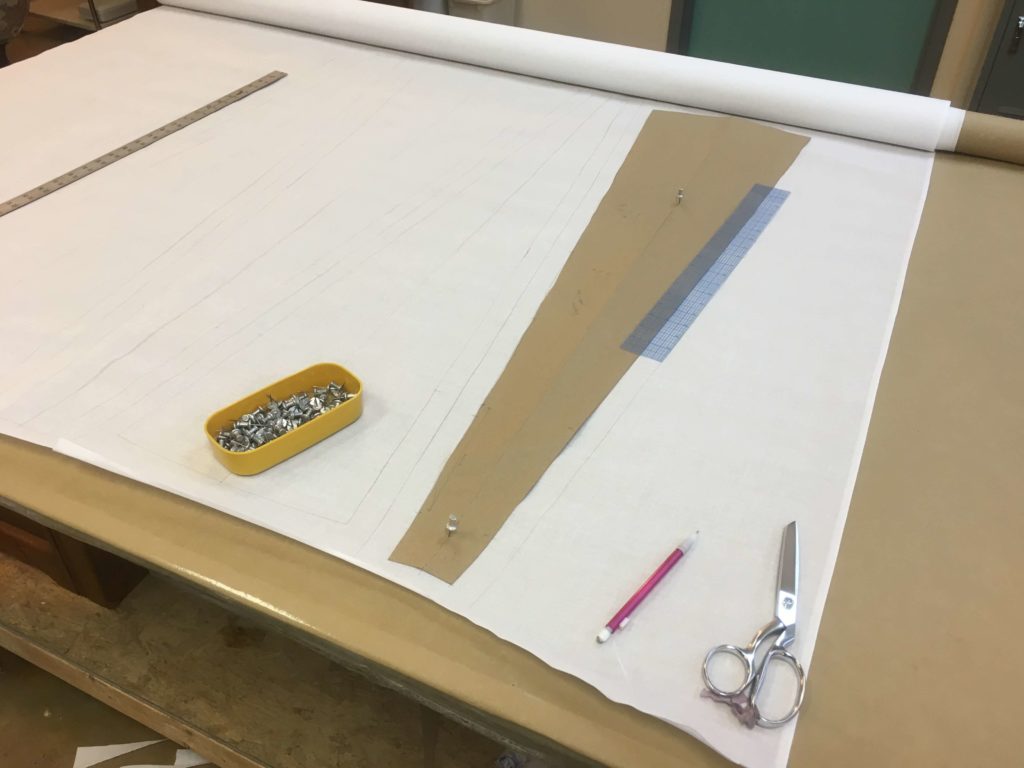
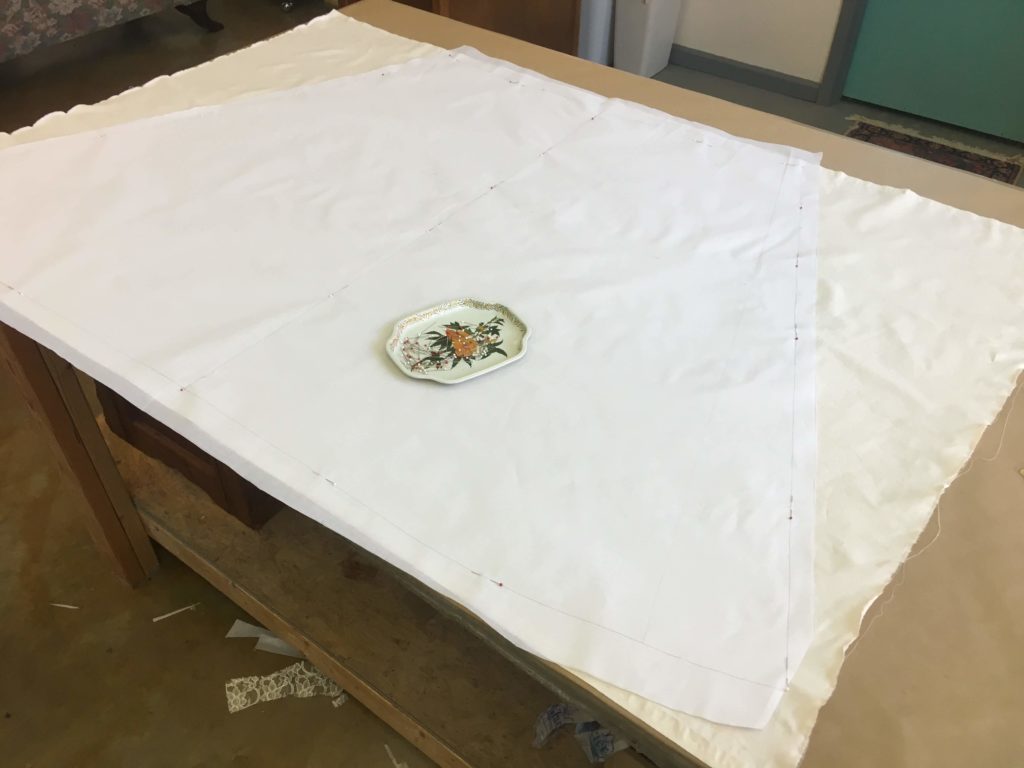
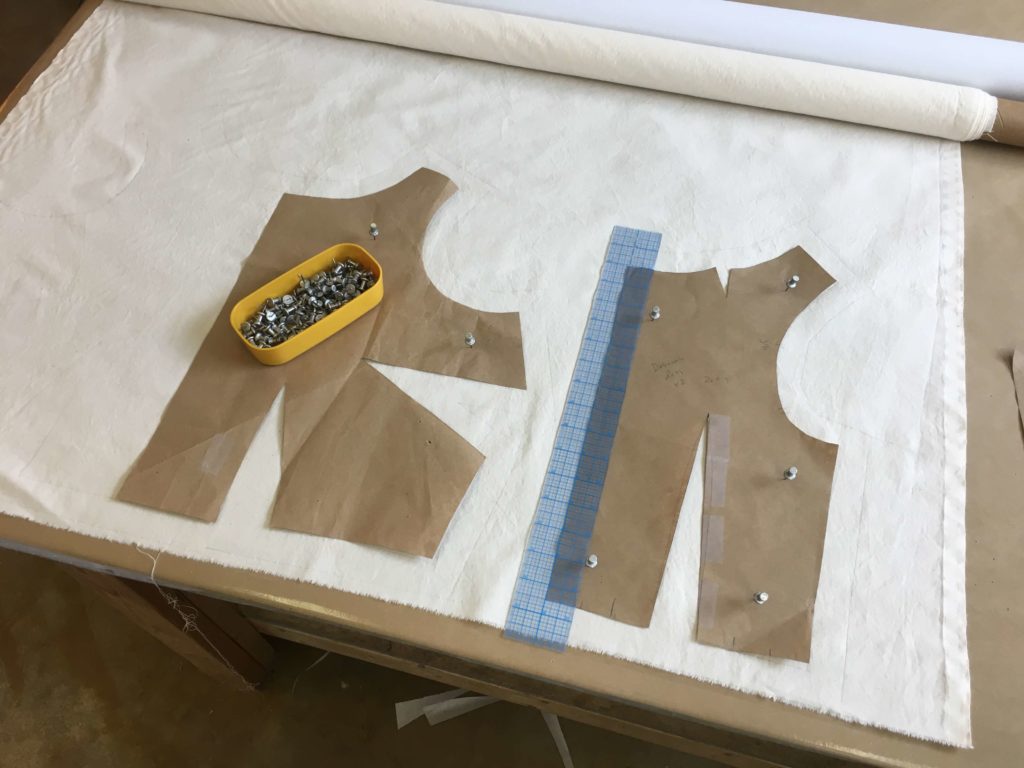
This decision led me to my first step, which was to use my self-drafted paper patterns to mark and cut the organdy. Since the back of the design is a bunch of pleats in contrasting fabrics, the marking/cutting layout was a really fun puzzle!
The hitch of using the organdy in my mockup is that it is not opaque. So, in order for my bride to try on a skirt that isn’t kinda see-through, I’d need cover the organdy with another layer of fabric. Combining two layers of fabric into one in this way is called underlining. Though, I rarely make a garment that isn’t underlined, I don’t recall underlining a mockup before. But there’s a first time for everything and I knew the extra effort would be worth it! Learn a lot more about underlining in my 3-part blog series with video!
Below you’ll see the front piece of the skirt’s organdy layer pinned to muslin…
…which I cut out and stitched together as one.
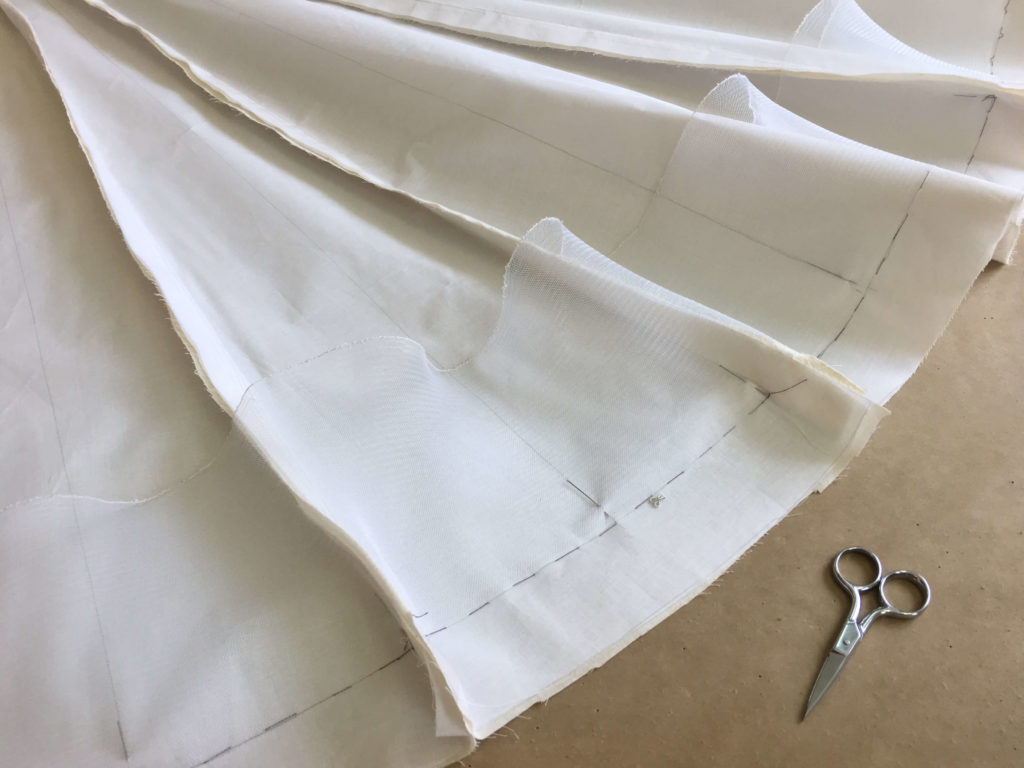
Then I added all the organdy pieces for the back pleats to their own layer of muslin for underlining.
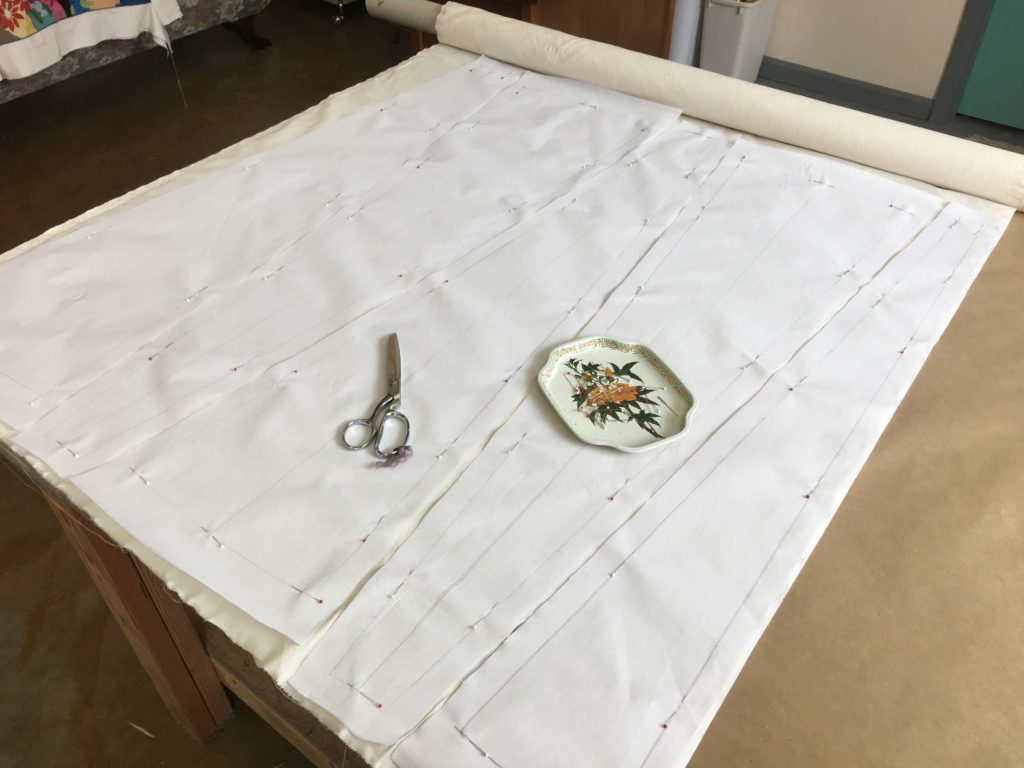
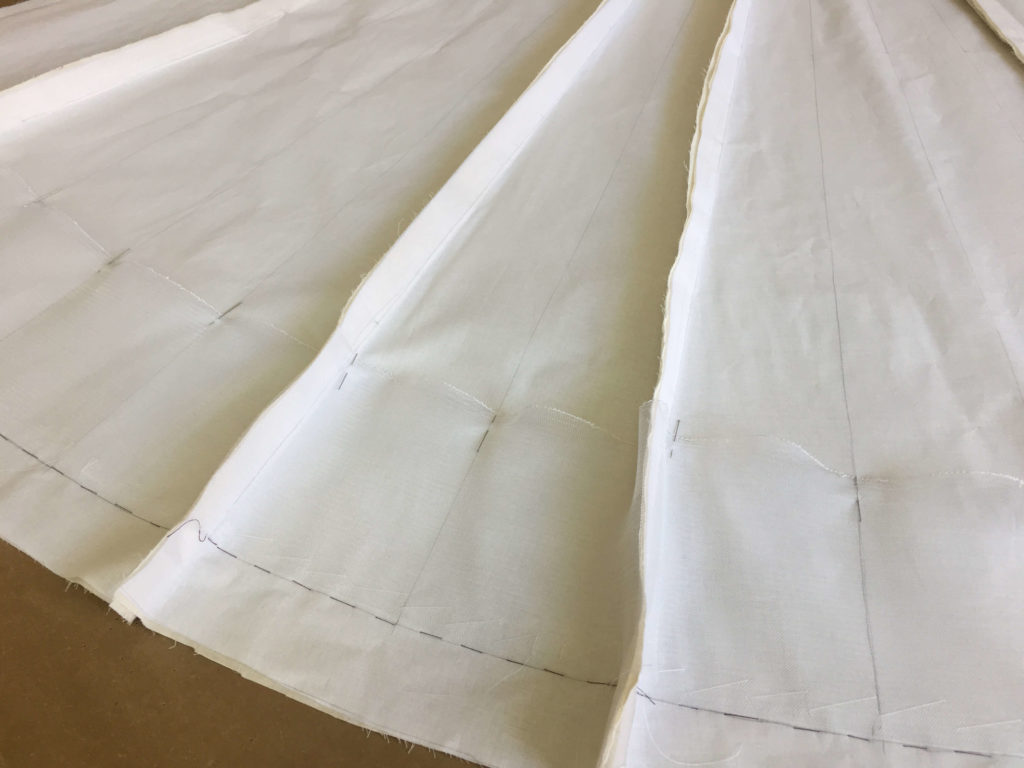
Once underlined, I pinned the pleats together…

…and stitched them up…
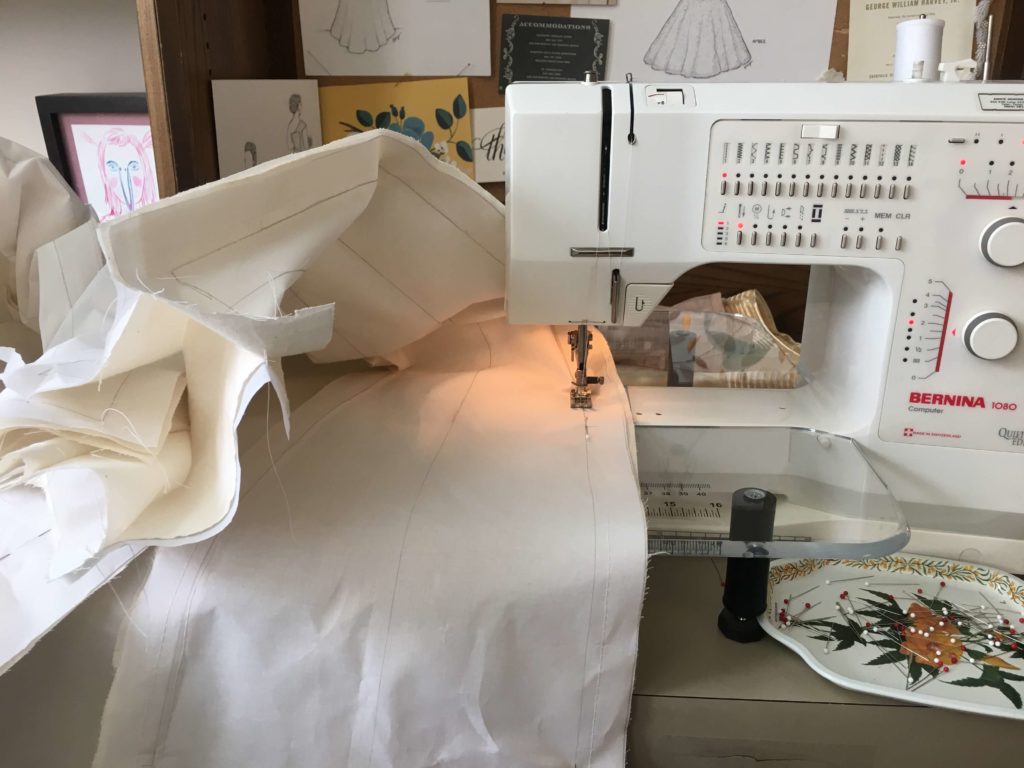
…before basting wide horsehair into the hem to give it lots of body.
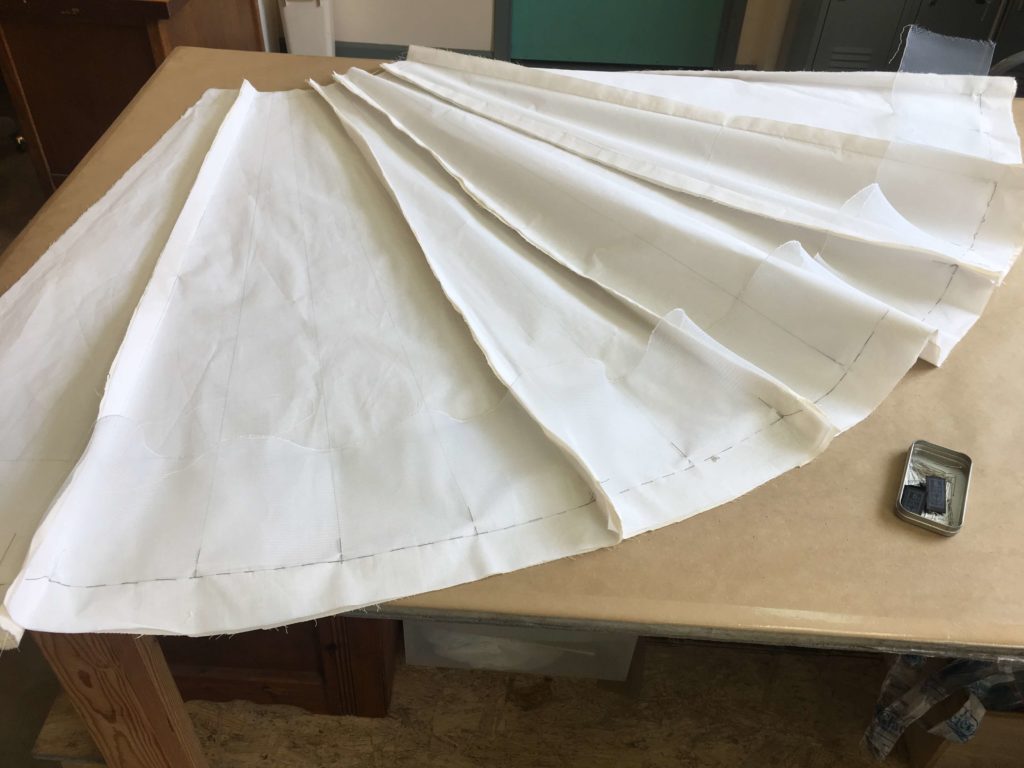
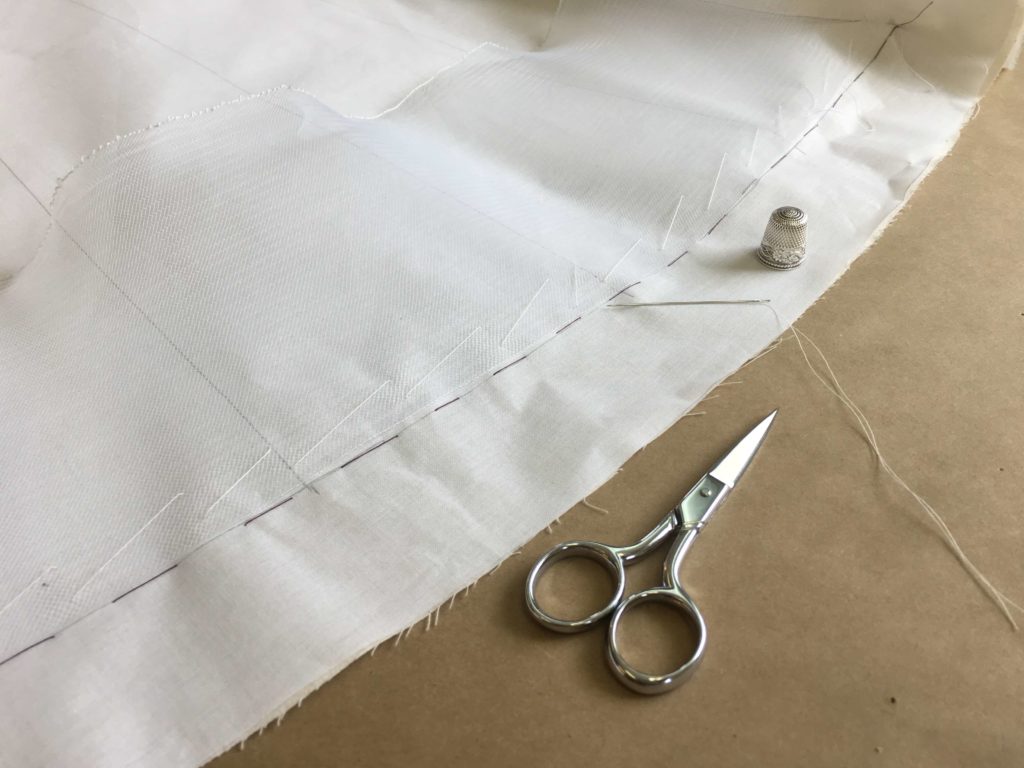
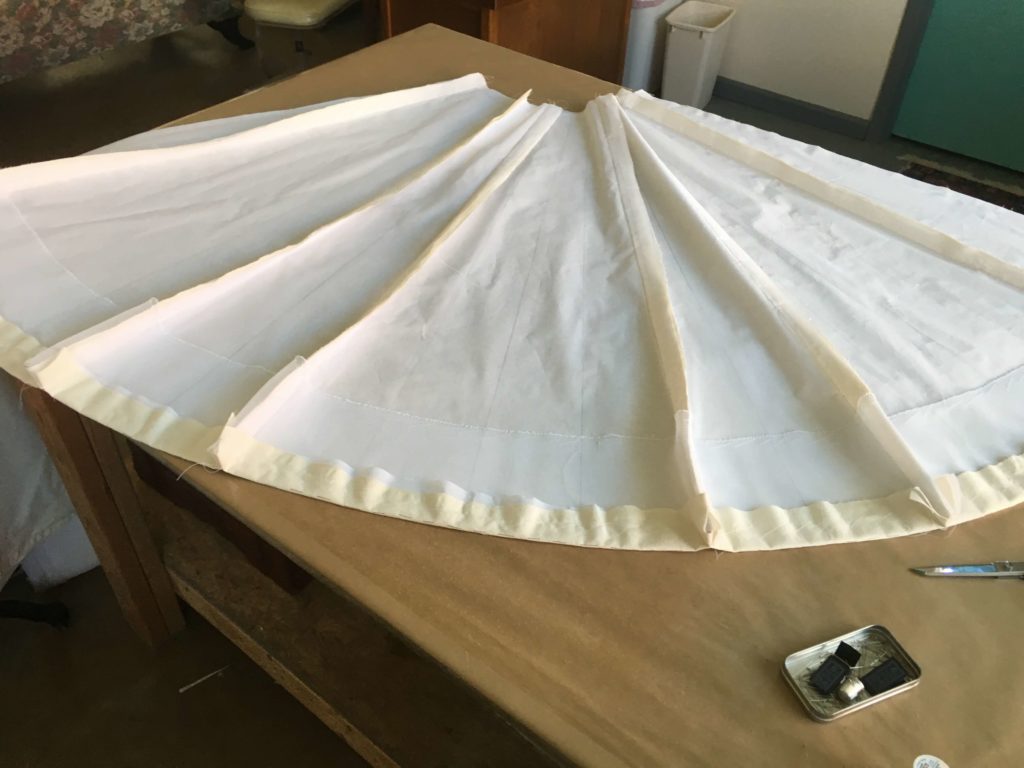
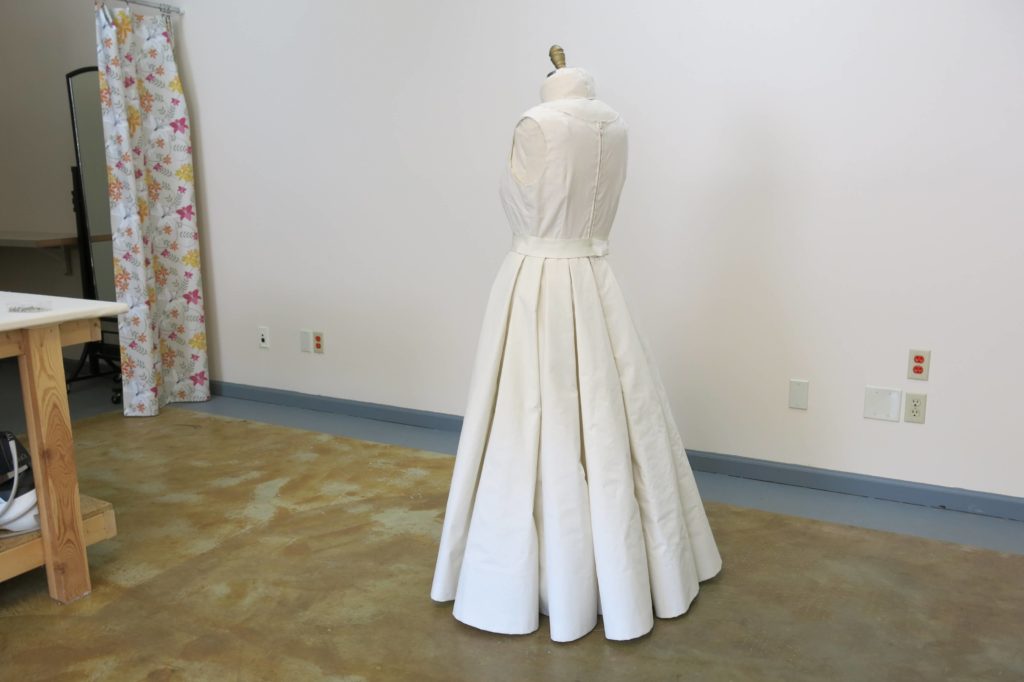
And that was just the half of it! I followed the same process for the other half of the back of Deborah’s skirt….
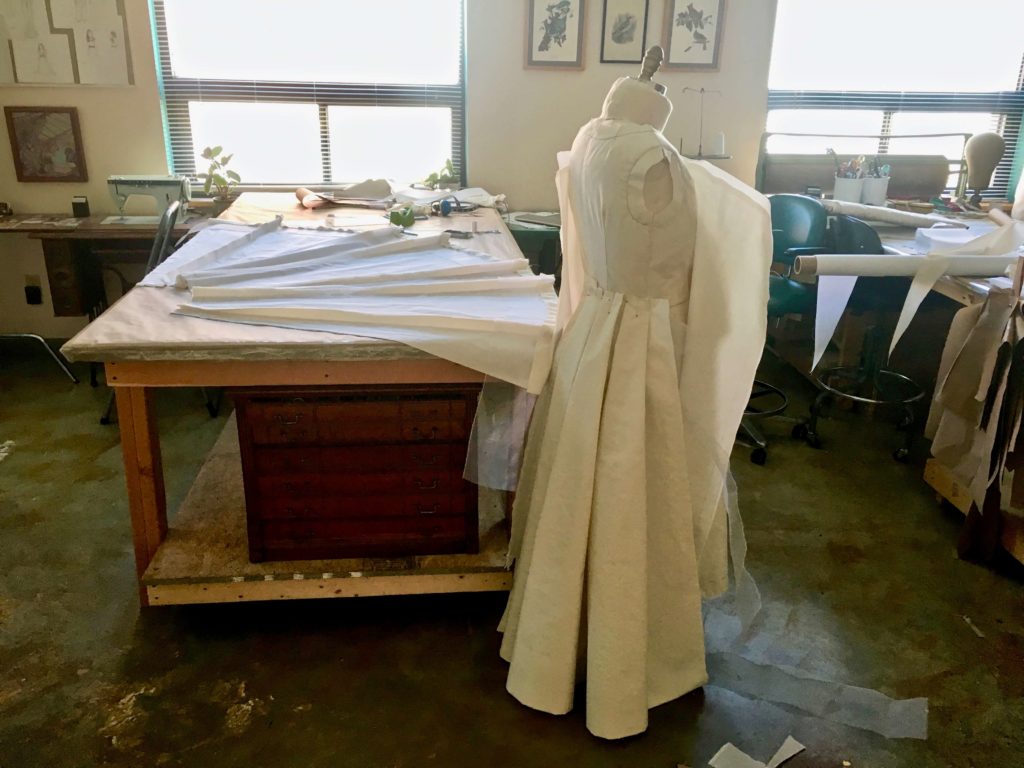
…before stitching them to the front…
…and trying the full skirt mockup on the custom dress form.
Mocking Up the Top
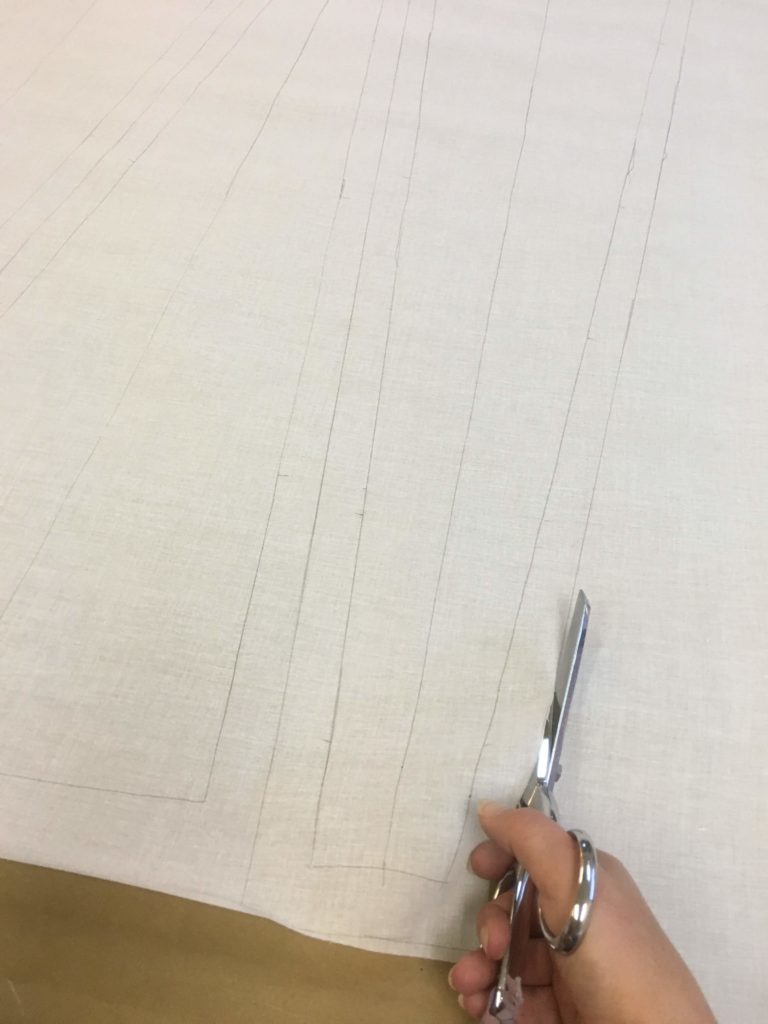
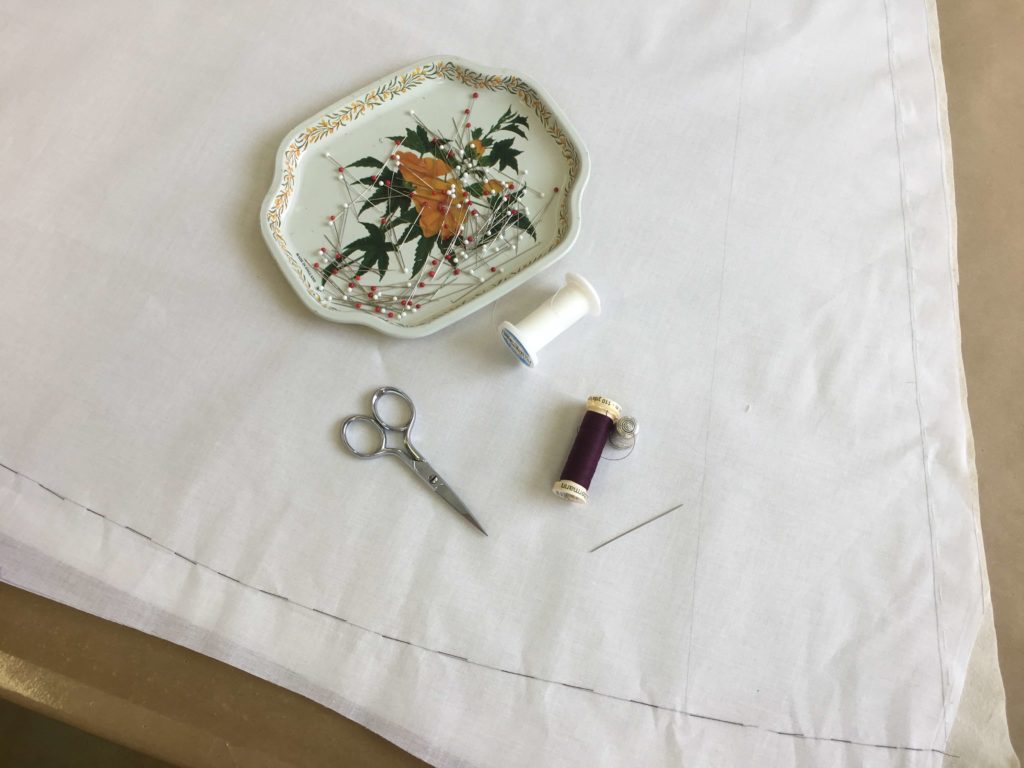
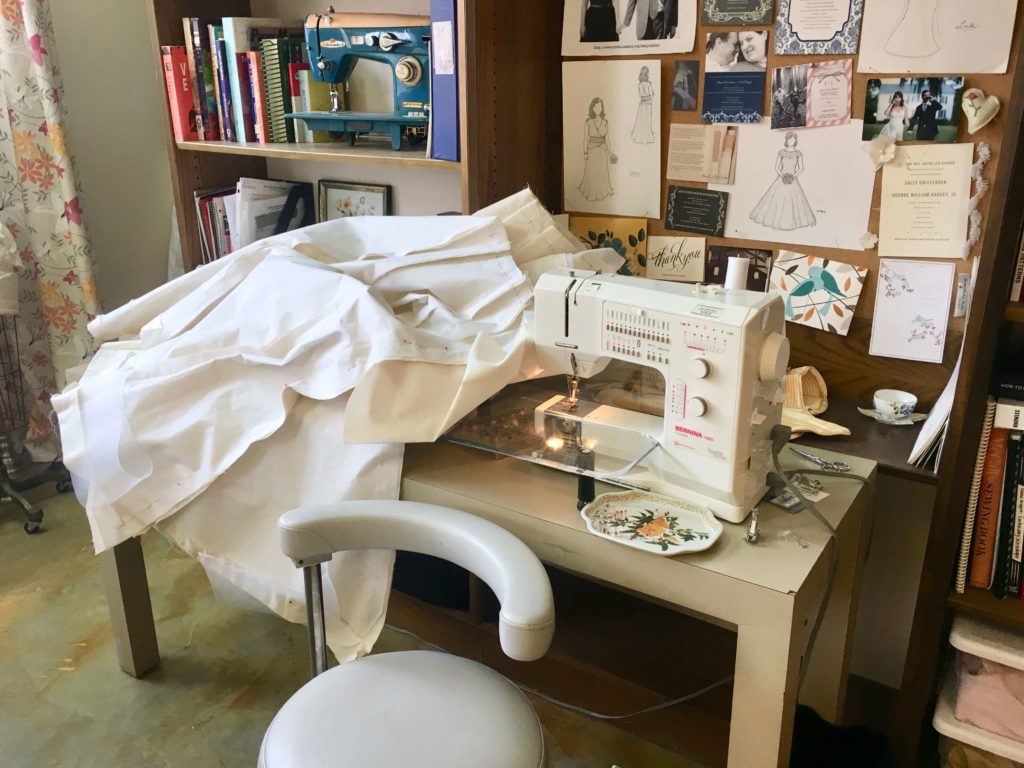
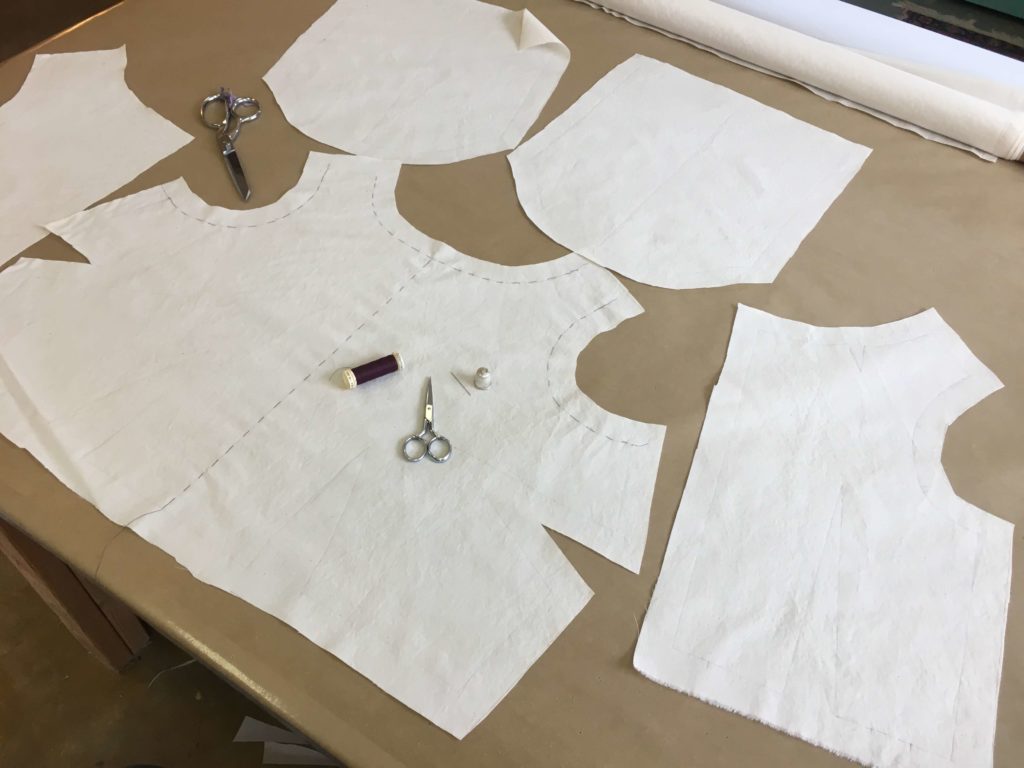
Next up, the top of the mockup dress! On a single layer of muslin fabric, I traced my pattern pieces adding my 1″ seam allowances…
…before cutting them out and thread marking the edges.
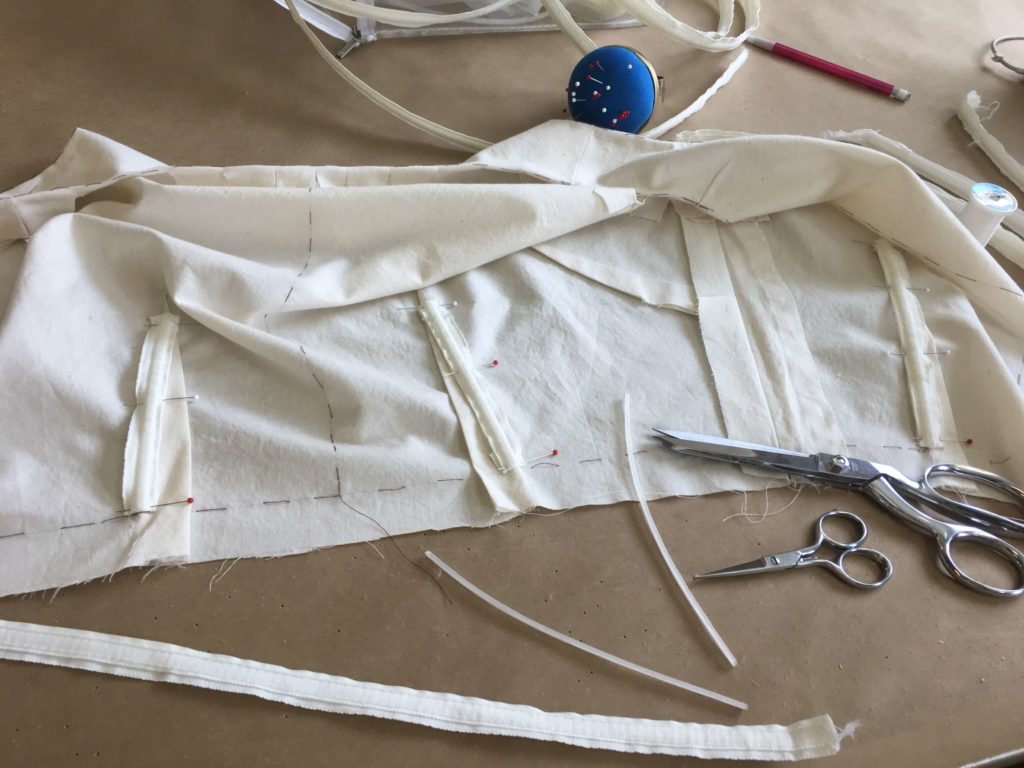
Then, I stitched up the darts and seams before adding in some plastic “mockup boning” for a little structure.
Once the top was all stitched up, I tried it on the dress form with the skirt…
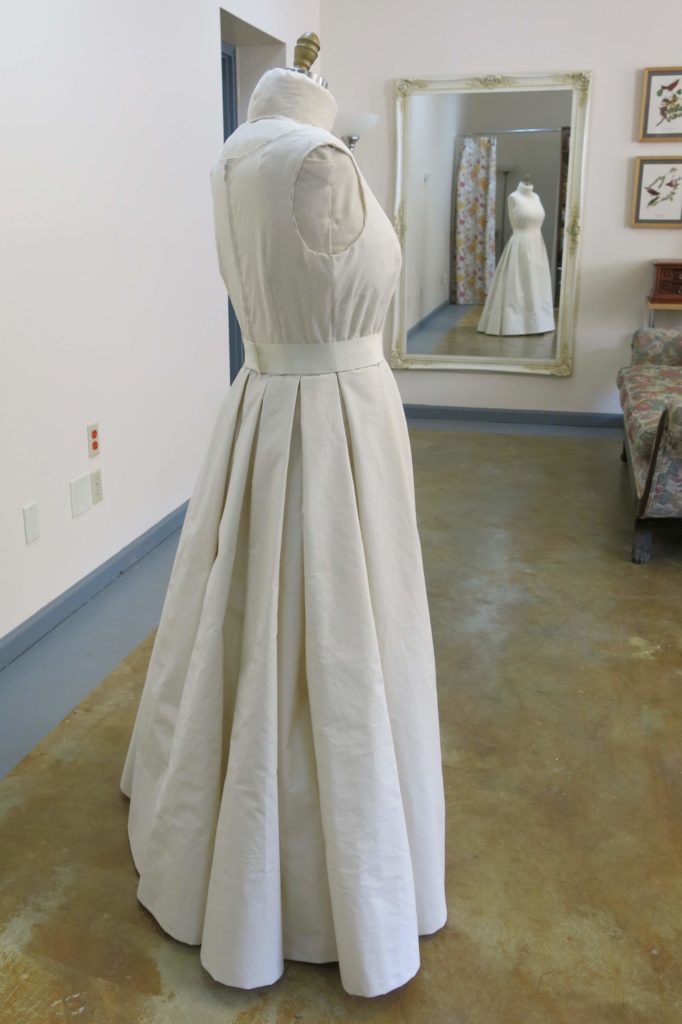
…before stitching the waist seam, combining all the pieces into one.
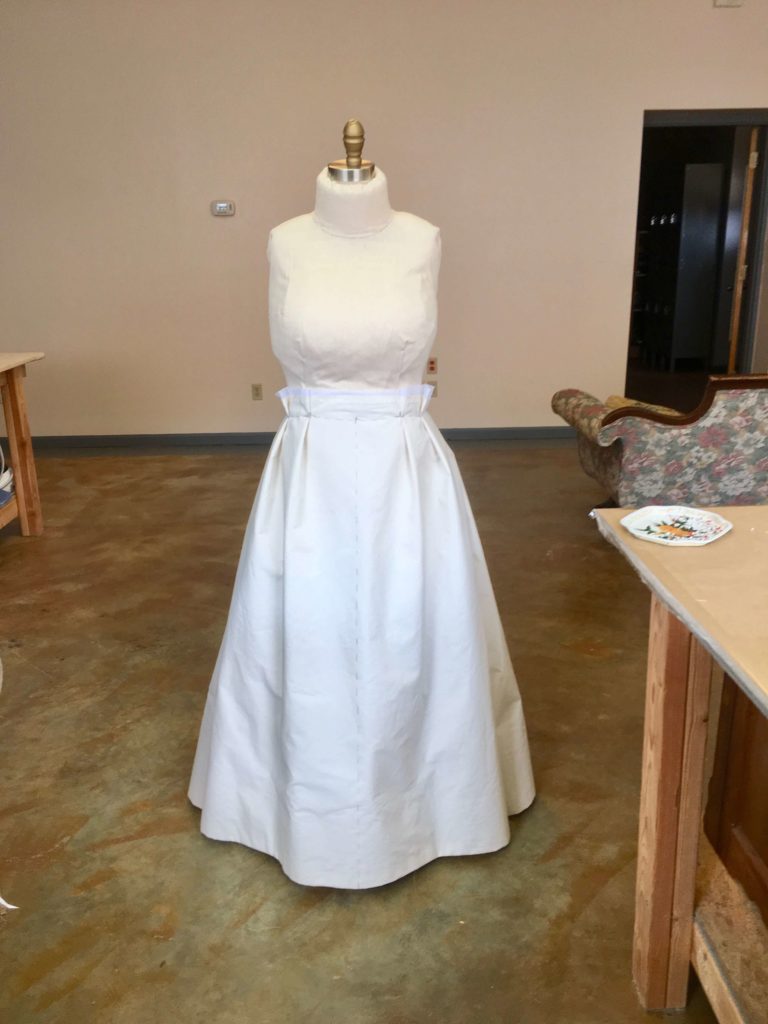
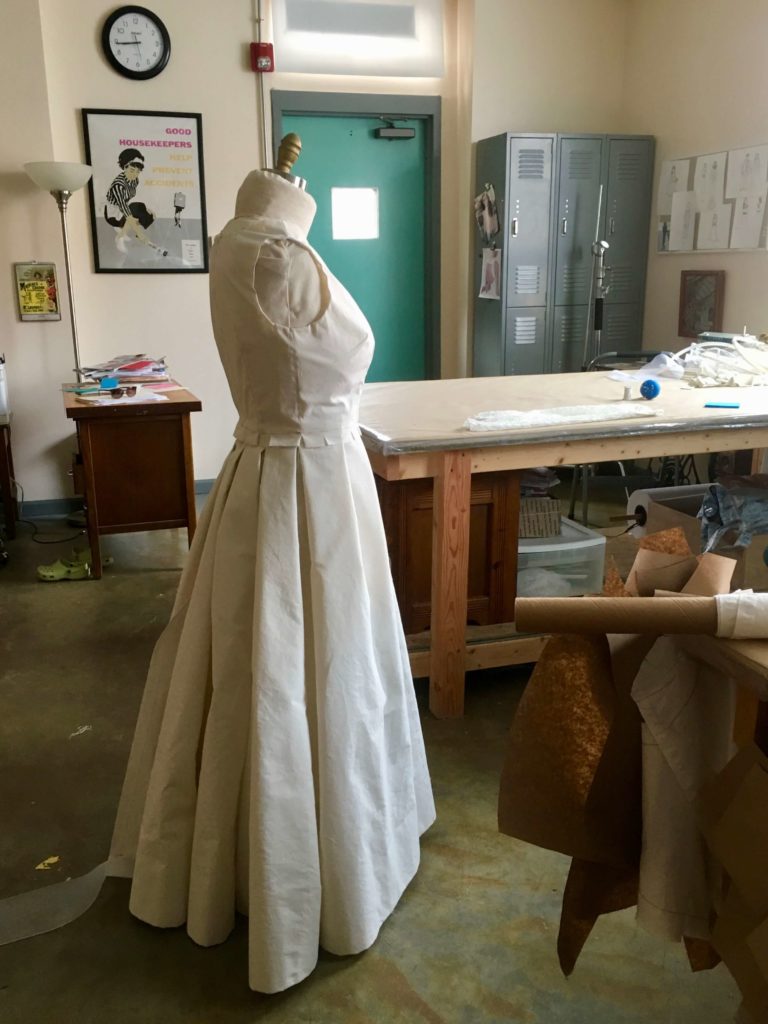
All Mocked Up!
I basted a zipper in the back (where the buttons will eventually go) and added a wide ribbon as a “mockup belt” which were the final touches for making Deborah’s mockup dress fitting-ready!
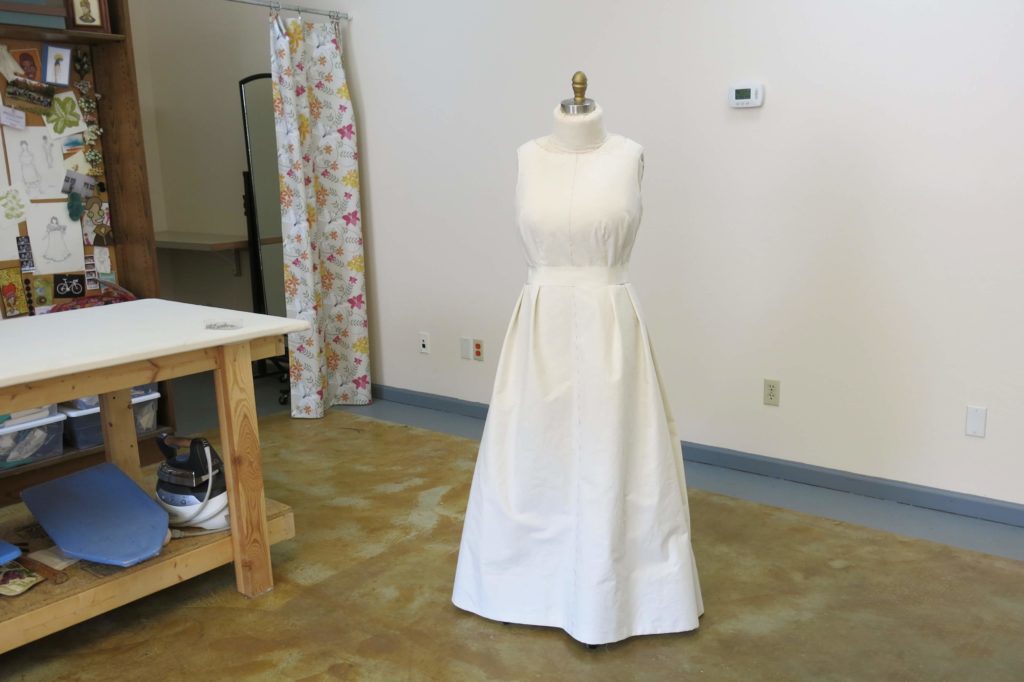
I was really excited to see how this test dress would fit Deborah and to discover what new puzzles were up next in this grand adventure!
NEXT POST: I’ll share our first mockup fitting and the improvements we made!


10 Responses
Love it! Looking very timeless and classic
Hooray (that was our goal for the design….)!
Wow, that’s going be a beautiful dress. I think it may be my favorite due to the back pleats in the skirt. It reminds me a bit of the 1800 dresses that had the poof in the back, but with a little modern take. Can’t wait to see where you go from here.
Thanks for following along!
This is such an interesting process. I am looking forward to reading about first fitting!
Thanks for following along!
That skirt is perfection. LOVE it.
Thanks for following along with my first draft! It only gets better from here….
Wow, I love how the pleats sit at the back. Is that because you folded the horsehair braid over the seams and didn’t have the seams and horsehair braid flat on the fabric? Does the wide width of the horsehair braid contribute to the pleats sitting so beautifully as well? I am making my daugter’s wedding dress at the moment, we are after a similar effect with the skirt.
Thank you for sharing your vast knowledge and skills; even though I live in Australia, and have only just recently discovered your very detailed blogs of the wonderful gowns you create, I feel like you are here in the room with me, inspiring me.
Hi Helen! Thanks for following along and congratulations on your daughters engagement and for making her dress!
And Yes! The wide horsehair hem helps a lot to create the shape and the not-pressed-open 1″ seam allowances are structural- telling the fabric how I want it to lay. Give similar ideas a try in your daughter’s mockup to see if it works for you too!