After the first mockup fitting improvements for Deborah’s custom wedding dress were translated into a second mockup dress, it was time to try it on and test the changes. I love how the mockup process (of working through test dresses before starting the real dress) allows the freedom to continually evolve the original ideas and information until a fantastic fit and delightful design are achieved. The more you play around, the more you learn, and the more refined the design becomes!
The Second Mockup Fitting
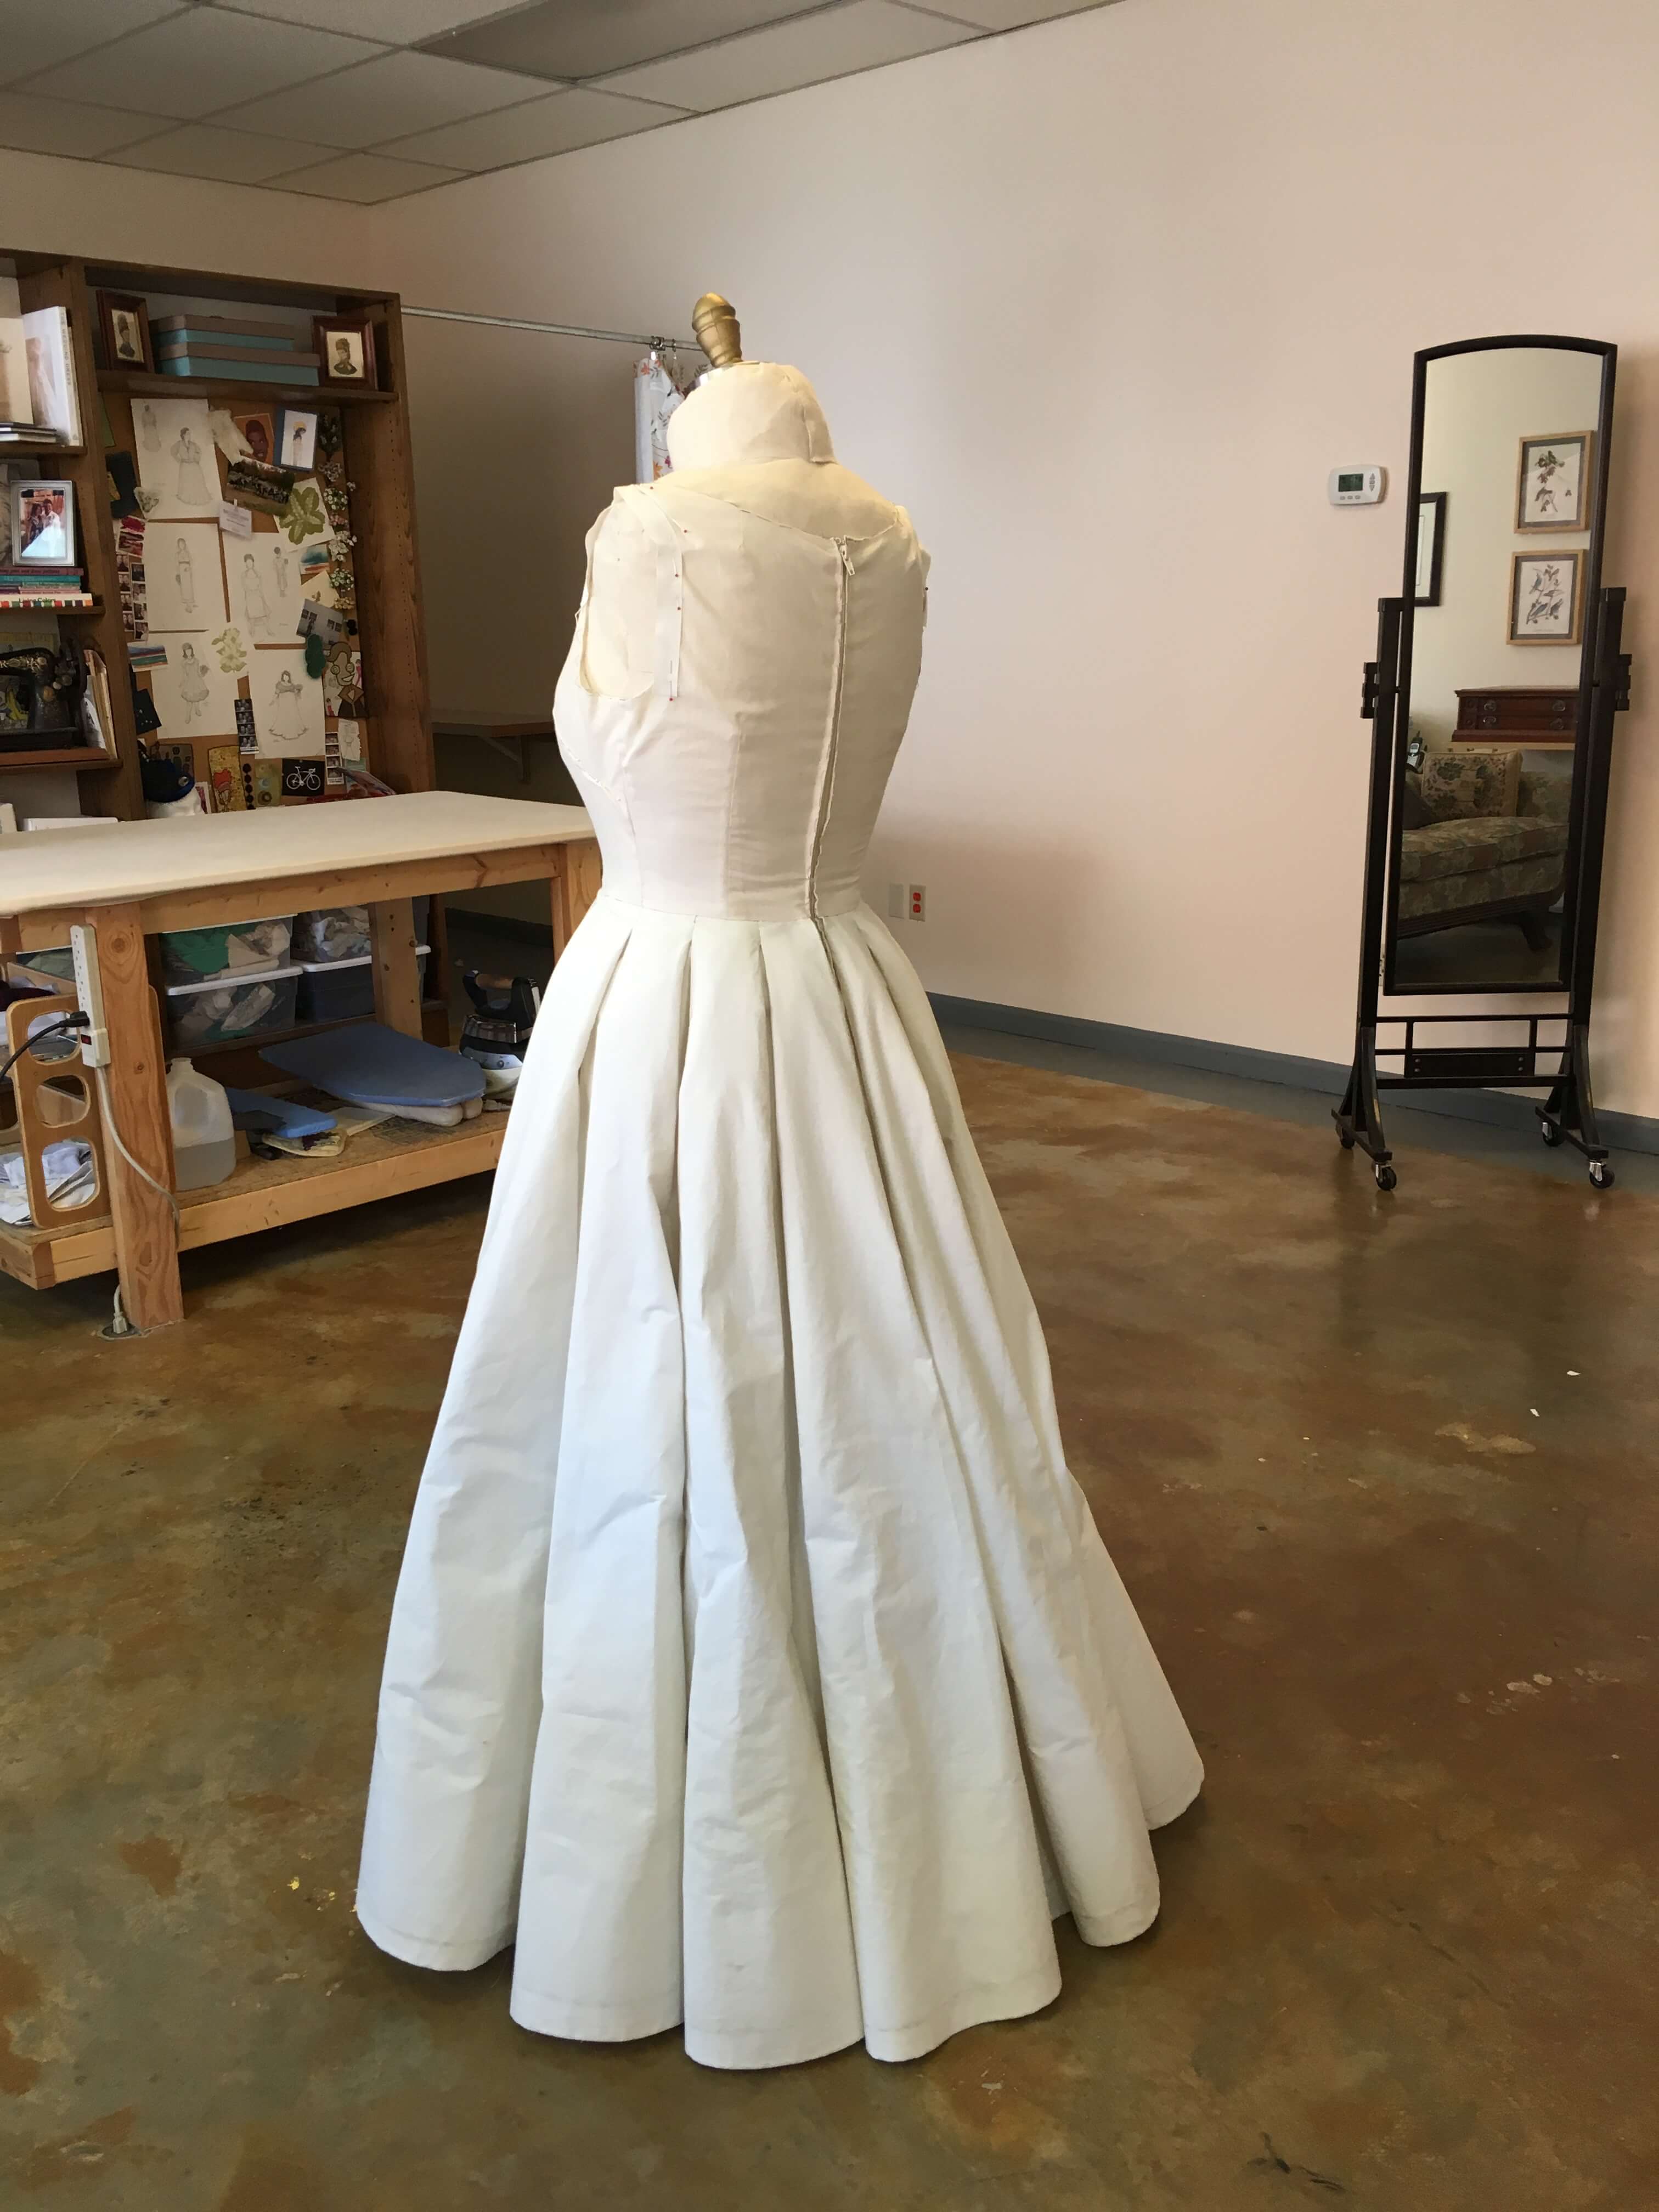
Deborah’s mom and sister came to my studio for our second mockup fitting (and fabric shopping trip to Mulberry Silks, which I’ll talk more about in my next post) and we all had a lot of fun together! The muslin mockup dress and its new lace mockup top were on the custom dress form when the group arrived.

Then Deborah tried on the second mockup of her sleeveless reception dress. It was much better than my first draft! The skirt and waist were now fitting really well. The top still needed some fine tuning, but that’s what mockup fittings are for!

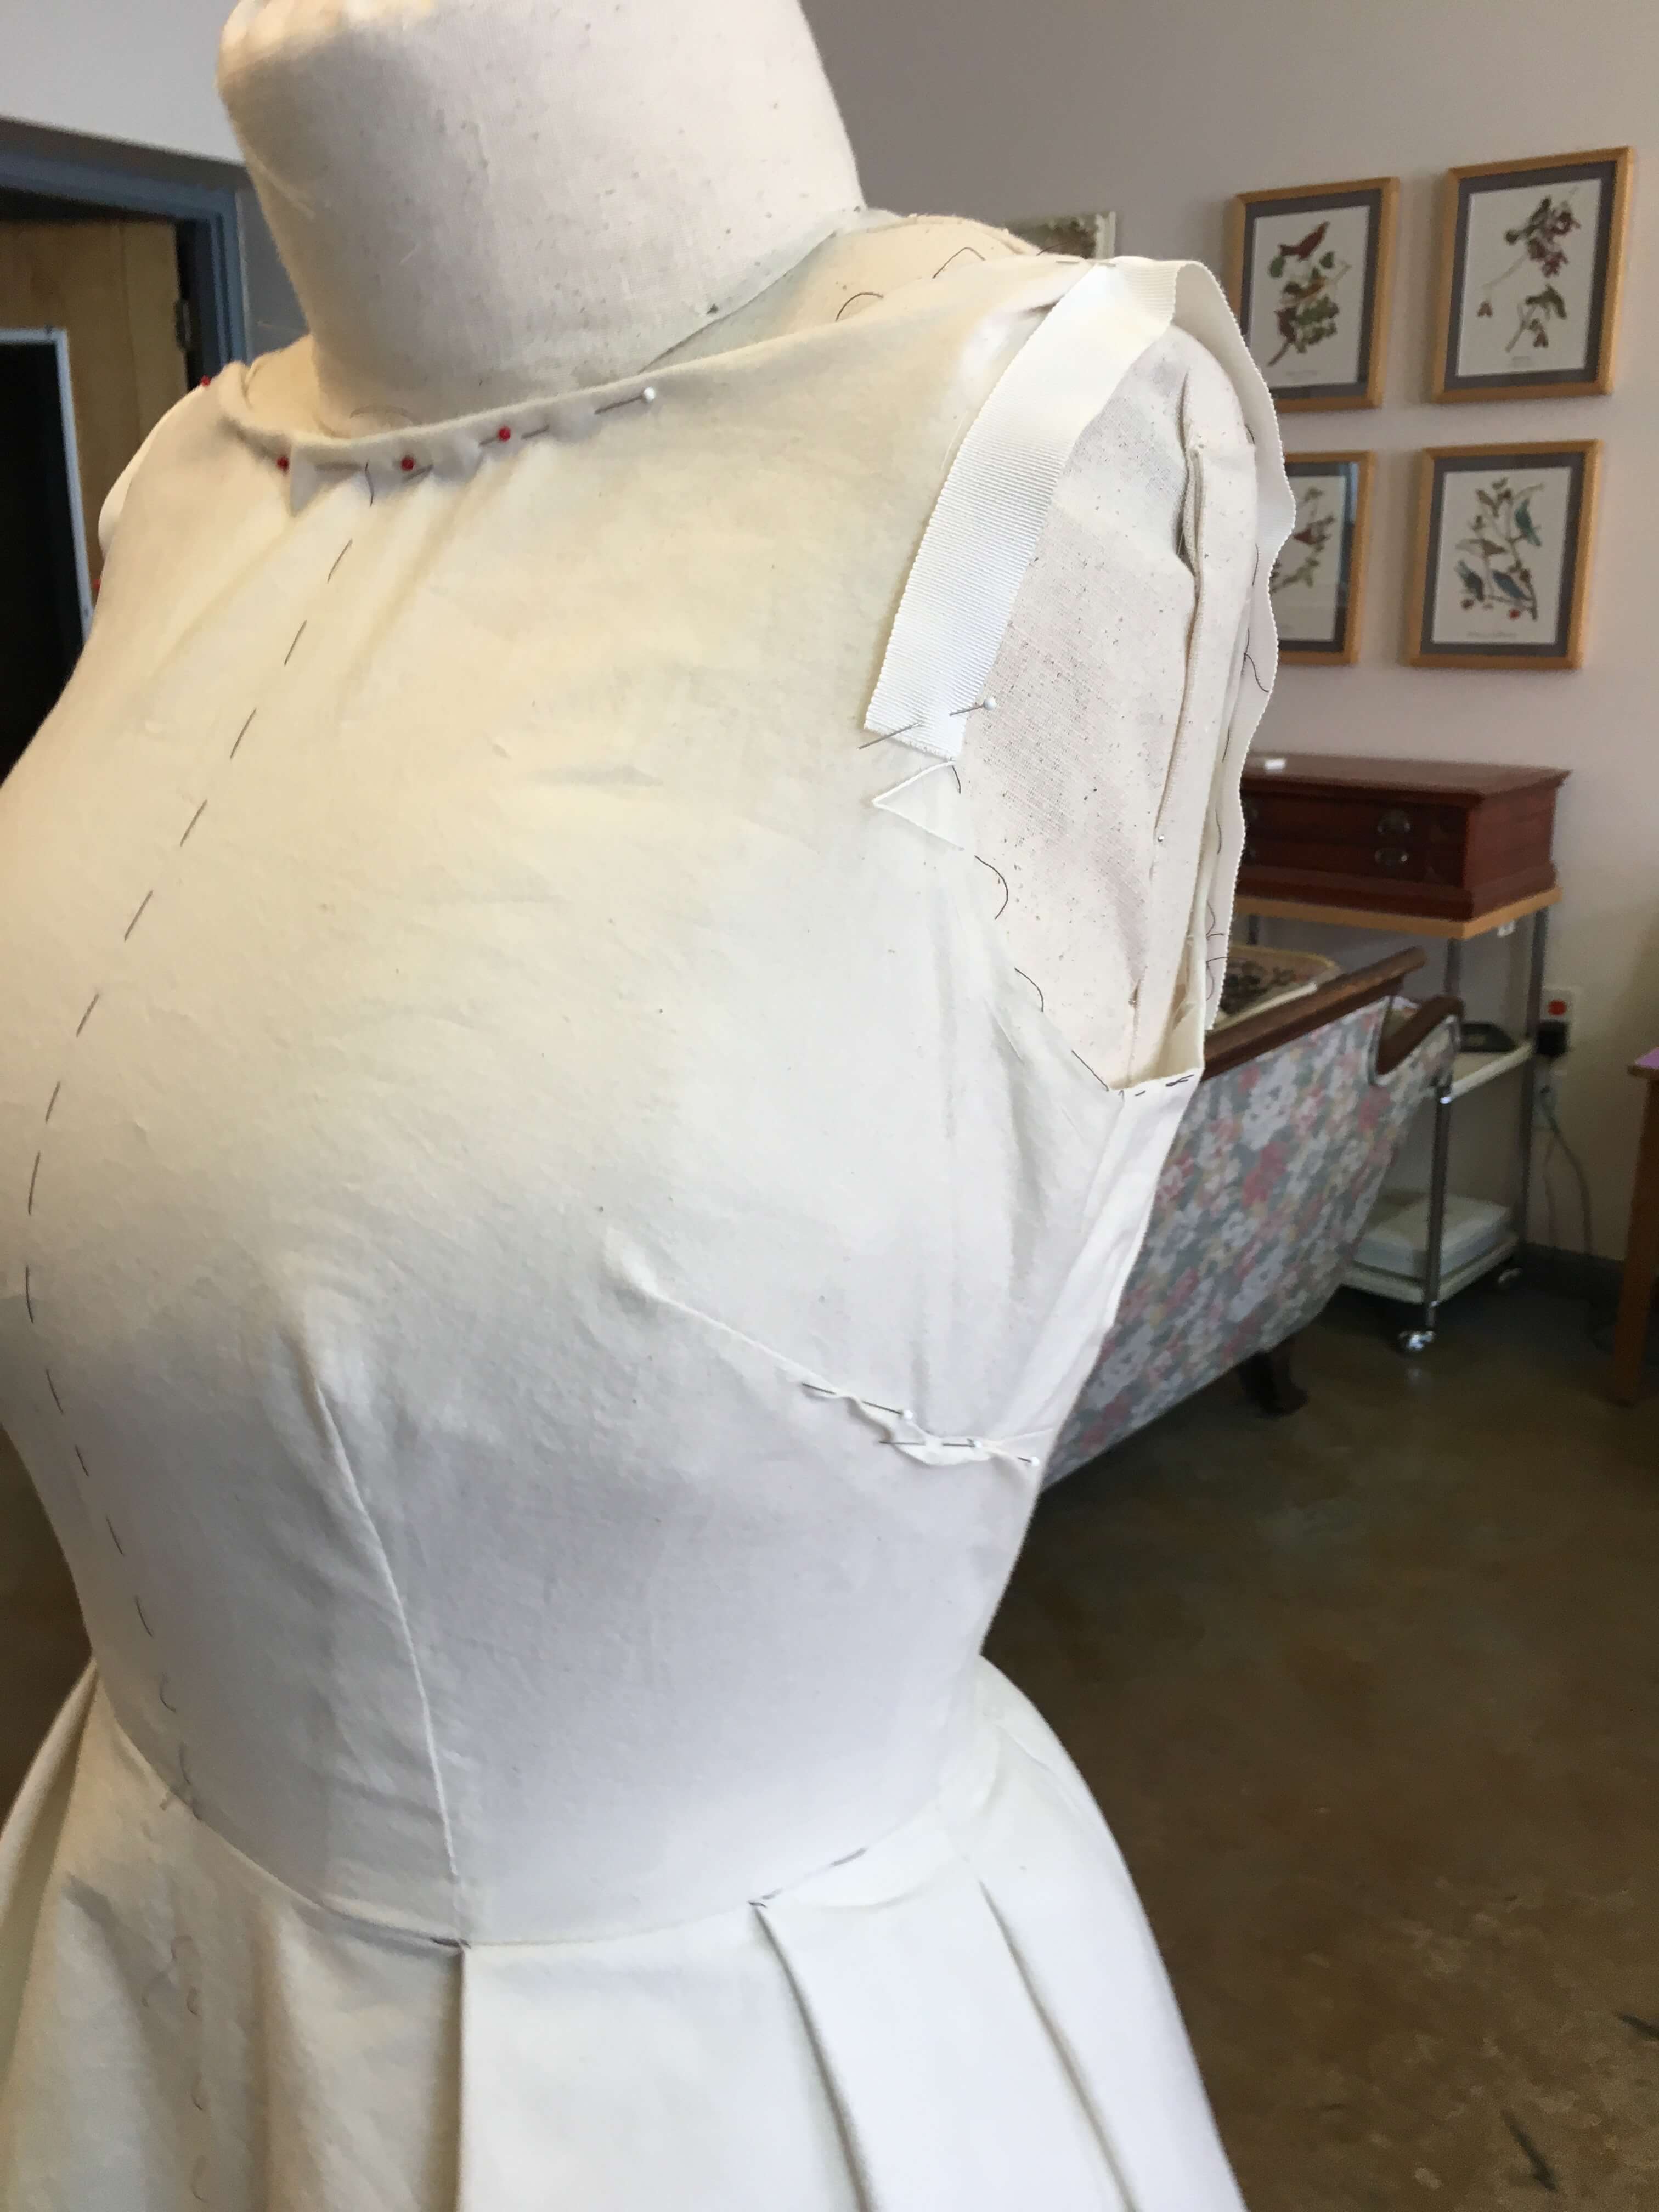
I took in the bust darts, let out the neckline and began reshaping the shoulders and armholes again.

With a little imagination, these corrections were looking really nice!

Then we added the lace top mockup for the first time!

Though there was still a lot of fine tuning left to do, we were both really happy with how things were shaping up!

Prepping a Third Mockup
Third time’s a charm, right? Though the second mockup fitting corrections weren’t drastic, I felt like I’d be more confident working through a third mockup fitting before moving into the real fabric. Deborah was happy to come back and I was jazzed to keep experimenting. Win-win!
I put the second mockup back on the dress form to asses the fitting improvements we’d made.

Since I (yet again) wanted to extend the armhole into the clipped portions, I added a ribbon during the fitting. This kept the guesswork of the outer edge less of a mystery.

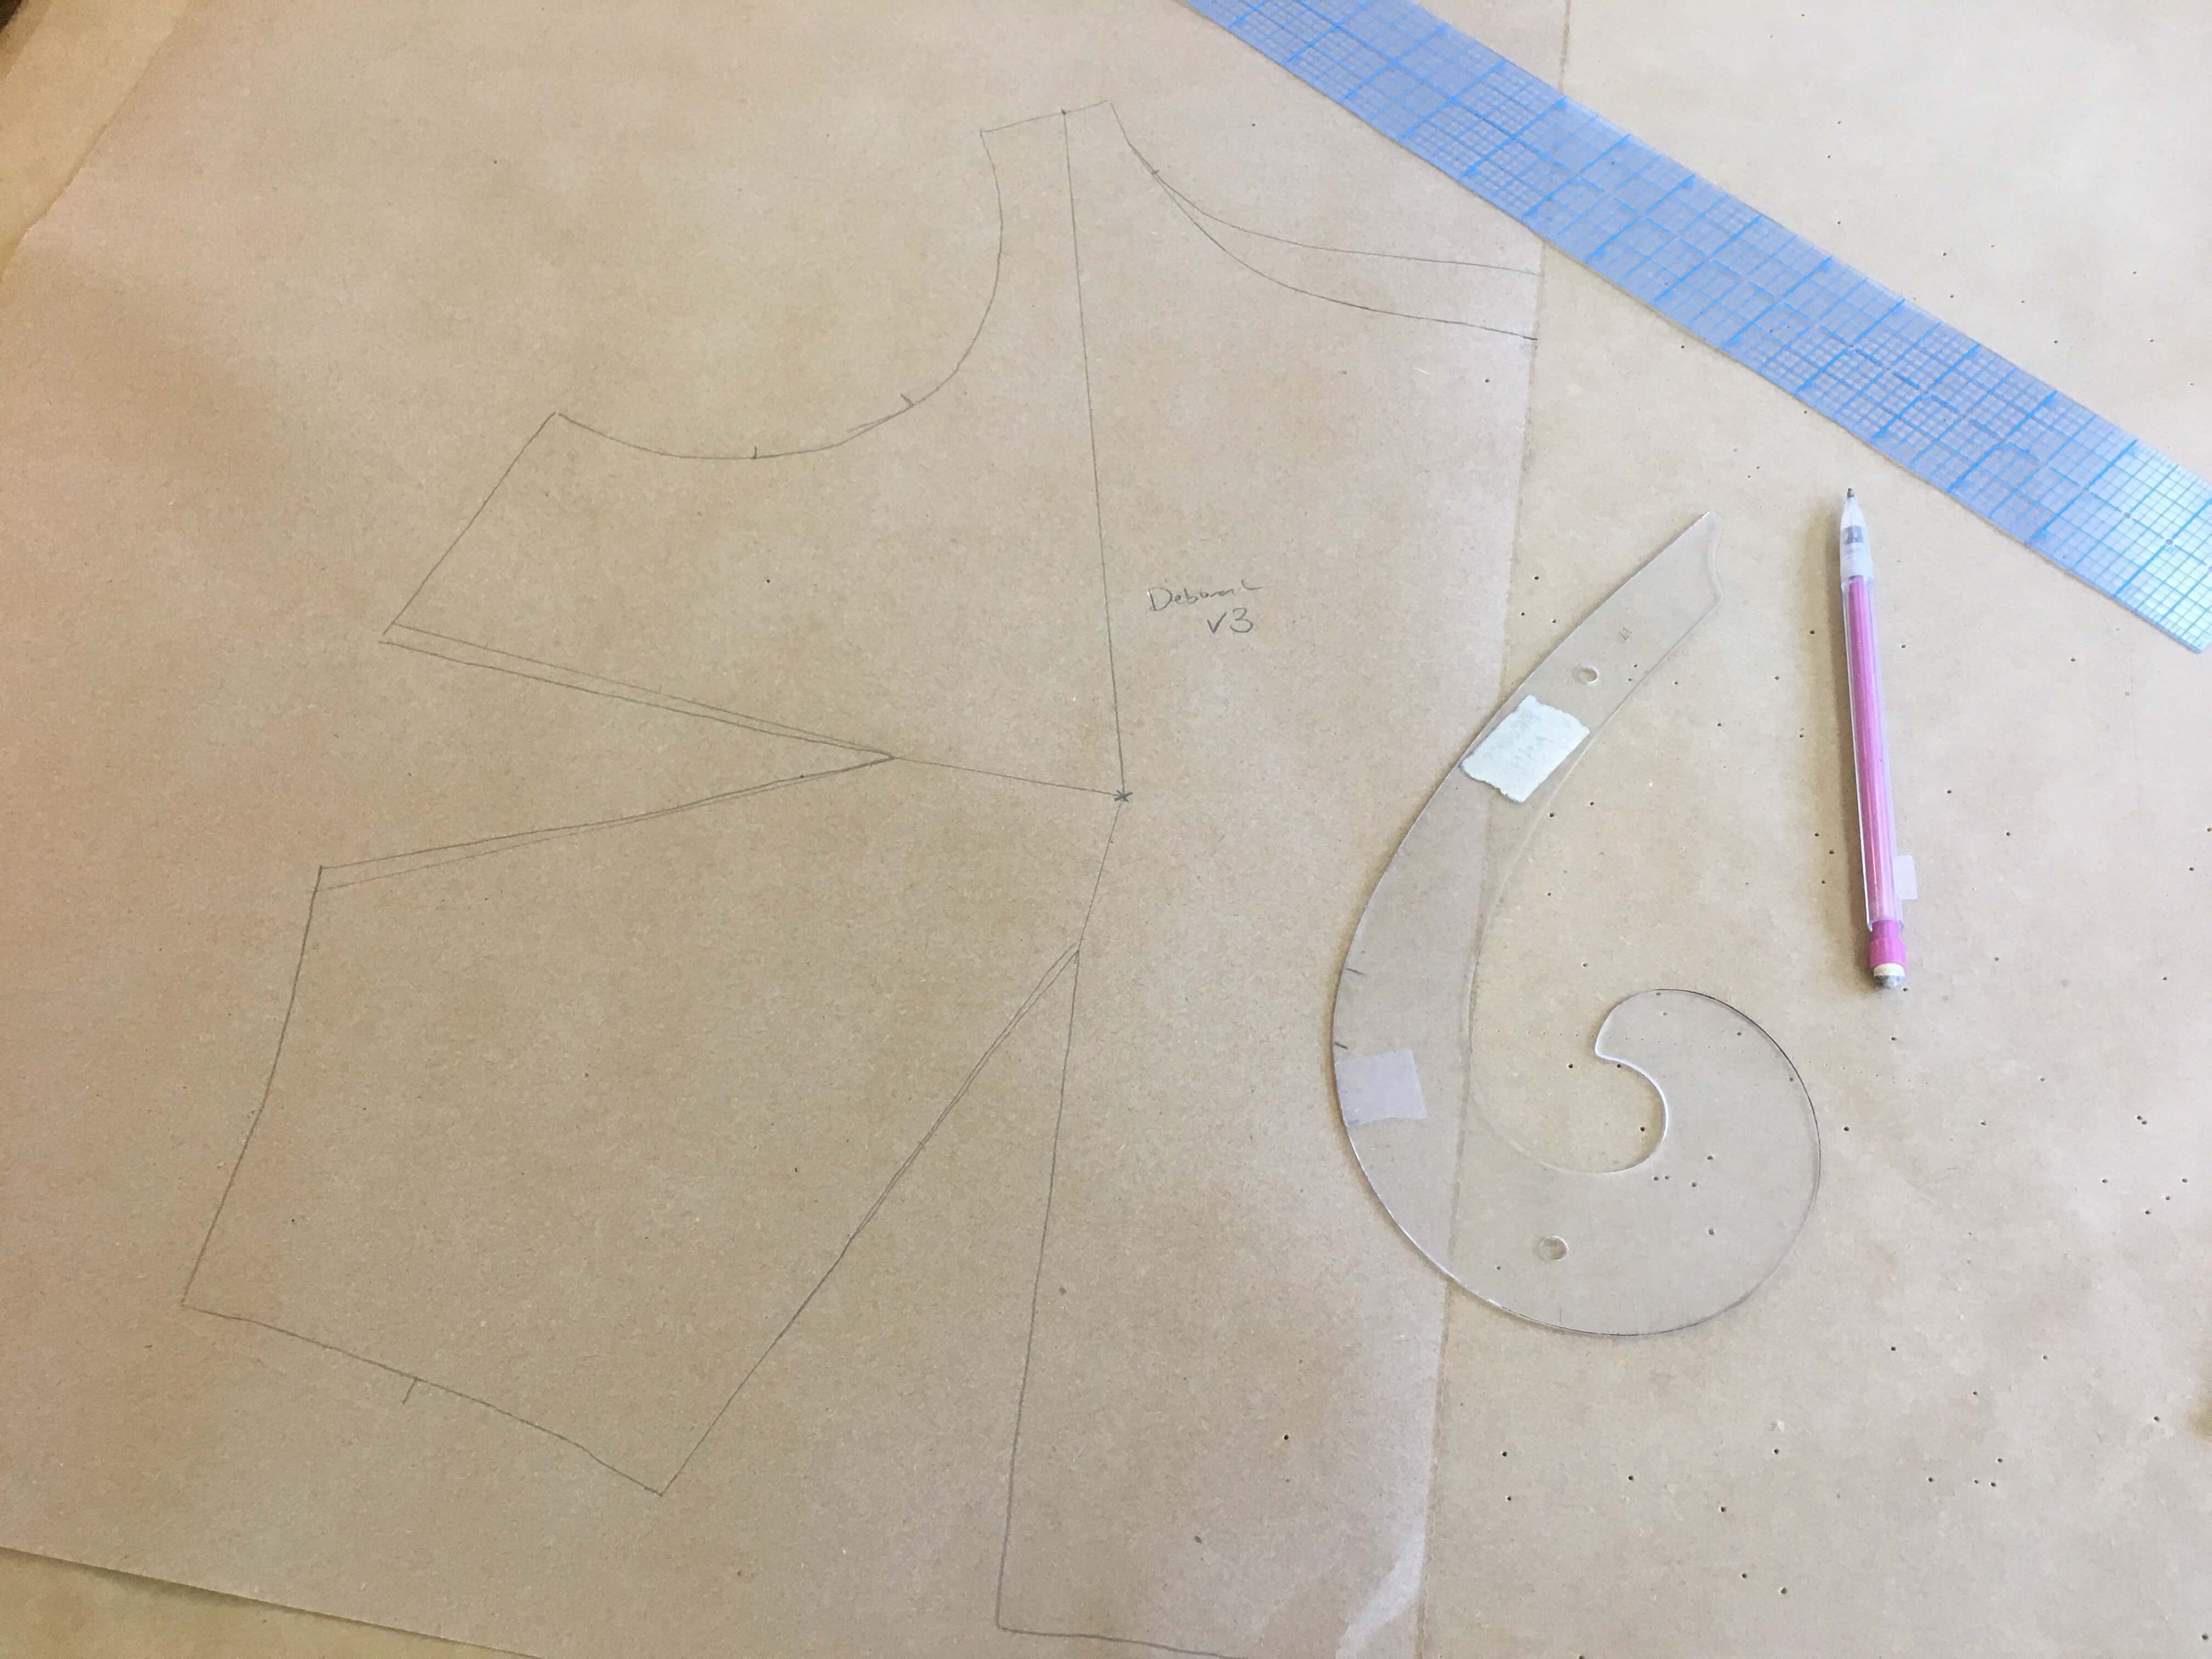
I then translated the marked-up mockup to paper by pinning it to my pinnable-top work table for both the front…

…and the back.

I love messy patterns and I most often reuse the originals, but this time I started my experiments on clean paper for bodice Version 3.


Once I was happy with my new pattern, I cut a new top out of washed muslin…

…stitched it up and tried it on the dress form!

The skirt in our second mockup actually fit really well, so I decided to keep it as intact as possible to reuse it in our third mockup.

So I pulled out the basting stitches that were attaching the zipper to the bodice…

…and cut the bodice off the skirt.

The seam that held the bodice to the skirt was holding a lot of the pleats together, so I just left it there…

…removing and thanking the second mockup top for its service. I learned a lot from it and would be replacing it with something even better!

Next, I took my freshly-made third mockup top and pinned it to the skirt’s former waist seam…


…replaced the pins with hand basting stitches…

…before sewing the two together from the top on my grandmother’s industrial machine.

The Third Mockup Fitting!
During our third mockup fitting, we refined the neck and armholes one more time…

…and were finally really happy with the results! Isn’t she gorgeous!?

With three mockup fittings behind us, my final corrections would lead us both confidently into the real dress in the real fabrics!

I was a little sad that the mockup process was over, but really excited to start working in gorgeous fabrics. Do you love the mockup process too? Or does fabric shopping sound way more fun?
NEXT POST: Fabric shopping decisions and more!!!


