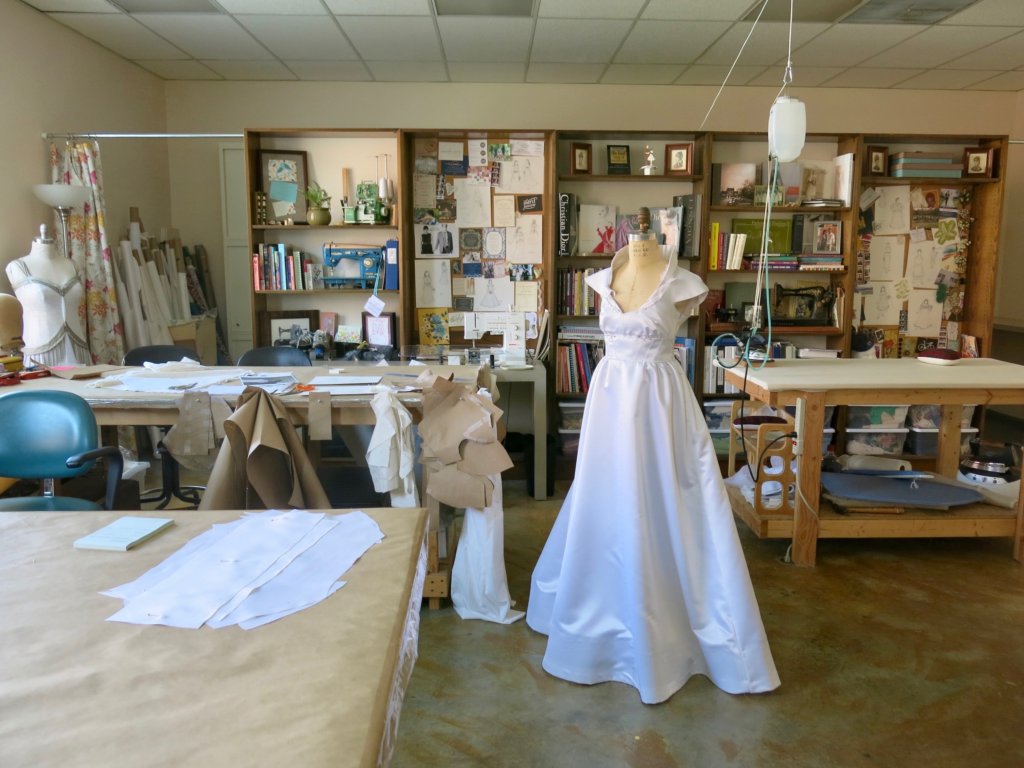
After Tiffany’s first mockup fitting, I was ready to use the edited patterns and original polyester mockup dress to create a second mockup dress for a second mockup fitting. As I sorted through the photos to create this blog post, I realized that everything looked very similar to what I’ve shared before! So it’s kinda Déjà Vu for Mockup #2!
Second Time’s a Charm!
Since there were so many tweaks made to the bodice during the first mockup fitting, I needed to completely recut and create a new mockup top for Tiffany to try on in Round Two.
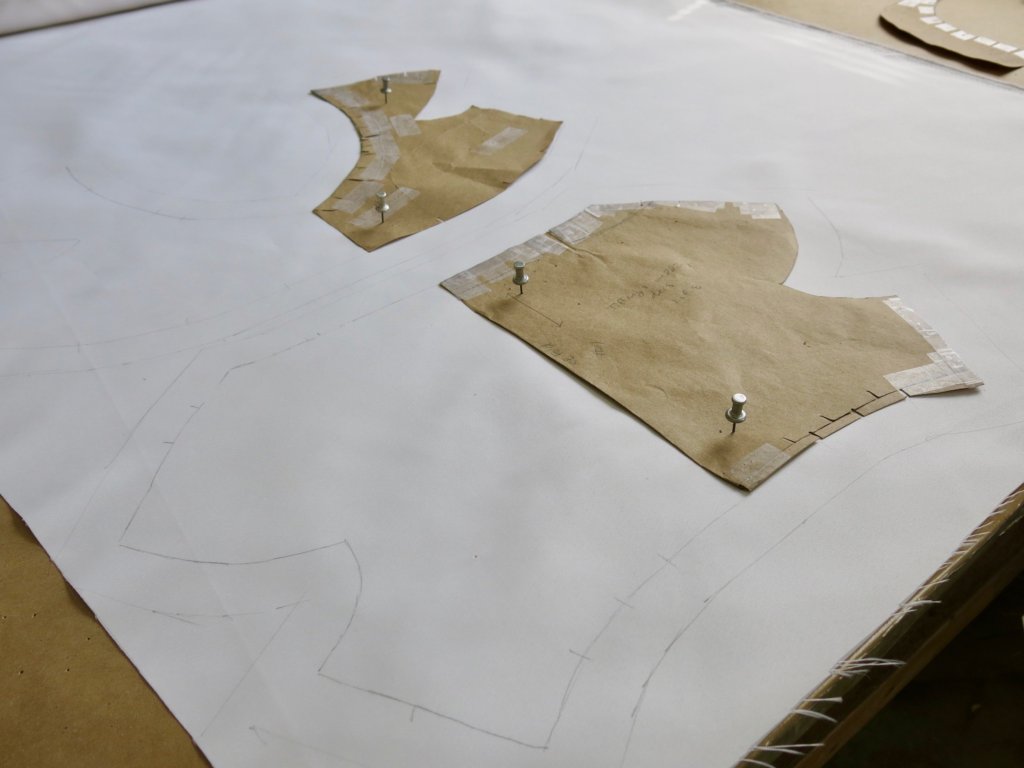
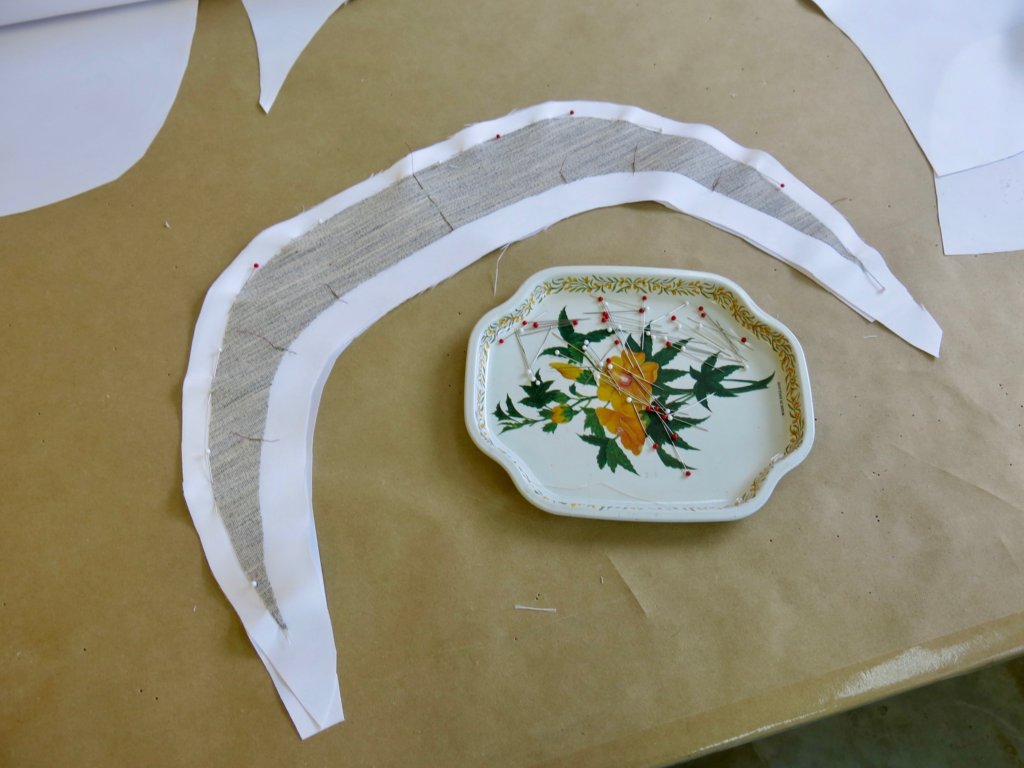
Same for the new-and-improved collar!
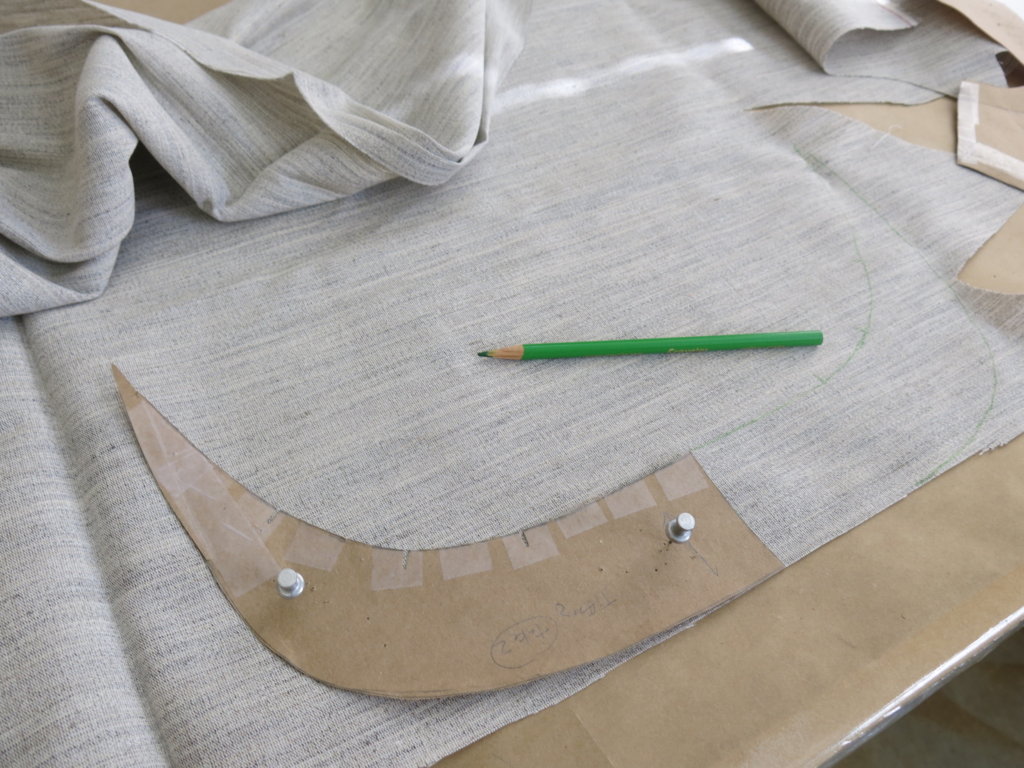
My assistant Rebecca joined in on the fun- ripping apart the first mockup to reuse the skirt fabric- as I cut and crafted new-and-improved midriff bands.
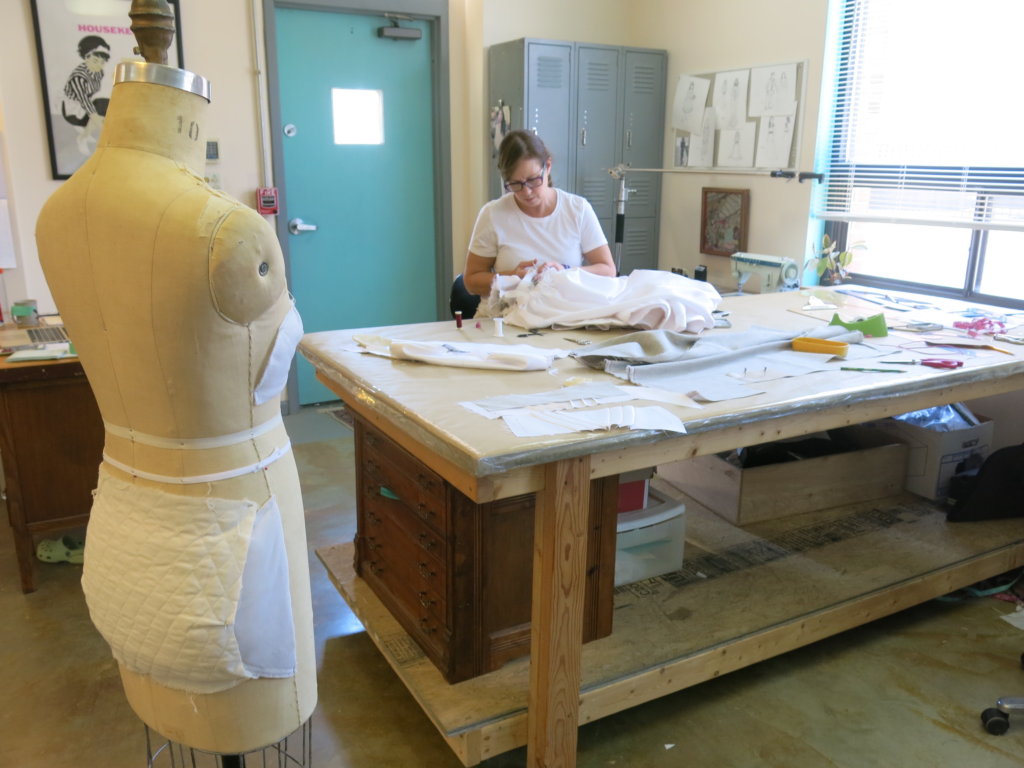
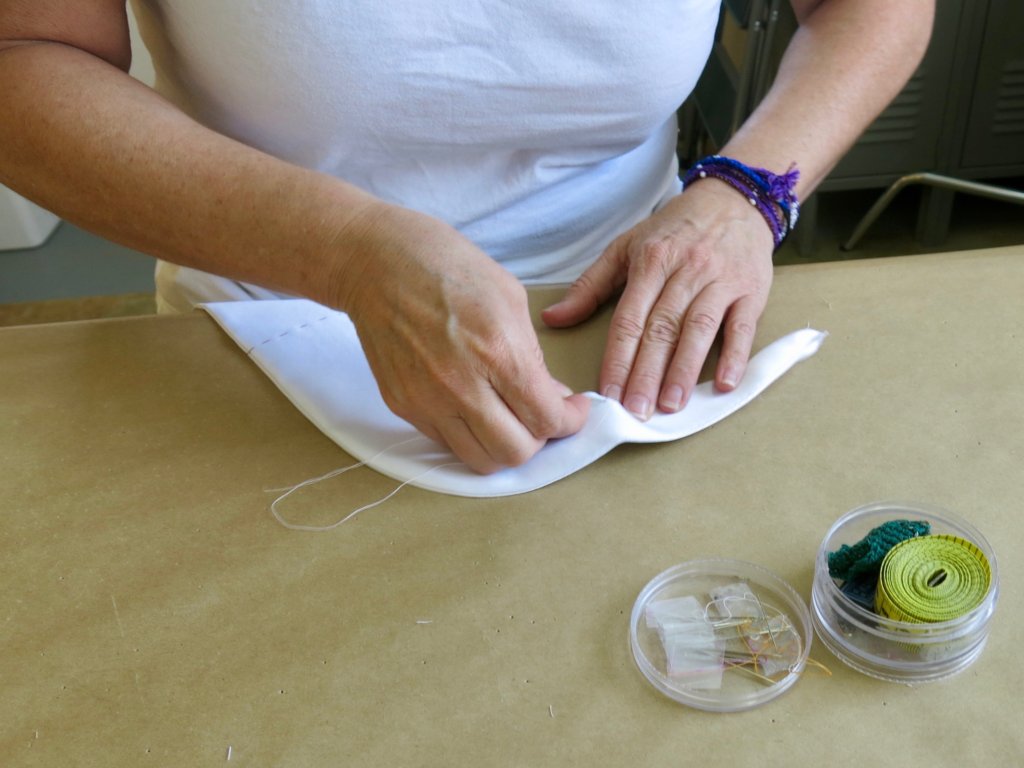
Rebecca basted the new mockup collar together so I could try it on the new neckline.
While I loved the look when I tested it in paper, seeing this new collar design in fabric on the form made me question whether it might be too large and overwhelming for my petite bride.
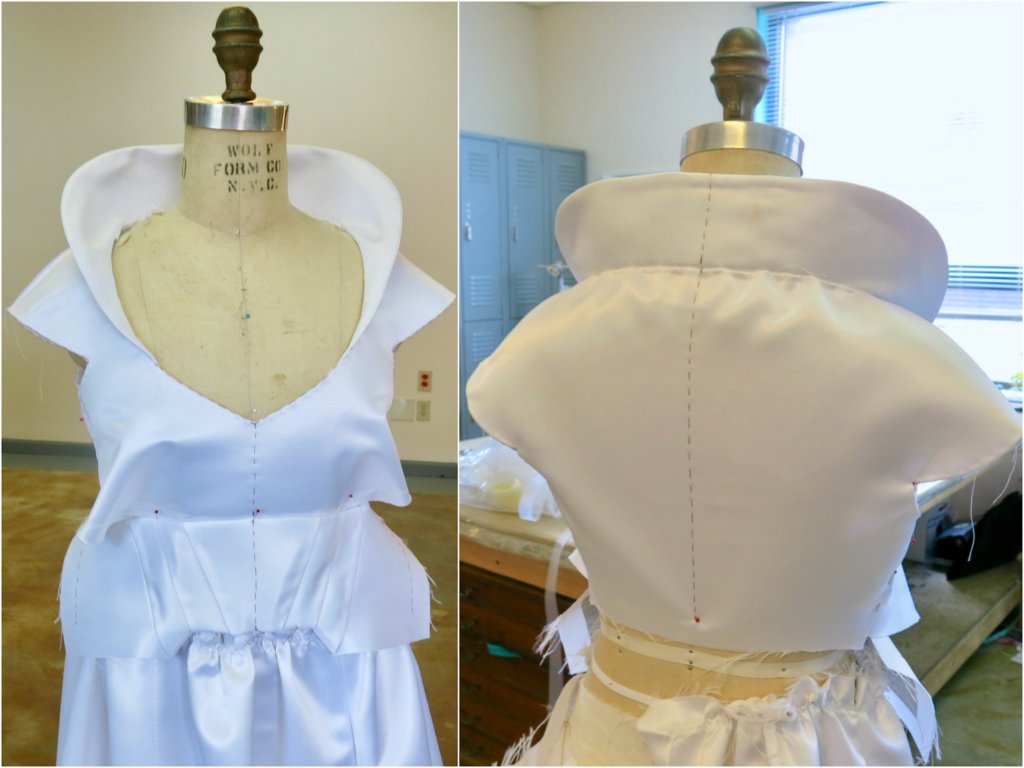
With a few pins and a little imagination, I was able to edit it into something that seemed like it would really suit Tiffany’s natural beauty and style!
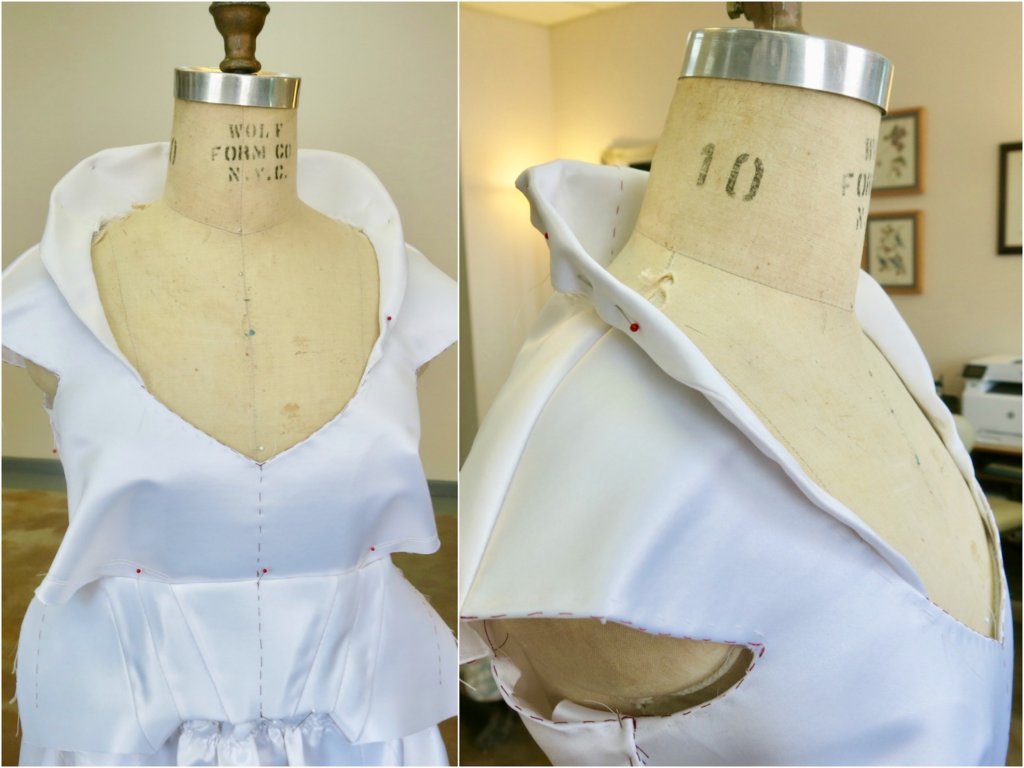
So I altered the pattern another time and created another collar!
I added the now-even-more-new-and-even- more-improved collar to the new-and-improved bodice and midriff…
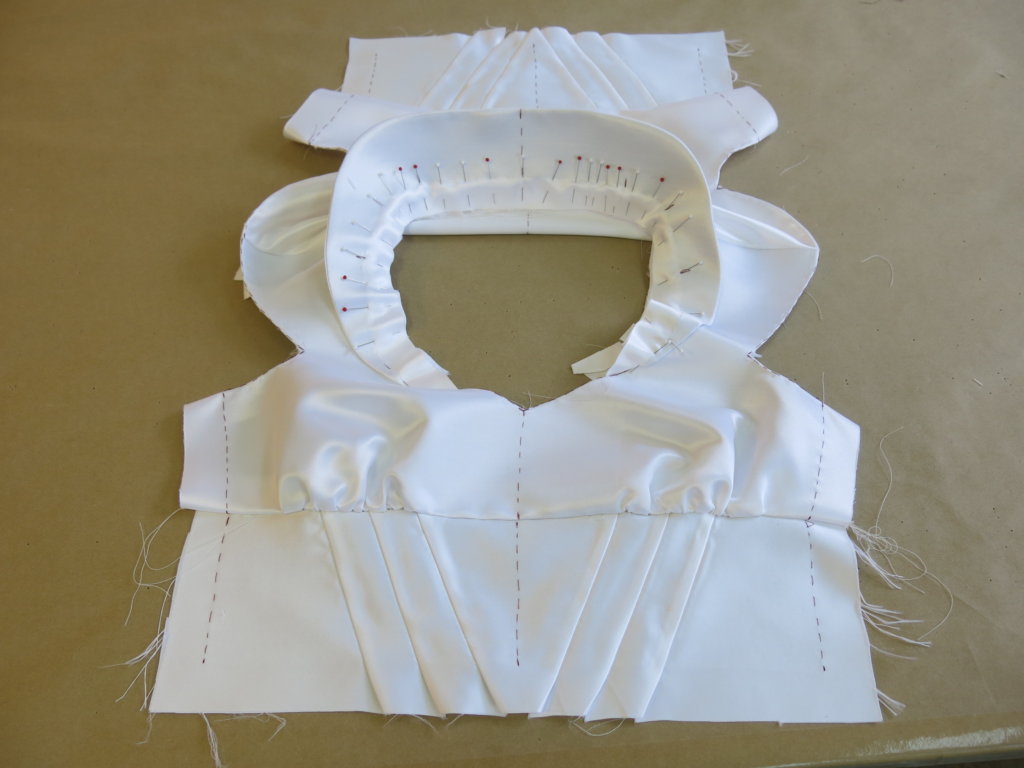
…and pinned everything crudely to the form. I was very happy with how everything was shaping up!
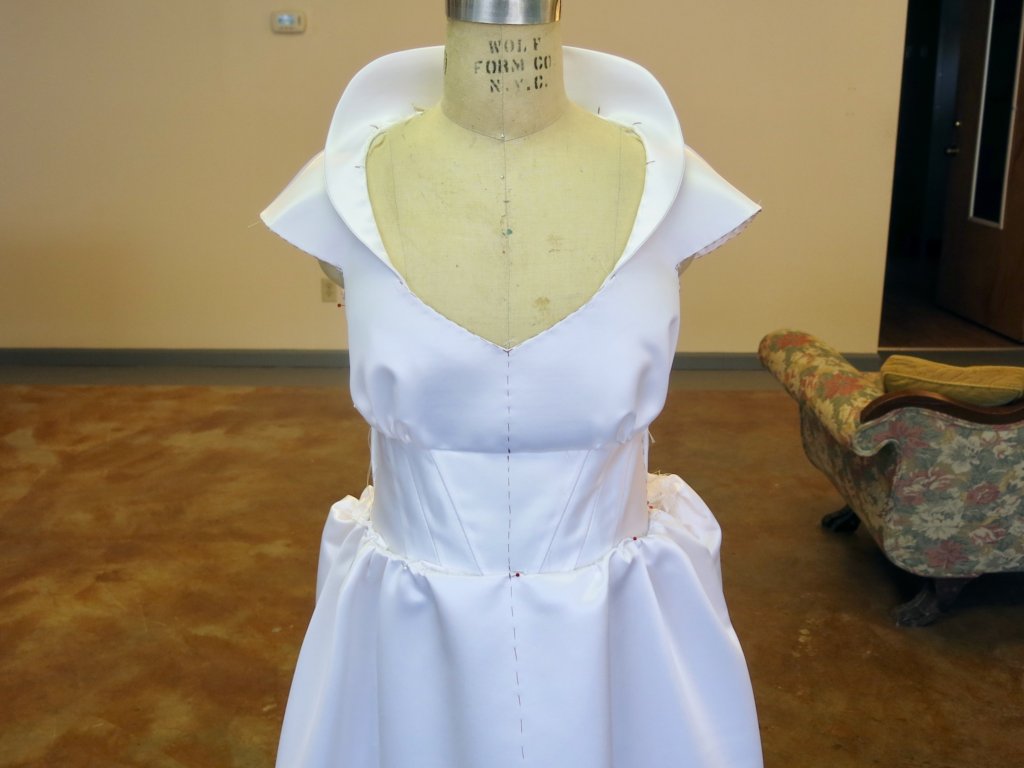
Once the top was ready, I made the pattern corrections for the skirt, which was a little too long for Tiffany in the first mockup. Since the fullness of the original hem was nice, I took off the extra length at the top.
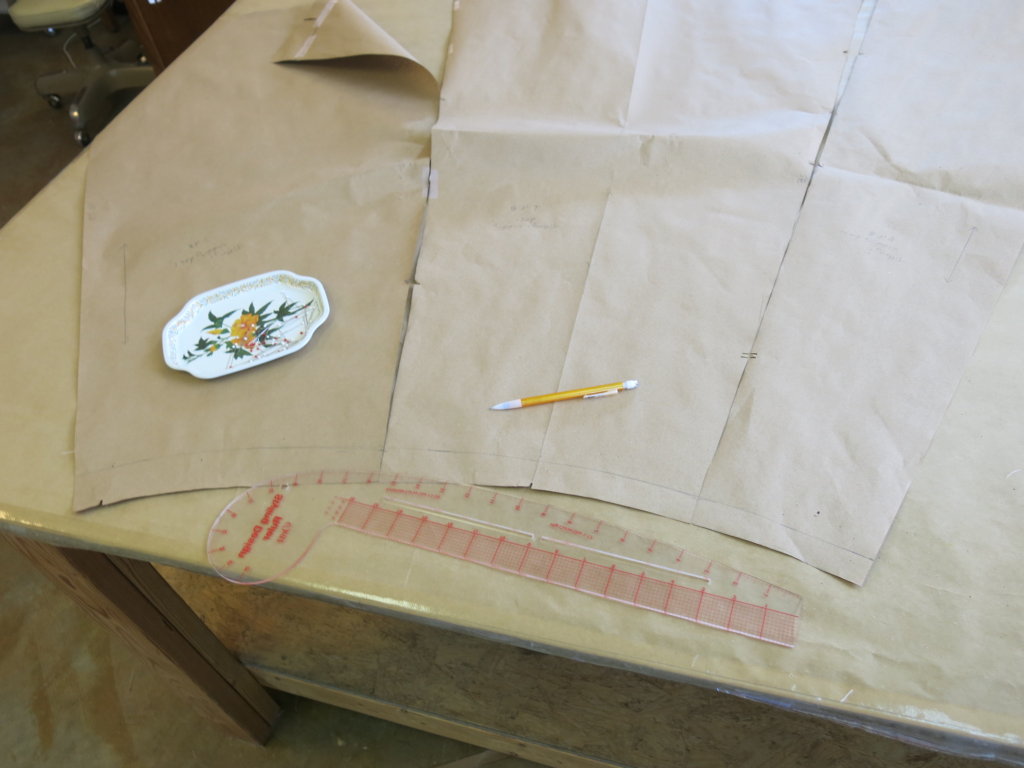
After pulling out the original gathering stitches, I lined up my corrected pattern pieces on the original skirt fabric (without taking it apart) to mark the changes.
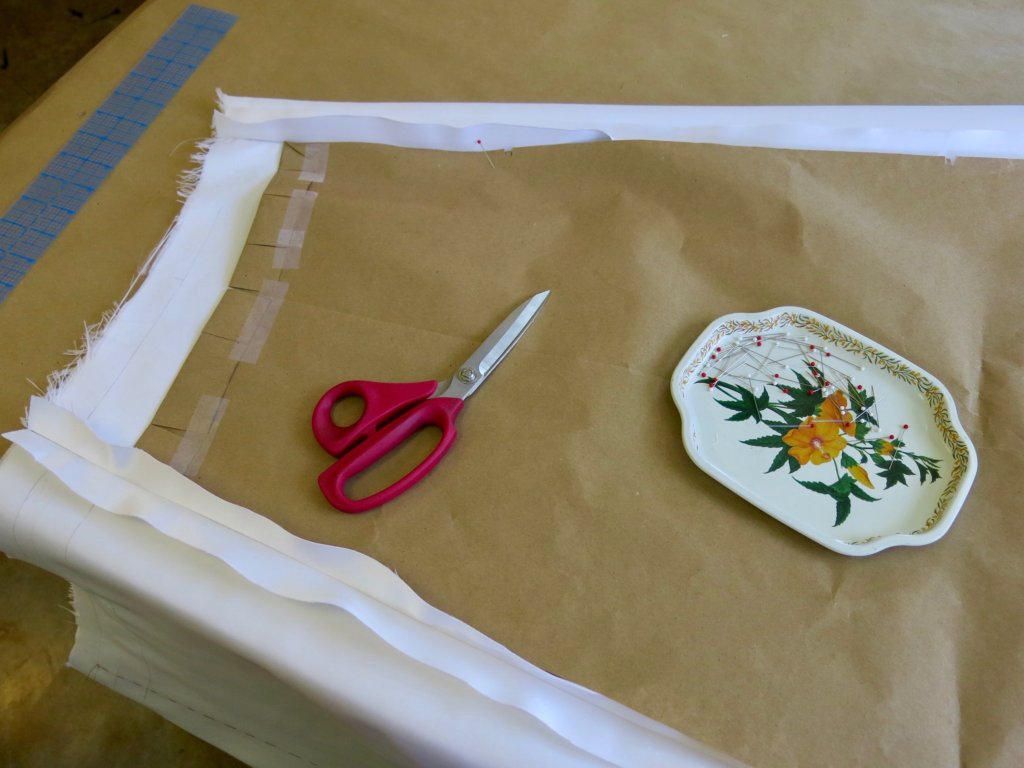
Any added width from this change was incorporated into the new-and-improved gathers which I basted to the top of this new mockup dress.
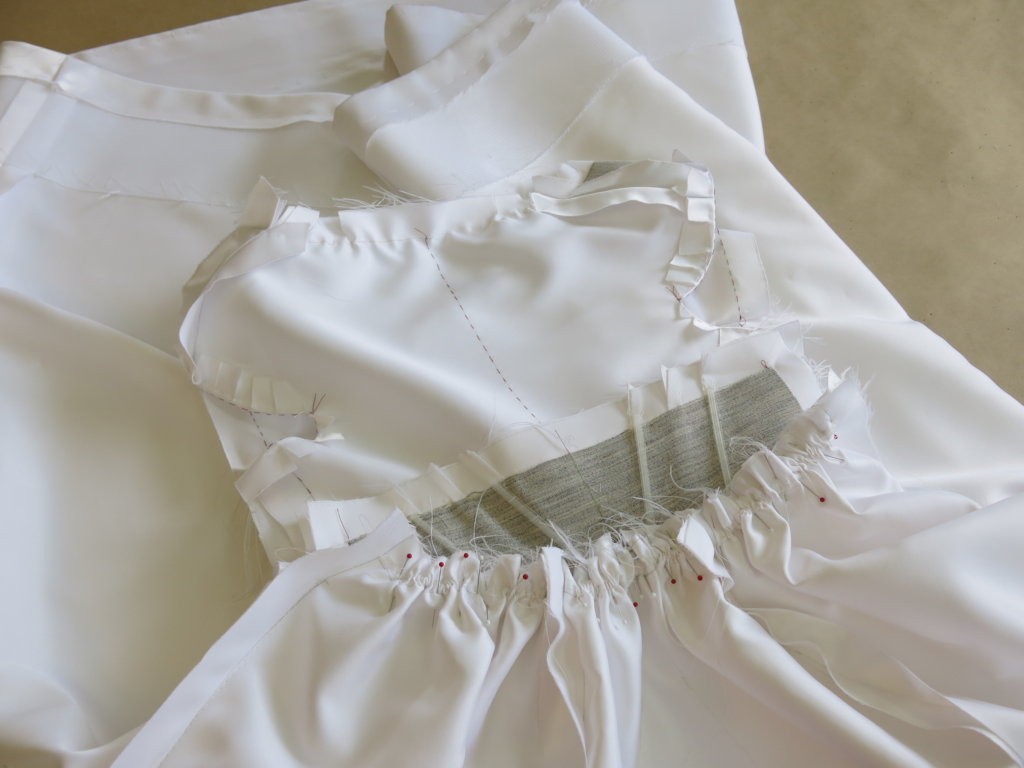
YEEEESSSS!!!!
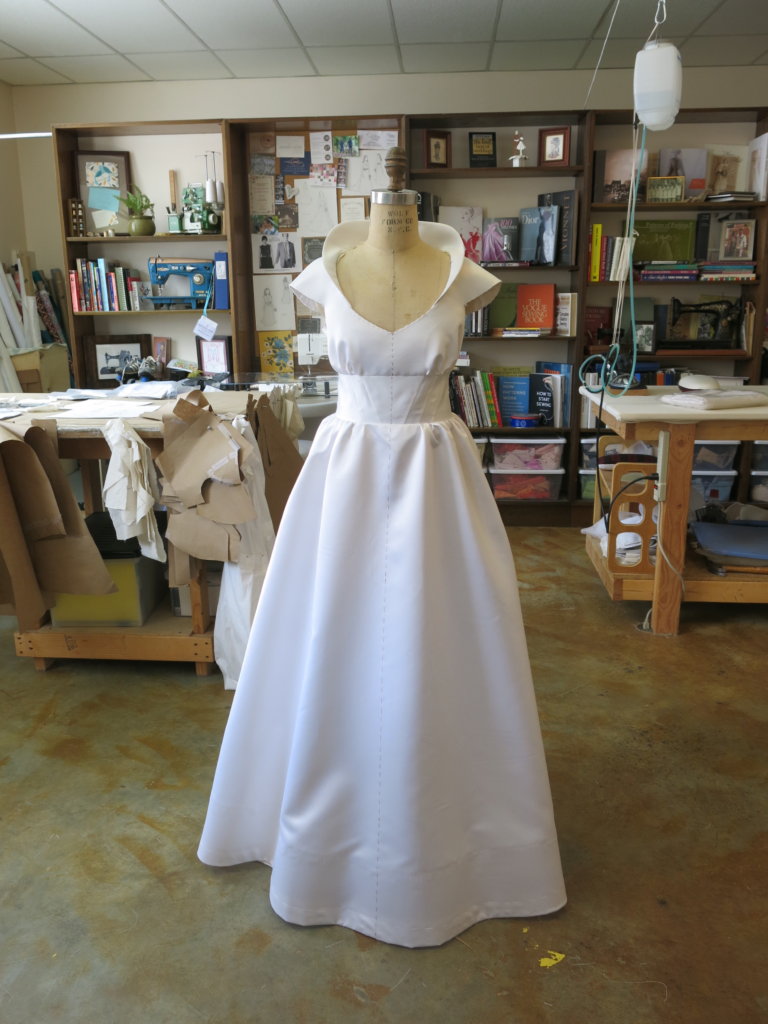
I was loving this new collar design!
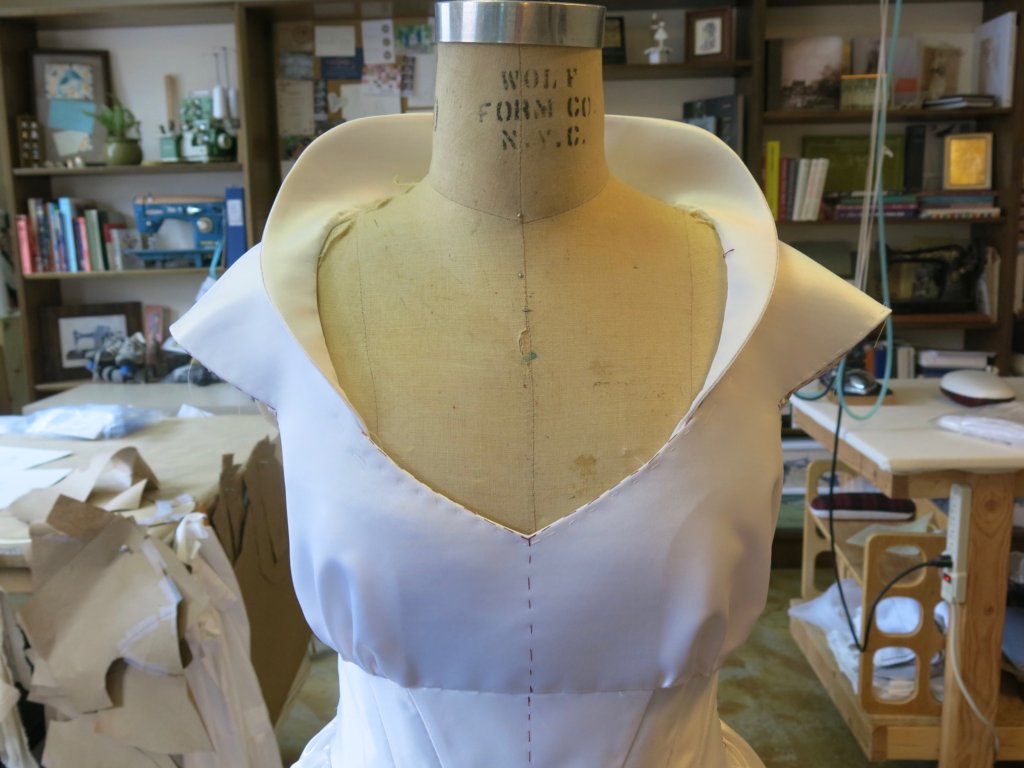
But I also remembered- Throughout our design process, the bride and I had gone back and forth considering a less rounded/more squared collar idea. I realized that I could also show the squared idea to Tiffany pretty easily with a couple of tucks.
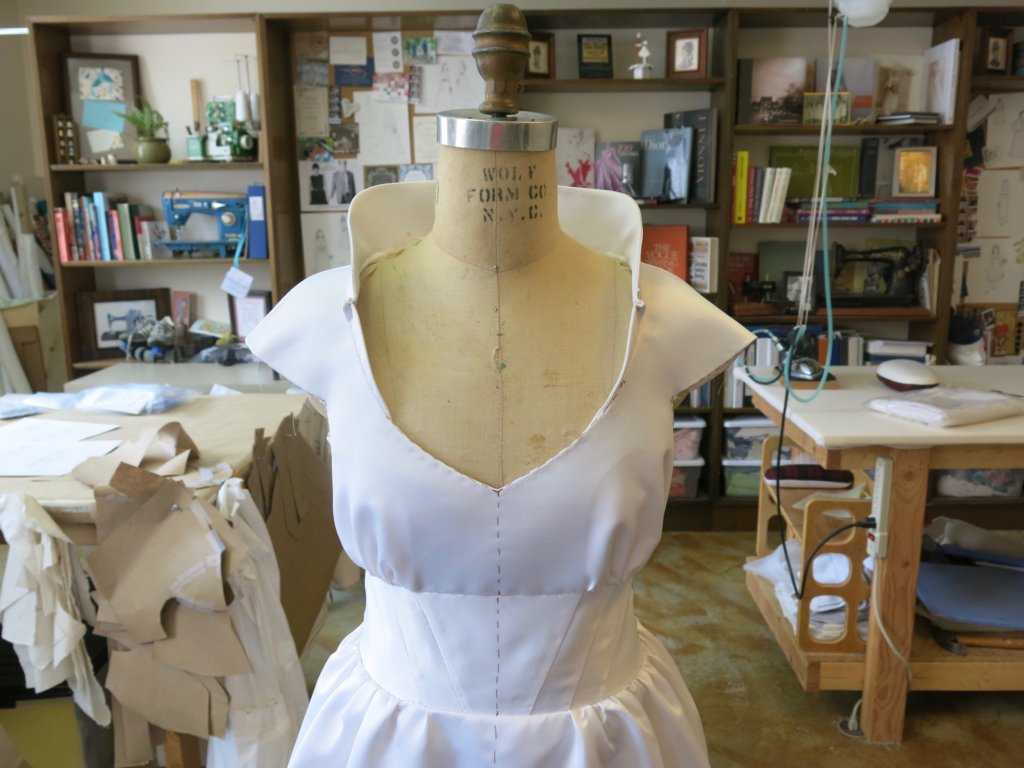
The tucks would be eliminated if this collar design became Tiffany’s choice (so a little imagination is needed) but I was excited to be able to show her two designs in this one mockup!
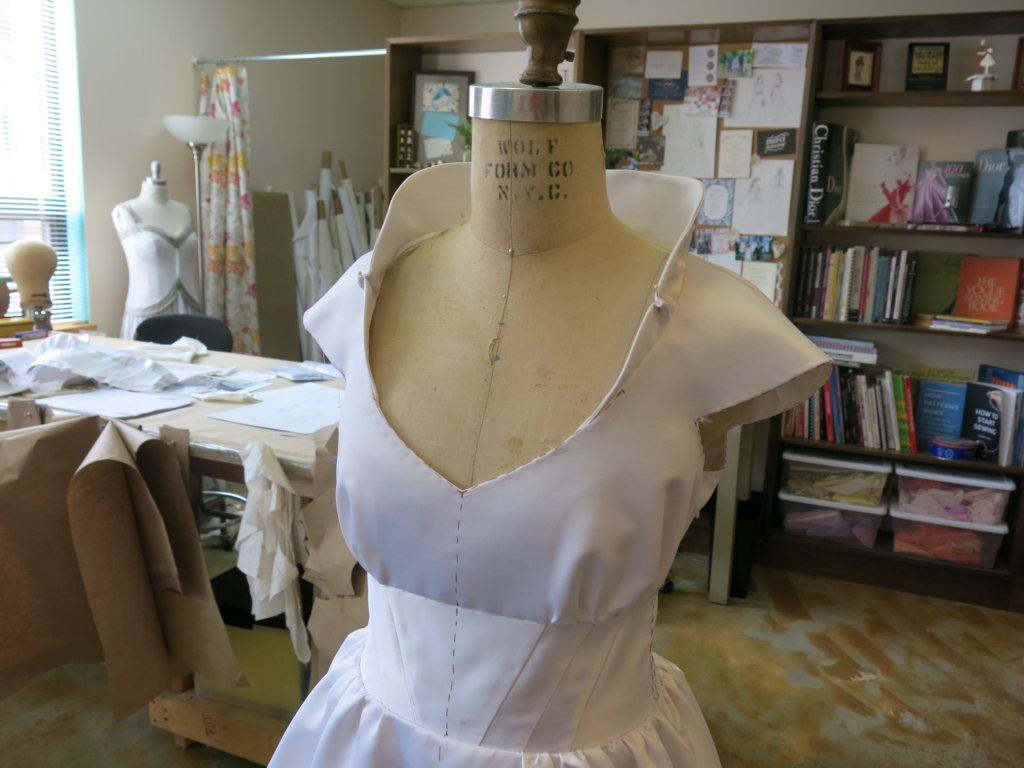
Tiffany’s Second Mockup Fitting
With the second test dress complete, Tiffany returned to my studio. She loved seeing the dress on the form…
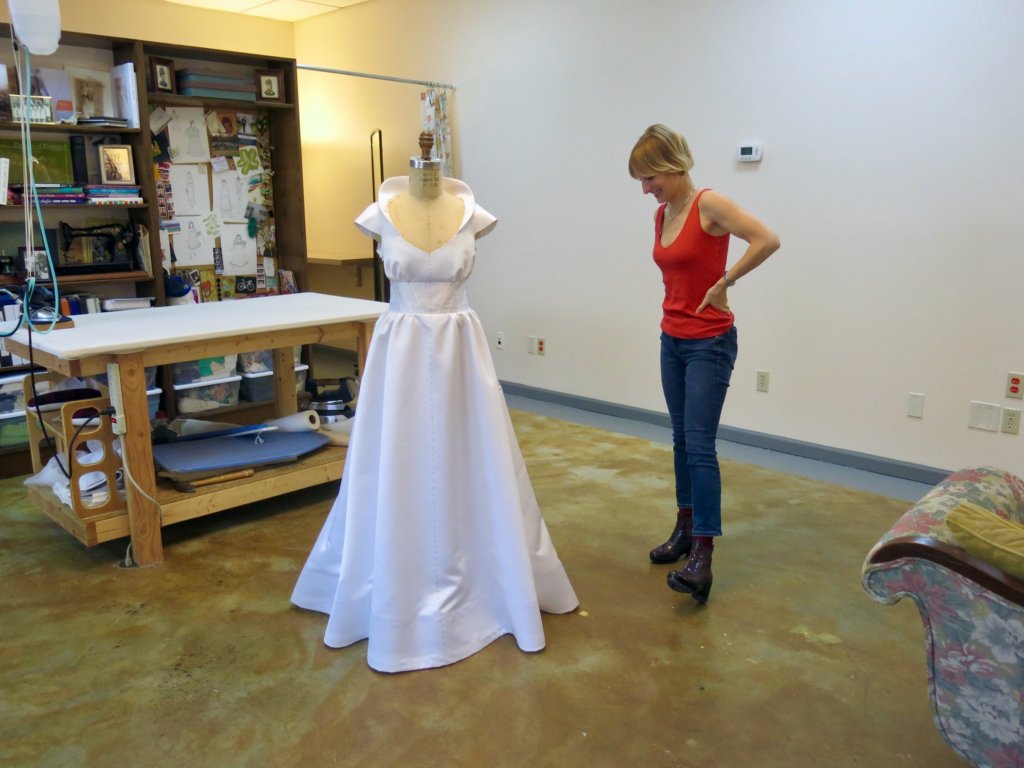
…and was excited to try it on!
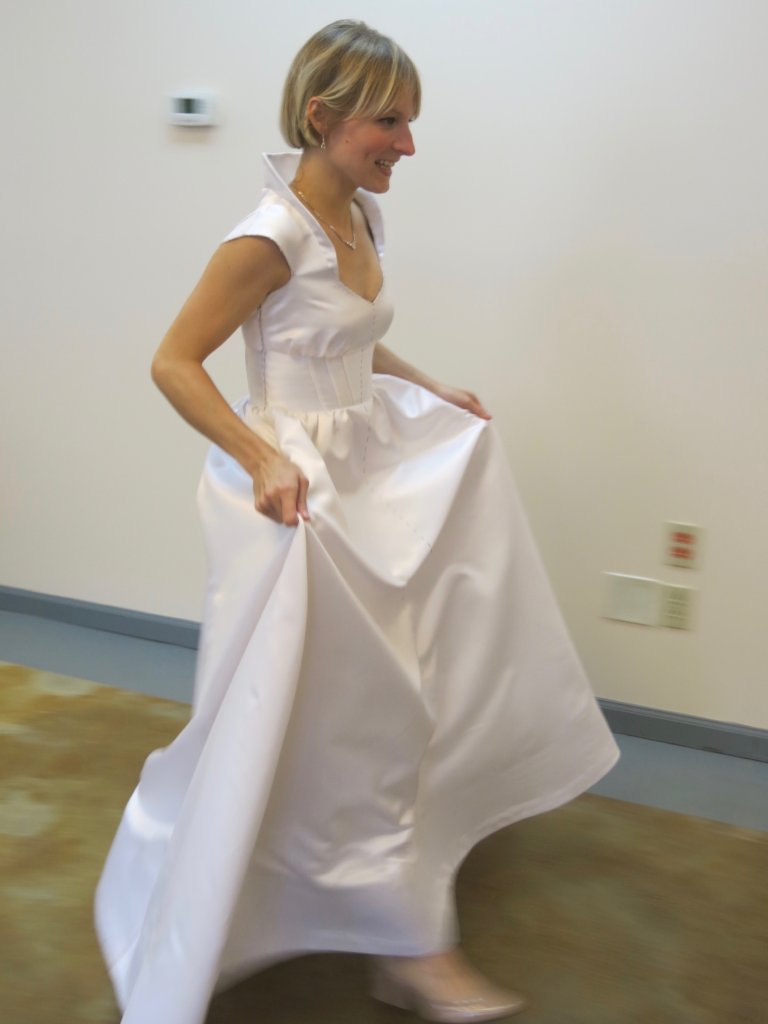
She was happy with the proportion changes…
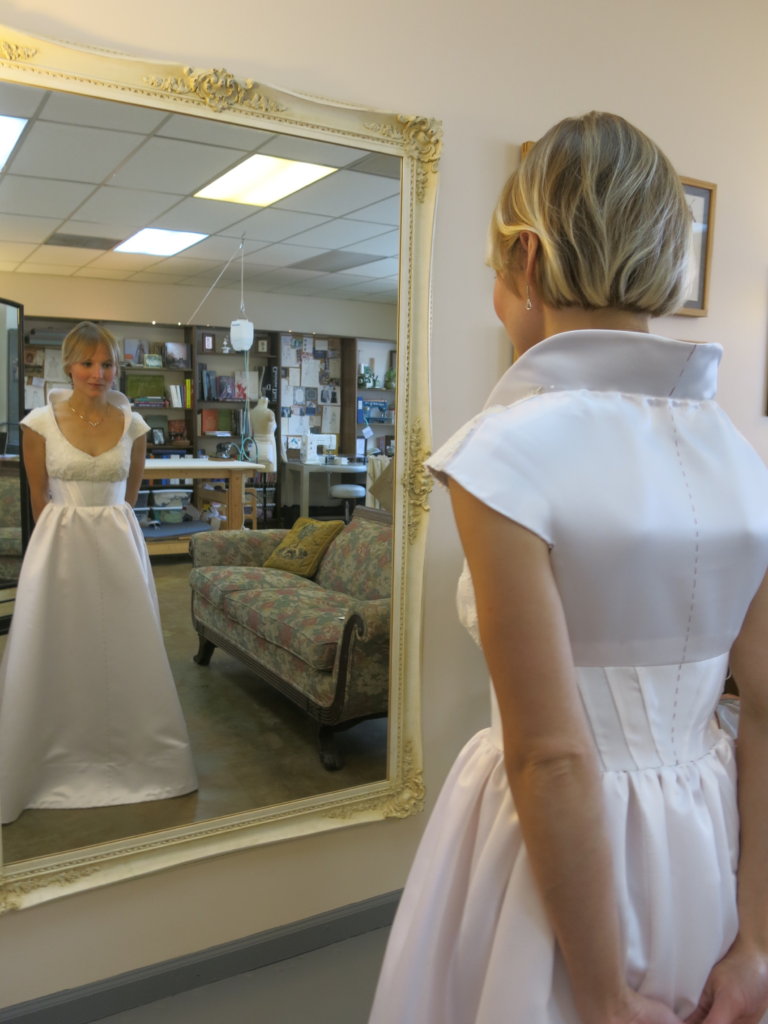
…and the fit was much improved!
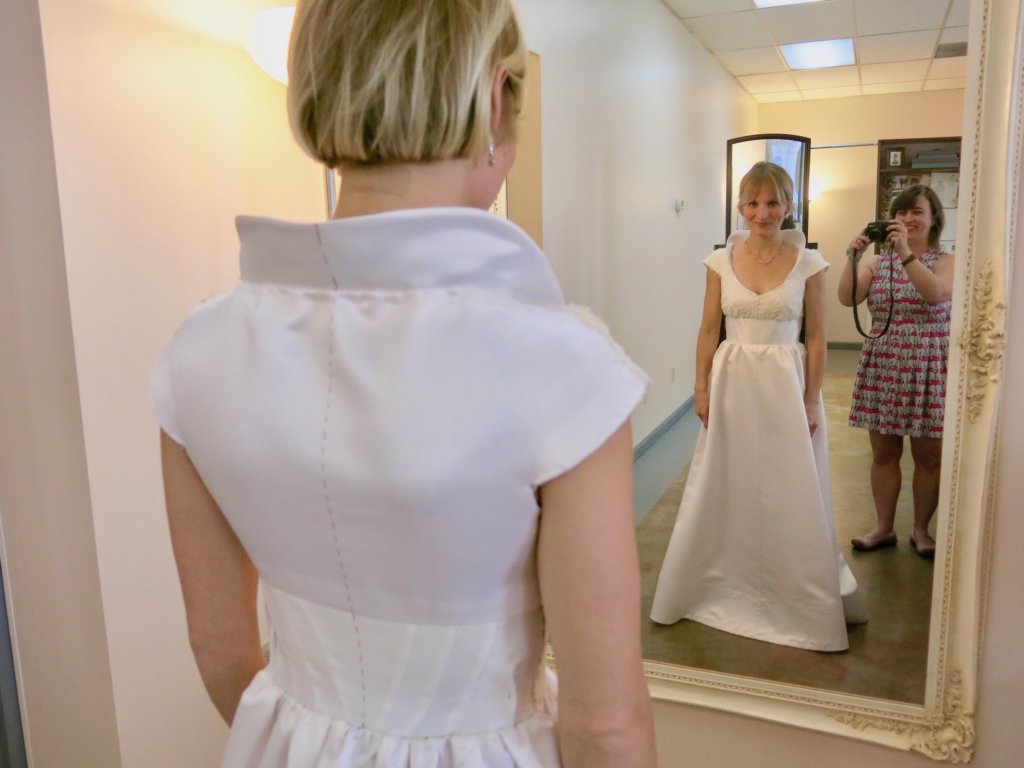
We tried the square collar idea (which looked great!)…
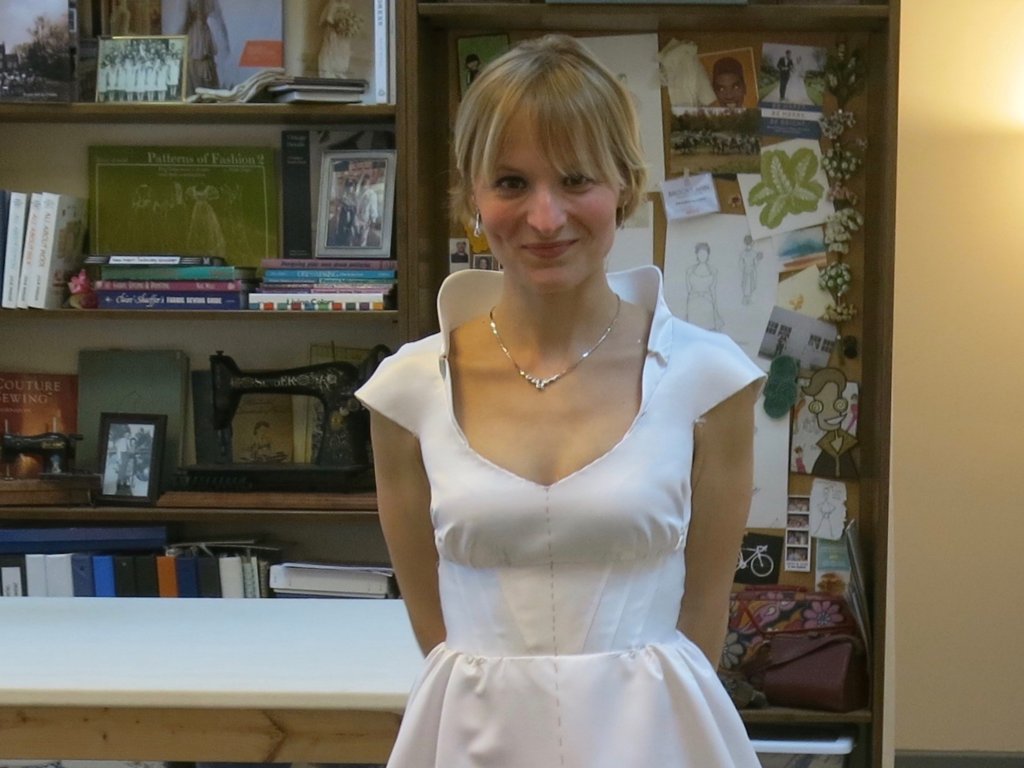
…but we were both in love with the rounded style!
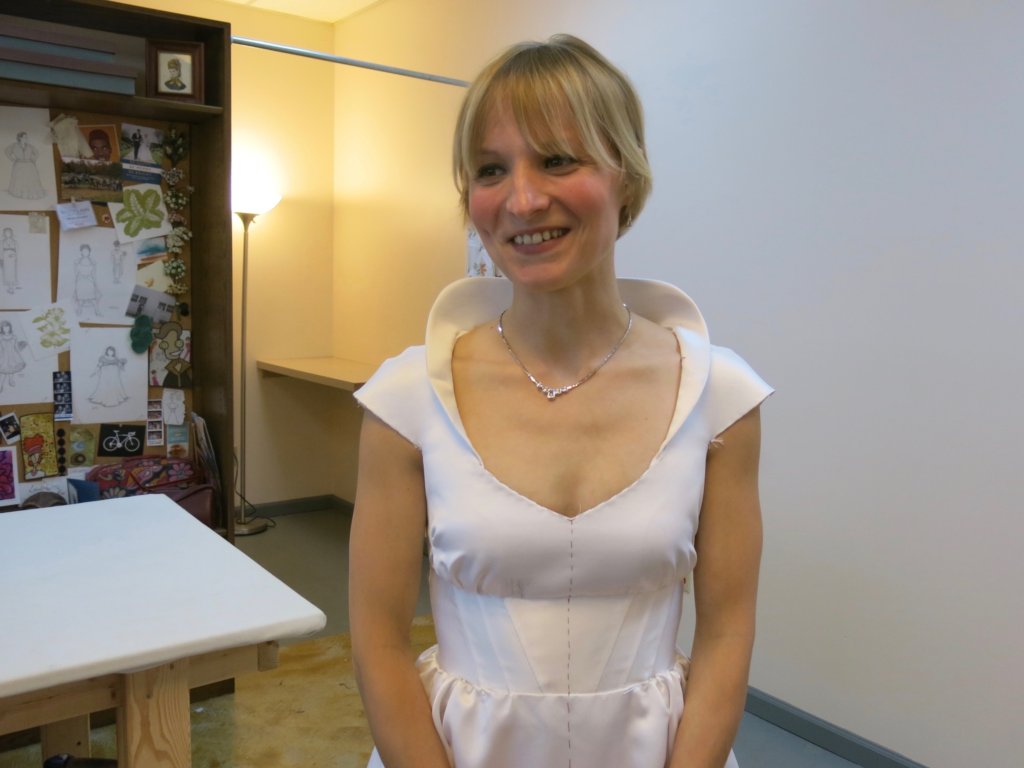
The final choice was made! Which is your favorite collar for Tiffany?
The Edits
After the fitting Tiffany had done some more thinking and I received an email with two additional design changes that she wanted for her custom wedding dress. The first was to eliminate the peak in the center completely, for a rounded neckline. She shared this new inspiration as a guide.
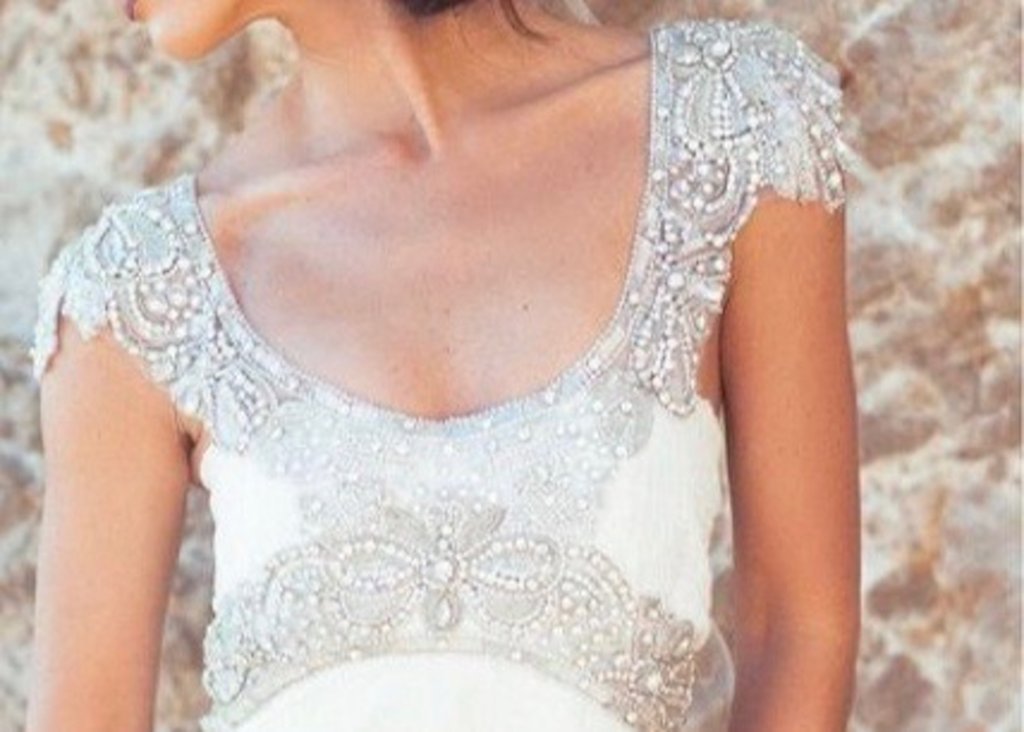
The second change was for the short sleeves to be even more rounded and to follow even closer to the body. I warned her that having the silk hug the top of the arm really closely might look really great when her arms are relaxed, but this could restrict her movement on her wedding day. Understanding the risks, Tiffany confirmed that she wanted to move forward with the look she preferred– even if it might not be as comfortable.
I agreed to these two final design changes, but since this was a RUSH and her wedding date was rapidly approaching, we were running out of time. Tiffany would not be able to make any more design changes (or go back to any previous version) and she would not be able to try on these two new changes before the dress was constructed in silk.
But she could see them! I printed my rough edits from the previous sketches to create a new final sketch incorporating all the changes we’d made throughout the design and mockup process.
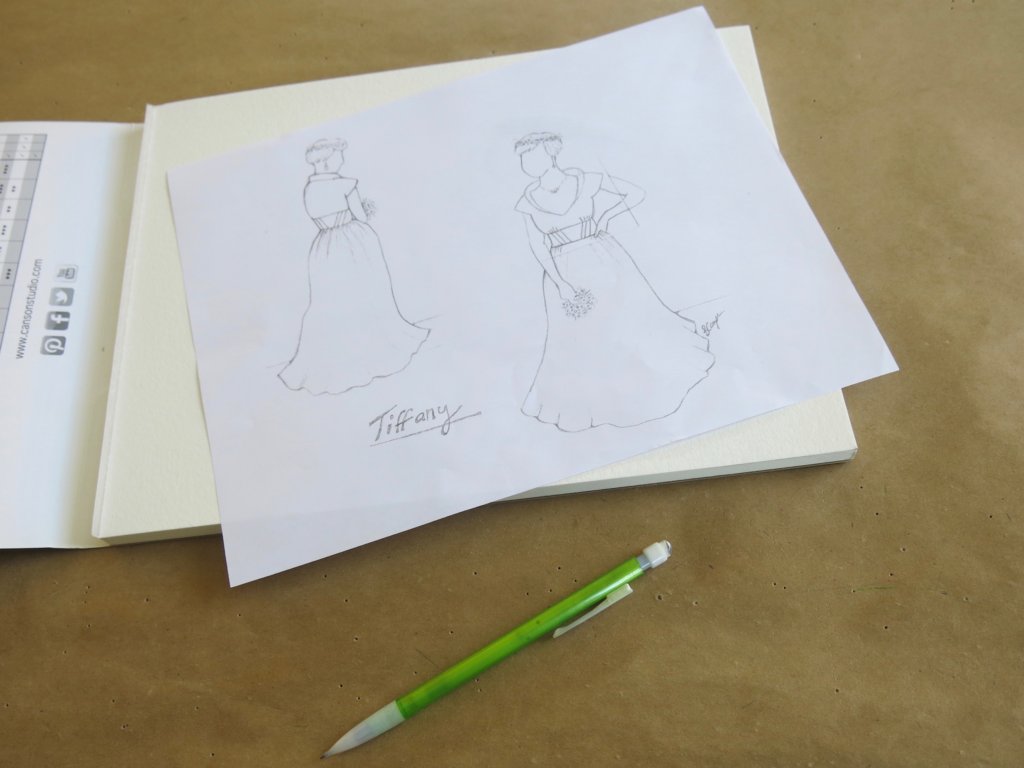
I share the process of how I created the original custom sketch in this post. To make a new version with changes, I scribbled on the back of my printout…
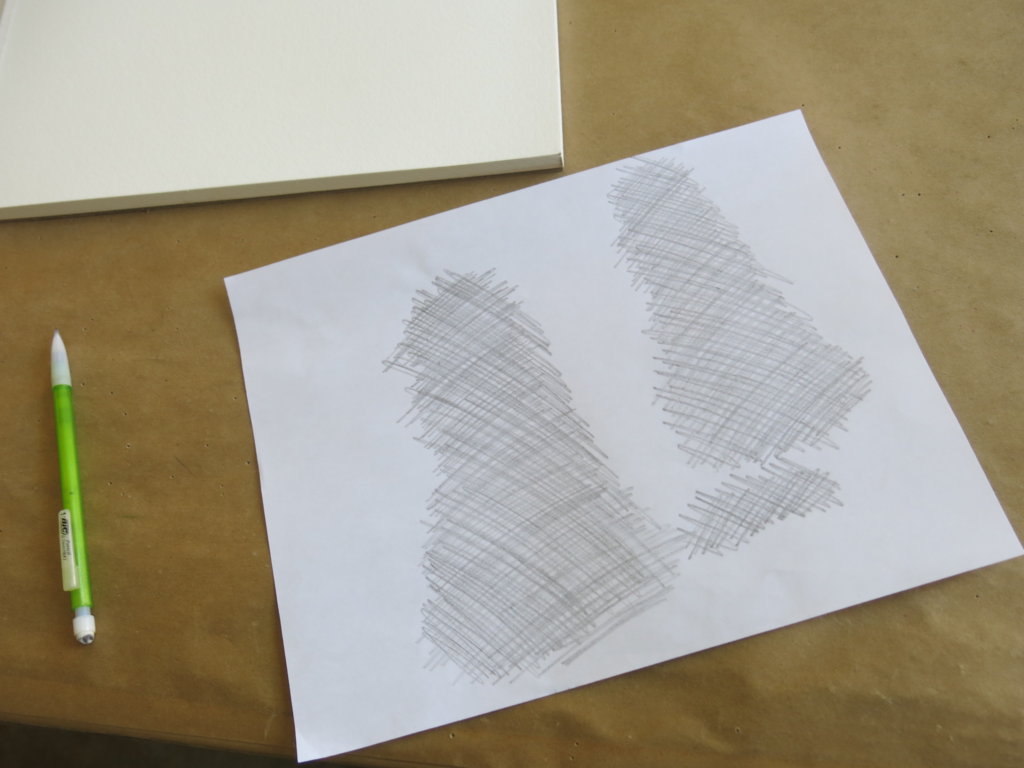
…traced around the lines…
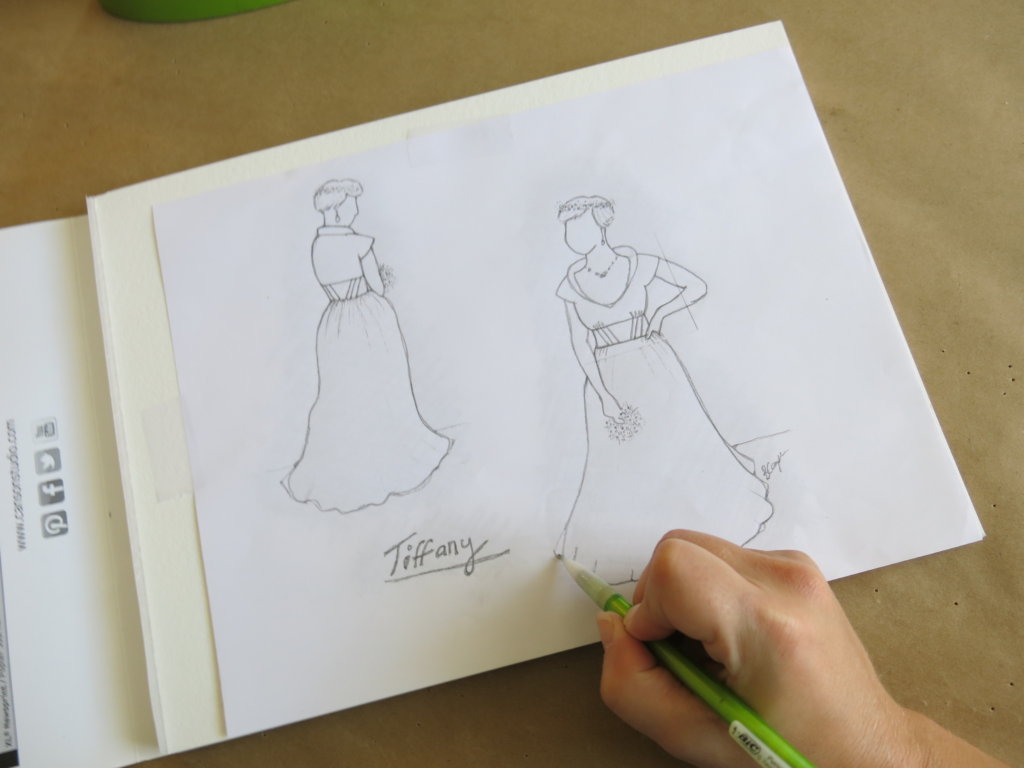
…which revealed a faint outline…
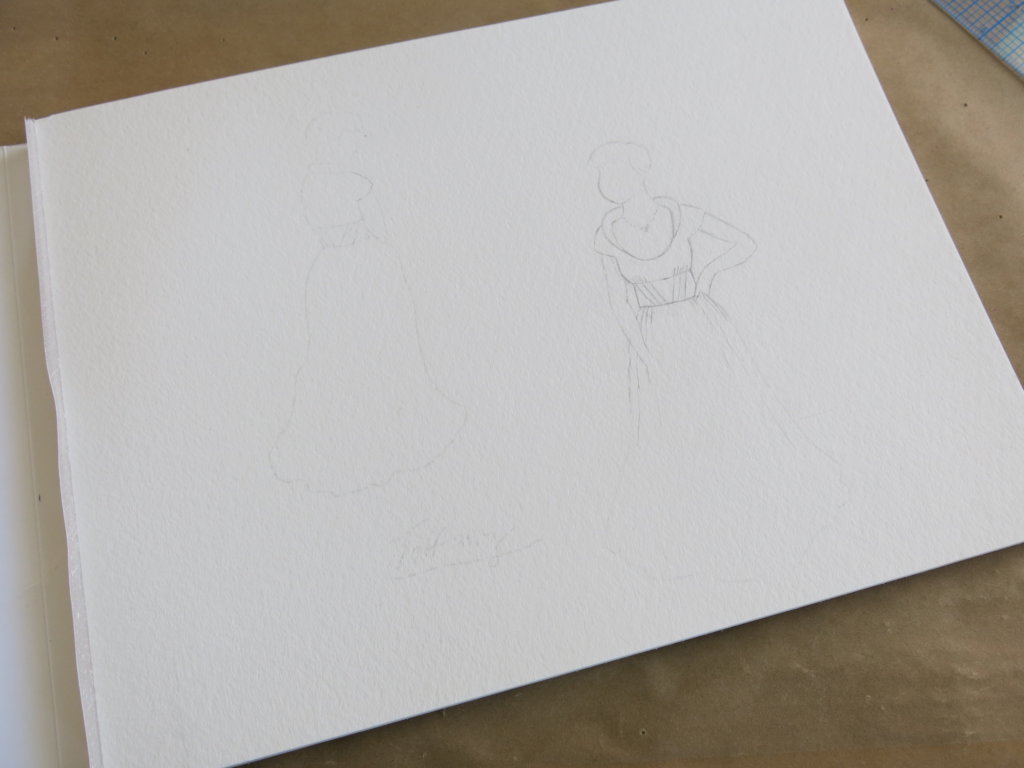
…for me to fill in and show off the changes in a fresh new (and final) sketch.
Whew! Isn’t it cool!?
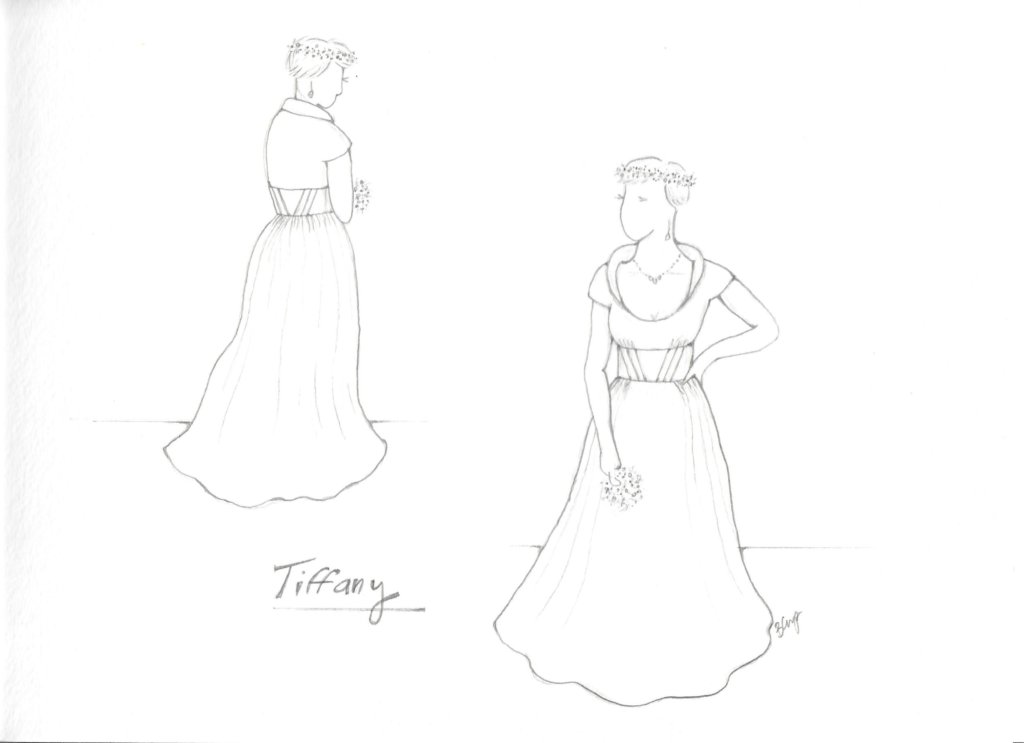
I sent the sketch to Tiffany- and got the final thumbs up!
Which meant that…
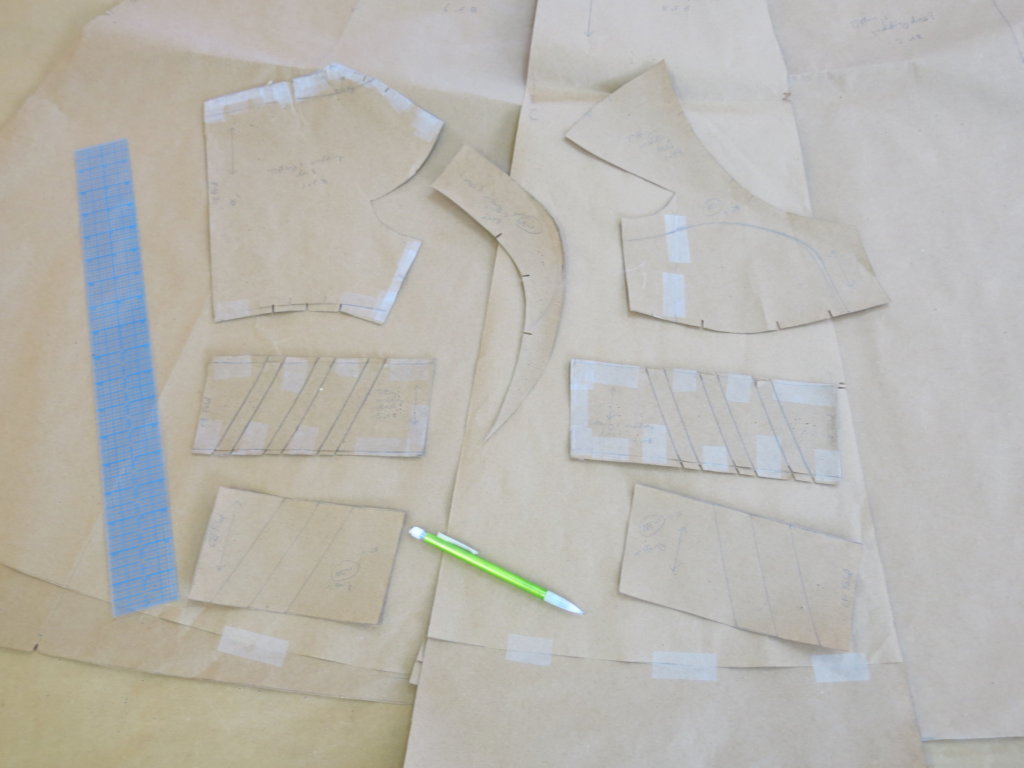
I was ready to add the edits to the pattern pieces and start making her one-of-a-kind custom wedding dress! HOORAY!
Since so much work was done during the mockup process, creating the real dress (in gorgeous silk satin from Mulberry Silks!) should be fairly straight-forward with very few surprises or unpicking. Mockups For The Win!
NEXT POST: Wedding dress construction commences!


3 Responses
Hello Ann,
I’m still very attentive as soon as I receive your mail.
This creation is original and as always very well proportioned in relation to the measures of the customer.
I am finishing my third year in patronage, I have been looking for a reference”tailor-made sewing”
You are definitely my professional “dress of ceremony” reference on the net.
Bravo and thanks again the share !
Dominique from Belgium
My pleasure Dominique!
Thanks for following along,
Brooks Ann
Once again, love watching along with your process.
The collars give quite different looks, a lttle bit Snow White-ish even. The main thing is that the bride is happy on her big day.