Having flashbacks of Lila Rose’s custom wedding dress?
Contrary to how it looks in these photos, I am not making another hot pink wedding dress. So what’s this color all about?
Underlining to change a fabric’s color
If you remember from Erin’s design consultation, we both fell in love with a white-on-white seersucker for her summer wedding style. But we also feared that the white of the seersucker was a bit too white for her skin tone.
No worries! The sewing technique of underlining allows you to slightly tweak the color of fabrics!
This hot pink cotton will be a backing fabric for the white seersucker featured in Erin’s custom wedding dress. It won’t be seen from the outside (or the inside, since it will also be lined) other than a slight tint, taking the too-white white to a color that looks fabulous on Erin.
Prepping the Underlining
After our mockup fittings, I used the corrections to perfect the paper patterns. I then used these patterns to mark and cut the hot pink underlining fabric.
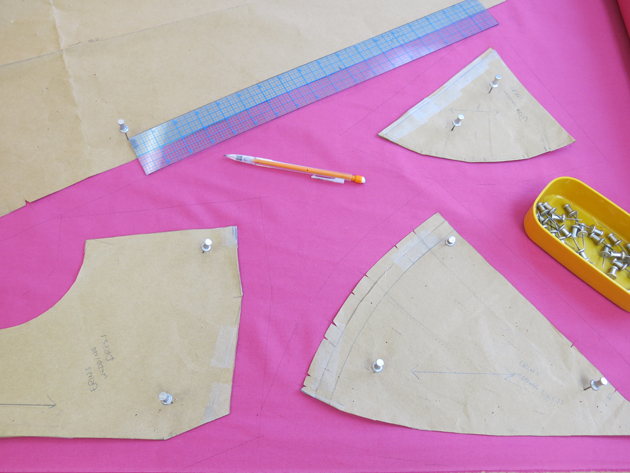
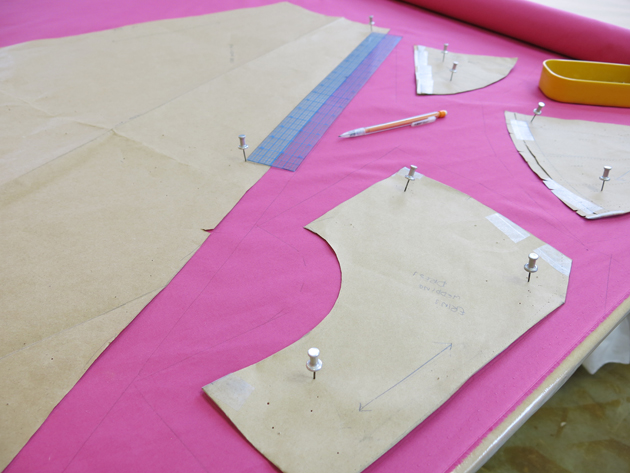
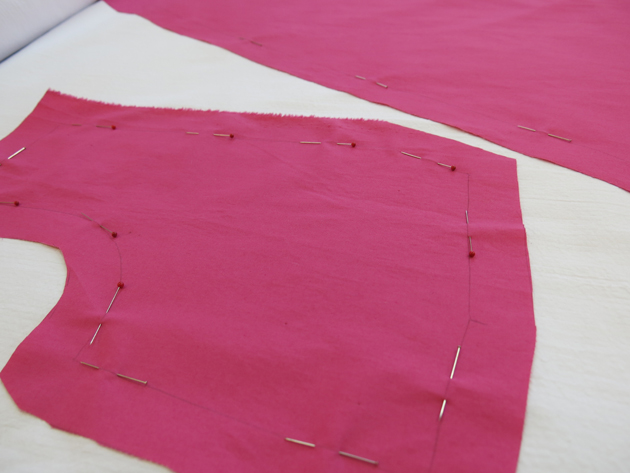
I pin the patterns through the fabric on my pinnable sewing room table, marking the edges of the paper as my stitch lines with a regular pencil. The stitch lines are the lines that represent the fit of the garment, so these are the most important lines to me when sewing.
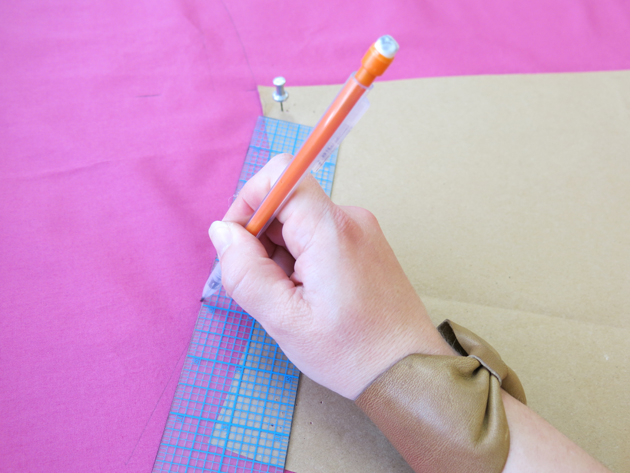
Once all my stitch lines are marked, I use a gridded ruler to add my seam allowances. Then I cut each piece out with fabric scissors using the seam allowance pencil lines.
Prepping the white fabric
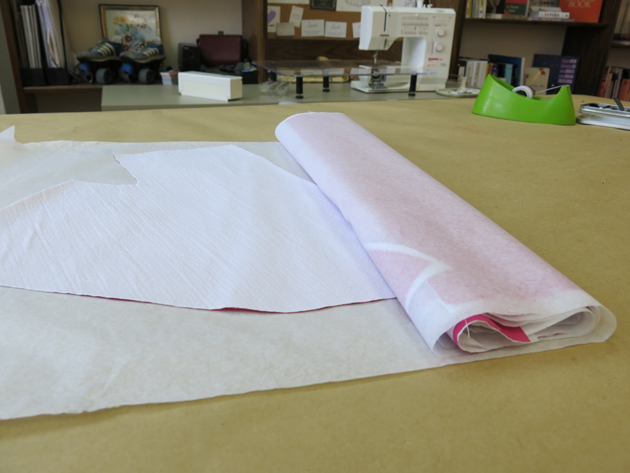
Even though I keep my sewing room very clean, when dealing with wedding dress fabric, there is no room for error. Once the white fabric comes out, the dress-to-be enters the tissue paper stage of construction.
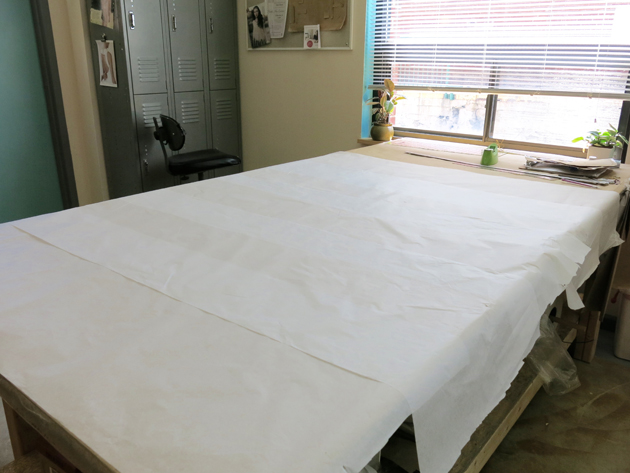
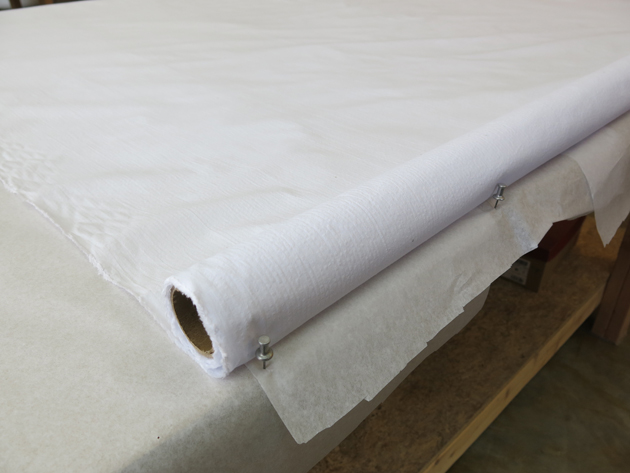
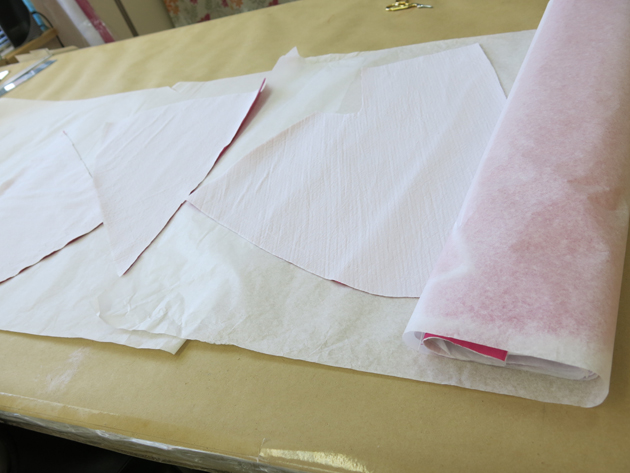
Before rolling out the fabric, I cover the table with tissue paper.
Then I add push pins to one end of the table, to keep the fabric from rolling off…
The Underlining Process
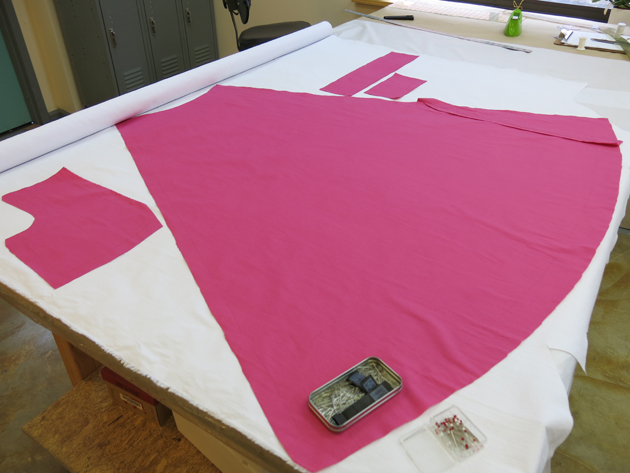
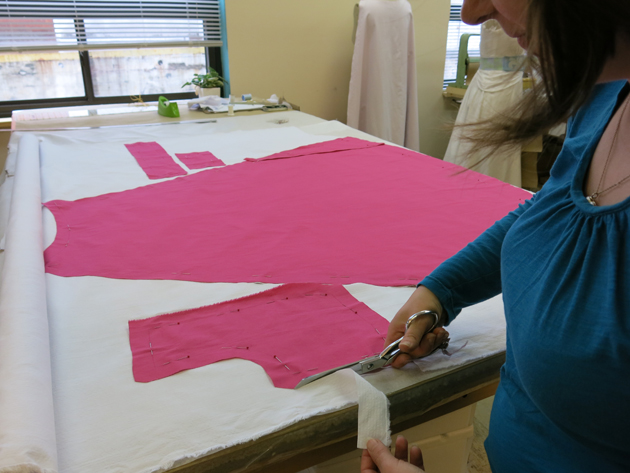
Once the white fabric is rolled out onto the table, I carefully lay out the cut pieces of my underlining fabric, matching the grainlines and smoothing out any wrinkles.
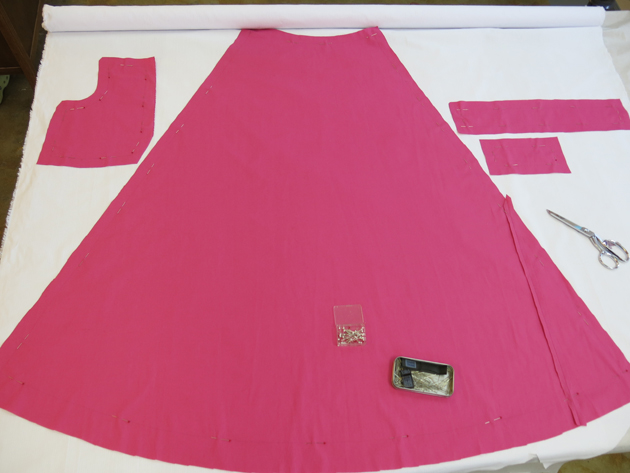
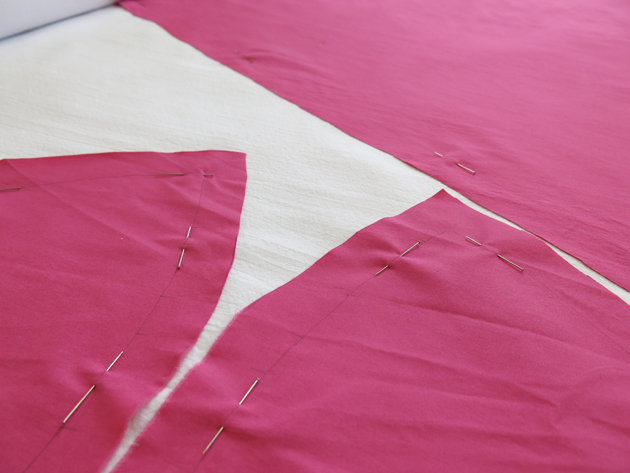
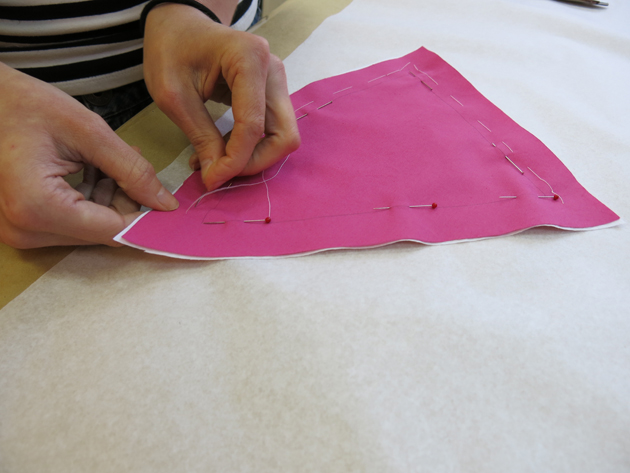
Then I pin the two layers together…
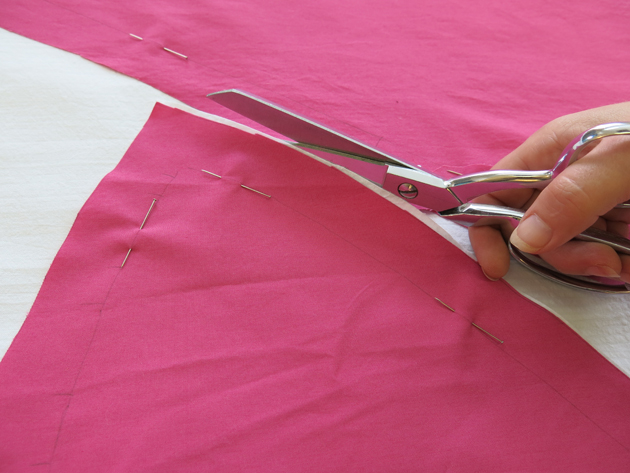
…and cut into the seersucker around each pink underlining piece.
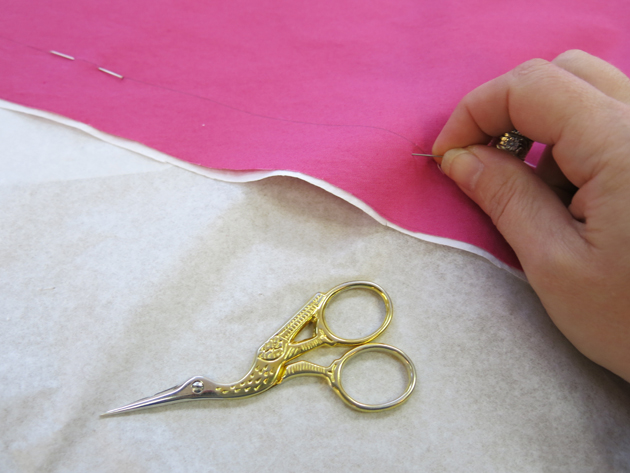
Now the two layers can be joined as one!
In underlining, the goal is to have the two fabrics act as one throughout the construction process and throughout the life of the garment.
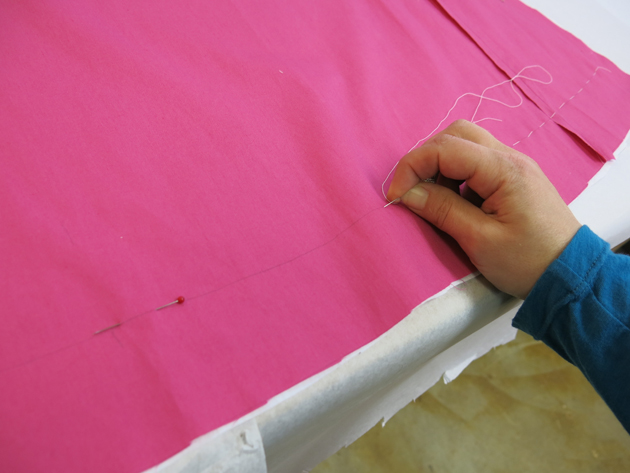
To join these two layers, I carefully hand baste them together. With the exception of the hemline or other openings that would otherwise be threadmarked, I keep these stitches just outside the stitch line into the seam allowance, so that they never have to be removed.
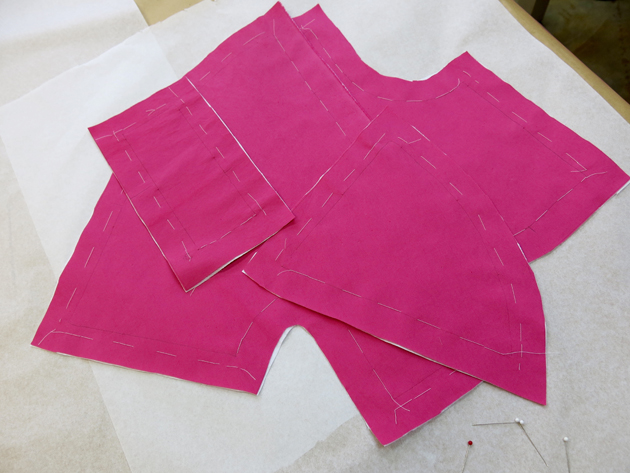
Eventually each of the pattern pieces are underlined and the dress can now be constructed with a new thicker fabric that has a more beautiful color!
To learn more about the whys and hows of underlining, check out the article “Under Construction” that I wrote for this month’s issue of Seamwork Magazine (yay!), and/or view my 3-part blog series with a video that goes into glorious detail about this wonderful technique.
Keeping it clean…
To make sure everything stays clean and pristine during the construction process, I often roll and wrap my pieces in tissue paper when they are not being worked on.
Ready for what’s next
Now that all the pieces of Erin’s custom wedding dress are cut and underlined, the construction process finally begins!
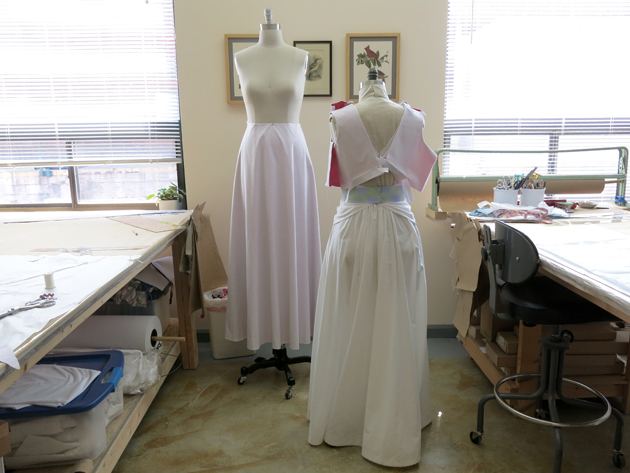
Below you can see the mockup dress on the shorter form, with pieces of the real dress’s bodice pinned to it awaiting construction. On the taller form, you can see the skirt of Erin’s dress taking shape.
Notice the new color!? See how it is still white, but is skewed toward a beautiful pink rather than the white-white of the mockup?
Pretty neat, huh?
NEXT POST: In a quick post, I’ll be highlighting my article that came out today in Seamwork Magazine on this very topic. Then I’ll get back to Erin’s custom wedding dress construction!
If you’d like to receive my newsletter featuring my latest blog posts, info about my custom sewing courses, and fun links to things I find interesting in the world of sewing, weddings, and body positivity, add your email address here. I’m excited to start sharing with you!




2 Responses
I love this! You know so many great techniques that I have yet to learn. And the tissue protection! Don’t you hate having to keep things clean?? Love your blog, keep it up!
Thanks Ann! While I love working with beautiful fabrics, one of the reasons that I love the mockup process so much is that you can be super messy. Cut into it… draw all over it… The mockup process also makes it so that this “tissue paper stage” goes quickly with as little edits as possible. Nobody wants to wear a dirty wedding dress!