Lila Rose flew into town a few weeks ago for her final fittings and subsequent photo shoot!
I picked her up from the airport Friday morning. We had a FANTASTIC fitting. Then, I had until Sunday morning to do all of the fitting corrections, lining, finishing, and set up for the photoshoot. It was an exciting and busy weekend!
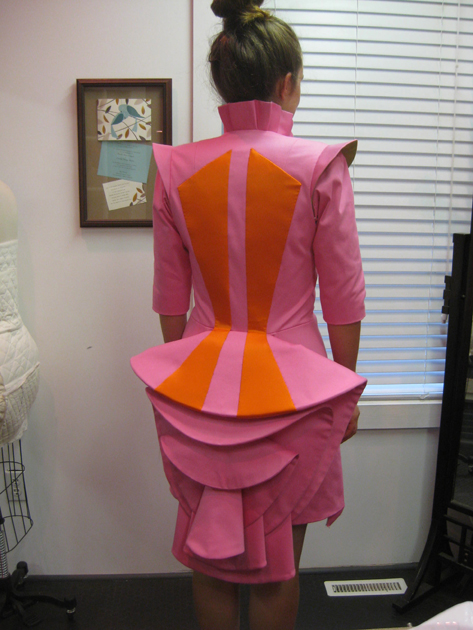
I usually don’t post photos of THE bride in THE dress before the wedding (which is this weekend!), and even though Lila Rose doesn’t mind, the photo above is all you are going to get as a teaser. It is from (what I call) our Fabric Fitting, which is the first time that the bride tries on her actual dress. Up until this point it has been mockup dresses!
Lila Rose was SO pleased. She said “This is the most beautiful dress I have ever seen!“. So even if this unusual dress is not your taste, know that the bride was overwhelmed by how perfect it was for her, in fit and in style.
In this post, I just want to quickly run through all of the last minute work that goes into a couture wedding dress like this one.
We had minor corrections from our Fabric Fitting. We took in the sleeves just a tad, we lengthened the hem just a tad, adjusted the back of the armscye just a smidge… all minor tweaks, since we had done all of our perfecting ahead of time during our mockup fittings!
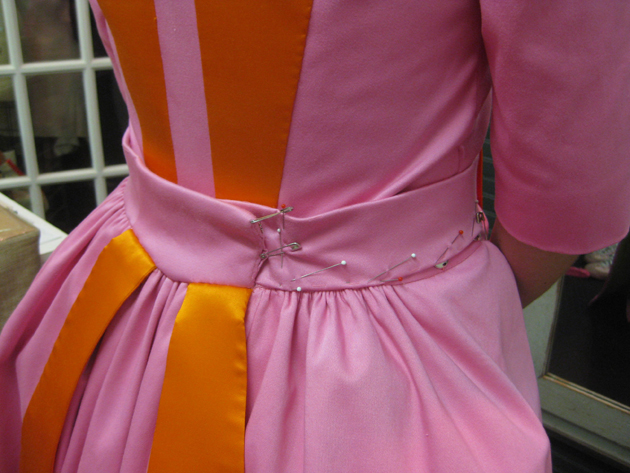
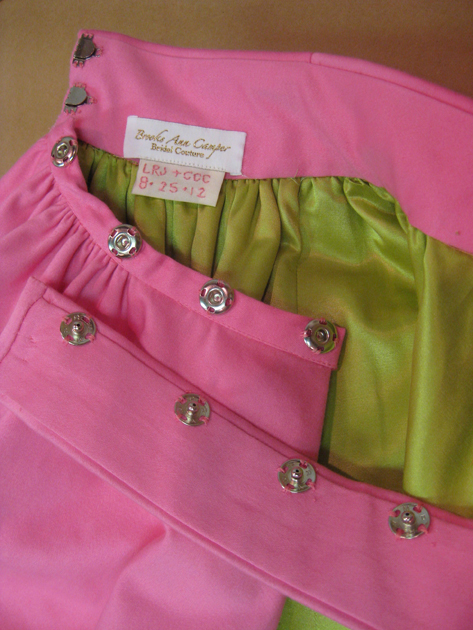
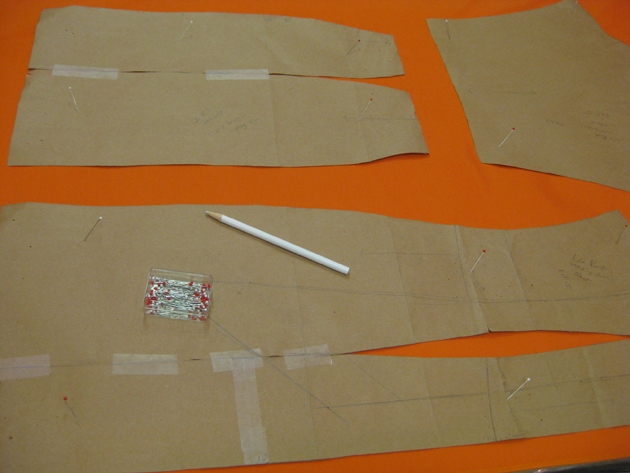
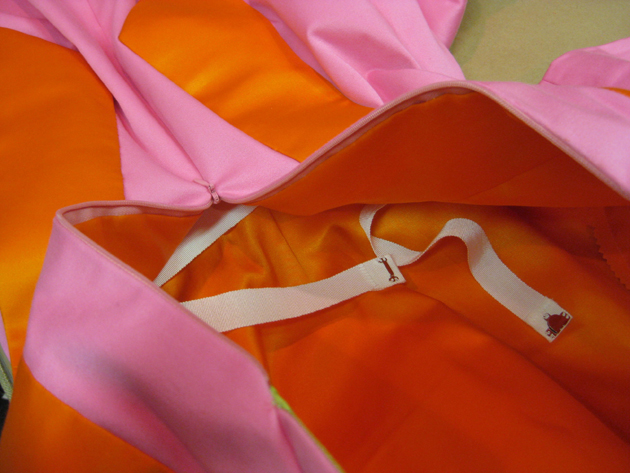
The main thing left to mark was the closures on the train. In order to give this a seamless look, I hid the closures for the train in the only place that I thought made sense visually. I would hide hooks in a panel at the centerback, then hide snaps under the belt to hold the remaining side of the train in place.
Here’s where I marked my closures at the fitting:
And here’s how I stitched them on after our fitting:
You won’t see them at all when she is wearing the dress! All of the closures will be hidden and seamless.
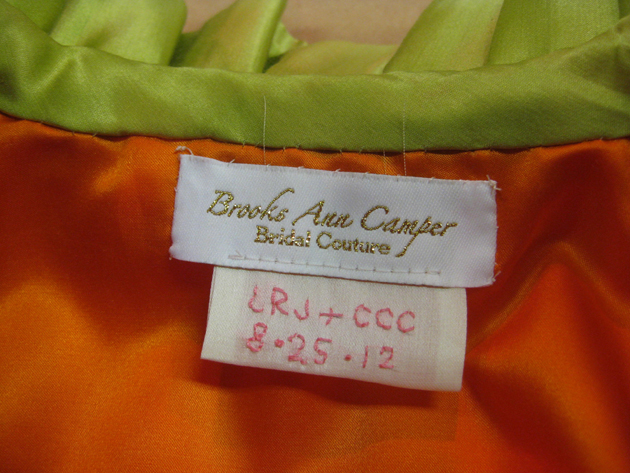
Other finishing touches! You may have noticed the label in the photo above! All my brides get a hand embroidered label with the initials of the couple and the wedding date.
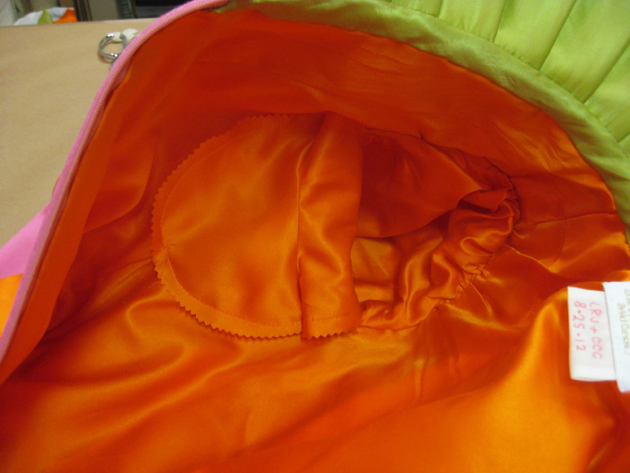
Here’s the label sewn inside the dress itself:
Yes! Orange lining!
After our fitting I also added the lining to the dress…
…and a waist stay…
…and some garment shields.
These are little covered pads that are tacked into the armpits of the dress. After the wedding Lila Rose can take them out, wash them, and tack them back in. This helps to prevent unwanted smells or stains from getting into the dress. Lila Rose says she’d love to wear the (short) dress again, if she ever found an occasion!
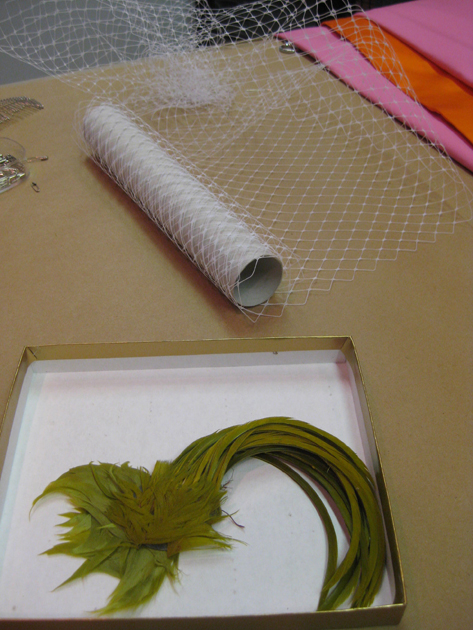
And I also made a veilette that weekend! Lila Rose added a commission for a white birdcage-style veil to go with her dress and her white pointy-toed wedge heels!
I found this feather in my parents’ attic recently along with a lot of other vintage millinery findings. My mom said that they were from hats that my stylish great-aunts used to wear. I thought this funky green one was perfect for Lila Rose!
We placed it on her head during our fitting and figured out how much veiling to use. Then I had to actually create the veilette from start to finish before our shoot!
So much happened that weekend!
That Sunday we had two photoshoots in one! One photo shoot of the dress on the dress form, during which Lila Rose got her hair and makeup done for a “bridal” photo shoot in the dress.
You are not going to believe these photos!
Kent Corley was the photographer, Amy-Jae Crawford on hair and makeup, Lila Rose as a supermodel featuring a fantastic handcrafted dress by Brooks Ann Camper Bridal Couture!
Next post, I’ll share the “on the form” photo shoot of the COMPLETELY FINISHED DRESS! Here’s a behind the scenes sneak peek!
And keep following along! You won’t want to miss the shoot of Lila Rose in the dress (post after next)! Seriously. I couldn’t have been happier with the results.




3 Responses
I love how the fabric worked out ! Everything is special. Many many little stitches.
A M A Z I N G !
Truly a custom work of art. It is a delight to witness the relationship you have to Lila Rose and your work.