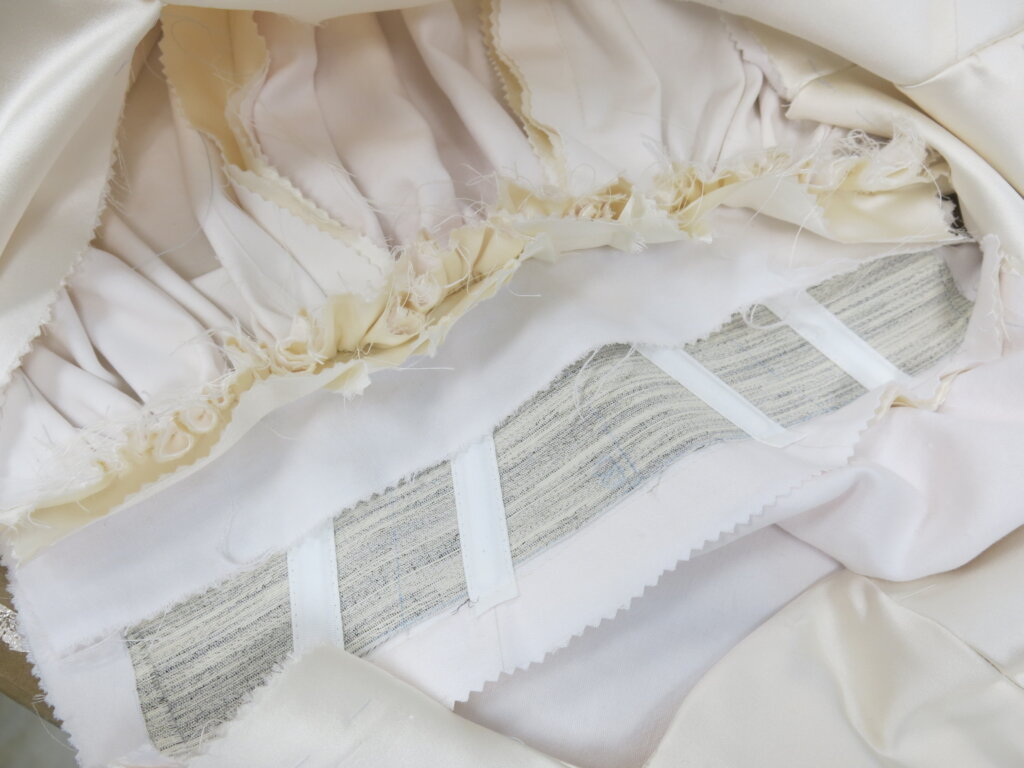
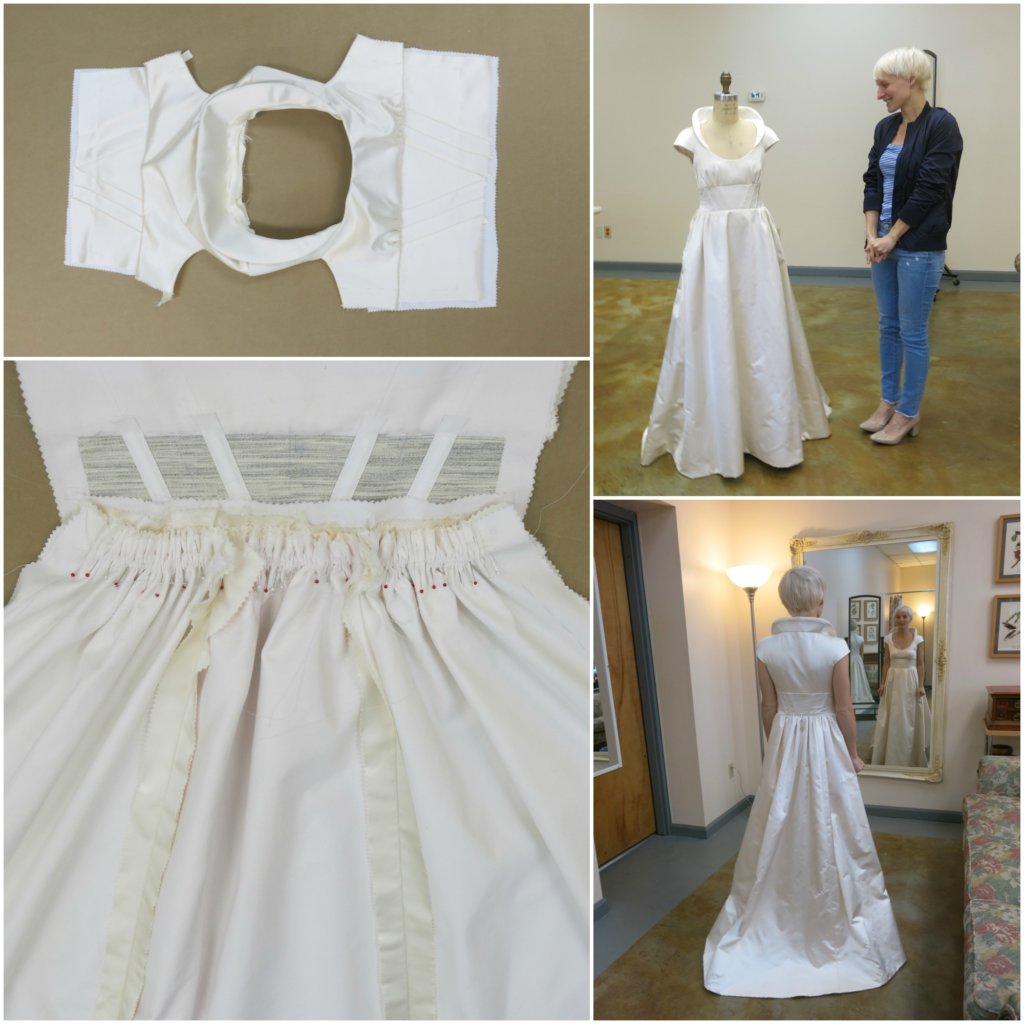
When I last wrote about the process of creating Greta’s custom couture wedding dress, I was still waiting for the main dress fabric to arrive via special order. In the meantime, I still had plenty to work on and had just cut all of the Underlining pieces that will hide inside of Greta’s dress.
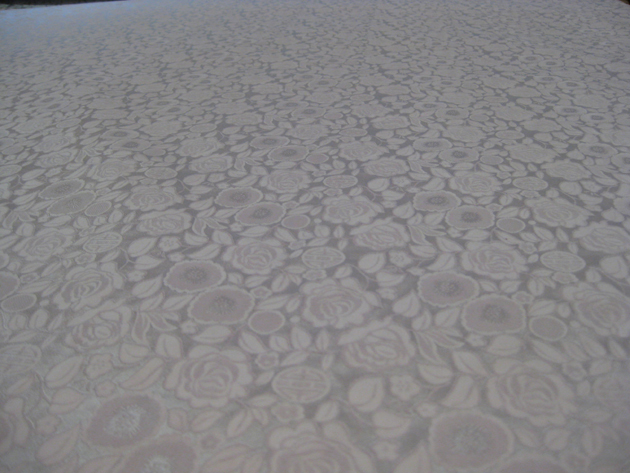
Though I did not have the silk shantung, I did have the Iceberg Blue Silk Jaquard that we were using for trim and as a fashion fabric underneath the Sposabella lace of her beautiful collar.
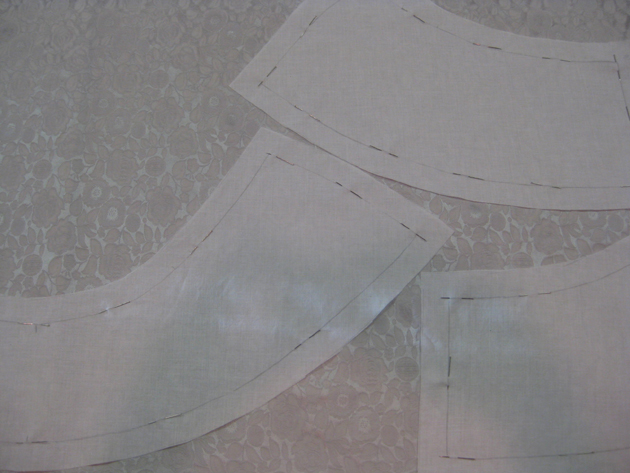
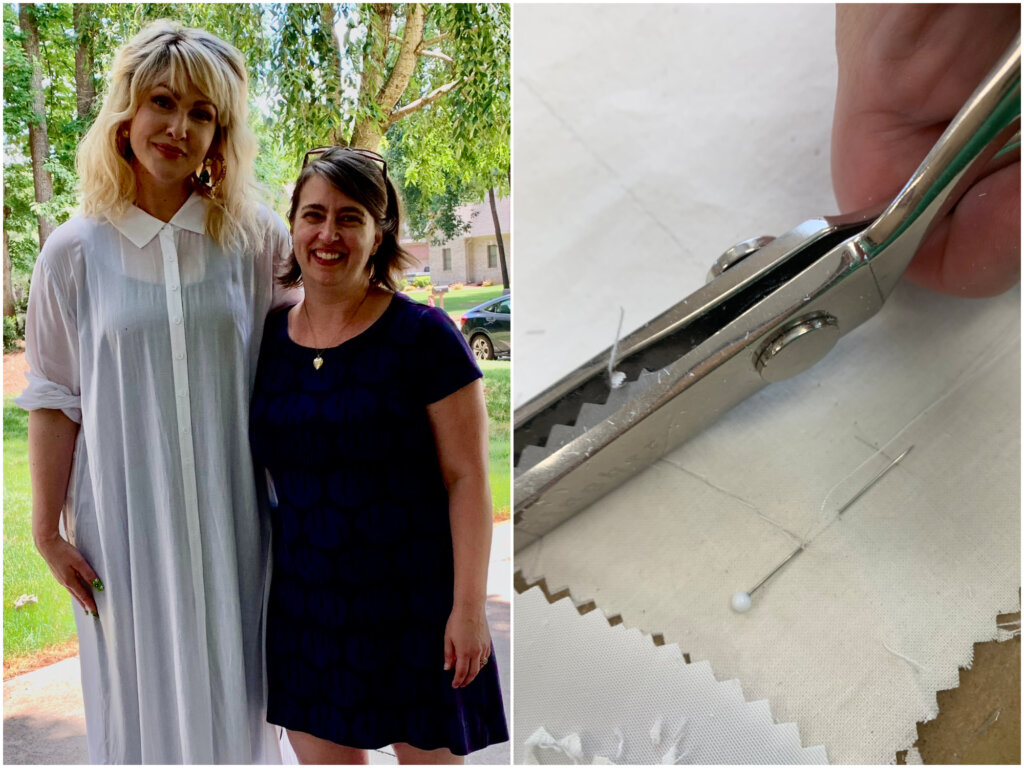
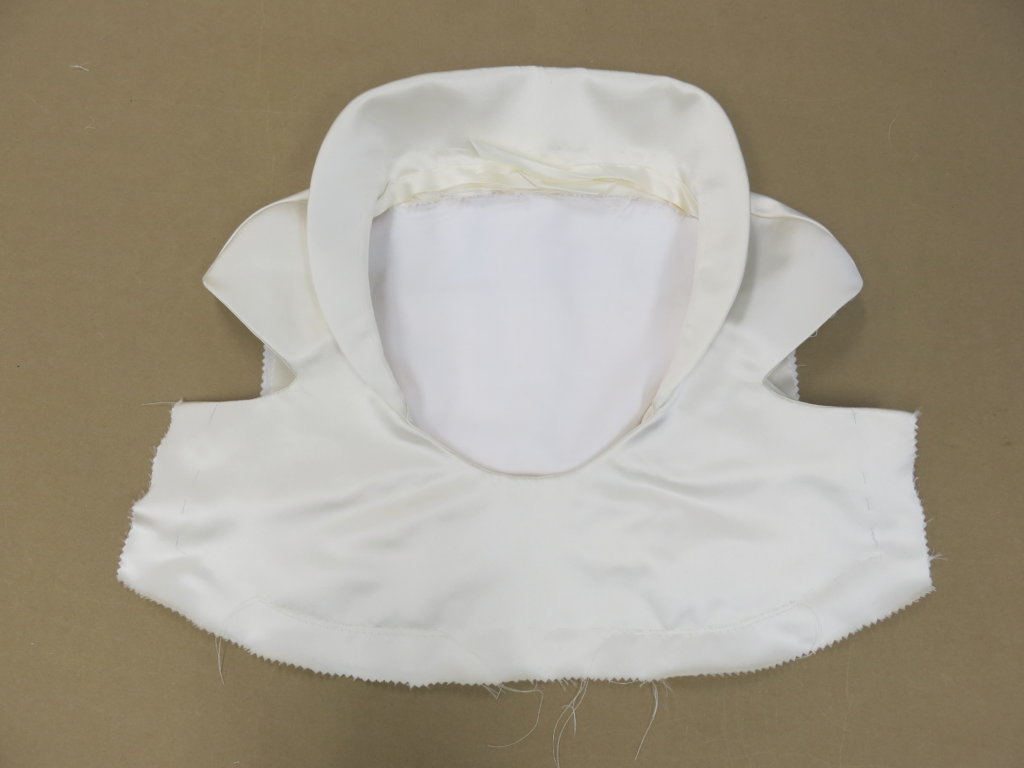
I started with the collar. I took my cut organdy underlining pieces and laid them carefully on grain of the silk jaquard. I pinned the two fabrics together, and cut the pieces out.
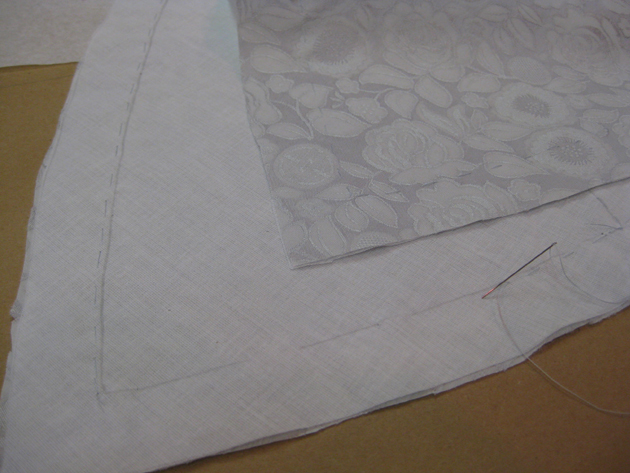
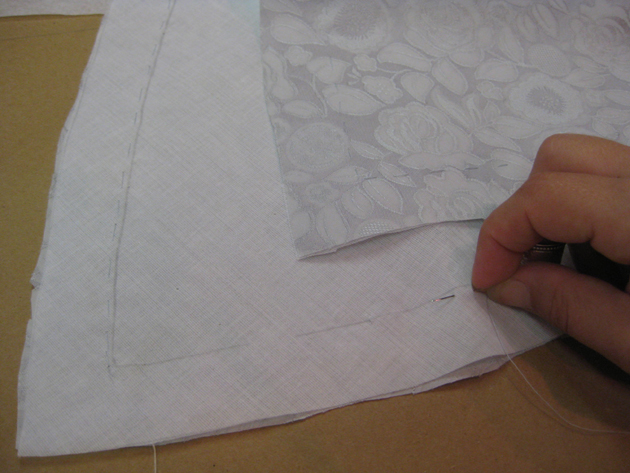
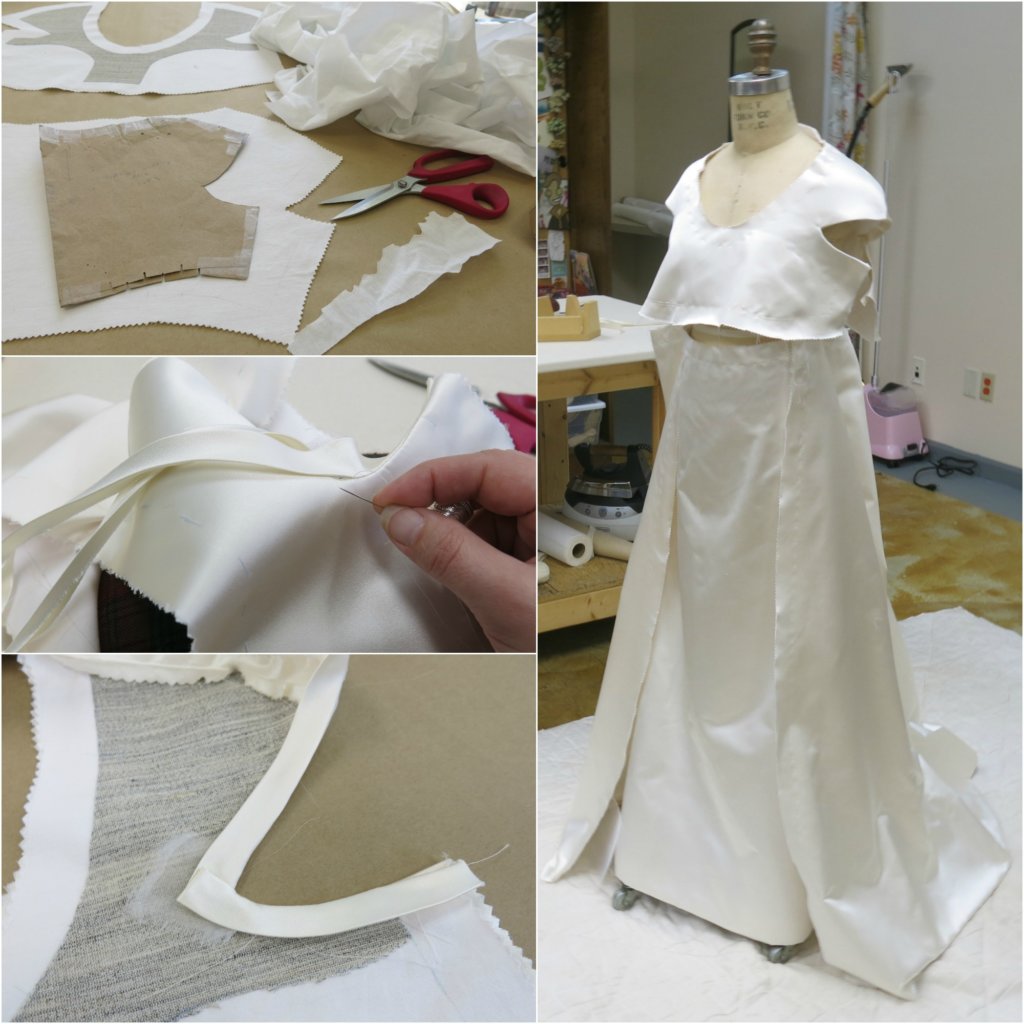
In order to make the underlining become one with the fashion fabric, the two have to be joined together by basting around each edge and seamline by hand. I know it sounds insane, but it is such an important step if you want to make a garment that is truly beautiful. When you baste by hand, you can ensure that the fabric is beautifully lying flat and that the two are perfectly acting as one fabric. If you hand baste just outside of the stitchline with a matching thread, you should never have to remove these stitches from the garment. They are hidden beautifully inside.
This step is done to every pattern piece in the garment.
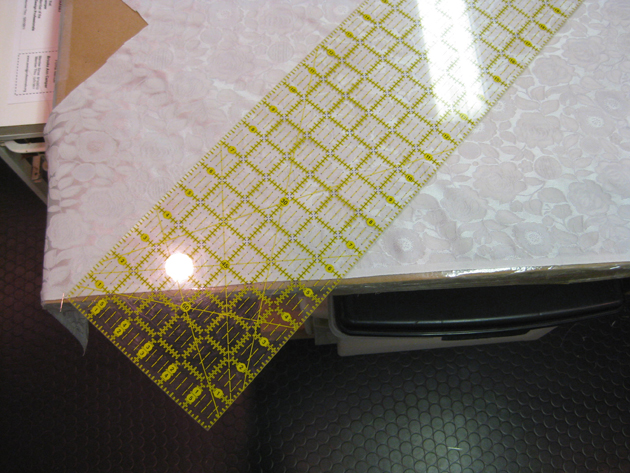
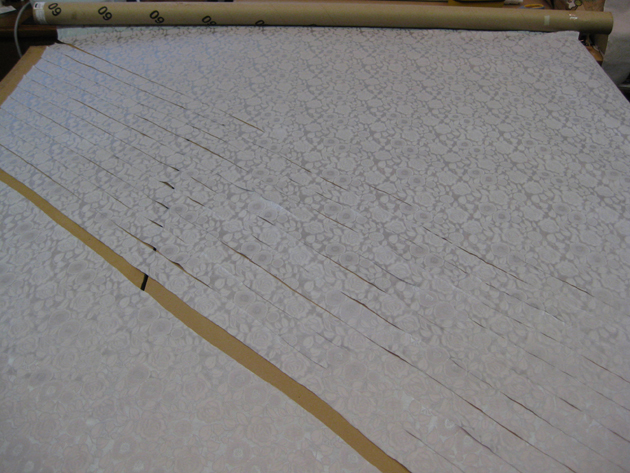
Next I worked on making the trim for Greta’s empire waistline and the edging of her veil. I rolled out the remaining jaquard and cut it into bias strips. To find your bias line, place your ruler at a 45 degree angle from the selvedge edge of your fabric and start marking. I wanted my trim to end up being 1/2″ wide, and after doing a test decided that I wanted my strips to be 1.5 inches.
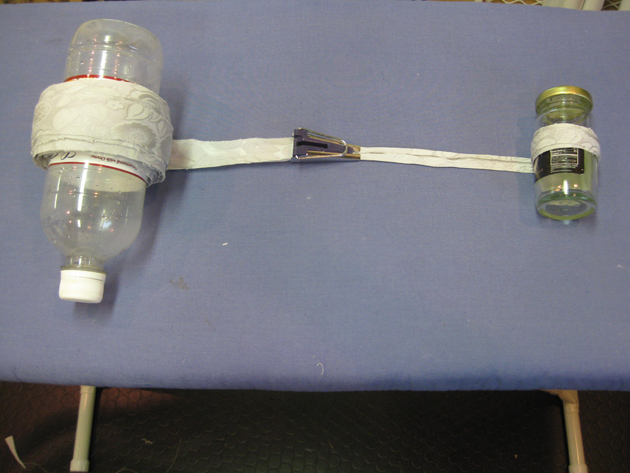
The reason that I need more than double the width is because you must stretch and press your bias first, before folding it to your finished width. This step (which cannot be skipped) reduces the width of the strip. I stitched all of my strips together, stretched and steamed them taught, and then folded them using a bias tape maker.
I have never owned a bias tape maker until now and I can tell you that I thoroughly enjoyed it! It saved a lot of time, it was fun, and it made beautiful bias trim out of a not-so-easy fabric. Jaquards have designs woven into them causing variations of stretch and stability. Bias strips put this type of fabric to the test. With the bias maker, it turned out just beautifully.
I rolled the unfolded bias onto a water bottle, and fed it through the bias tape maker. The tool does all of the folding for you and you just have to chase the folded end with the iron. I then rolled the folded tape onto a jar. This jar was small and ended up being overloaded by so much trim. Next time I will just roll the finished trim directly onto a card where it can be kept safe and sound until it is ready to be attached to the garment.
Once I was done with the Iceberg Blue Silk Jaquard accent fabric, I moved on to making the custom crinoline. More on that next post!



















One Response
So beautiful, Brooks Ann! Your impeccable technique is just delightful.