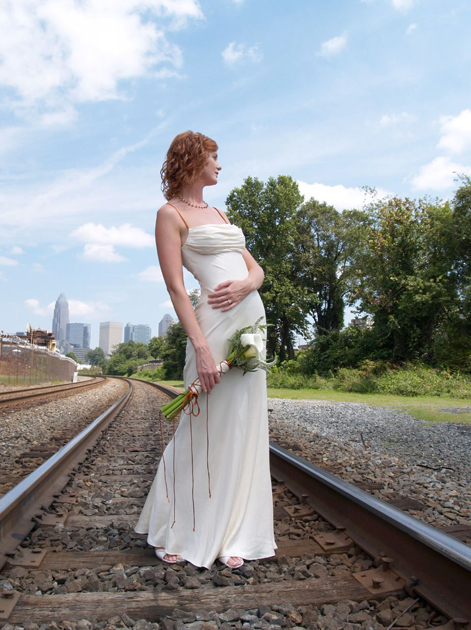
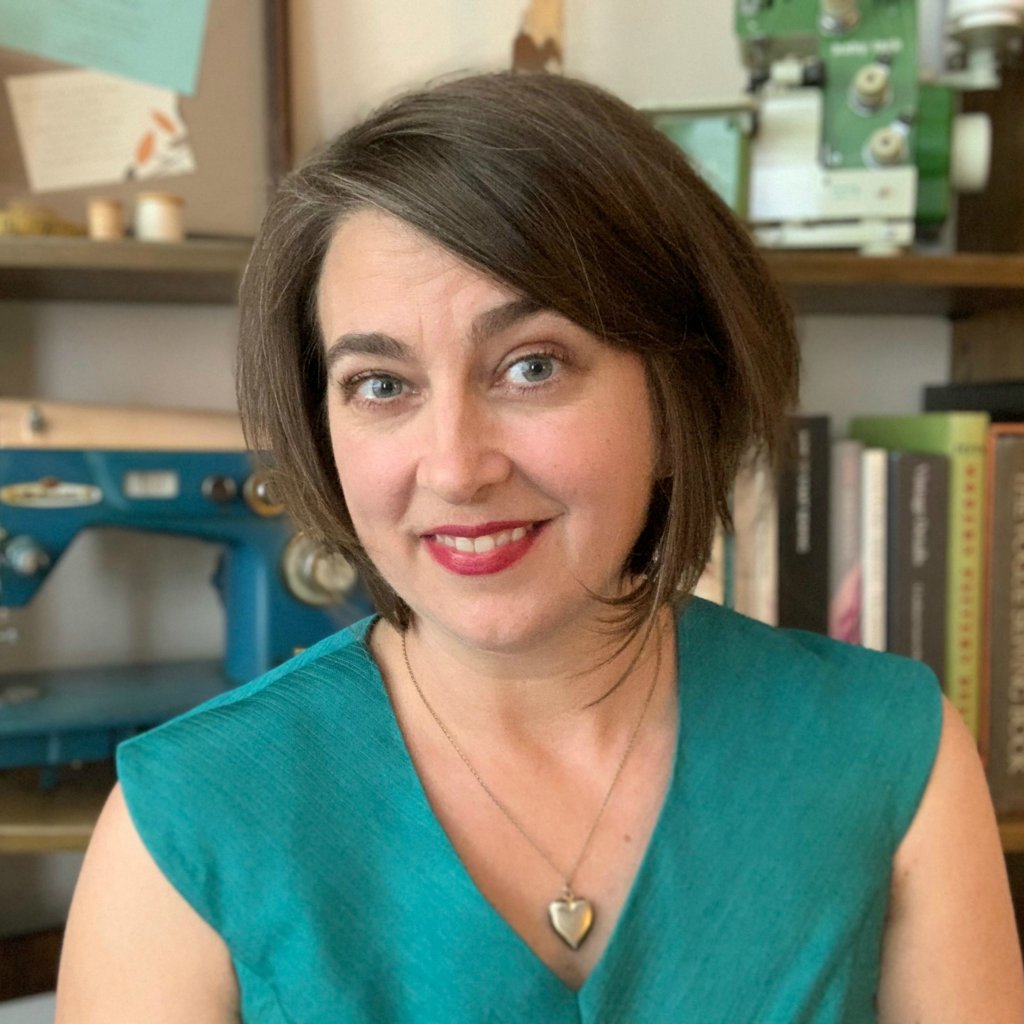
This is my gorgeous sister-in-law Katie. She got married in 2006 and wore the very first Brooks Ann Camper Bridal Couture dress ever made. Before the blog, before the website, before the logo, and almost before the studio, Katie accepted a wedding gift of a custom wedding dress, a feat I had never attempted before.
Before I start blogging about my next bride, I thought it would be fun to do “retrospective” posts about the custom dresses I’ve made in the past, some of which don’t have blogs about them at all!
Where better to start than the beginning!
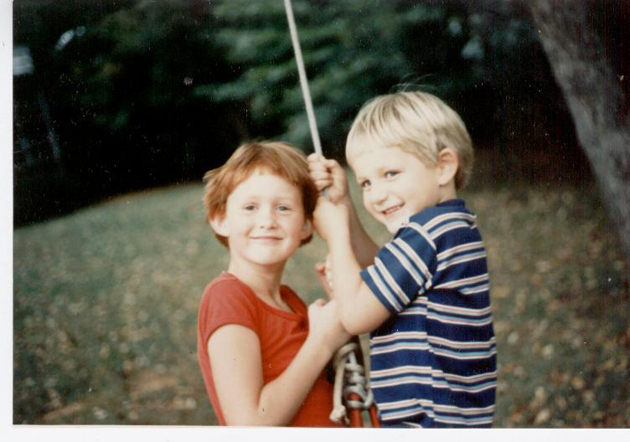
Katie is my (now) husband Charles’s sister. I had joined his family one Thanksgiving and Katie’s boyfriend surprised us all by proposing to her right before Thanksgiving dinner!
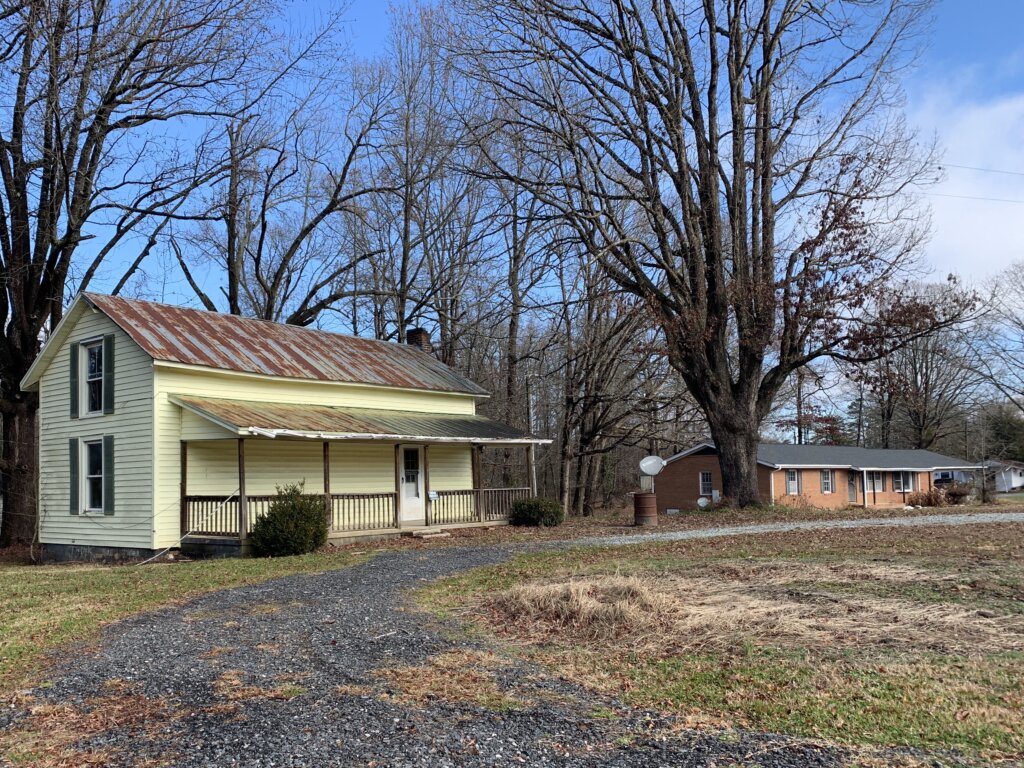
My (now) husband and I had just moved into a century-old 850sf millhouse that we were gutting and renovating while we lived in it. I really had no business offering to make her a custom wedding gown, (I barely had a place to live, much less work!) but it just seemed like the right thing to do. I offered to make her anything she wanted, paying only for materials, as our wedding gift. She joyfully accepted!
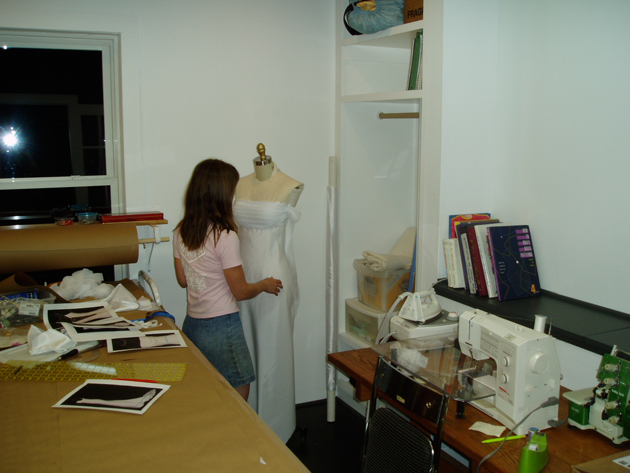
So that meant, my husband had to first build the room so that I could have a place to build the dress!
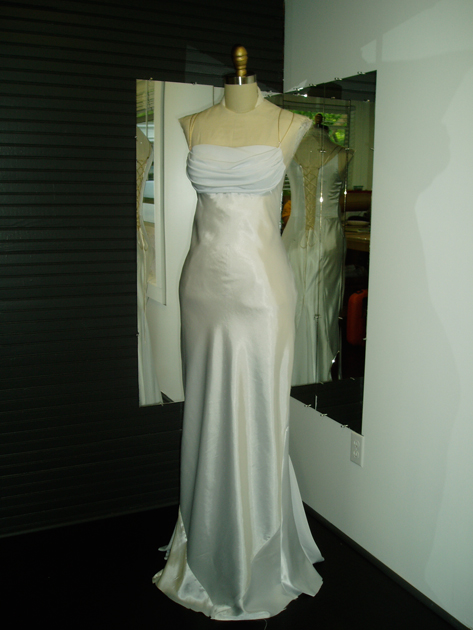
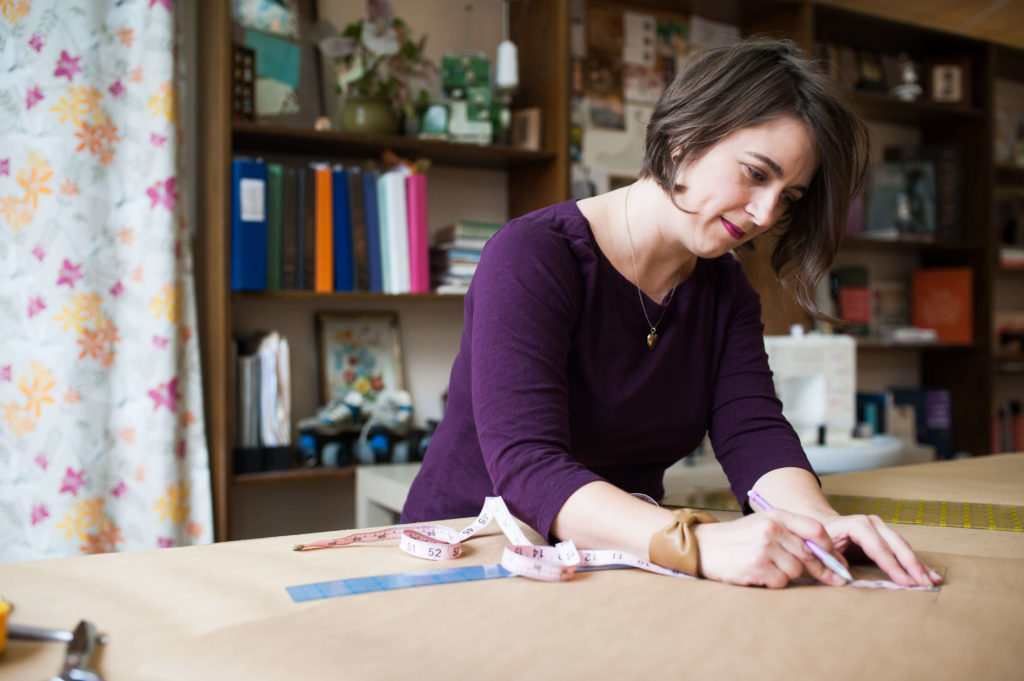
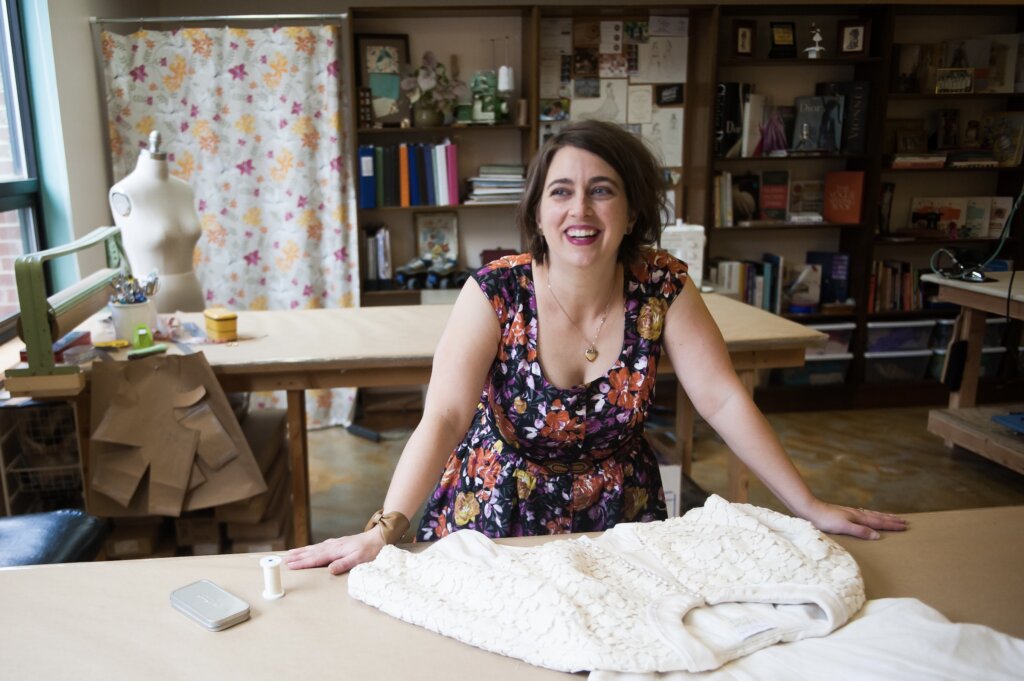
Here is a photo of me draping the my very first wedding dress in my brand spanking new studio.
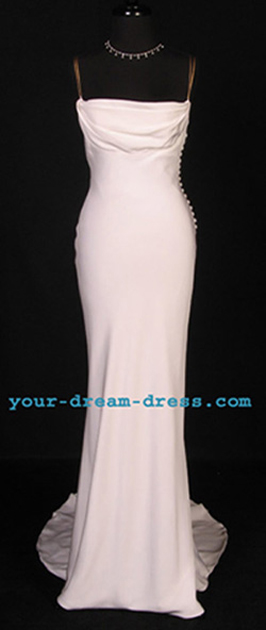
Some brides need a lot of design help and others pretty much know what they want. While I don’t directly copy other designer’s work, I often work with inspiration images. Katie’s dress was based on a dress that she had seen on Ebay. She loved a lot of the Ebay dress’s design features, but didn’t want an exact copy.
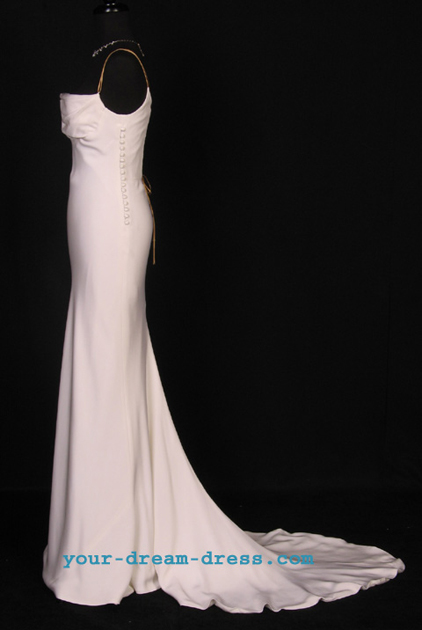
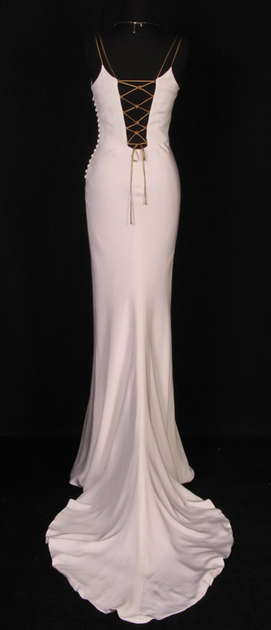
Here’s the “inspiration dress”:
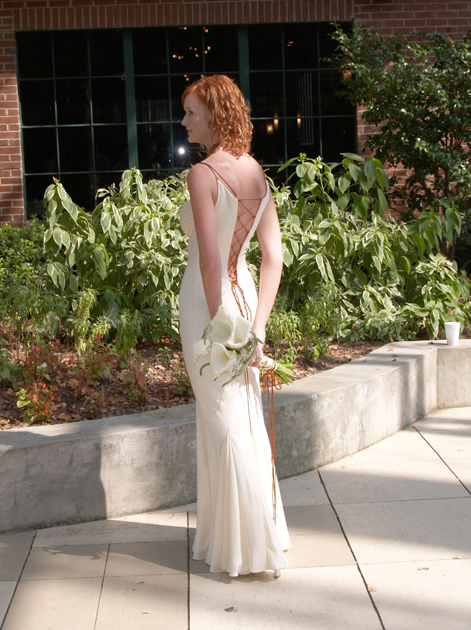
She loved this dress, but there were a few improvements we both thought might work better for her dream dress. Right off the bat, she knew she did not want a train. She did, however, like the dramatic fullness in the back, so we traded the train for 3 very full godets. We also eliminated the buttons on the side, opting to use the lacing in the back as the actual closure.
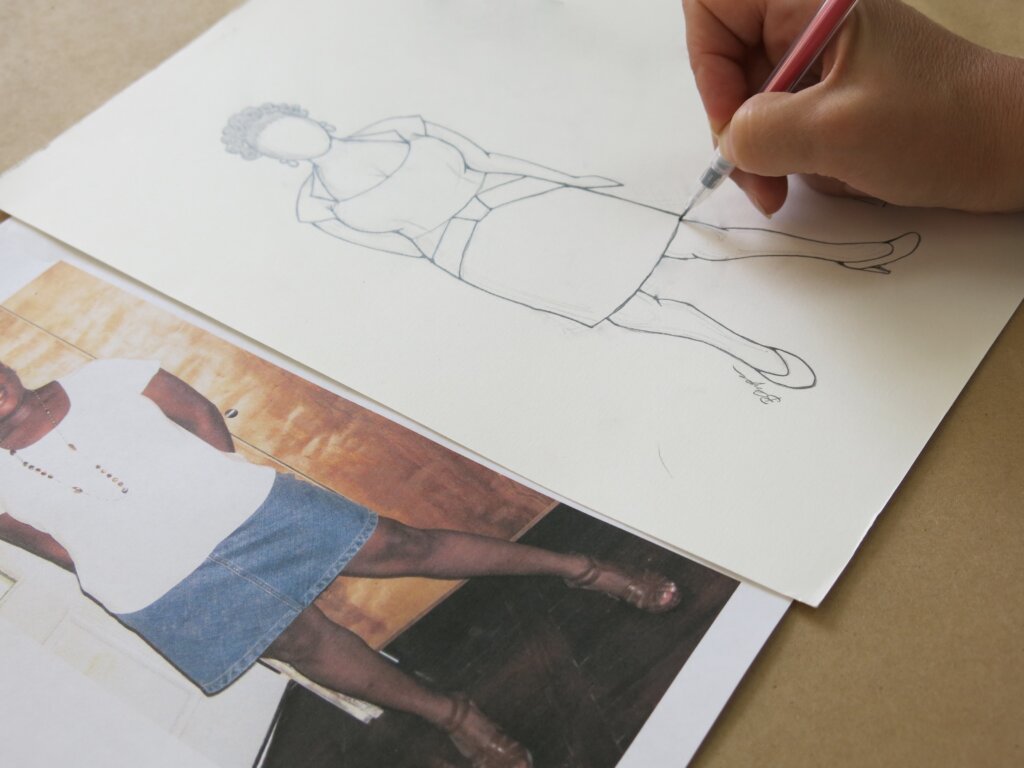
Here’s the sketch I drew for Katie’s custom wedding dress:
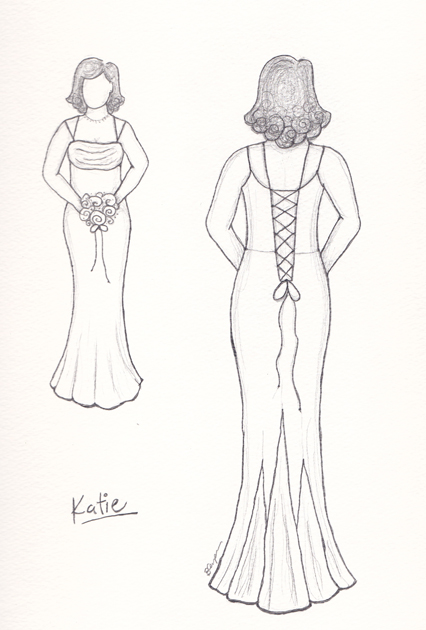
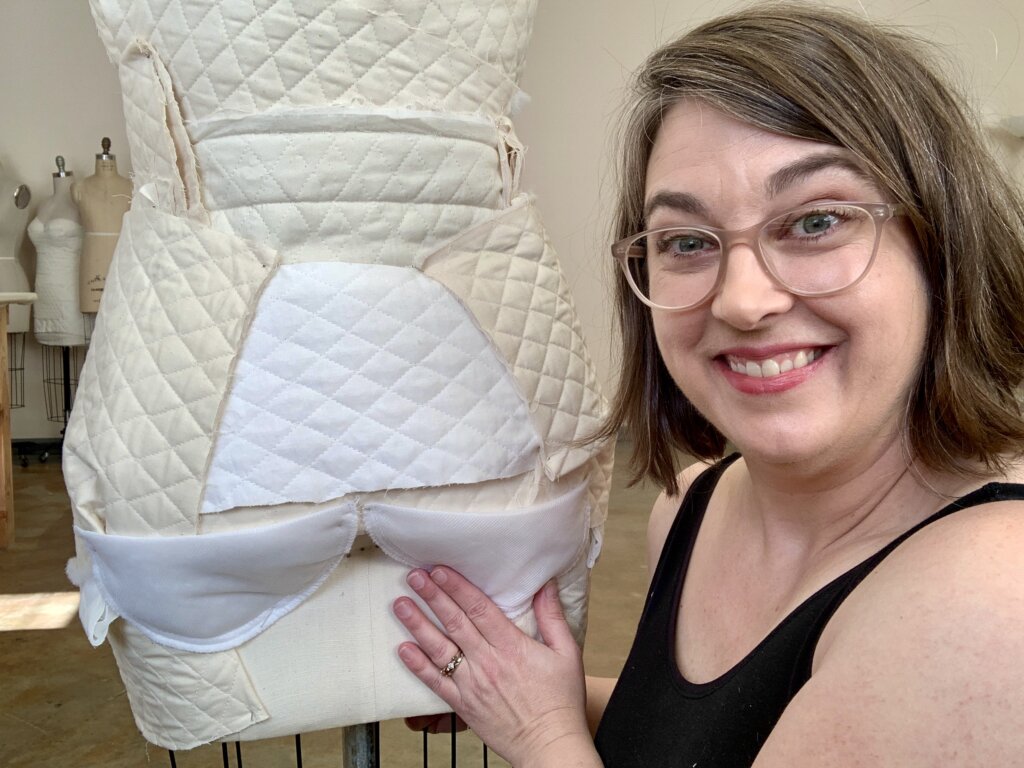
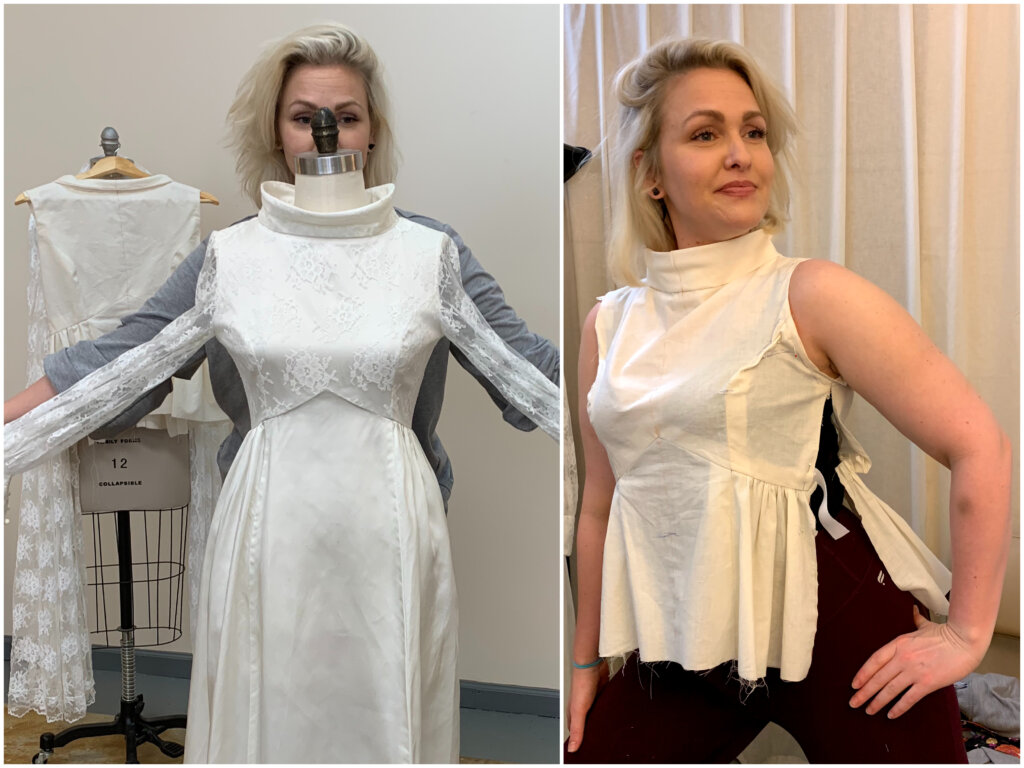
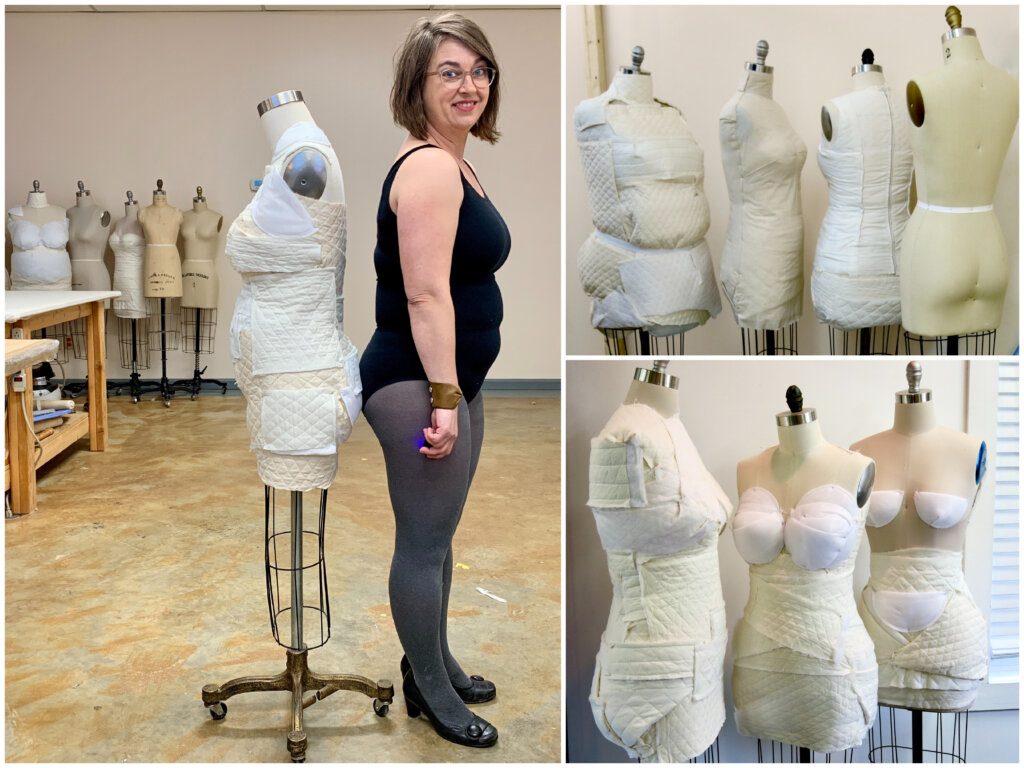
I draped a mockup dress out of cheap slinky fabric on a dressform that I had padded exactly to Katie’s slender figure. While draping and drafting her patterns, I found a more flattering way to drape the bust area and decided to lower the back opening to further accentuate Katie’s beautiful back.
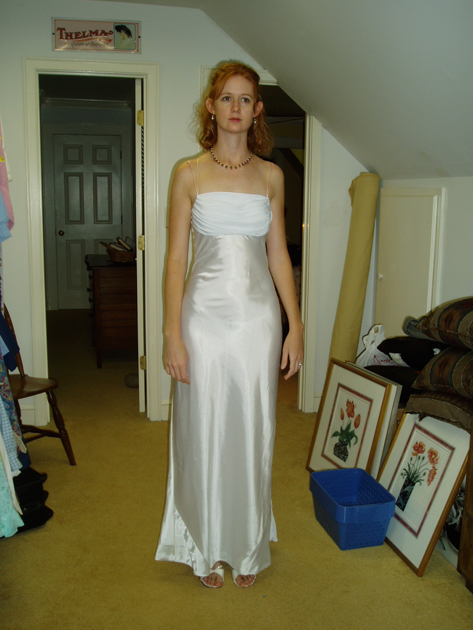
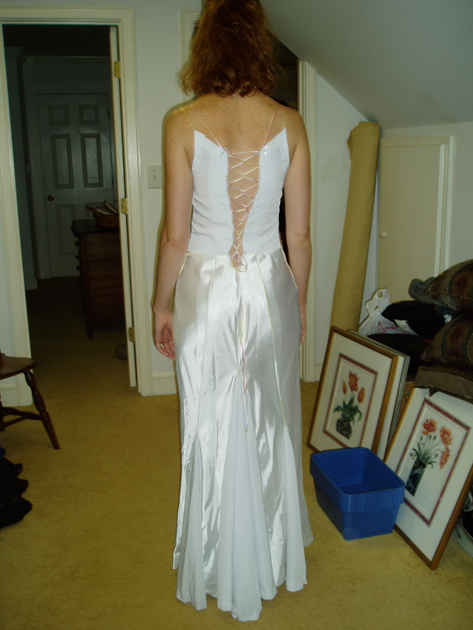
We had our first mockup fitting up in her mom’s attic! You can tell that there is some fitting to work out, but a great start to what will become a beautiful dress.
Katie and I went fabric shopping and picked out a gorgeous silk charmeuse in an ivory color that looked beautiful with her skin tone. I also hand dyed the lacing to match a her auburn hair as well as a copper necklace from her fiancé.
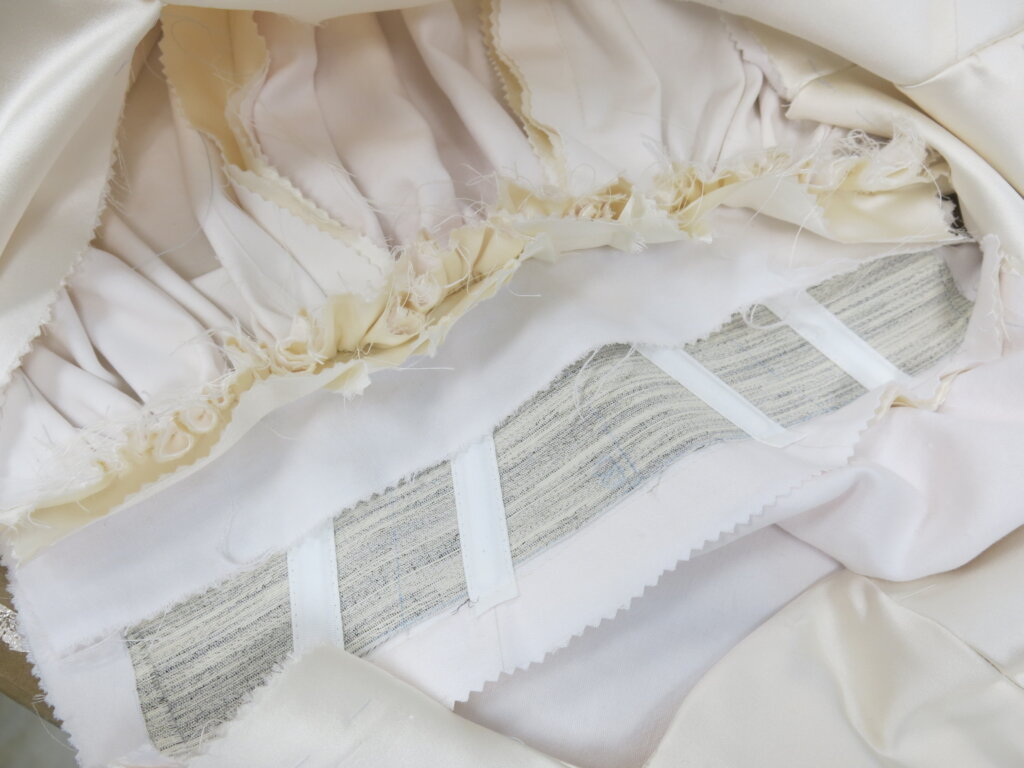
If any of you sewing buffs are reading, you know what a challenge bias-cut silk charmeuse is! You have to cut extra long seam allowances and hang your bias overnight, before marking your final stitch lines. I was only able to get the flawless results you see in her wedding day photos by carefully hand basting the entire dress together before taking it to the machine. It was totally worth it.
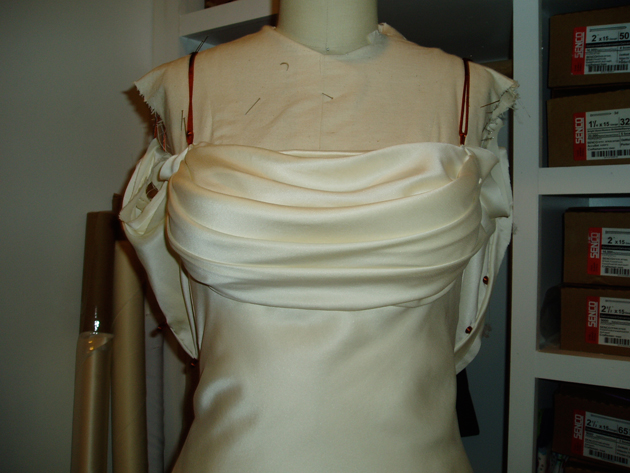
Here’s a photo taken when I was draping the final bust detail on the real dress:
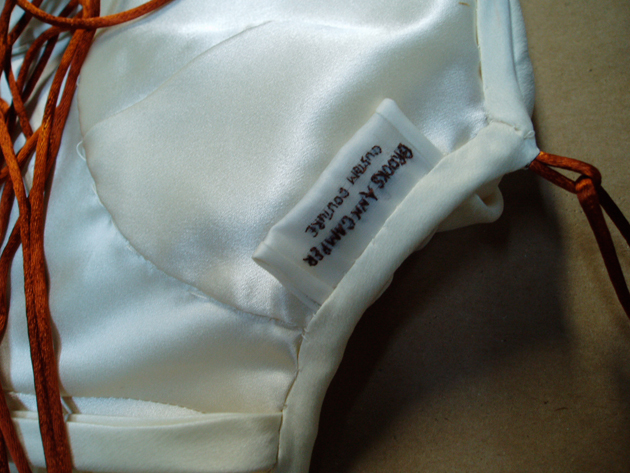
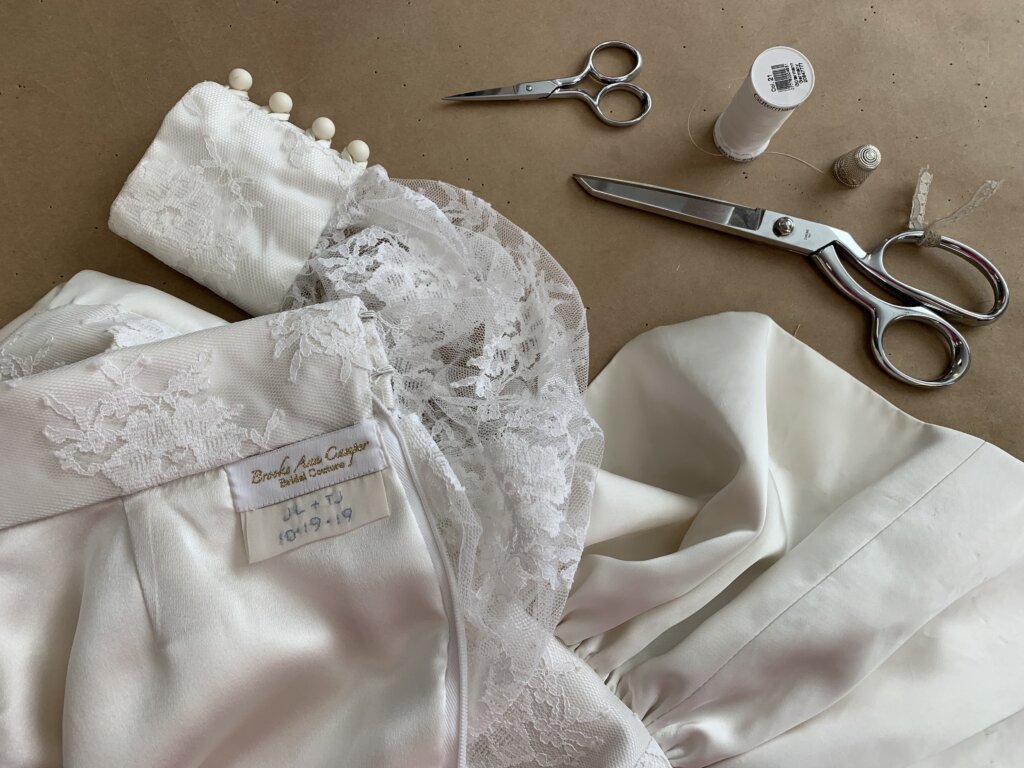
And since it was my first dress, it was my first label! I enjoyed the process of working with Katie on her wedding dress so much that I started thinking of starting my own business, offering these services to other brides. This dress has a completely hand embroidered label that says “Brooks Ann Camper Custom Couture”.
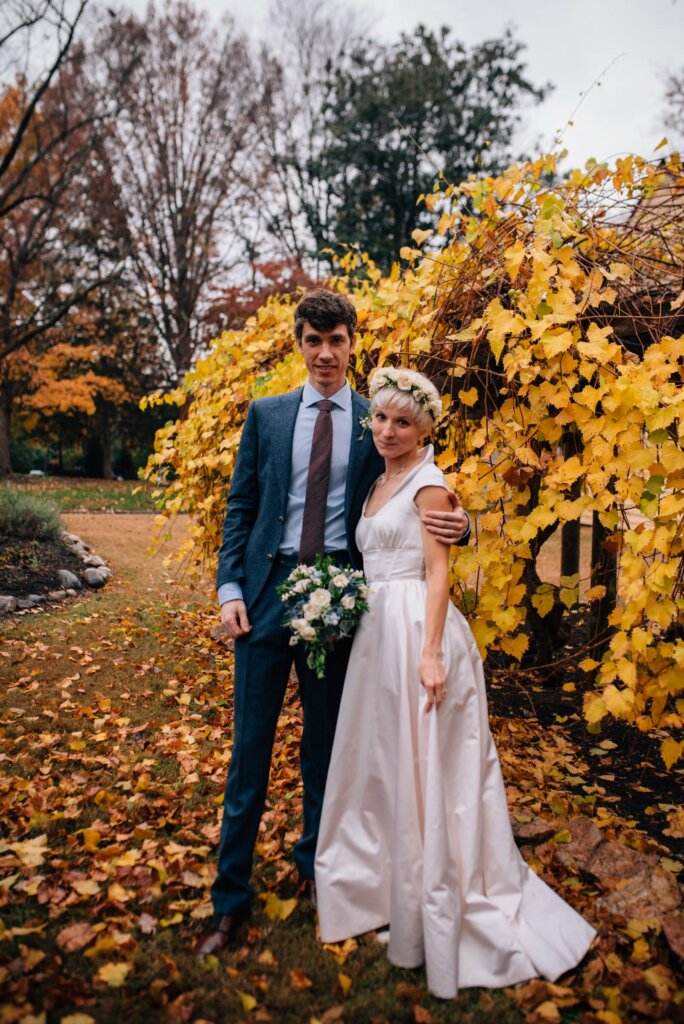
She loved it! And I loved it too! It fit her flawlessly was perfect for her Uptown Charlotte wedding. Here’s some pics from the big day!
That’s me lacing Katie up!
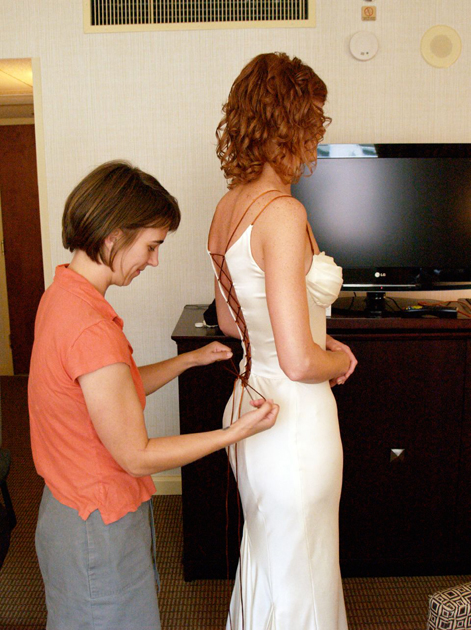
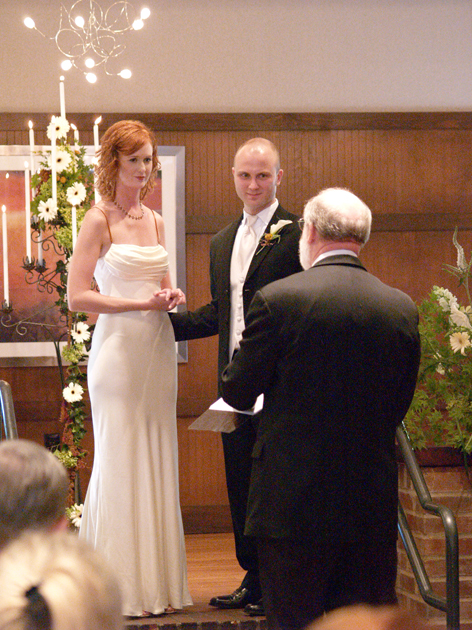
She was completely comfortable all night long, never worrying once about the dress. She danced the night away with her new husband…
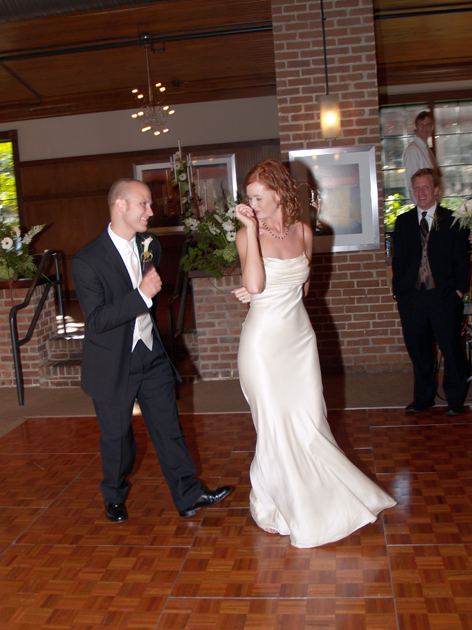
…and with my (now) husband, Charles, her brother!
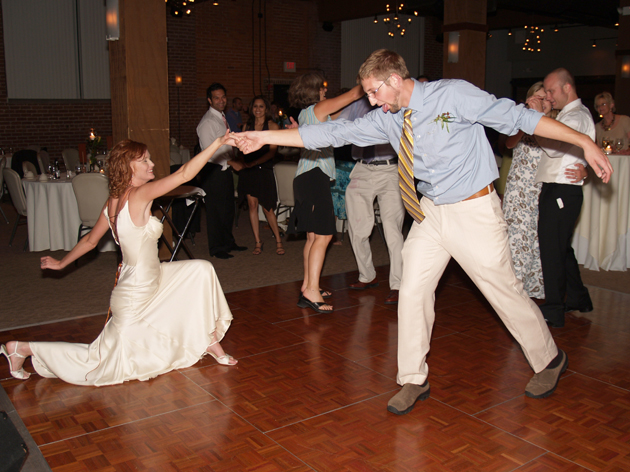
A perfect dress for a perfect night!
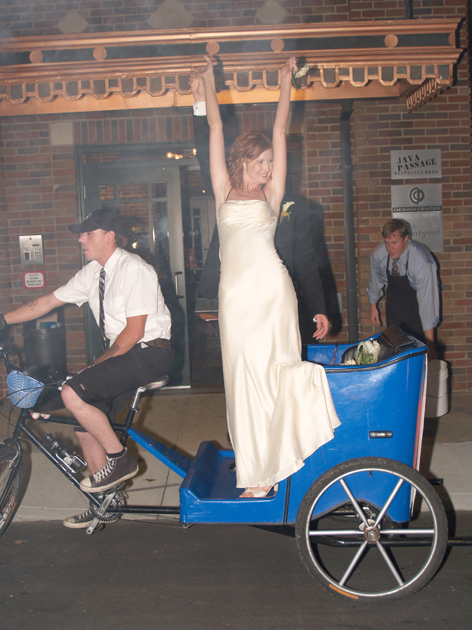
Congratulations Katie and Corey! Without this wedding, I don’t know if I’d be where I am today.
Thanks to Katie for being such a wonderful muse and thanks to Charles for building the studio and loving me throughout the process of building a small business in our tiny home.
This was the start of something special…














14 Responses
I remember how much trust I had to put in Brooks Ann to make this special dress this early in her career and how much trust I put into Charles, my brother, to build a floor in their house so the dress could get made in time. Neither let me down!
Brooks Ann was wonderful to work with and exceeded my expectations. I still enjoy reading about the other dresses she is creating and know the brides will be over the moon with delight as I was.
— Katie Pud “the bride”
I loved to read this post. I never would have guessed you started your business just a few years ago! This is a very inspiring story, and the dress is amazing! So elegant, clean and well made. Thanks for sharing that with us! I look forward to the next post!
This was great and inspiring. I remember when I made my first gown, but I was in school at FIT.
Thanks! Katie’s dress was my first real wedding gown for a real bride. But yes, I made lots of gowns (and veils!) in school and for professional theatre. I remember my first one as well!
Leslie, you have given me the idea to do another kind of “retrospective” post sometime soon. One where I highlight custom dresses and accessories that I made before I became a “wedding dress designer”. Should be a fun one!
Looks so lovely. Did you underline the dress?
Thanks Anne! This particular dress was lined, but not also underlined. I’m such an “underliner” these days that I wonder had done this dress now, if I would have tried underlining it. It worked flawlessly without!
I did allow all of my bias fabric to hang before marking and cutting, and I carefully stitched all of the bias seams by hand before machine stitching, always stitching from the top of the garment down to the hem. While underlining may have helped shadow the seam allowances, I’m not sure if it would have helped any other way.
Has anyone else underlined a bias cut evening gown? I’d love to hear how it went.
Hi. What a beautiful gown! I am in the process of finishing my daughter’s gown which has a bias skirt and am dreading the zipper insertion. I have been thinking I might like to use a button closure, and voila! I found your post. Can you share with me the technique you used to install the buttons and loops? Were they individual loops, or a ready-made string? And if so, did you use the elastic loops, or the ones right next to each other. Did you use a stabilizer in the seam allowance? Thanks so much!
Hi Diane! Thanks for commenting!
In Katie’s dress, I did not use buttons or a zipper. The “inspiration” dress in the shots from the Ebay pics had buttons on the side, but Katie didn’t like them and they weren’t necessary for her to get into the dress we designed. On Katie’s dress the only closure was the hand-dyed criss-cross ties in the back. You can see more pics of Katie’s finished dress here: https://brooksann.com/the-portfolio/#5154 Sorry if it seemed like the inspiration dress was the same dress! If you look closely, you can see that there are many differences. We eliminated the buttons on the side, we elongated the back opening, we used charmeuse instead of crepe, there are godets instead of a train, and the colors are also different.
I did make loops (similar to what one would use for button loops) for the lacing and straps of Katie’s dress. These I made myself out of the same cord that I used for the lacing. If I remember correctly, they were individual loops, rather than a pre-made string, since they were placed so far apart from one another. If I recall, I did not use any stabilizer, but I probably should have!
That said, if I were to put a zipper or button placket into a bias skirt, I’d be doing a lot of samples. It’s not something I’ve done in a while! I’d definitely use some sort of stabilizer (maybe a ribbon hidden inside) and would carefully hand baste the zipper or button loops in place and get everything looking perfect before machine stitching it.
For your daughter’s dress, I recommend making lots of test samples, using bits of the real fabric, experimenting different ideas until you find a technique that you feel comfortable with and that looks good. Try a zipper, try some button loops, try different ideas for stabilizers. Hand-basting is always a good idea. Once you have your preferred method, continue to practice a couple of times making samples and then by the time you move on to sewing your closure into the real dress, you’ll be a pro!
Good luck! I’d love to see how it turns out!
Hi! First let me say I really LOVE your work! I am reaching out today because I am in the process of learning how to sew and I somehow stumbled across your site. Since I did not attend school for this, my knowledge is limited to what I know from just experimenting with my own fashion choices. But I really LOVE Katie’s dress and wanted to know if there is a specific name for the gathering in her “bodice?” I’m really interested in trying the technique but I can’t seem to find tutorials on how to accomplish it with out knowing what it is actually called.
Thank you so much! Hmmmm…. I wonder if there is a name for that? To create it, I draped it on a dress form that was padded to replicate Katie’s figure. Underneath the gather-y layer there’s another layer of fabric (and a little bust padding). I took some of the charmeuse on the bias and draped the folds until they created something I liked while it was on the dressform (almost like you would for a “cowl”). I was able to strategically hand stitch to the other layers of the dress underneath in order to control the “folds”. I hope this helps! Let me know if you give it a try!
Hi Brooks Ann. I recently discovered your wonderful blog and gorgeous wedding dresses that you’ve designed. If you were to underline Katie’s dress, what would you have used for the underlining fabric? Also, what fabric did you use for the lining? Silk charmeuse fabric is somewhat sheer especially for some of the lighter colors such as ivory so I was wondering what was used so it wasn’t see through. Thanks!
Hi Terena! I lined Katie’s dress with more silk charmeuse.
Cotton flannel is one of my favorite underlining choices for silk charmeuse (so scrumptious!), but this particular dress was cut completely on the bias and the fit depended on the specific amount of bias stretchiness that the silk offered. So if I were to underline it, I think I’d keep things safe/simple and underline it with another layer of itself. That way I’ll know that the layers would have a good chance to work together exactly as one.
Luckily the charmeuse of Katie’s dress was thick enough to not be ‘see-through’ and I was able to get away without a 3rd layer of fabric. Hope this helps! Thanks for following along!
Hi Katie. I know it has been a while since you posted this but I am now making my daughter’s wedding dress in silk charmeuse :) You did such a beautiful job. The question I have is, does the fabric all need to be cut in the same direction? Will the sheen look different if pattern pieces were cut “upside down”? Trying to maximize cuts for a chapel length train.
Hi Amy! My name is Brooks Ann (the woman who wore this dress is named Katie) and I’m happy to help. That said, you have the power to answer your own question, whereas I do not. Do a little a test to see if the sheen of your fabric looks different in one direction vs. the other!
At the beginning of this blog post, you can see me doing a test for Deborah’s bridal fabrics. Try something similar with your fabrics, and you’ll have your answer.
Congratulations on your daughter’s engagement AND for making her wedding dress. It’s going to be so special!