 One of the techniques that really makes a garment couture is the use of underlining. Though it adds many hours to the dressmaking process, it adds elegance, control, and the ability to hide all of your stitches from the outside of a garment. I find it an invaluable technique and I am happy to share it with you.
Underlining will never be seen from the outside or the inside of the finished garment. It is a layer of fabric attached to the underside of the fashion fabric via hand basting (which I will show in a future post) which will make the two fabrics work as one. In other words, it is adding a second inner layer to each fabric pattern piece. Anything that needs to be hidden (bone casings, hem stitches etc.) can be completely concealed from outside of the garment by using underlining.
Even though it will never be seen, it is important to choose and high quality natural fiber fabric for your underlining. I chose to use washed cotton organdy for Greta’s underlining. This comfortable and breathable fabric gave a gorgeous stability and crispness to the hand of the silk shantung.
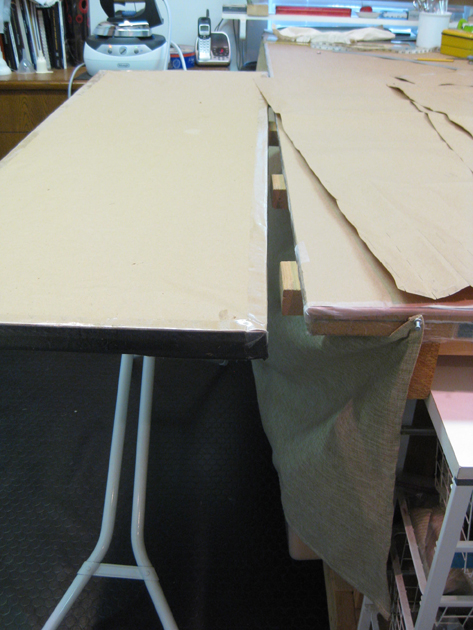
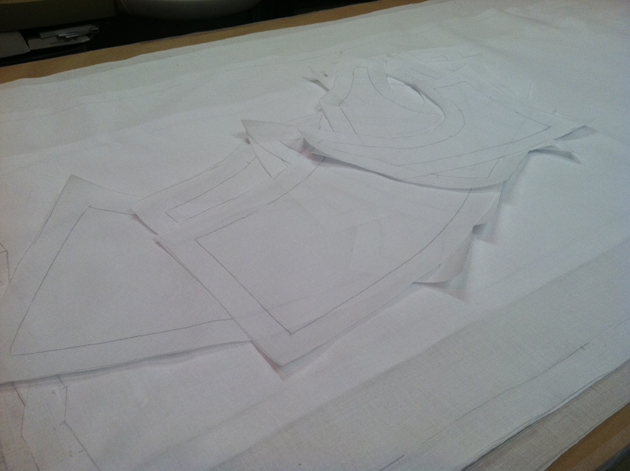
To get started, I took my cotton organdy home from the laundromat and pressed it onto a roll. I do my pattern cutting a little differently than most. Without all the fuss of tracing paper and double layers, I mark all of my fabric on a single layer. When cutting a single layer, you usually need an extra wide table. My genius carpenter husband made a table extender for me by adding a piece of my tabletop material onto an old ironing board base, which can easily be tucked away when I am not cutting.
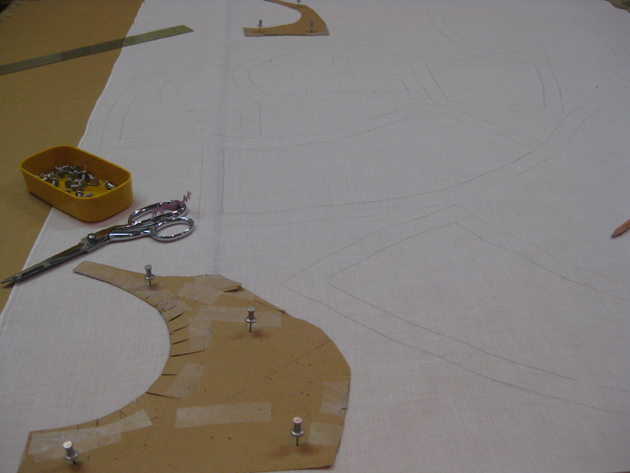
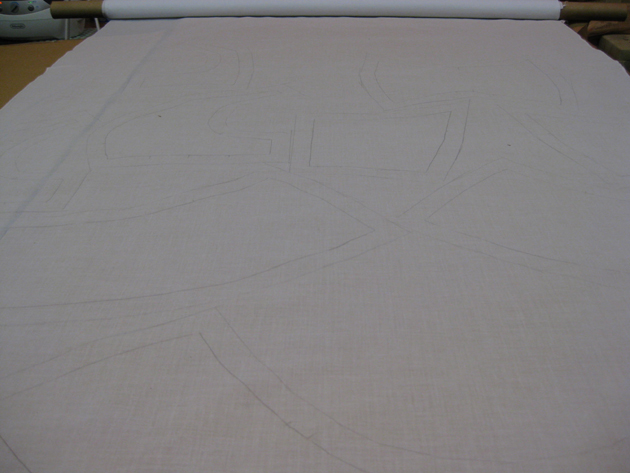
I roll out the fabric and lay out my final corrected pattern pieces. I make sure the grainlines match up and that there is just enough room to cut my seam allowances for maximum fabric conservation.
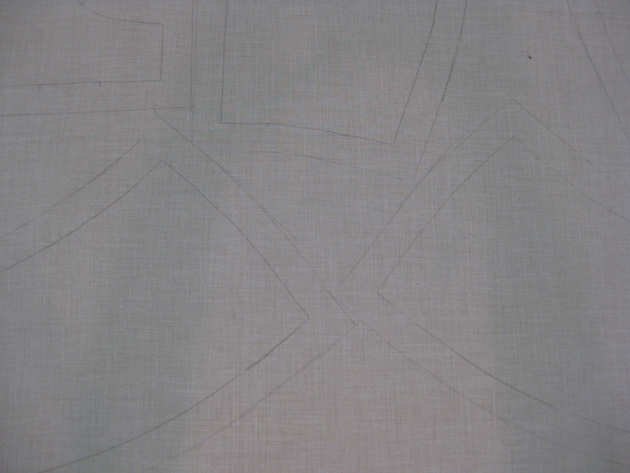
My cutting table has a pinnable surface. I pin each pattern piece to the table through the fabric with push pins. Since the underlining will never be seen, I use a regular pencil to mark the stitchlines as well as my seam allowances with the help of a clear ruler.
Then I cut them out!
After cutting, I rolled my underlining pieces up into sheets of white tissue paper and tucked them away so that they would not get dirty or creased before I am ready attach them to their fashion fabric.
Since my cutting table extender was out, I decided to also cut the linings for Greta’s dress. I cut her silk crepe de chine lining in a similar way using the corrected patterns. Instead of push pins, this time I used silk pins to pin the pattern pieces through the fabric onto the table. For marking, I used a white pencil on the white fabric so that my markings would never show through the lining.
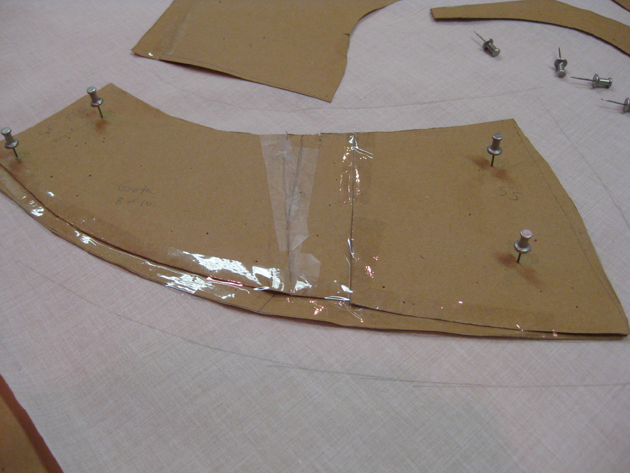
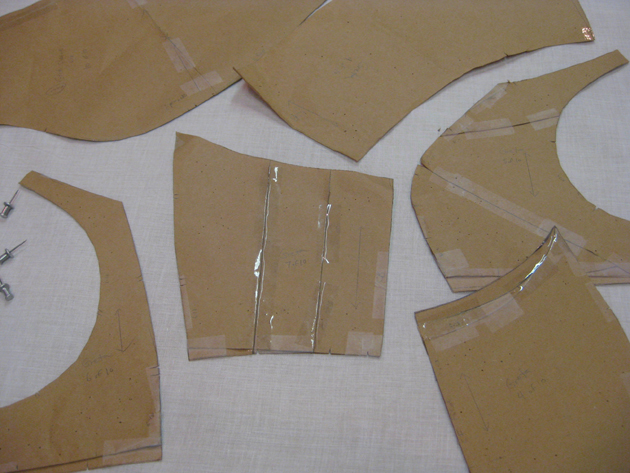
At this point, I am almost completely finished with the pattern! It is always bittersweet for me to cut the last pattern piece. I love the history that you can see on each one. We worked so hard to adjust and readjust the pattern for the perfect fit and design. And the journey is evident by all the cuts and marks and tape all over each unique piece.
I will miss you, pattern pieces. But I am also excited for the next part of the journey in the making of Greta’s dress!


