

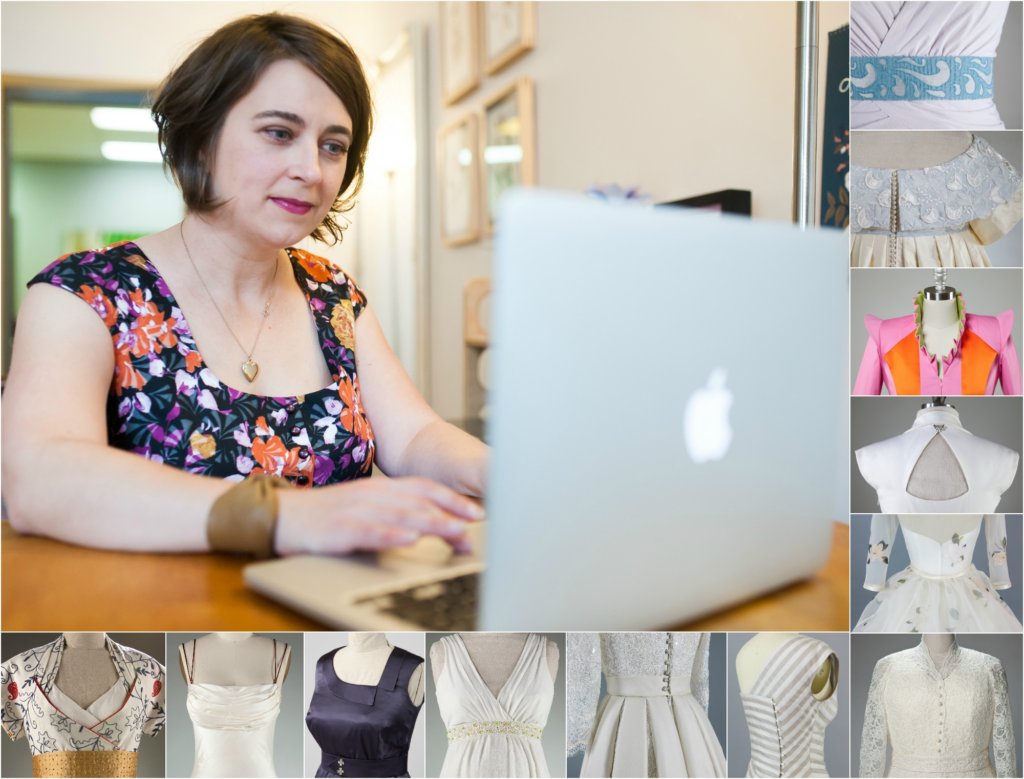
I’ve been blogging at BrooksAnn.com for a little over 6 years now. While most of my posts are following the story of a bride and the creation of her custom wedding dress and/or accessories, I often throw in sewing posts or personal posts in every now and then.
One of my most popular posts ever was from last year when I shared how to create a professional pinnable-top sewing table modeled after the tables used in all the professional costume shops where I have worked in the past. My most recent post expanded on this idea, sharing how I created a “table extender” by adding a pinnable paper-covered top to an ironing board base. This also doubled as my ironing station while I was still working out of my home.
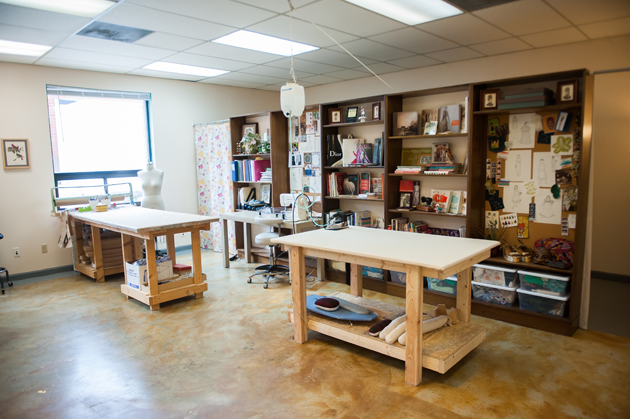
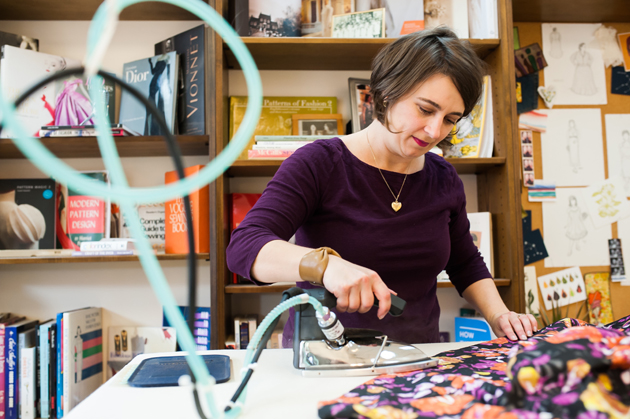
When I moved into my studio in the Eno River Mill last year, I finally had room for a full-size permanent ironing station! (Happy dance!) I think the iron is absolutely one of the most important tools in garment creation. When people think of “sewing” what comes to mind is a sewing machine. Personally, I feel like I use my iron way more than I use my sewing machine. It is quite a luxury to finally have such a nice place to do these tasks!
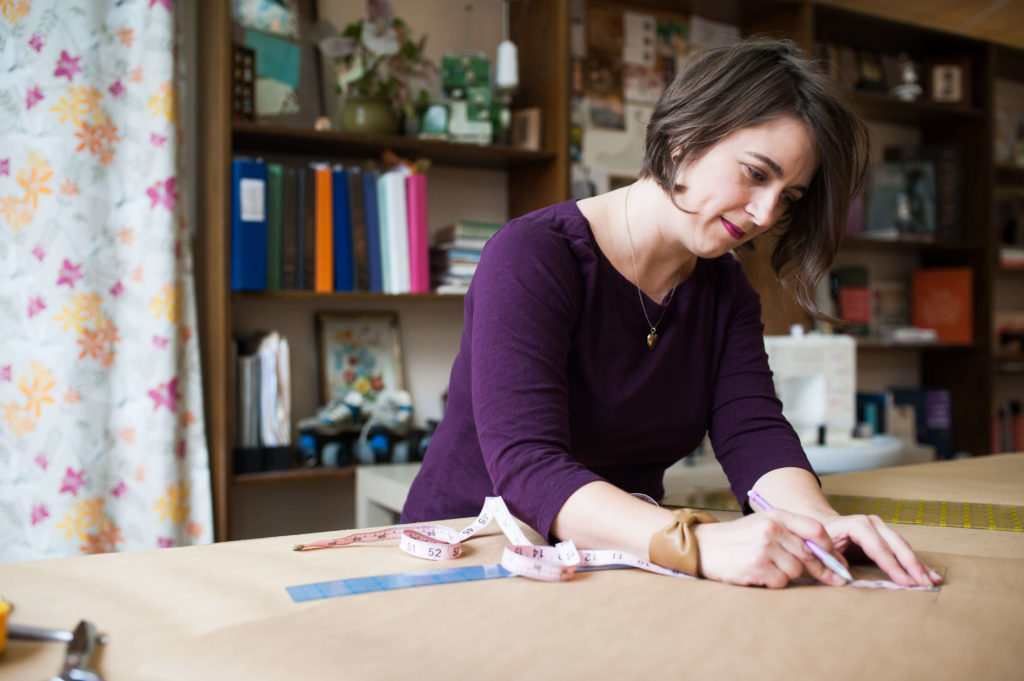
My custom ironing table started with a custom-made wooden base. This was crafted in the same way as my Sewing/Cutting/Drafting tables, which you can read more about here. What’s great about making your own table is that you get to customize it to a height and width that works for you!

For height, I prefer my tables to be a few inches above where my hips hinge. This gives me plenty of room for my arms to reach across the table and is a comfortable height for holding my iron.
When deciding what size to make your top, consider not only how much space you have available but also how you’d like to use your table. What frustrations do you have with your current configuration? What could you do to create an ironing station that you’d love to use?
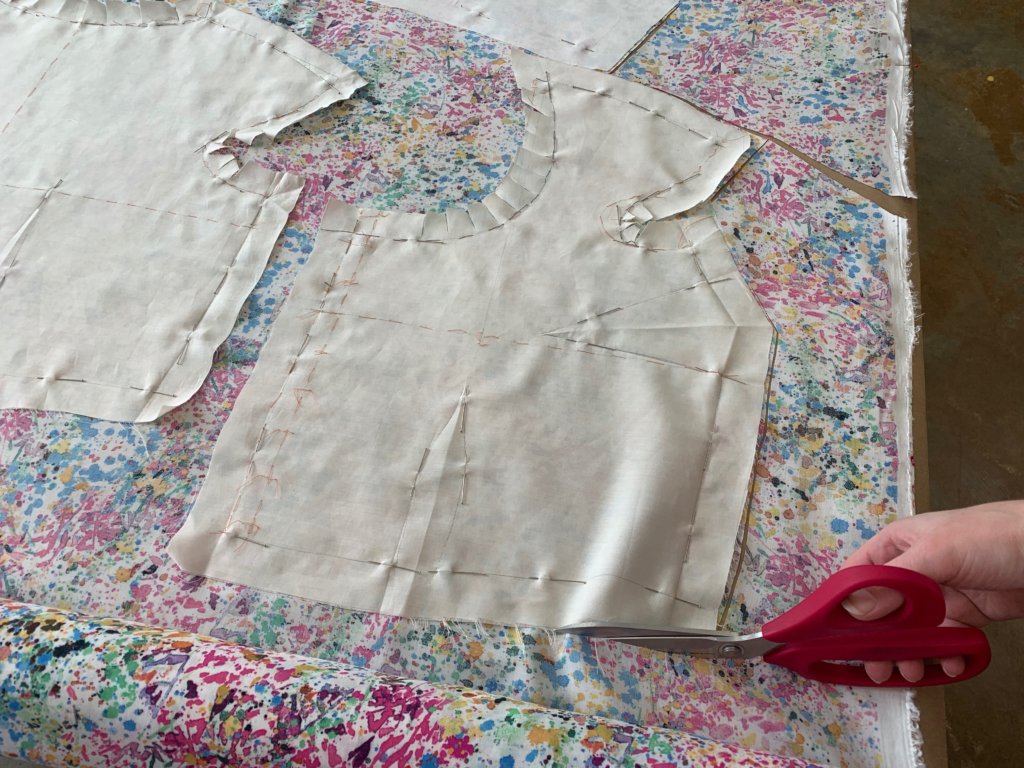
For me, I don’t ever cut “on the fold” so I always press my fabrics out in a single layer onto a roll. Performing this step with ease is what I missed most when working in my small home sewing space. Because of this, I made my table top 60″ (the widest commonly used width of fabric yardage) by 36″ (the extent of my reach while standing at the table.)
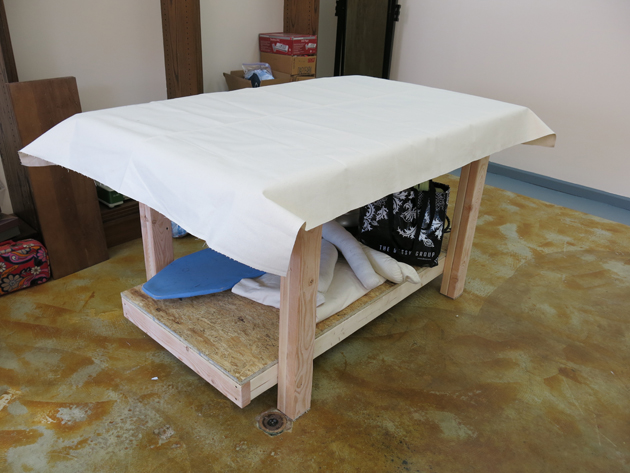
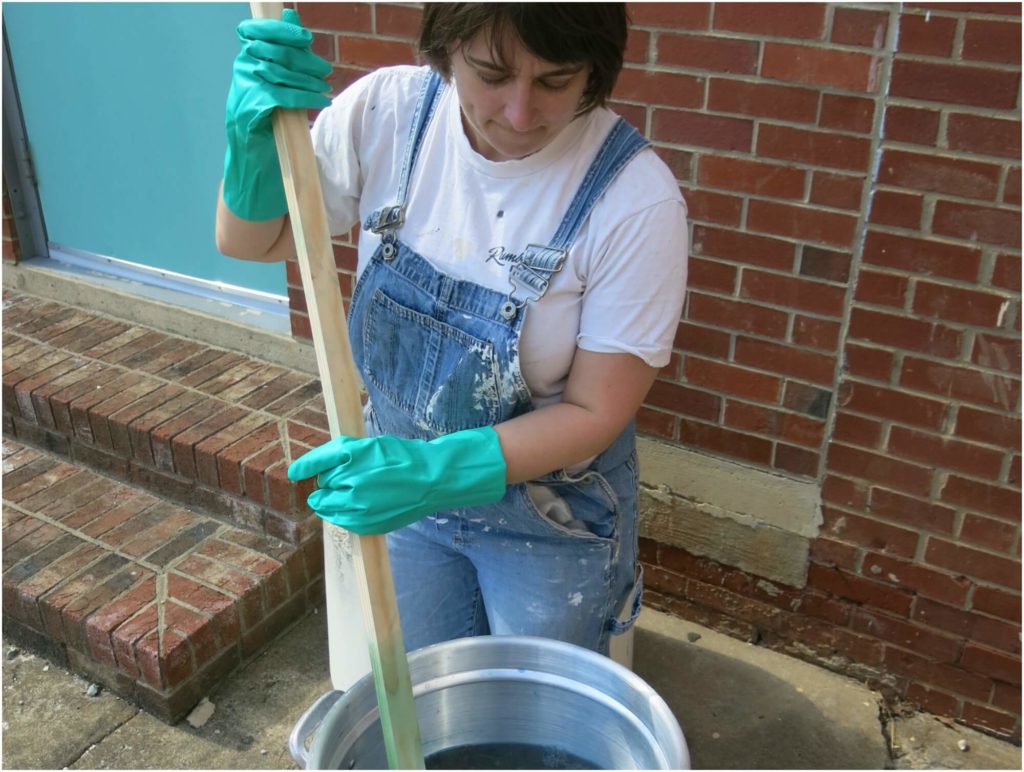
The top is created by cutting a piece of sheet good (plywood, fiberboard, chipboard…) to your desired size. (Excuse the mess in these photos! This table was made as I was moving into the space last year.)
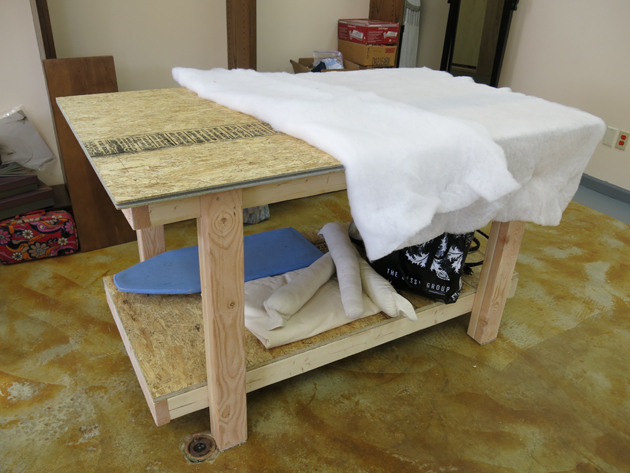
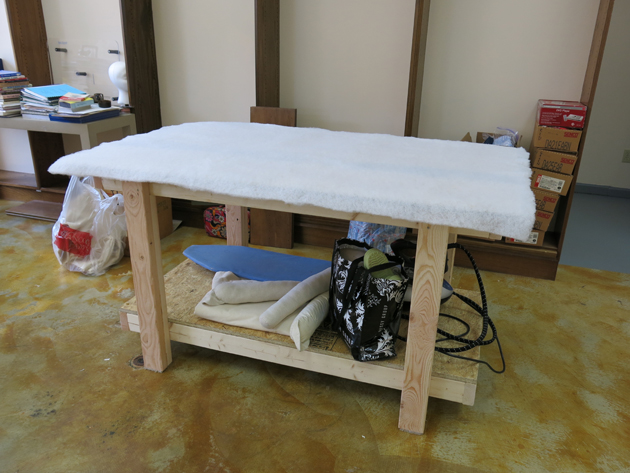
Cover the top with quilt batting and trim away any excess.
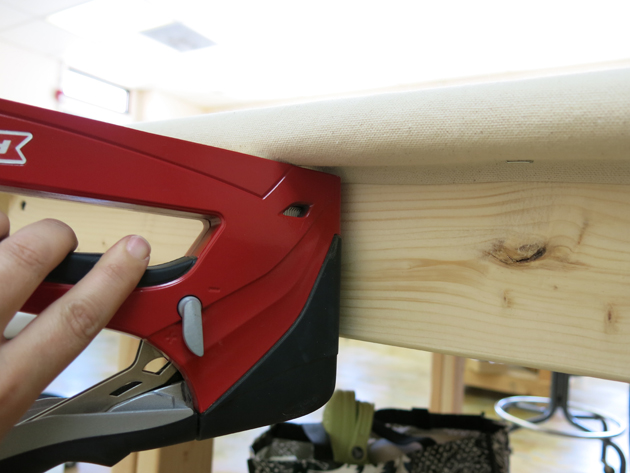
Take a piece of canvas and cut it to where the edges could wrap around the wood of the table top.
 Staple the canvas in place underneath the table top.
As far as the excess fabric that you’ll encounter in each corner, do as Tim Gunn says and “Make it work”.
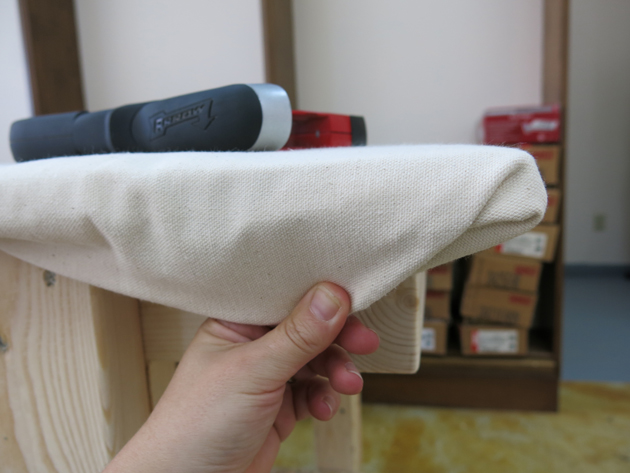
Fold a bit, staple a bit, trim out if you’d like…
And that’s it!
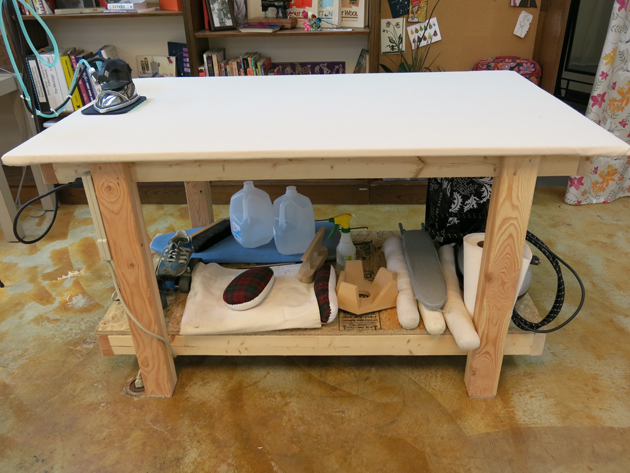
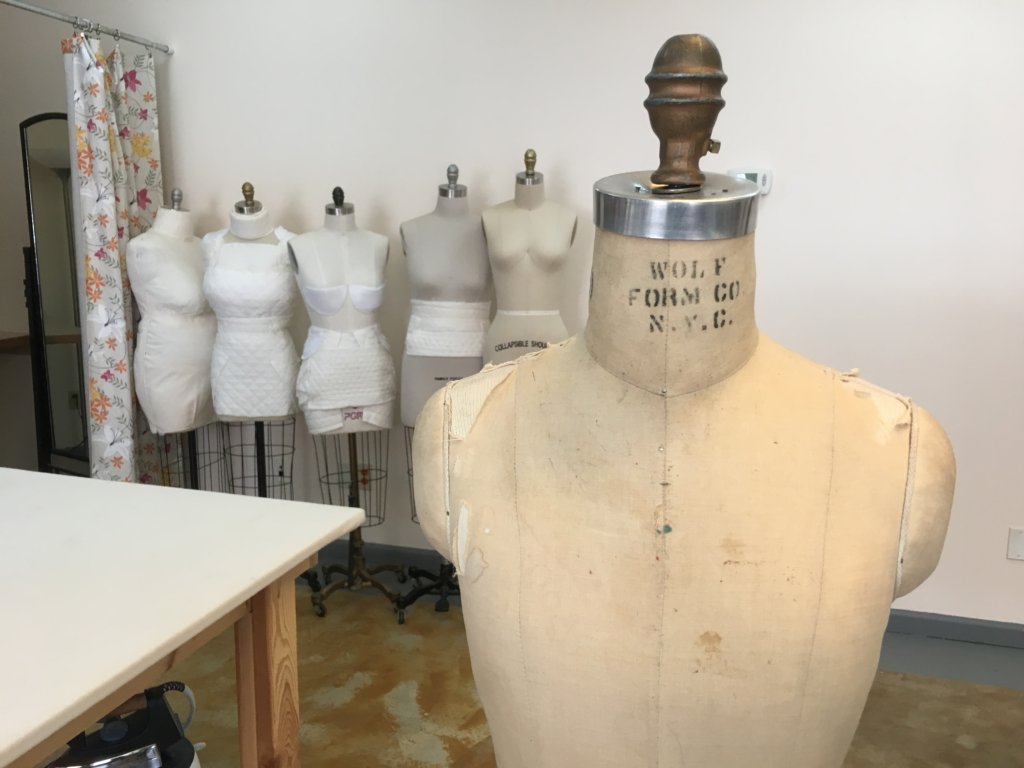
I like having a shelf underneath my ironing station as a place to keep my ham, my sleeve board, my dress form arms, my roller skates… I also like having the table placed out from the wall so that I can skate work all the way around it.
I know not everyone has space for something like this, but having a custom pressing station has truly been a joy. I hope it inspires you to design a system that works for you and your space!
Interested in learning how I use this table? Check out my interactive online courses! I teach you the basics of pattern drafting and sewing custom designed clothes for unique bodies all from the comfort of your own home. More information can be found on the Intro course at www.SkirtSkills.com.
Will you be rethinking your ironing space or even making your own custom pressing station?


24 Responses
If you don’t have space for anything permanent, I suppose you could just make the top, which you could store away and then place on top of your table, bed, washing machine etc. when needed… Might be heavy, but might be worth it!
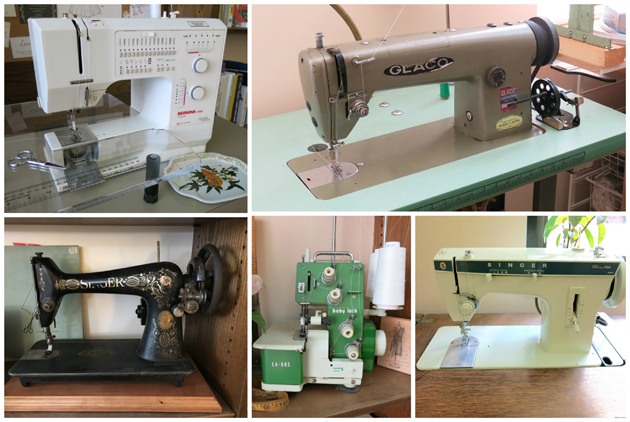
Great info – thanks! What is your preferred iron?
Kalle
Thanks Kalle! I use a gravity feed iron. The brand I have is called “Silver Star”. Maybe I’ll do a post on the pros/cons of different types of irons soon…
I know you posted this a while ago, but I just found it. My hubby and I bought a new house and I’m finally going to have my own sewing room! My annoyance at the moment is with my iron’s cord. Your picture shows some kind of wonderful cord thing that is mounted on the ceiling. Can you tell me what that is?
Hi Gwen! I have a “gravity feed iron”. This allows me to have lots of steam on demand. The water reservoir hangs from the ceiling and the tube you see is feeding the water to the iron (by the power of gravity). The iron heats the water as it passes through, so you don’t have to wait for the water to heat up and the tank is so large (~1 gal.) that you rarely have to refill it. The iron’s electrical cord is plugged in below. I luckily have an outlet in the floor next to my table. If you look at the 3rd photo of this post, you can see the bluish hose going up to the water bucket near the ceiling, and then black cord below that plugs into a power strip mounted to the side of the table, which plugs into the floor. I joined the electrical cord and the water line together at several points with some elastic, so they don’t get in my way when I’m ironing. Gravity fed is the type of iron that was used in all the professional costume shops I’ve worked in and is a great choice if you have a permanent space for it. The whole thing cost about $130 and I expect it will last for a decade or so. You’ve inspired me to consider writing a blog post on different types of irons sometime soon. Thanks so much for your interest and congratulations on your new sewing room!
Ooooh!! That totally makes sense now that you’ve explained it. I’m just a newbie so for the things I do I don’t need that much steam – at least not yet. Thank you for the explanation!!
Hey BrooksAnn –
I have a new sewing room. woo! Given my space considerations – Is there a way to combine the pinning table with the ironing table?
Like….fiberboard, hemasote, canvas? Or just use the pinning table as an ironing table, too. I guess I’m curious as to whether hemasote can handle heat?
Yay! Congratulations on the new sewing room! I think you’ll really like this post that shares the portable double-duty table I used before I had the space for the full ironing station: https://brooksann.com/small-sewing-space-solution-portable-ironingcutting-table/ Check it out and let me know if you still have any questions!
How is your fabric roll holder arranged next to the cutting table? Is it a ready-made industry item? My husband is planning on welding a complete metal framed cutting table setup for me. Thanks!
Hi Madeline! I keep my fabric rolls in a fabric lined wooden box. It’s behind a curtain in the photo in this post, but you can see it at the end of this article I wrote for Seamwork Magazine: https://www.seamwork.com/issues/2016/11/sew-like-a-pro
I keep my pattern paper in a metal paper cutter attached to the end of my cutting table. Anywhere that sells the industrial rolls of paper will most likely sell the paper cutters too.
You can see how I made my cutting tables here: https://brooksann.com/diy-professional-sewing-room-table/ Your new table sounds awesome! I hope you really enjoy it!
Do you ever have trouble with the water from your steam? Like warping your plywood, for instance? I find that after working for a while my ironing board drips water onto the floor, and I’d like to build a tabletop, but I’m afraid after a week it’ll be wrecked.
Great question! I copied this table design from the ones in every professional costume shop (including Broadway) that I worked in over the years. I’ve used the one you see in this blog post for my bridal business for over 3 years now and it is still as good as new (and I LOVE to steam). I do recover it every once and a while, but have never had the wood warp. If you were starting a business where someone was steaming at the table all day every day, you might want to invest in a vacuum table. But in my small business, I’ve never had a problem and if it is good enough for Broadway it is good enough for me (and probably you too!) Make sure you’ve got a great steam iron (that doesn’t leak or drip) and give it a try!
My husband built me a table almost identical to yours years ago that I so loved. Regretfully he became terminally ill and I had to sacrifice it in downsizing. I will be using your dimensions to treat myself to another one. For anyone looking for a table then search no more. This is the only way to go! Thank you and bless you!
Sorry to hear about your husband’s health. When you make a new table, be sure to customize the measurements to match your preferences and your body (unless you are 4’11” like I am!) so that the table is perfectly fits you and your needs. I think you’ll really love it!
Do you add more batting when you recover or just more canvas? Mine is in need of recovering already after less than a year. It gets used a lot! Lol
I usually just add more canvas on top of all the layers that are already there. But if you feel like you’d like to add more batting too, then go for it!
Thank you for sharing your pressing table information!
Since I don’t have the space for a cutting table *and* a pressing table *and* my sewing table, I decided to build a hybrid – it’s a cutting/pressing table.
I built a table out of 2x4s – similar to yours, just without the shelves underneath. Mine is 3’x6′ – and since homasote wasn’t available in my area (tried everywhere!) – I opted to use two pieces (glued together) of moisture proof masonite (white on one side/brown on the other) – 12.97/sheet at the blue big-box hardware store. I braced the table top frame to avoid any dips/soft spots when pressing. My table legs are two pieces of 2×4 screwed together (4x4s were more expensive). Using 2″ wood screws – and a lot of them, this table is built like a battleship.
Lastly, I used Valspar Ultra Flat in a bright blue to paint the base.
I didn’t really sand the 2x4s, as they were already pretty smooth. I did use a sander to knock down the rough edges where they’d been cut, and a few spots here/there where the wood was especially rough.
To allow the table to double as a pressing station, I ordered a yard of 72″ wide, 3/4″ thick wool felt from sutherlandfelt.com. I’ve been using a felt pressing mat, which I loooove, but at 18×18″ it’s basically large enough for 1 quilt block, and it was very expensive! I think I paid 50.00 for it… ugh. With a little GOOGLE homework, I opted to go for a “big” felt topper. The felt is dreamy for getting nice flat seams. When using the table for cutting, I slide the felt mat between my table/wall and put it back in place on an as-needed basis. Oh, btw – I sewed straps on some clips allowing me to clip on one side of the felt and run the strap under the table clipping the mat on the other side – so the mat won’t slide on the slick masonite surface. I also have some small plastic IRWIN QUICK GRIP clamps I can clamp the back corners of the felt in place if the straps don’t work well.
This is a wonderful surface for sewing and quilting. Small command hooks along the side hold my scissors and rulers. The table is 36″ tall (I’m 6′ so it is perfect!) and a rolling cart underneath stores my tailors point, seam stick, clapper, iron, and sizing sprays! I can also put my small machine on this table and piece/etc. while standing up – something I never considered!!!
Altogether, including paint, lumber, screws and masonite – my table cost me about 120.00 to build. The felt was expensive, including shipping the 3’x6′ 3/4″ piece was 169.00 – but WELL worth the price.
Thanks again for sharing!
Sounds dreamy! Thanks for sharing!
BTW – Sutherlandfelt.com is where I purchased the felt. They get a lot of orders from quilters. :)
:)
Do you prefer your ironing table to be the same height as your cutting table? Also, is your “hip hinge” at the top of your hip bone? Thanks!! Beth
My custom-made cutting and ironing tables are the same height, but you may prefer something different. And the ‘hip hinge’ I mentioned is where my body tips at the hip allowing me to reach forward. The height I preferred for my table was a bit above my hip bones, so that the squishy part of my lower tummy is what rests against the table when I reach across it. Everyone will have a different preference but this is what works best for me! Hope it helps you discover what will work best for you!
I’d like to have a bigger ironing surface, but I use a steam station (1,5L Philips PerfectCare Compact) for all my pressing, and when I work on a big project, I end up getting water condensing on the bottom of my ironing board (classic metal grid board) onto the floor. Wouldn’t all that moisture just get caught in a cusom table like this one and make it rot?
Never had a problem! Every place I’ve worked (professional theatre, including Broadway costume shops) had ironing tables just like this one. The soft tops get recovered every year or two. Surely the plywood will also wear out eventually (though I’ve never noticed any moisture getting ‘caught’ or any ‘rot’), but I figure that would be after a decade or so of constant use. Likely time for a refresh anyway!